


Hi All!
I have something new and exciting for my blog! A light box!
You know those amazing, bright, no-shadow, cool background pictures that you see on other blogs? Well I can do that too!!

I got the idea from my friend Claire, who asked me how I took my pictures for my blog (the answer is randomly and always praying for mid-day sun) and she told me about light boxes, and shared a link with me to a post over on Never Homemaker where they have a tutorial for making a cheap light box.
So I thought- well that might be nice for some blog photos- because I find the pictures I’m often most disappointed with are my Supper Sunday pics- because I don’t make the dinners just to blog, I make them for my family or me to eat- so generally that means that the final plate of food is prepared around 6-7 which is definitely not the greatest lighting conditions. – since I have finally gotten over the awkwardness of taking pictures of my plate while family and friends happily devour their plates around me, I figured it won’t be too much of a stretch to get up and take my plate over to a light box and snap some pics lol.
This was one of the fastest and easiest projects ever- they go into more detail and have a great tutorial over on Never Homemaker so I won’t steal their thunder- just show how mine turned out!
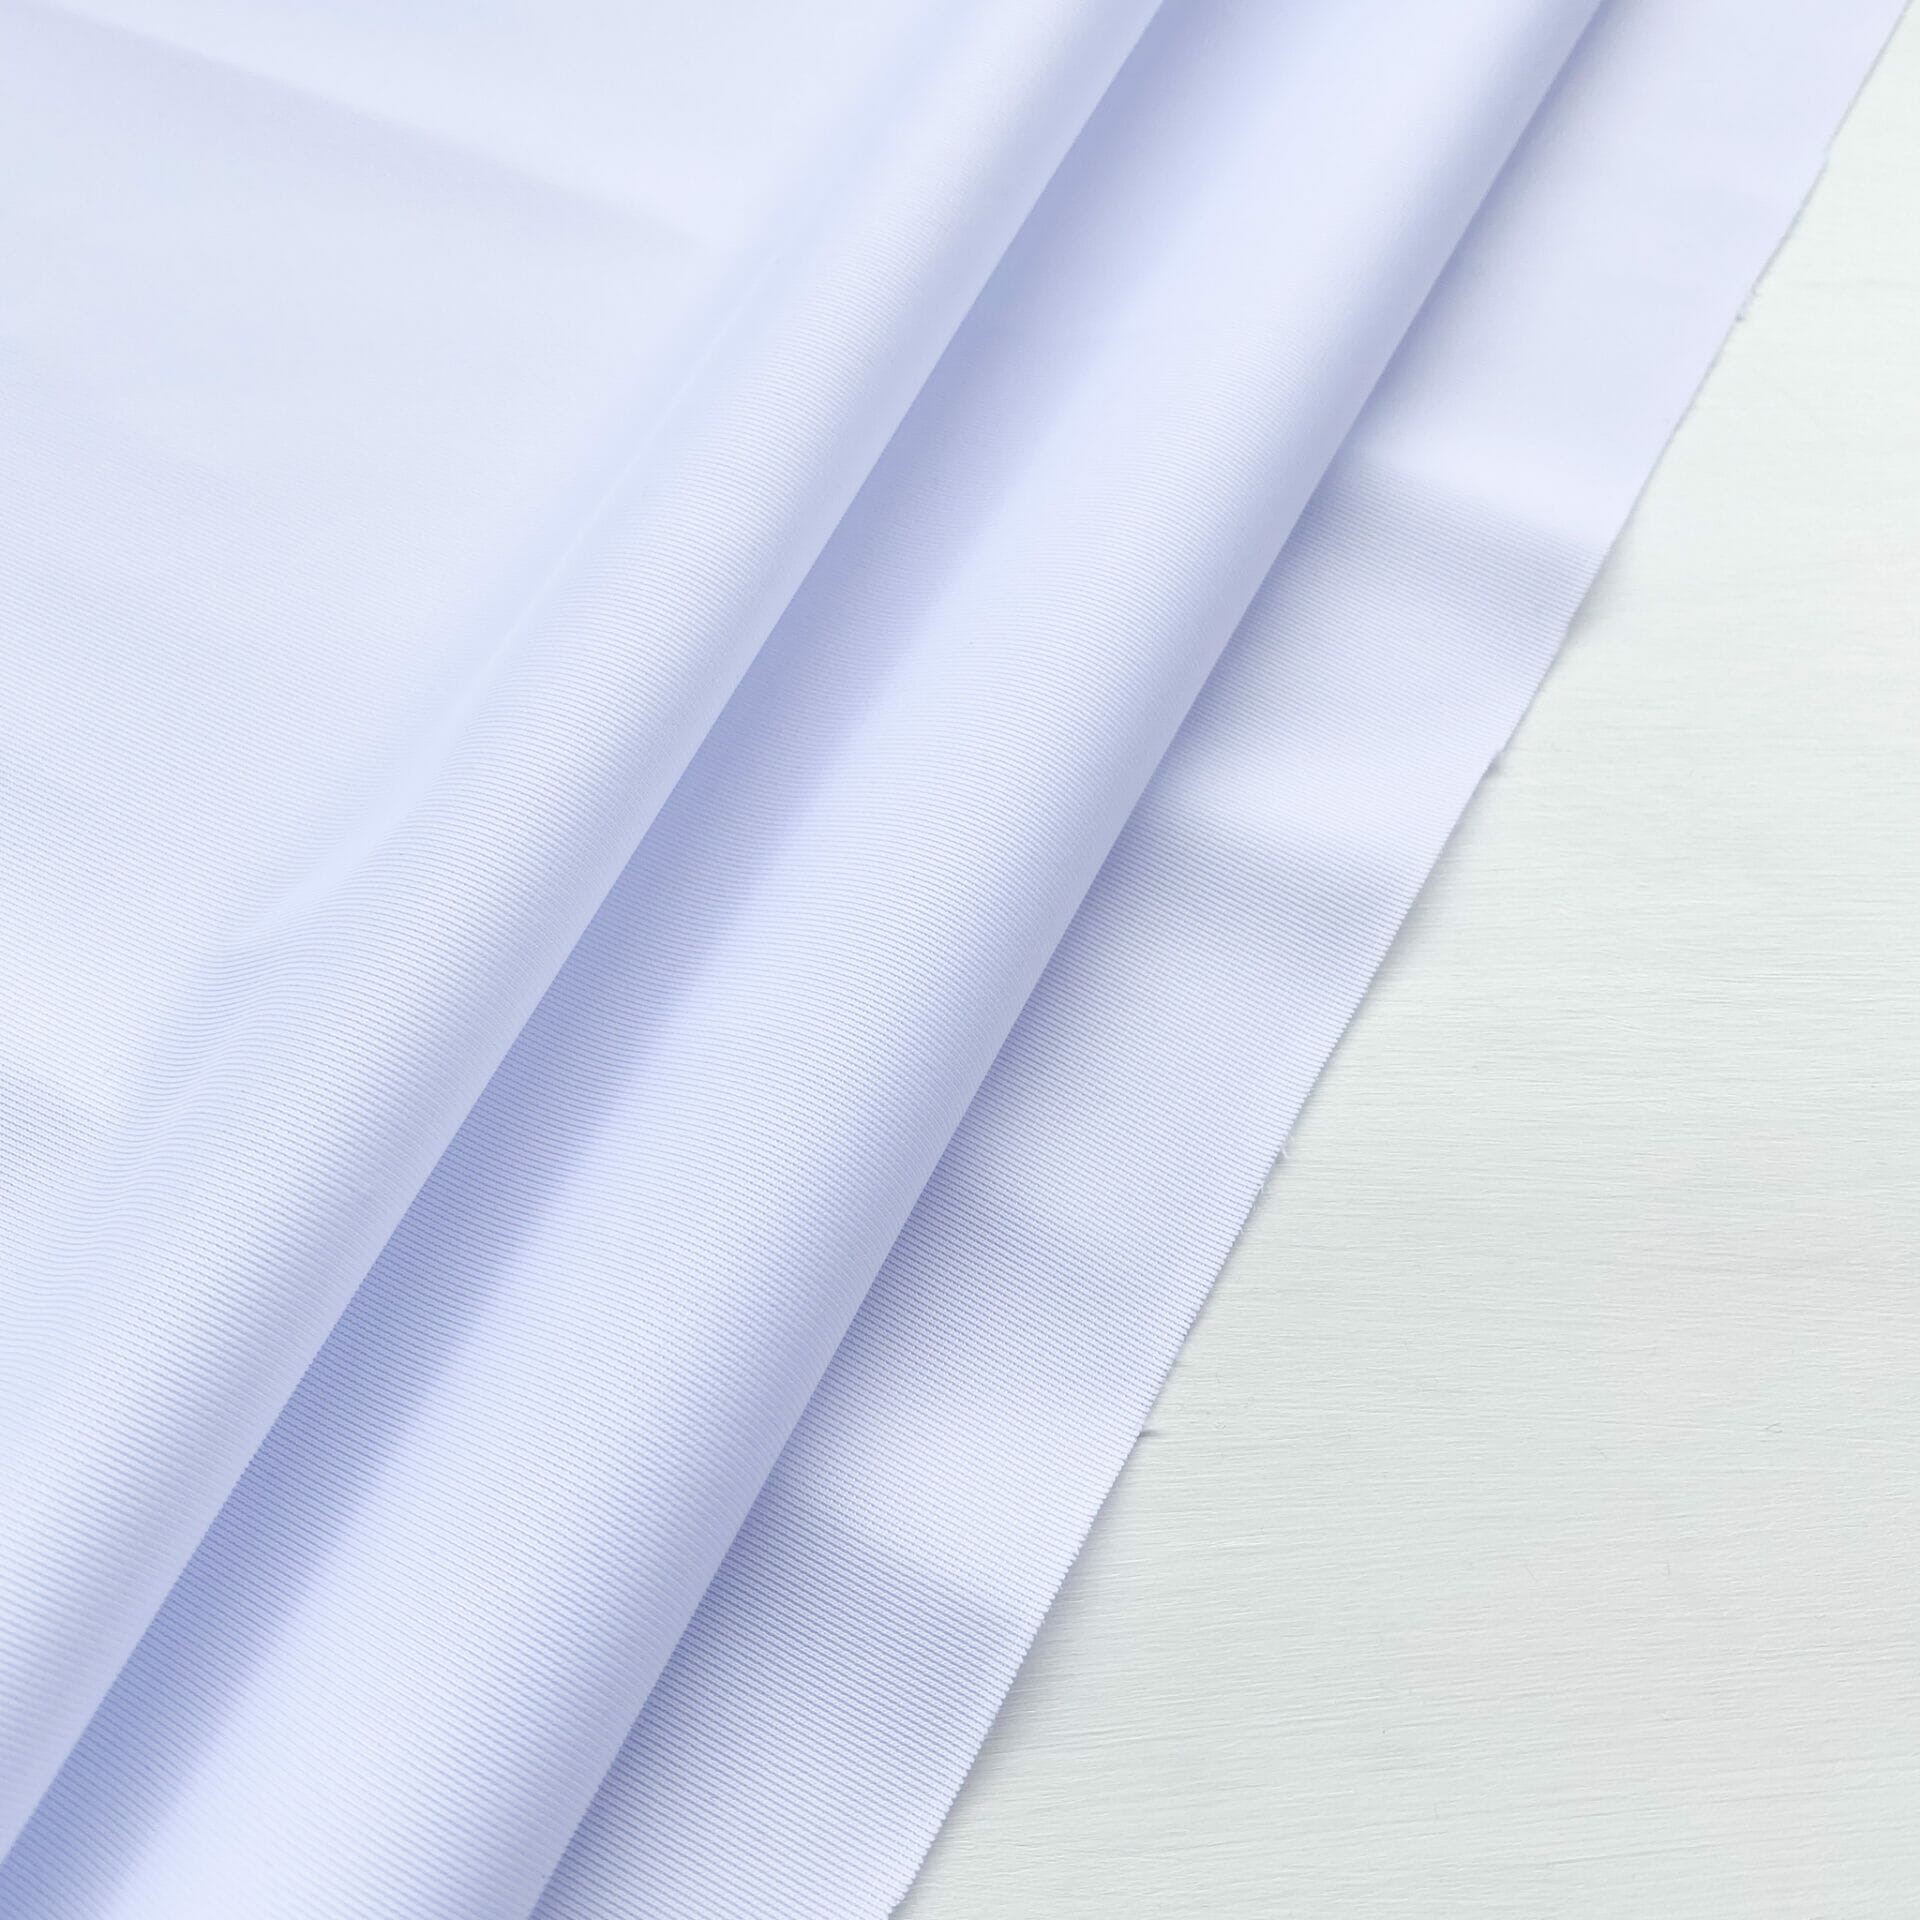
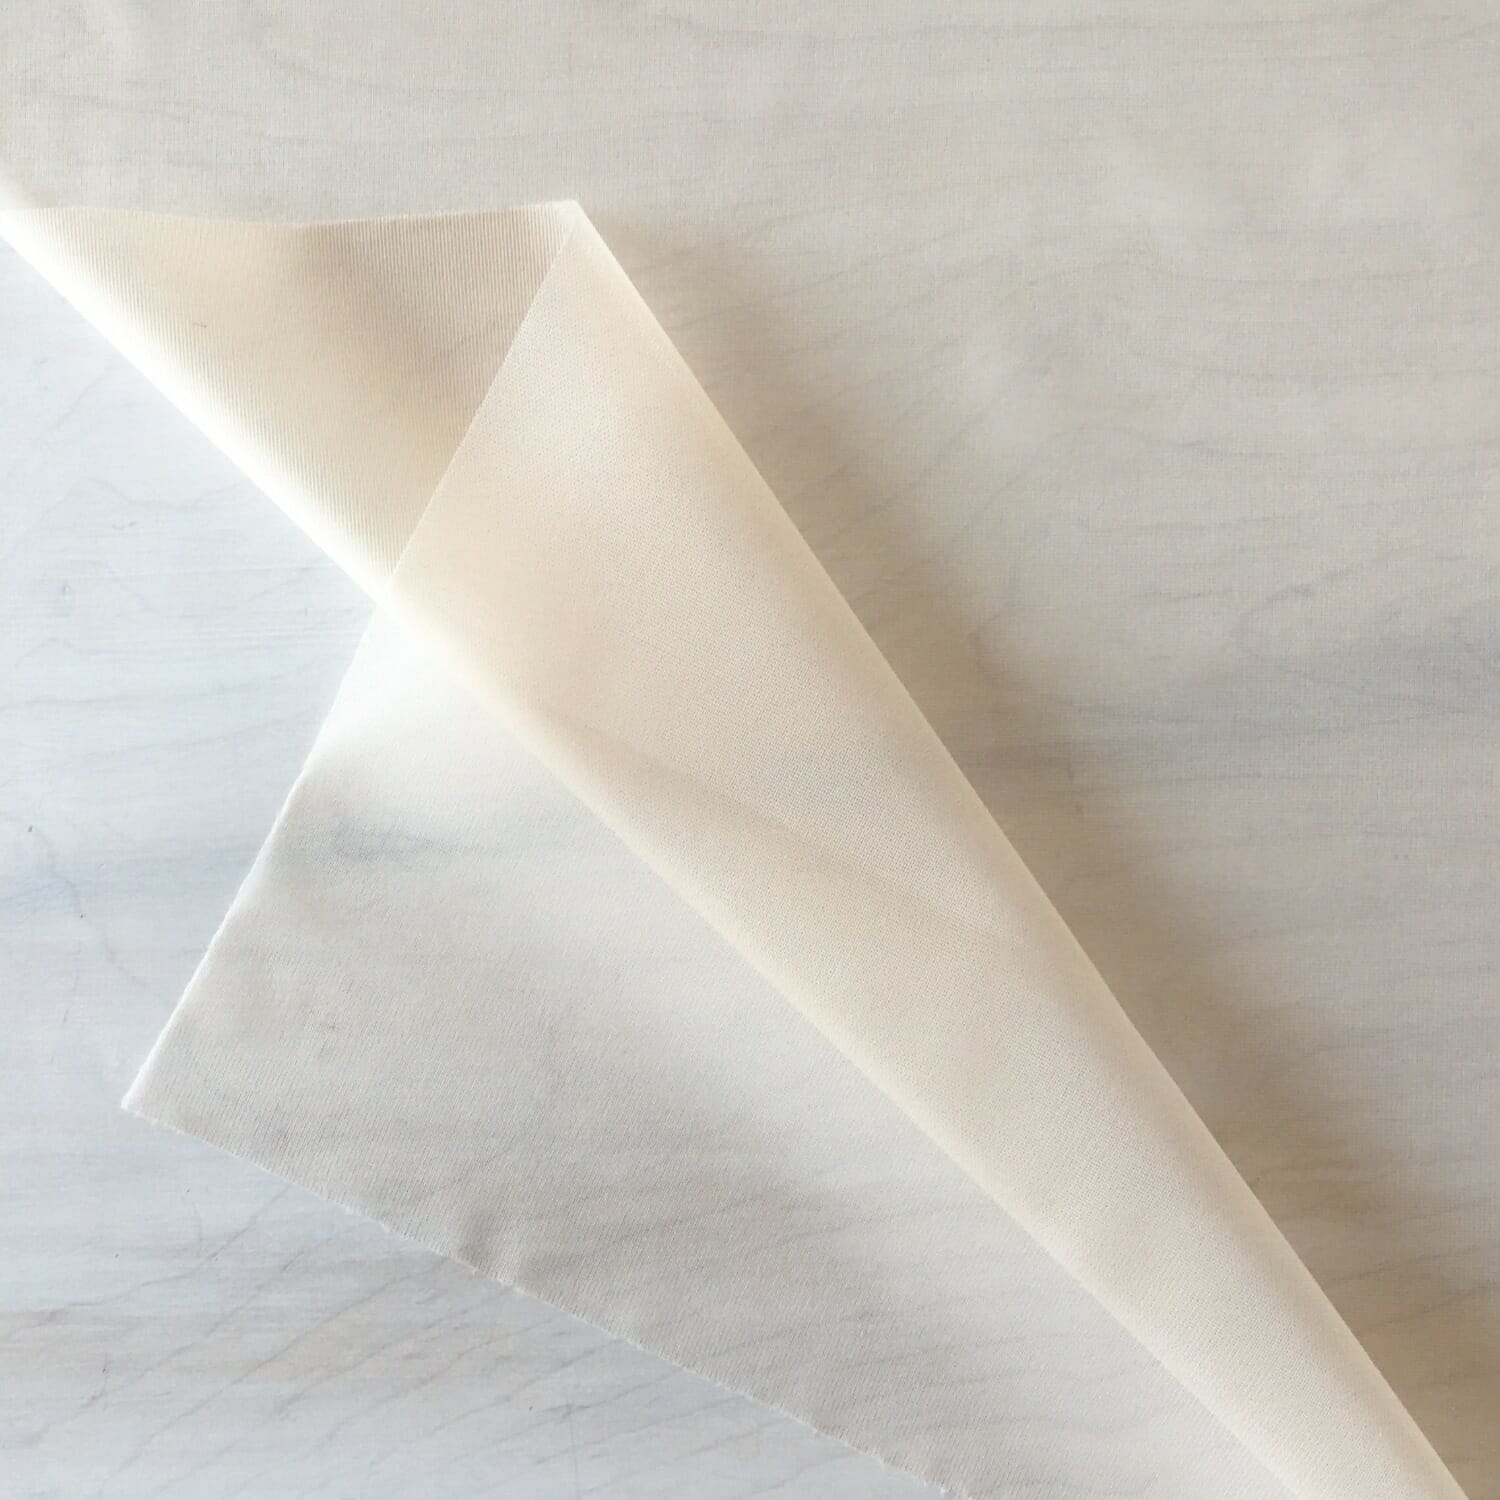
So from this picture you can see that I took a large box- mine was 20X22 and you cut the top flaps off, and cut squares out of three of the sides (leaving a 2 inch border for structure) and cover them with a very thin fabric (I used a super thin cotton but you could also use tissue paper)- this is to diffuse the light.
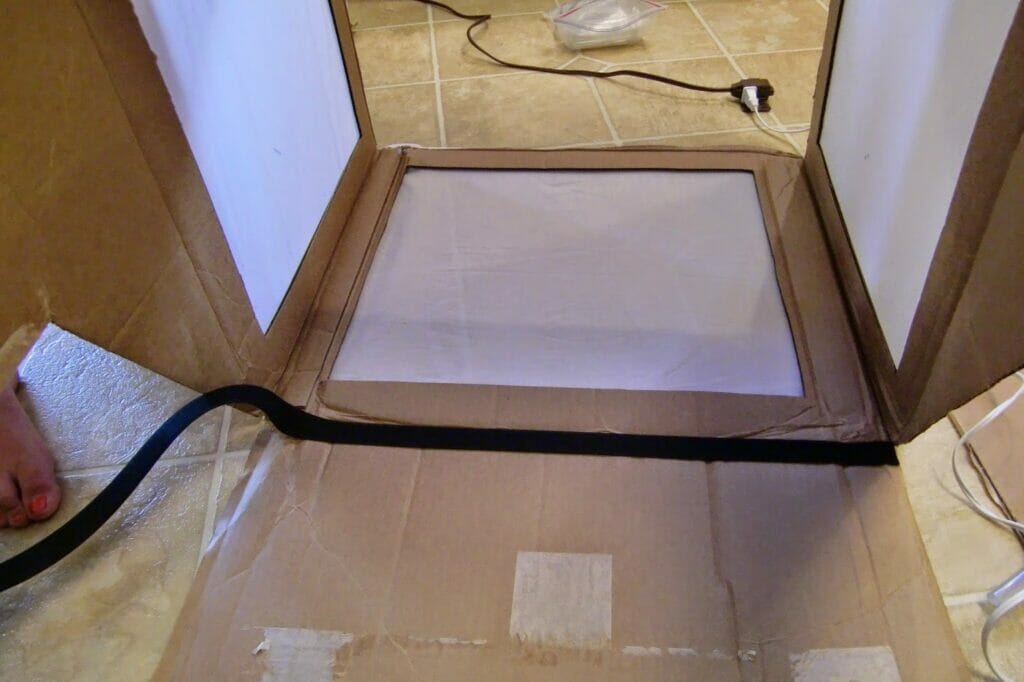
The above picture is of the box upside-down (because the fabric panels are on the top and sides of the box) and I’m glueing a strip of velcro down to the top of the back of the box, so that i can attach different backgrounds of the inside.
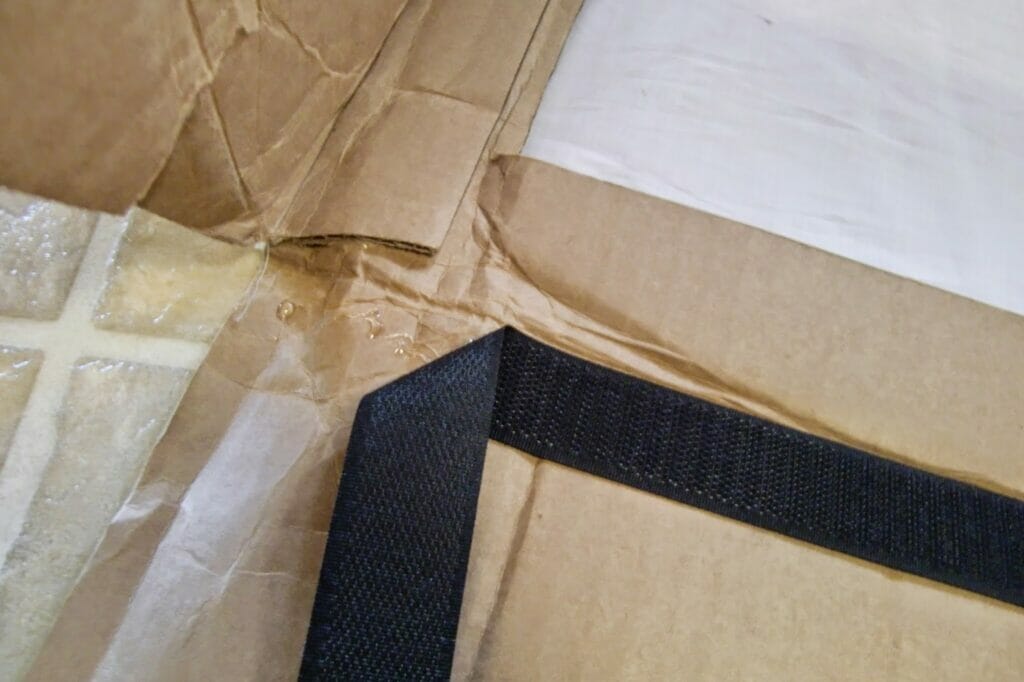
For my first background to experiment with, I just used the same thin white cotton and I put two pieces of velcro to stick them inside to the strip I had placed.

This is with the box upright and the back closed up- and I’m attaching the white background.
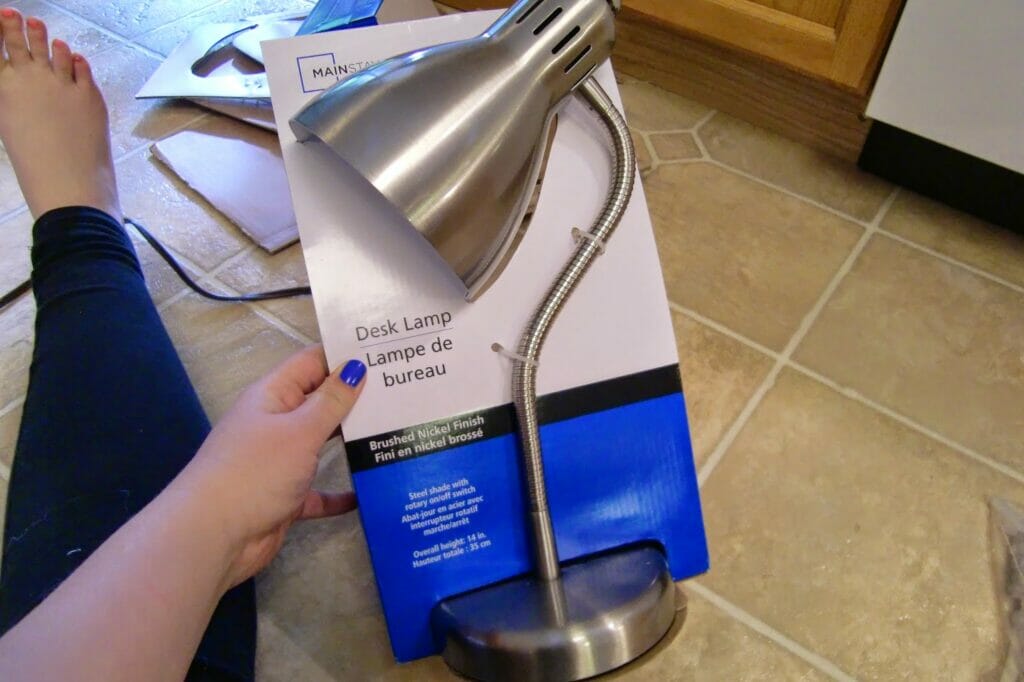
For lights I just bought three of these desk lamps on sale for around $10. Two of them have a stand and one of them has a clamp.
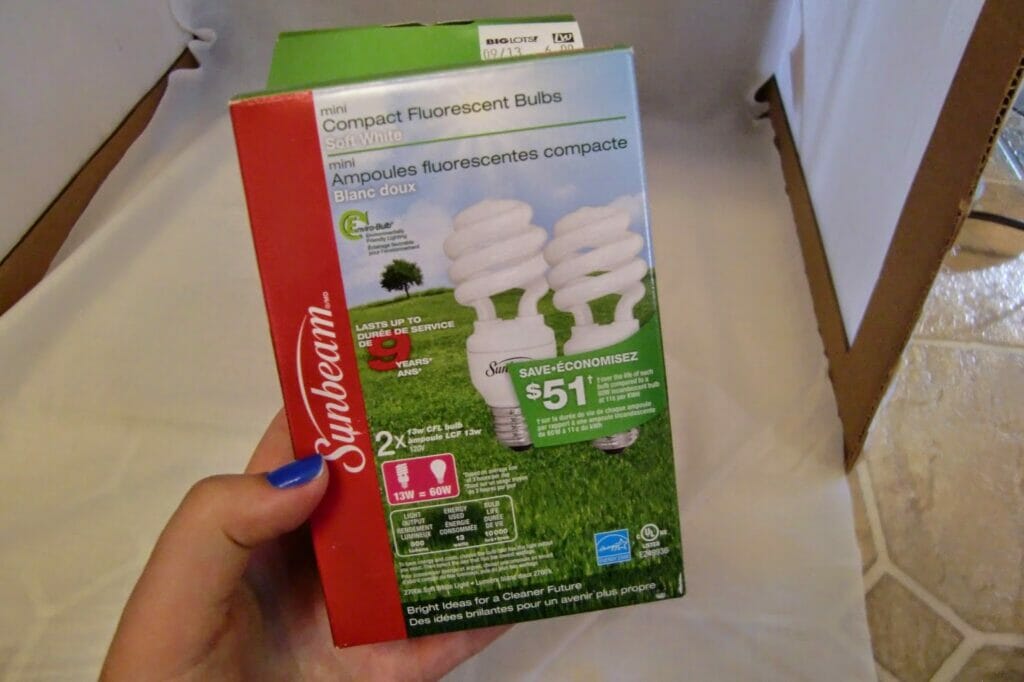
And some bright lightbulbs
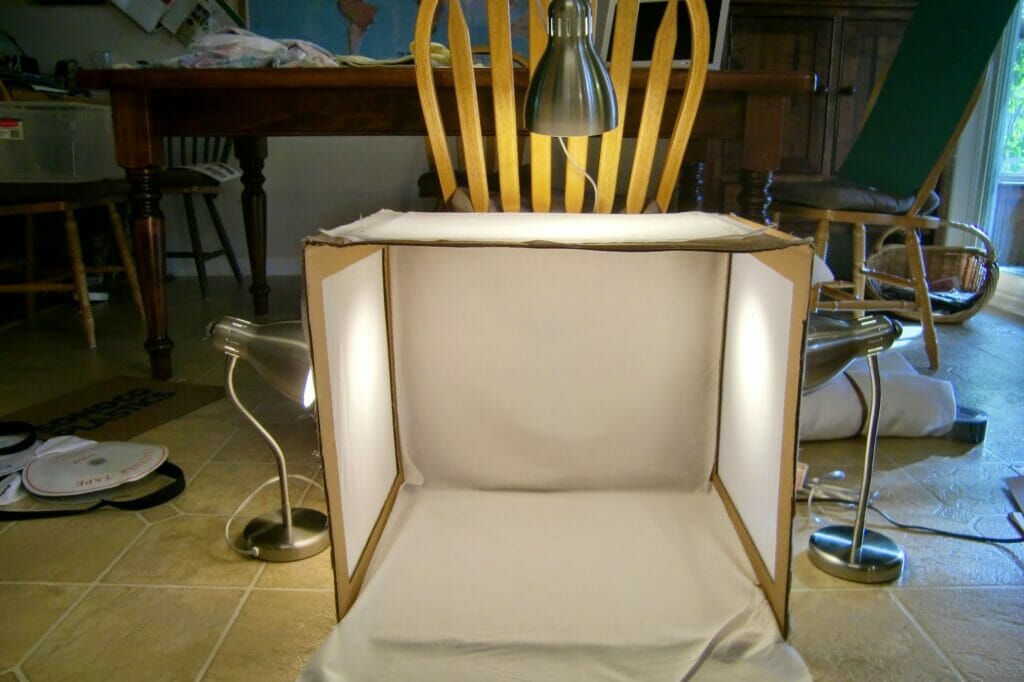
Then to make the set up I had the two stand lights on either side, and I clamped the clamp light onto the back of a kitchen chair, shining it down from above. And voila! light box!

And I thought I’d show you my new ring. I got it from a local jeweler Bruinix Jewellers, they had a pinterest contest around Christmas where you could win $100 towards their jewelry and I won! They have some amazing estate jewelry and I waited until I found just the perfect thing and it was this vintage ring!
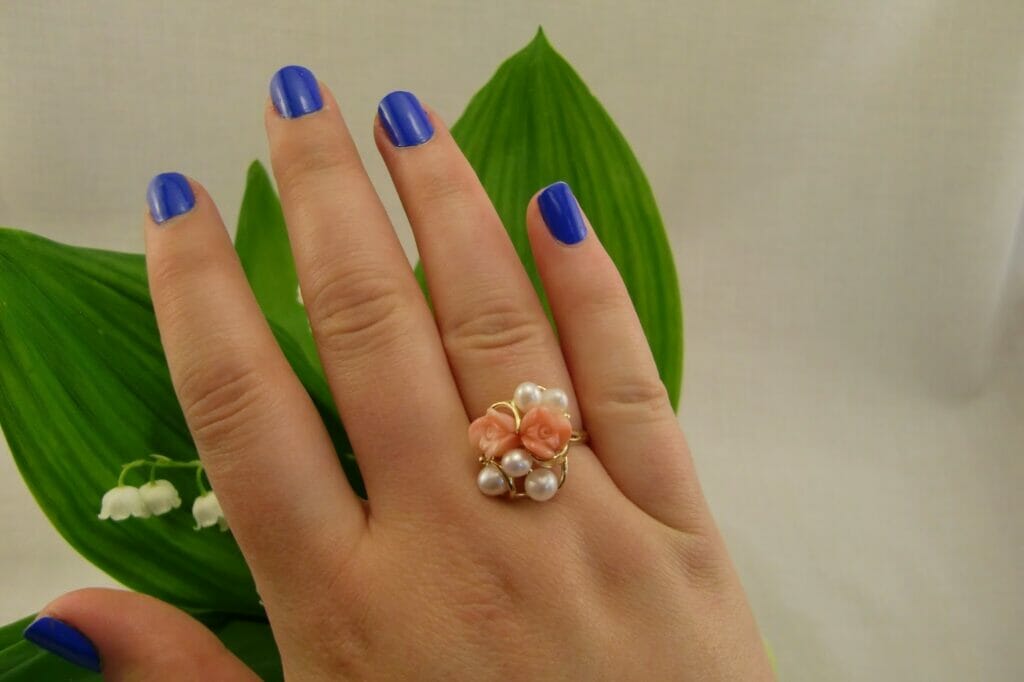
I’m absolutely in love with it!
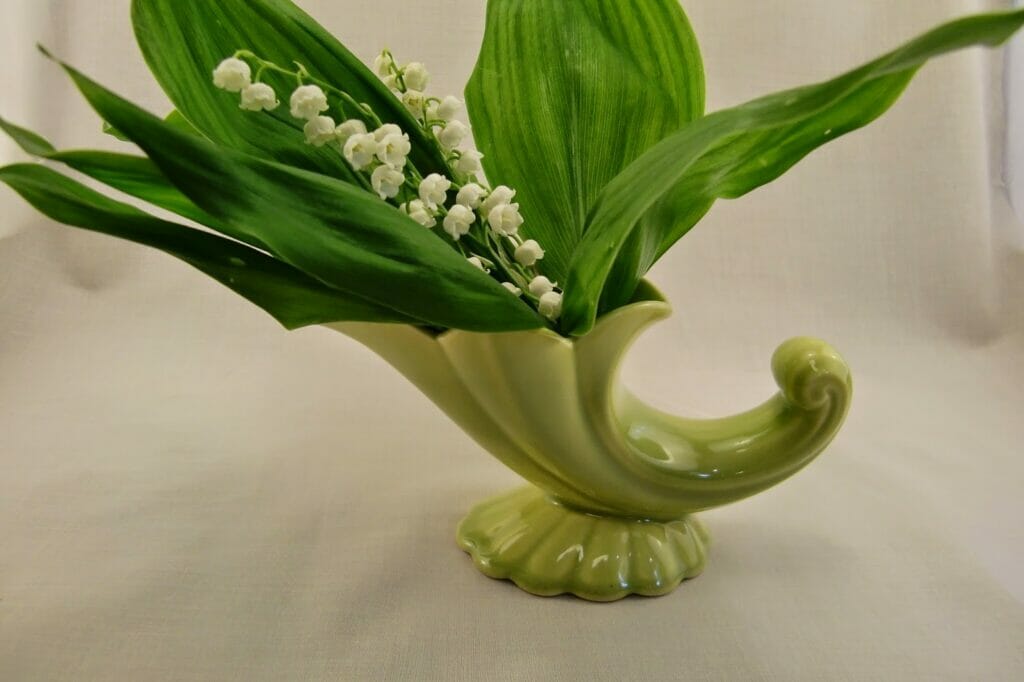
There are some limitations I am finding to the light box, like you can get some great shots, but since they aren’t HUGE you will have to crop your pictures- like this picture:
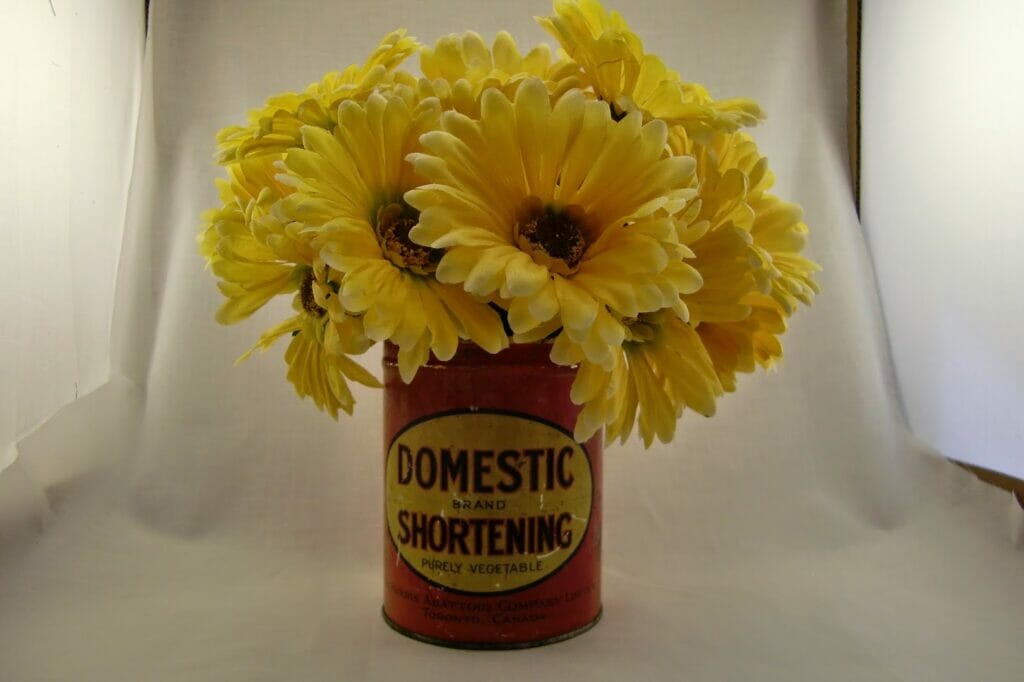
But wow it really makes a difference!
and of course Finn came over to see what all the fuss was about, and since the box was getting so much attention I think he figured that if he sat in the box he would get the attention too 🙂

Well that has been my very successful light box project! You can expect lots of pictures shot in this! I’m already thinking of all the different background I could use just a 22X40 rectangle with velcro at the top- the possibilities are endless! I will let you know of any light box progress!
Do you already use a light box? Do you have any picture taking tips- or were you like me always waiting for the best light? Let me know in a comment!
Now if only I had one big enough to take my #MMMay14 pictures in!
xo erin
It turned out SO great! Can't wait to try it for myself 🙂
Claire
Make sure you upload all the pictures of your cards when you do take pics of them! I can't wait to see!