


Hi All!
Today I have my first ever guest post on my blog! My lovely guest is Scarlett from Corset Training .Net, and she has an amazing tutorial on corset making for you- and a free pattern!
Scarlett contacted me about a month ago to connect as blog-friends (it’s lovely having blog friends who understand your love for intimate apparel! 🙂 ) and also to let me know about her affiliate program for her corset patterns and her corset making video. Now I’m usually wary of people contacting me about my blog to advertise or sell anything, but Scarlett is so nice and friendly! So of course I went off to check out her site and in seconds I was completely drooling over all her gorgeous corsets (The Heart Corset – *swoon*)- she is truly an artist. Then I watched her course- and wow- it is fantastic!! She is so clear and concise, she adds lots of great practical tips and I learned a ton about corset making! It’s given me the corset bug and I wanted to be able to share this all with you! I’m sure this tutorial will give you the corset-making bug too!
Scarlett was also nice enough to give all of you, my lovely readers, a one-week 30% discount on the course! YAY! Just use the code ERIN30 🙂

Don’t you just love the sound of that “Emerald Erin Summer Fun Discount”!
Scarlett definitely out-did herself with this tutorial- and it’s so long that I’m going to split it into two parts! So here is Part 1 today! Be prepared to swoon at all the corset deliciousness!
——————————————————–
doing this tutorial for you, a massive thank you to Erin for having me! 🙂 We’re
going to make a simple corset belt that looks great over a dress or a circle
skirt. I’ll be teaching you the easy ‘single layer’ method so we won’t have to
make a separate lining. This is a project you can complete in 2-3 evenings.
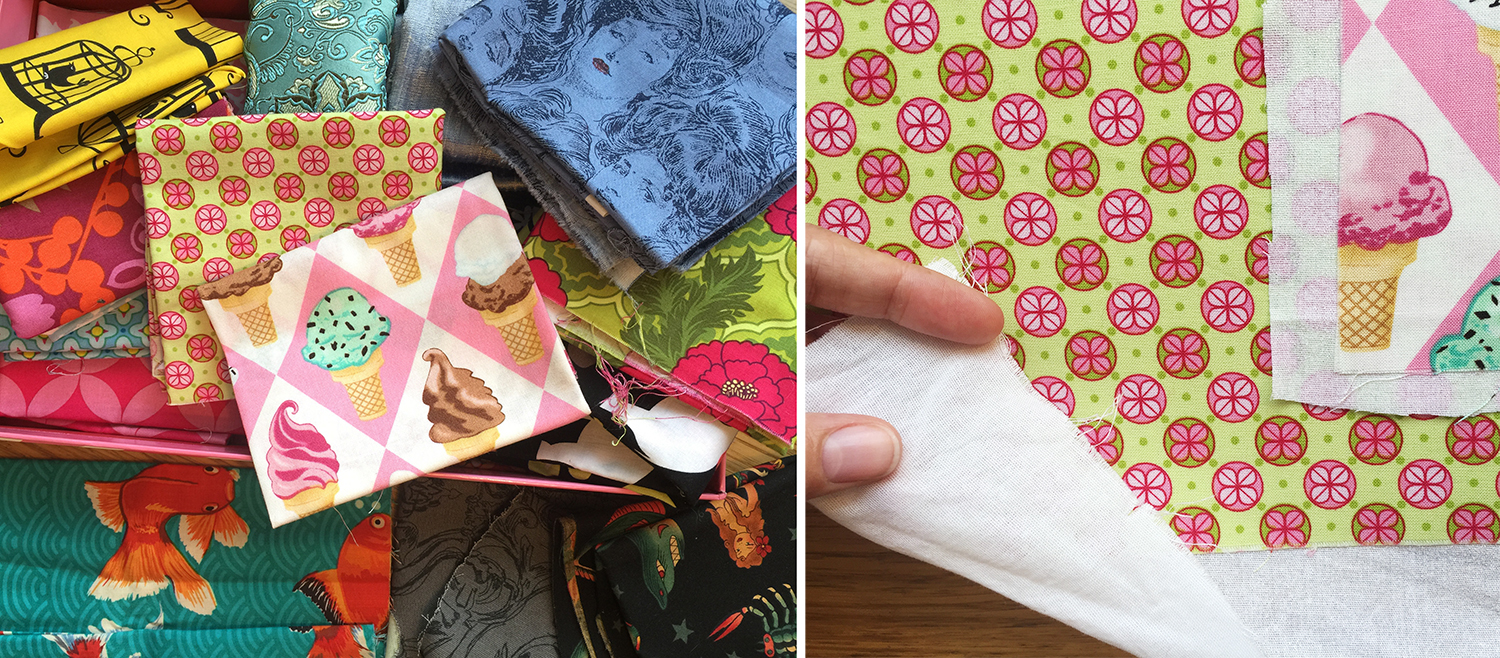
be guest blogging for Erin, the first thing I did was to open the fabric stash
and look for something fun, summery and emerald! This emerald ice cream (also
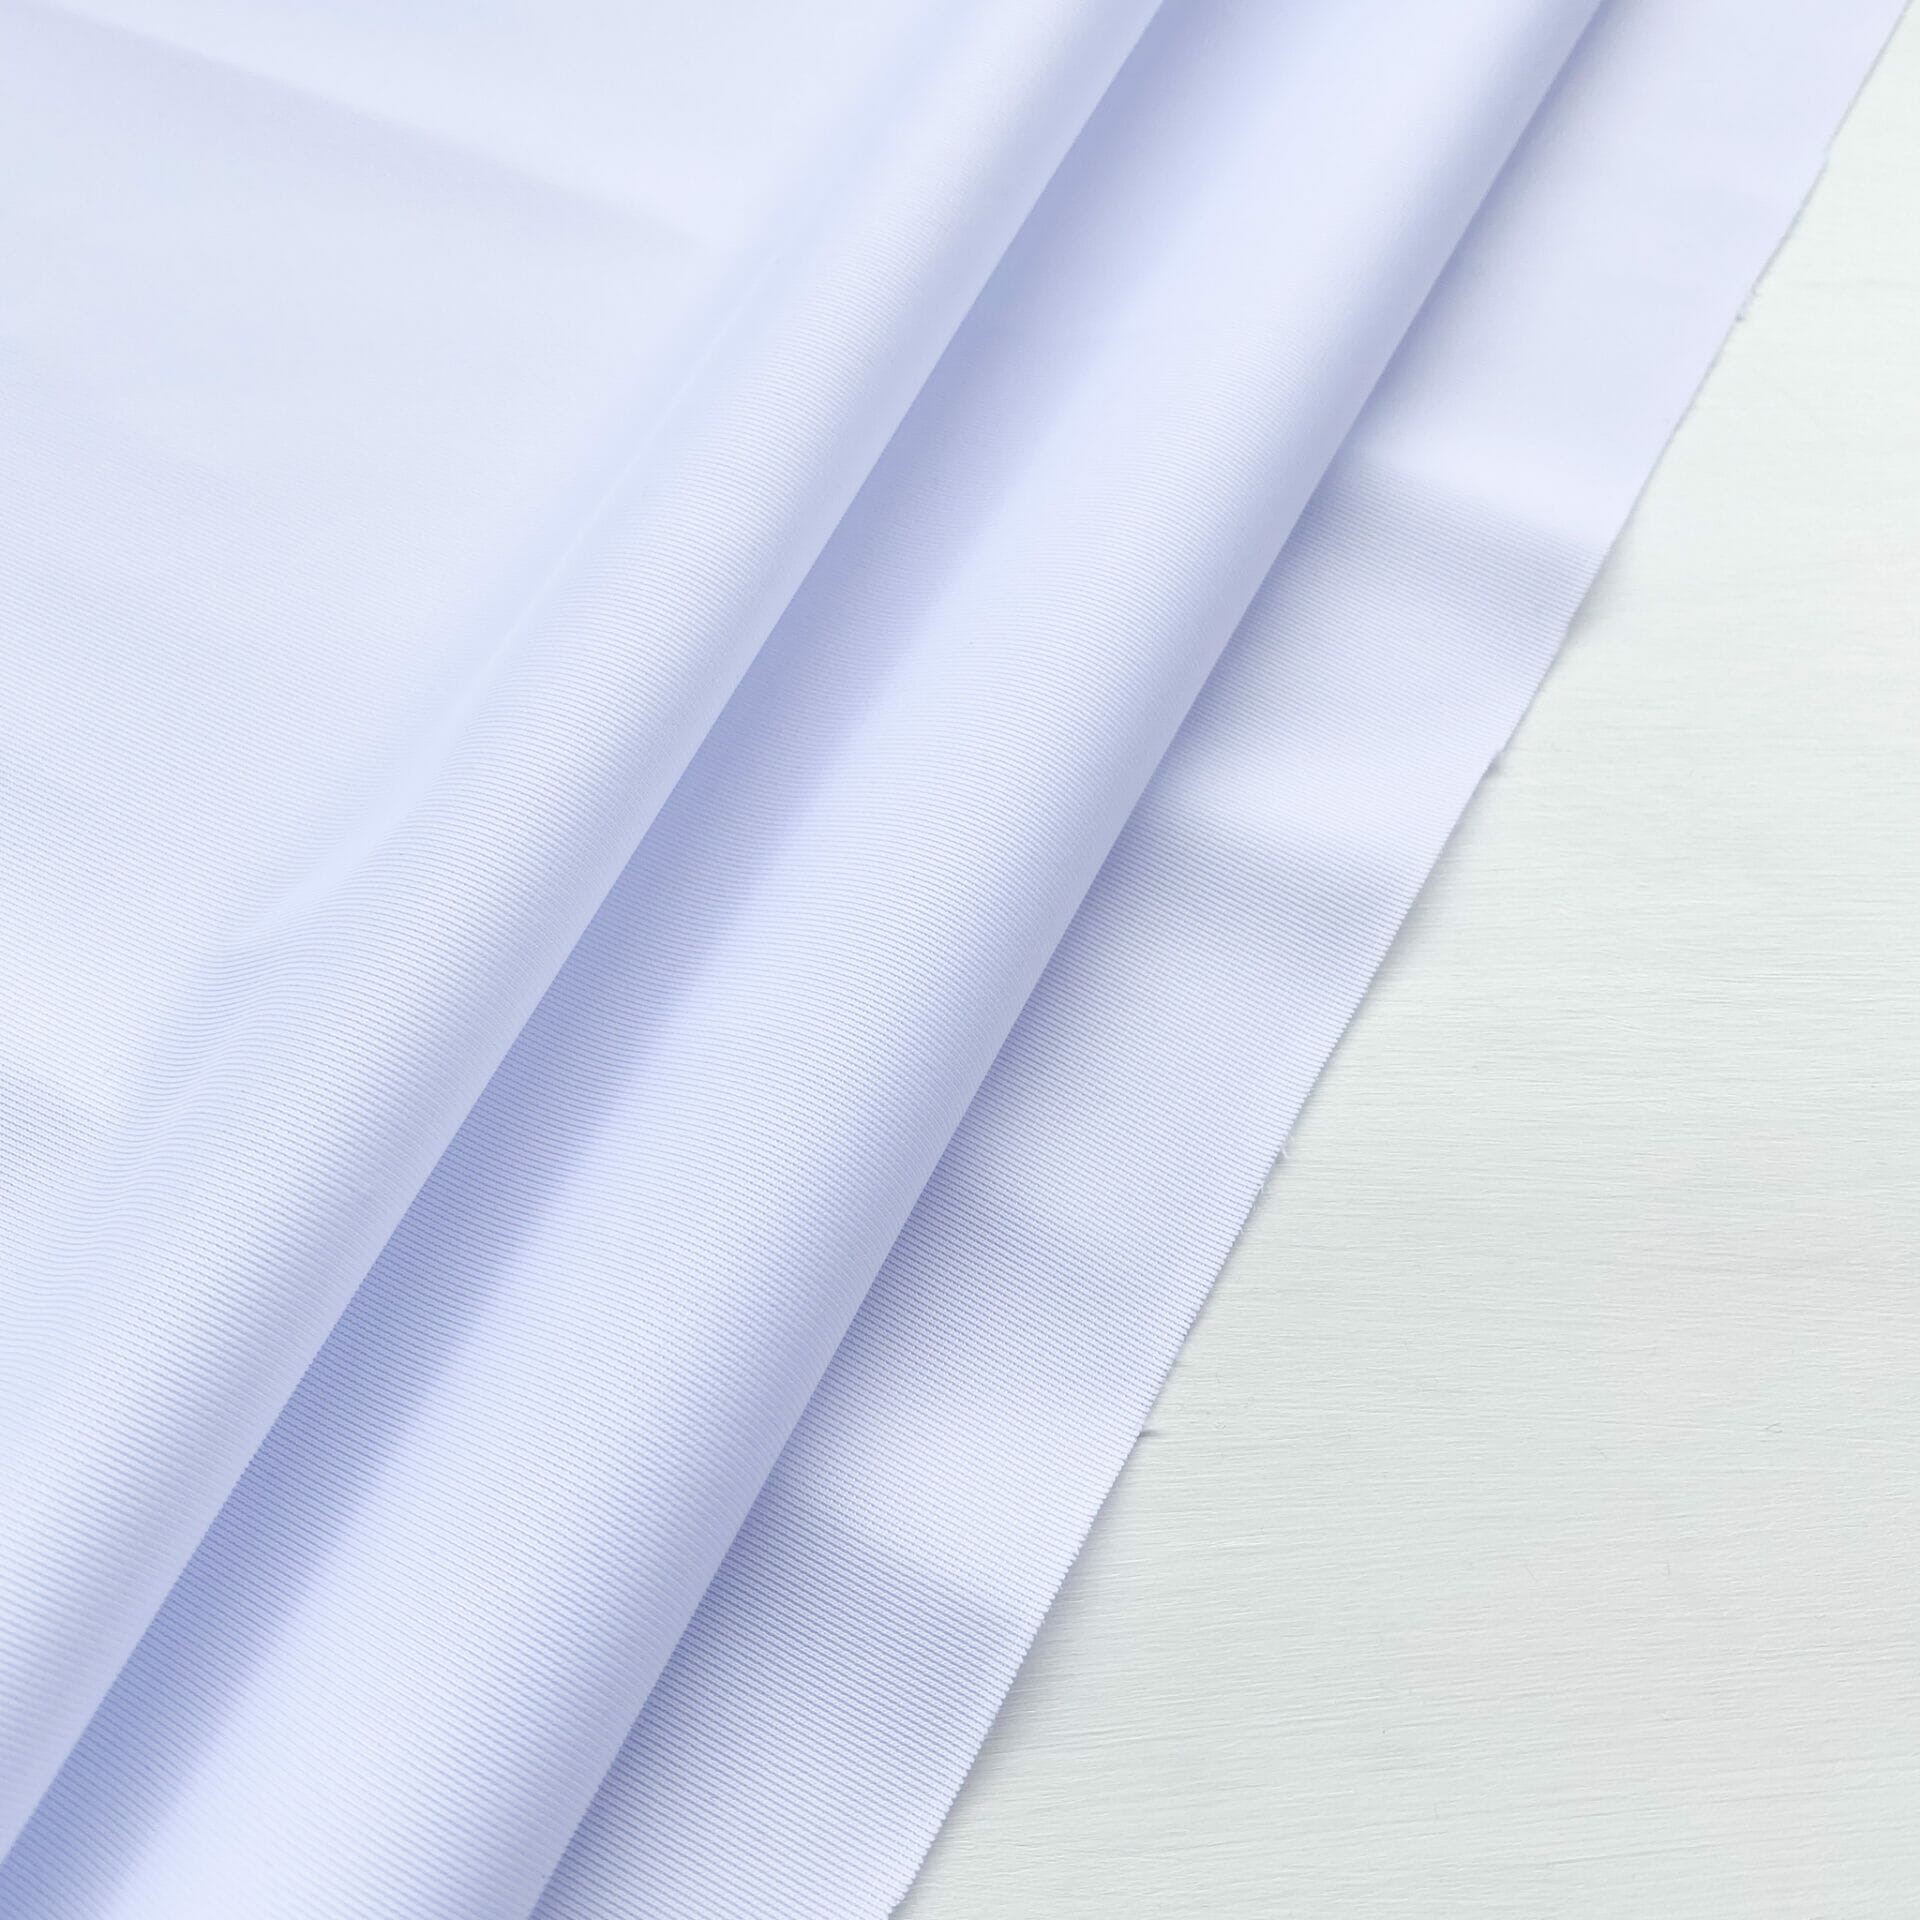
known as Mint Choc Chip!) jumped out at me. The fabric was a little thin so I
ironed on some lightweight woven fusible interfacing, which is great for making
corsets out of quilting weight cottons. I’m pairing the ice creams with this
pink and green flower pattern, I’m sure I’m getting cavities just looking at
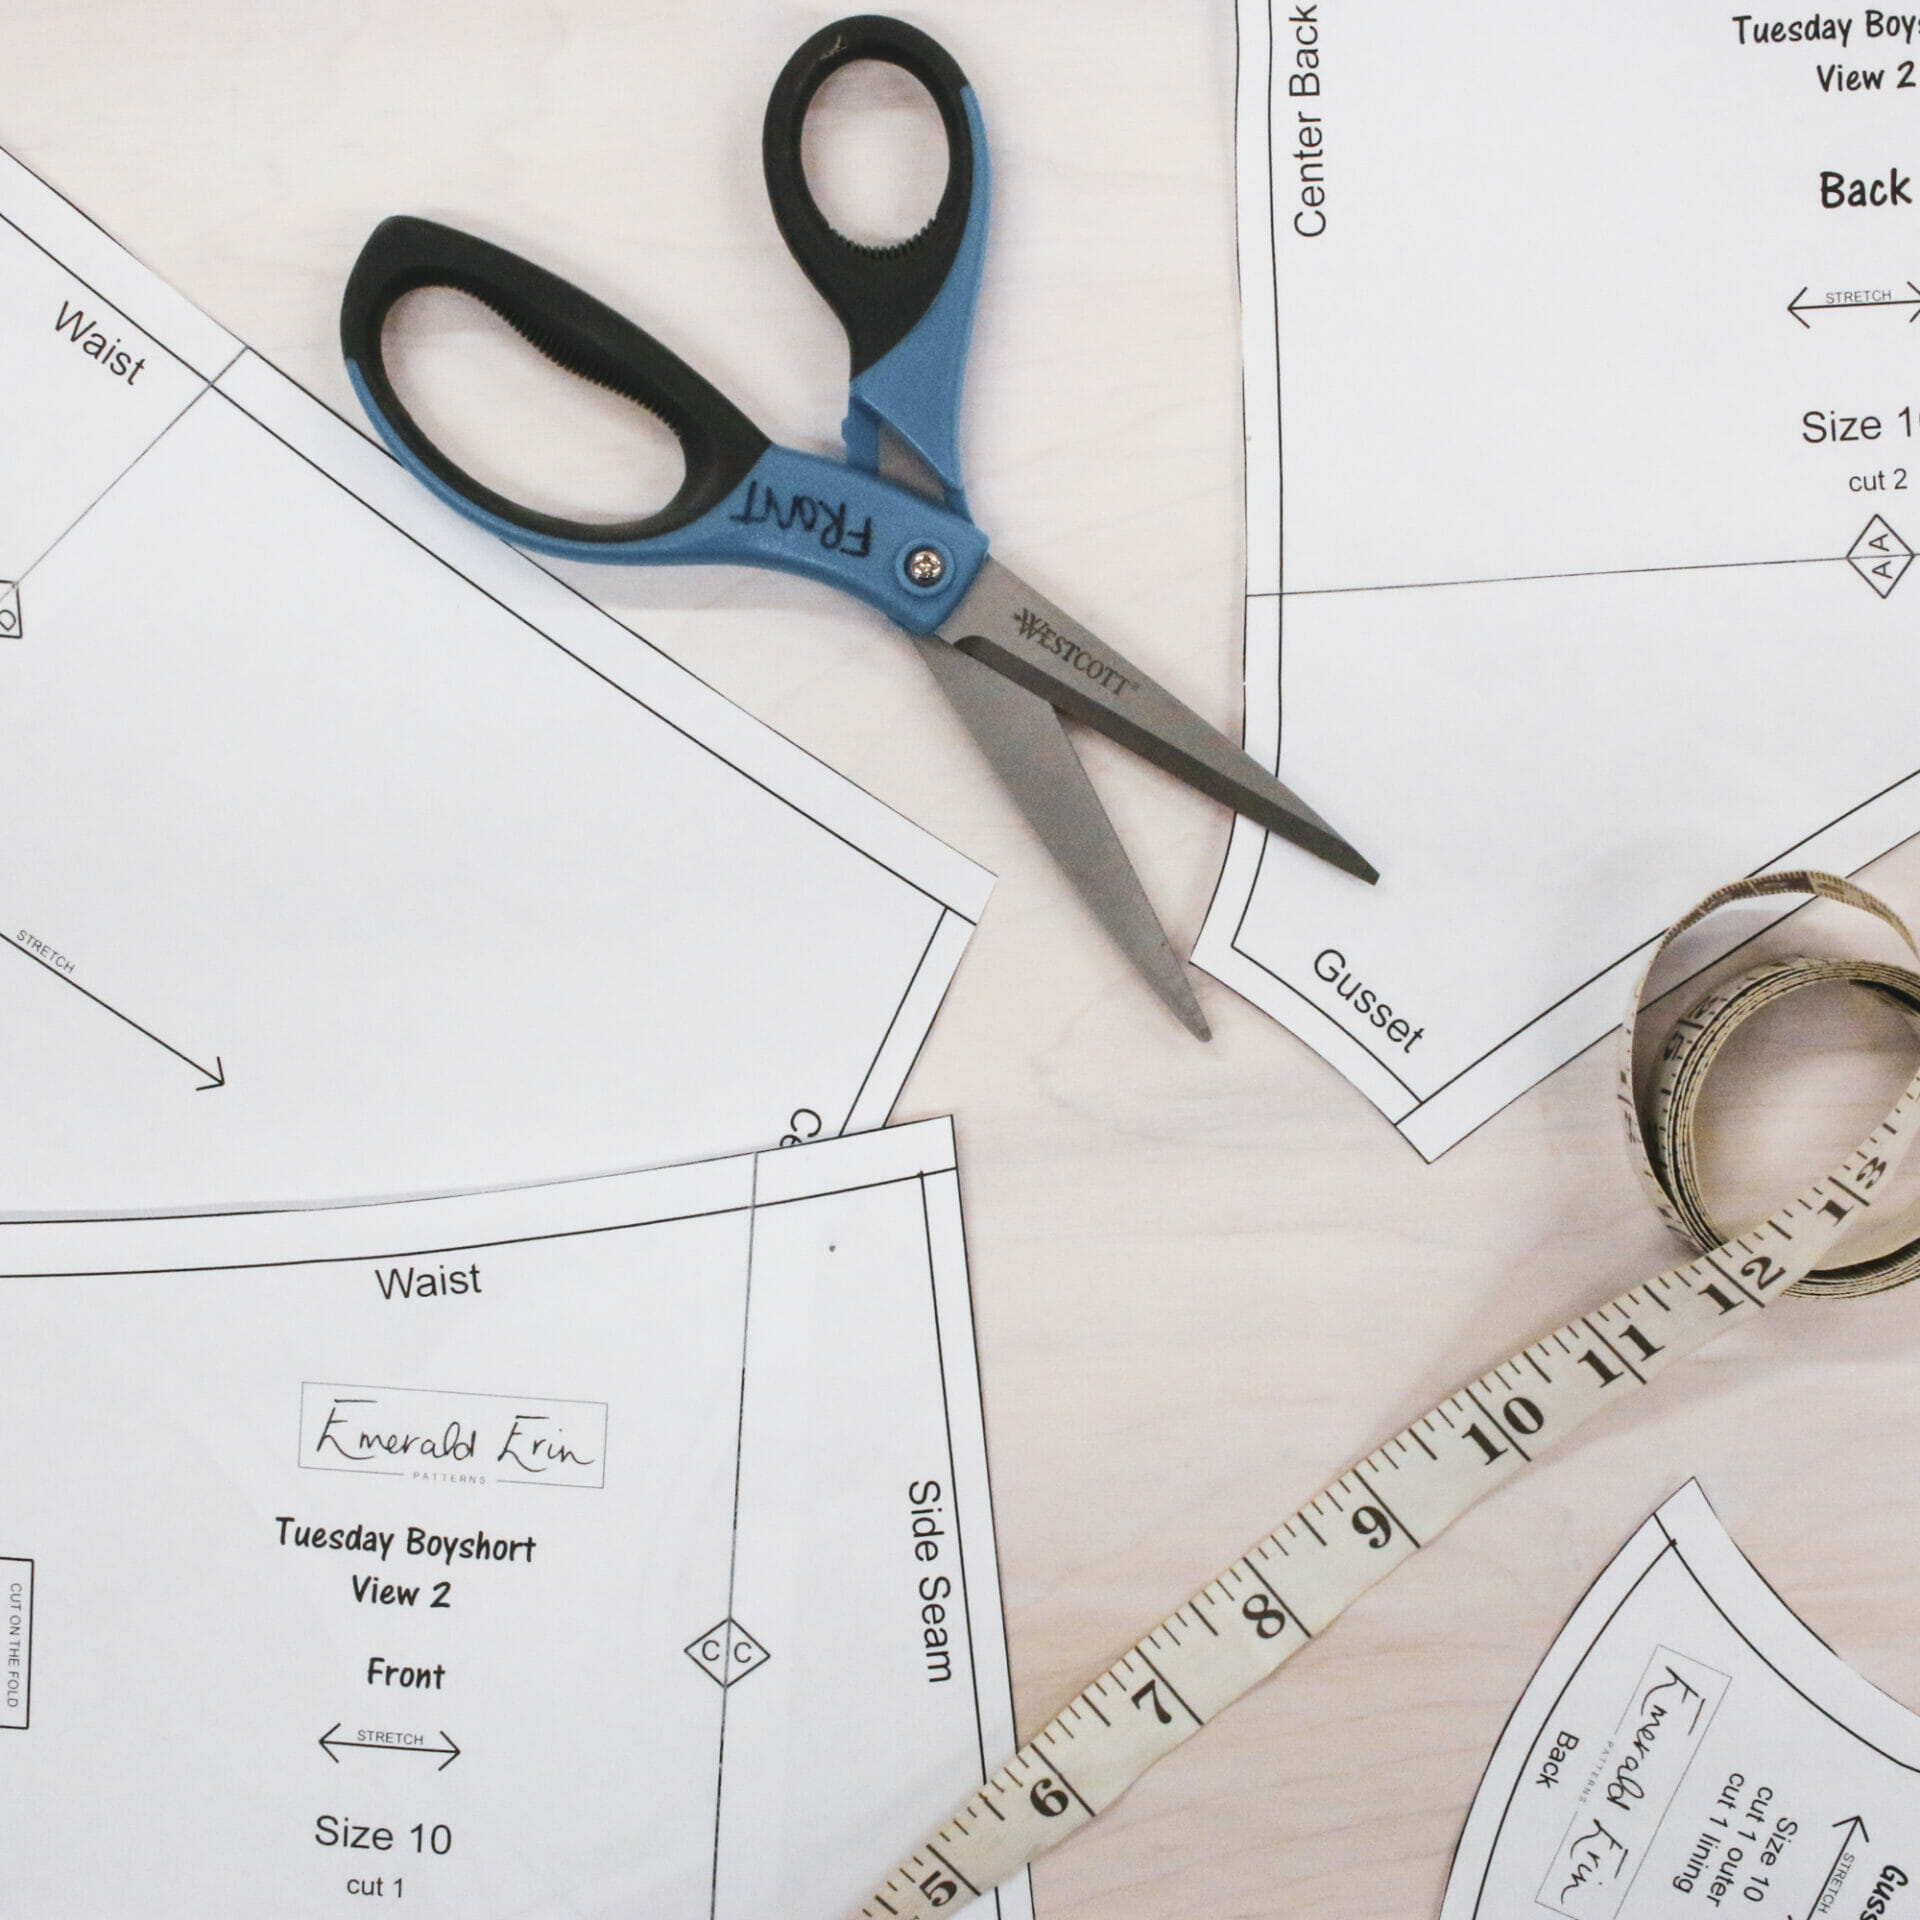
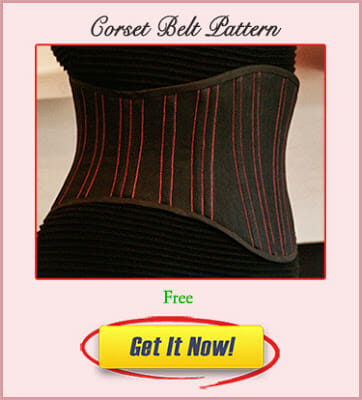
them!For this tutorial I’m going to be using my free Corset Belt Pattern.
What You’ll Need
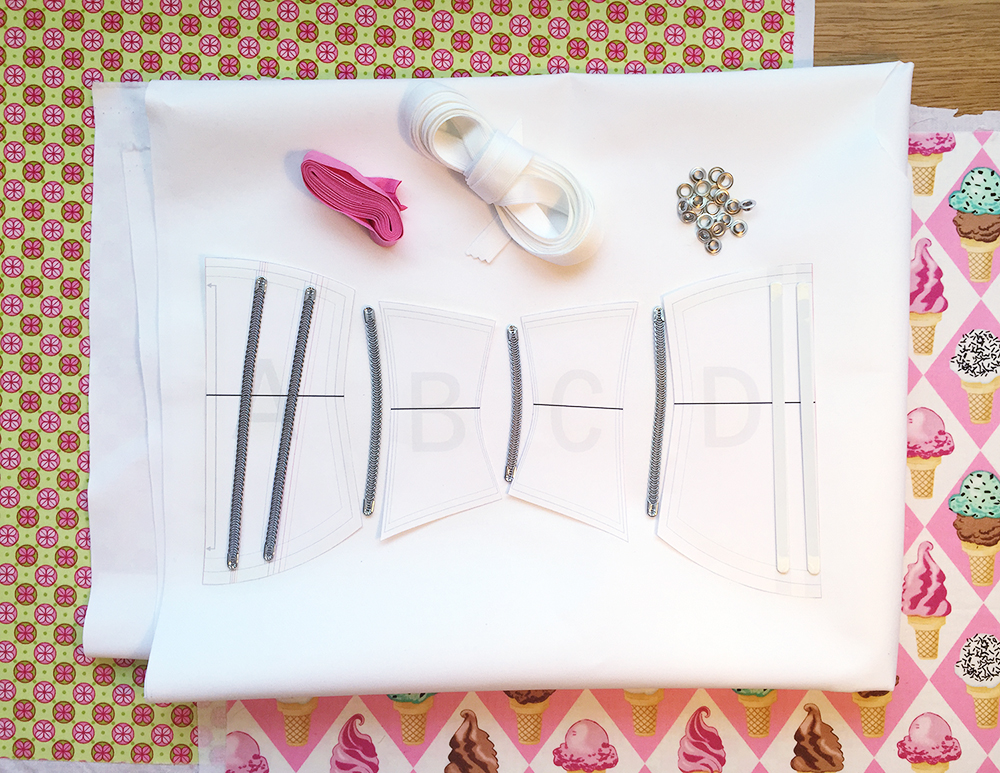
coutil cotton
see link above for free pattern
inch shorter than your seams
the back of the corset, 1 inch shorter than the back seam
casing (thin bias binding also works)
that come with a little setting tool
binding depending on which size pattern you’re using
corsetry supplies from one of the many online stores, corsetmaking.com is a
good one, but there’s an exhaustive list here.
the list you may not be familiar with, coutil is just a type of cotton that
doesn’t stretch and bone casing is cotton tubing that stitches into garments to
hold boning. If you haven’t used eyelets before, Prym do wonderful packets with
setting tools included and full instructions on the back.
to scare sewists who haven’t used them before but they don’t bite and they’re
very easily obtained online for under a dollar each, you just pick the size you
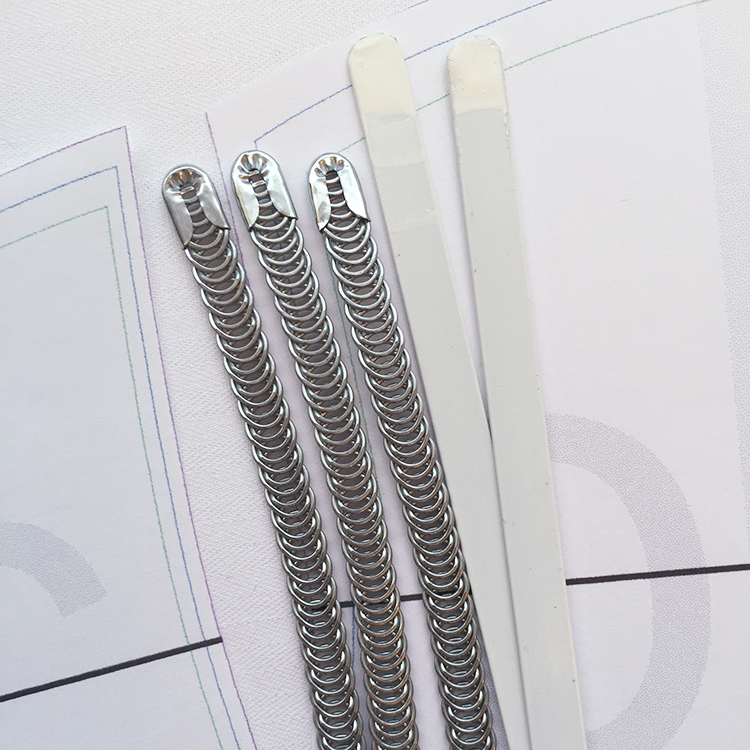
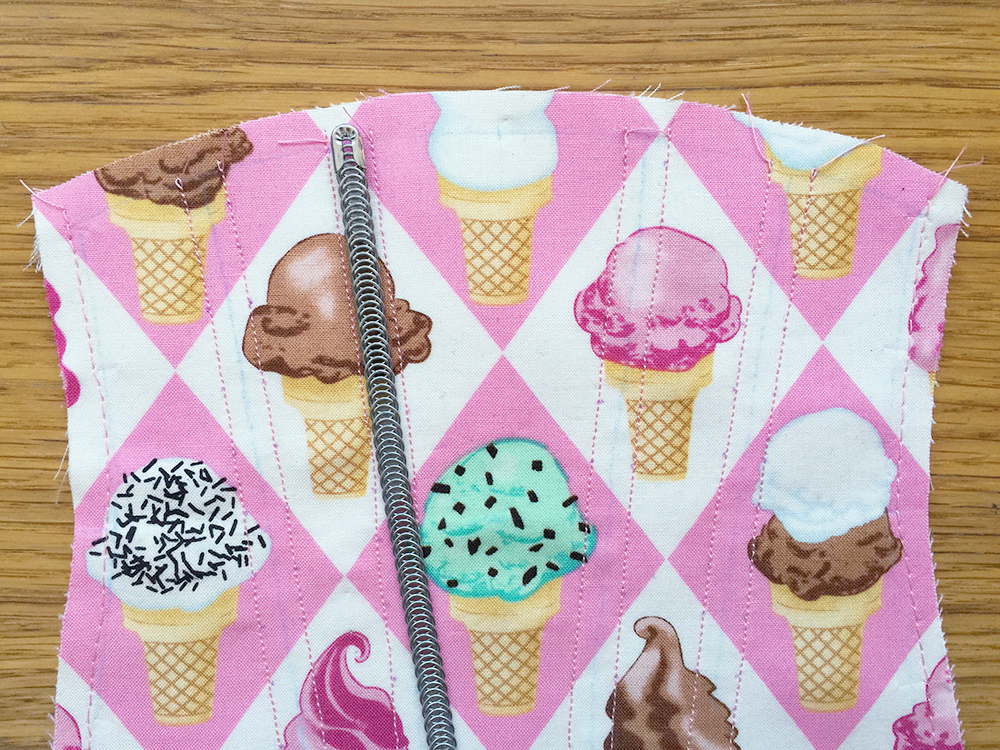
want. Above you can see the seams that will need spiral bones and at the back
where you will need flat bones. Measure each seam or bone channel on your
pattern and pick a size 1inch smaller (Don’t forget to buy enough for both
sides!). Try to avoid plastic bones as they bend when you sit and develop
unsightly kinks. Steel is more comfortable and lasts longer.
Corset Belt
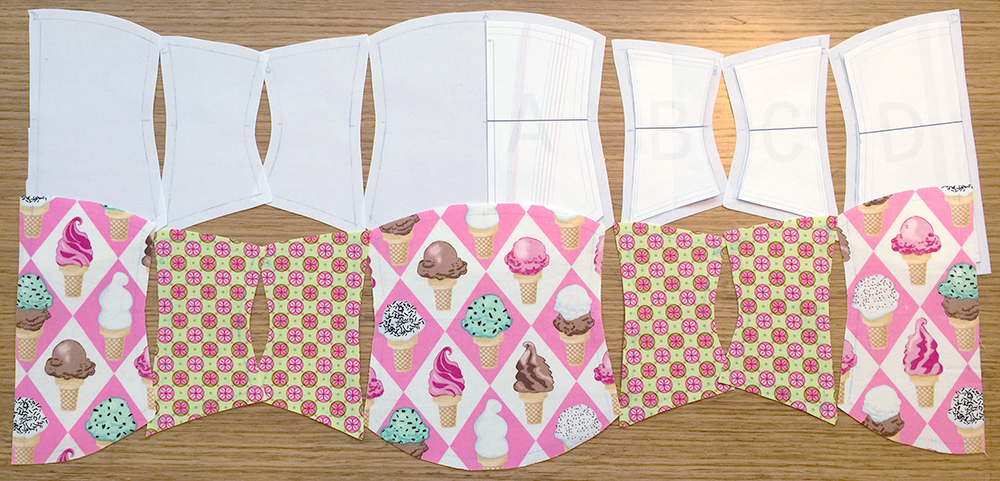
out your pattern pieces, I like to leave a half inch seam allowance all the way
around. We don’t need it along the top and bottom edge but trimming it after
sewing everything together gives you a nice smooth edge.
stitch to secure) the two layers together in the seam allowance for each piece.
Do this for all pattern pieces except the very back ones where the eyelets will
go.
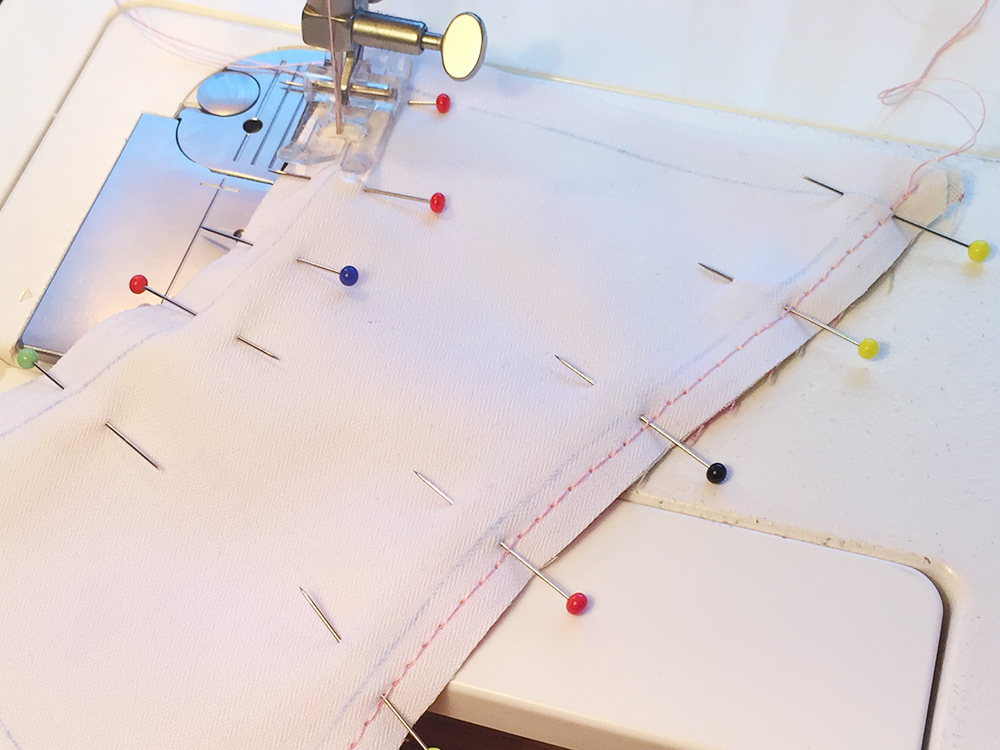
and sew the bone channels marked on the pattern, making sure they’re wide
enough for your bones. Here my bones are 1/4 of an inch so I’ve sewn my bone
channels 3/8 of an inch. The bones will sit between the two layers of fabric.
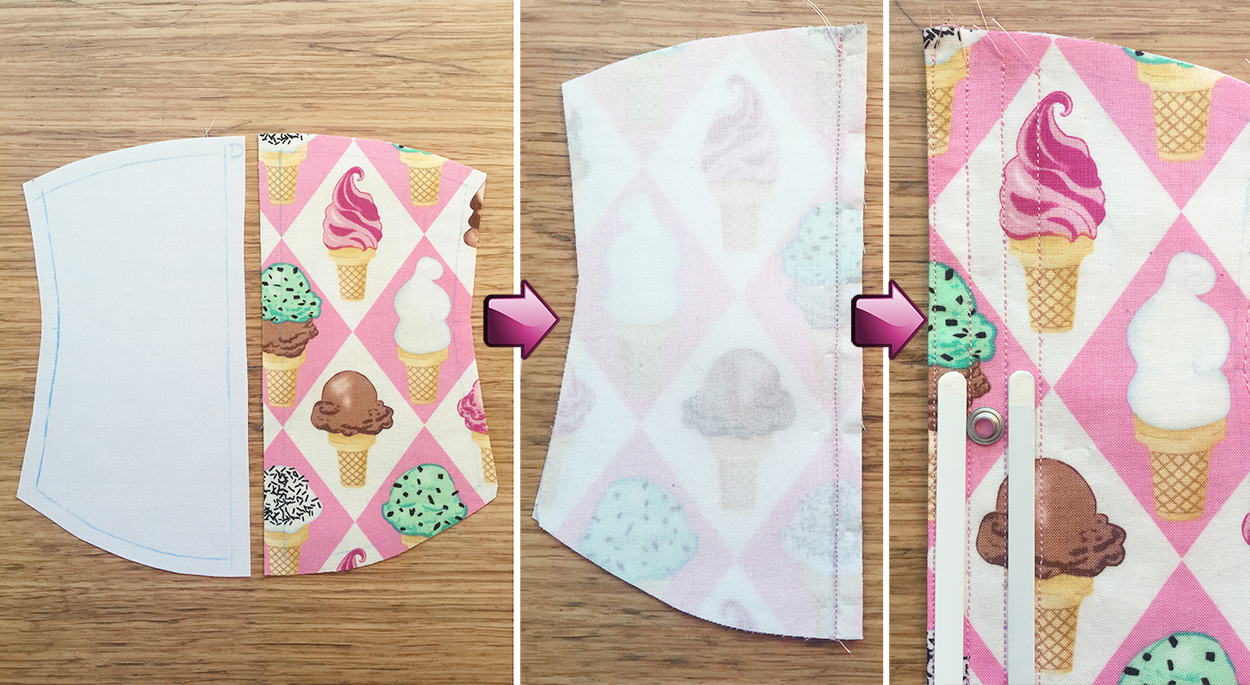
attention to the back pieces, we need to sew the back edge where the eyelets
will go.
lining fabric right sides together and sew along the back seam. Press the seam
open, turn the fabric so the right sides are facing outward and press again. To
make the seam extra strong stitch 1/8 of an inch in from the edge. Now sew
three more lines of stitching as shown above to create the two bone channels
with the space in the middle for the eyelets. Make sure they’re wide enough for
the bones and eyelets! Finally baste the open edge of the pieces together.
You know, making a true corset (as opposed to what fashion calls a corset) has been intimidating to me for a long time, but now that I've started making bras, it doesn't seem like quite such a huge deal. Thanks for the great post— you've inspired me!
Thanks! I'm glad this could inspire you. I've only made one corset before and I really loved it- and it was a lot easier than I thought it would be! I can't wait to make some more this fall!
I've dabbled in corsetry before and keep thinking I should go back there… especially since my skill level is so much higher now. Every blog post I read about corsetry makes me think that again. I really should make a corset again soon.
I downloaded the pattern for the corset belt because it looks like an interesting style but one thing struck me about it: The way this pattern is graded, the height of the pieces changes as much or more (as much on front and back, more on the sides) as the width. This is unusual. Generally, average heights are about the same through all sizes and, as a result, grading is not a linear process. I've always learned that height only goes up a tiny bit per size and with a garment like a corset belt, I would wonder if there is any need to change the height at all. In this particular 'nest' of sizes, the center front length of the size 18 is about 9 cm more than that of size 8.
I hope you do make another corset soon- they're always so lovely and rewarding! Make sure to share when you do!!
I'm not sure about Scarlett's pattern since I haven't made that one yet myself but I'm sure she would be happy to answer your question about the grading 🙂
Hi Lauriana,
Scarlett here. Yes you're completely right about how grading usually works. I had a curvy friend try out the larger size though and we decided it rather cut her in half and that for the bigger sizes it would sit nicer a little longer in the body. More complicated corset patterns with more coverage I grade in the normal way but as this was a simple corset belt it allowed me to add a bit more coverage on the larger sizes. Feel free to have a tinker with it and get it how you want it 🙂
Scarlett x
Hi Scarlett and Erin!
Thank you for the reply. Recently, I've been coming across some examples of awfully graded RTW clothing so seeing the sizing of the corset belt made all the alarm bells in my head go off 😉
Of course, I can completely understand it as a choice about styling and proportion.
Thank you so much! Corset seems less intimidating with this tutorial! I will definitely give It a try! Thank you again for sharing!
Thanks Nicoletta! The other half of this tutorial is coming on Tuesday! 🙂 I can't wait to get making corsets again too!
I've only ever dabbled in corsetry and never learned the "official" way of making one, so I read this tutorial (and Part 2) with great interest. Thanks for sharing it, Scarlett! I did have a question though — if I'm understanding you correctly, the bones in the center front panel are sandwiched between the coutil and the fashion fabric, which is just a quilting cotton. Wouldn't that make them prone to rub through the quilting cotton over time, as that fabric isn't as thick and strong as coutil? Or are you supposed to sew the pre-made boning channel fabric tubes on the underside of the coutil layer? I hope you can answer my question, as I'm eager to give this a try!
Hi Cation, yes I did put it between the fabrics (not in bone casing on the inside, although you could easily do that if you wanted). I did back my quilting cotton with an iron on interfacing to make it stronger and I wouldn't suggest using it on it's own – generally the thicker your outer fabric the smoother the corset looks. But the issue with bones wearing through the outer fabric is normally only a problem that occurs with extended wear, like with a waist training corset that's designed to be worn constantly. A waist corset like this is more of a fun party piece. You could argue that eventually they'll wear through but I've not had a bone do that yet on any of my corsets so I think it's down to personal preference, if you want to add them using casing on the inside then that works just fine 🙂 hope that helps!