


ROOM DECOR! So I have been waking up in the morning to this: And I love it, it makes me smile- as it was on my list of 33 things that make me happy!. This was really simple- just a little time consuming but I absolutely love the effect 🙂 To make these stars- I bought...
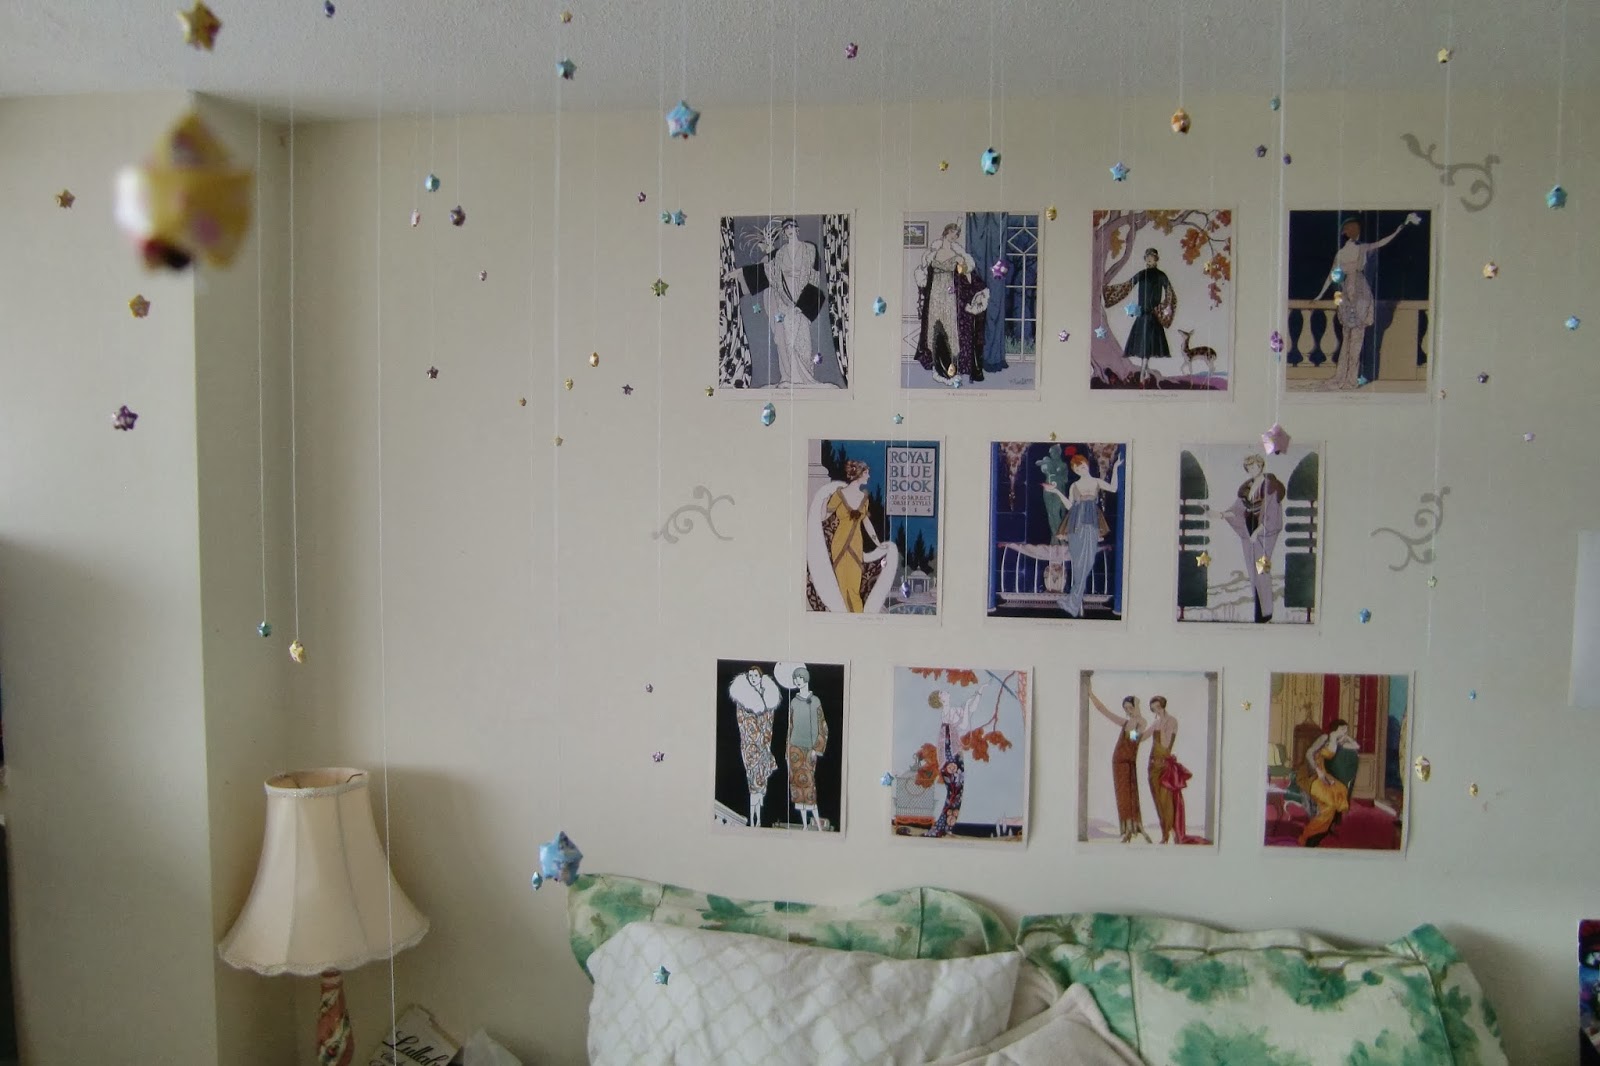
DIY: Starry Ceilings
read more