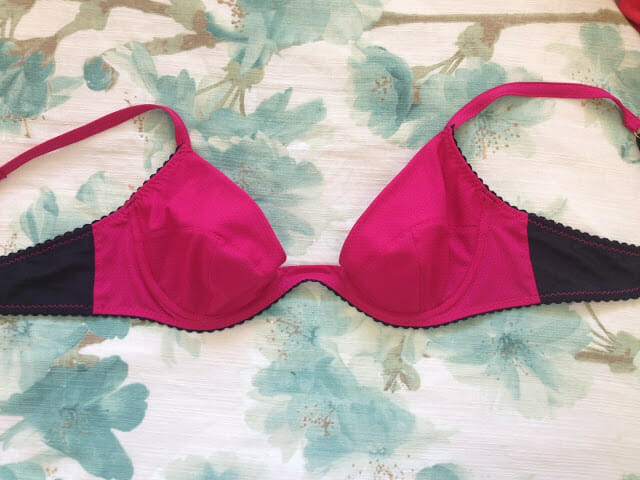
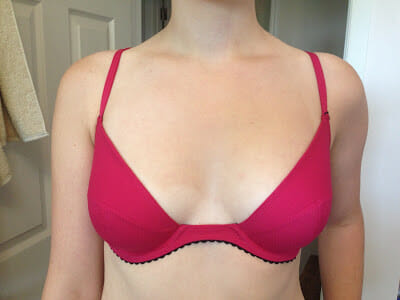
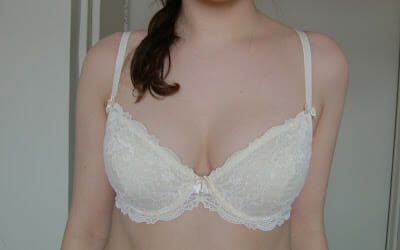
* now I want to make a comment on this right away about the bridge width- since I’m sure I’ll get a comment that it looks really wide- but this is how wide my bridge is naturally at this low point on the bra- and it is the same width on my red bra with longer wires at that point in the bra. Generally when I make a plunge bra I artificially narrow the bridge to give more of a ‘cleavage’ effect. But I wanted to show what a plunge bra without that modification looked like for this Bra Theory. Plus this type of bra does have it’s place for wider plunging necklines!*
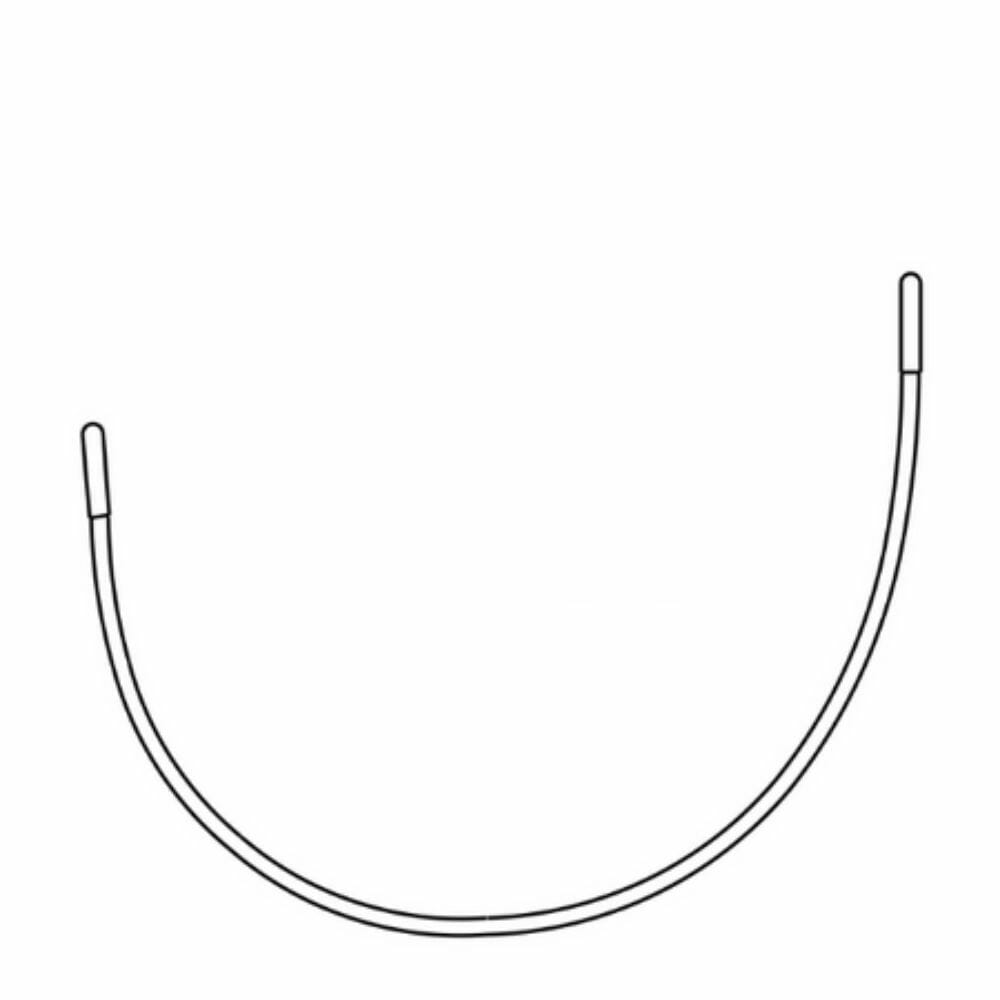
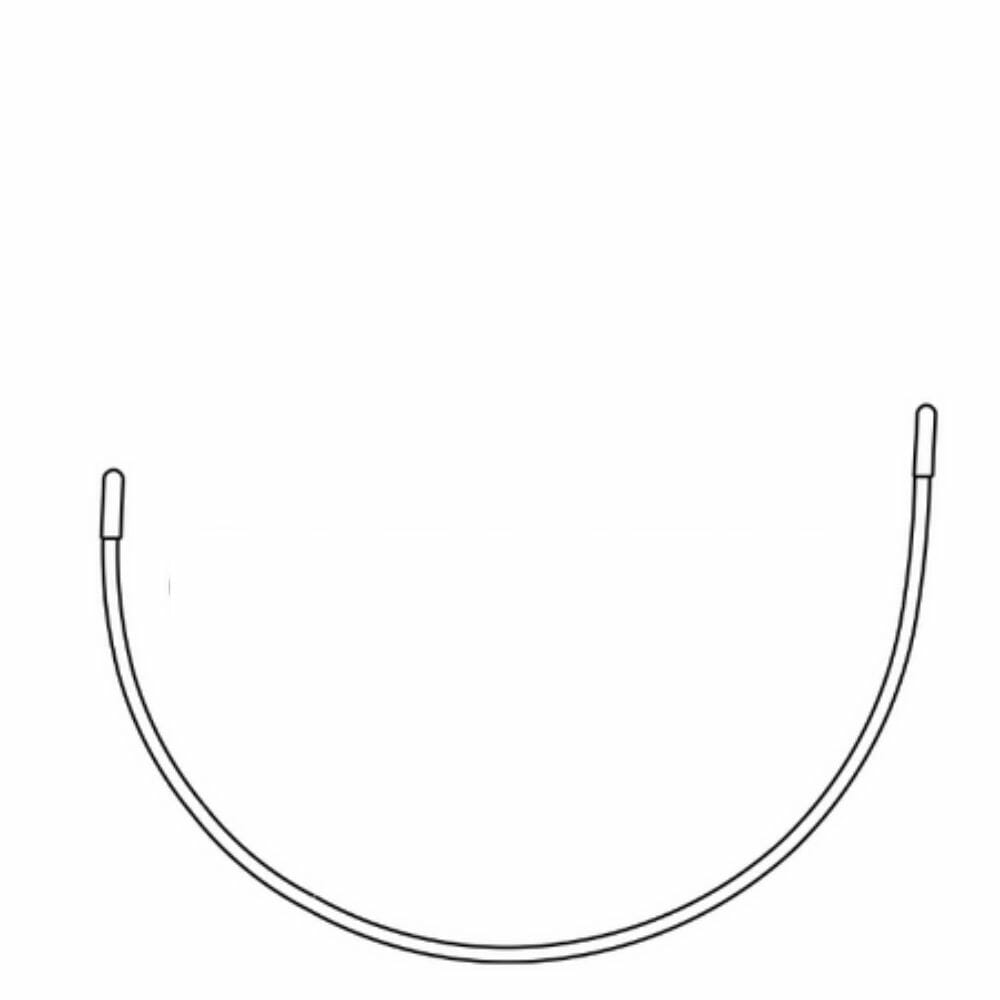
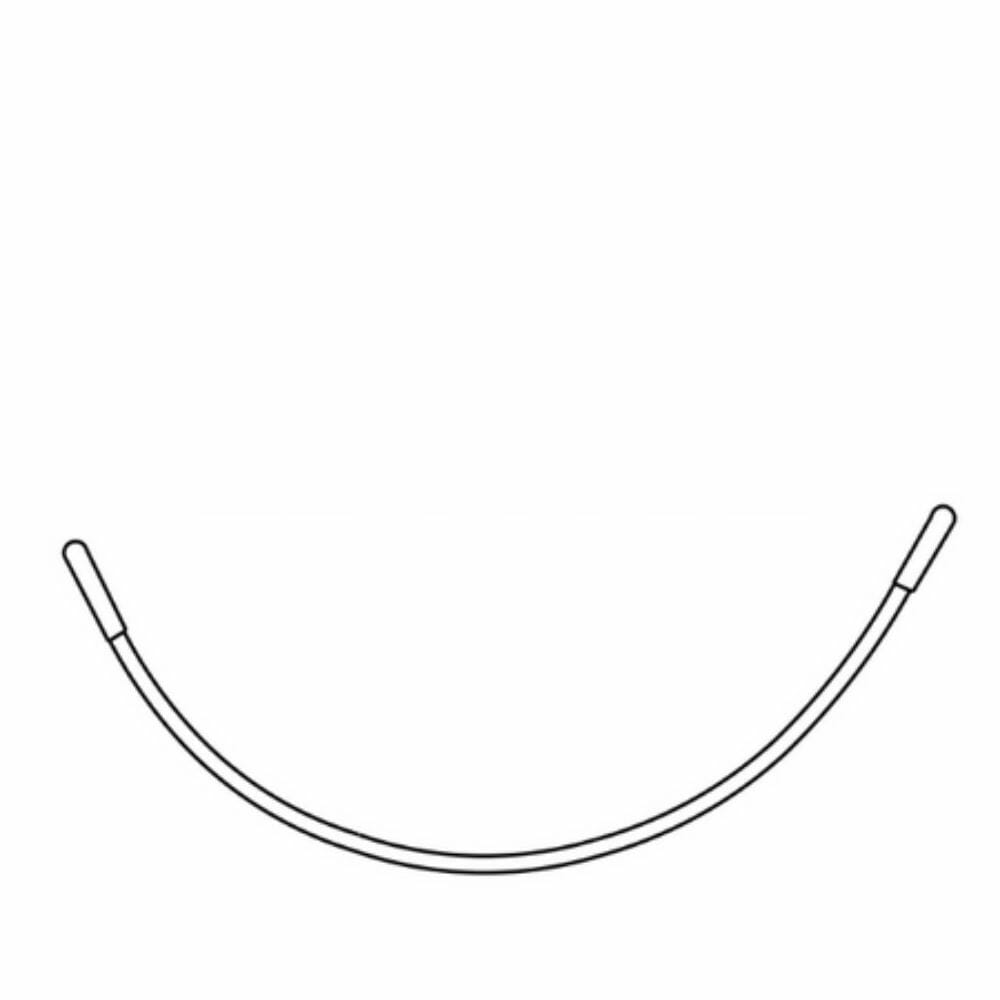
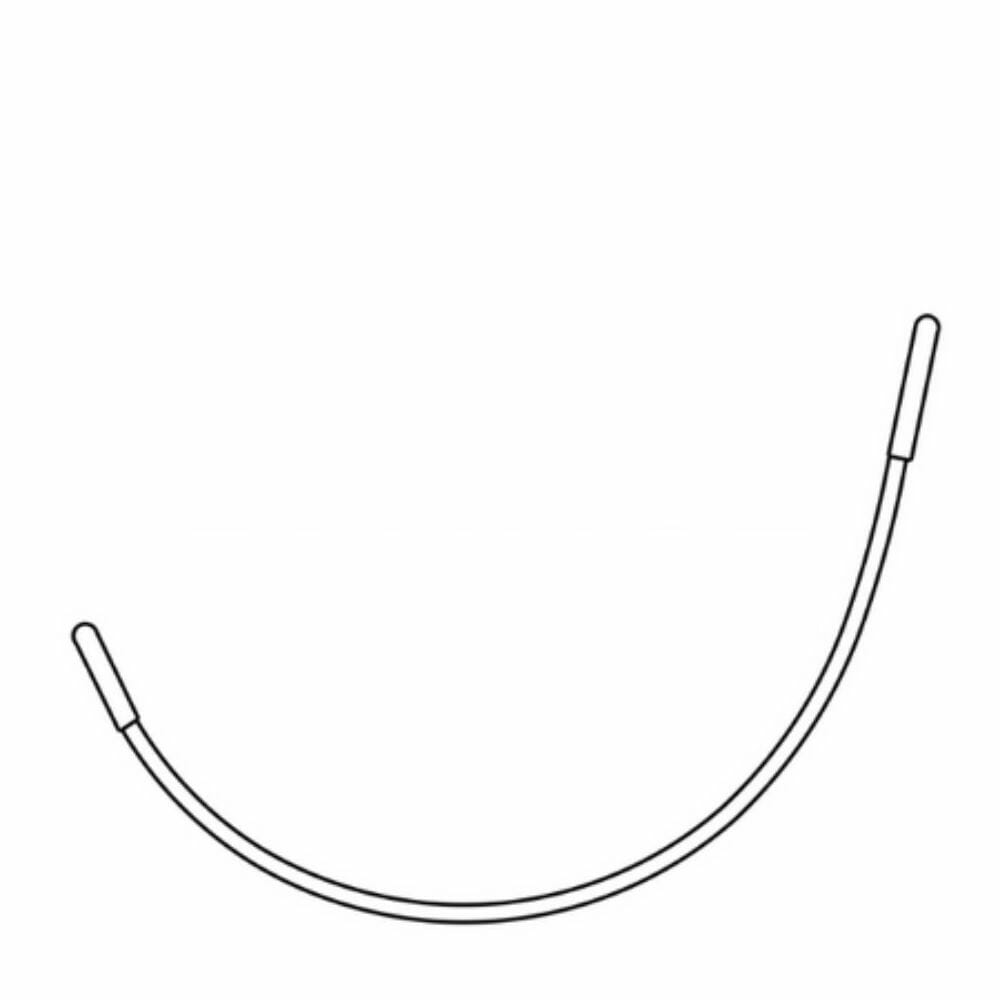
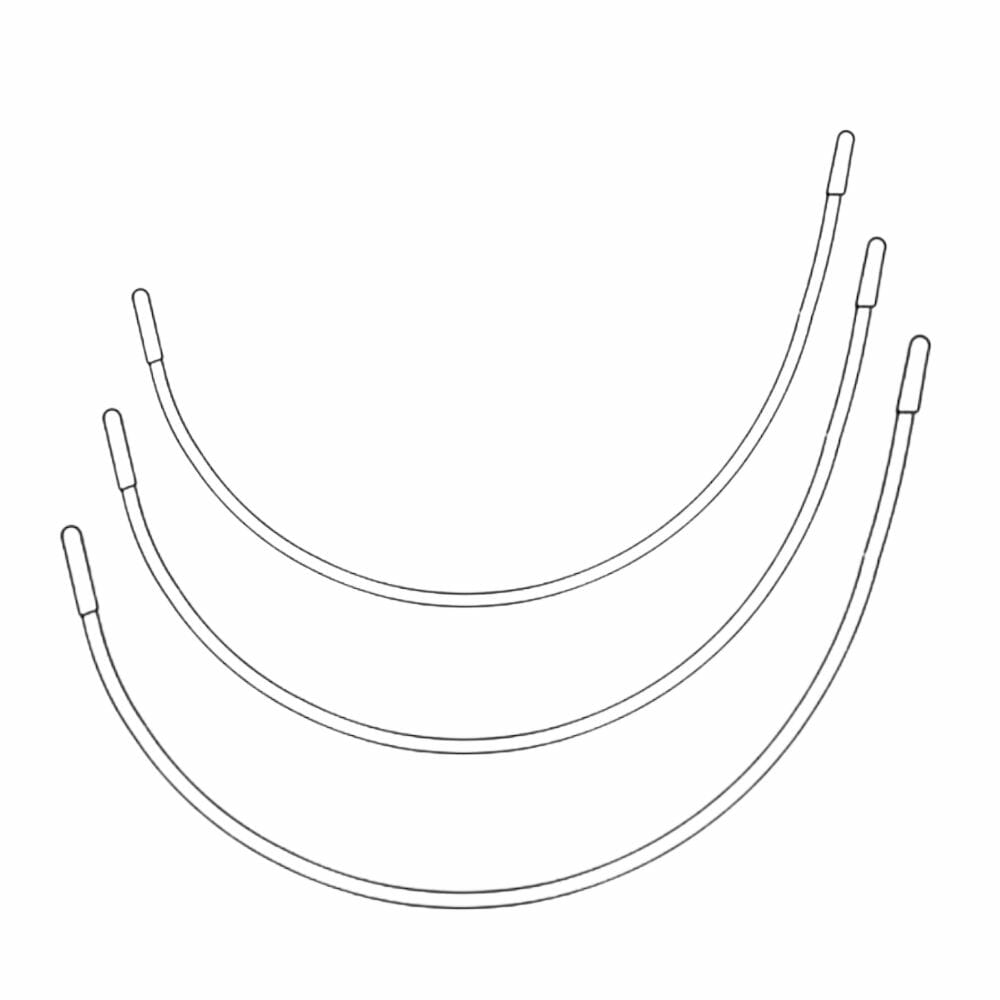
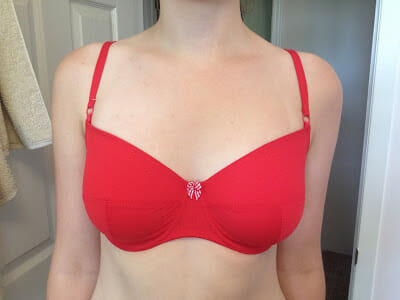
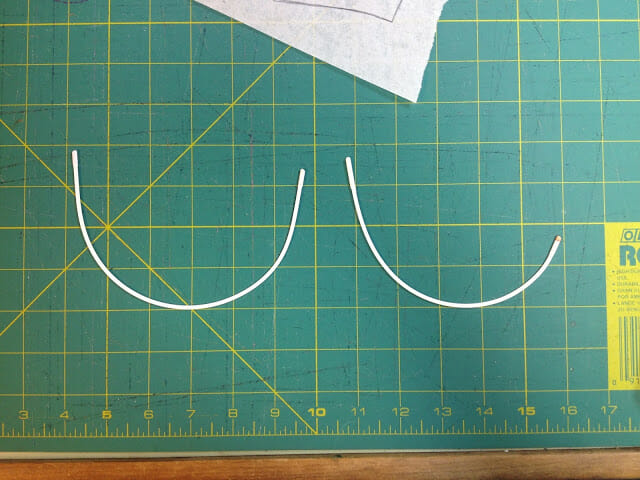
Then you’re going to look at your wires- how long are the ones in your original pattern? How short are the ones for your new plunge look? Generally underwires should come up to the same height under the arm (since you don’t want to lose support there), and they are shorter in the front- where you want the exposure!
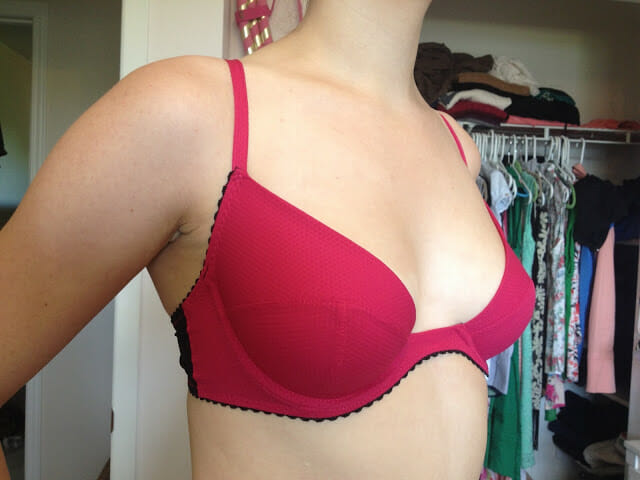
So in my red bra I used an Extra Long wire, and for my new plunge bra- I’m using a short- you can see that in their correct orientation, they are the same height under the arm, but one is much shorter in the front!
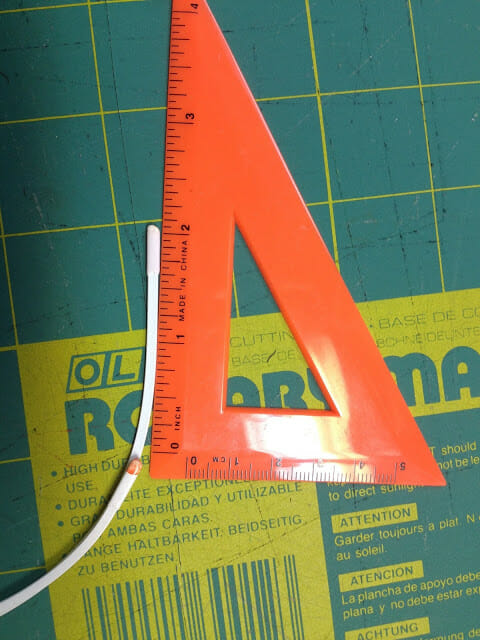
Then you have to measure the actual difference in length between the wires. This one is 2 and 3/16ths of an inch shorter than my extra long wire and my pattern.
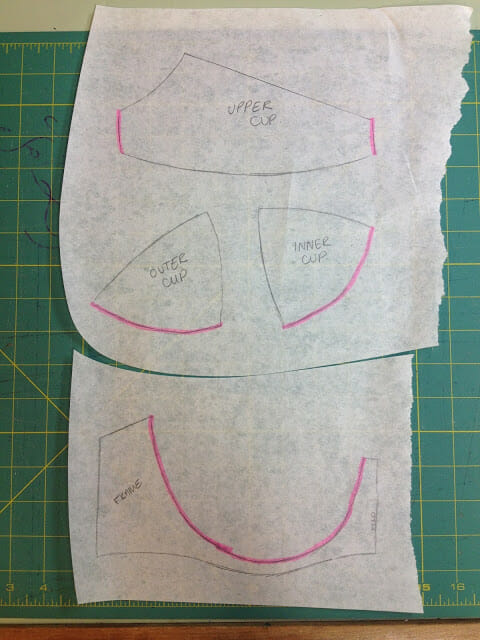
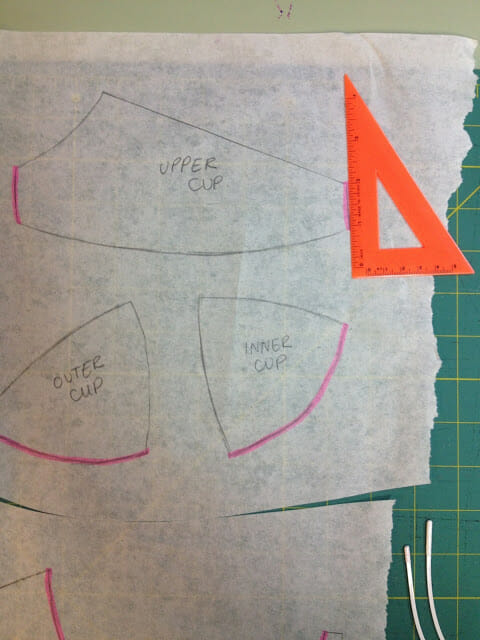
Then you go back to your pattern and mark down your wireline in the front the difference between your wires on your centre front of the cup.
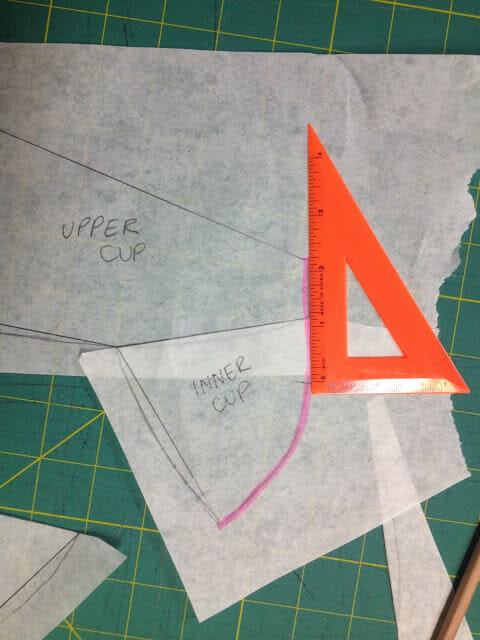
Now you might run into the problem that I did- your cross cup seam is in the middle of the amount you have to mark down.
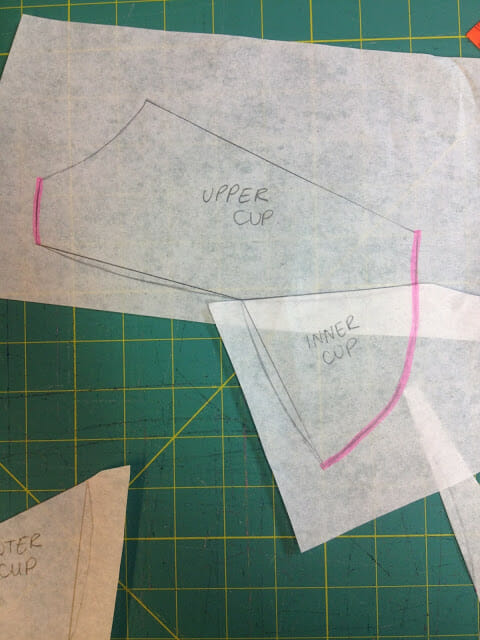
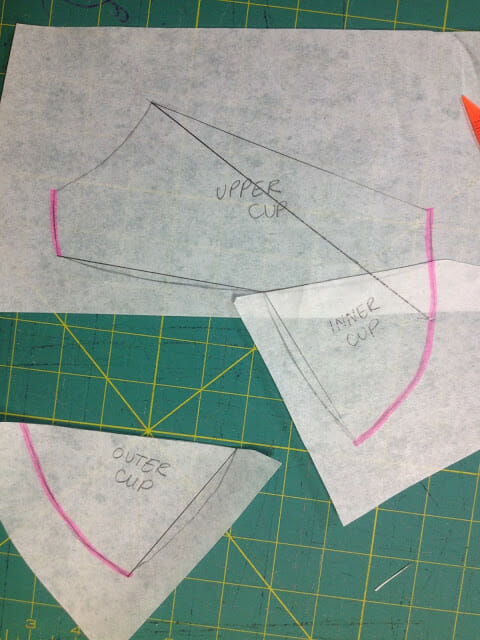
So then what you have to do is join your upper and lower cup along the seamlines (overlapping your curves), to connect your wireline. Then you can mark down for your new shorter wire.
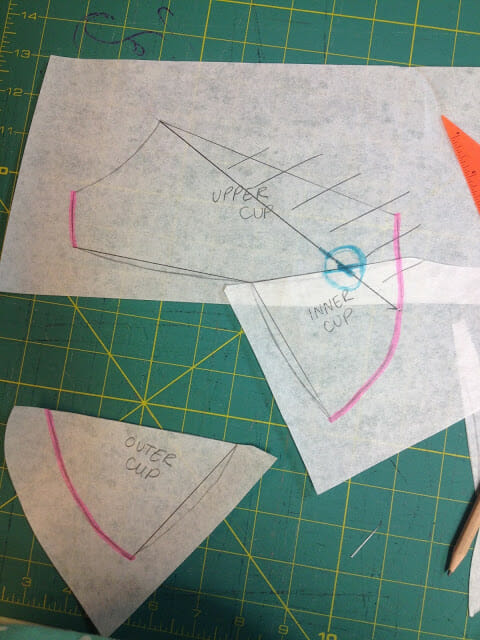
Once you’ve measured the point where your new wire ends. Then you connect your strap point to your new wire-end – and voila! You have your new neckline!
So you can definitely leave the draft here- just cut off the new neckline and get back to stitching- but you also might like to re-arrange some of your seams to work better with your new shape. For example- in this new neckline- my horizontal seam would end at an awkward point on my neckline (awkward point circled and highlighted in blue)
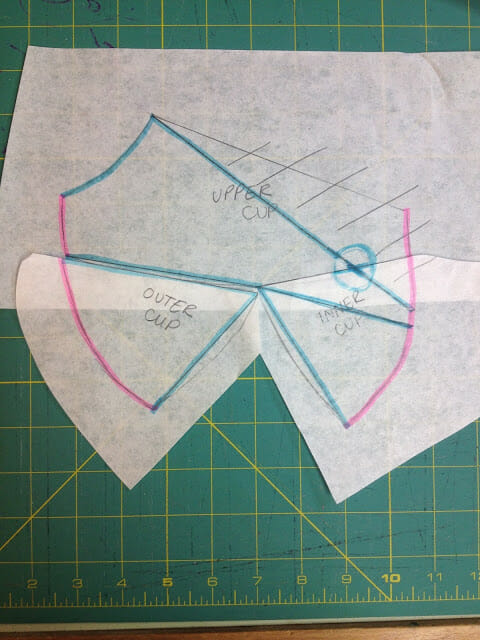
Now you can decide how much you want to change your seamlines – vertical seams are quite popular in plunge bras, but for the sake of an exercise I’ll keep the seams similar- just bringing my cross cup down a little so it’s back in the wireline and not ending in my neckline.
These are my new seamlines highlighted in blue! All you have to do is cut your new pieces apart along the seamlines and add your curves back into your bottom cup pieces!
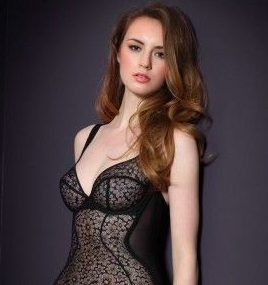
These seamlines should give me similar lines to the cups in this bra: (although I had my cross-cup seam ending a little lower in the wireline)
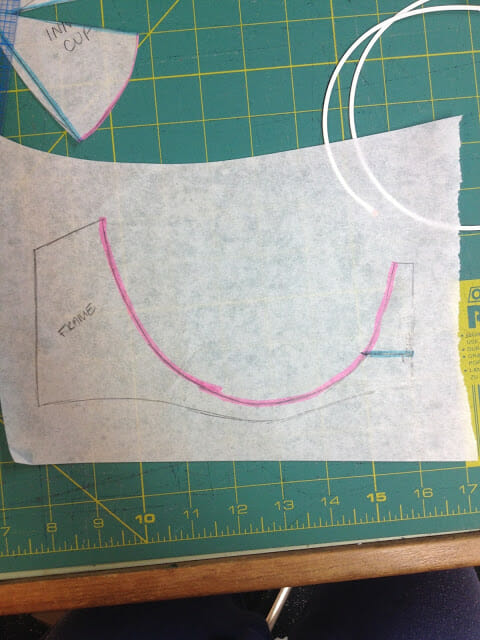
Now that you have your seamlines in your cup- now we can move onto the frame! So you’re going to mark down on the centre front of your frame the difference between your wires.
Then- as simple as that- you cut your bridge off at that point, making sure that your line is perfectly perpendicular to your centre front.
And there you have your most basically modified plunge bra.
You can see in the overlap it’s essentially just cut the chunk out of the middle.
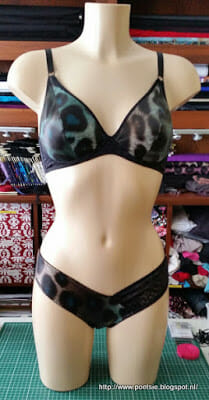
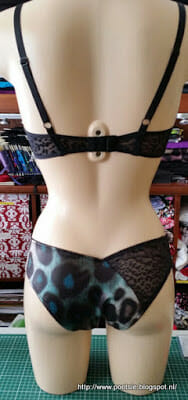
Diana made this set using her new pattern- soon to be released! It is her Triangelbra! How gorgeous is this! Made with spandex and stretch mesh and push-up wires!
I really love this asymmetrical look for the panties too! I think there are so many possibilities for colour blocking and lace-inserts. Congrats on the pattern Diana- looks fabulous! 🙂 Check out her post on this set over on her blog!
——————————————————
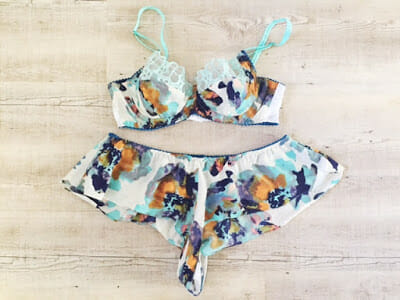
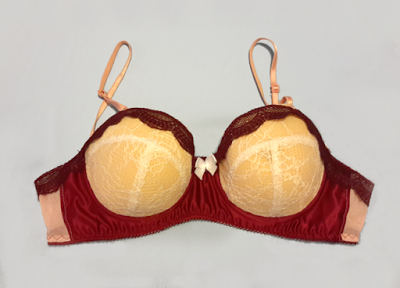
Next we have this very pretty set from Emma of A HandStitched Life!
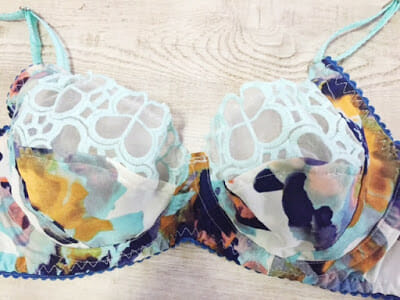
Emma made this set using the Marlborough bra pattern from Orange Lingerie and the Alice Knickers from Ohhh Lulu! She used this lovely printed polyester and embroidered lace. Such a nice colour combo!
This is Emma’s first underwired bra! YAY! And the fit is okay- which is a great starting point! 🙂 I’m so excited to see more!! Don’t forget to check out Emma’s post over on her blog!
—————————————————-
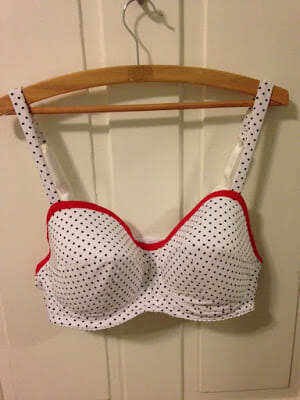
Next we have this super cute set from Christie!
Christie made this bra by covering foam cups with this adorable polka-dot fabric- which is set off perfectly by the red trim on the top- what a great retro vibe! Gorgeous! She says there’s some gaping in the top- but it’s so close!! 🙂
——————————————————
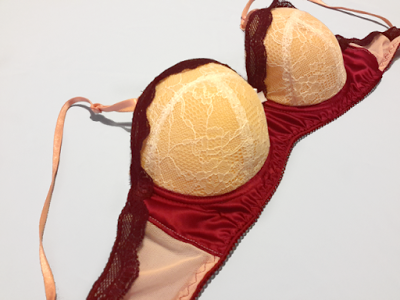
Next we have this lovely bra from Sofia of Silver Lining Atelier!
Sofia made this bra using the soon-to-be-released Maya pattern from AFI. As a pattern tester Sofia had early access to the pattern and made up this beauty!
Sofia did an amazing review over on her blog where she talks about how well the sizing worked out and the great round shape. And I can agree with you there- that is a lovely round shape! Perfect for under thin knit shirts! Love it! Don’t forget to check out Sofia’s post about this bra over on her blog!
———————————————————–
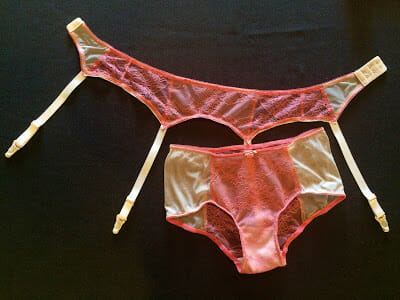
Next we have some gorgeous lingerie from Maddy of Miss Maddy Sews!
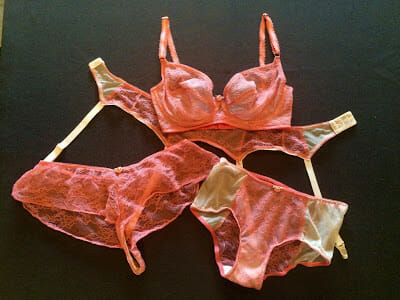
Maddy focused on the other lingerie additions this week and wow- I’m feeling some real lingerie drawer envy! Maddy made this cute garter belt and Grace Panties to go with her coral set from the past week!
What fantastic additions! Doesn’t it all just look so beautiful as a set?! It really makes me realize I need to step up my panty game! Wow- love it! Don’t forget to head over to Maddy’s blog for her lovely post!
———————————————————
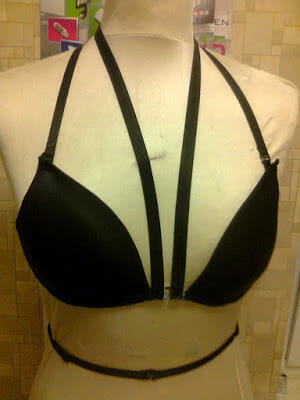
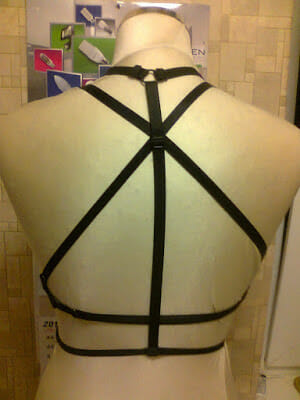
Next we have very pretty bikini top from David of Bonnet Bleu!
David made this bra using foam cups and strap elastic. This is his sixth strappy bra! He’s definitely getting the hang of it! I love the back of this one too! Definitely a highlight you could show under a sheer dress!
David is a freelance lingerie designer, label: Bonnet Blue
dpolrolniczak (at) wp (dot) pl



















great tutorial, thanks!
Thanks Sarah! I'm glad you enjoyed it 🙂
Great bra theory, Erin! I love it! And the submissions this week are amazing.
Michelle
Thanks Michelle! The submissions are really fantastic!
Like your explanations, if I may ask for some tutorial for sewing bra for elder women ( without wire, soft9
Thanks! I'll definitely get into soft bras 🙂 I might not have time for them this month- but I'll definitely add them to the list for future 🙂
I think this is my favourite bra theory yet; although plunge styles aren't really my go-to, they do work well for my shape – and sometimes you just want, well, a plunge 😉 – so maybe I'll try making one now! Love all the submissions this week, especially Sofia's Maya 🙂 mine's cut out and ready to go, so I really can't wait to try it now!
YAY! Thanks Maddy! I agree- I think your shape would work well with a plunge! Can't wait to see both a plunge and Maya bra from you soon 🙂
Erin
That is a really really interesting article. I have very little space between my 'girls' but a large cup size (UK 36 G / 38 F) and although not yet made my first bra already know from reading the Facebook forum, that my wires will need to be next to each other, if not actually on top of each other at the bridge. Therefore wondering if overall – having a very narrow bridge I could. It out a lot of hassle by going with plunge styles? But would that give me enough support? Maybe plunge style with long band?
Thanks
Sue
Hi Sue!
A plunge style would definitely work to accommodate your tiny bridge space, because it pulls the girls in closer. Although it won't be as supportive as a longer wired bra, and won't have the same level of coverage to hold you in on top. It's a sacrifice. And a wider band won't give you much more support that way- it's really a coverage issue.
For longer wires, if you can get more vertical wires (I'm looking into stocking them in my shop soon!) then they will sit a lot closer together in the front and be better options for close-set girls 🙂
Amazing tutorial!! Very clear explanations,you're indeed a great teacher! 🙂 I really like plunge bras, so I'm going to try it right now. In fact, yesterday I ordered some plunge wires at my local supply shop, but while I'm waiting for them to arrive… I've already taken apart an old plunge bra to get its wires! I'm so impatient!
And, about the wonderful submissions this week… I think I have a favourite: the printed fabric of Emma's set couldn't be more beautiful! I love it!
PS: I can't wait for another week of bra-theory! Your posts are full of inspiration 🙂
Thanks Sofia! 🙂 🙂 I can't wait to see your plunge bra!