

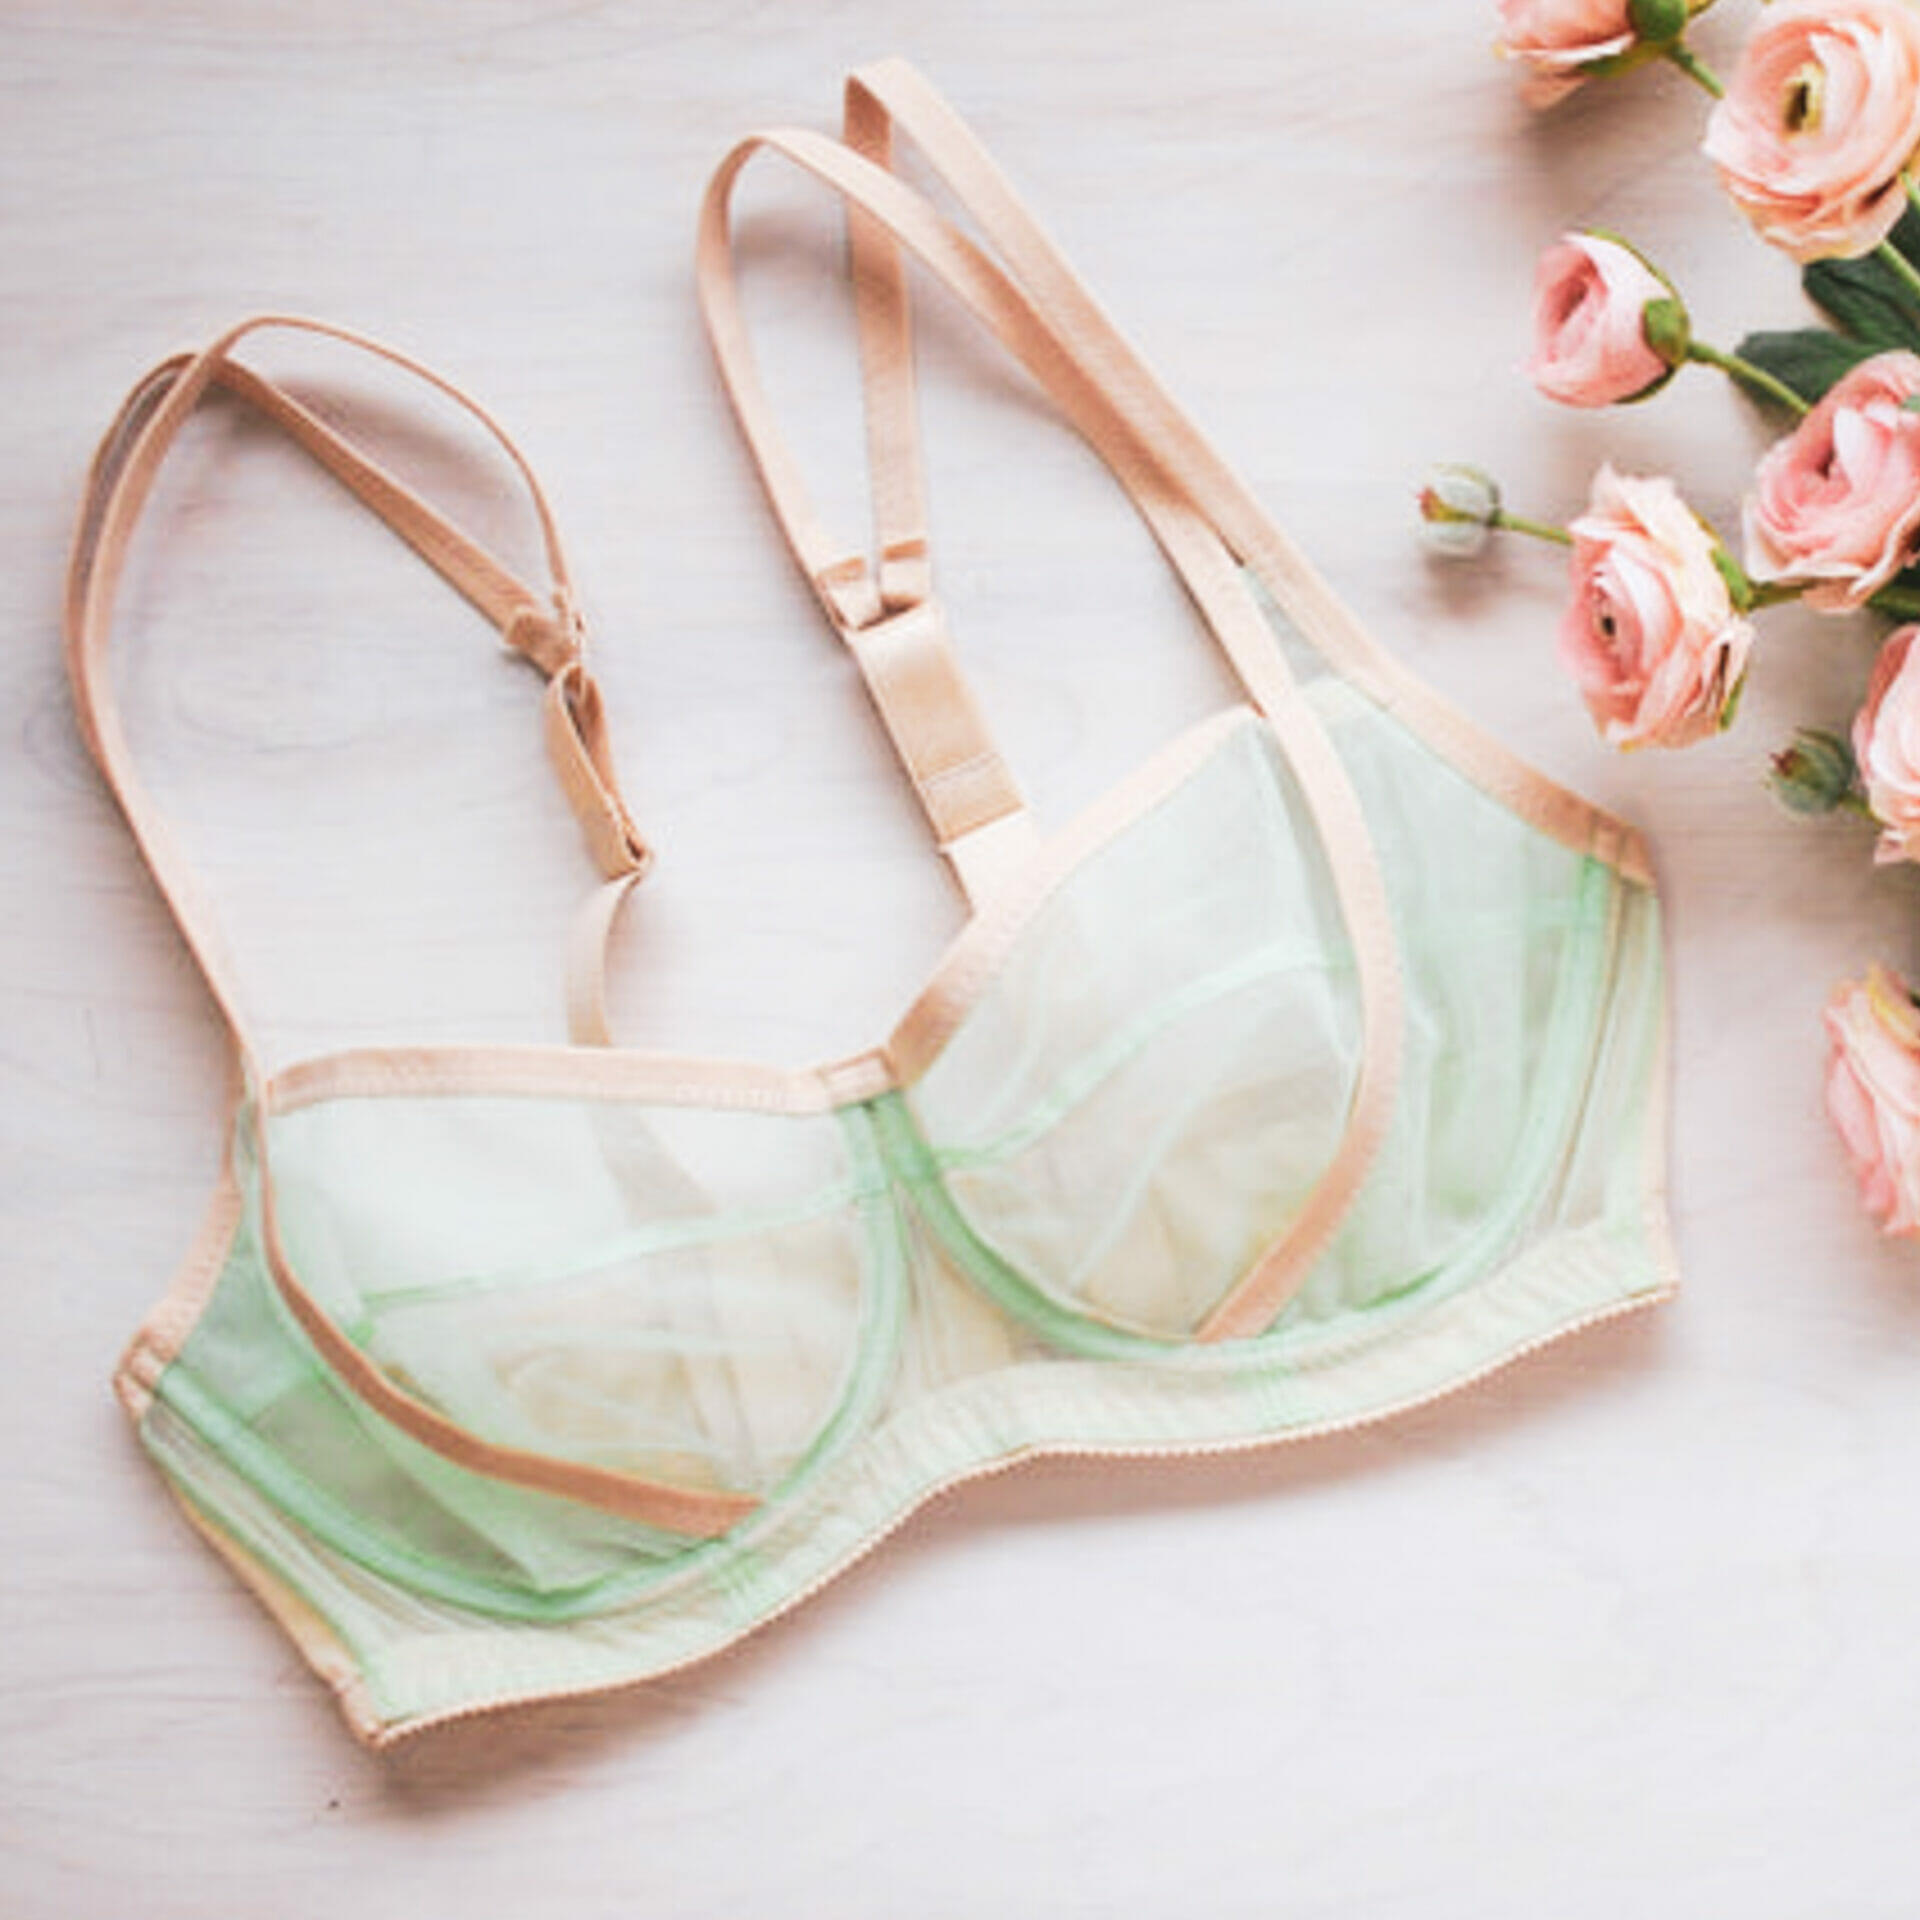


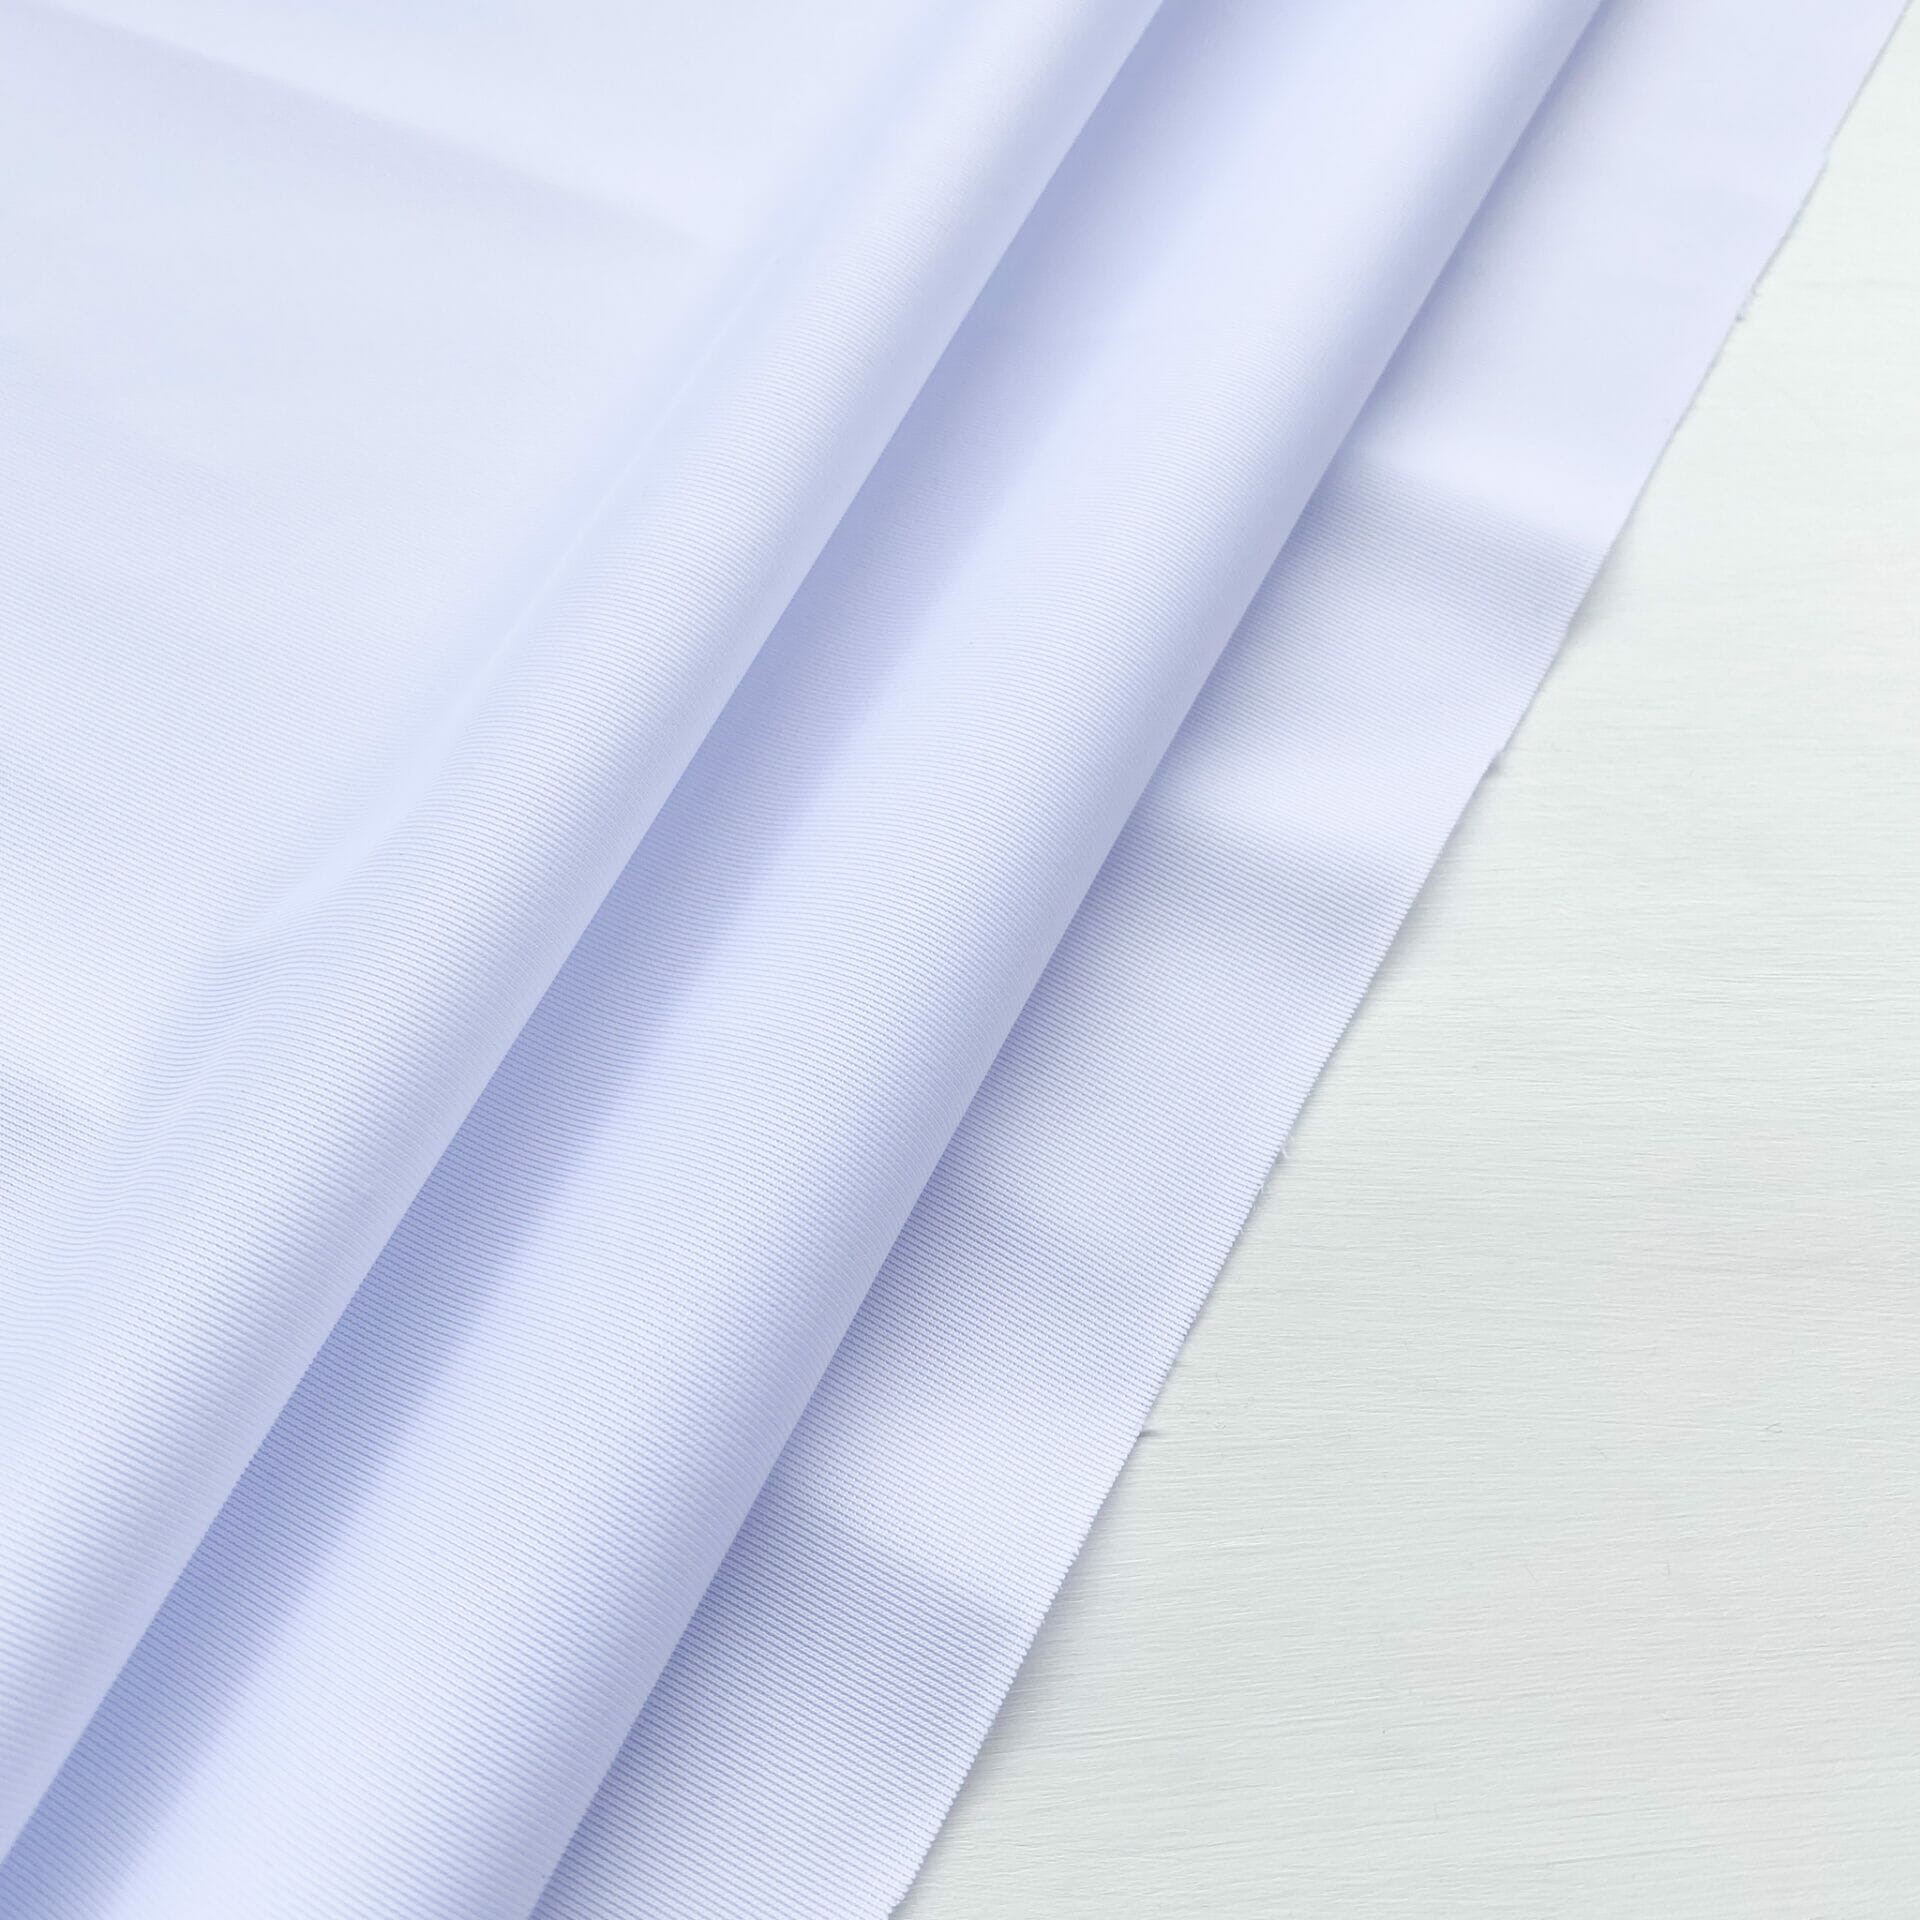
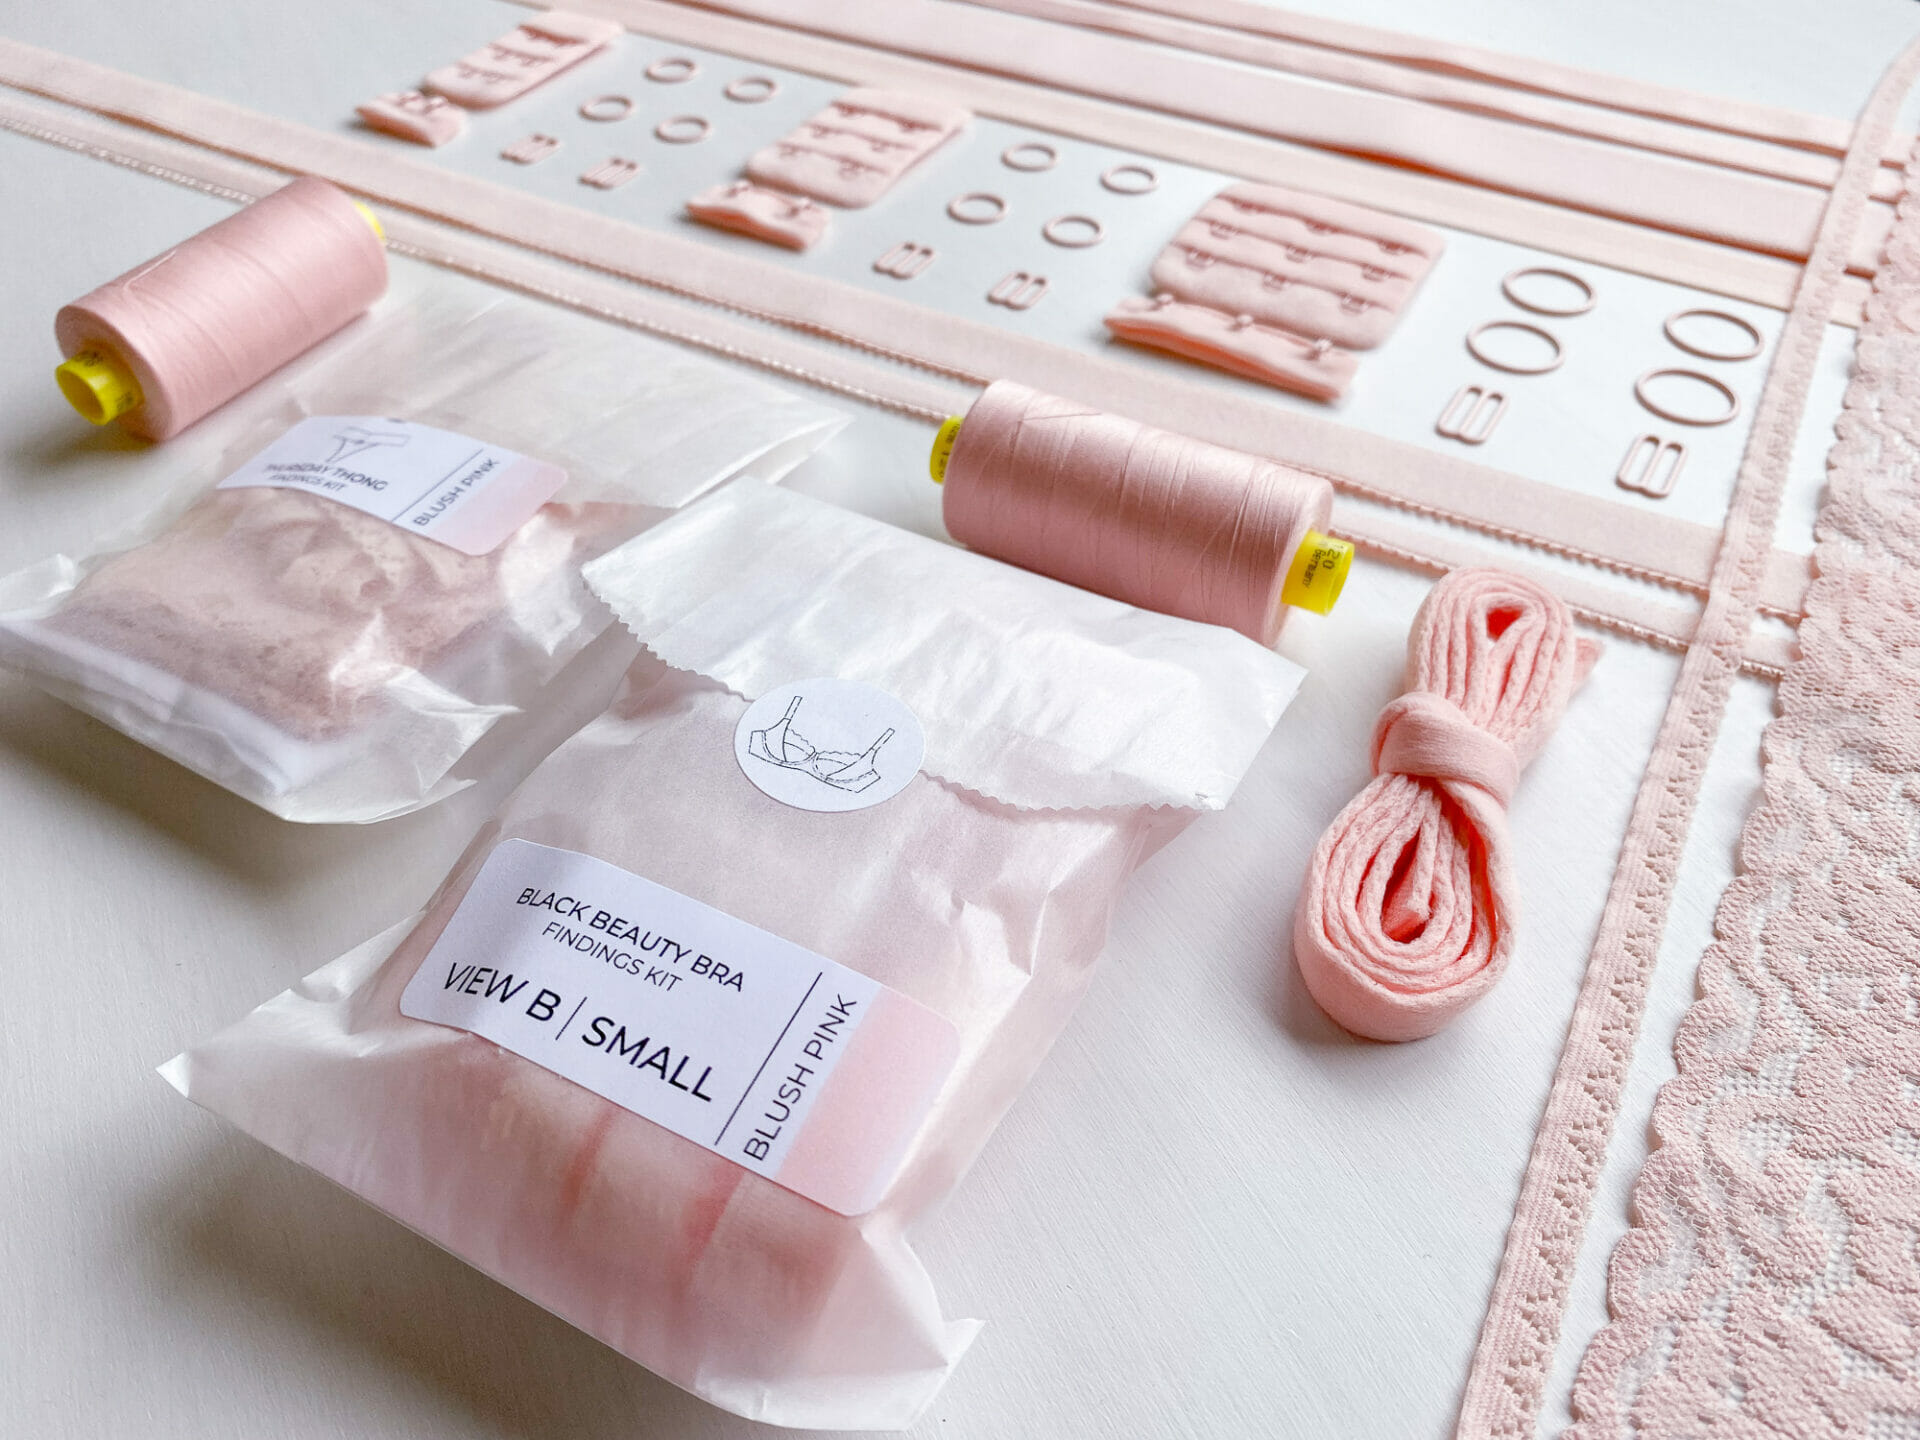


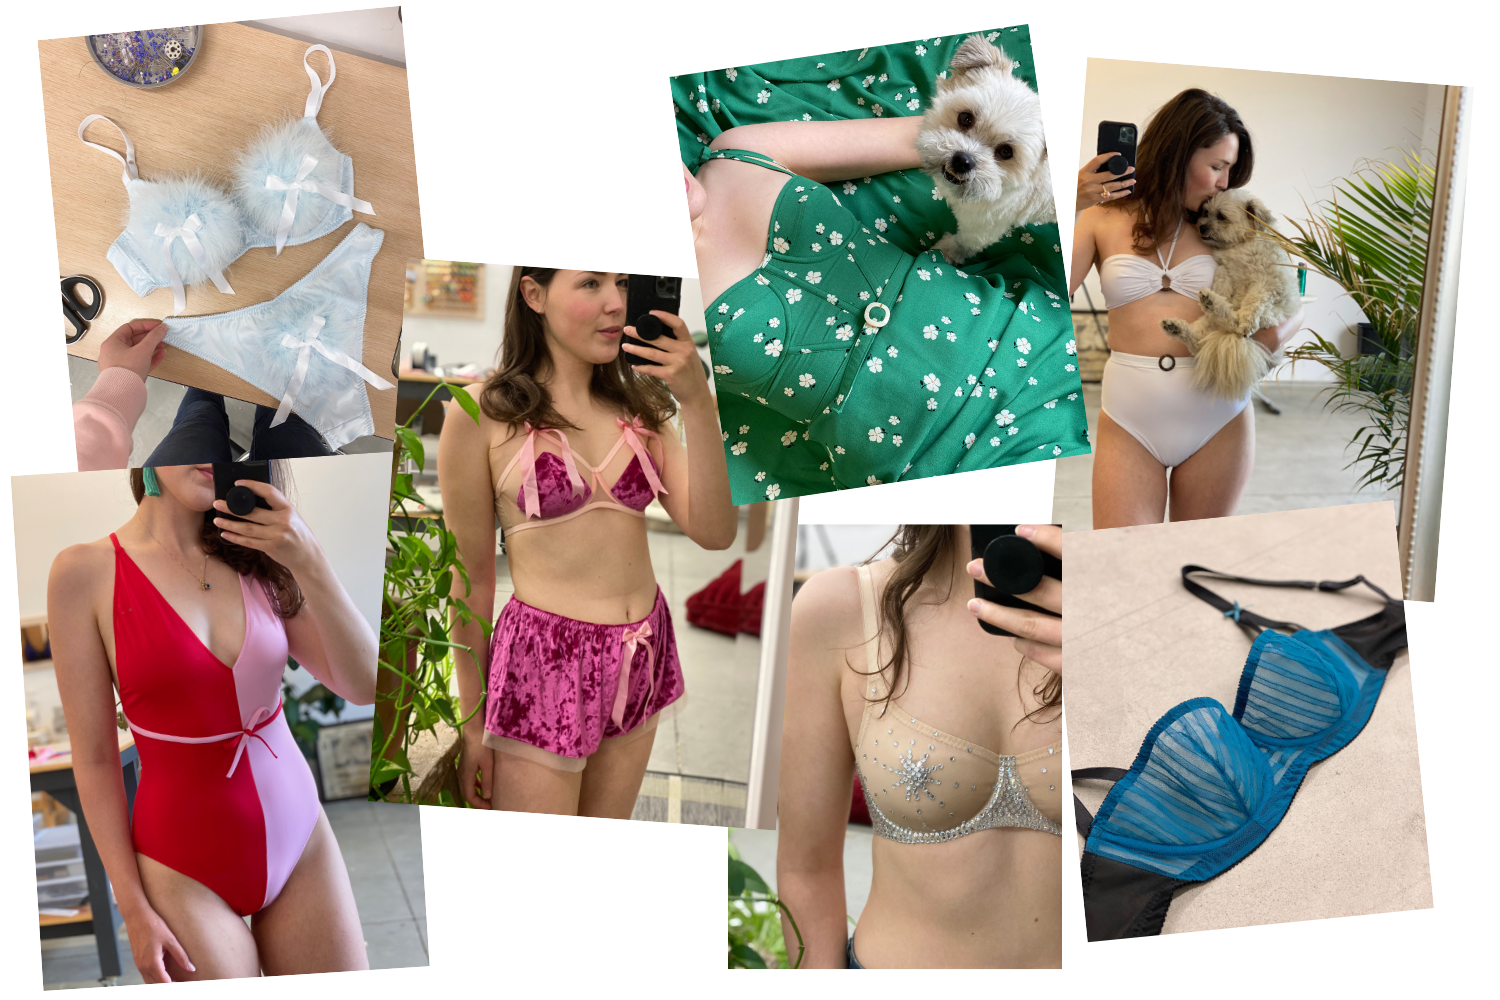

I made this swimsuit using our Cobra swimwear fabric with one of our Black Beauty Swimsuit Kits
Hi All,
This has been a highly requested tutorial- because once you know that you can make super cute underwired bra- the obvious next step is making a super cute underwired bikini top! And I don’t know about you, but I feel like there’s something so luxurious about an underwired bikini – it always feels a bit more fancy.
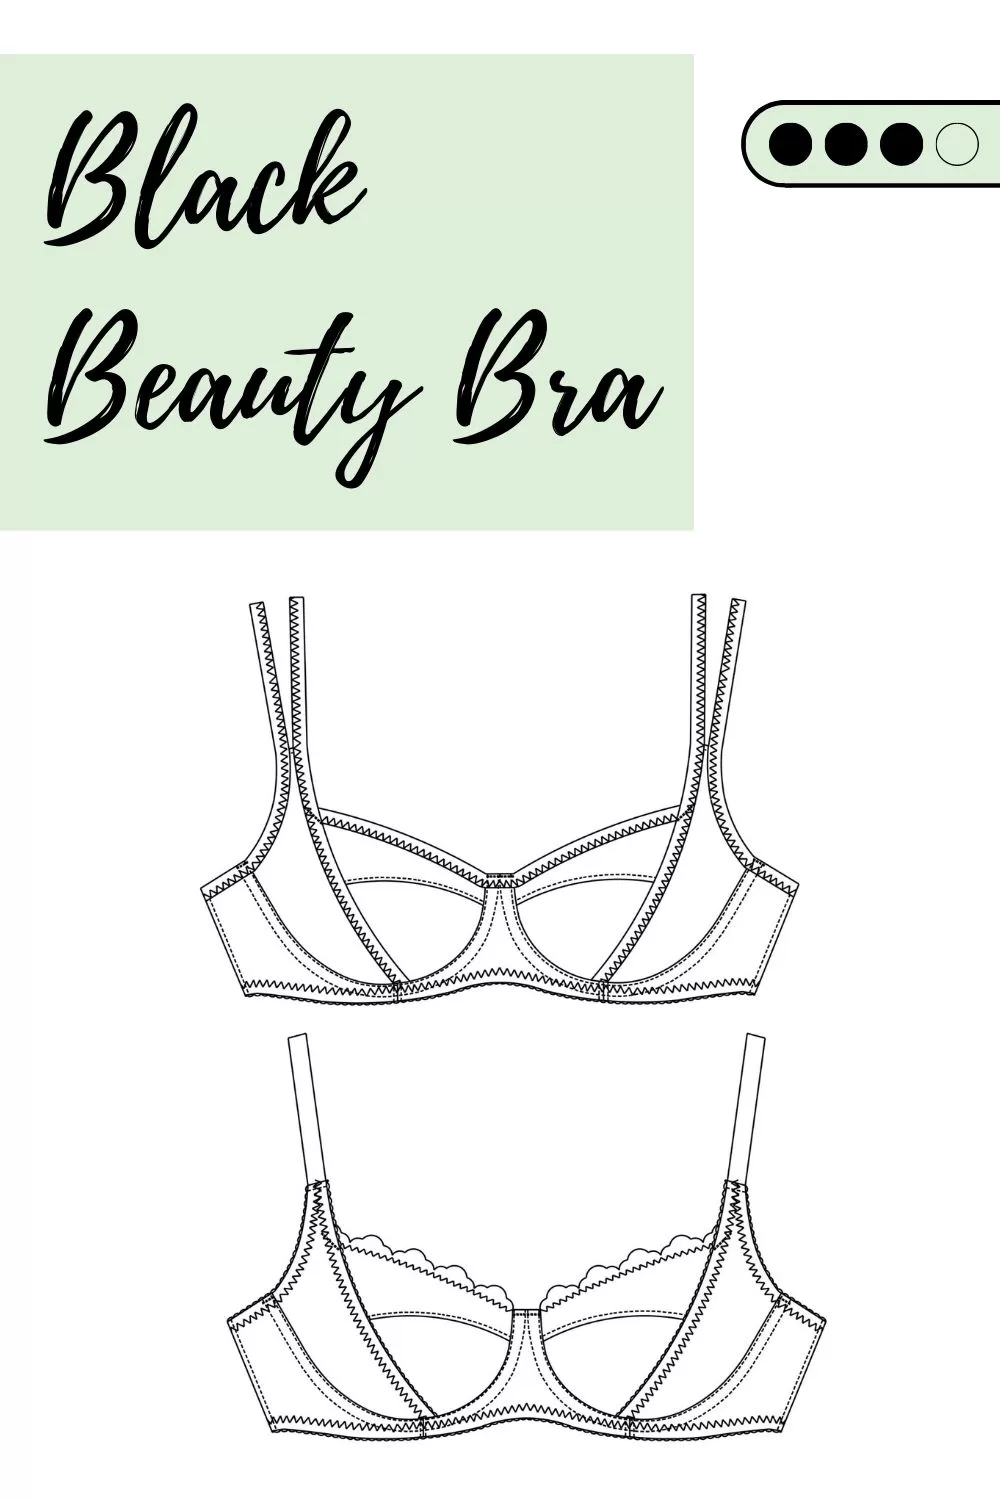
This tutorial is based on my Black Beauty Bra pattern that is available here.
Let’s jump into this tutorial! I’m making this swimsuit for my dress form Ivy, who is a 40E, so I’m using the E-G size range of the pattern and the Large findings kit.
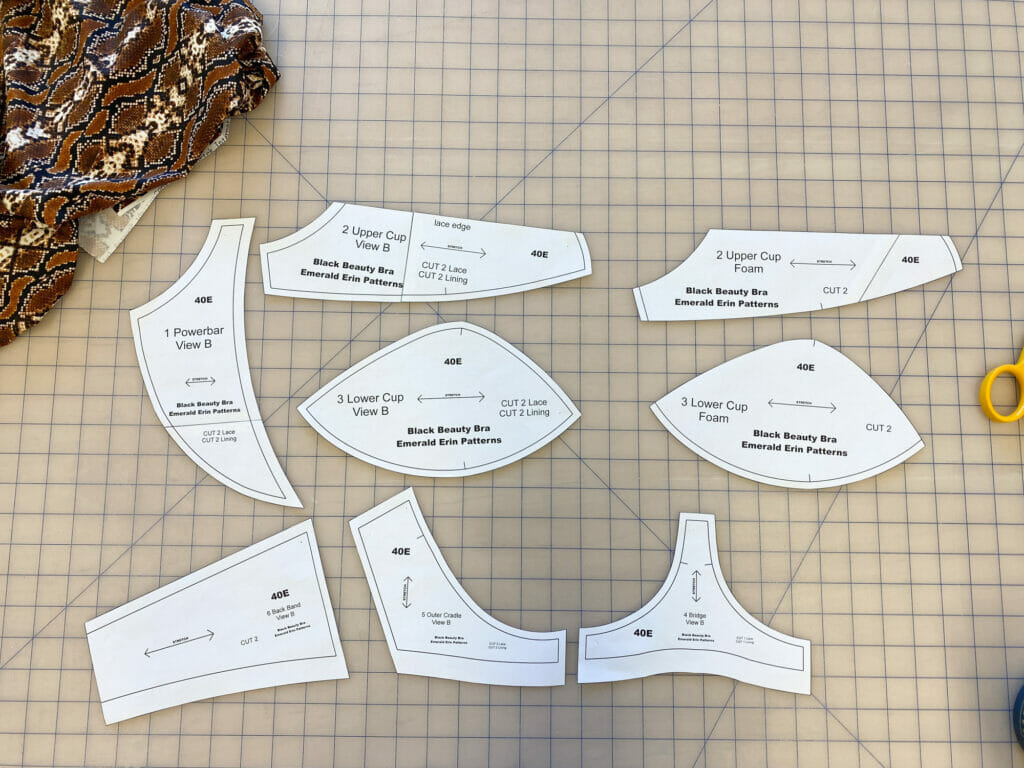
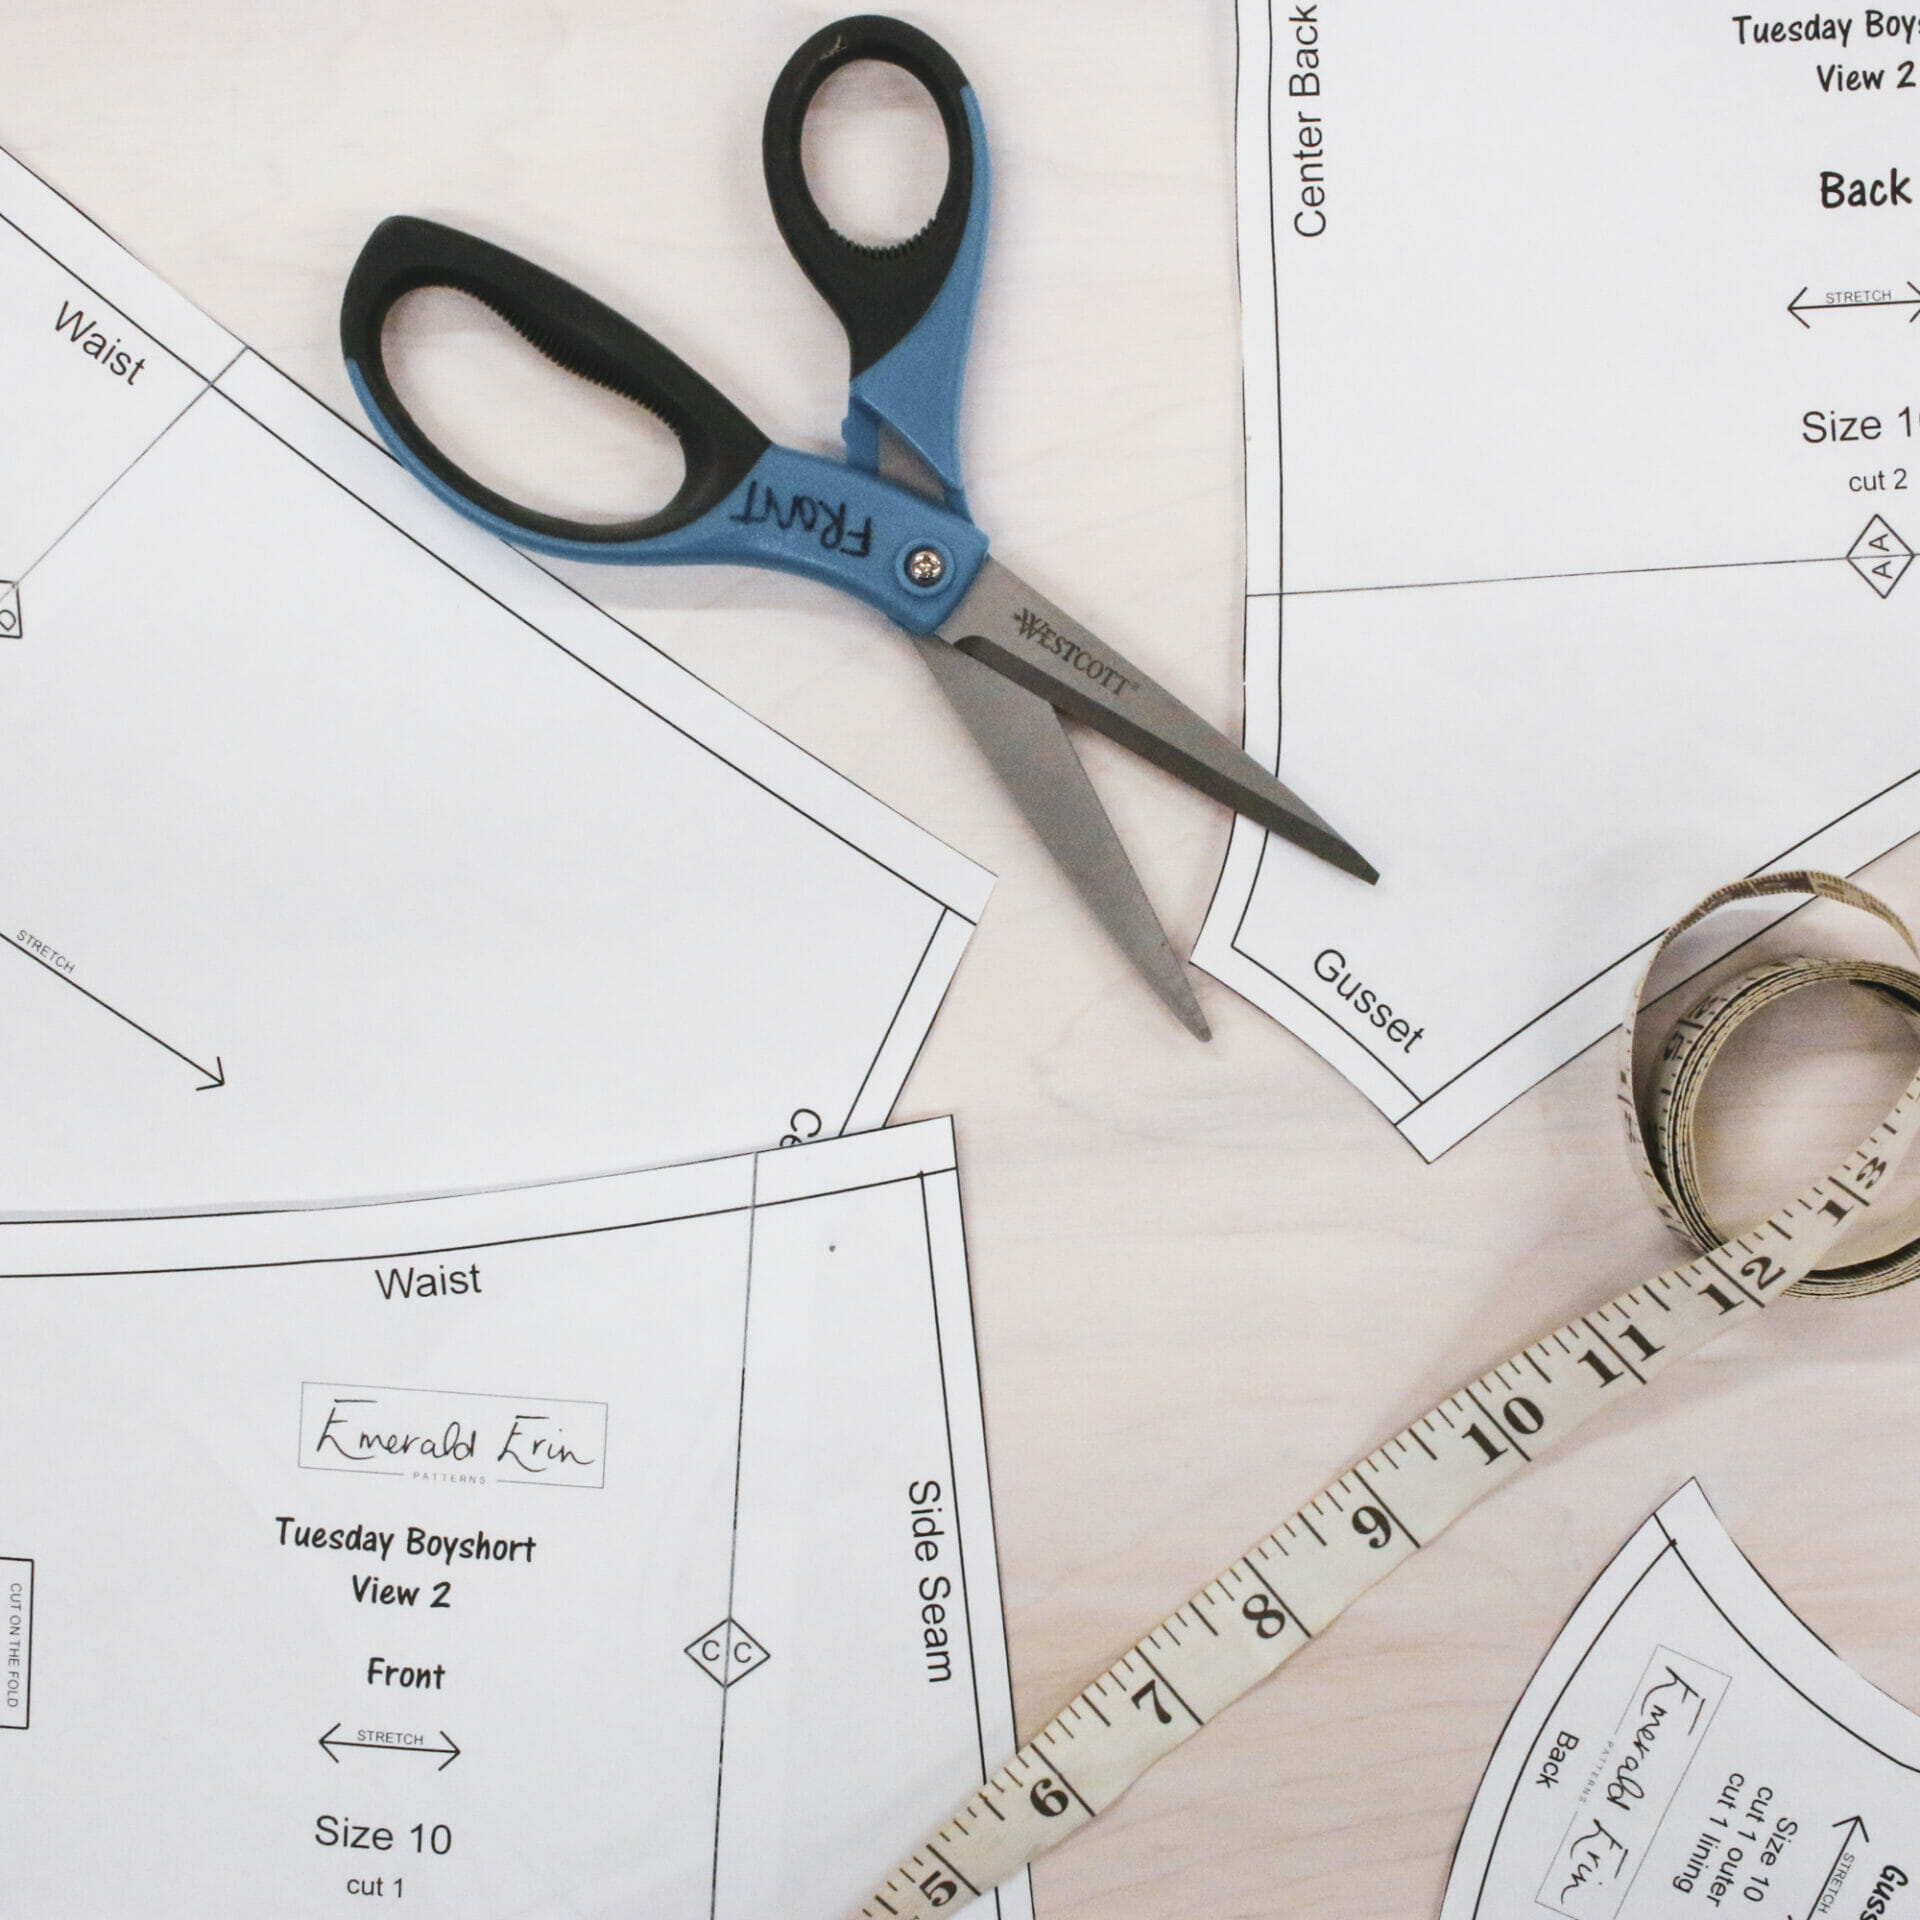
Start by printing the View B of the Black Beauty Bra, along with the Foam pattern pieces. This tutorial actually only requires a very small amount of pattern modification.
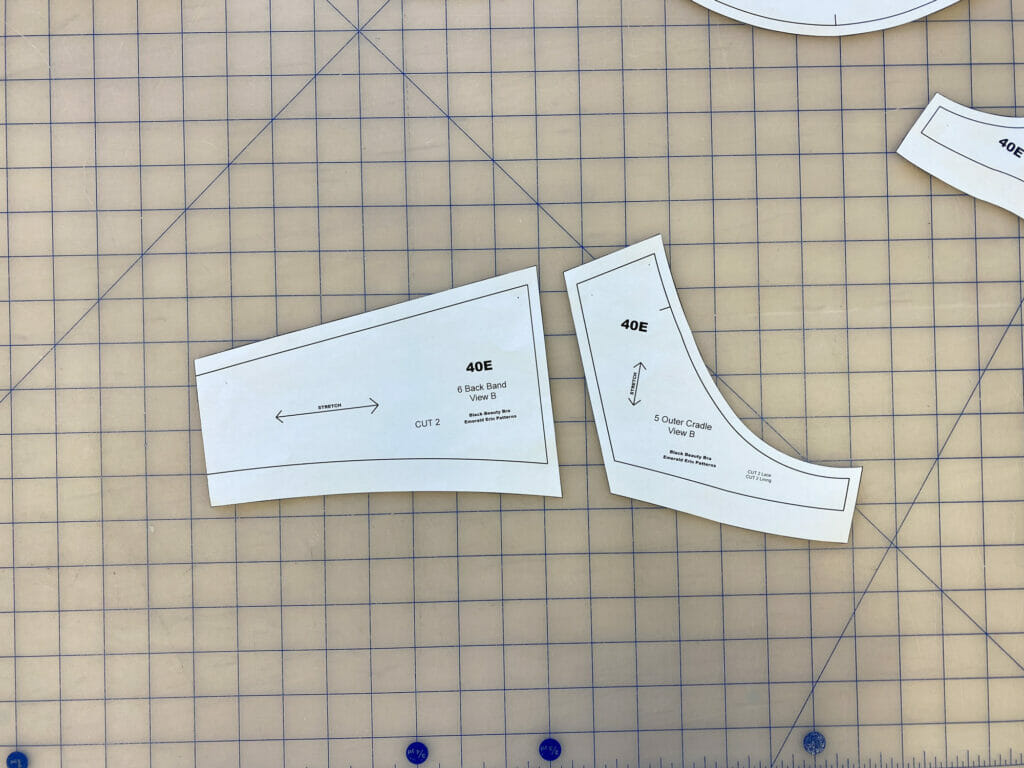
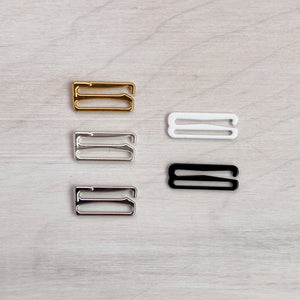
The main modification is to the back band, to modify it for a 1″ G-hook closure, instead of a hook & eye.
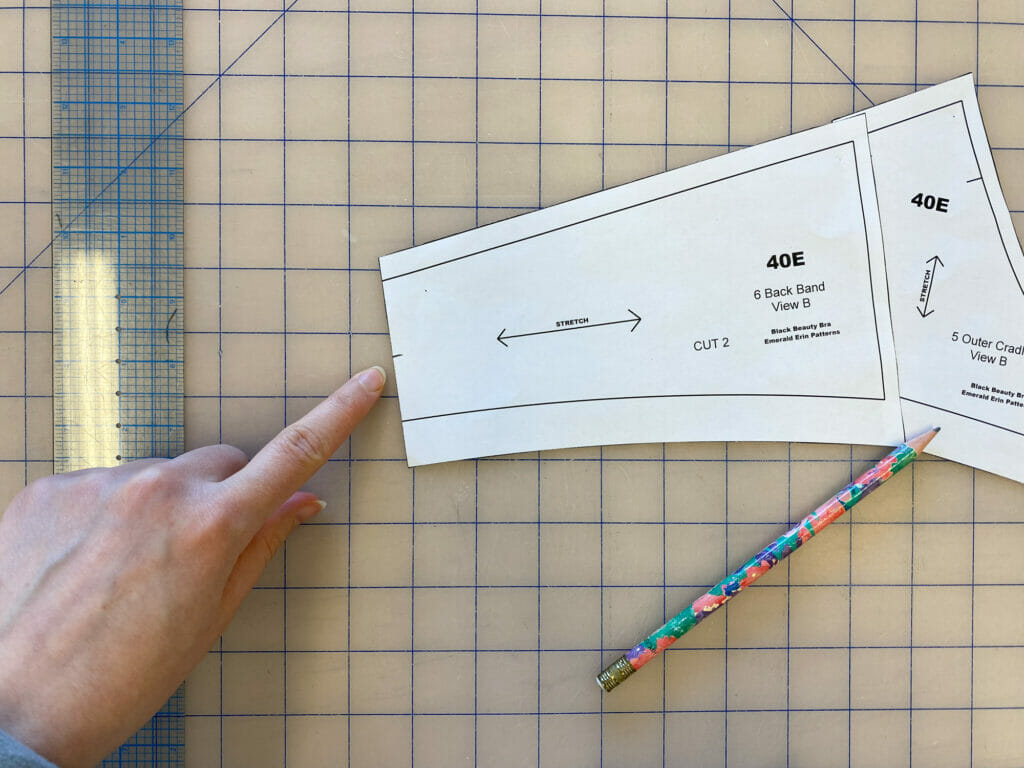
Mark 1″ up from the back edge of the back band (not including the elastic allowance at the bottom).

Then, placing your outer cradle and back band pieces so they are matched along the side seam, draw a straight line connecting the top edge of the outer cradle, to the 1″ mark at the end of the back band. Then add a 3/8″ elastic allowance to the top of the band.
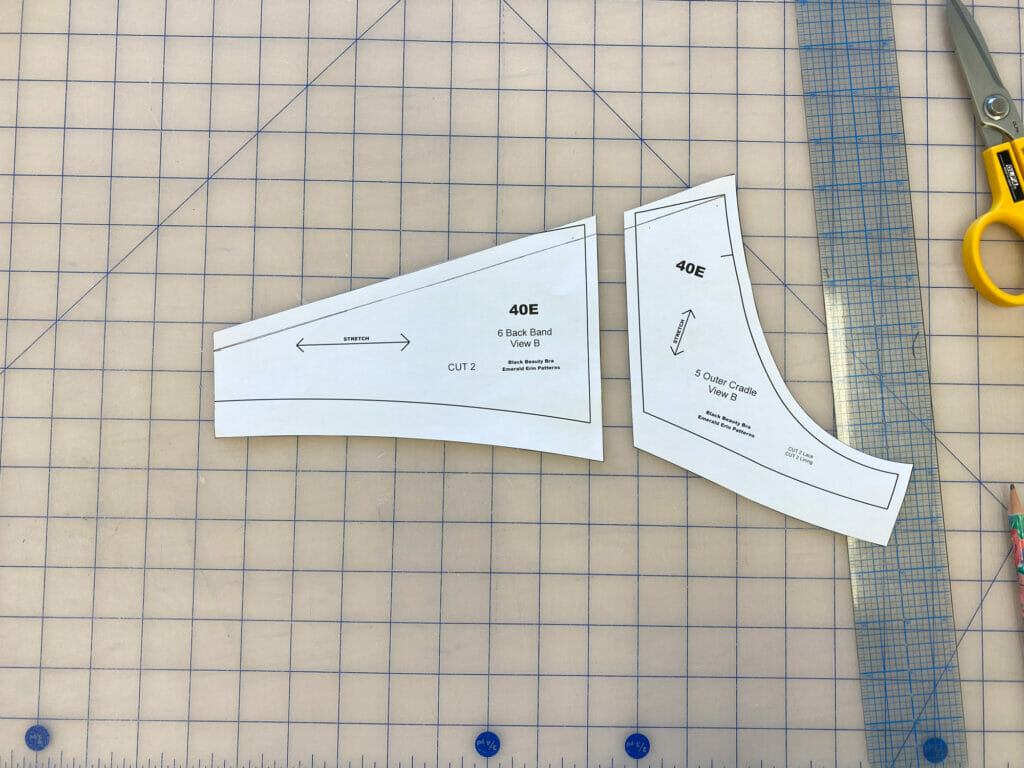
This is the new top edge of your band.
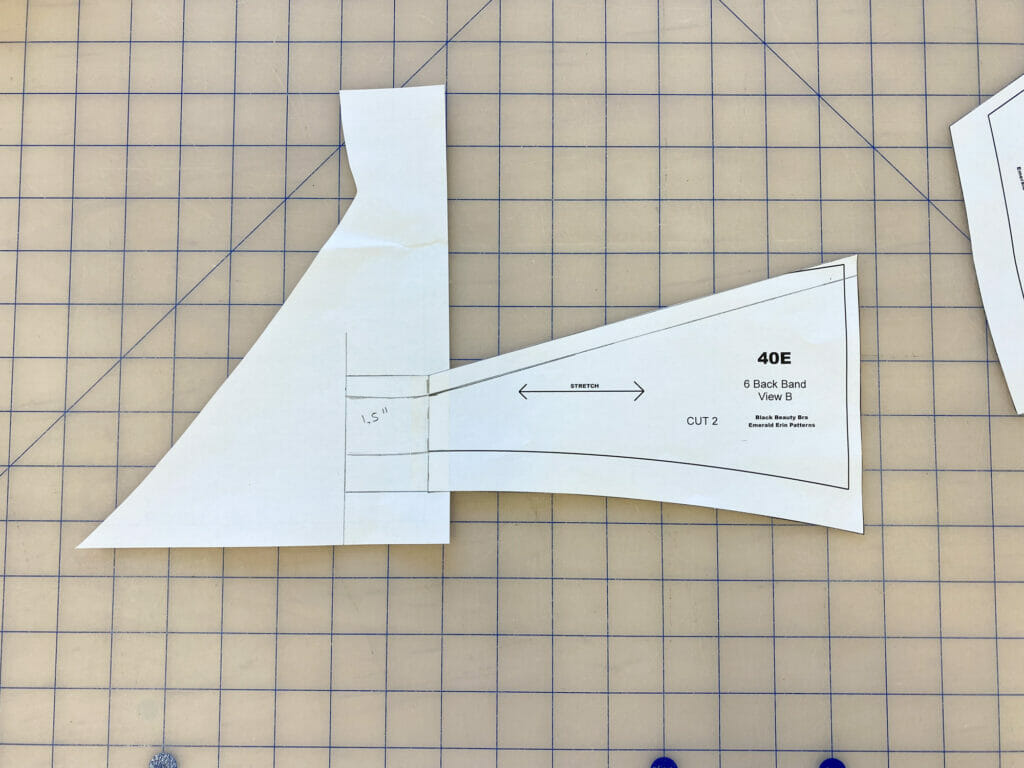
The final pattern modification is to add 1.5″ (3.8cm) of length to the end of the back band. This is to allow a turn under to attach you G-Hook and to make a loop on the other side to hook your G-hook. I like to leave 1.5″ because it give a little wiggle room to make it looser if you find it a bit tight when you try it on. That is all for pattern modifications!
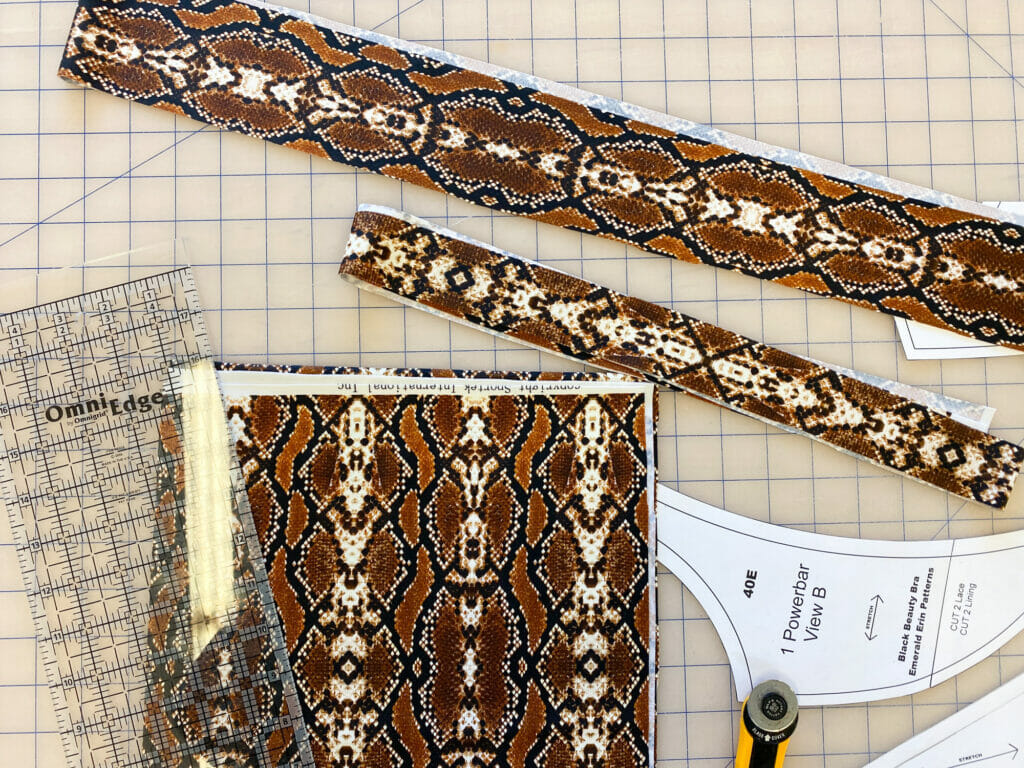
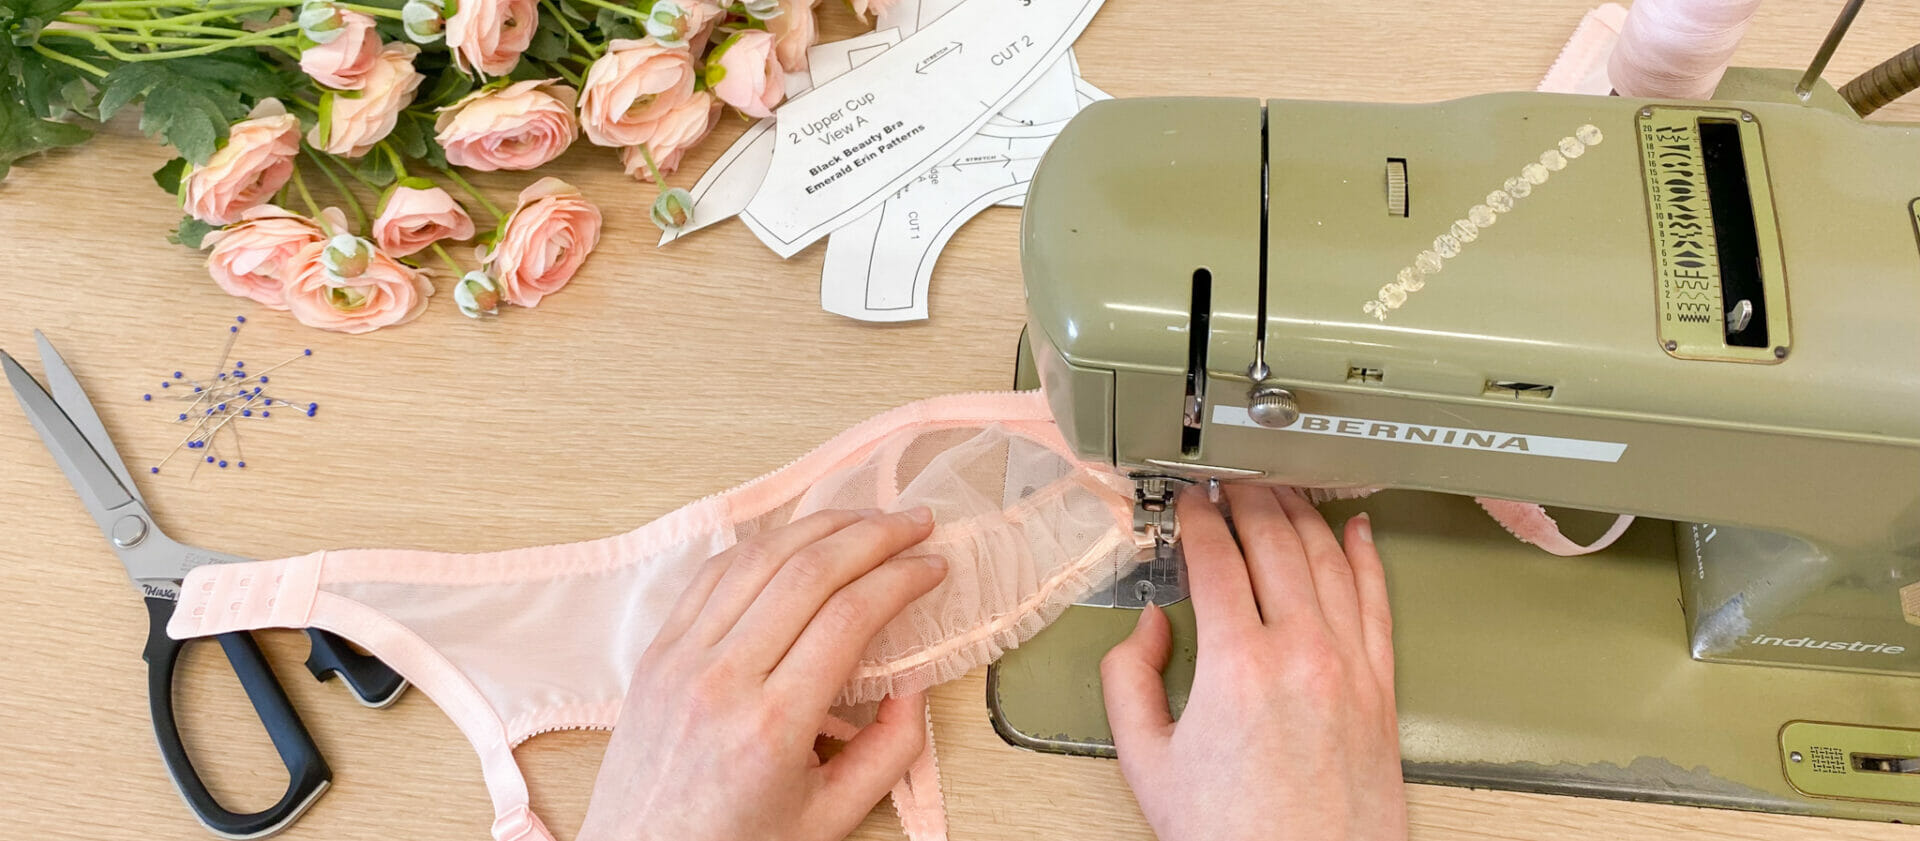
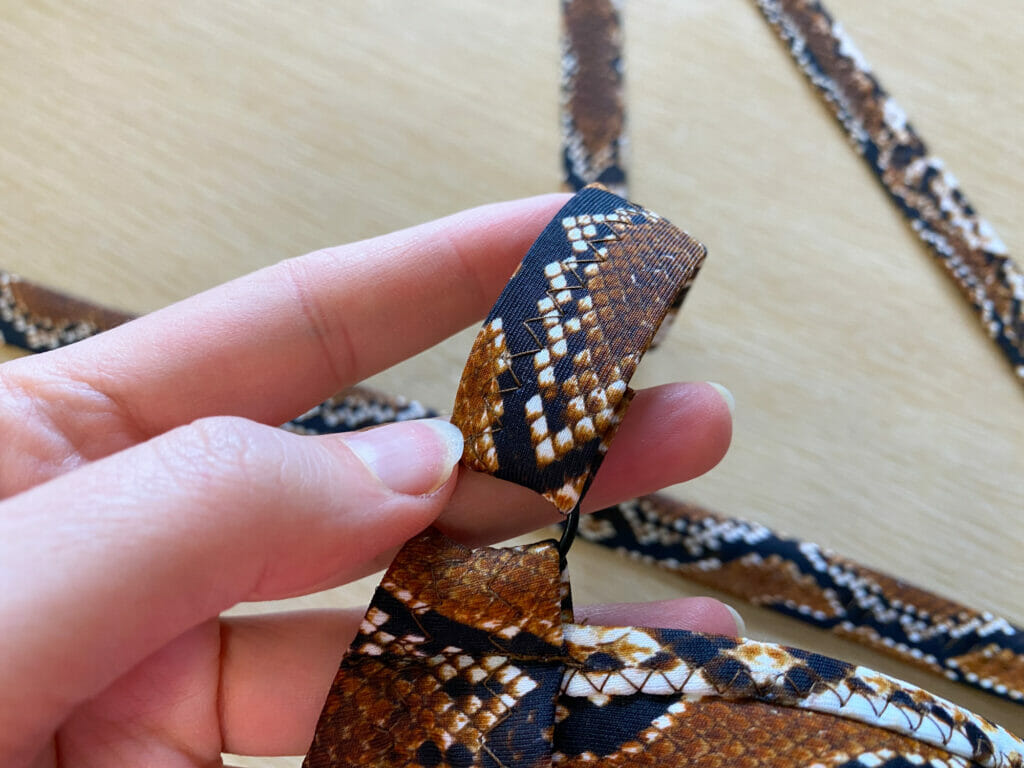
The next step is cutting all of your pieces out of your fabric, and as always with swimwear, I recommend cutting the binding for your straps or any other edges first, before you cut any of your pieces out. I like to cut my binding strips with a rotary cutter and a ruler, right along the cut edge of the fabric. For this version I’m using the E-G size range of the pattern, which has 3/4″ (19mm) straps, so I’m covering my 3/4″ (19mm) swimwear elastic to make straps- I recommend cutting your binding to be 4X the width of your strap so I cut 3″ (7.5cm) wide strips. You will need 1m (1.2y) of binding for your straps.
In addition to your straps the top edge of the cups is finished with binding, which can be 1.5″ (3.8cm), and you will require about 0.6m (.66y).
Follow my tutorial on making swimwear straps here: https://emeralderin.com/2015/07/tutorial-two-ways-to-sew-swimwear-straps/
Just like in the View B version of the Black Beauty Bra pattern, there will linings for your pieces. This is so you can have the decorative swimwear fabric on the outside, and then all of the functional lining fabrics on the inside that have the properties you need.
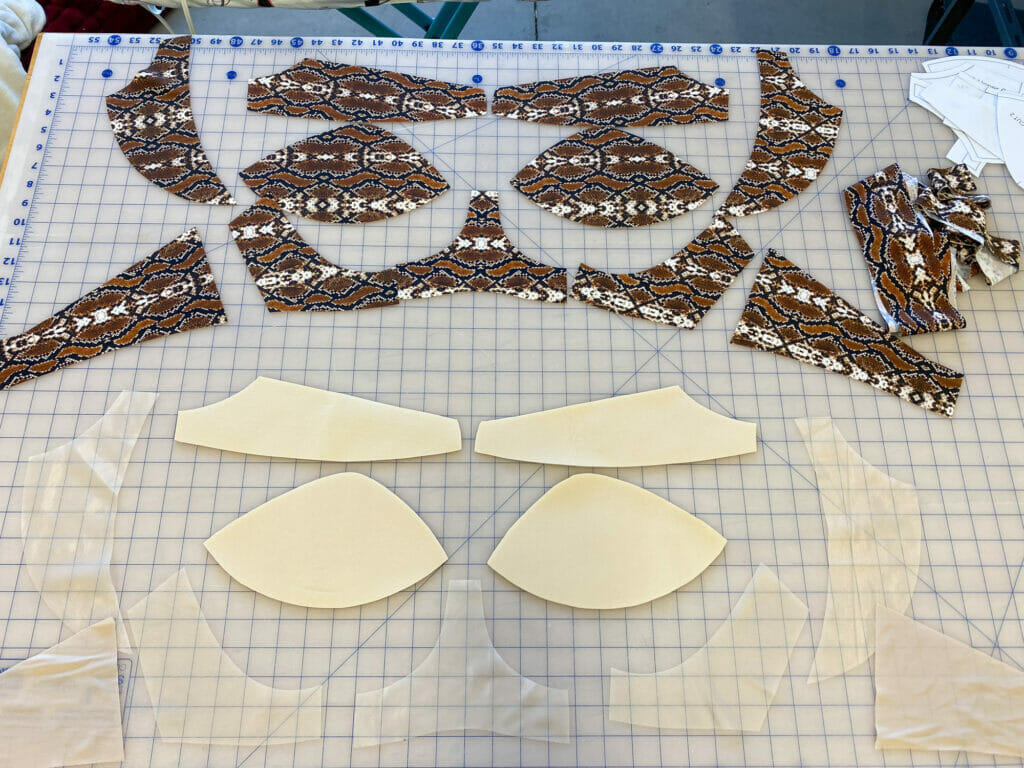
Cut all of your pattern pieces from your swimwear fabric.
Then for your lining pieces cut:
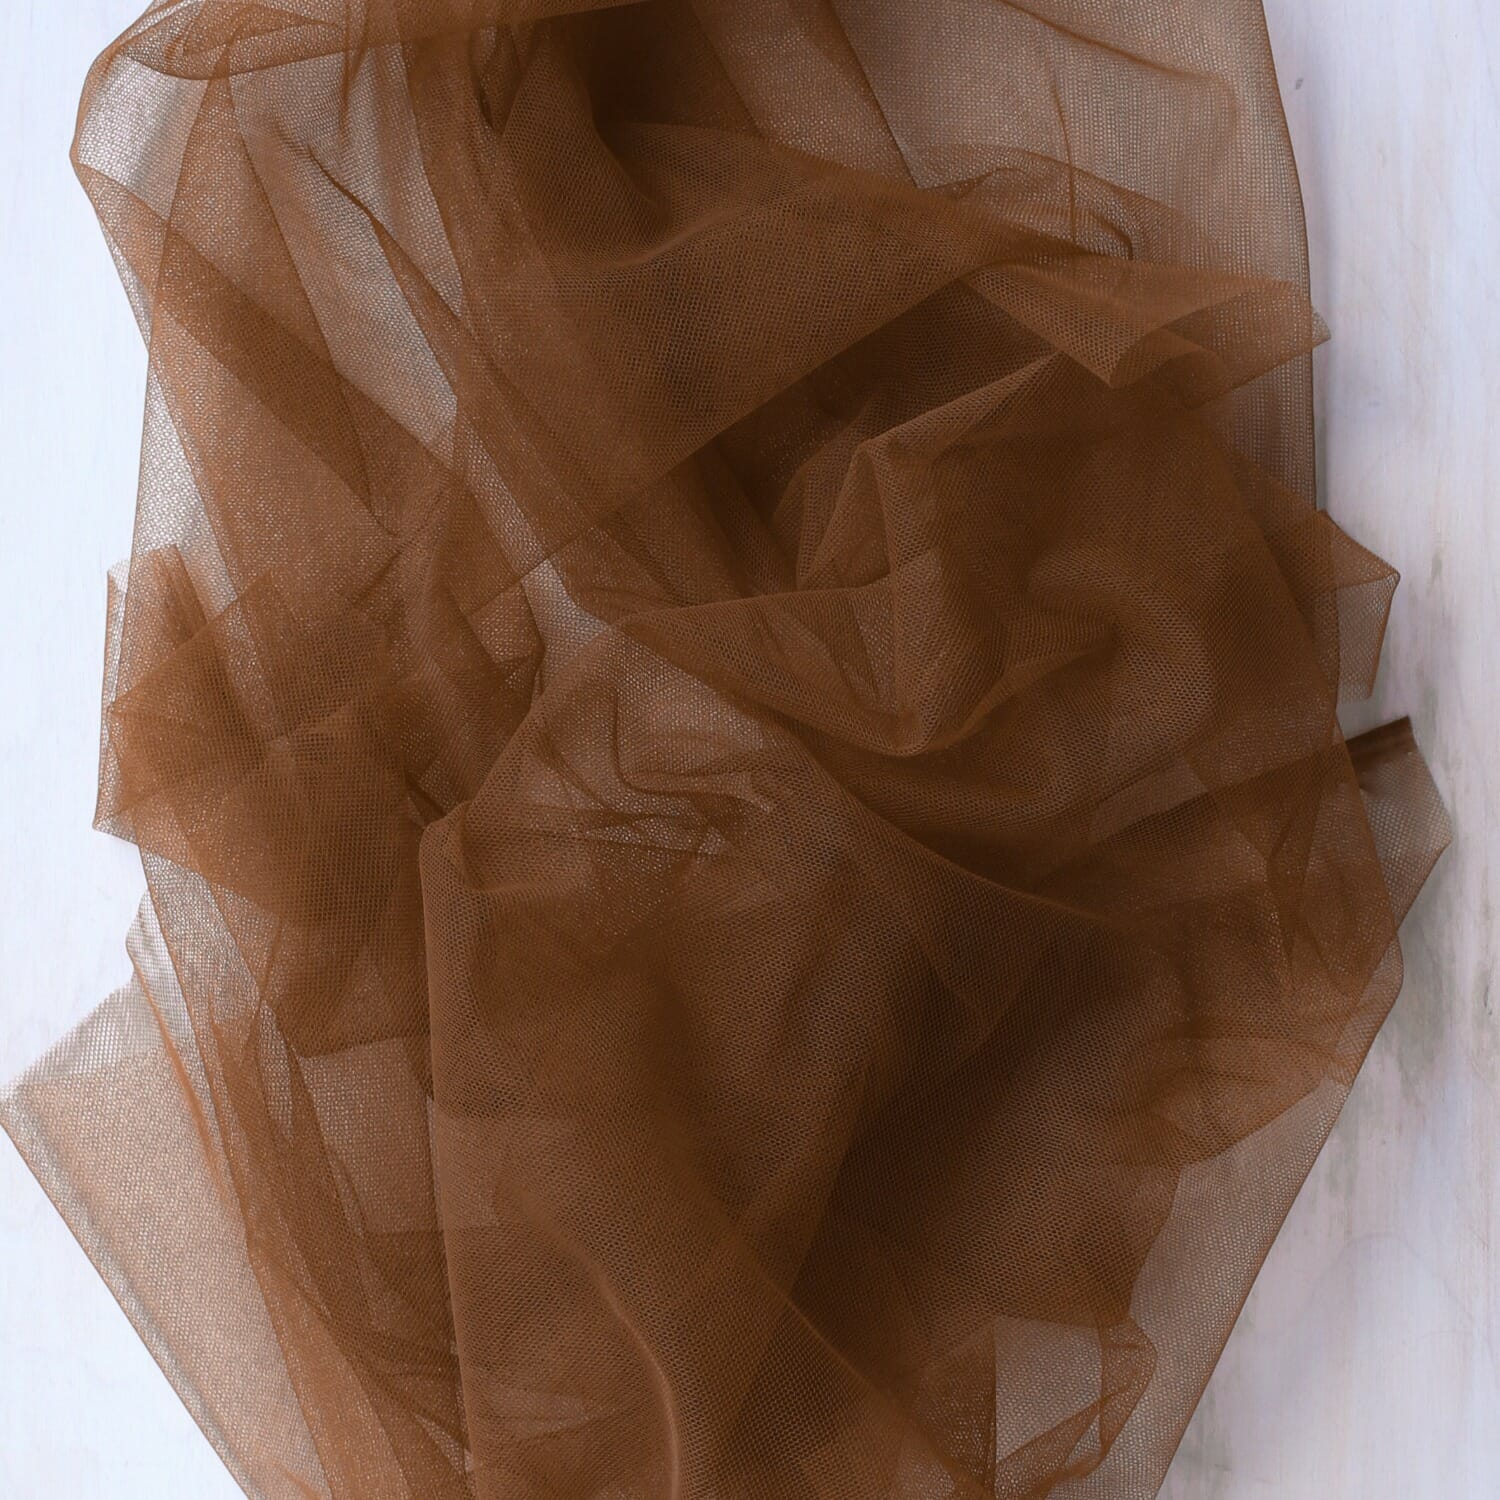
sheer cup lining for your: powerbar, outer cradle & bridge
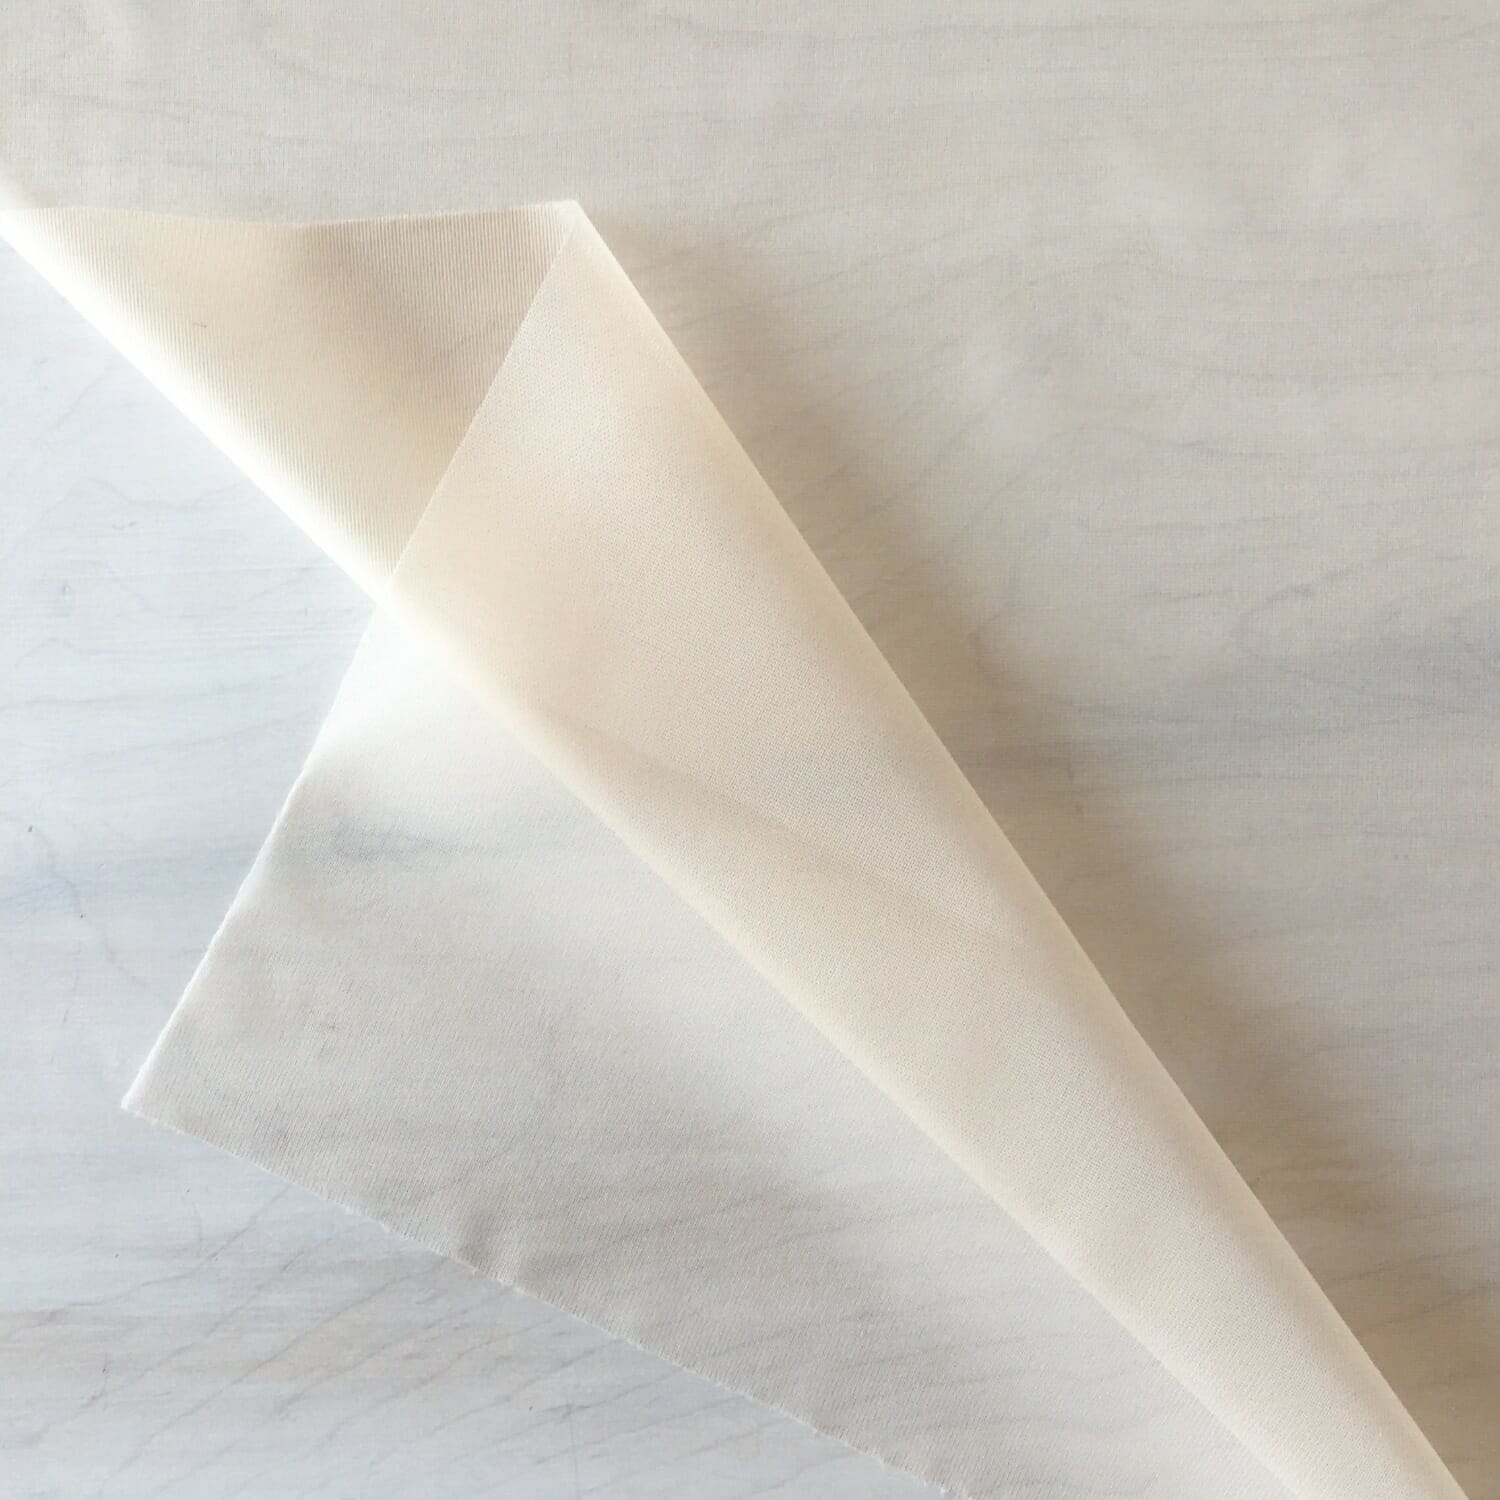
foam lining for your: upper and lower cup
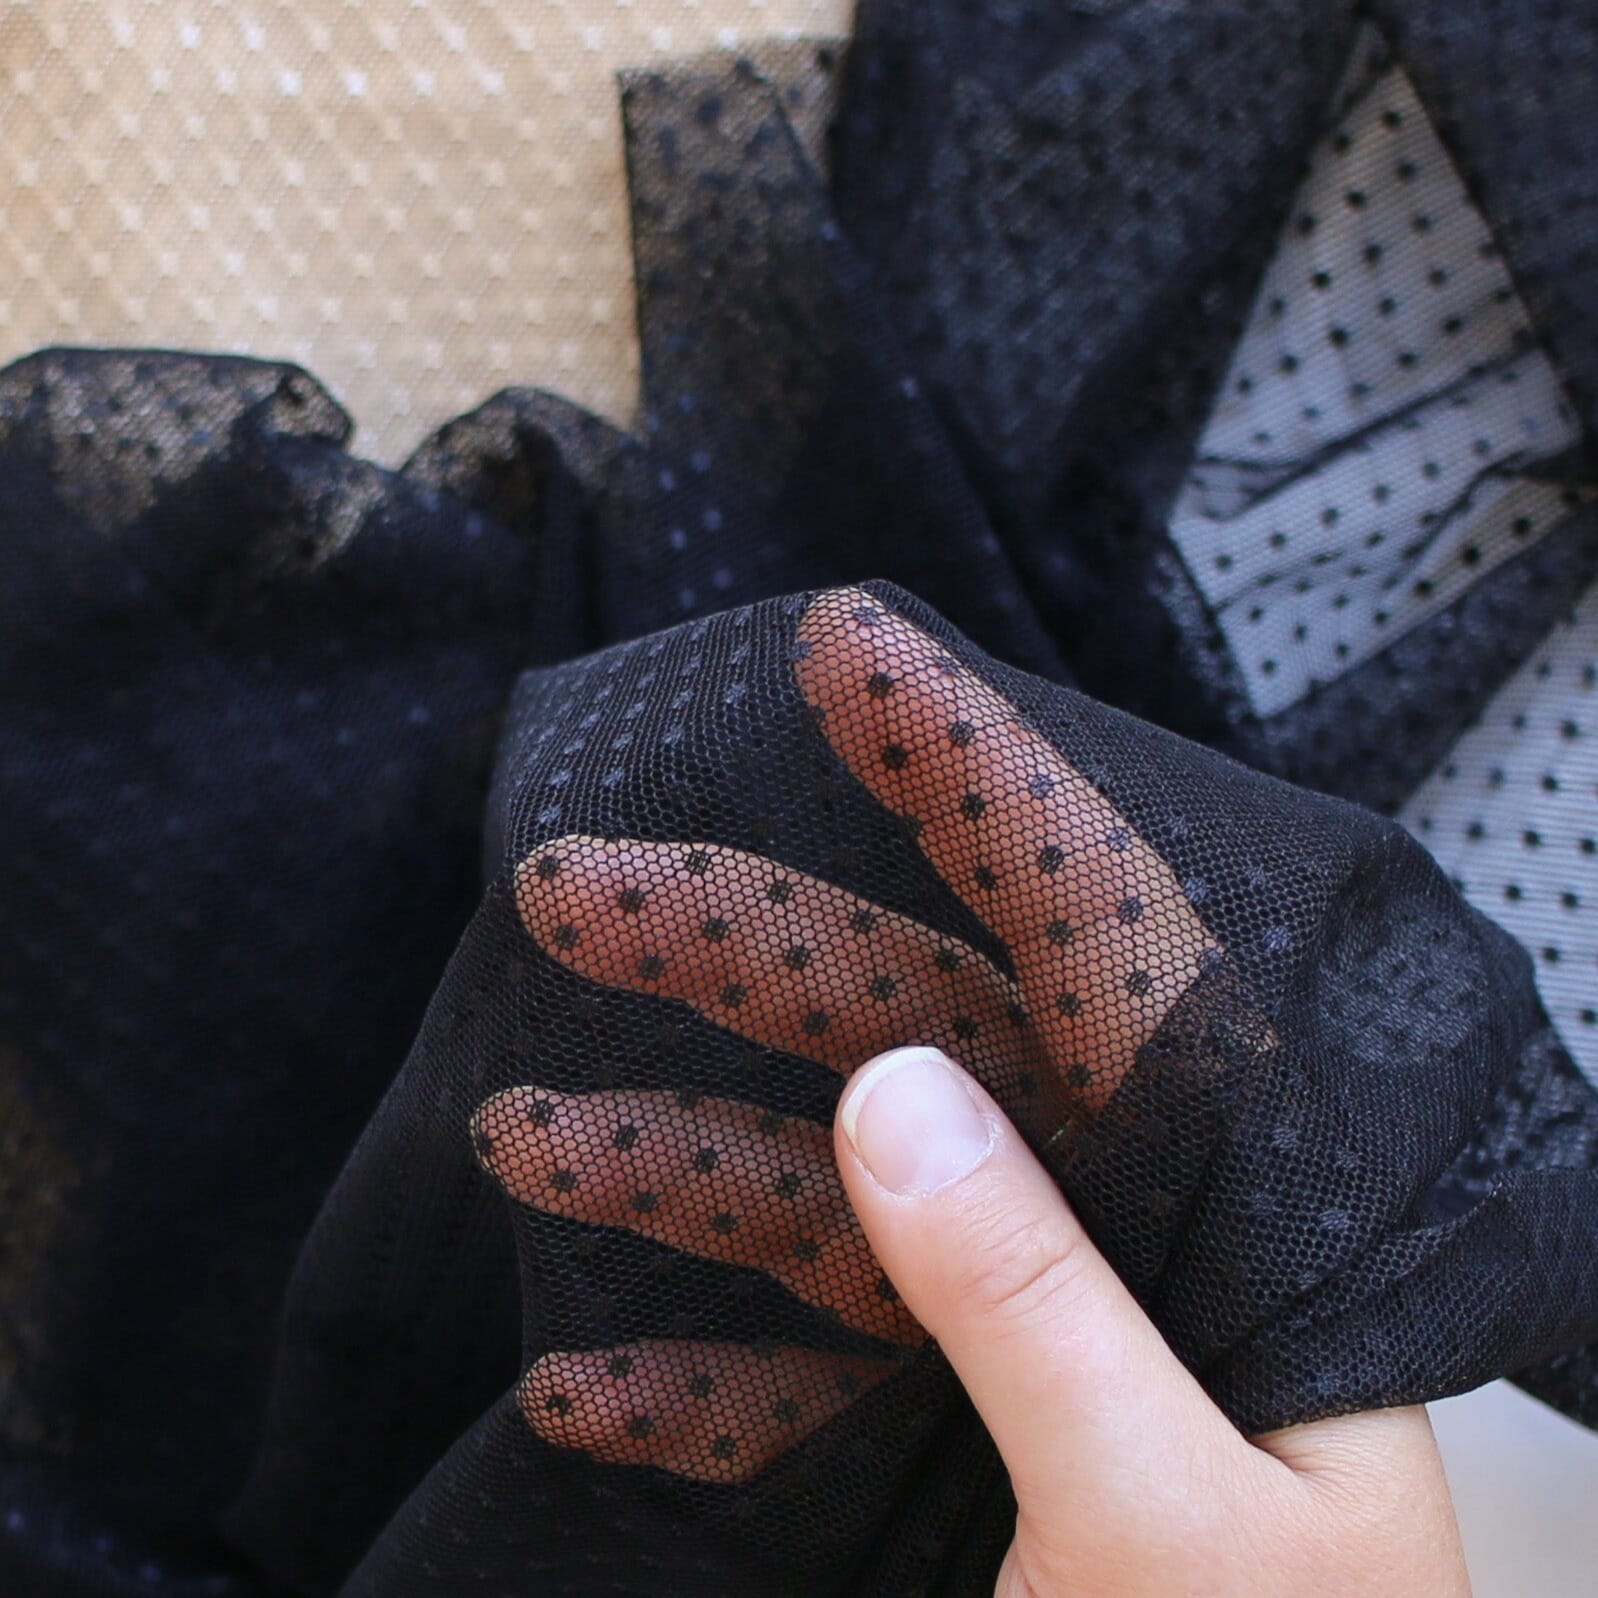
powernet lining for your: back band
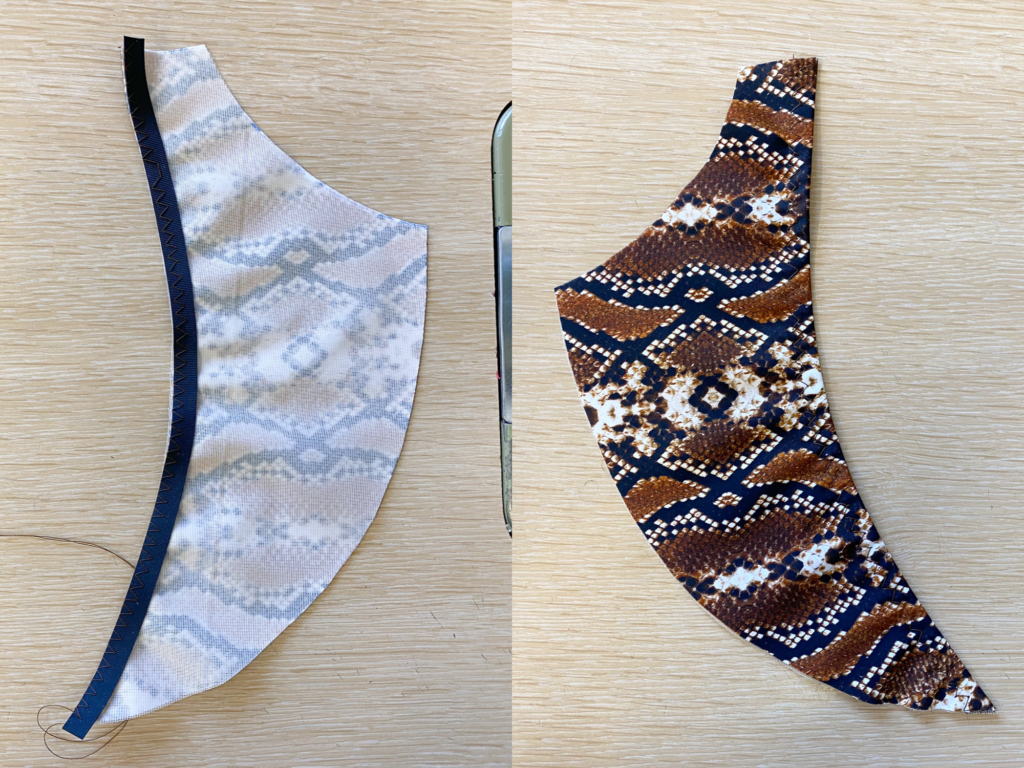
Just like in the bra construction, the first step will be the powerbar, and you want to treat your lining and outer swimwear fabric like one piece of fabric- you can baste the two layers together, or you can live dangerously like me and leave them loose. For this step you only need to finish the inside edge of the powerbar now, you will add the strap later. To finish the inside edge sew your 3/8″ (8mm) swimwear elastic to the inside edge of the powerbar on the wrong side with a zig-zag stitch, then turn your swimwear elastic in and stitch down for a second pass, so your elastic is sandwiched between two layers of fabric.
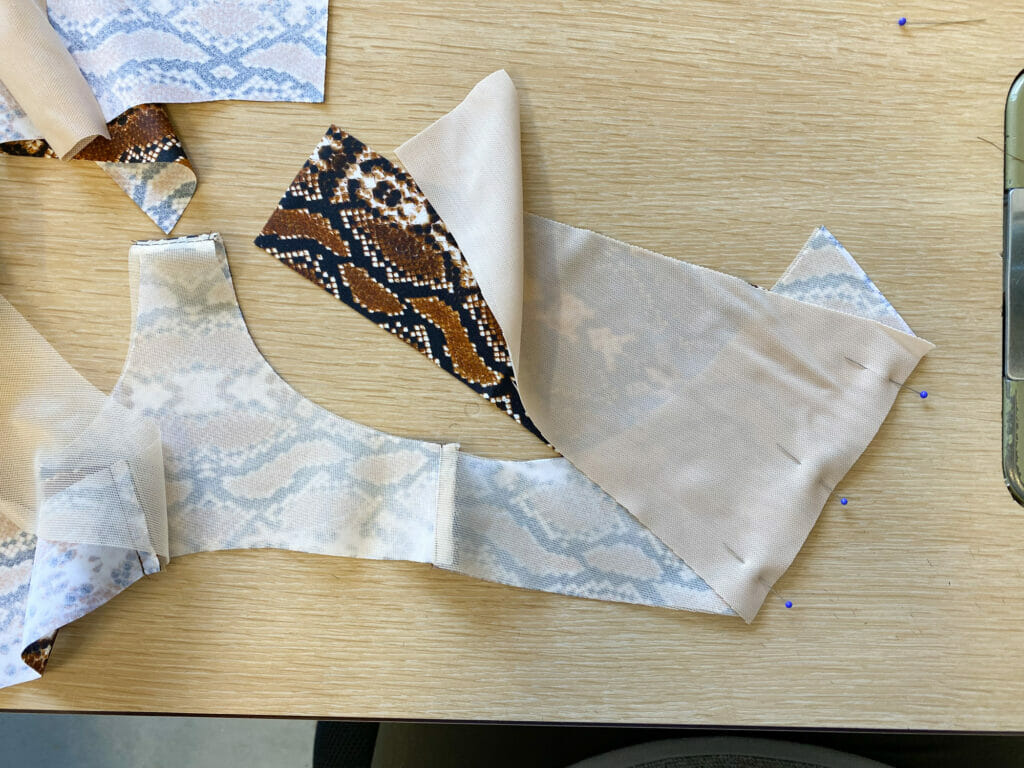
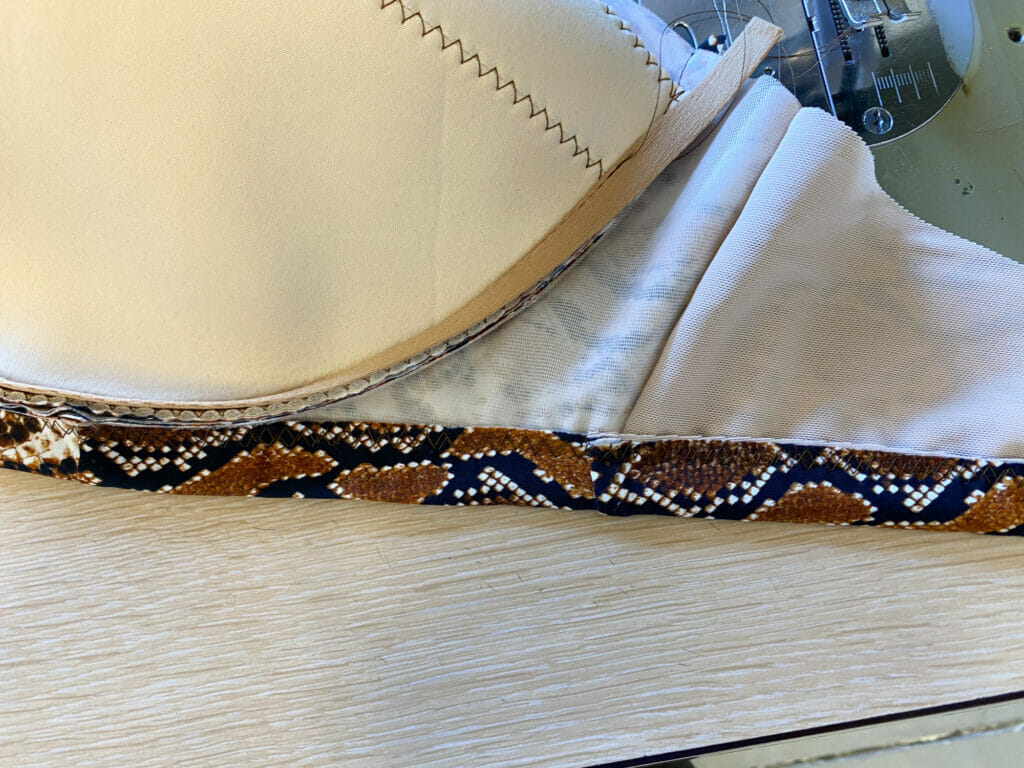
Then sew up your cradle just as shown in the instructions for View B. The only difference will be attaching the back band, since there isn’t usually an outer fabric and lining. To attach this I like to put my powernet lining right side to wrong side of the outer cradle, and my swimwear fabric right sides together. This way your seam allowances will be caught between the layers and it will be enclosed and nice and tidy on the inside.

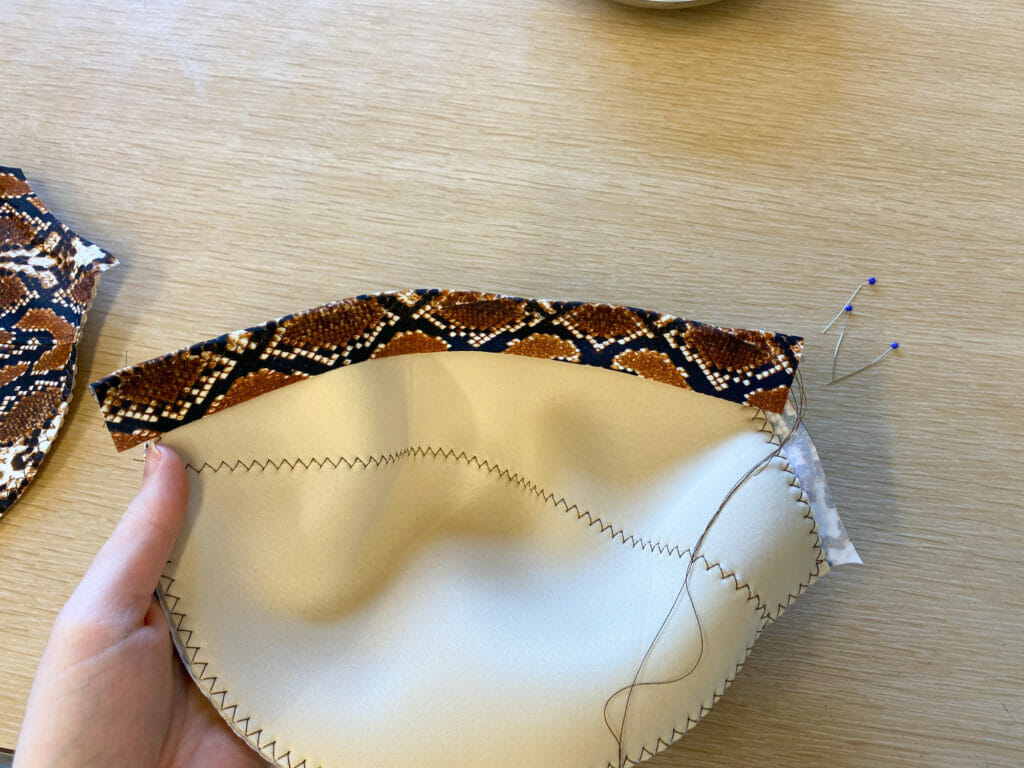
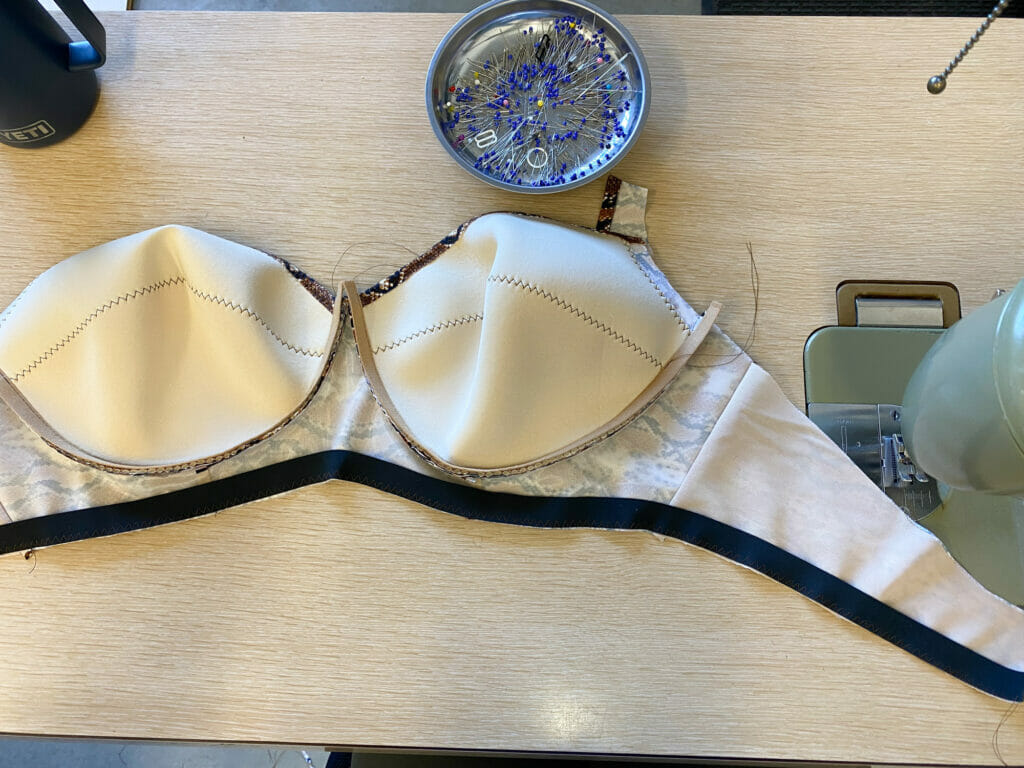
Sew you foam cup seam and your outer cup as usual in the pattern. Do not finish the neckline edge of your foam cup with fold over elastic, the edge will be finished later with swimwear fabric binding.
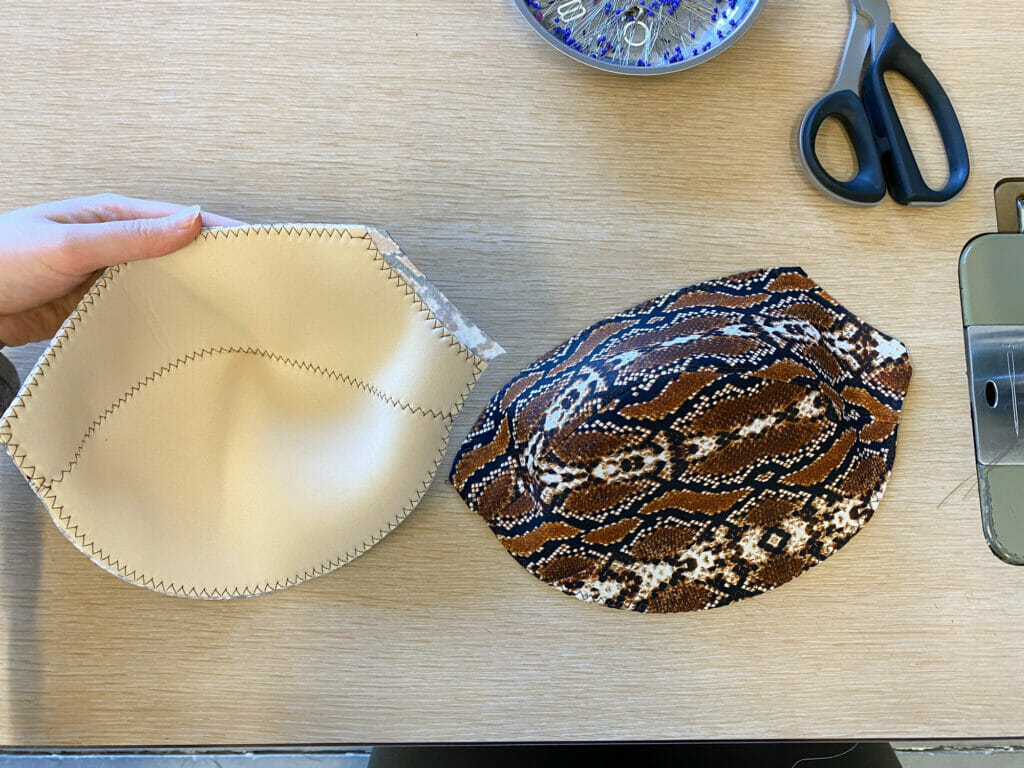
Then baste your swimwear fabric cover to your foam cup along the edges. Don’t forget that your swimwear fabric cover has an additional 3/8″ (8mm) elastic allowance along the underarm edge, so it will hang over the foam there.
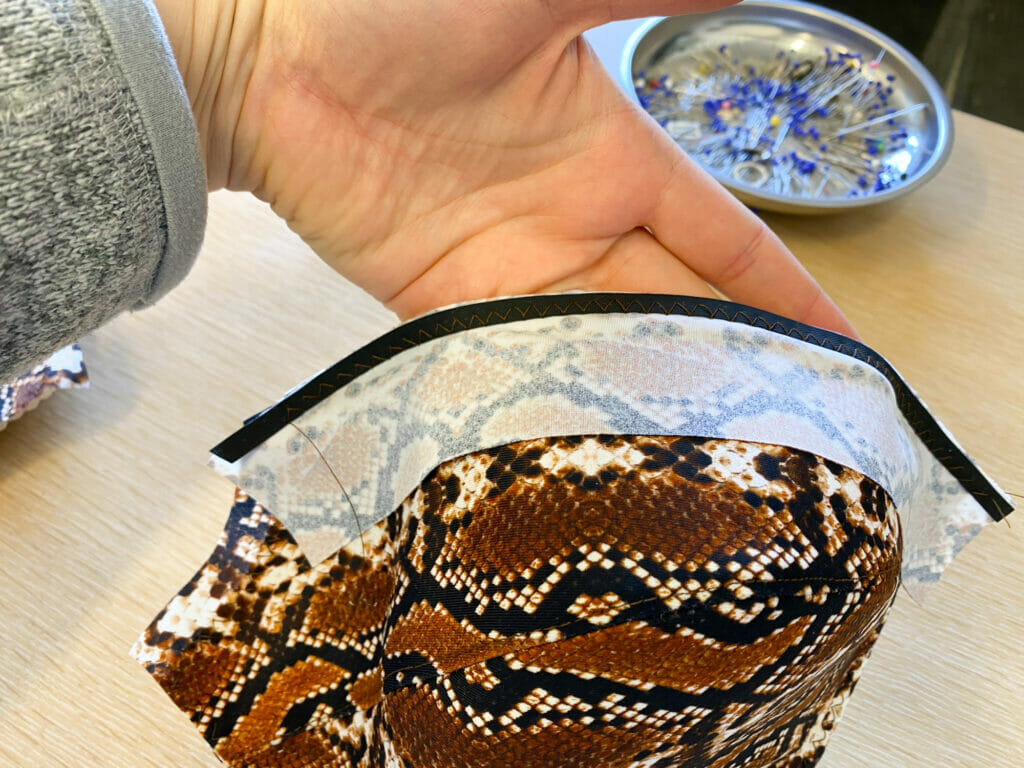
Next finish the neckline edge of your cups with binding and swim elastic. Place your binding right sides together along the neckline edge of your cup, then place 1/4″ swimwear elastic along that edge. Stitch with a zig-zag stitch along the edge of your swimwear elastic that is closest to the cup (farthest from the fabric edge).
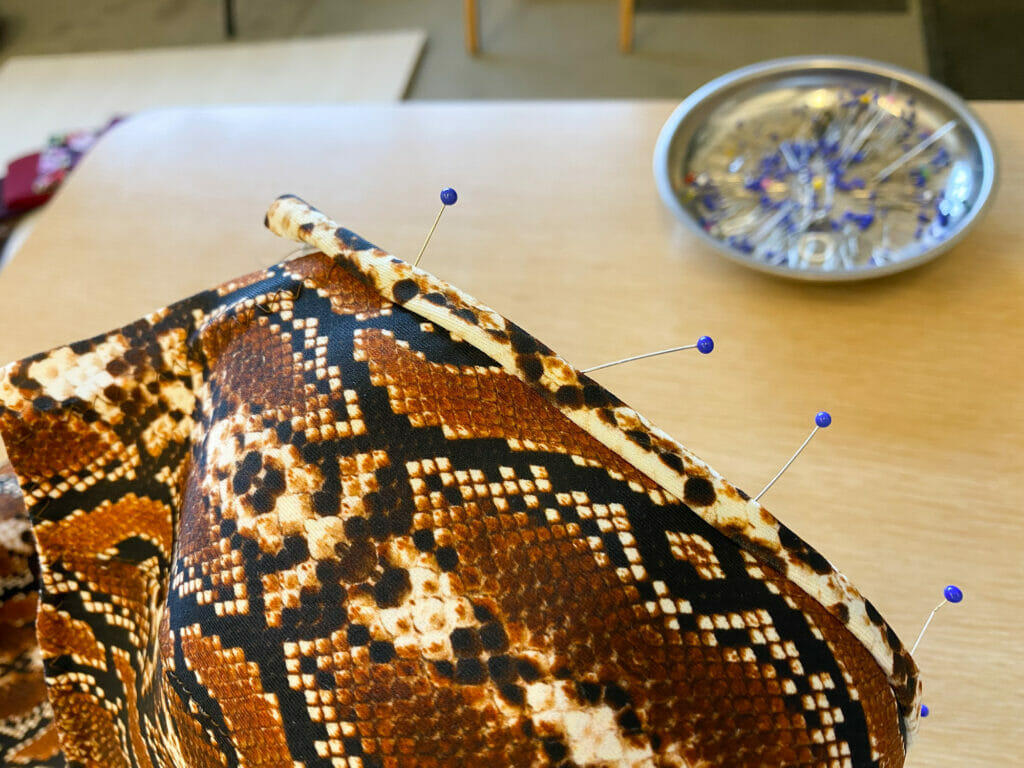
Then wrap your binding around the neckline edge, enclosing the elastic, and pin on the wrong side.
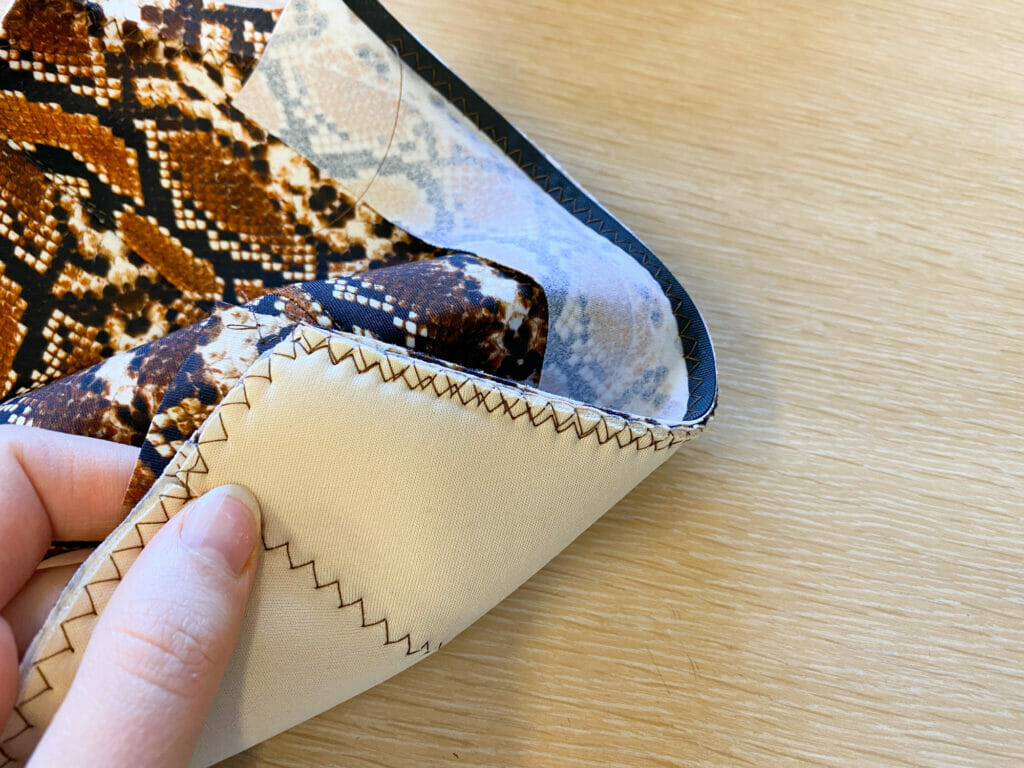
Stitch the binding down, I like to keep my stitches inside the binding right along the edge.
Then trim away the fabric outside your stitches for a tidy finish on the inside.
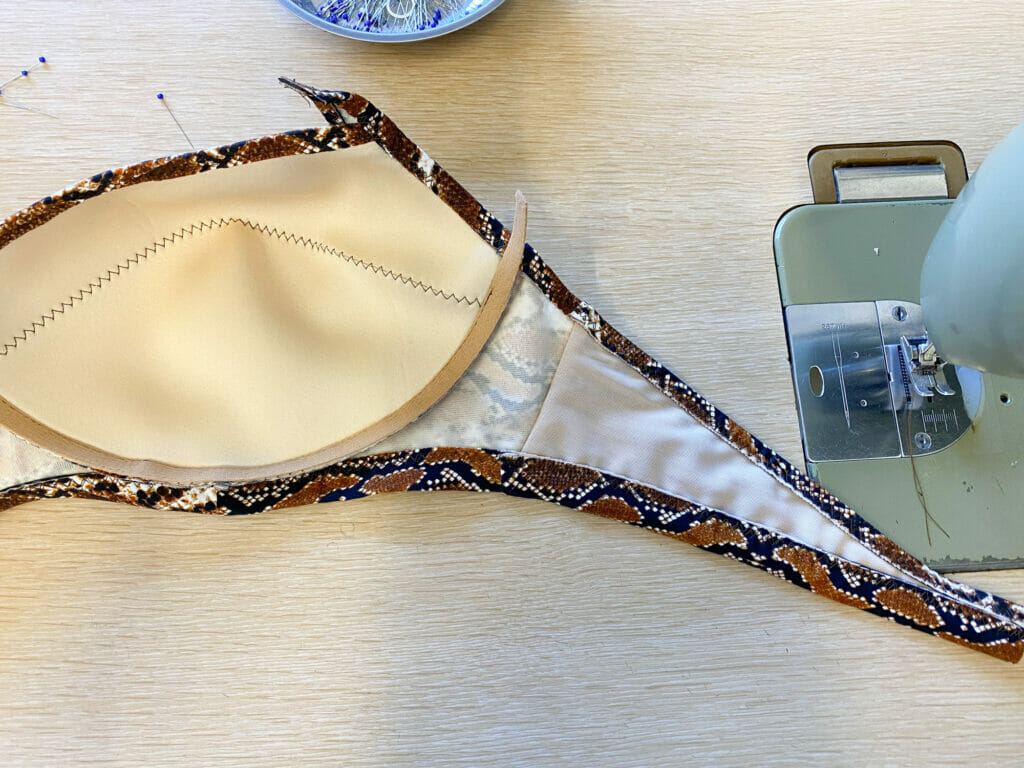
Pin or baste the powerbar onto your cup as usual in the pattern instructions.
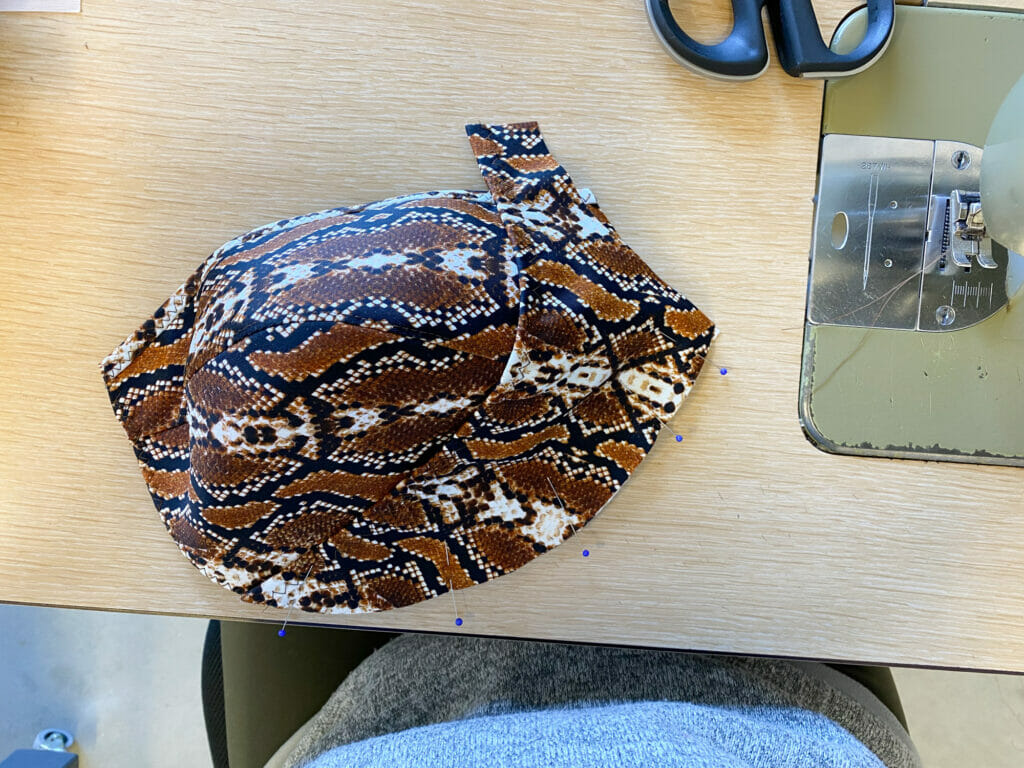
The sew your cups into your cradle- it’s starting to look really good! And then sew in your first pass of the channeling just as shown in the instructions.
The next step is applying the bottom band elastic, and in this case you will use swimwear elastic to finish the bottom band instead of the usual picot plush elastic.
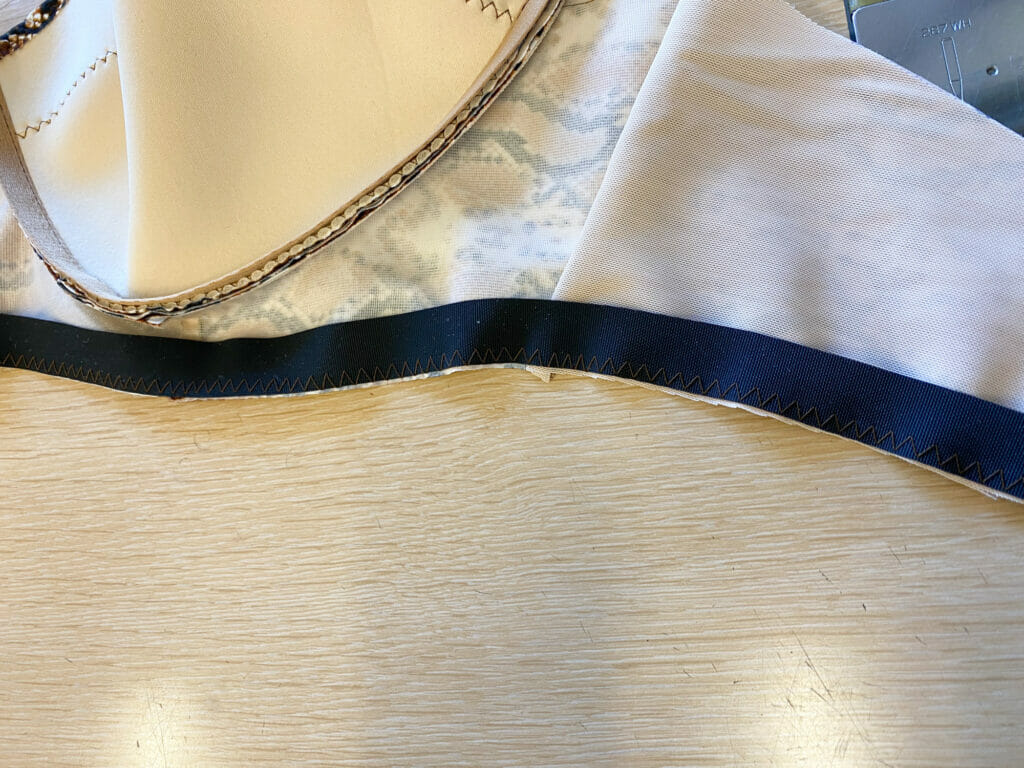
Using a zig-zag stitch, sew your elastic along the bottom edge of the band.
Then, just like usual swimwear elastic application, fold the swimwear elastic in towards the band and stitch down again along the inside edge of the fabric where your previous stitches are.
Repeat this same elastic application along the top band of the bra with 3/8″ (8mm) swimwear elastic, on both sides. Then stitch down your channeling for the second pass, as shown in your instructions.
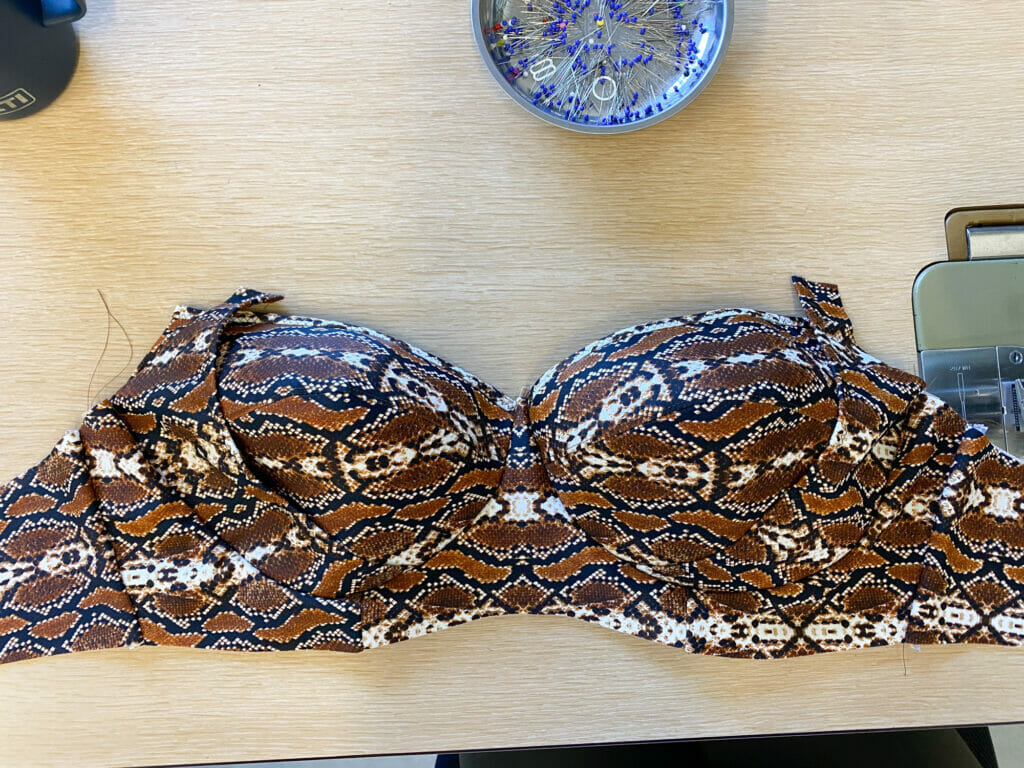
At this stage your swimsuit top is nearly complete. You can add the underwire and finish the channels with a barttack.
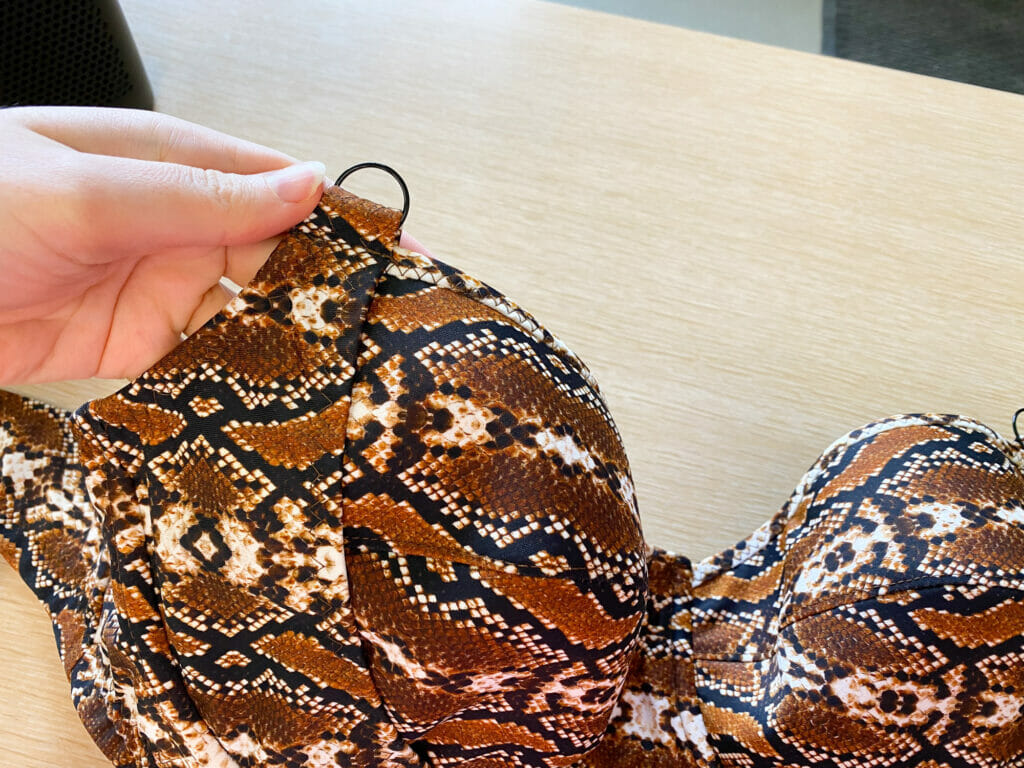
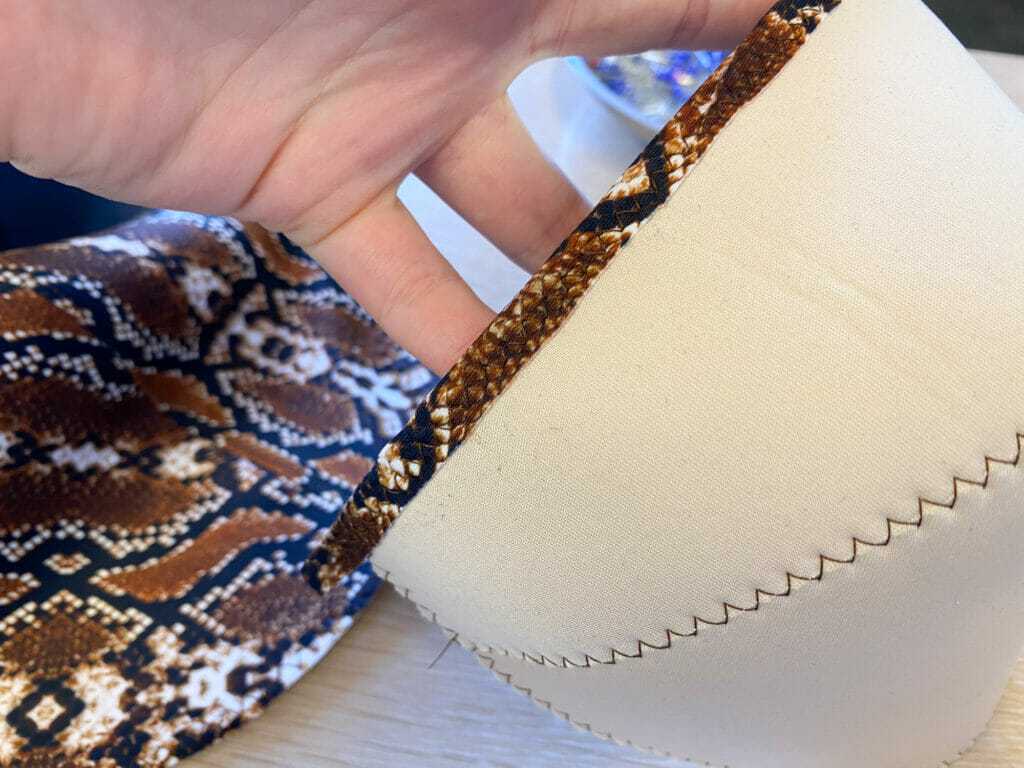
The final finishing touches are adding a ring to the top of your powerbar simply by threading the top of the powerbar through the ring and folding it over and stitching down. Then you can attach your strap to this ring. I find having a ring here gives more options for strap angles- if you want to cross your straps, tie them as a halter or just have them attached as usual.
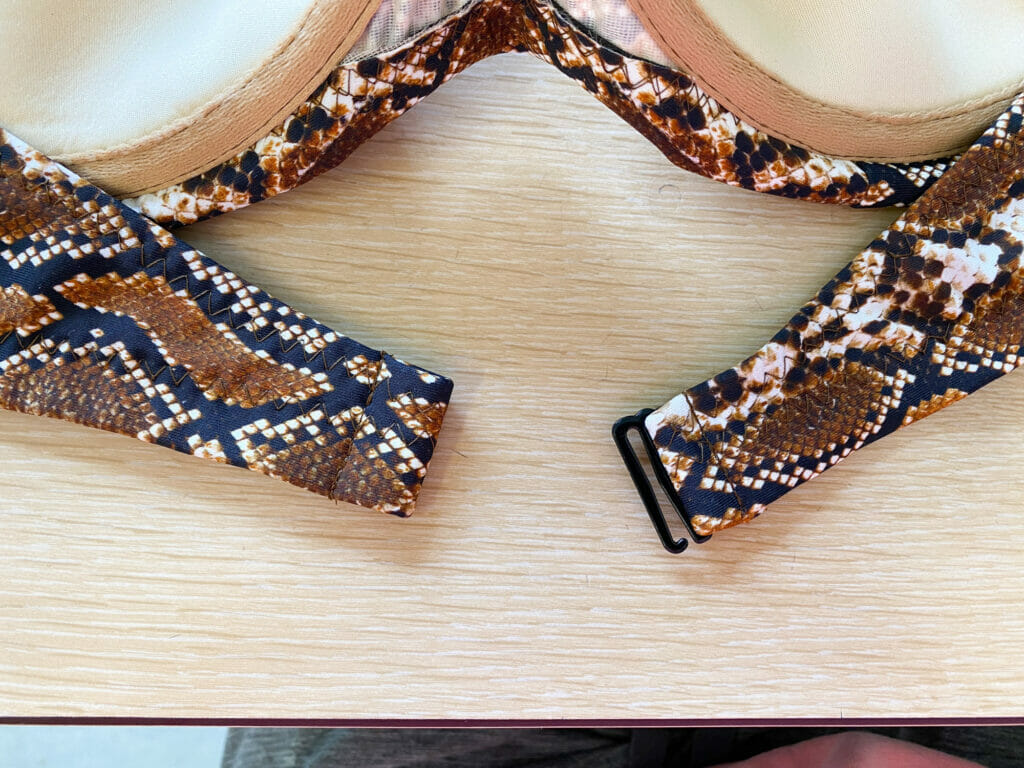
And last but not least, adding the G-hook. To do this, thread the G-hook onto the right side of your back band with the opening facing down. Then stitch down the end with a straight stitch secure it. Repeat on the other side without a G-hook to create a loop for the G-hook to catch. At this point you can adjust this to your preference, there should be a little wiggle room with the extra added to the pattern.
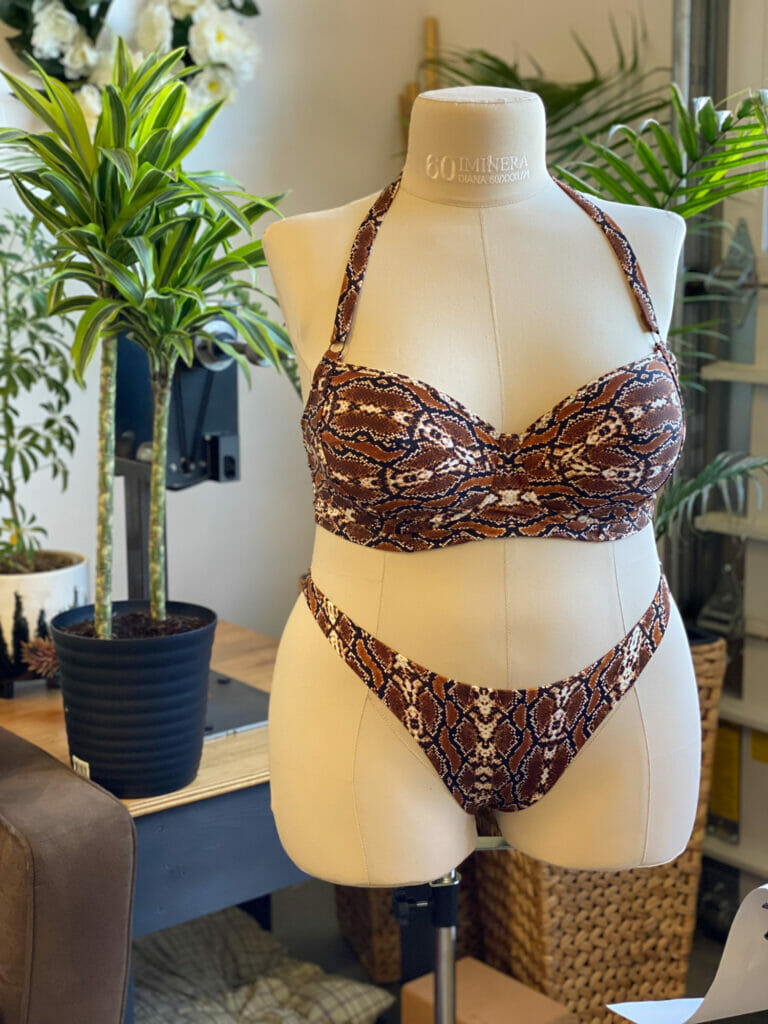
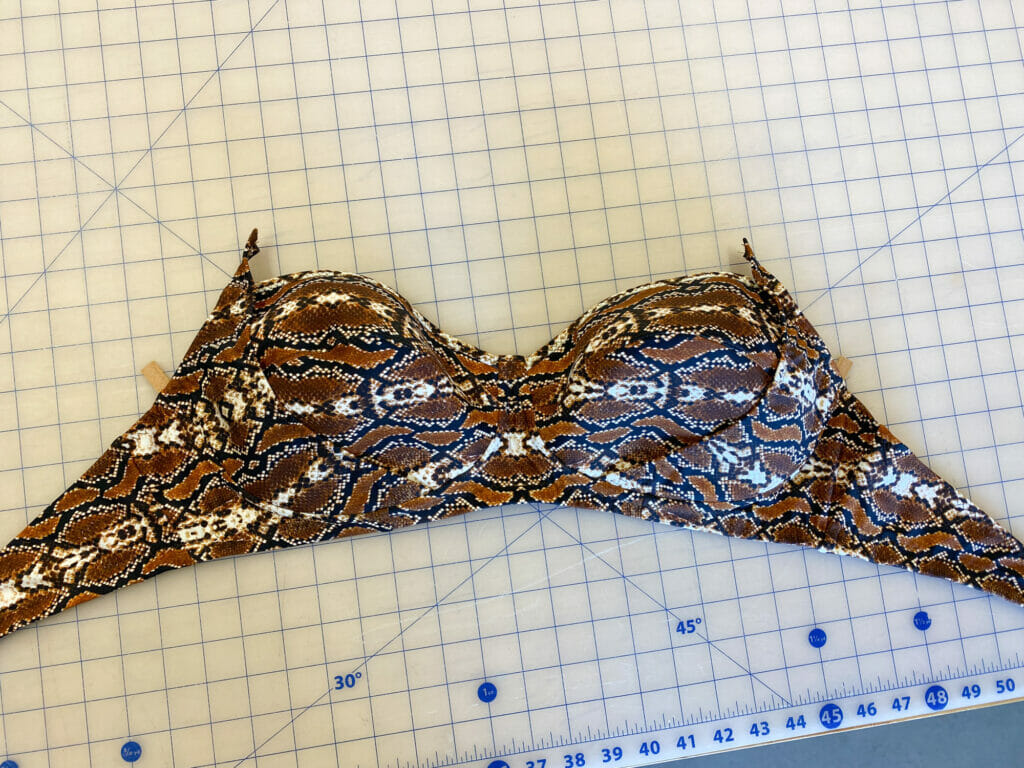
And voila! You can sew down your straps however you like the most, I’ve just tied these in a halter style, but it would be really cute to cross them in the back too, or just have them in the classic straight back style.
I made this version in our Cobra swimwear print using our Black Beauty Swimsuit kit, which includes all the materials you need to make this black beauty swimsuit in both the B-DD and E-G cup size range of the Black Beauty Bra pattern.
Happy sewing!
xo
Erin
Wonderful to see Erin. I am so glad that are now producing this kit. I am sure it will be popular.
Great tutorial! Thankyou. I’m going to give this a go today
Happy Sewing!
I love this tutorial !!!!
I have been trying to find the way to make a tankini using the Black Beauty Bra pattern, so it will be wonderful for me if you can help me with that …
Thank you so much Erin !!!!!
Thank you. This is a big help. Someone used to have a video on youtube but it was taken down. Again, thank you.