


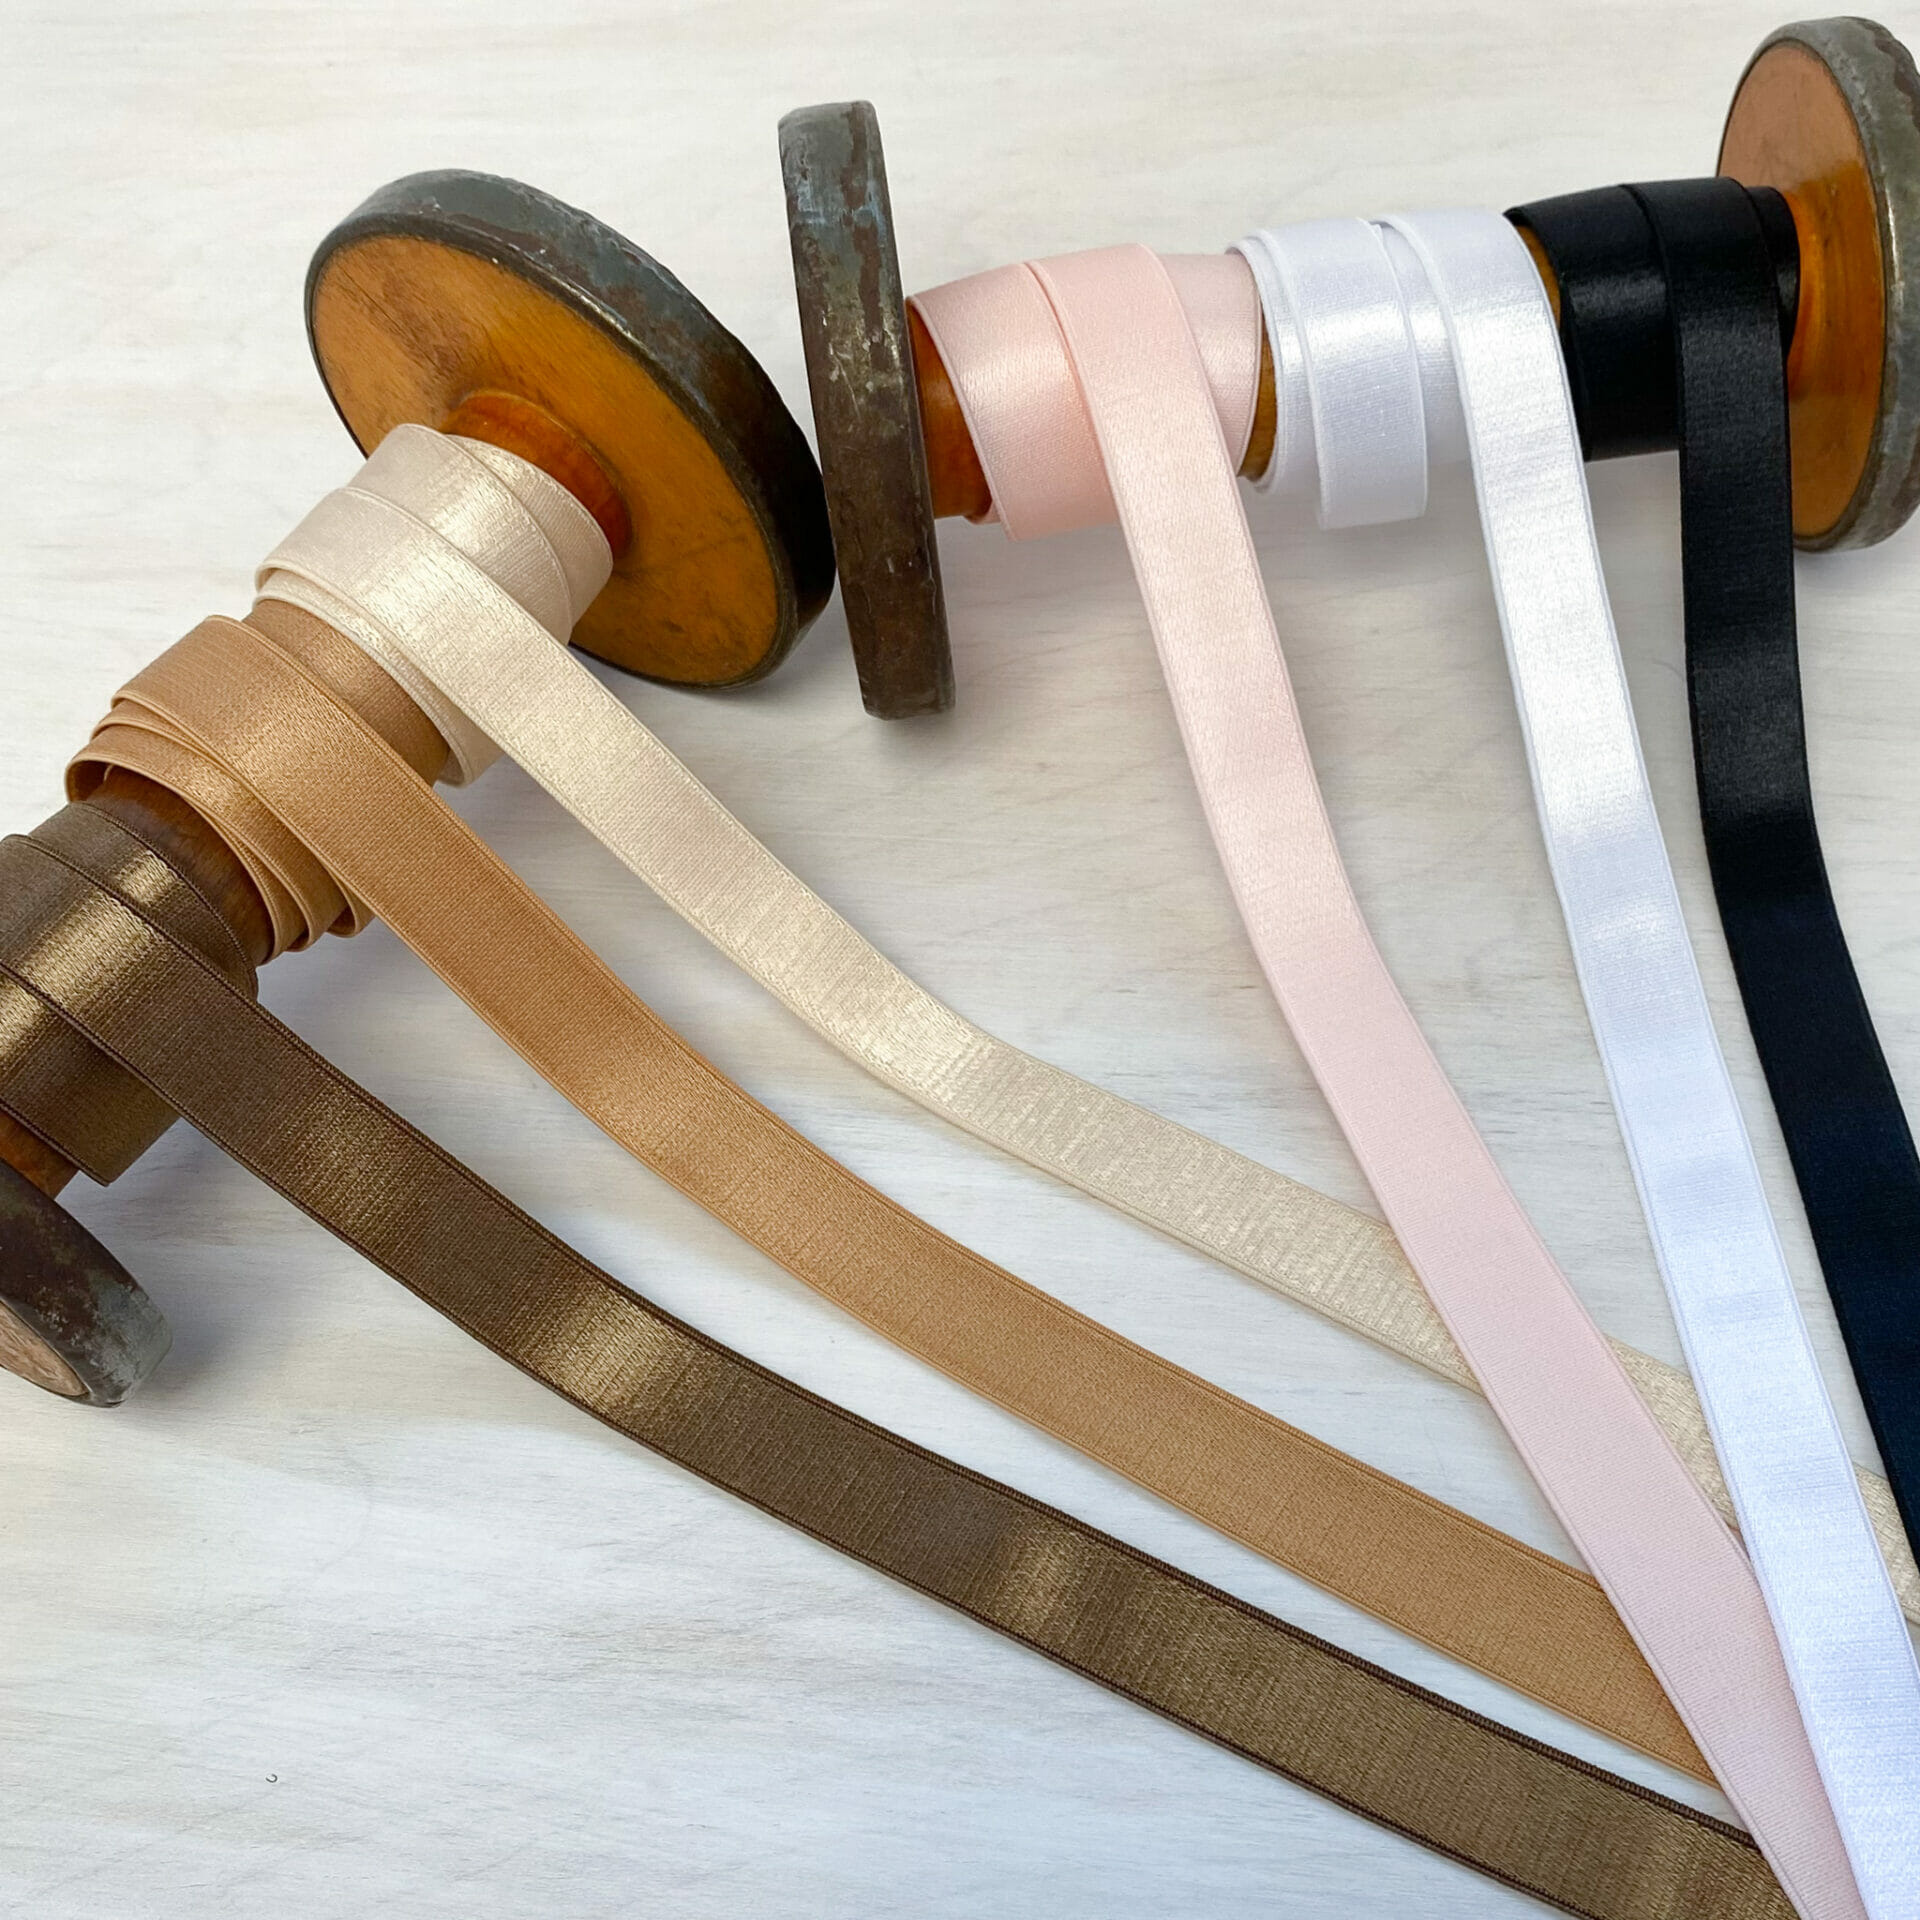


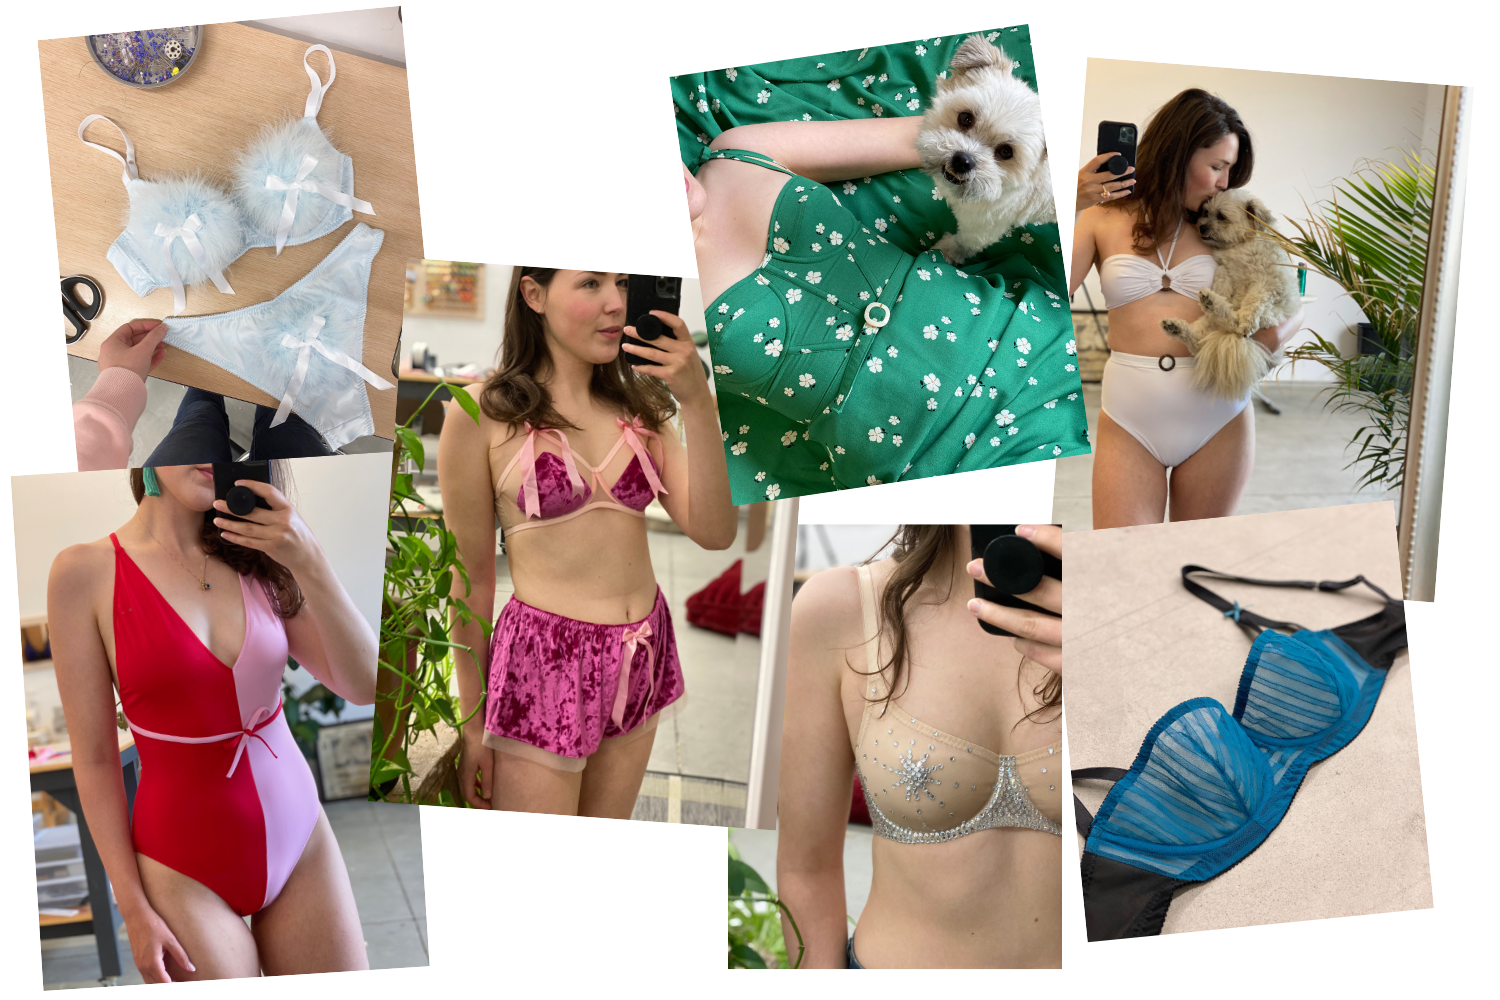

Hi All!
Today’s post has been HIGHLY requested after the past posts in underwire month, especially after my Underwire Fitting Post where I explained the ins and outs of wire sizing and how to find the right wire for you!
So now you’ve found the underwire that fits your size…. but maybe it doesn’t fit your bra pattern size- bummer.
Let me start off by saying that this is SO common- it’s almost the norm – it would be crazy to think that every person with the same cup volume would have the same wire size- so what do you do about it?
Well firstly- stick to the wire size that fits your body- an underwire is the foundation to a good fitting bra- if you go with the wire that is ‘supposed to be’ the right size for your bra size, and not the wire that actually fits your body- you will not end up with the most comfortable bra for you!
So – I’m going to give you three different ways to solve this problem starting off with the super easy solution, working up to the solution that involves a little bit of drafting! I’m going to explain what you need to do if you’re using a larger wire size (that is too big for your pattern), or if you’re using a smaller wire size (that is too small for your pattern). Let’s go!
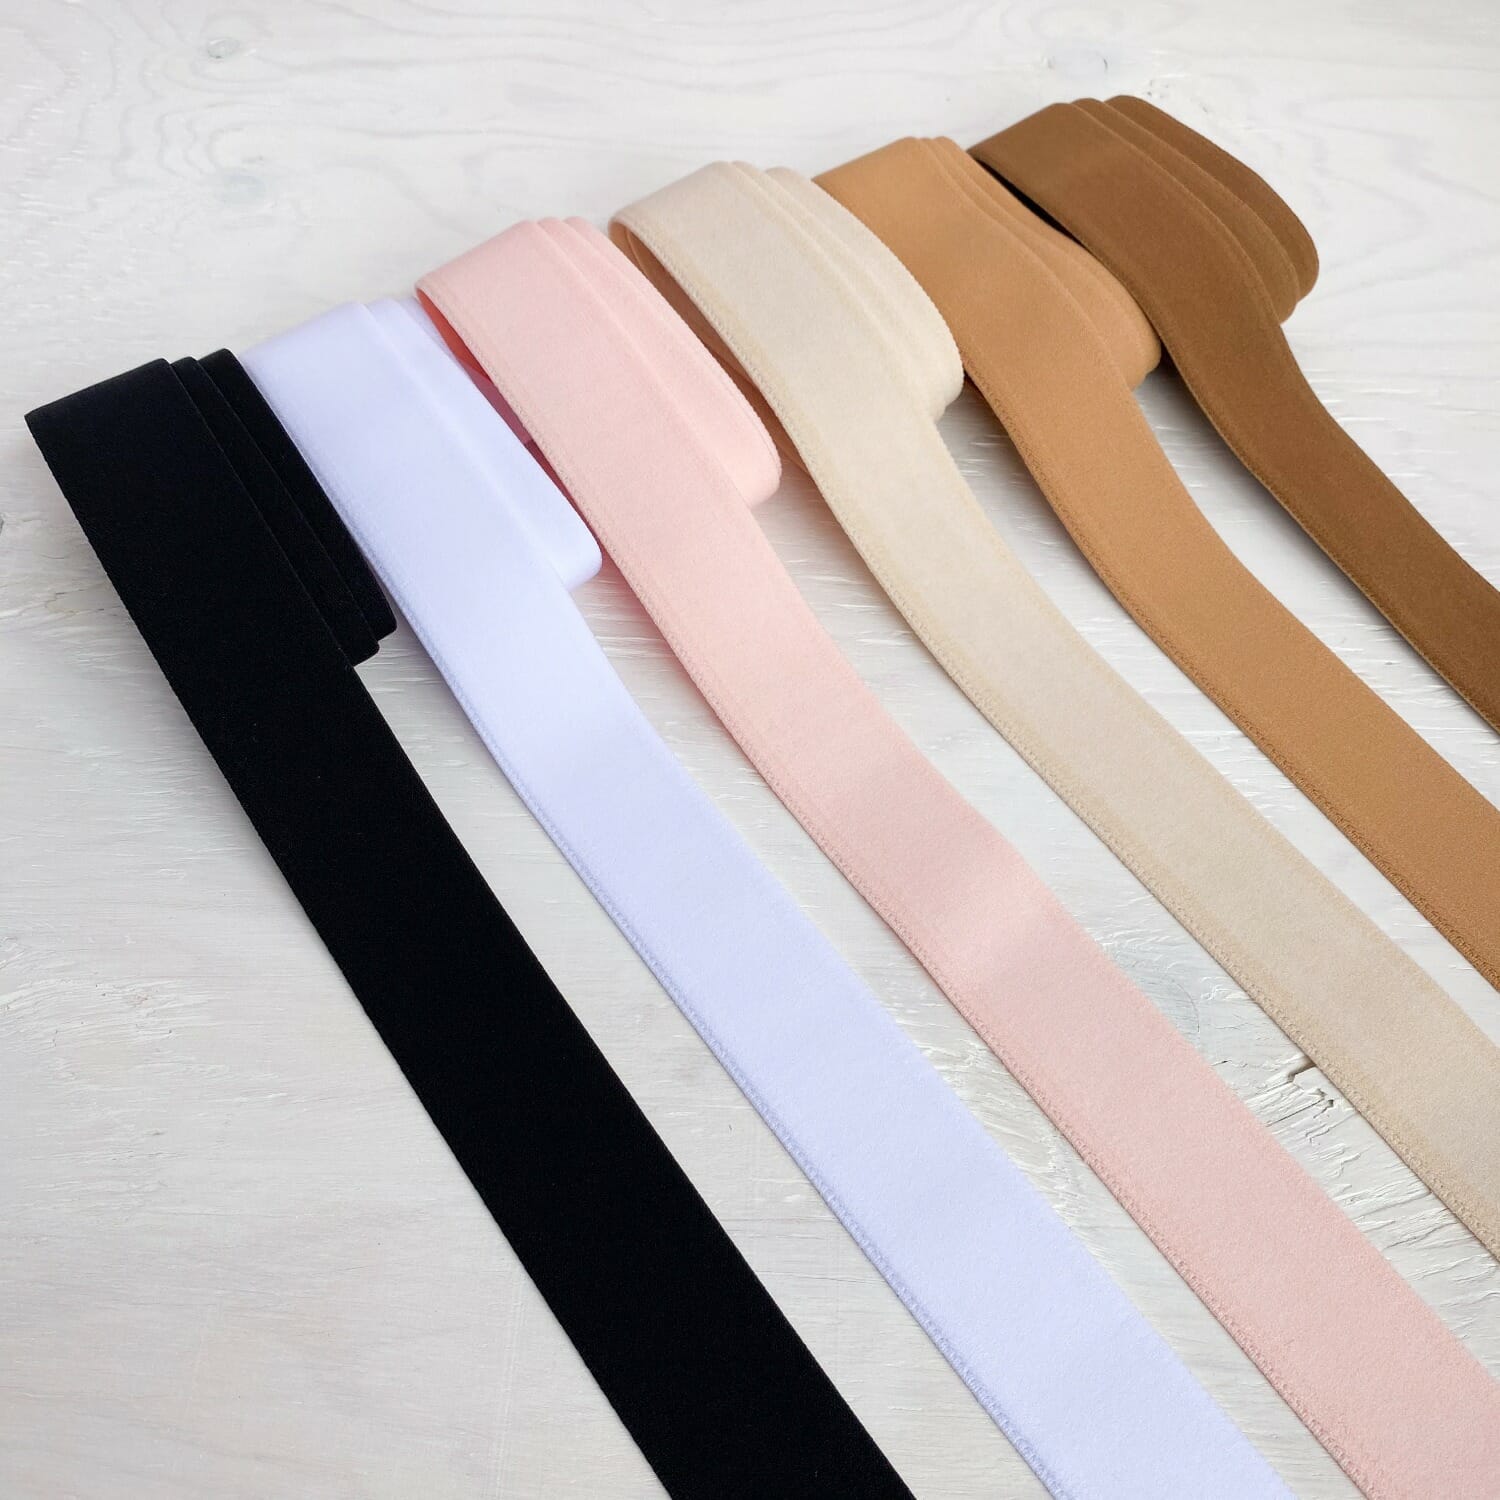
And remember before you jump in with your favourite lace- as with any pattern modifications- always make a test bra to work out any little tweaks!

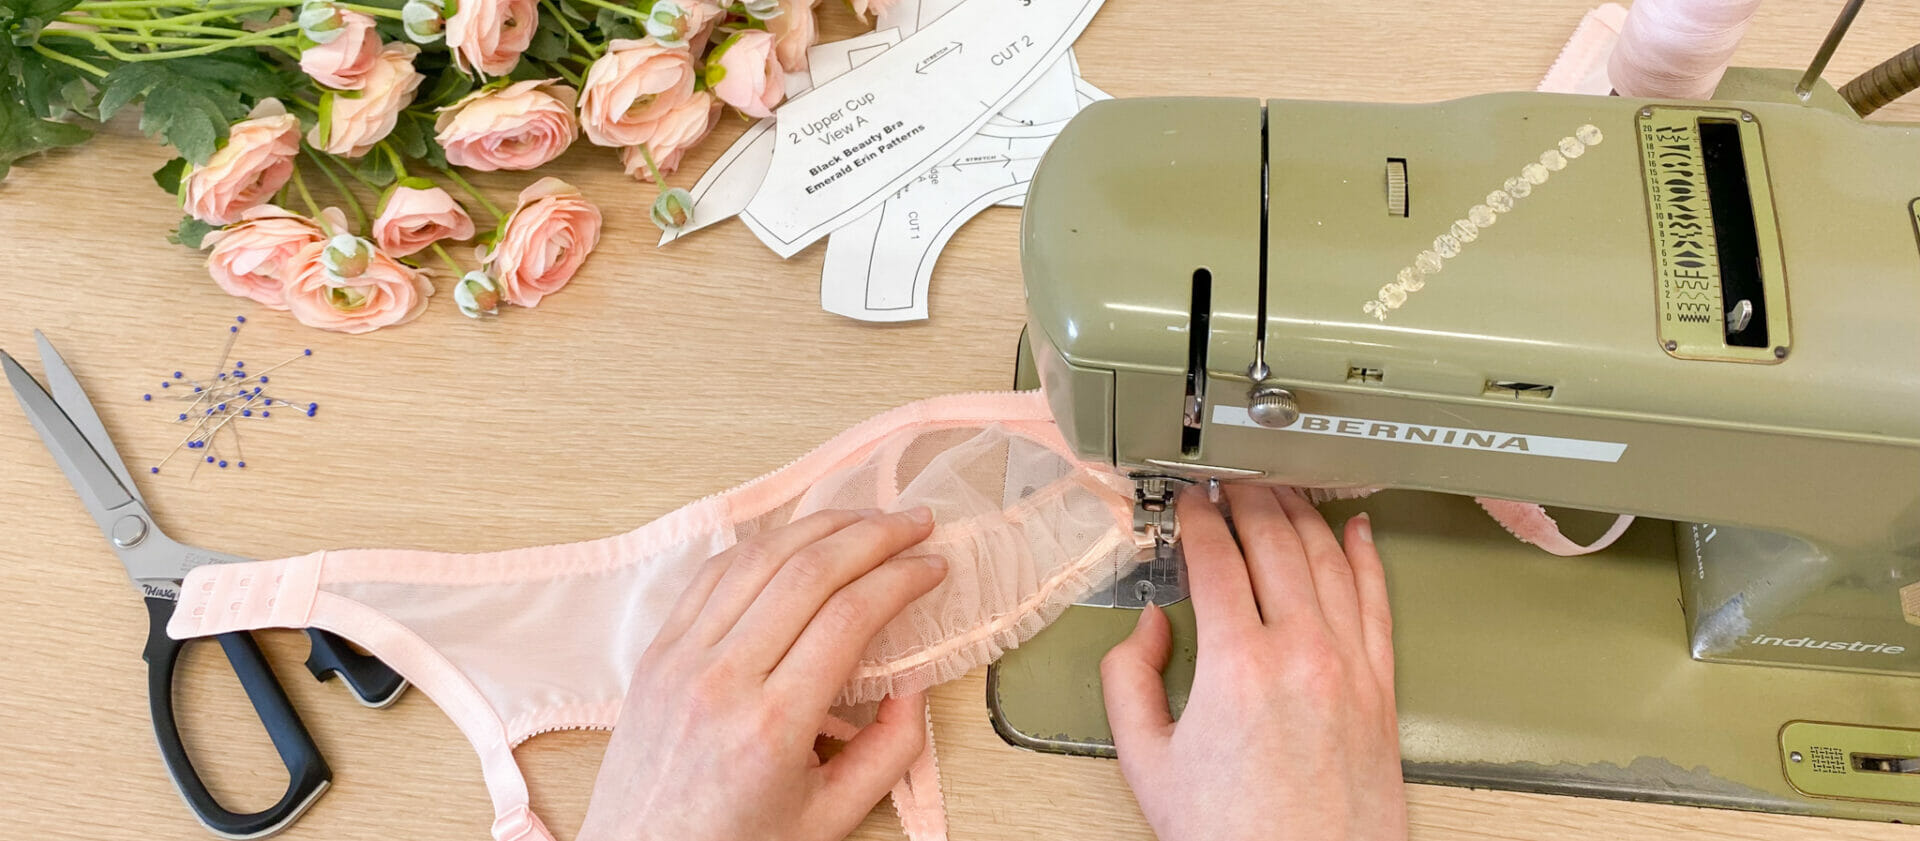
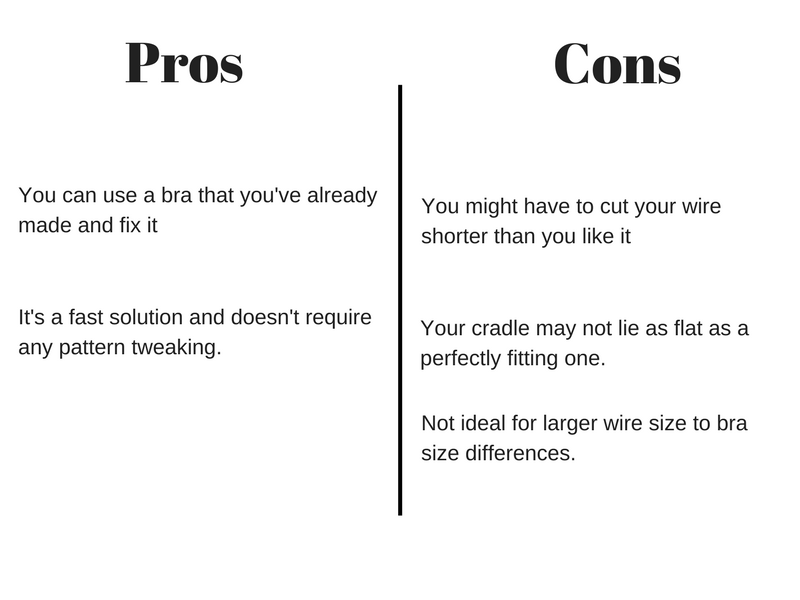
So the first way is – just as I said- super easy! It involves using your bra pattern as-is and making some adjustments for the wire. The benefit of this method is that you can use a bra that you’ve already made up, so if you’ve made a bra in your size, but realize you need to change out the wire for a better fitting one- you can do this!
Modifying for a Larger Wire
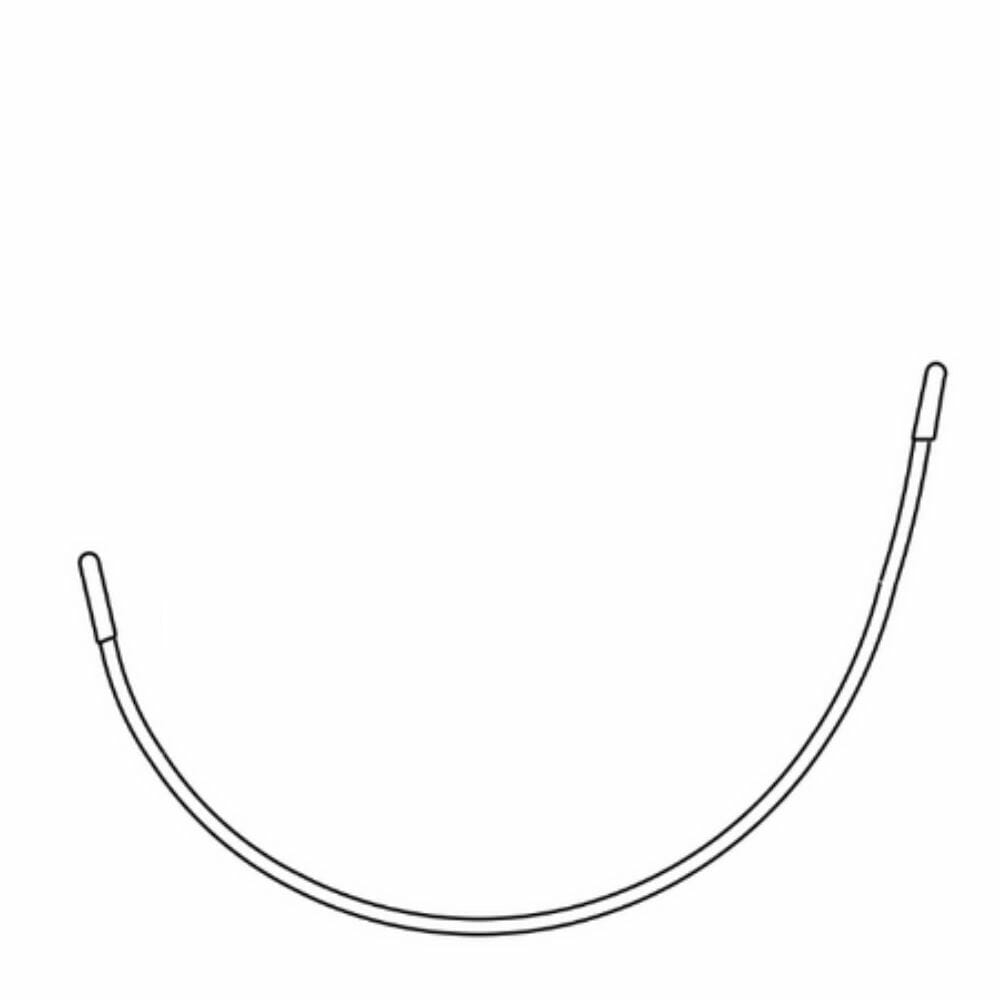
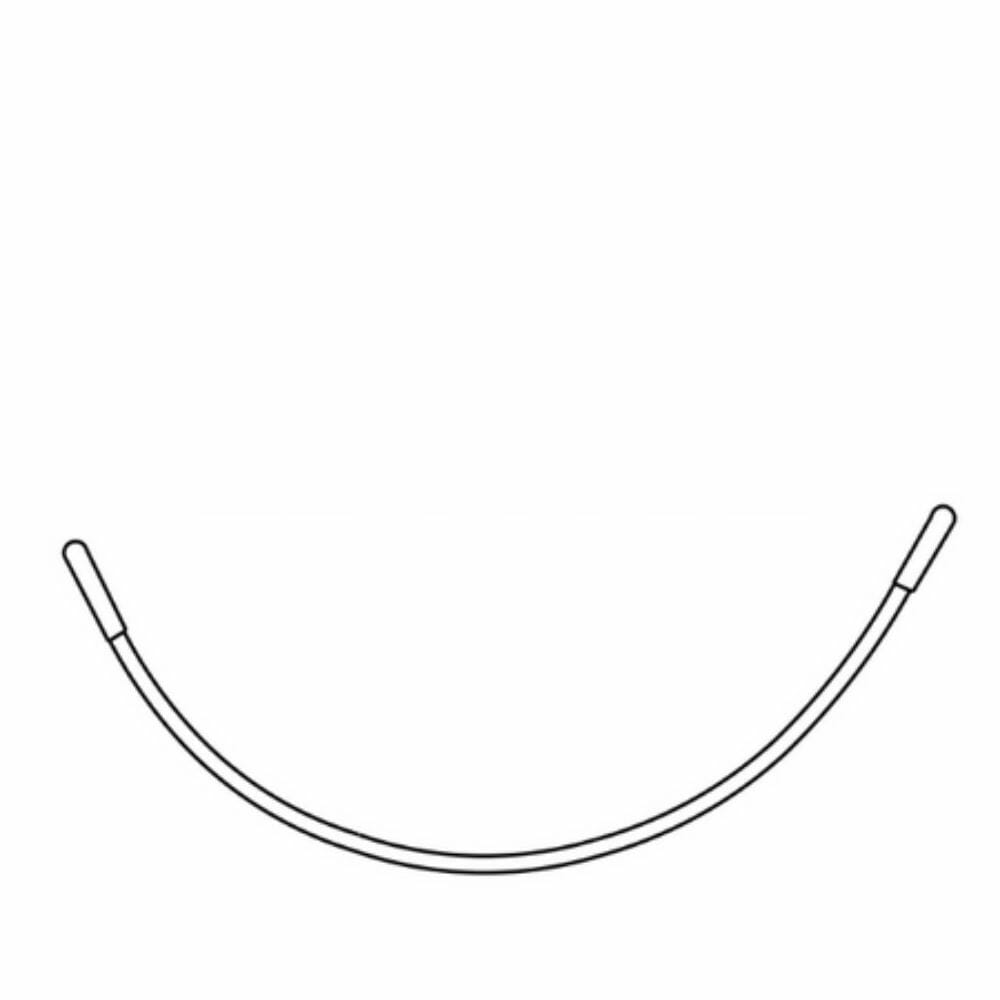
Basically you need to make your wire shorter. You can do this two ways- one way is to get a shorter style of underwire that is a closer overall length to your pattern requirement. The second way is to cut your underwire down to size. To cut your wire- measure the difference between the size called for in the pattern, and your size. If the difference is small than you can take it off one side of the wire. If you hold the wire up to your body and move it around, you can decide which would be the best spot for you (either the centre front or underarm) and also take into account your pattern and the style lines (you may want to decrease at the neckline or the underarm depending on the style). If there’s a BIG difference in size, than you’re going to want to balance that up and take some off at the centre front and some at the underarm. Norma of Orange Lingerie did a tutorial on cutting underwires over on her blog.
Modifying for a Smaller Wire
This modification is even more simple. You’ll simply put your wire in the bra, then bartack your channel lower, where it fits with this wire. This is to make sure that your wire stays put in the channel and doesn’t slip around. You can pick exactly where you want your wire to sit in the channel (you can even mark it on your bra when you try it on!) Make sure that when you stitch your bartacks, that you leave 1/2″ of extra room for your wire to move (1/4″ each end). If you have your wire squeezed too tight in your channel it can burst free and stab you.
So what are the pros and cons to this method:

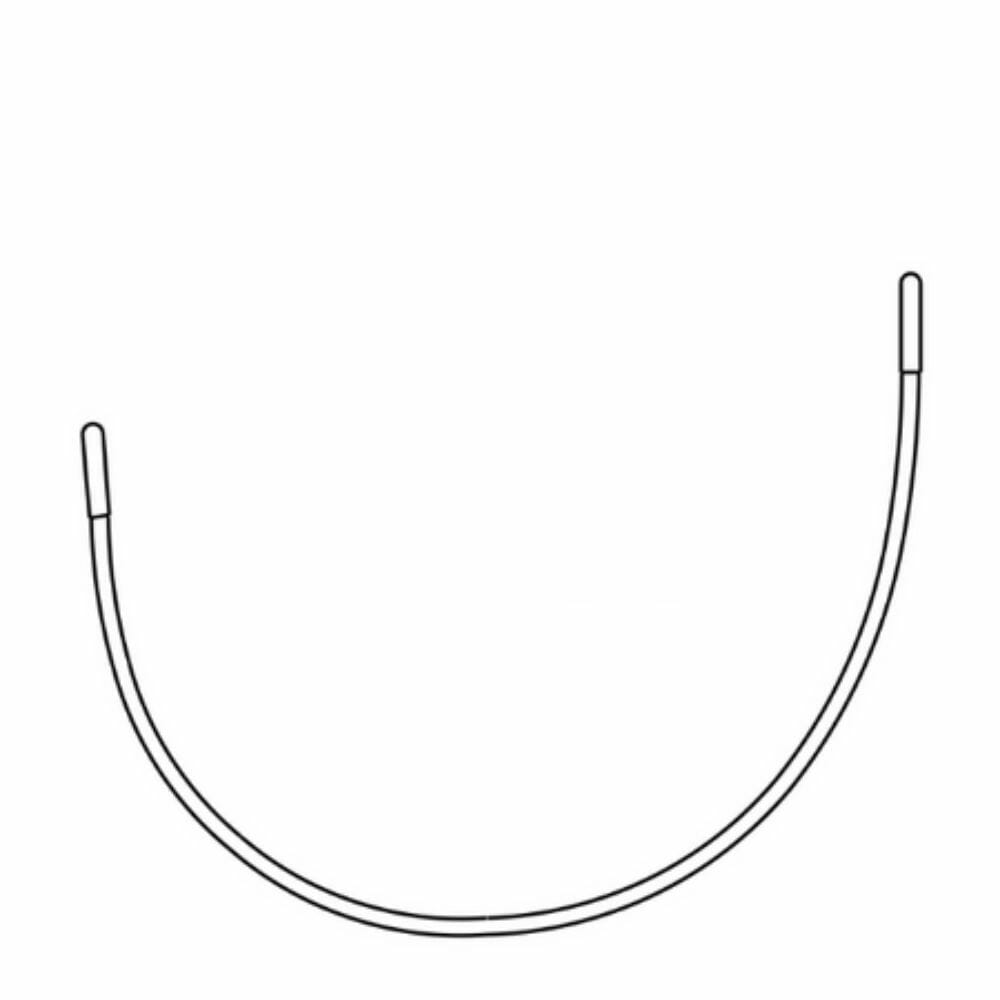
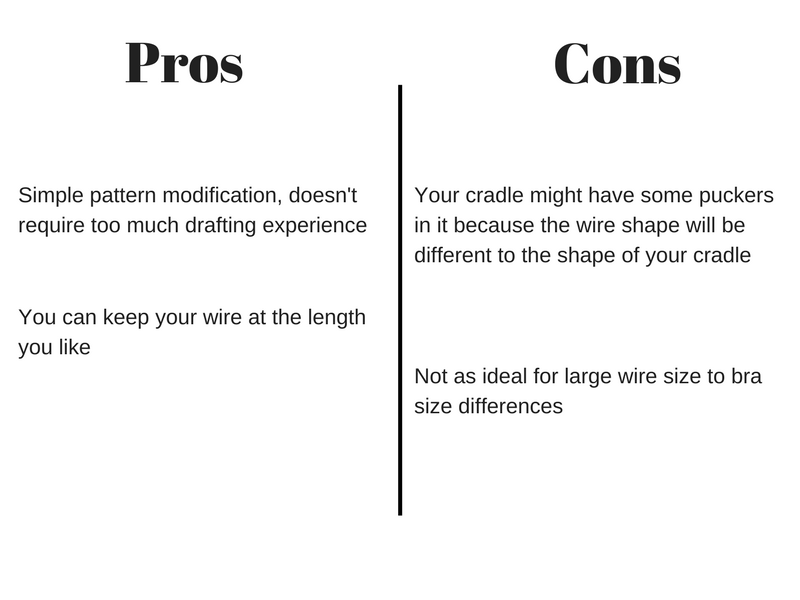
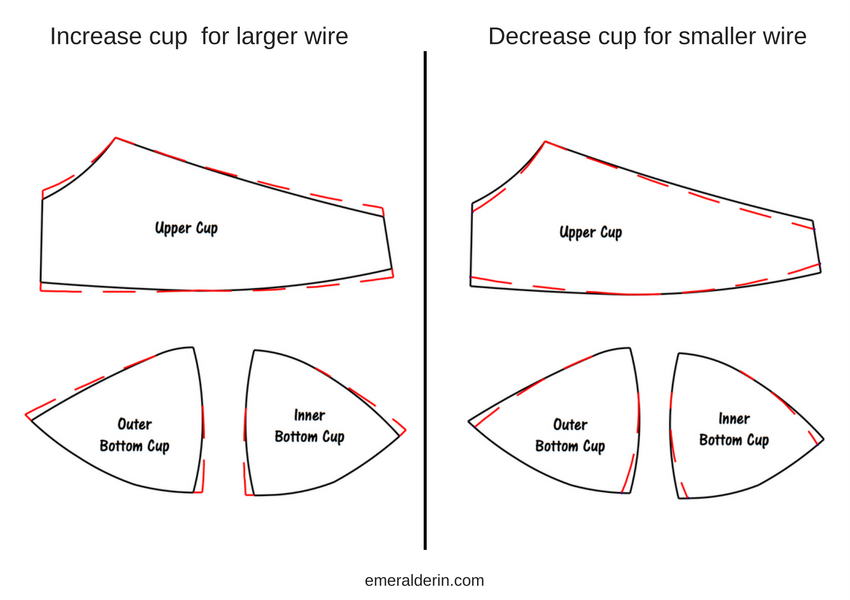
The next method is slightly more involved- but not too complex. I’ve seen other makers recommend this method. This method is really great if you only have your size of a pattern, or you’ve already made some alterations to your pattern and you don’t want to start over. All you have to do for this method is to increase or decrease the height of your cups and cradle.
For a larger wire, you’ll want to increase the height of your bridge/underarm and your cup. You can choose to increase only at the centre front bridge, or only at the underarm, or a bit of both depending on how much you need to add. You’ll want to measure the difference in length between the pattern size wire, and your wire size. Then you can add that to your pattern on your cradle, and your upper cup. For a smaller wire, it is the same thing, only you will be taking away from the height of the cup and cradle.
It should look something like this:

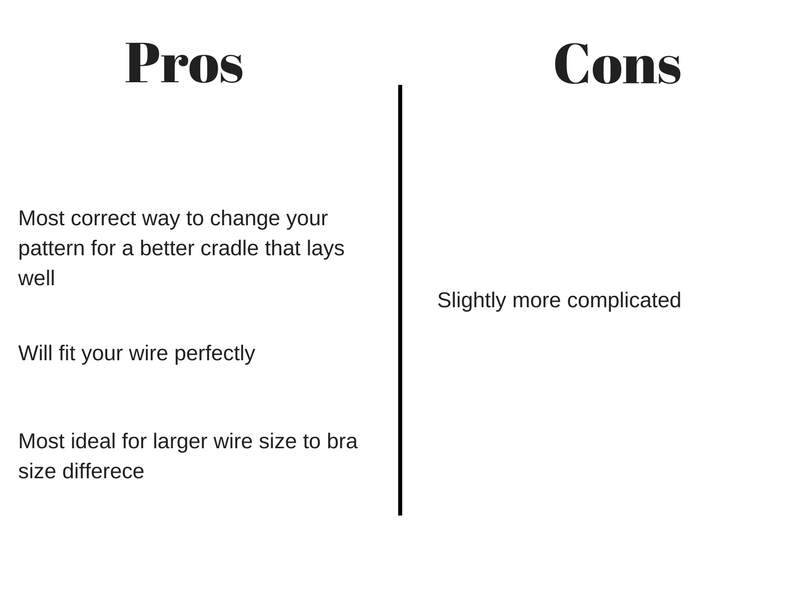
No let’s look at the pros and cons of this method:

This last method is my favourite, it’s also more accurate and will give the smoothest cradle. This works if you have a multi-size pattern.
For this method- you use a different size cradle.
So- say you are a size 34C, which usually takes a size 36 underwire- but you fit a size 40 underwire. That is 2 sizes different. Since you want to keep your band the same size around, stay with a 34, but increase the size by 2, to a 34DD. A 34DD cradle will be the right band length for you, and it will also have the right size and shape for the underwire size that you need.
The same thing works the other way around – say you fit a 34C, which usually takes a 36 underwire, but you fit a size 32 underwire- now a decrease of 2 wire sizes. You would count down two sizes to a 34A, and use the cradle from a 34A.
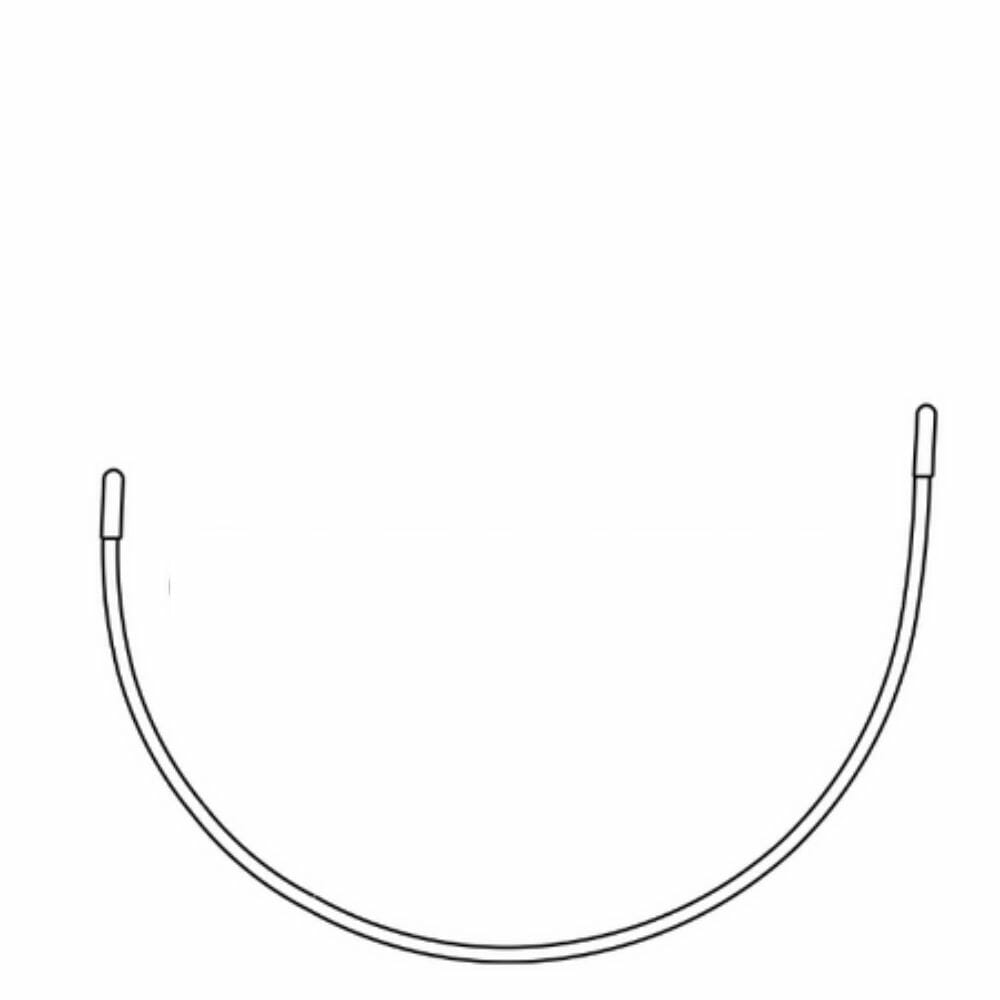
So now that you have a cradle that works for you – you have to make your cups match. This will be all about either increasing or decreasing your cup along with wireline to match with your new cradle.
You can do this at lots of points in your bra cup- with the simplest being the underarm and centre front just like you would do in method two. If you have a small underwire size difference than this would work well.
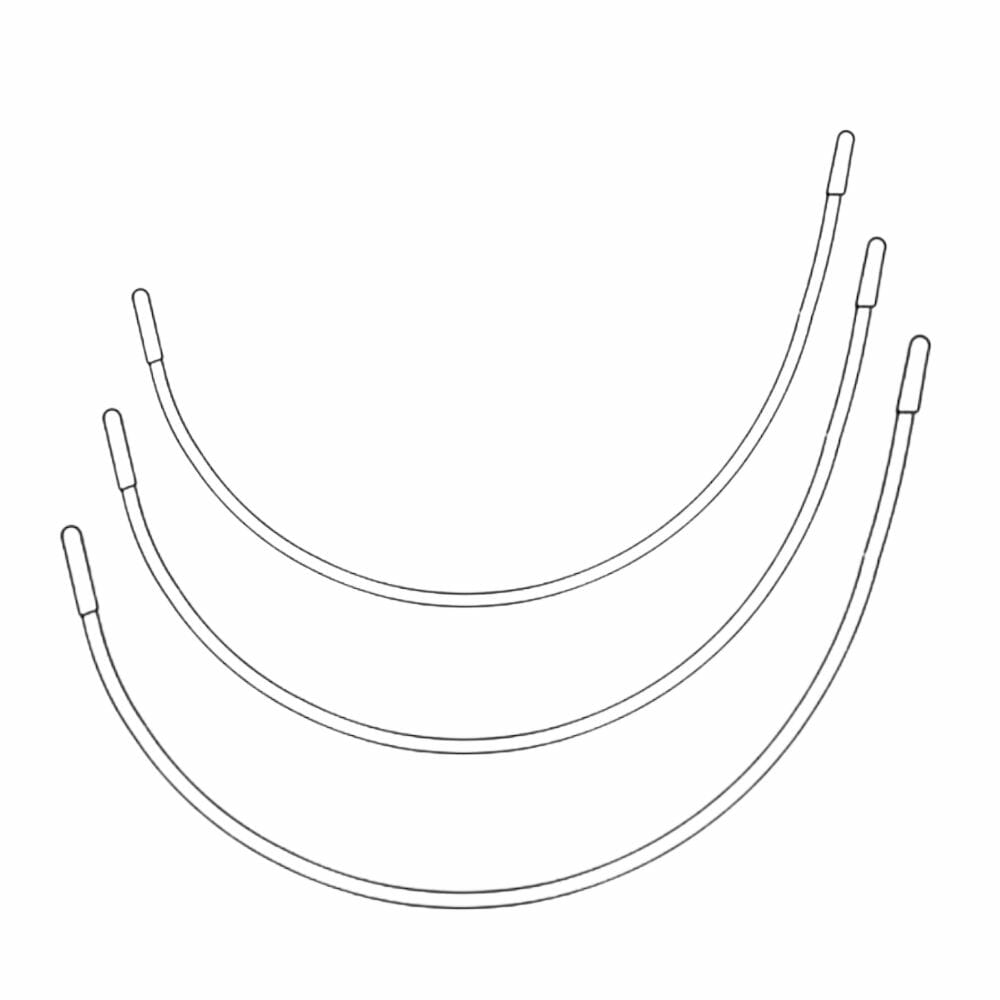
The bigger your difference is in wire size- the more you will want to spread out the increase/decrease in the cup in multiple places, so it can be distributed more evenly like this:
For people who have an ‘omega’ shape, and need to accommodate for a much smaller wire, I’ve also seen the technique of making lots and lots of little darts all the way around the wireline, or even gathering your cup along the wireline to help keep as much volume as possible in your cup.
So what are the pros and cons to this method?
So there you have it! Three different ways to work YOUR underwire size into your bra pattern.
Let me know what your favourite method is- and if you have any questions!
I always love hearing from you!
xo
erin
Thank you, Erin. I’ve been doing method no. 3 to make my 36 plunge wire fit with 34DD/E cups so it’s good to know I’ve been doing the right thing! Love the blog and all your beautiful bras and swimwear.
Thanks so much Susan!!
Thank you!!
I wish you would post it a couple of months back It would save me time trying to figure out the last method myself! Although, it’s nice to know that I did it all by myself and was right
Now I wonder what to do if my preferred underwire shape is quite different to what was used by pattern maker? Is it even worth trying to redraw?
Apparently emojis are not allowed… 🙁
I wear a UK 30HH. The wires are way too wide for me as it goes past my axilla posteriorly. But band and cup size are perfect. (I’ve probably tried hundreds of different sizes and brands to find the best fit.) Other than the cloth goes up a bit high in axilla as well to go with wire they place in bra.
According to your blog, I’m believing that the Omega wire would be perfect for me. I’ve had 2 bras that recently had the wire pop through the stitching medially. What size would I need and can I just replace into the wire slot of current bra? I am NOT gifted with sewing. If this can’t be done, how do I get bras that actually fit with the correct wire? Is there someone that can do this for me or a place I can order from?
Hi Stephanie, I would research custom bra makers in your area to see what’s available for you 🙂
Hey Erin, for the last method, would all the modifications change the seam line length that meets the cradle?(making it too long or too short) I thought I would change the length of the upper cup and move the middle part for the two lower two? Thanks!
Hi Becky, I’m not sure what you mean. The modification might change the seamline lenght, but it would only be by a very slight amount if you’re careful when you re-draw them 🙂
Thanks for posting! I drafted a cradle 2 sizes smaller than my cup to accommodate a smaller wire. Are there any adjustments to make for the power bar? Should I use the power bar that matches my cup size or my cradle size?
Hi Kristen, Great question! Definitely use the powerbar that matches the cup size, not the cradle size 🙂 Happy sewing! Erin
How does this relate to sister sizes? I measure to a 30D for your pattern but fit a 40 wire. Using method 3, I will size out of the pattern. Im wondering if I should use sister sizing to fix that but im getting confused. Thanks!
Hi Rachel, to keep in your size range you would use the 34DD cradle pieces (to go with the size 40 wire), then you would modify the back band to be 2 sizes smaller to be a 30 band. So then you will have the 30 band with the size 40 wire. Happy sewing!
I am working on my 1st bra by trying AFI the Maya & the Marlborough patterns. In both I do not have enough BCD. In the Marlborough I have increased the BCD at the bottom of the cups by 1.5cm & also added a split cup with a 1cm curve. Both adjustment have helped significantly. BUT the wire does not sit in the crease at the bottom of my breast. I have a small fold of breast tissue against my chest wall. The wire is about 1/4 to 1/2″ below the crease. Apart from that the fit looks really good. Is it acceptable to have the wire sitting slightly lower? Apologies for using imperial & metric measurements.
As long as the wire is comfortable and you like the fit of the bra, I don’t think there’s any ‘right’ or ‘wrong’ 🙂