


Hi All,
This was also a highly requested tutorial- like last week’s tutorial on changing your pattern for different sizes of underwires. If you’ve read my posts on Underwire Fitting and my Guide to Different Underwire Styles. Then you might have found that you need an underwire that is a different style than the one that you use in your favourite pattern. So what do you do about it? – Modify the pattern of course.
To start off- I want to say, just like with any bra pattern modification, there are definitely limits to this- and depending on how large of a change you’re trying to make with you pattern, there will definitely be some test bras and fittings required. There’s only so much you can do with a bra pattern if you’re planning to make serious modifications.
On the other hand- for wires that are fairly similar, you can sometimes get away with using your pattern as-is, or even just adding or taking away a little height from your cup like in solution 2 from last week’s post. Some wires that work well interchangeably are wires like the round, bliss, orange and carmen- they’re all close enough in overall shape, that with a small tweak for length they could work well. Although you might not get the most optimal bridge possible- but it depends on how particular you are!
So with all of that intro- let’s get into this tutorial.
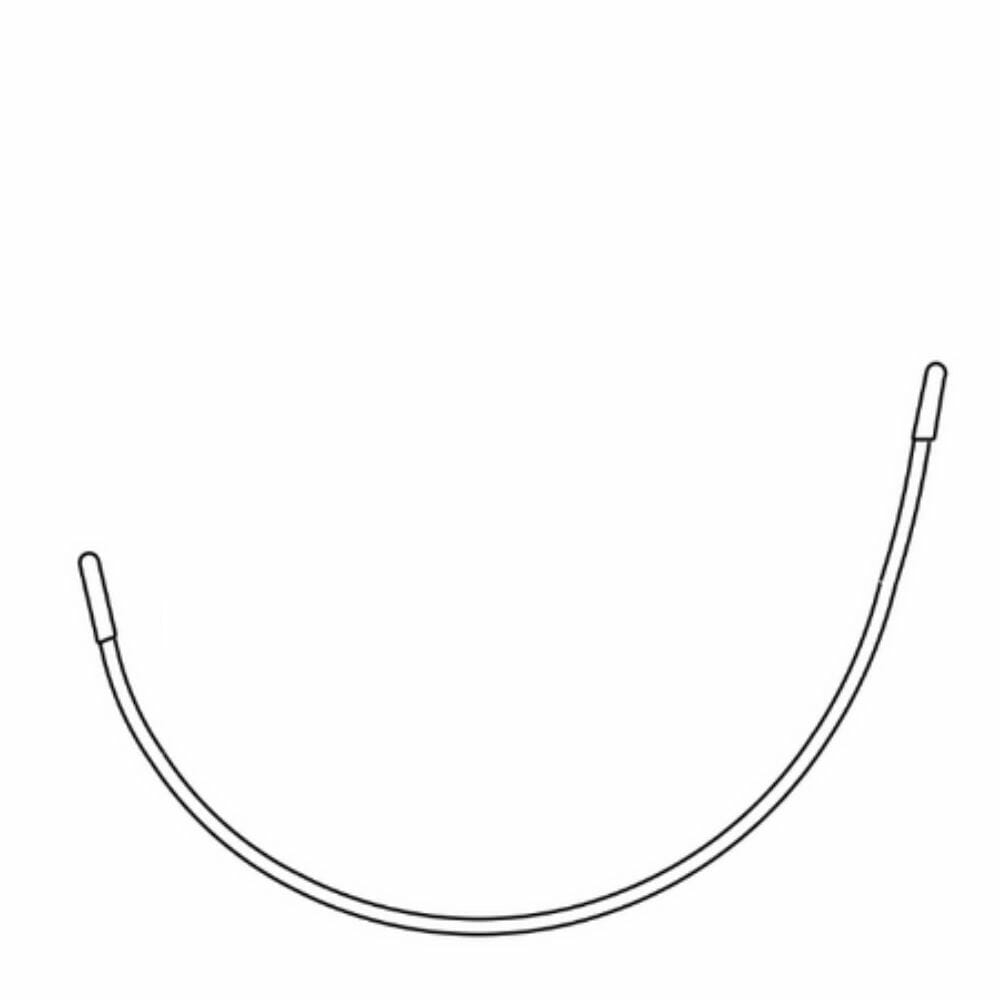
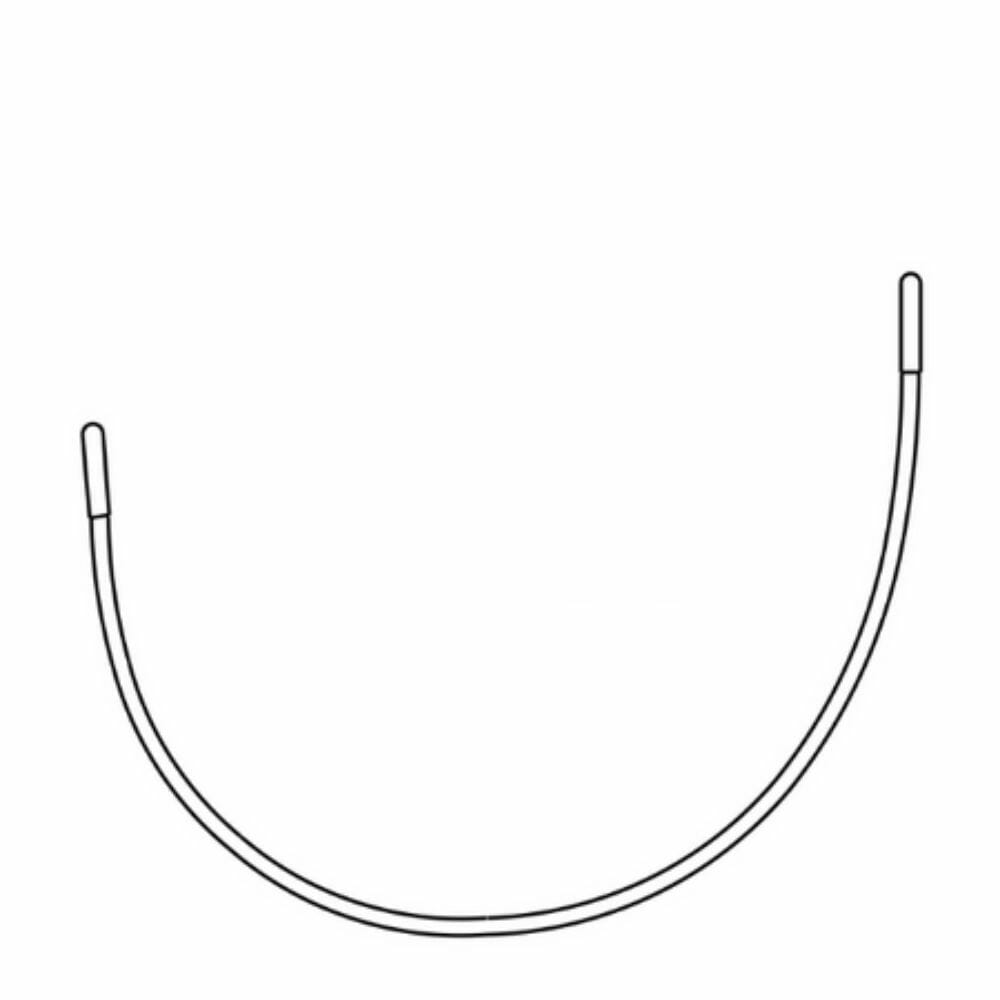
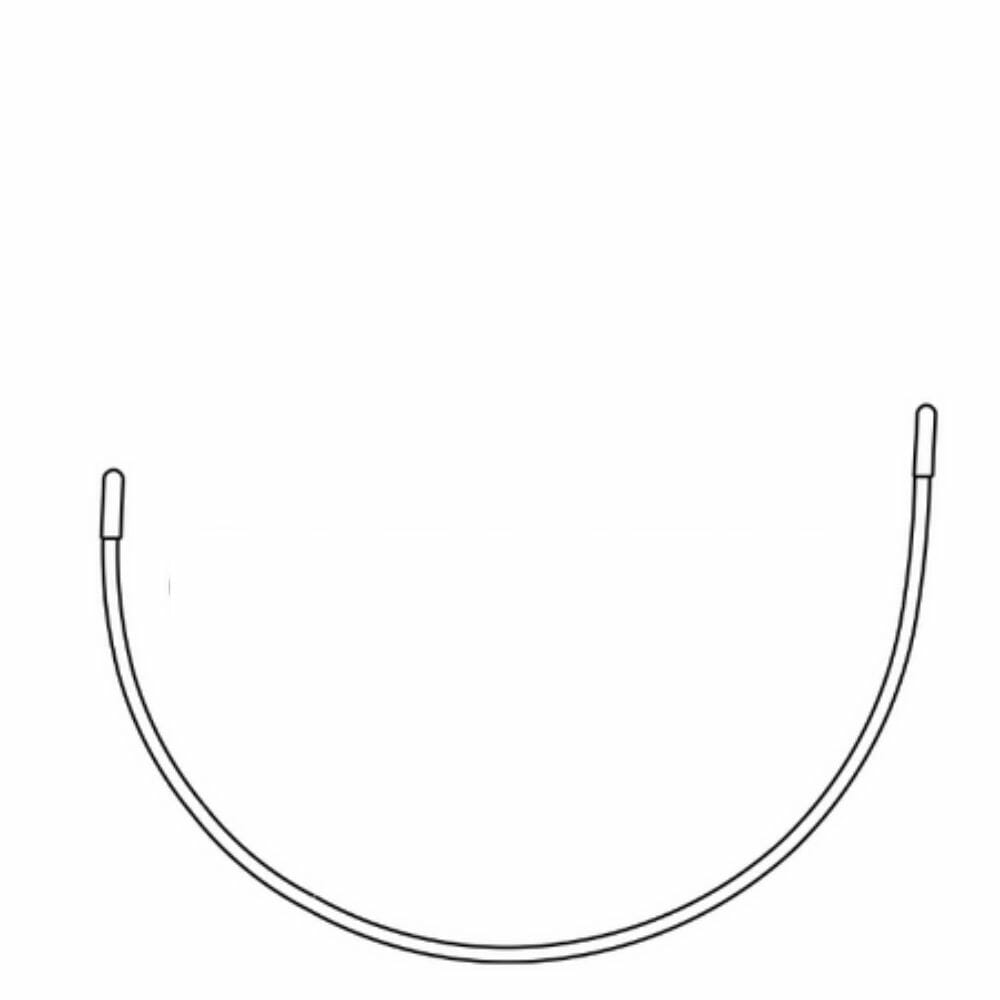
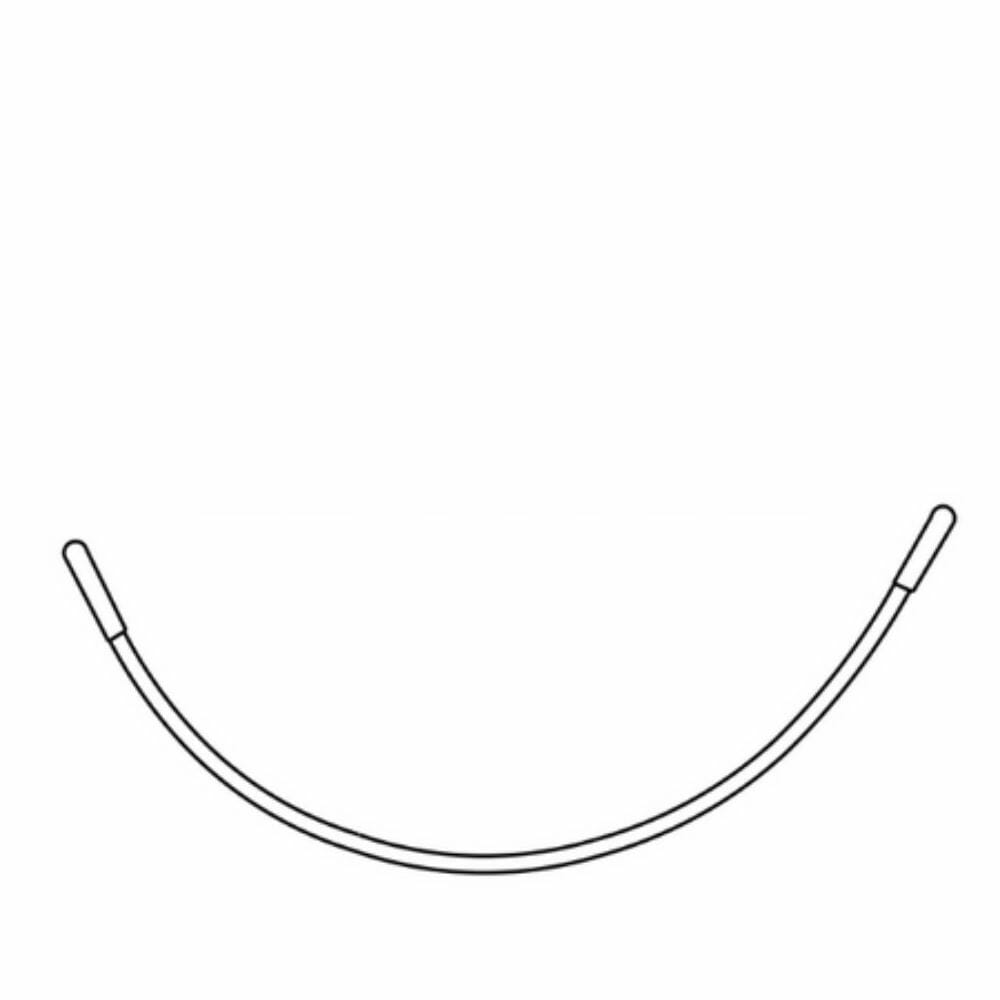
For this example I’m going to show modifying one of my Bliss wire (a taller narrower wire) cradle patterns for a Plunge wire (low front wire).
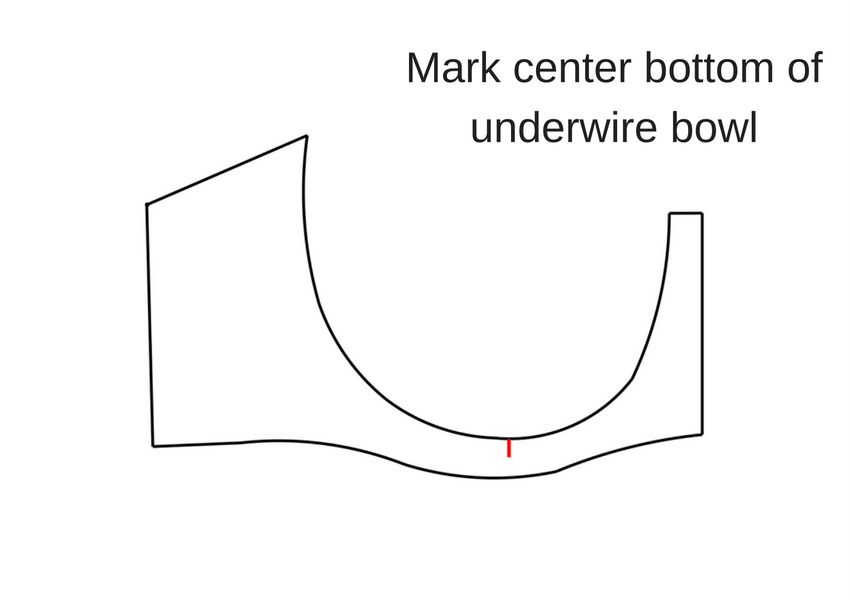
Step 1. Marking the Centre Bottom of Your Cradle & Wire.
If you have a commercial pattern, this point will probably already be marked on your cradle. It will be at the centre bottom of the underwire bowl . If it isn’t already marked you will have to find the centre bottom point. It’s pretty easy to find- what I like to do is make sure that your centre front seam is directly vertical, and the centre bottom point will be the lowest point of the bowl.
You’ll also have to do this for your underwire. There are a couple ways to do this- you can eyeball it, you can line it up on a grid to find the lowest point / balance point (Natasha of BraMakingBlog did a mini tutorial on this). Or one of my favourite ways is to actually hold it up to your body and mark the centre bottom point- I find this is a little more personalized because some people need the wire to rotate a little this way or that way depending on the splay of their breast. (I would recommend getting a little help with this if you want to do it that way!)

Step 2. Line Up your New Wire with your Cradle.
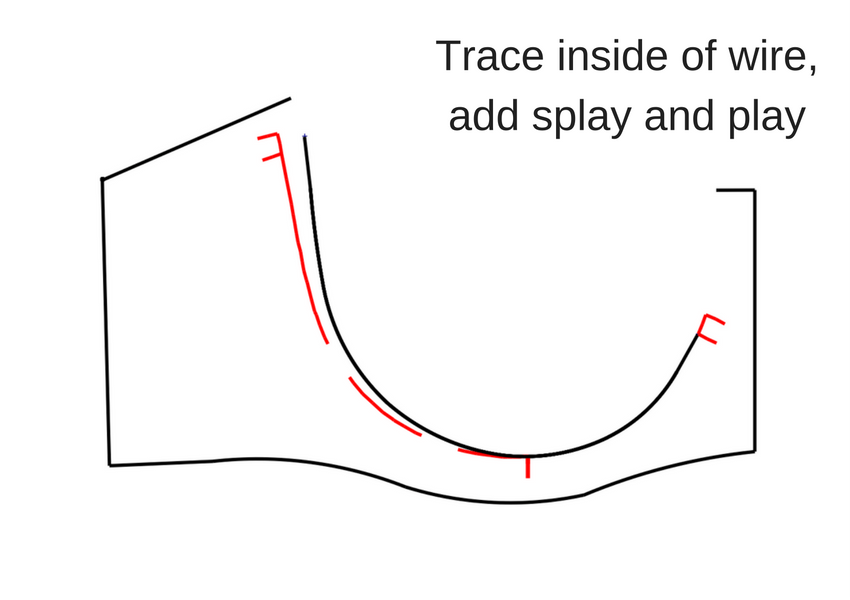
For this step you’re going to line up your new wire overtop of your cradle pattern, with the centre bottom points together. You’ll want to take the seam allowances off of your pattern, so you are working directly on the wire line- and you’ll place your new wire so it is just inside your wireline at the centre bottom mark.
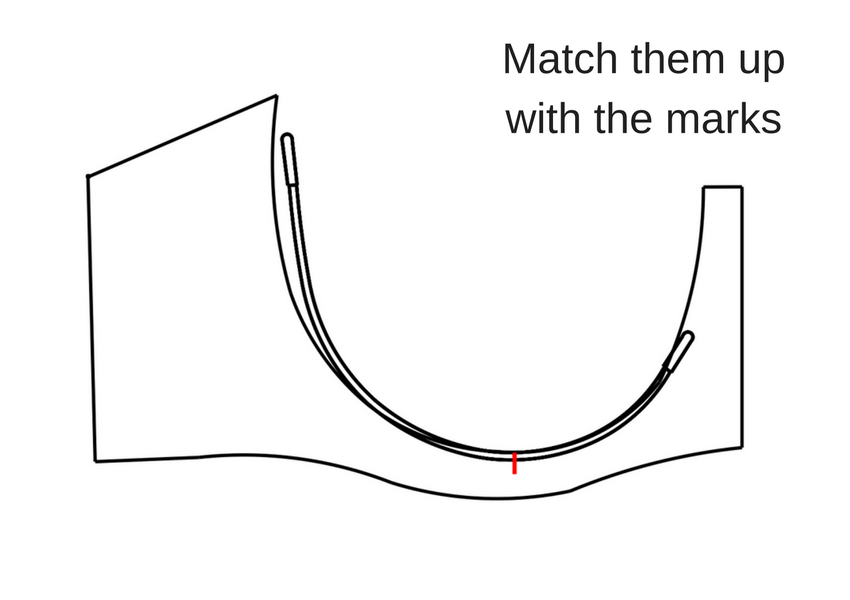
This is another point where you will have a bit of freedom to move your wire around and get the angle that you like. Generally you want to look at the centre front and make sure the bridge looks good, and that you’re not creating any strange angles there. Once you have it in place you will trace along the inside of your wire.
Step 3. Splay and Play.
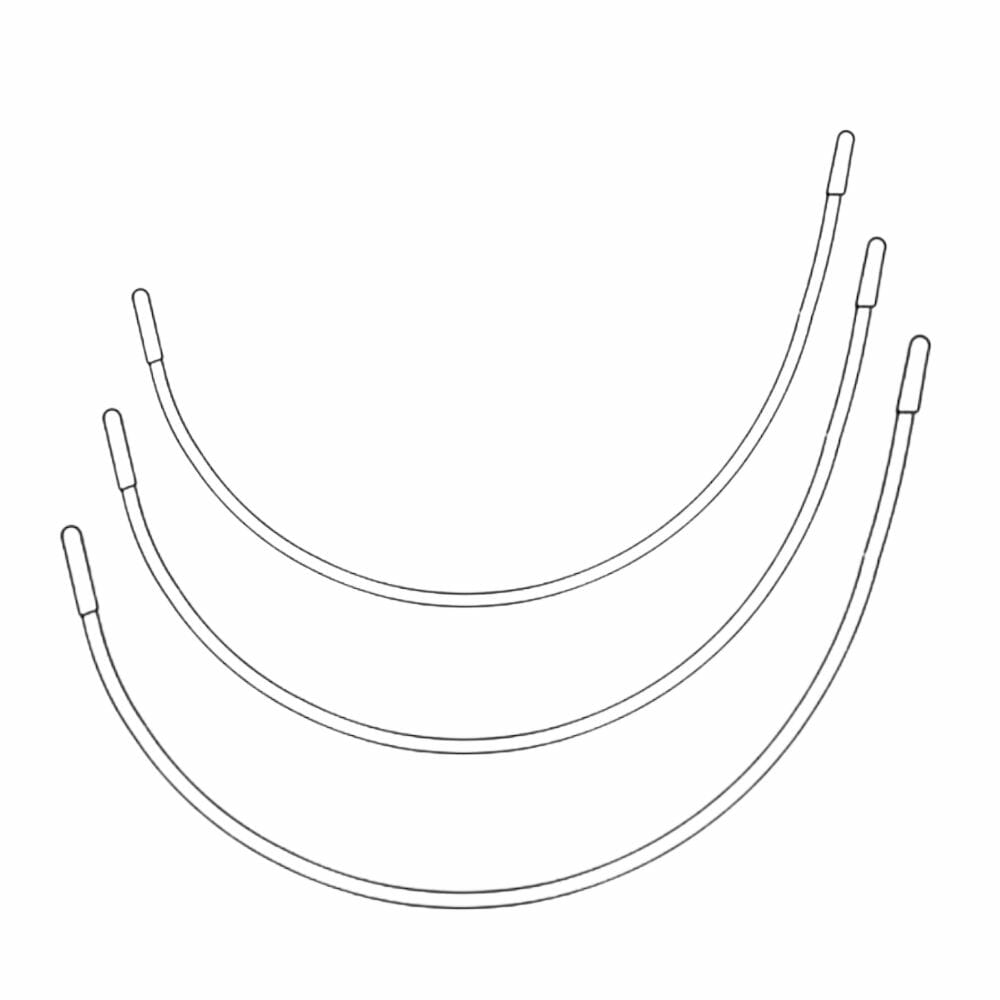
Depending on the type of wire you’re using, you’ll want to make sure you add your wire splay. This is the difference between your wire when it’s flat on a table, and when it’s on your body with the tension of the band. The amount of splay that you add will vary depending on the style of wire, and the size. Generally taller wires (like the bliss, omega and round) will have more splay, and the shallower wires (like the France) will have less. If you grab onto the ends of your wire and pull in opposite directions it will be easy to see which wire styles have the most give!)
It’s up to you how much splay you like -I think a general rule for a regular style of underwire (like the Round or Bliss) would be 15-20mm on ‘average sizes’ and up to 50mm on larger cups ** but of course this will depend on your fit preferences and wire style.
To mark your splay you will take your wire and hold it down at the centre bottom point, then pull the underarm edge outwards- this will stretch your wire and splay it out- trace this new line.
Once you’ve added the splay, then you’ll have to add the play- which is 1/4″ of extra length to your wireline at each end of the wire- this is to give the wire a little bit of wiggle room.
*For this example, because it is a plunge style- I added less wire splay because there isn’t the height at the centre front of the wire to counteract the tension of the wire splay- and leaving it with less splay will also help to keep the girls a little more centre front for the plunge!
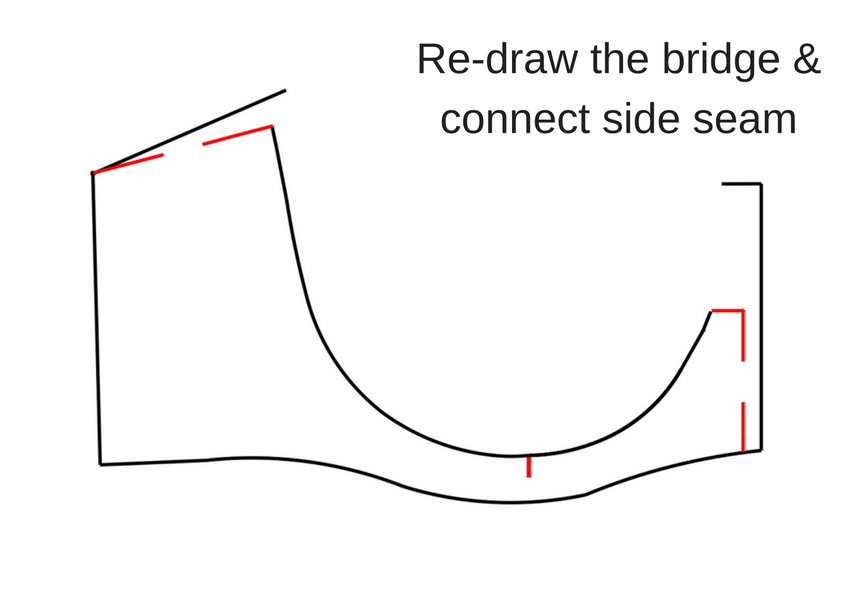
Step 4. Adjust your Bridge and Band
Now that you’ve retraced your underwire bowl, you’ll need to make adjustments to the bridge and band. Again, it depends on the wire style the adjustments you need to make- but you can generally remember these rules:
For the bridge- you will need to leave at least 3/8″ from the end of the wire to the centre front – this is the width of the channel. For some wire changes this means you might have to widen your bridge from the original cradle, or some you might want to make them more narrow.
For the band you’ll want to connect the new underarm end of the wire, to your side seam- if this is a big difference from your last wire, you might want to smooth the whole band out to make sure the proportions are correct.
Step 5. Match Up your Cups.
This is going to be very similar to what I did in last week’s tutorial – increasing and decreasing the wireline of your cups. Just like with your cradle, you’ll want to mark the centre bottom of your cup, and then figure out the length difference from centre bottom top centre front, and centre bottom to underarm end of the wire. Then you will increase or decrease your wireline correspondingly.
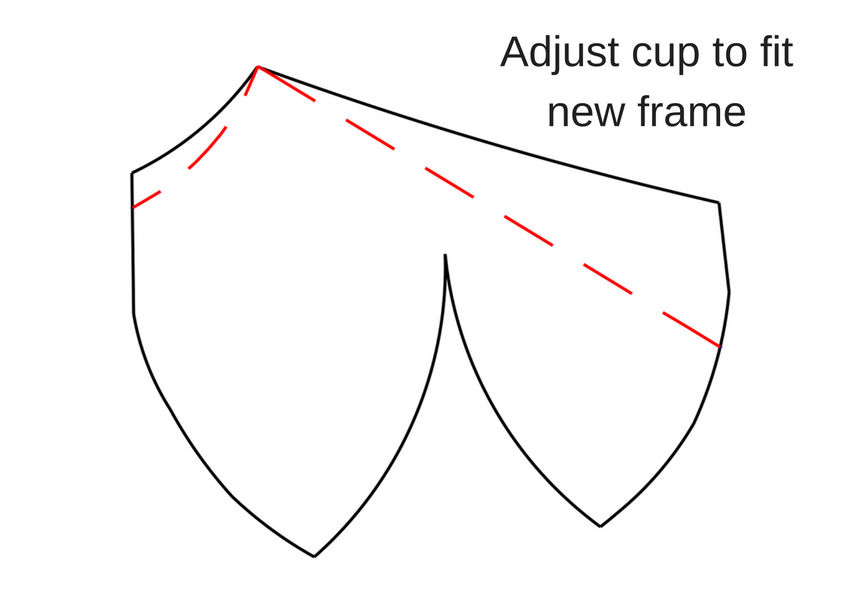
For this example I thought I would make it easy with a darted cup that splits at the direct centre bottom. To keep the orientation of the cup correct- you can see that I measured the distance from the centre bottom to the centre front, then centre bottom to underarm to make sure they match!
Step 6. Marvel at Your New Creation
And there you go! You have your new cup and wire!

Now of course, you may have to change some of your cup seaming if it doesn’t work with your new underwire style, and you’ll definitely want to make a tester bra, especially if there is a large difference between your old wire style and the new one. But this should give you a good starting point to work from.
What underwire style would you like to modify your pattern for? Have you already modified one of your patterns for a different wire? Do you have any tips that helped you?
If you want- you can check out any of the underwires that I’ve mentioned in this blog post in my Emerald Erin Bra Shop.
Talk to me in the comments!!
xo erin
I have been looking for the best match underwire for quite some time, and while I found a closely matched plunge-type wire (against my favorite RTW bras, it has the right curvature, but is slightly too high in the side cup). The France wires might be an even better match (in accordance with the wire chart). I am already trying to do some mods to a free pattern (it was fairly easy to find the right size cradle) with paper wires… Thank you for writing this blog: I have found so many tips on here (for example this tip). And thank you for stocking the France wires in my size! I’ve placed an order for 3 pairs today, and can’t wait for them to arrive in the mail!
🙂 so happy you enjoyed the post
I would like to know more about using the paper wires for fitting purposes? How did you do it? I haven’t made a bra yet because of wires and wire fitting. I’m starting to get a handle on it, but, I’m not quite there yet.
I’m not sure what you mean by using paper wires for fitting. The print-outs are just to show the size of the wire. Generally I recommend checking them for size against other bras that you like, or underwires that you like. Although I have heard of people bending wires into the correct shape from the chart and testing them against their body 🙂
Thank you for this, I keep coming back to your tutorials! Somewhat off-topic question, but I see you used a darted cup for your example here. Do you have a preferred darted cup bra pattern?
Thanks!
Hi Jane, Great question! I don’t currently have a favourite darted cup pattern, I’ll be on the lookout 🙂
Great tutorial, thanks so very much. Never saw any better explanation!
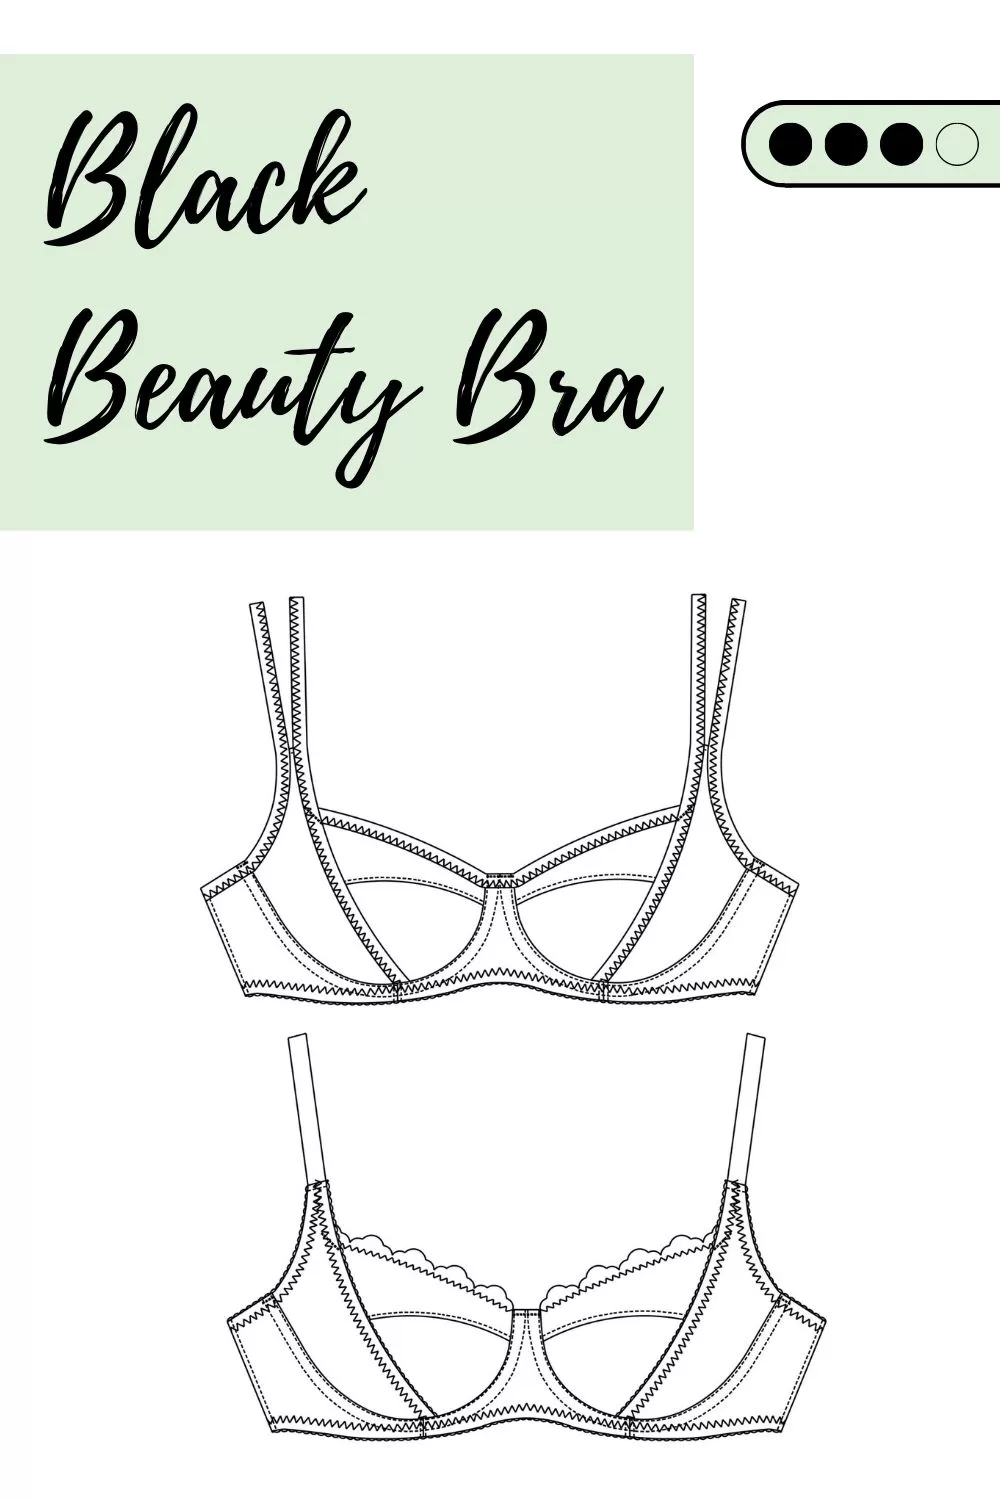
Can you sew a black beauty bra without wires?