


Hi All!
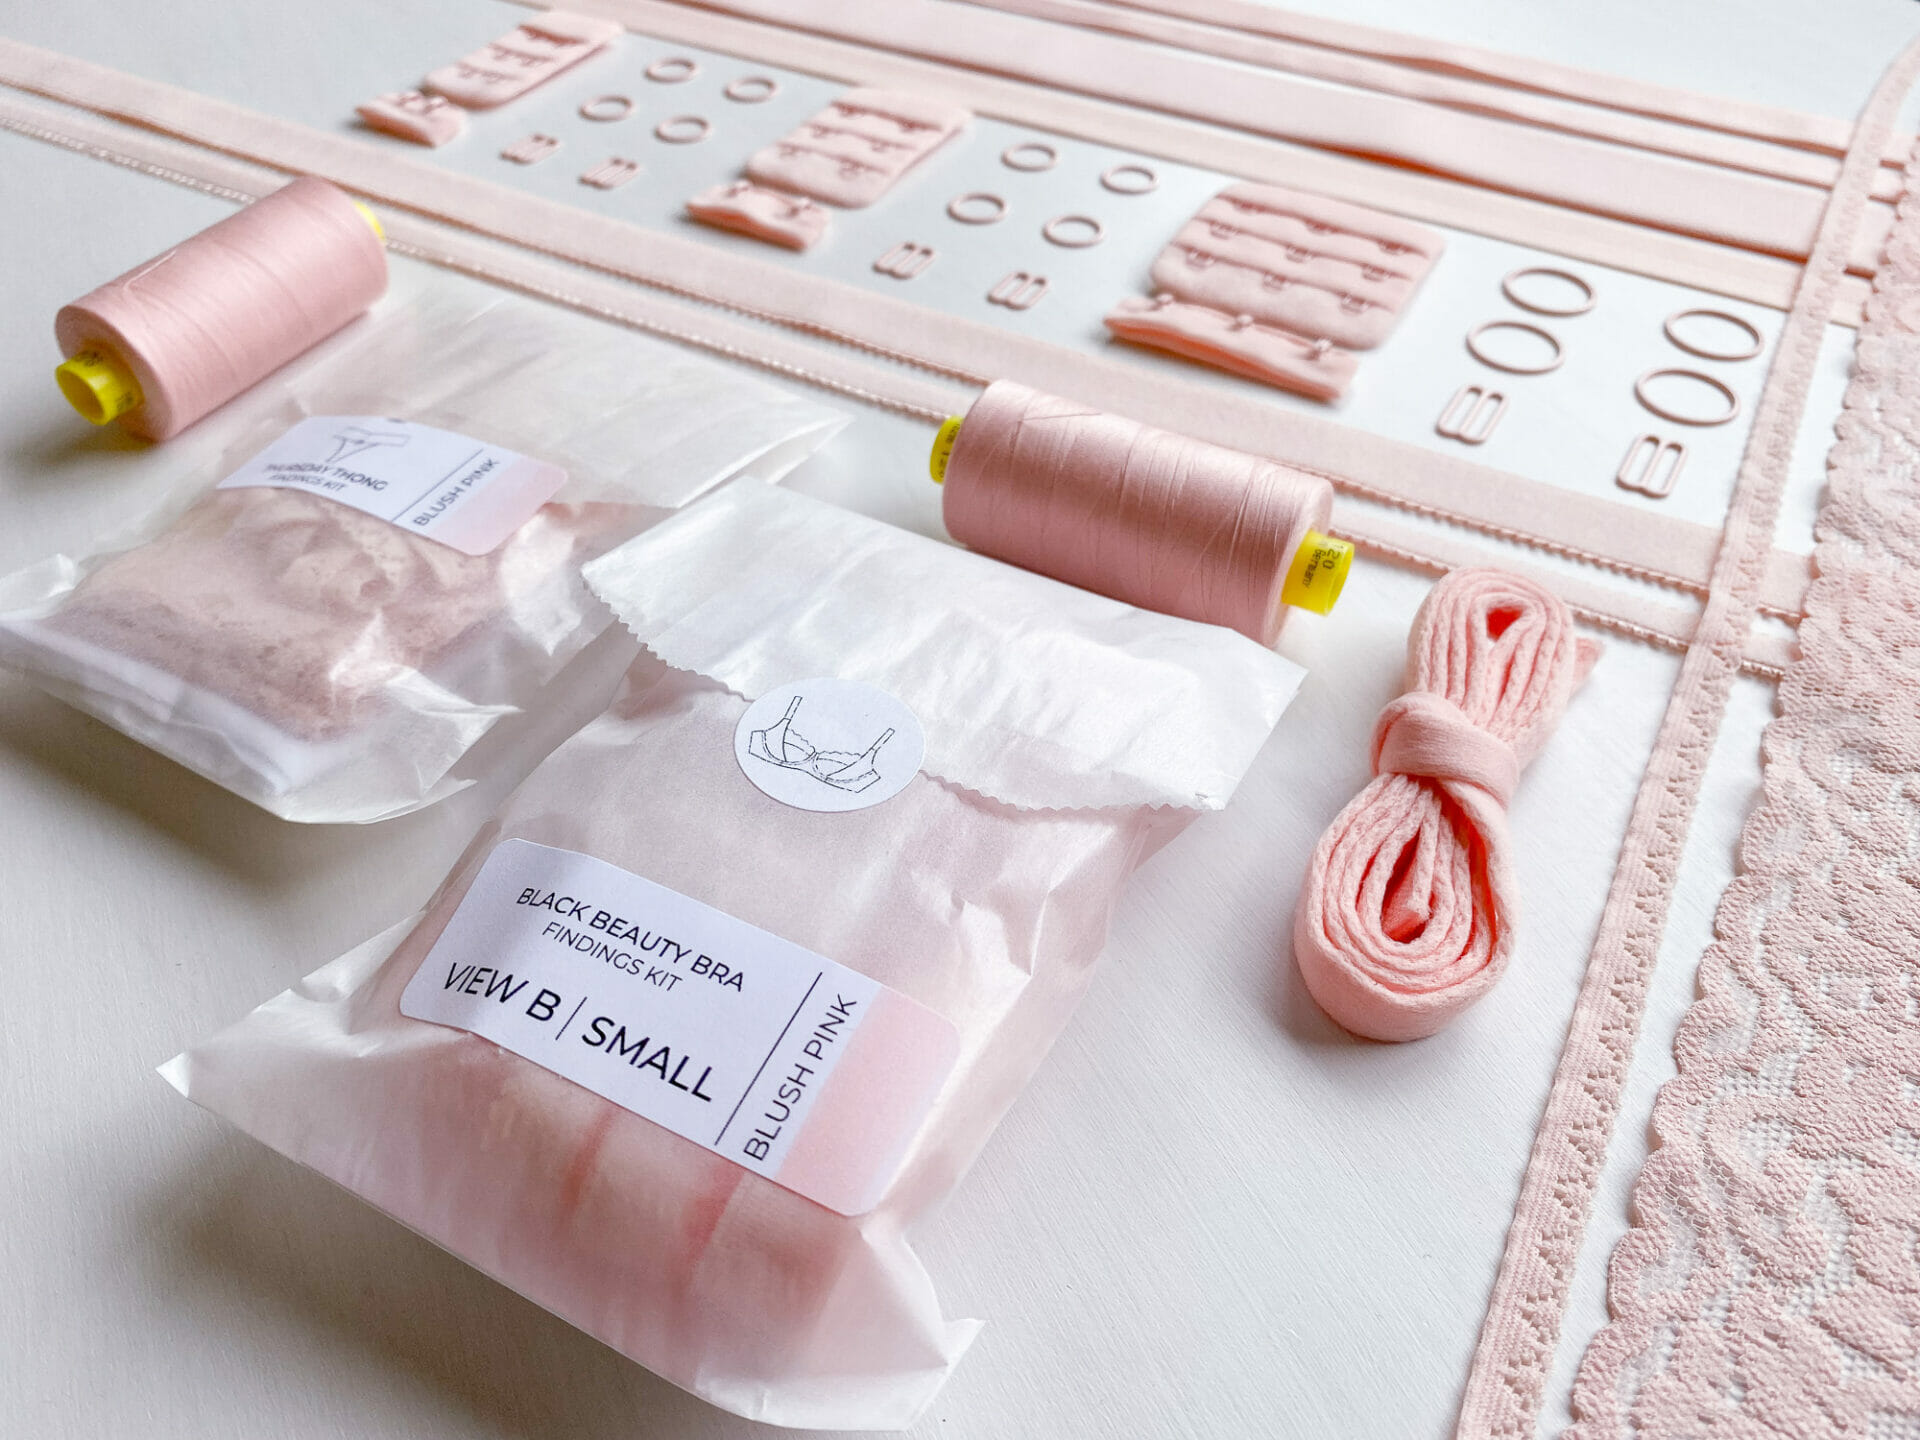
Today is going to be a Bra Theory post, or more accurately Panty Theory! Three ways that I like to sew panty elastic, which is also three different types of panty elastic too.
I got the idea from my post last week, where I used three different styles of elastic to finish my three pair of boyshorts, and I wanted to give a simple simple tips on the elastics I like and use, and how I like to apply them.
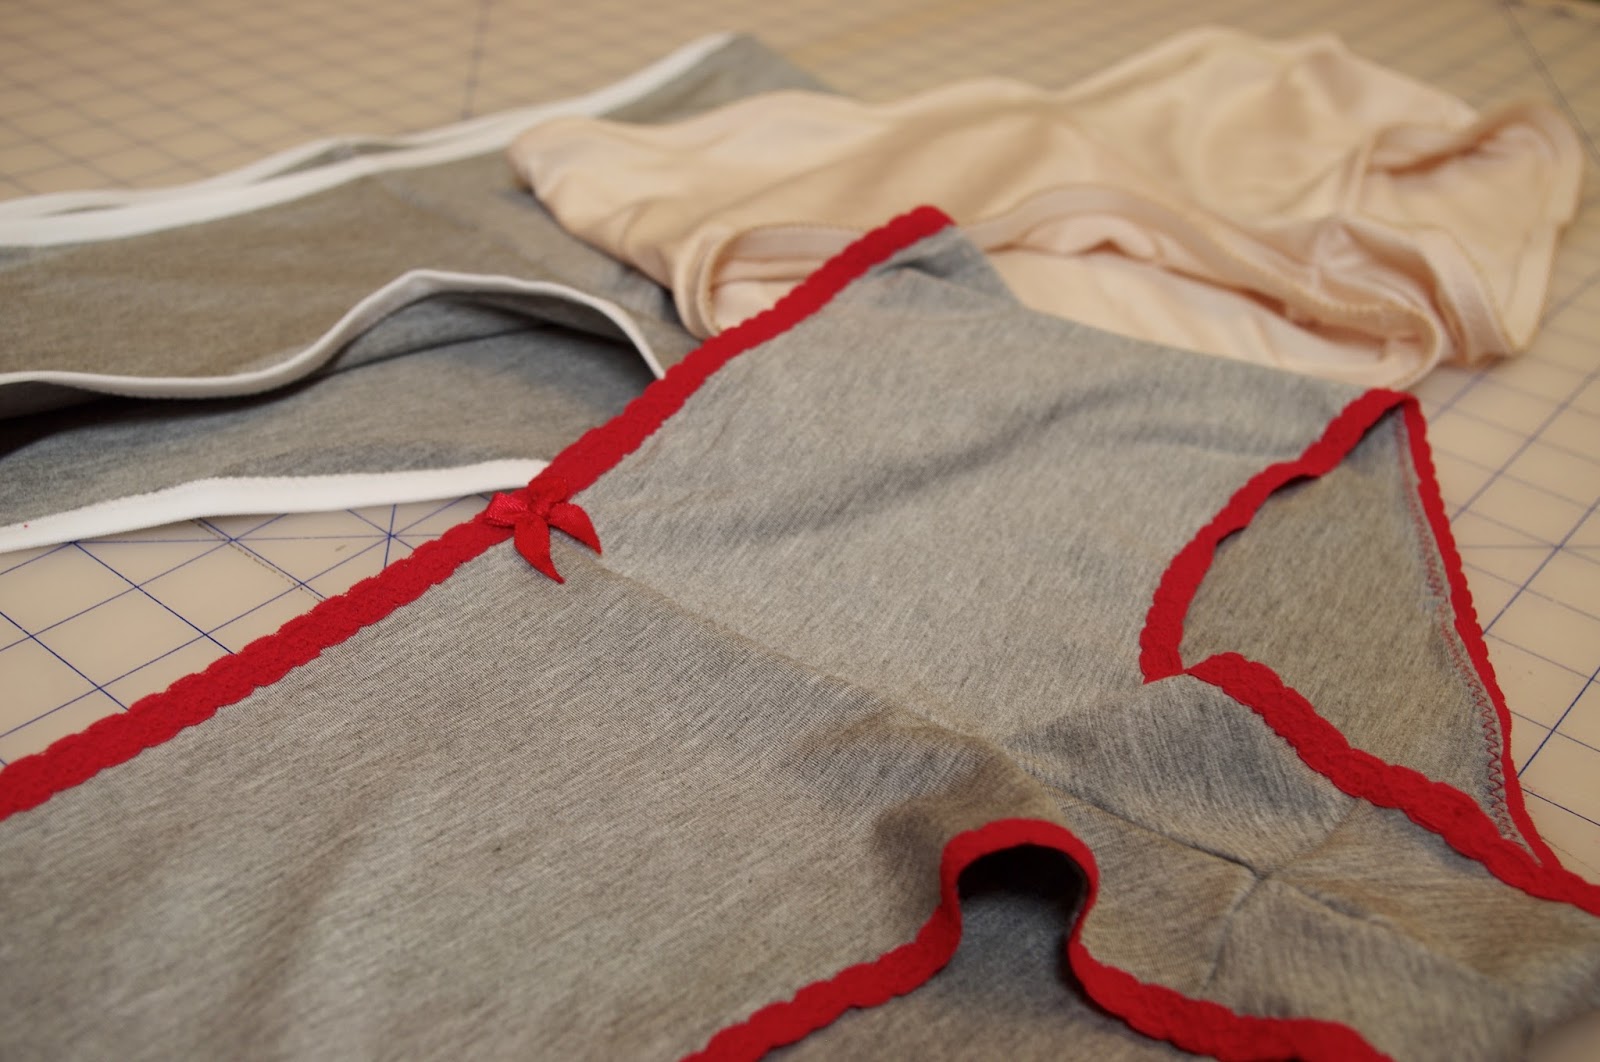
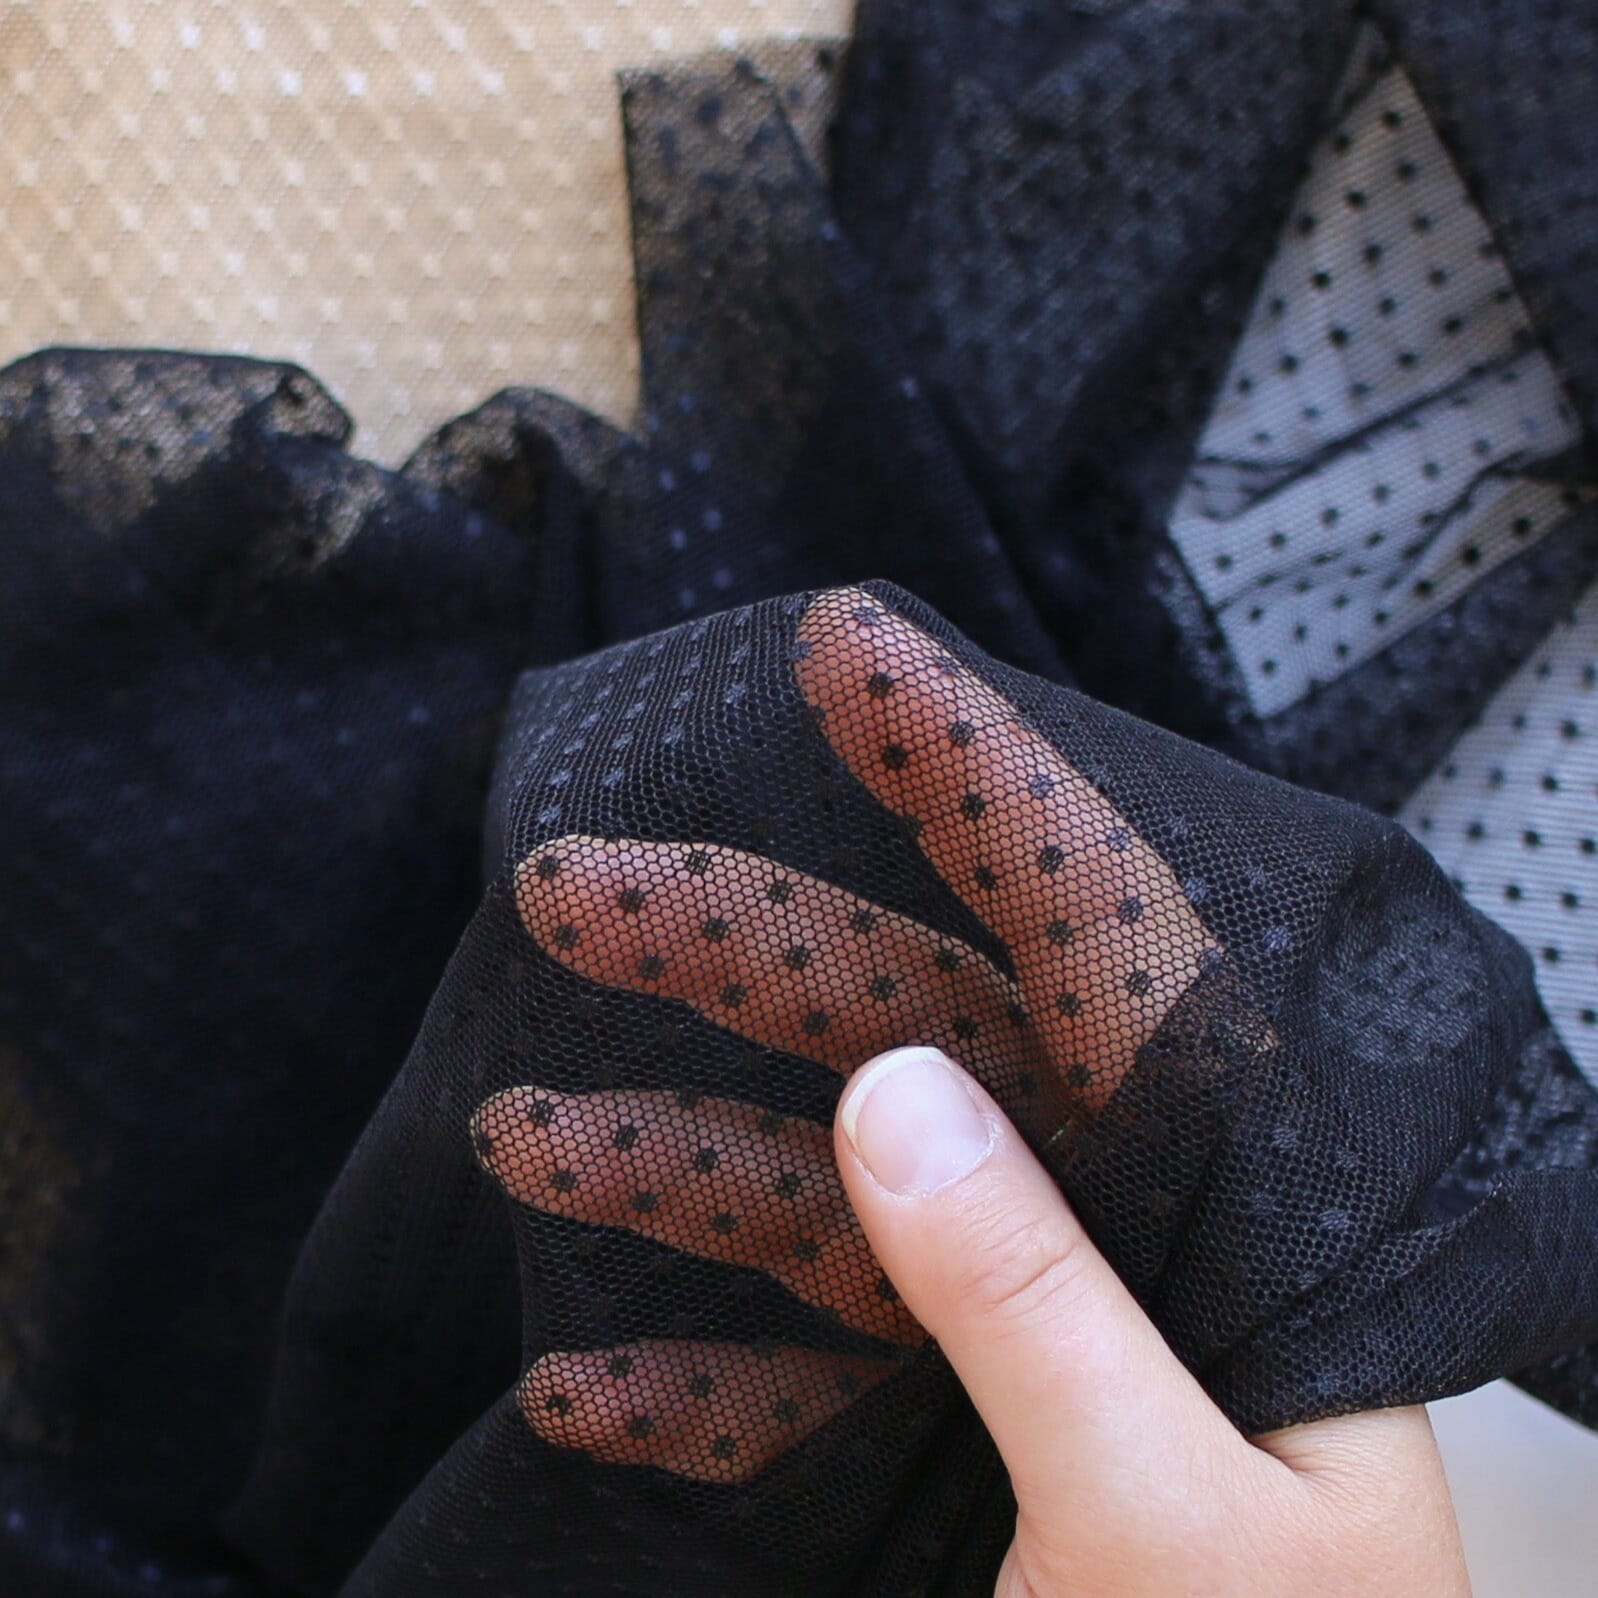
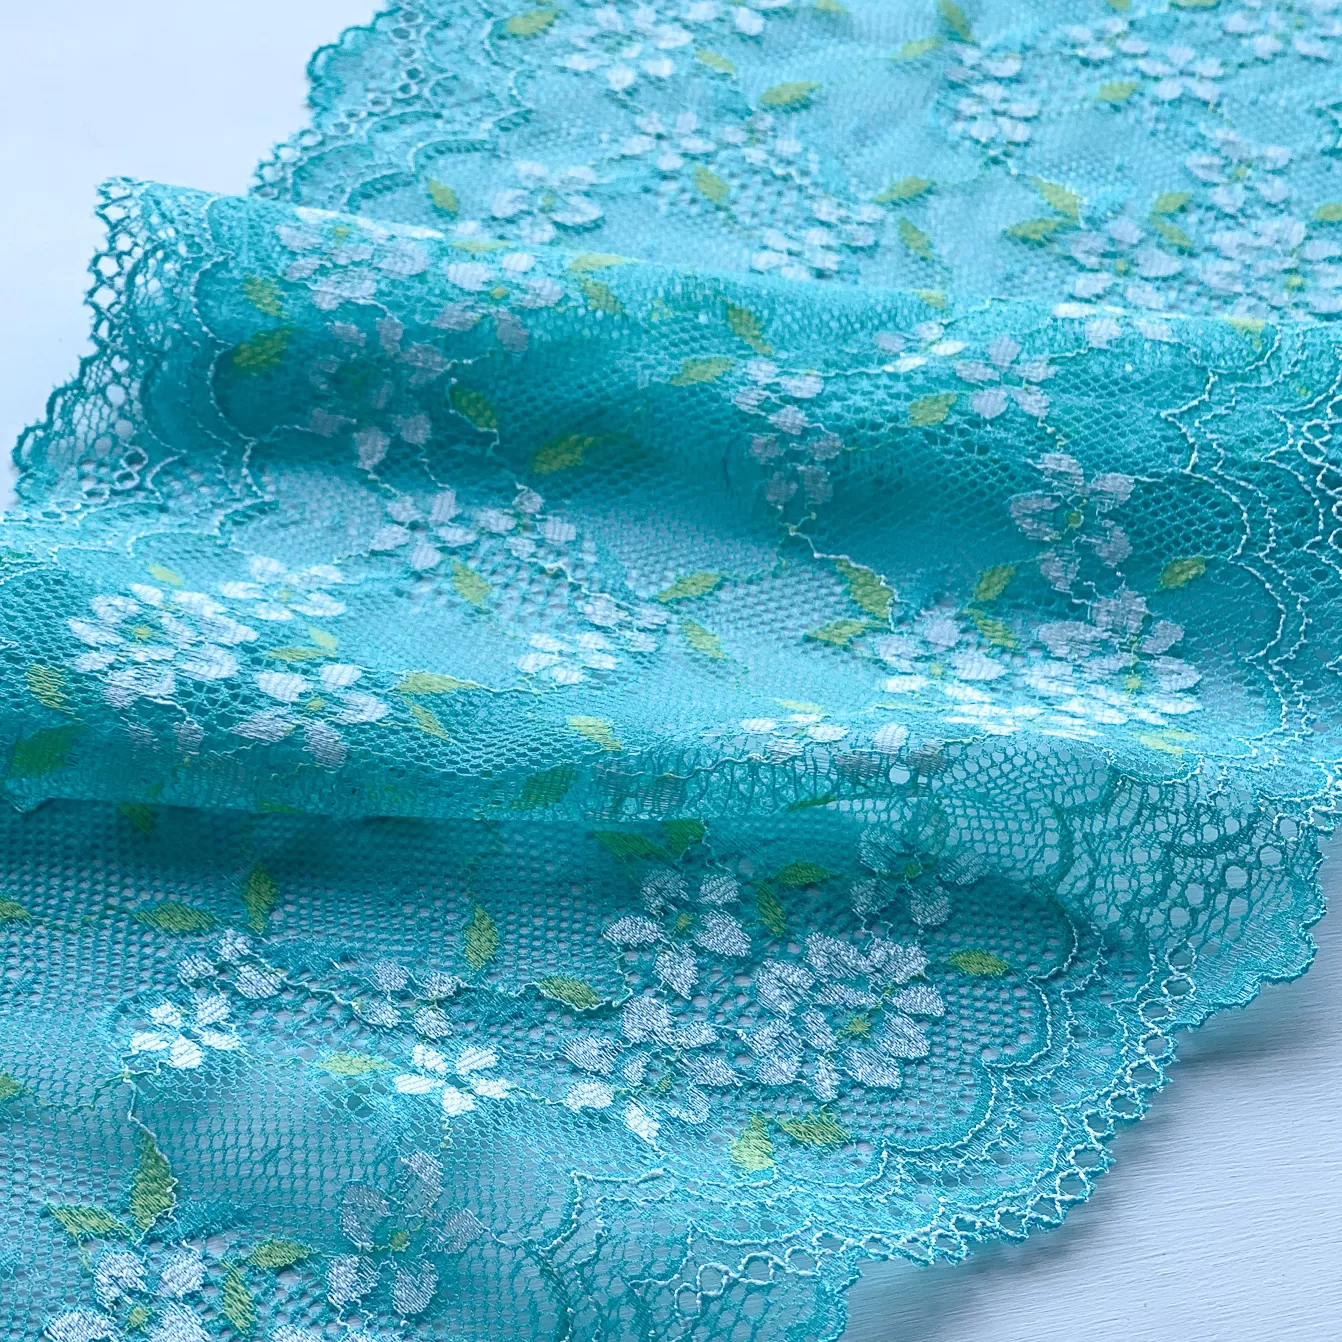
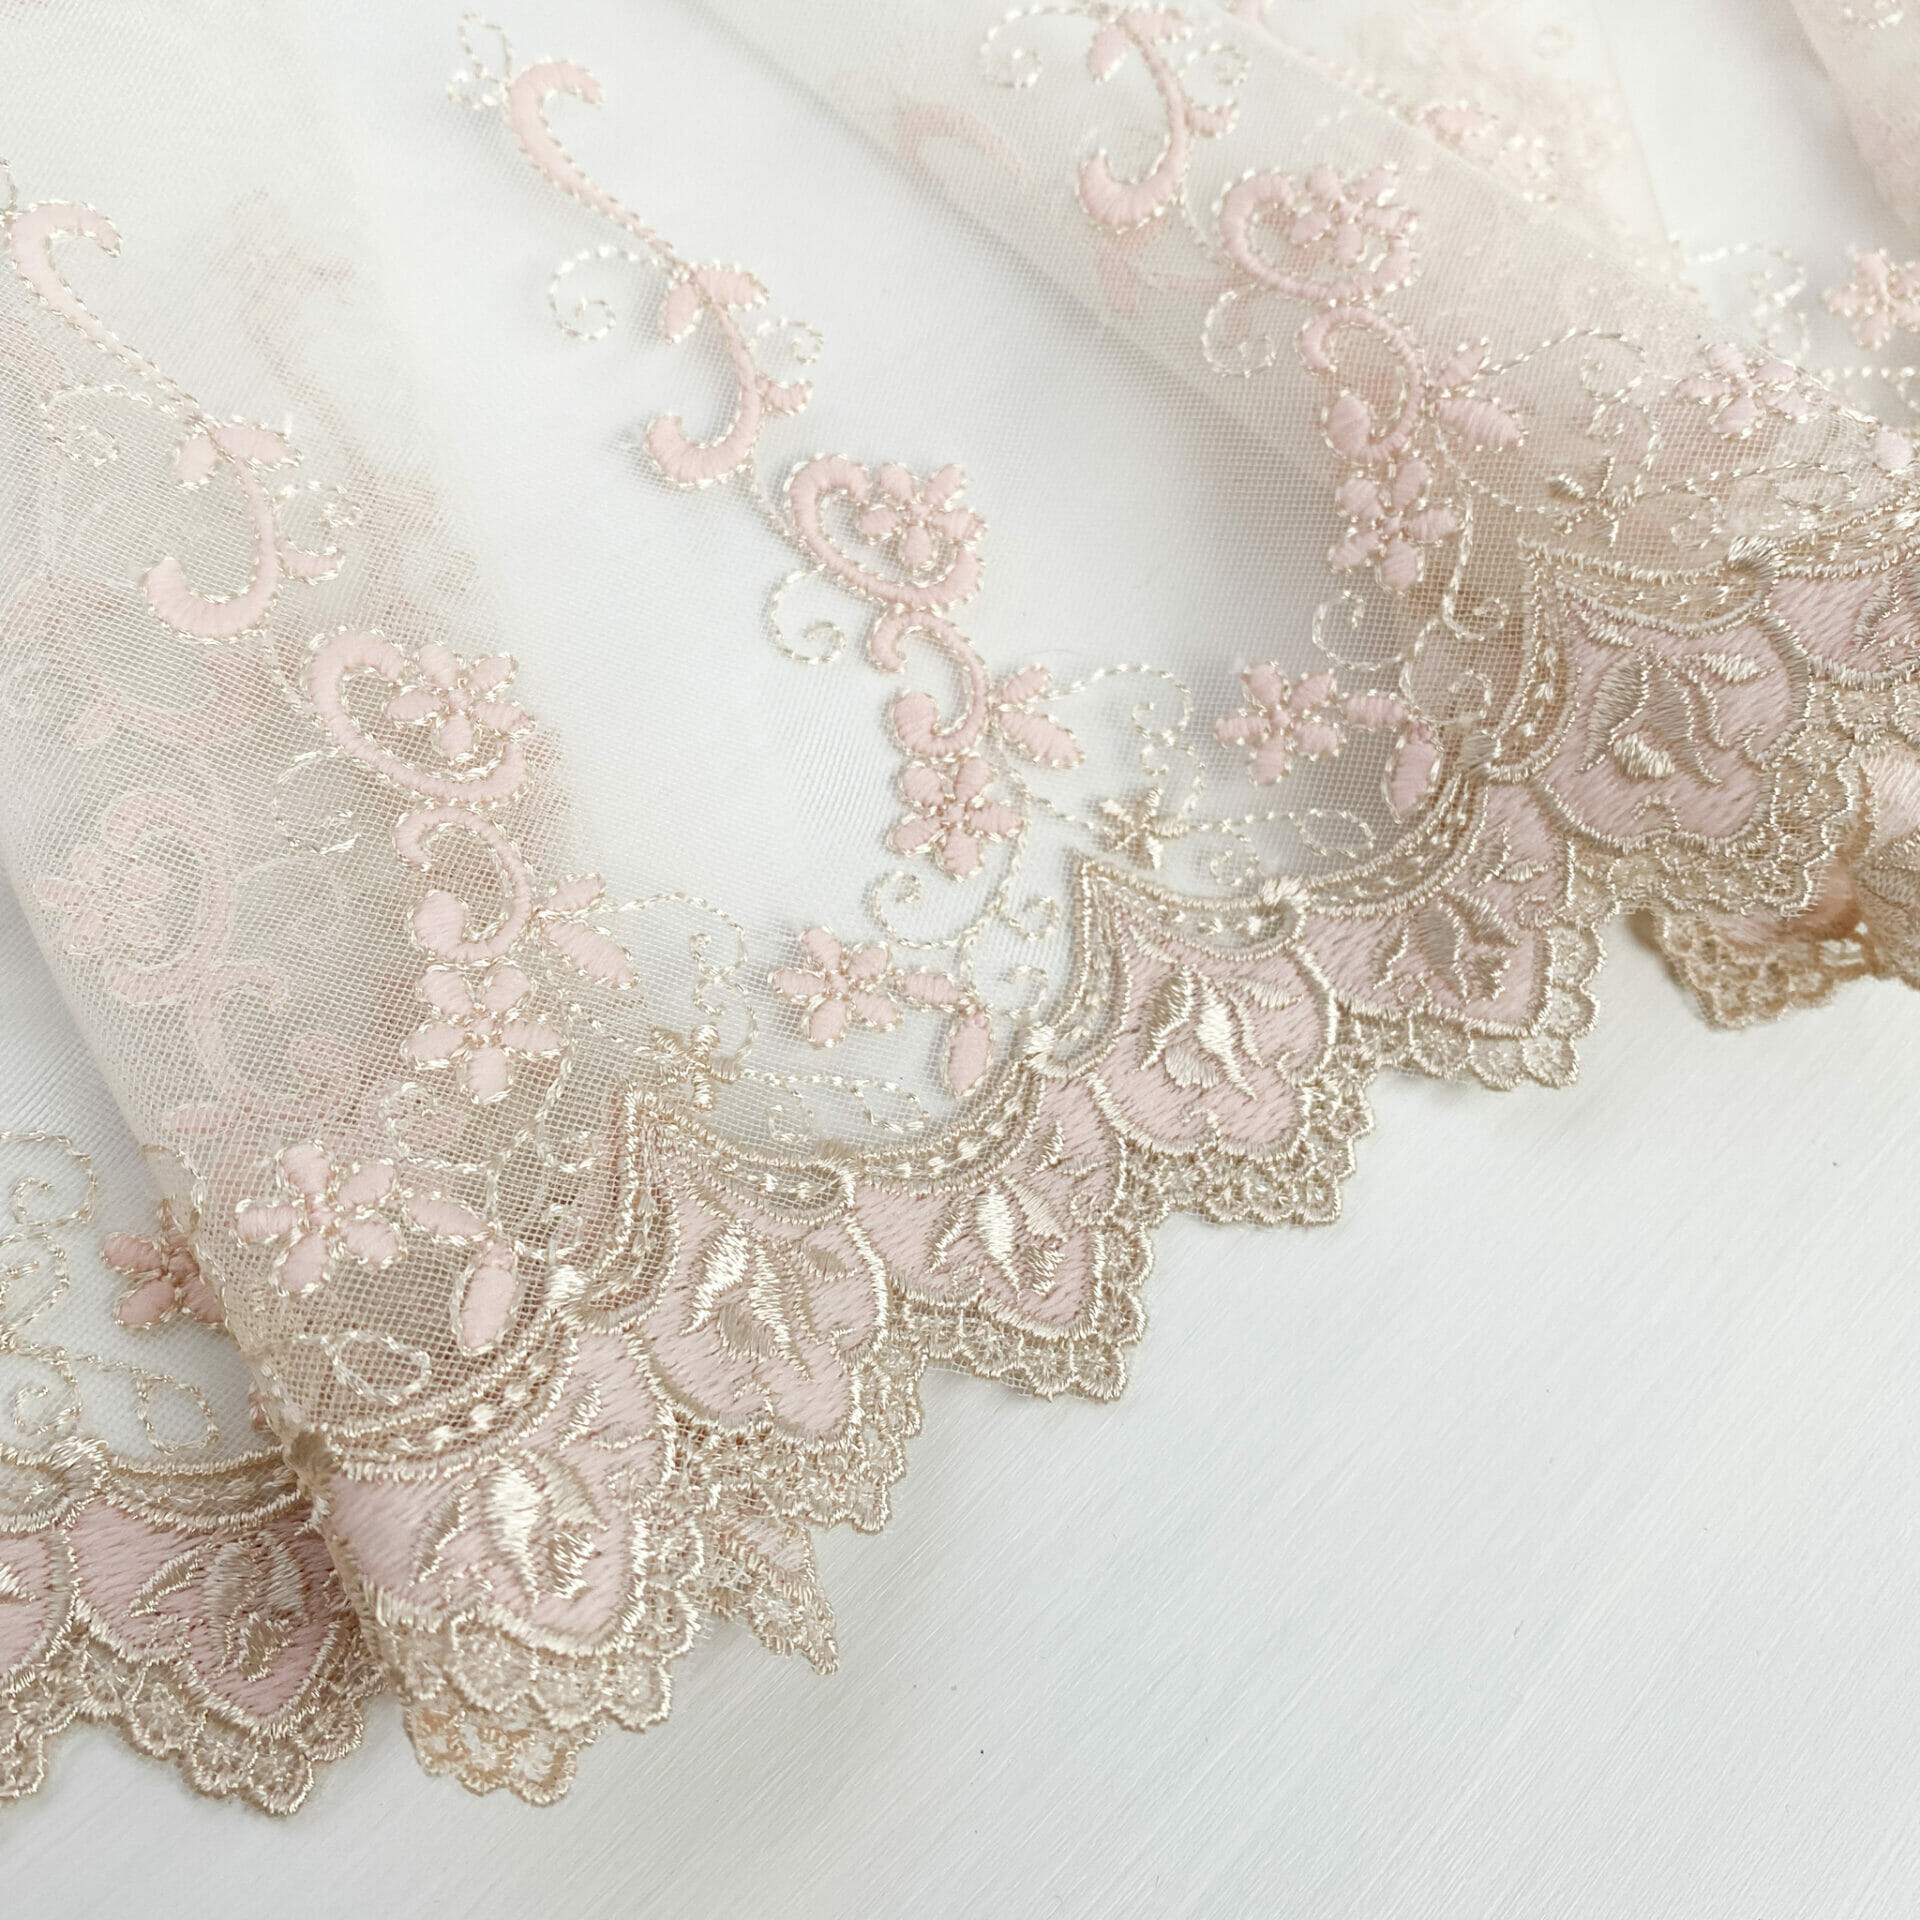
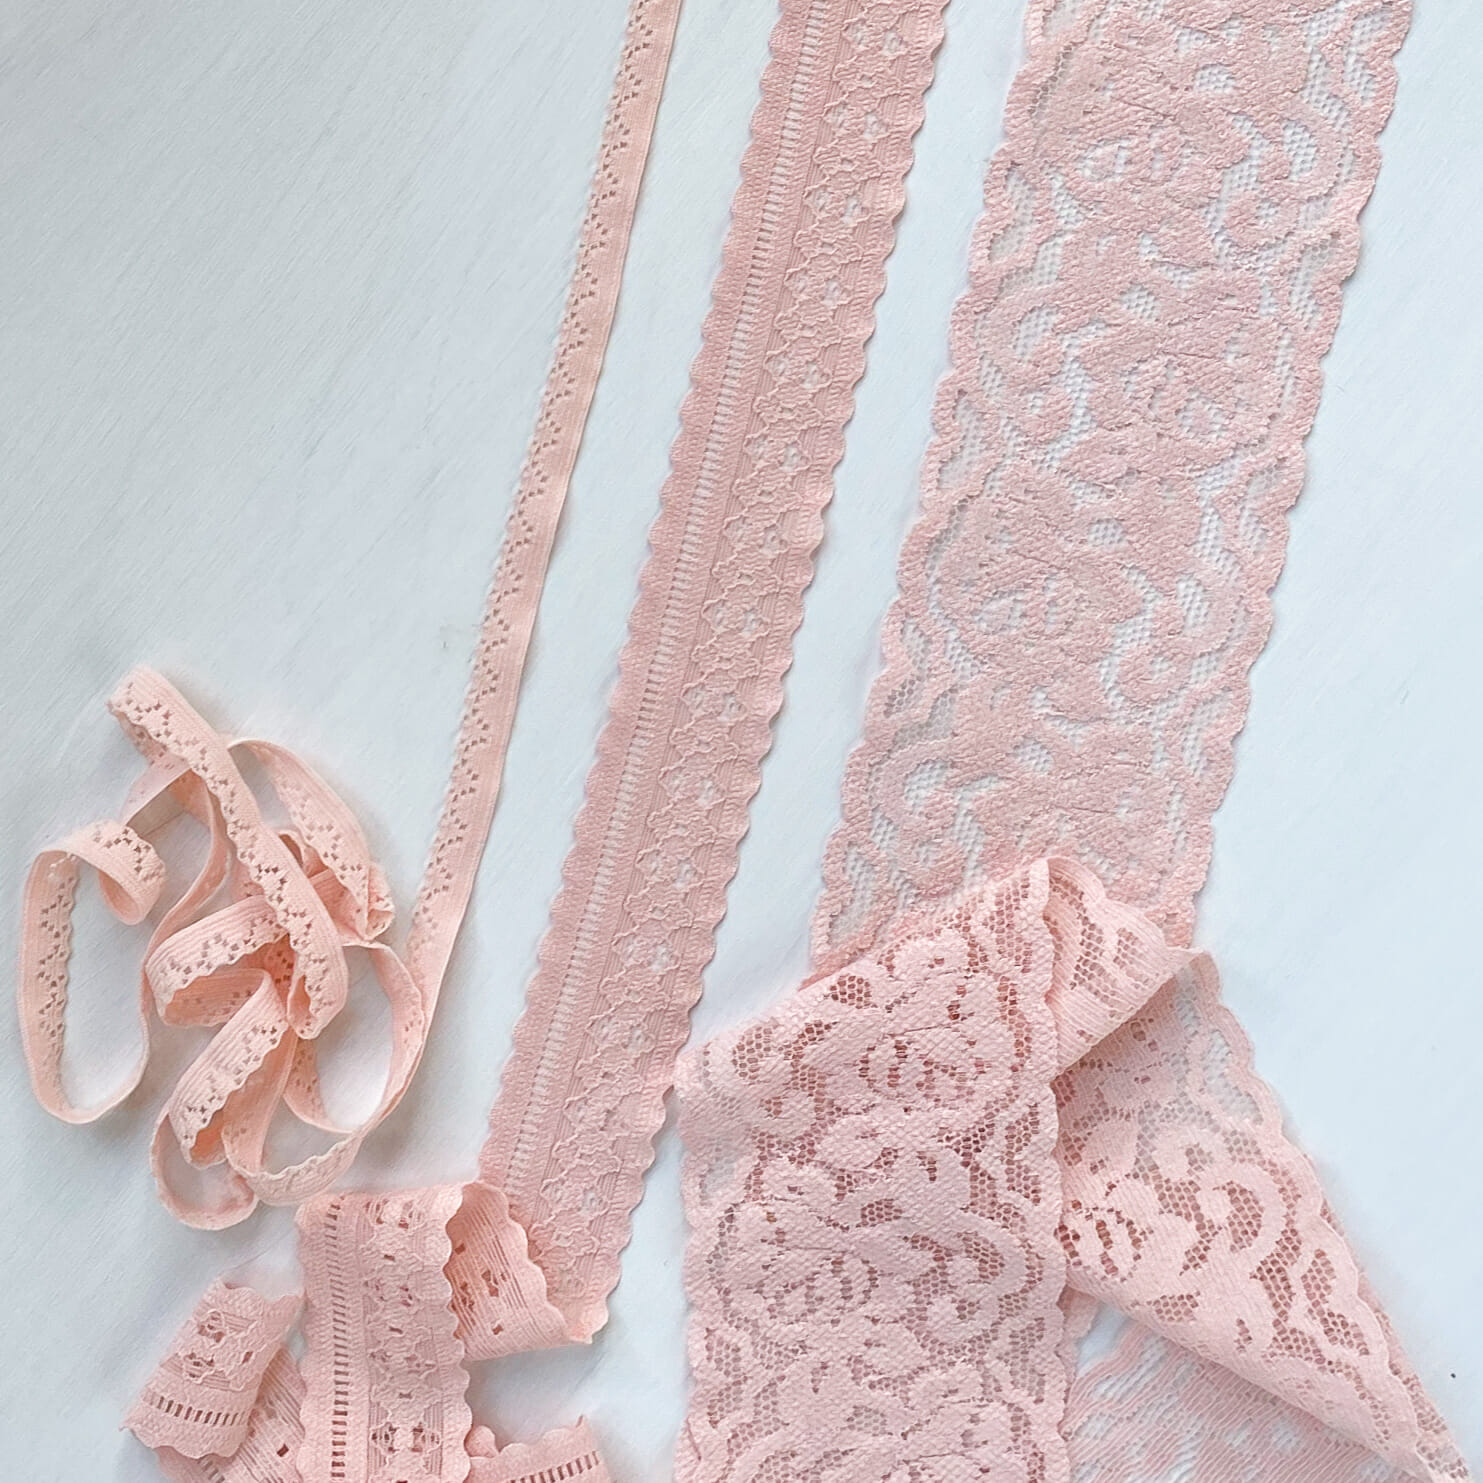
1. The Lace Trim
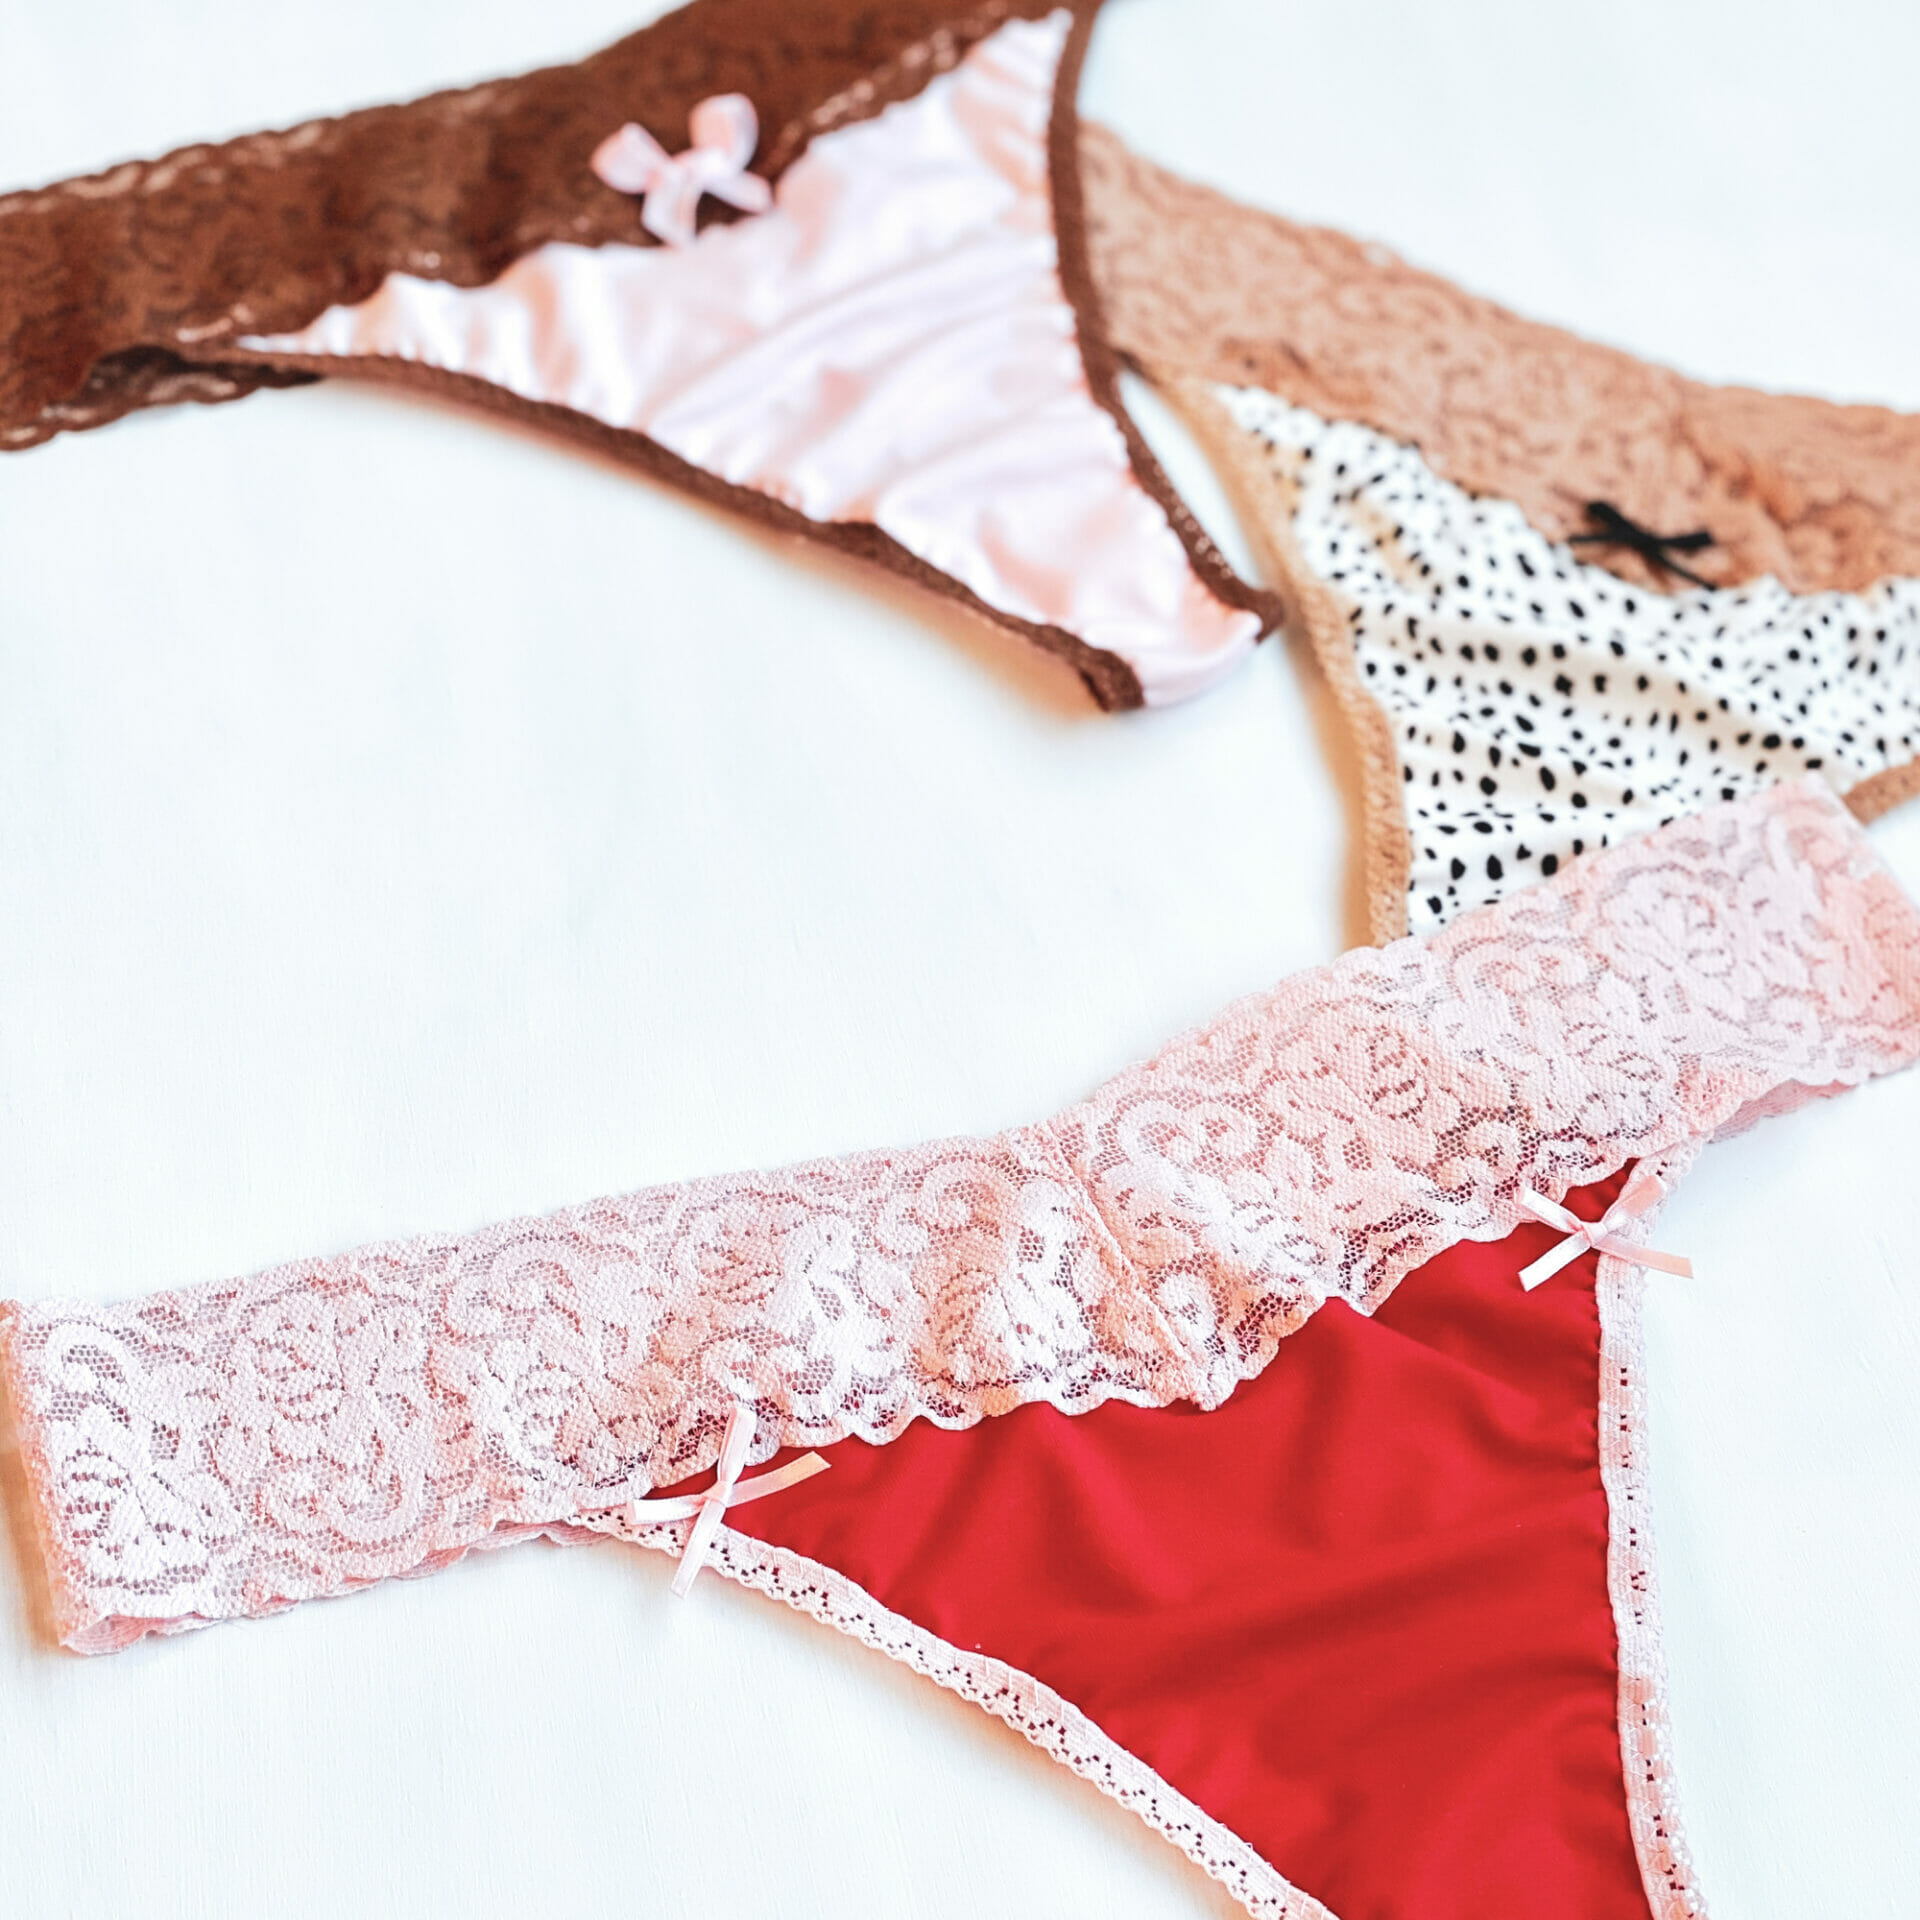
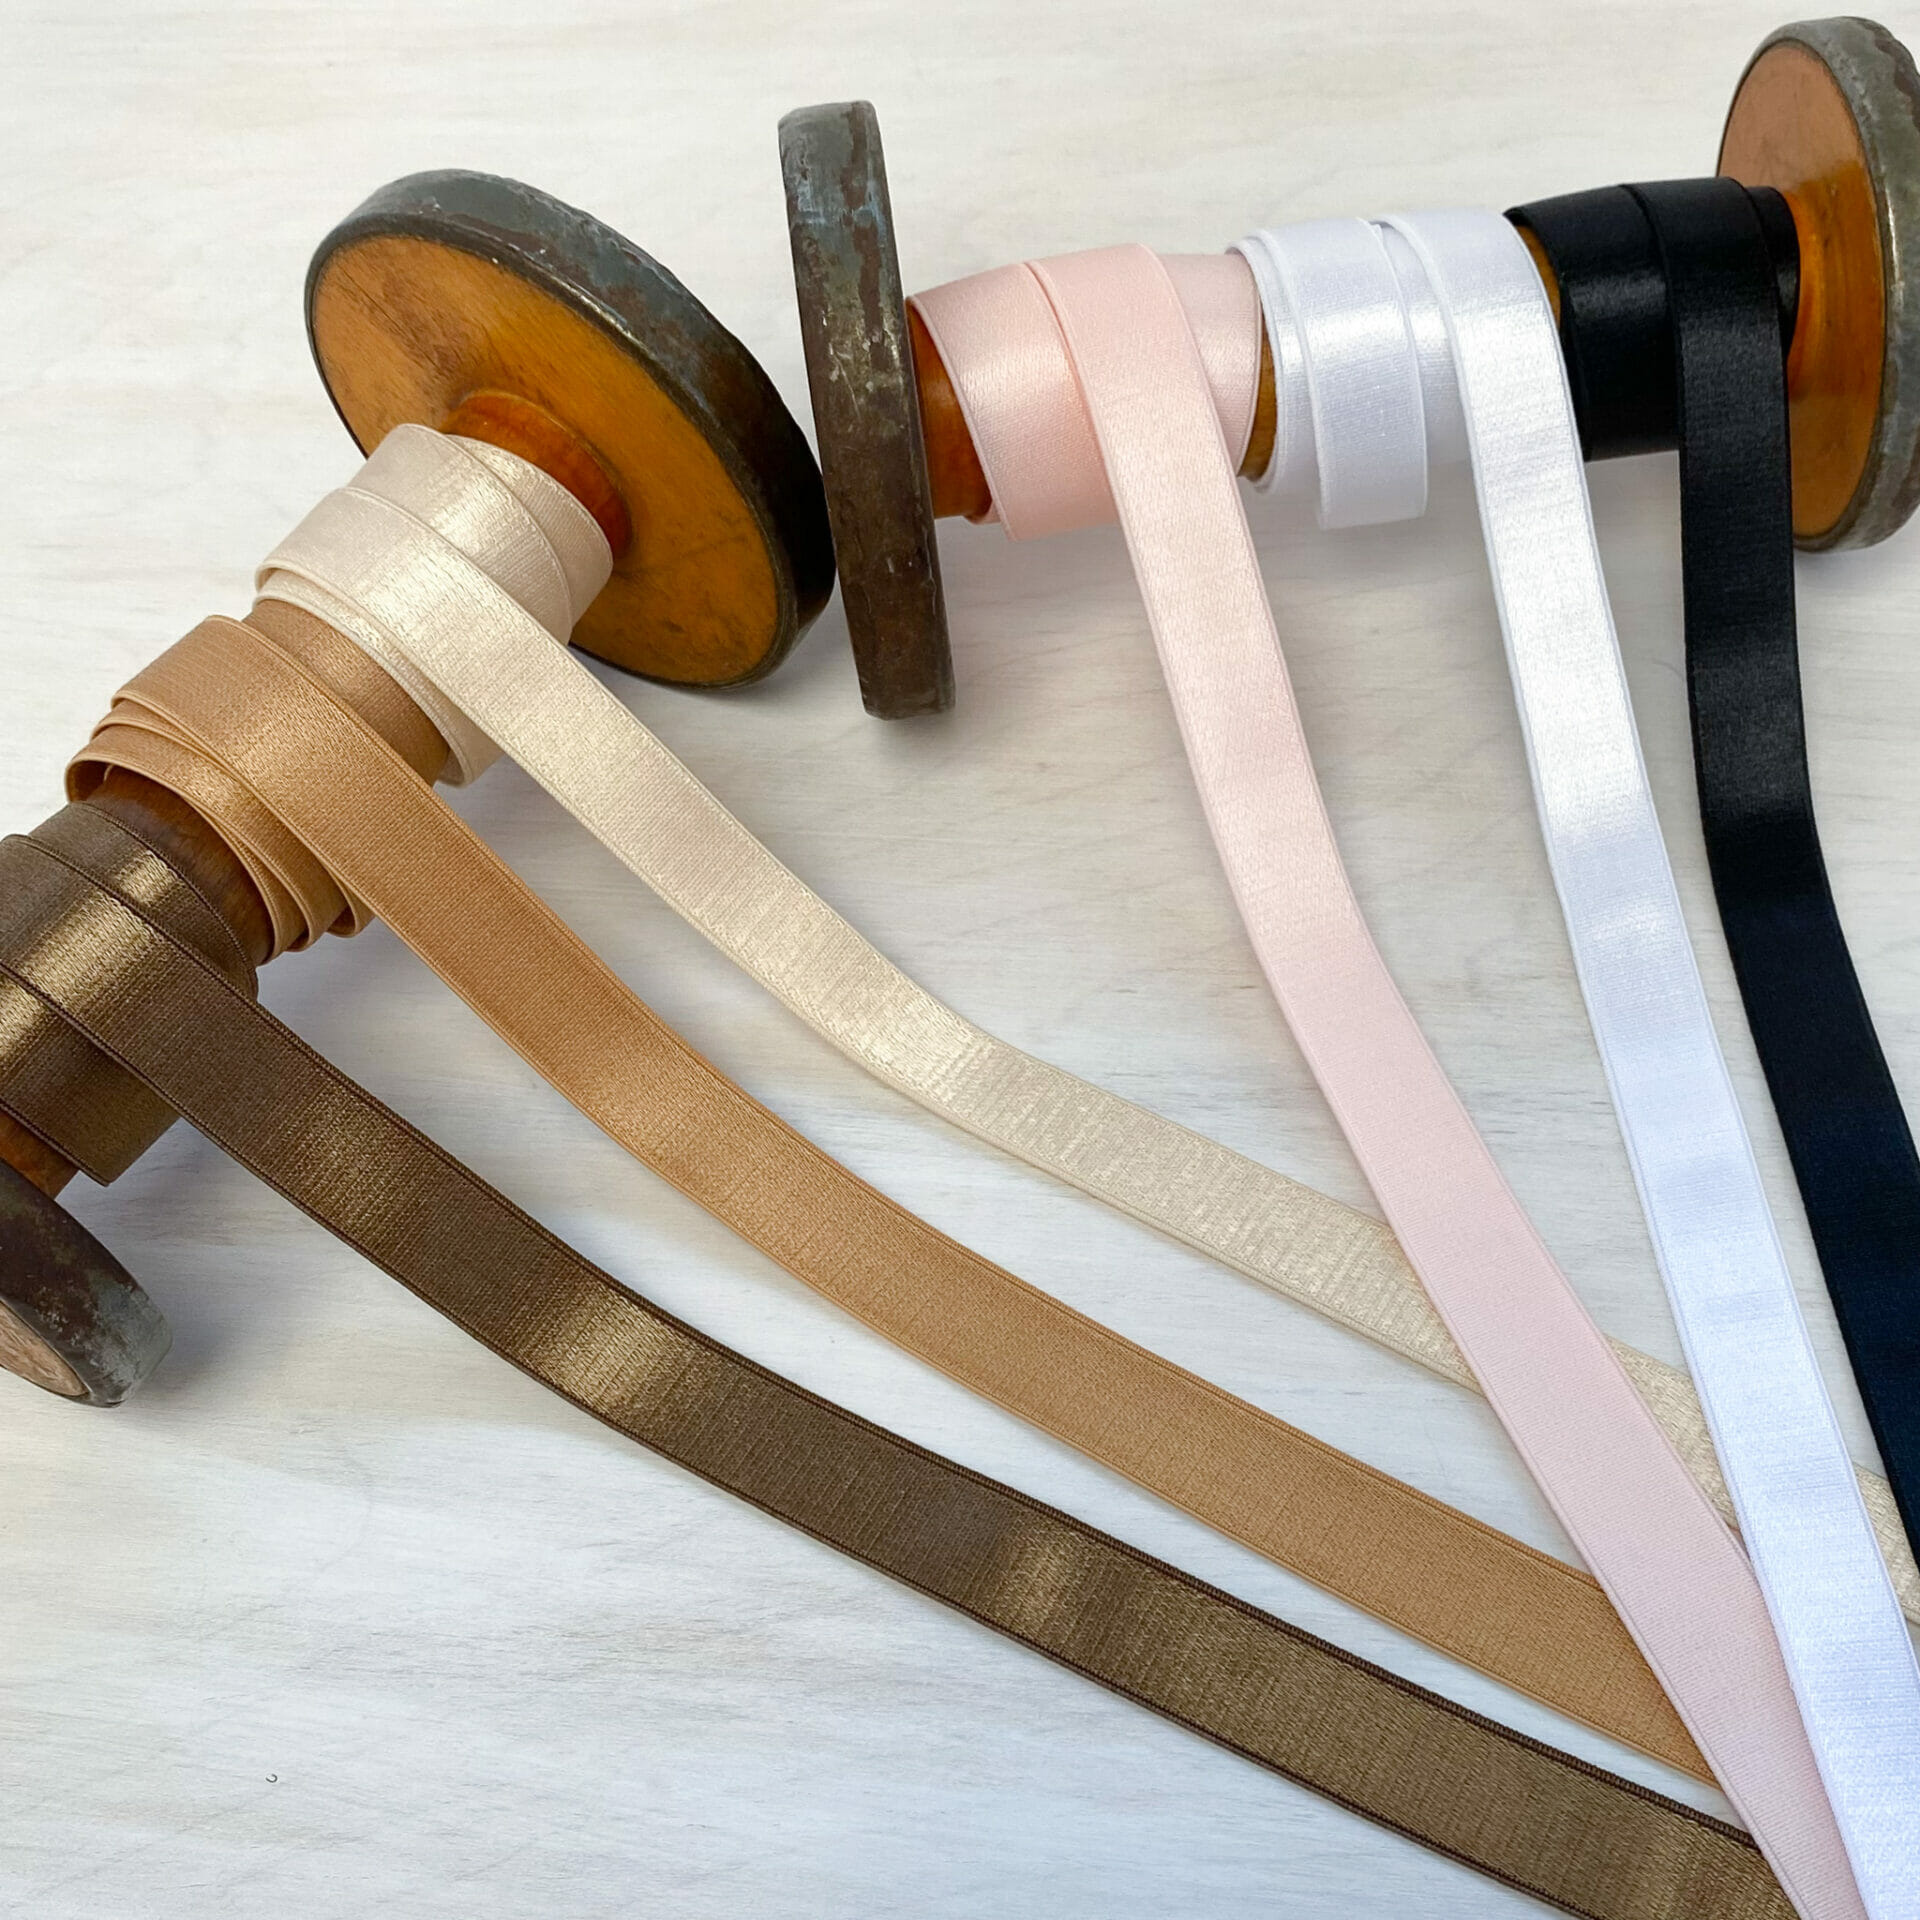
The first and easiest of them all is with a stretch lace trim. You can find these trims in different widths, I love this really narrow little one, but 1″ wide ones are nice too!
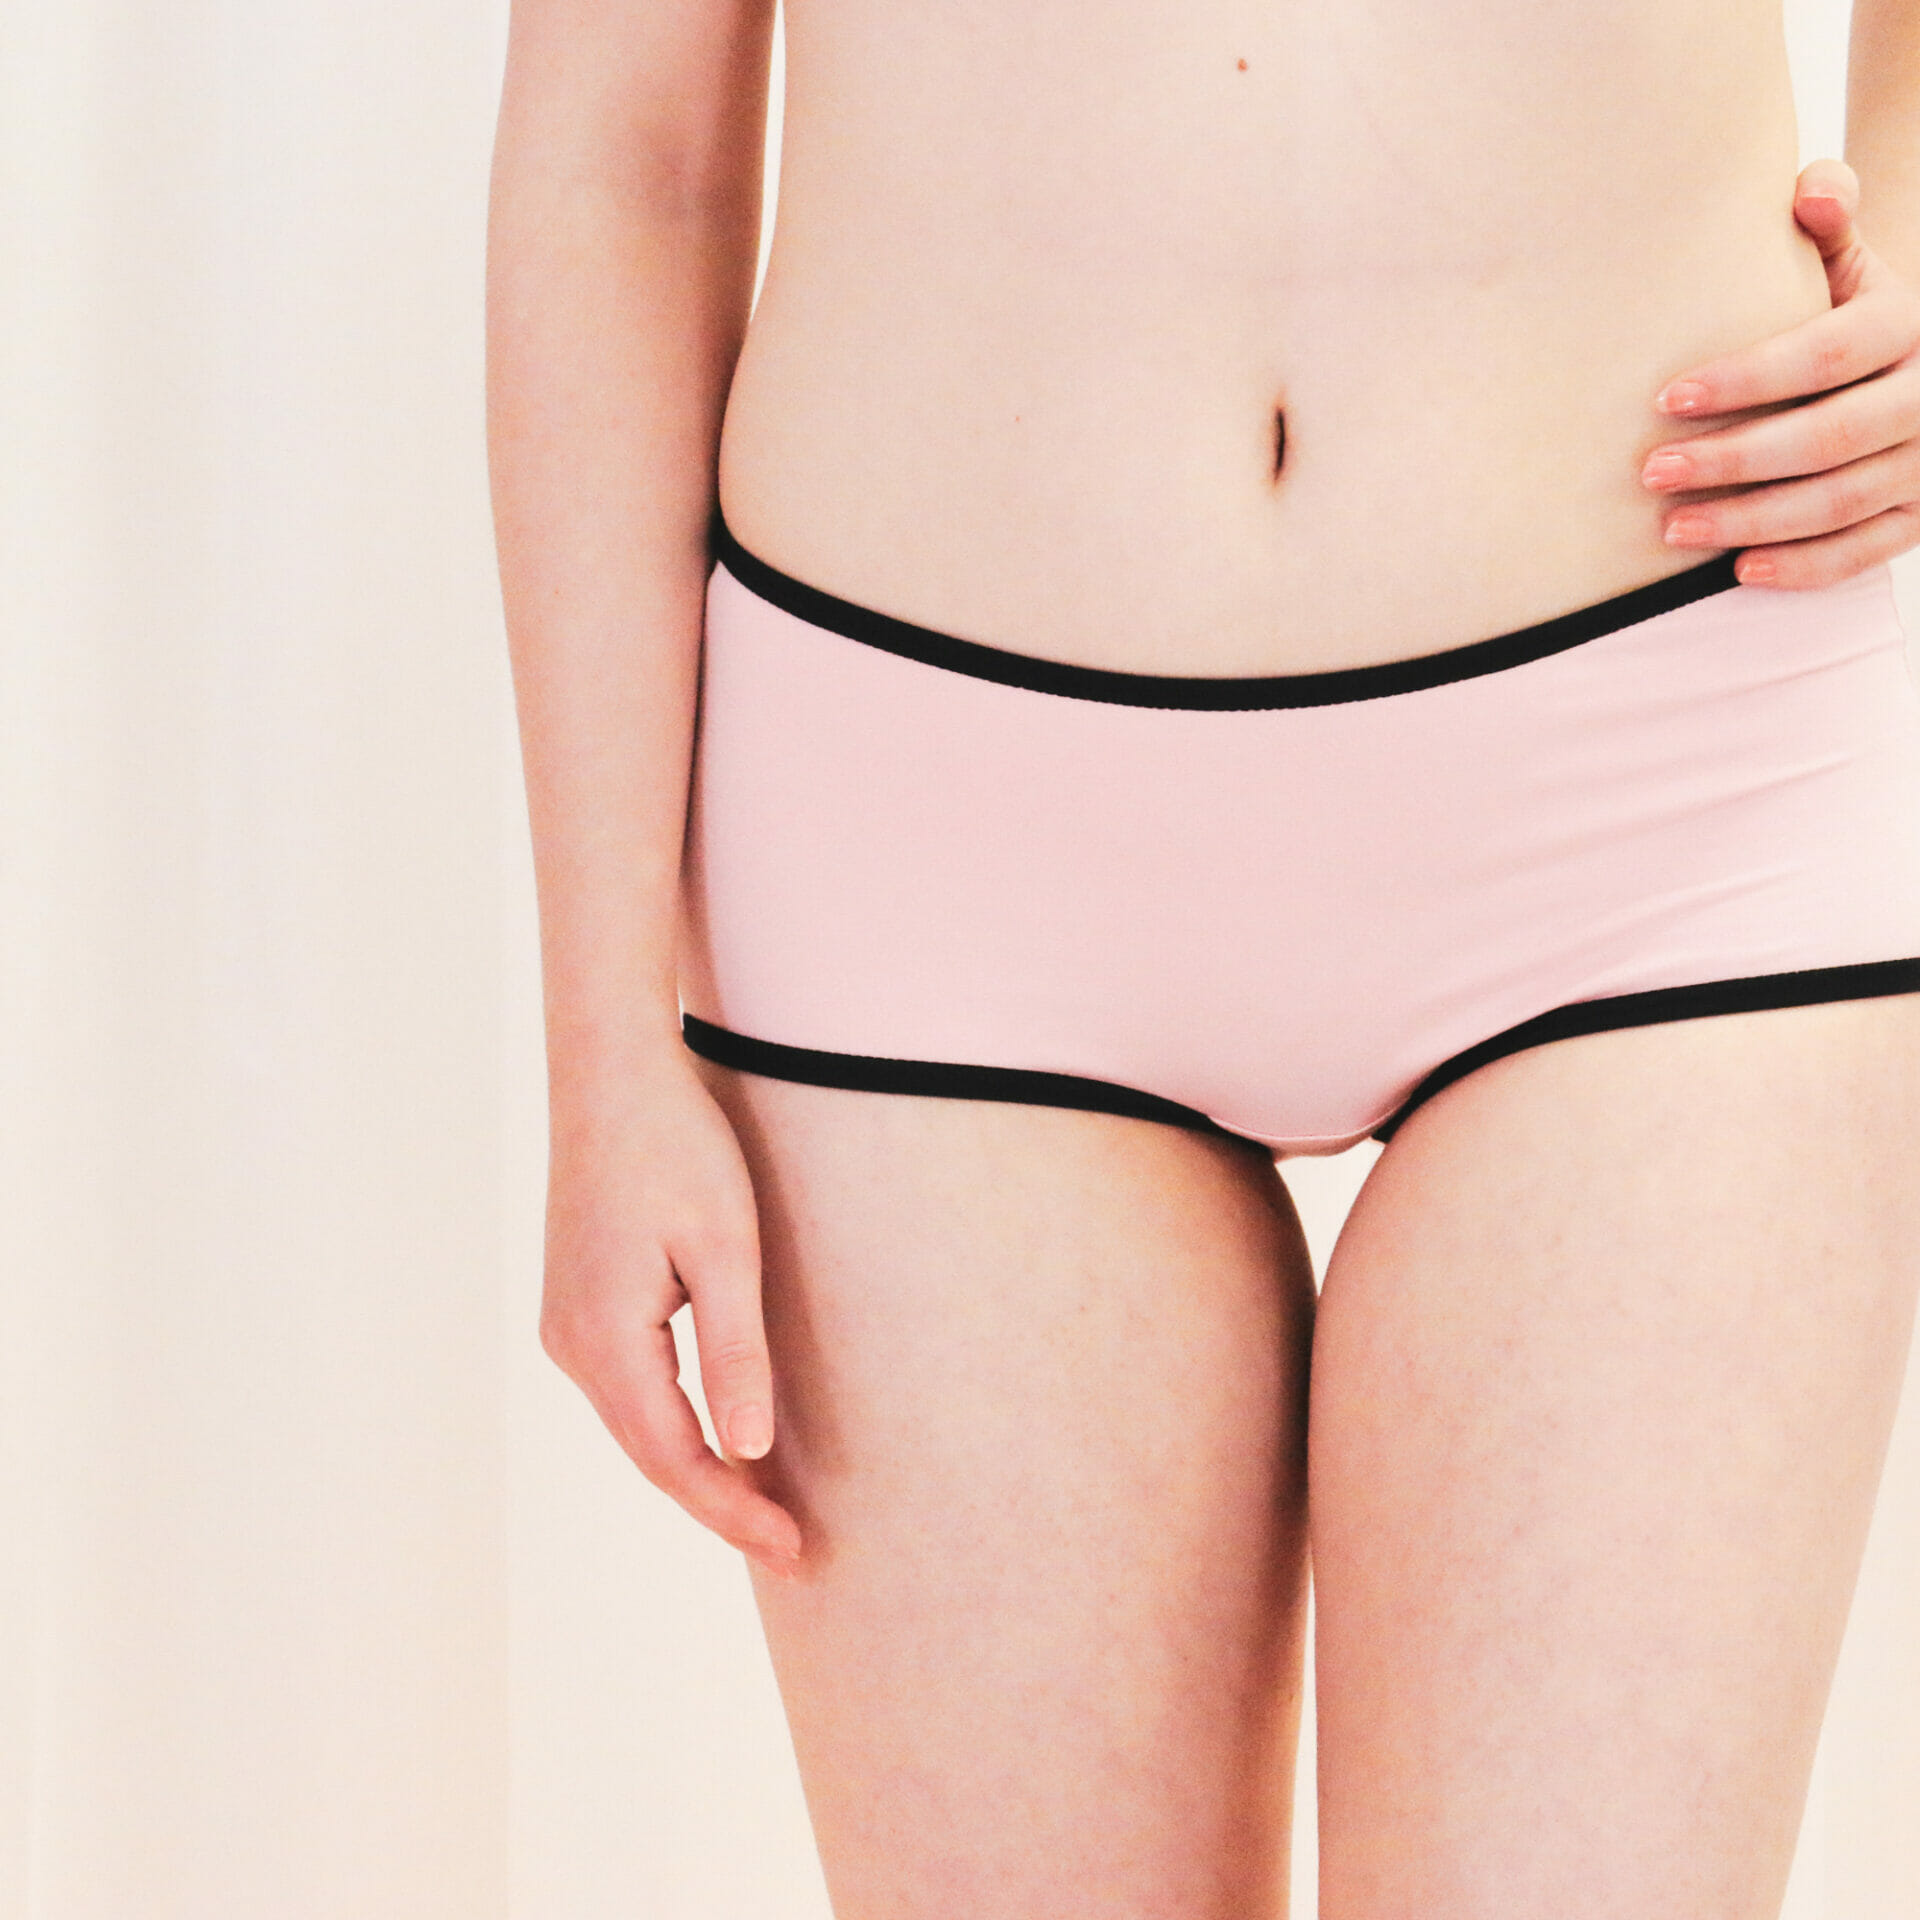
The best thing about this type of elastic is that it isn’t a very strong elastic, so it won’t cut into your skin and it won’t show through your clothing as much, which I love, and is also perfect for boyshorts, since they cut across the cheek and you don’t want much tension.
To sew it on, I like to use a regular 2-step zig zag, and I use stitch that is about 2.5-3 wide, and 2-2.5 long. These settings will be different depending on your machine, the only thing that you want to do is test your stitch to make sure that it isn’t tight and won’t snap when you pull on it.

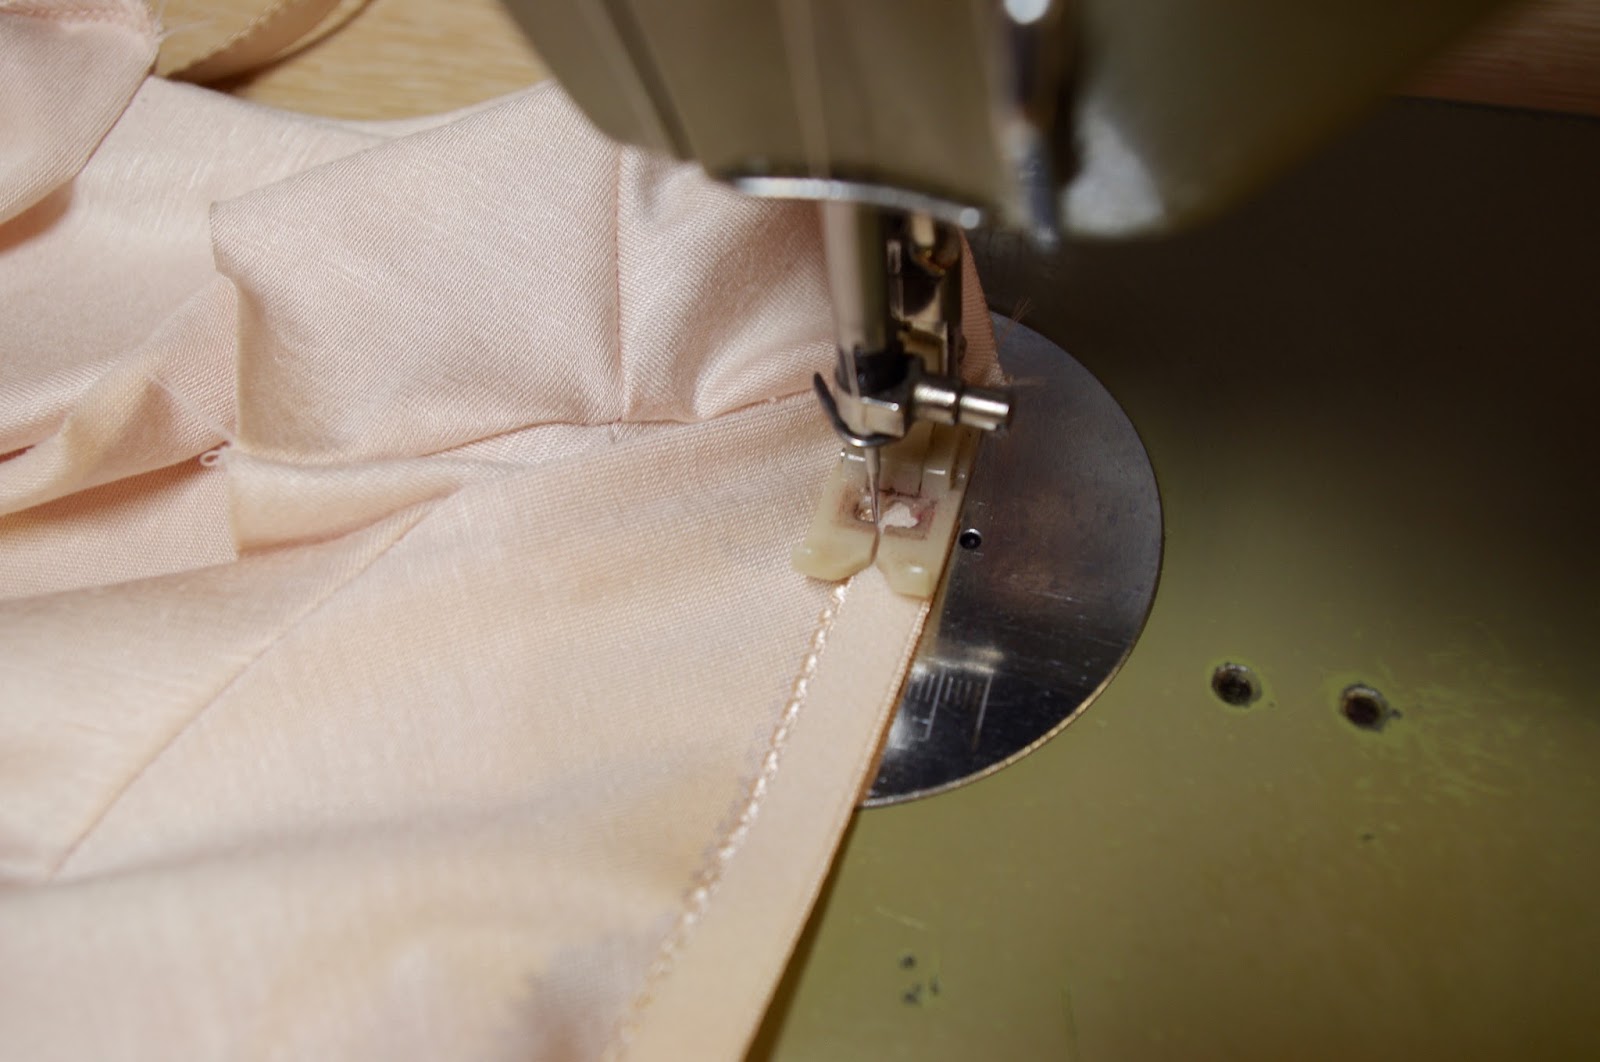
With the right side of your fabric up, lay your elastic on the edge of your leg or waist opening. Stitch on the inside edge of your elastic.

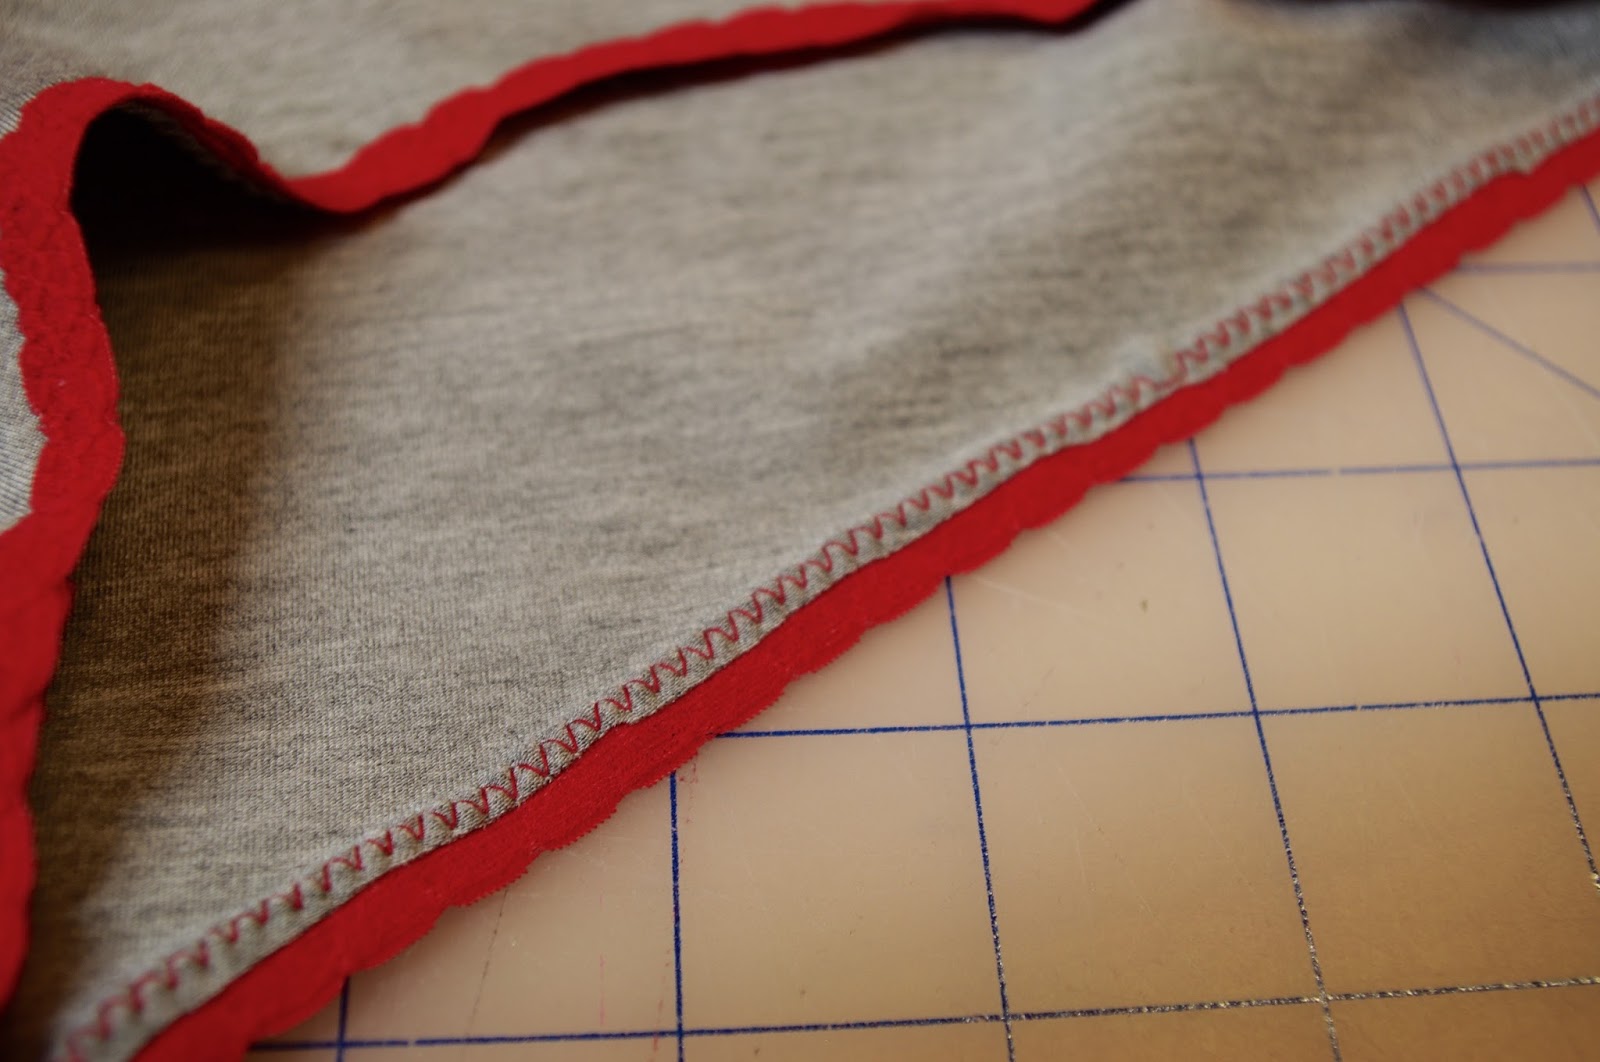
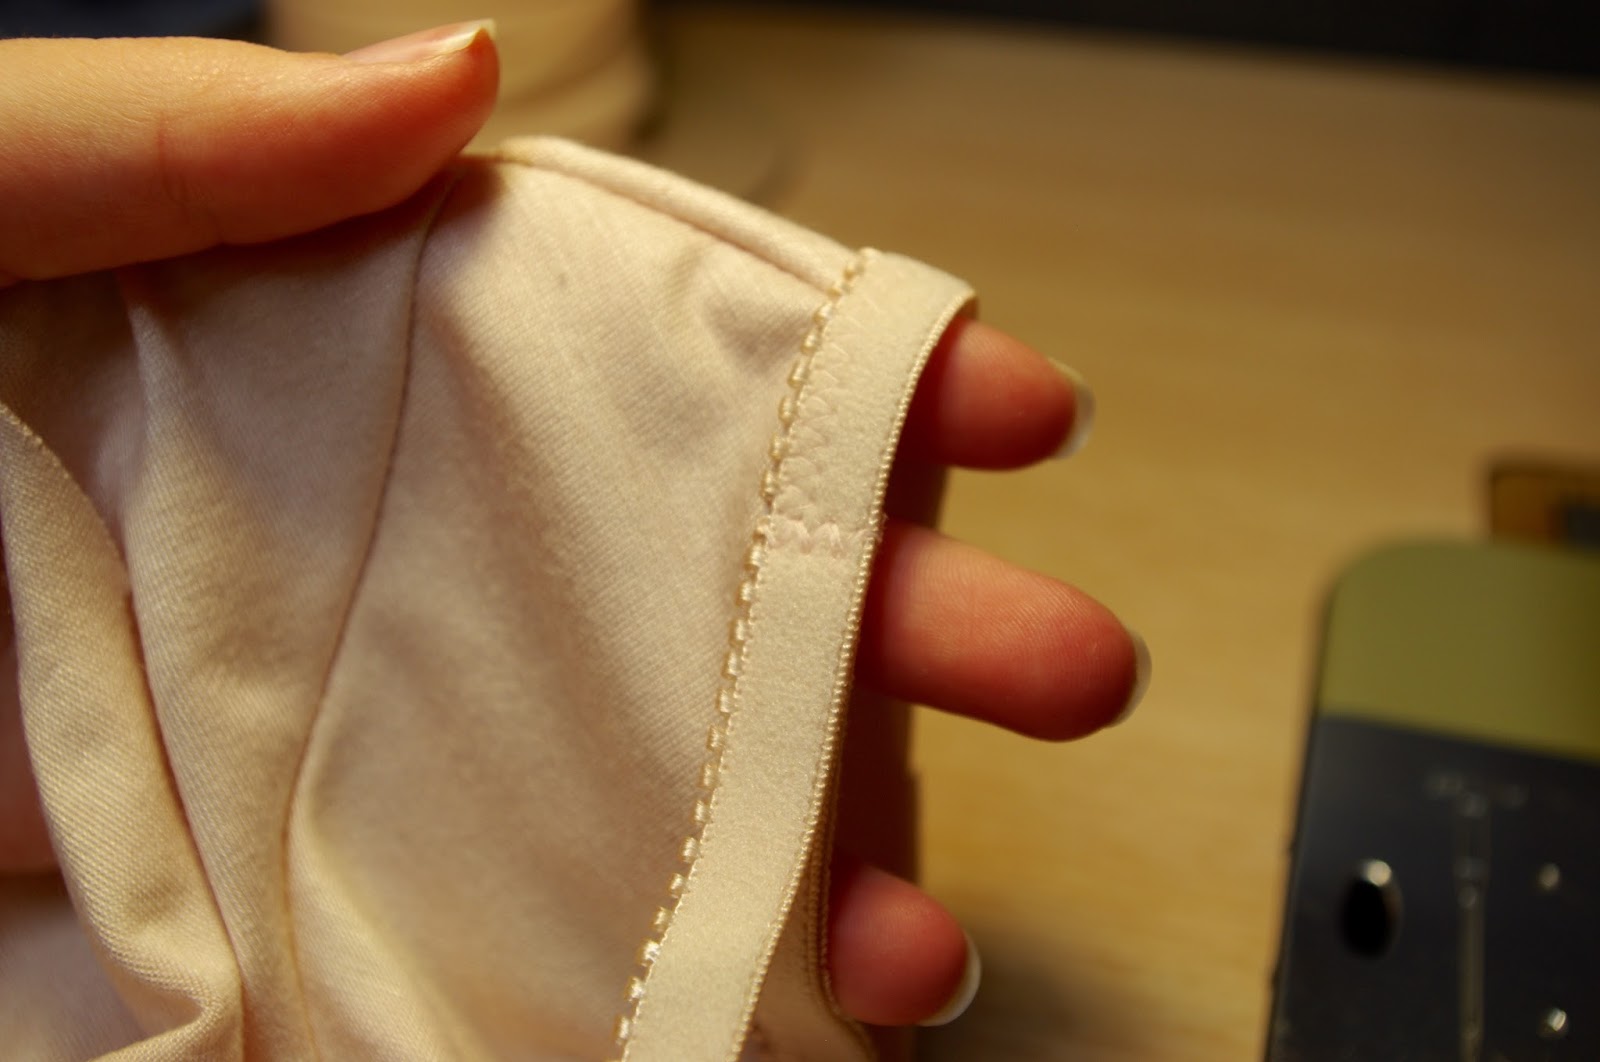
When you come full circle lay your elastic overlapping your raw edge be 1/4″ – 3/8″, zig-zag to that point then pivot and zig-zag your elastic together. Then you can cut the elastic right at the edge of the join. With a stretch lace trim it will be barely noticeable.
Then you can trim off your fabric right to the edge of your zig-zag on the underside, super neat!
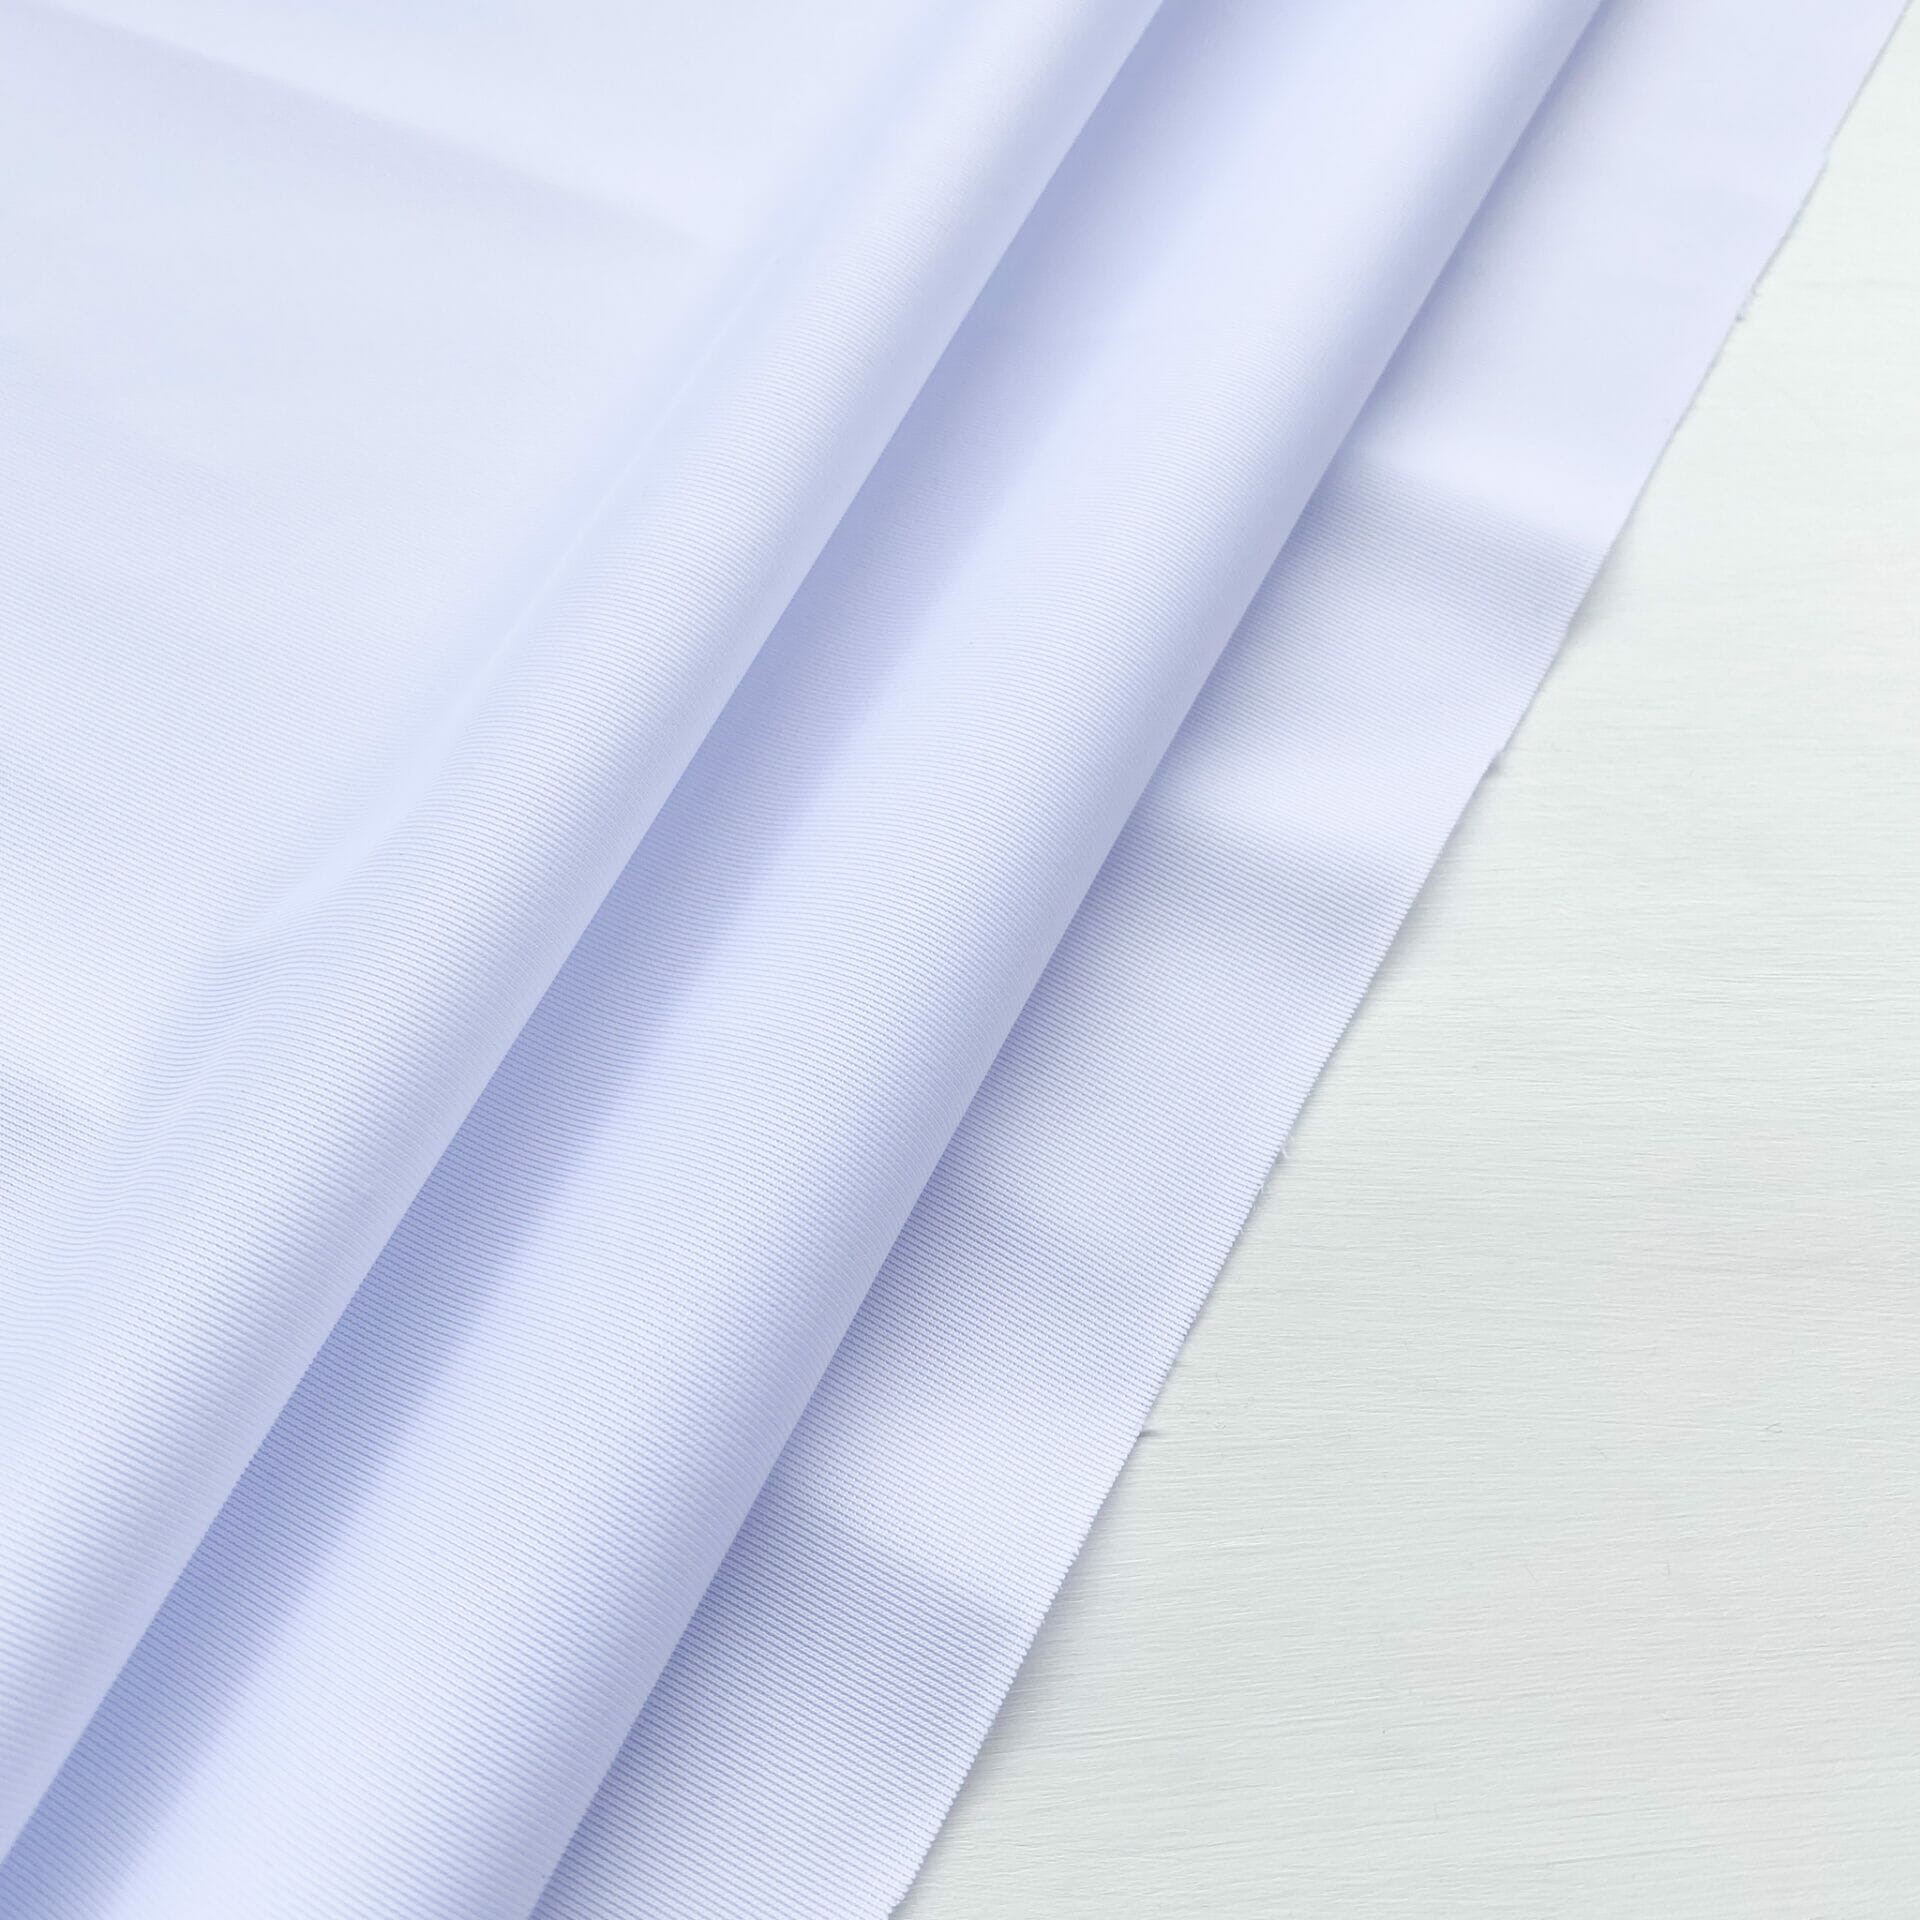
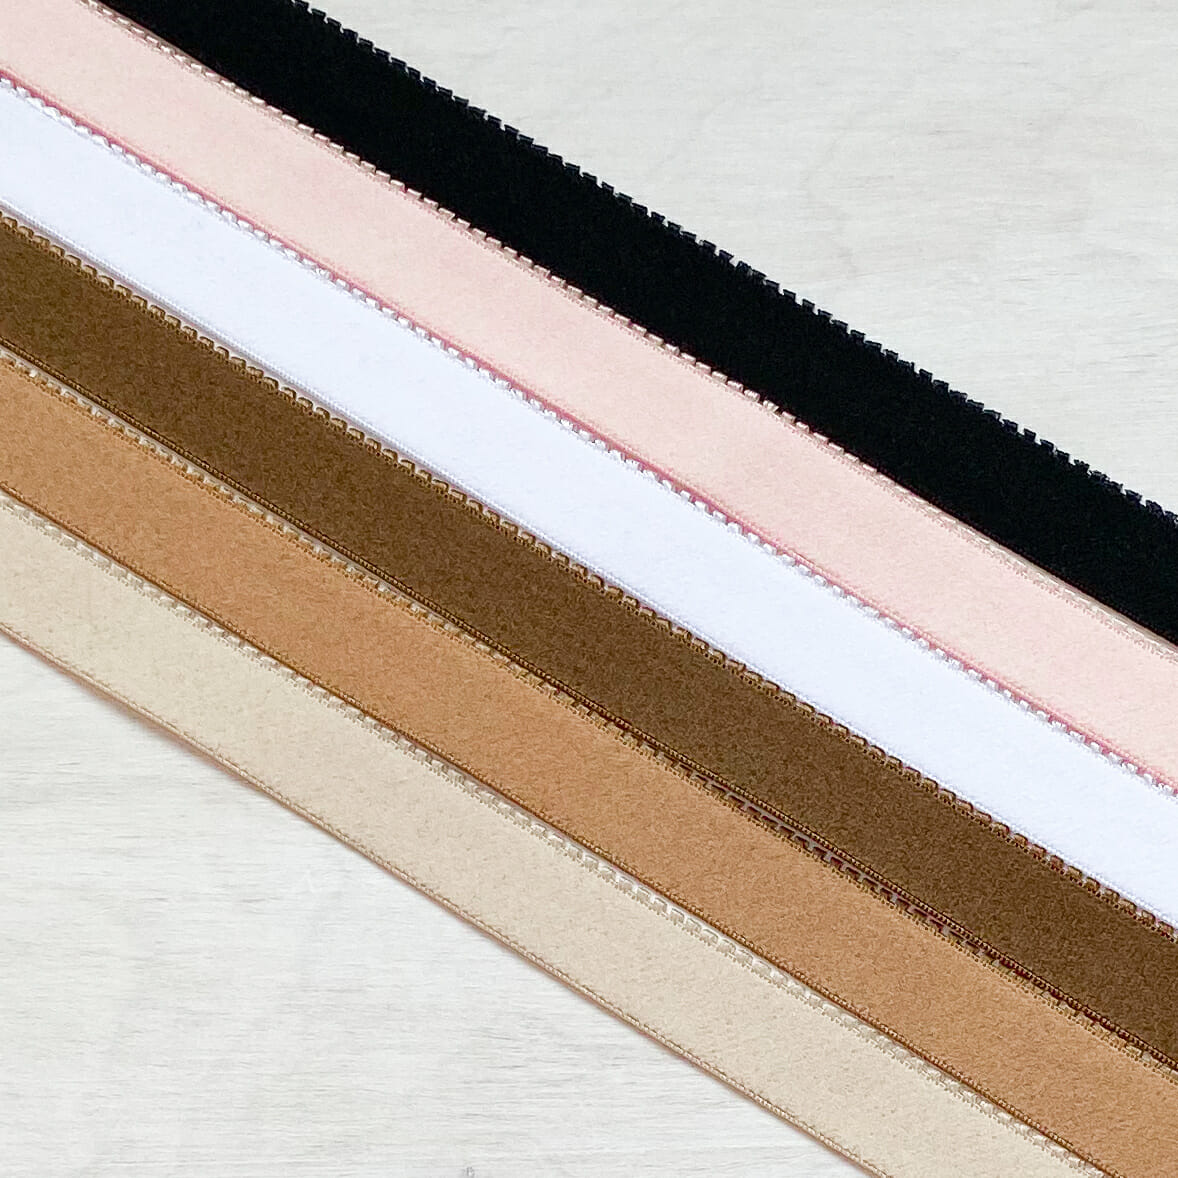
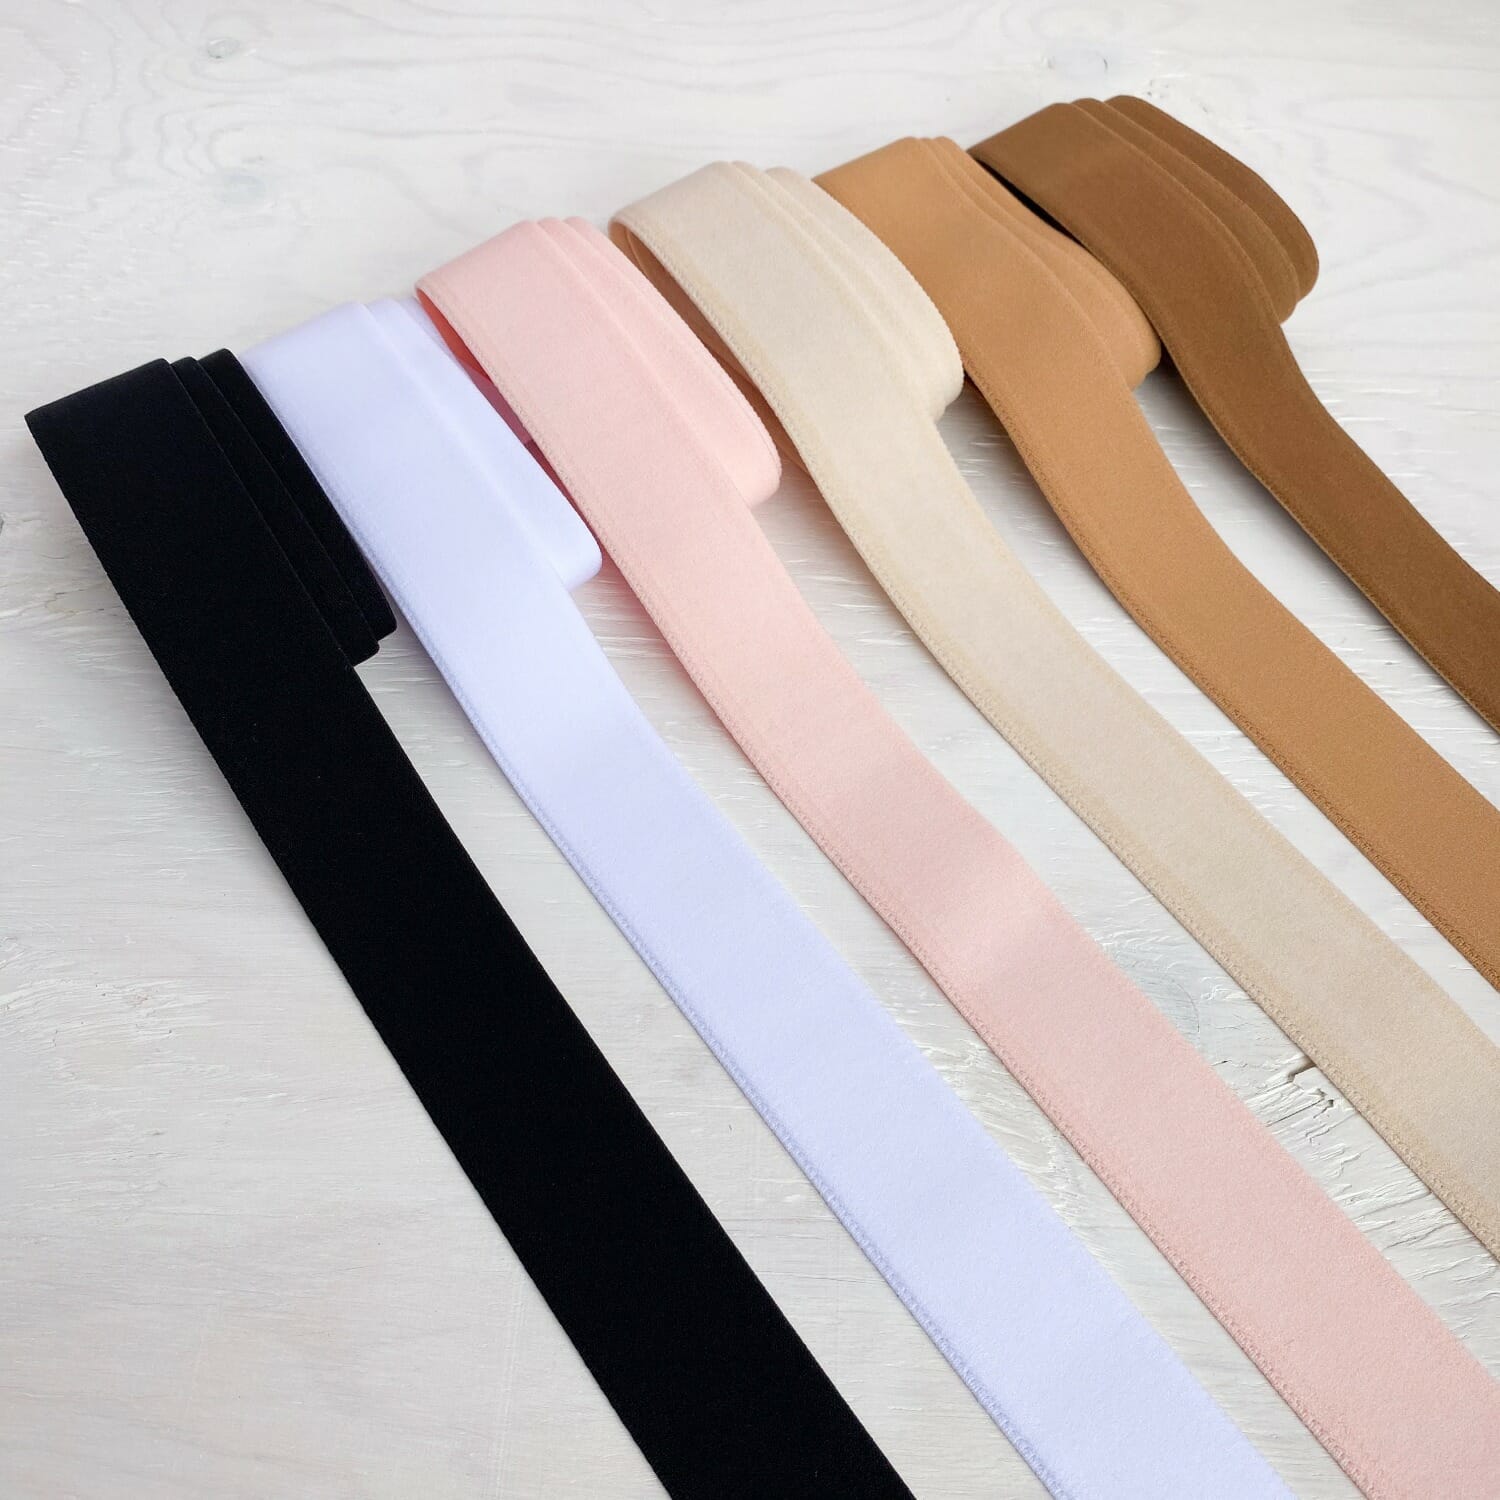
2. The Regular Elastic
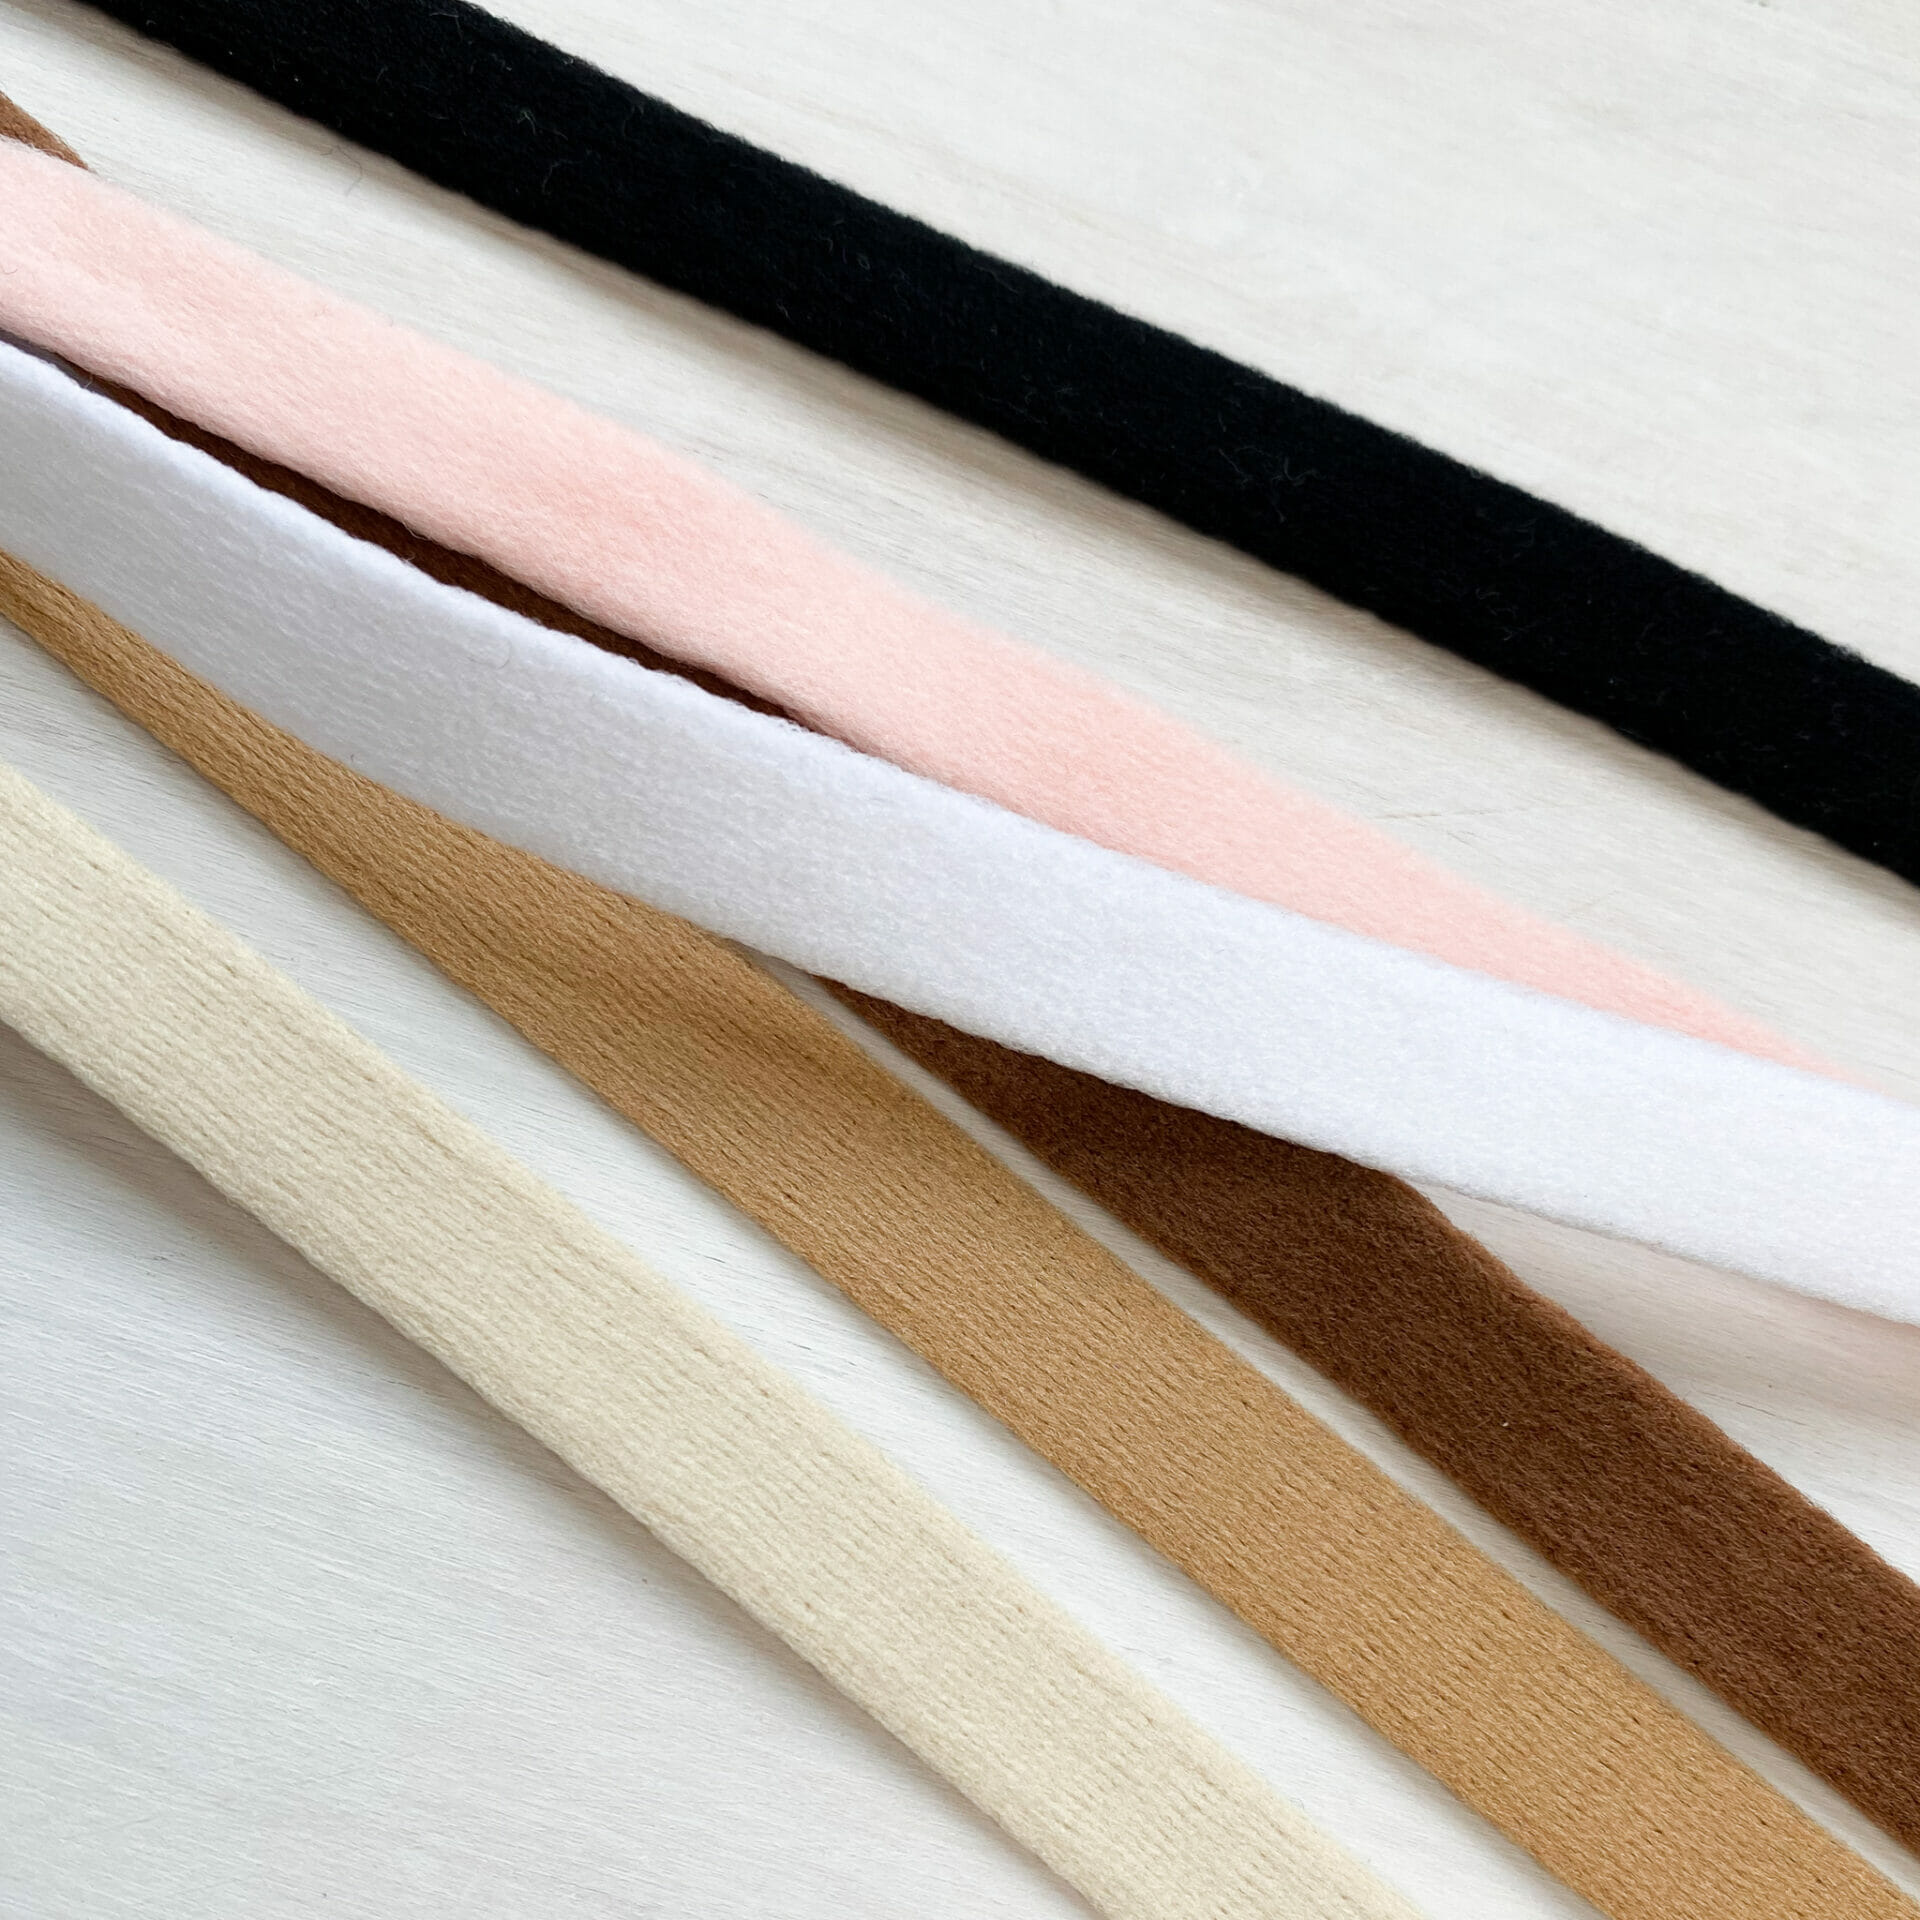
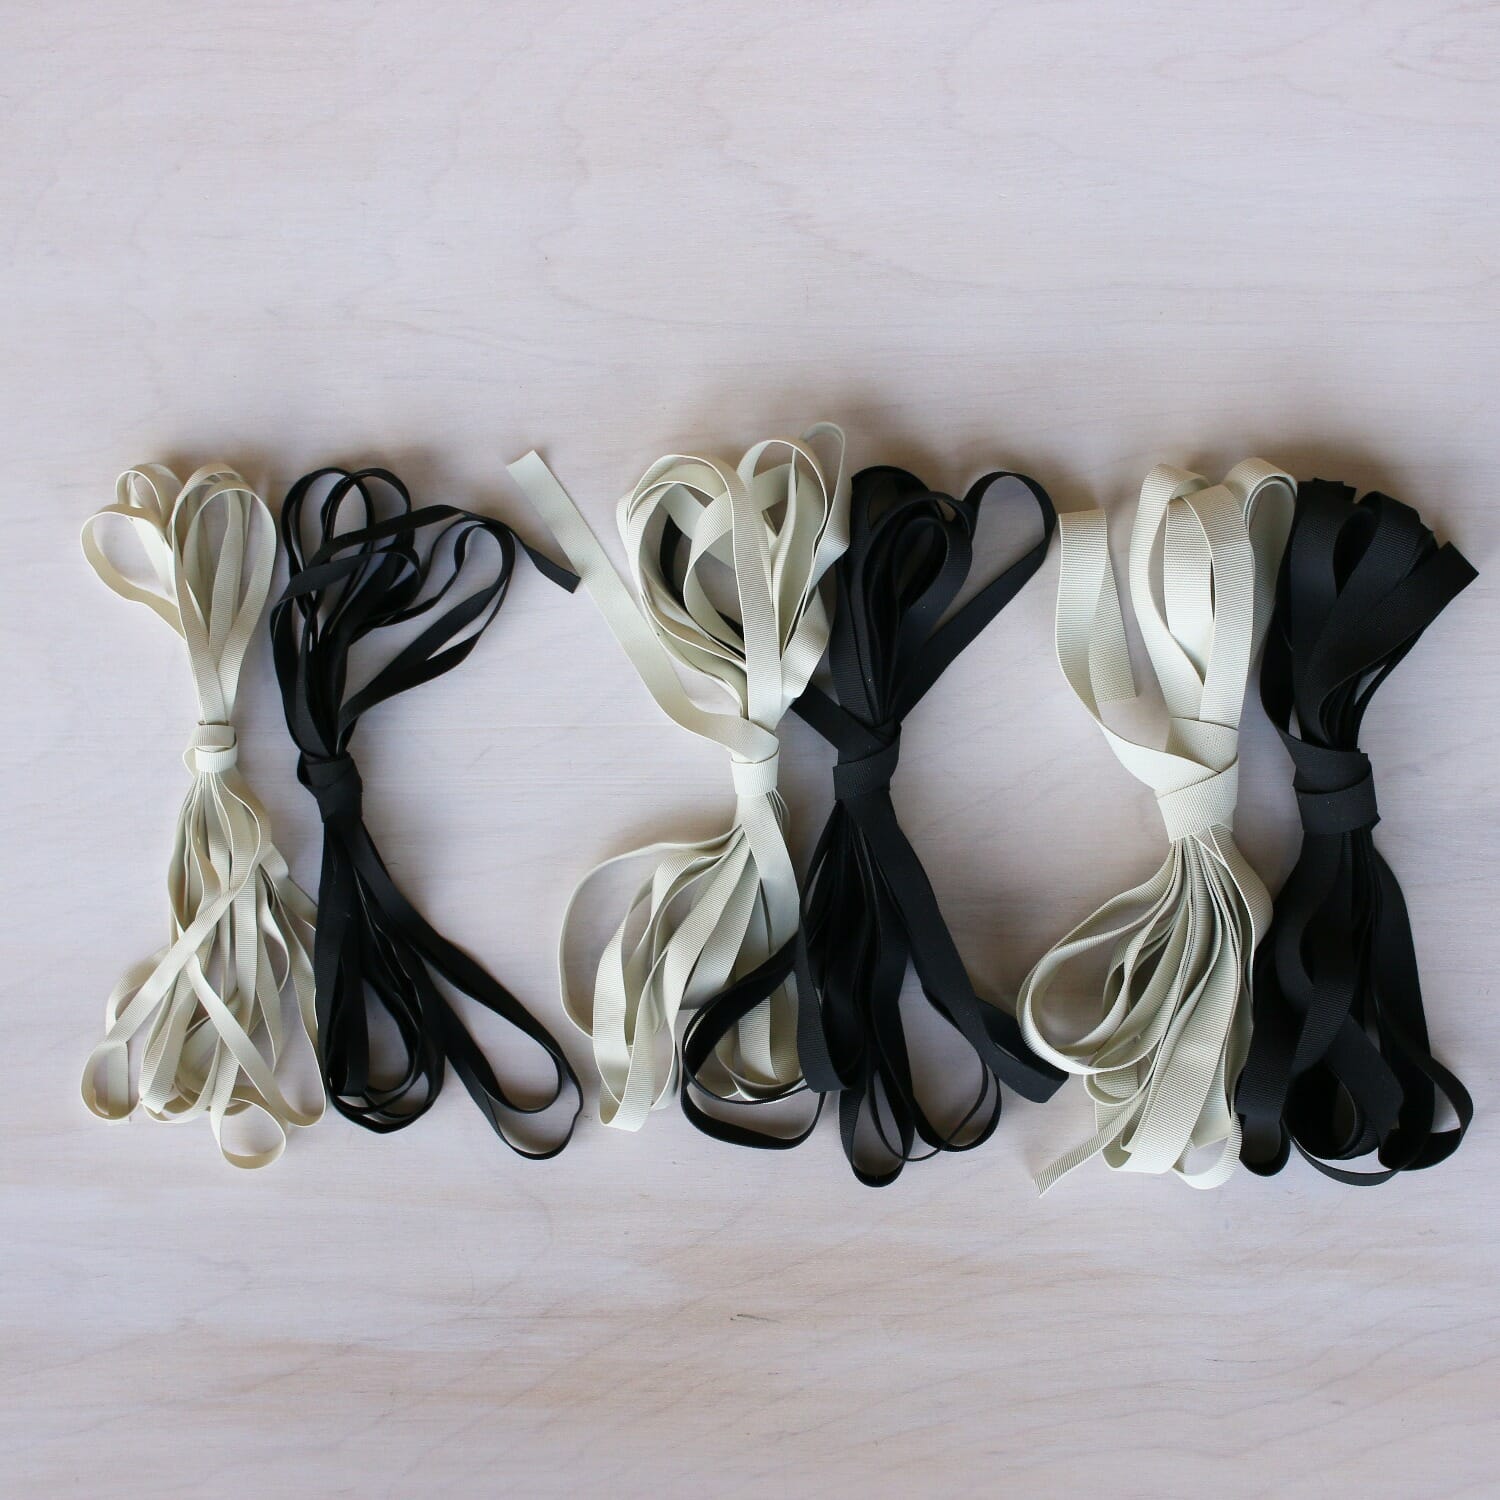
Regular elastic is a very standard and great option. It’s a good option because it is great for matching to your bra, because you probably used that elastic in your bra, and this elastic should also have a nice plush soft side!
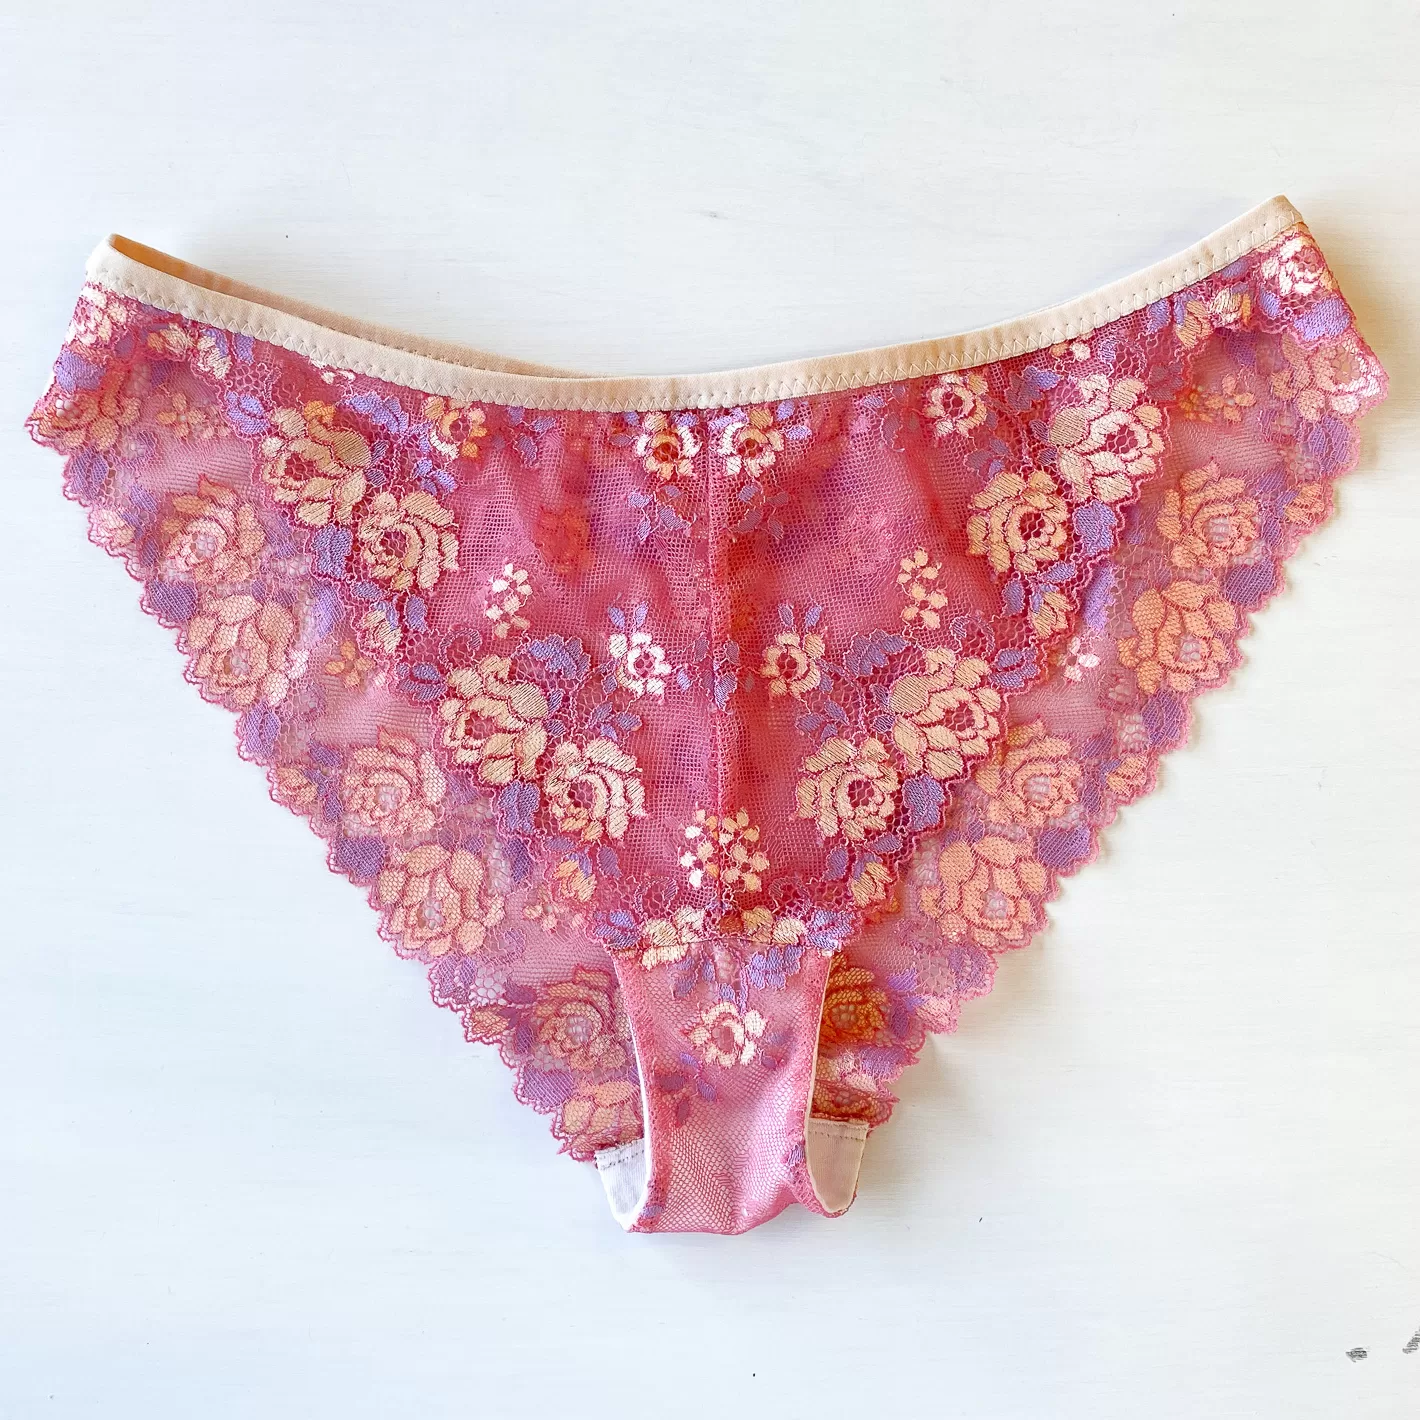
This style of elastic is also great for a full-seated style of panty because it does have a little more strength, and will do a good job of hugging a panty under the cheek if that’s what you want it to do!
This elastic application will have two passes of stitching. Start with the right side of your fabric facing up. Lay your elastic along the edge with the plush side facing up and picots facing in. Stitch with a zig zag stitch (I like to use a 3 width, 2.5 length) on the inside edge of the elastic, so that the inside stitch is almost touching the picot edge (this way only the little tips of your picots will show on the right side after you finish).
Now when you come full circle and meet the other side, just the same as before, overlap your elastic by about 1/4″, pivot and sew your elastic together, then trim your elastic to the edge of your join.
Then you can flip your elastic to the inside, I like to sew with the elastic facing up, and the wrong side of the fabric up, and keep a bit of tension on the fabric so it lays nice and flat under the elastic. You want to stitch on the inside edge of the elastic (the edge without picots now!) so that you can completely secure the elastic down. This step is really easy since your elastic is already in a round and you can just zip around the circle.
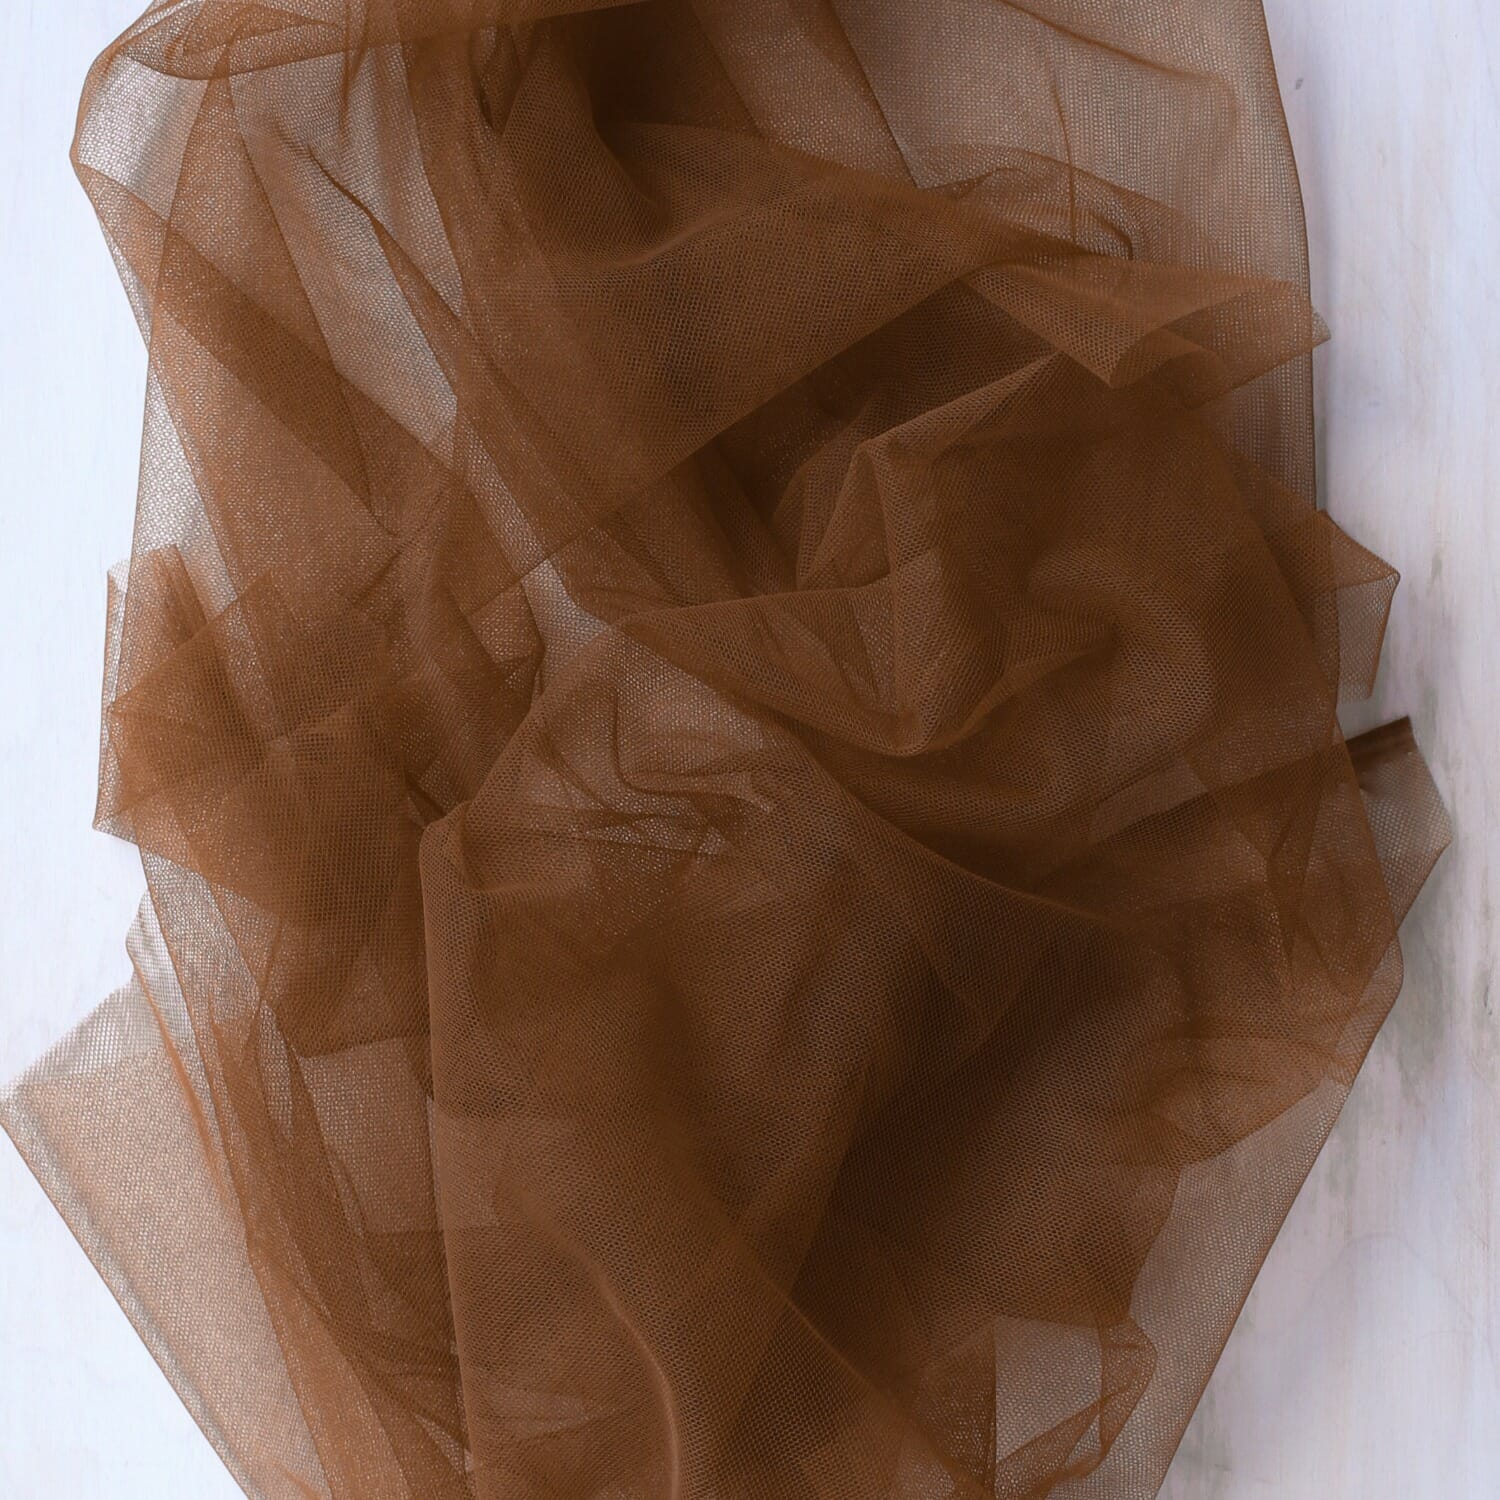
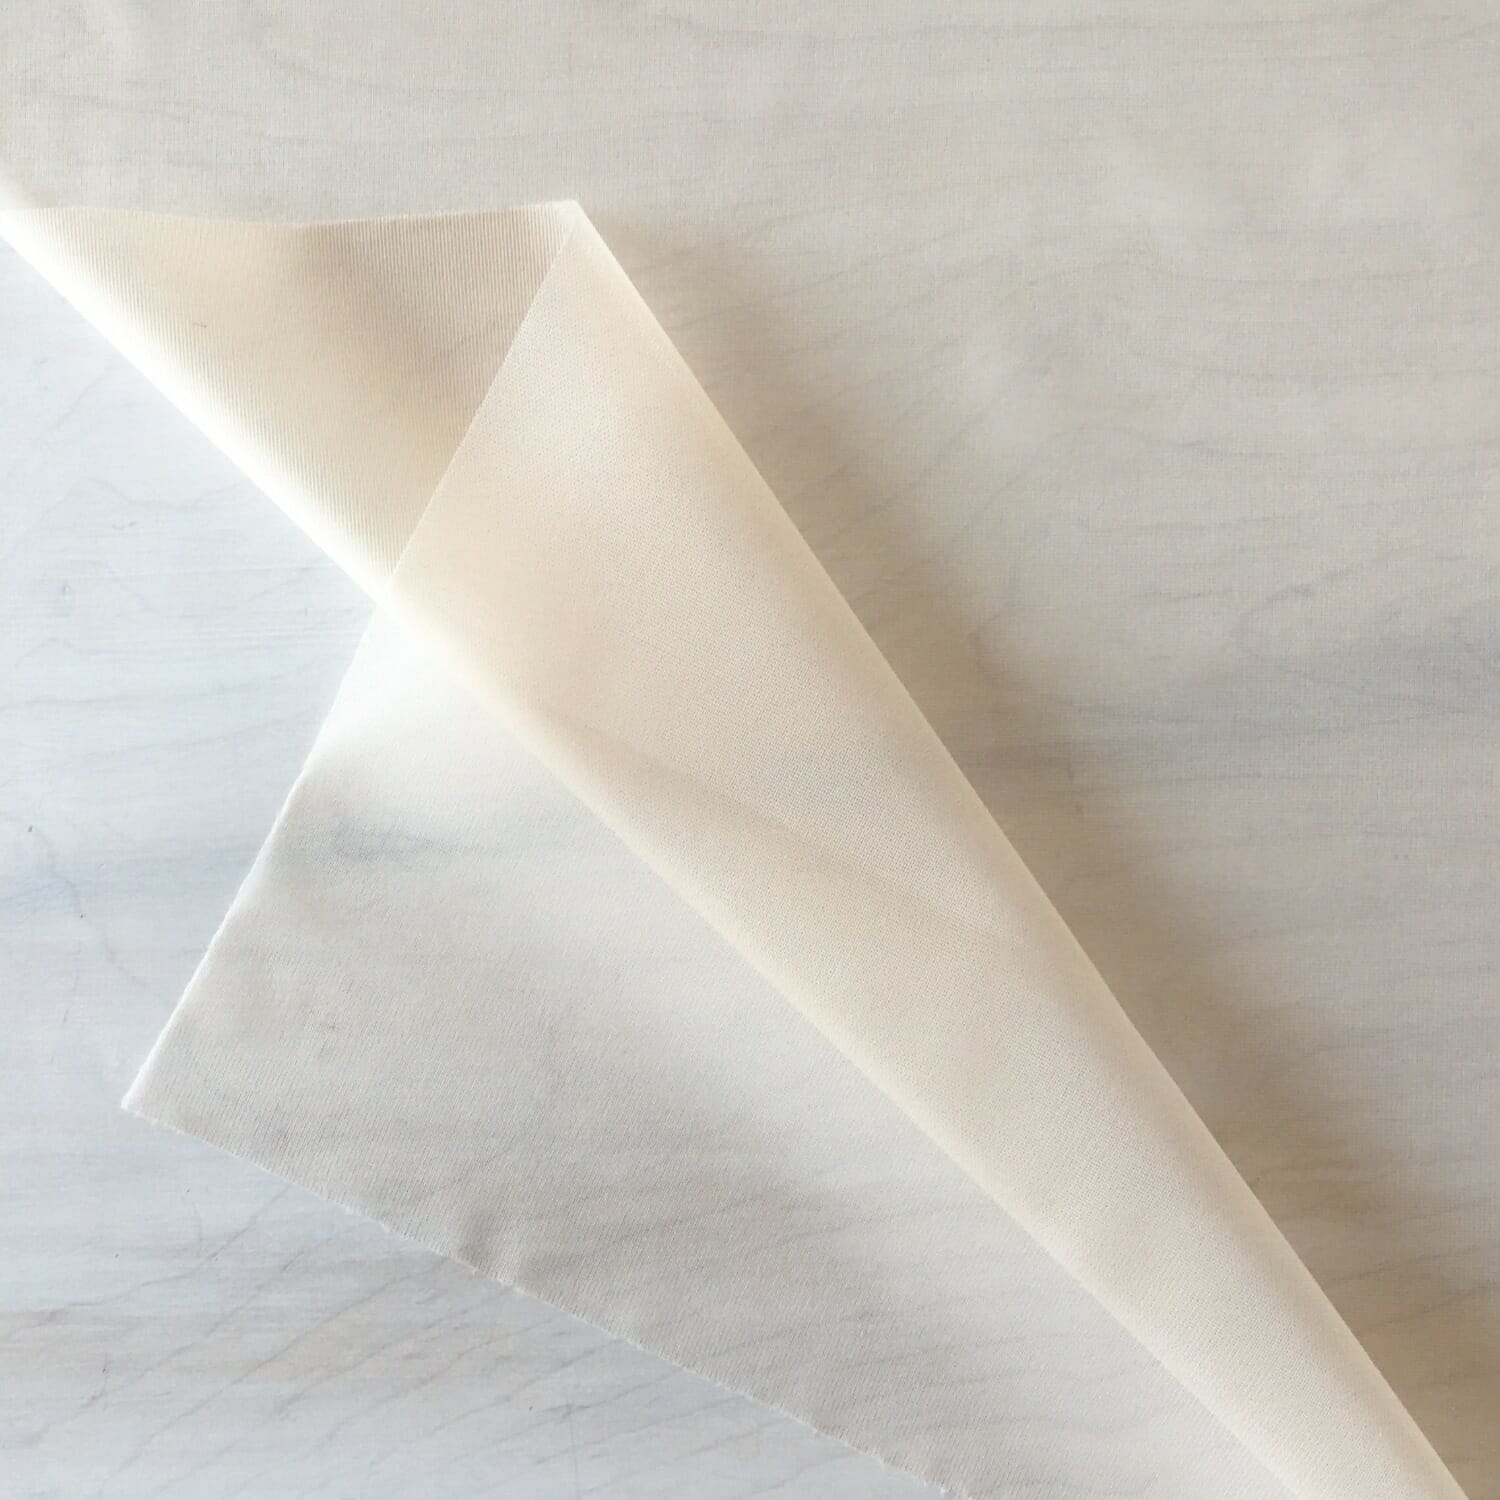
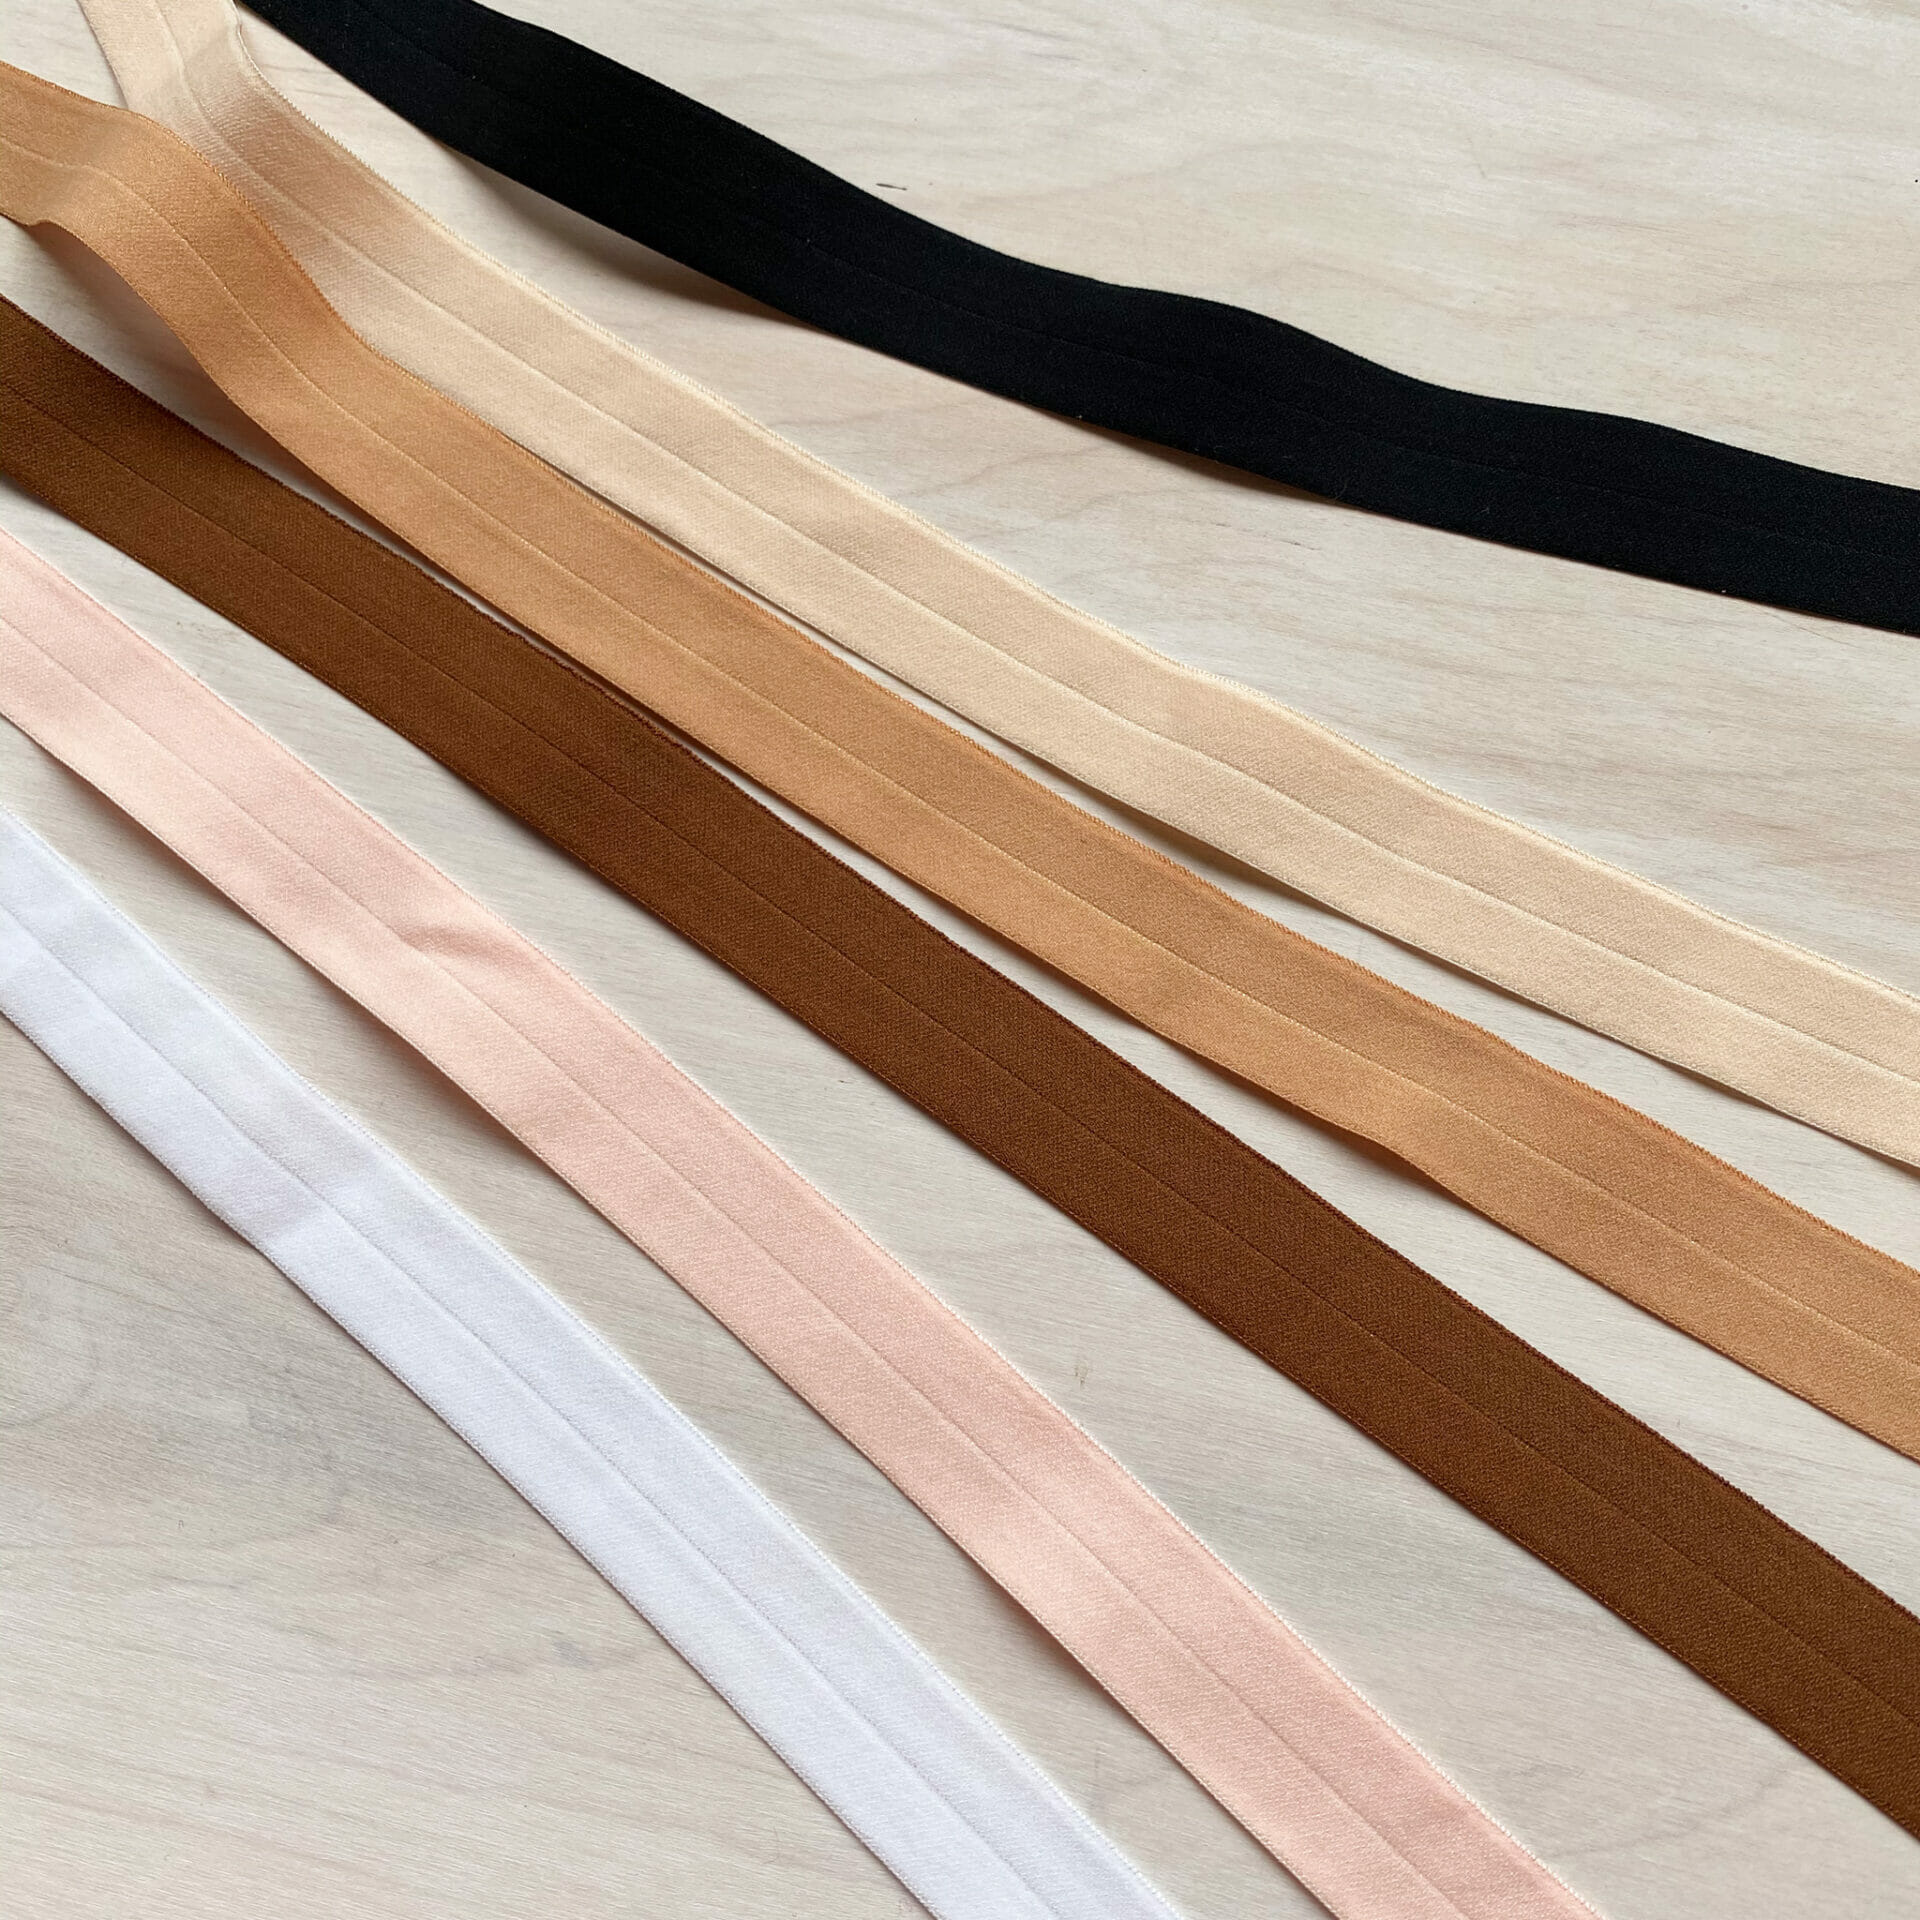
3. The Fold Over
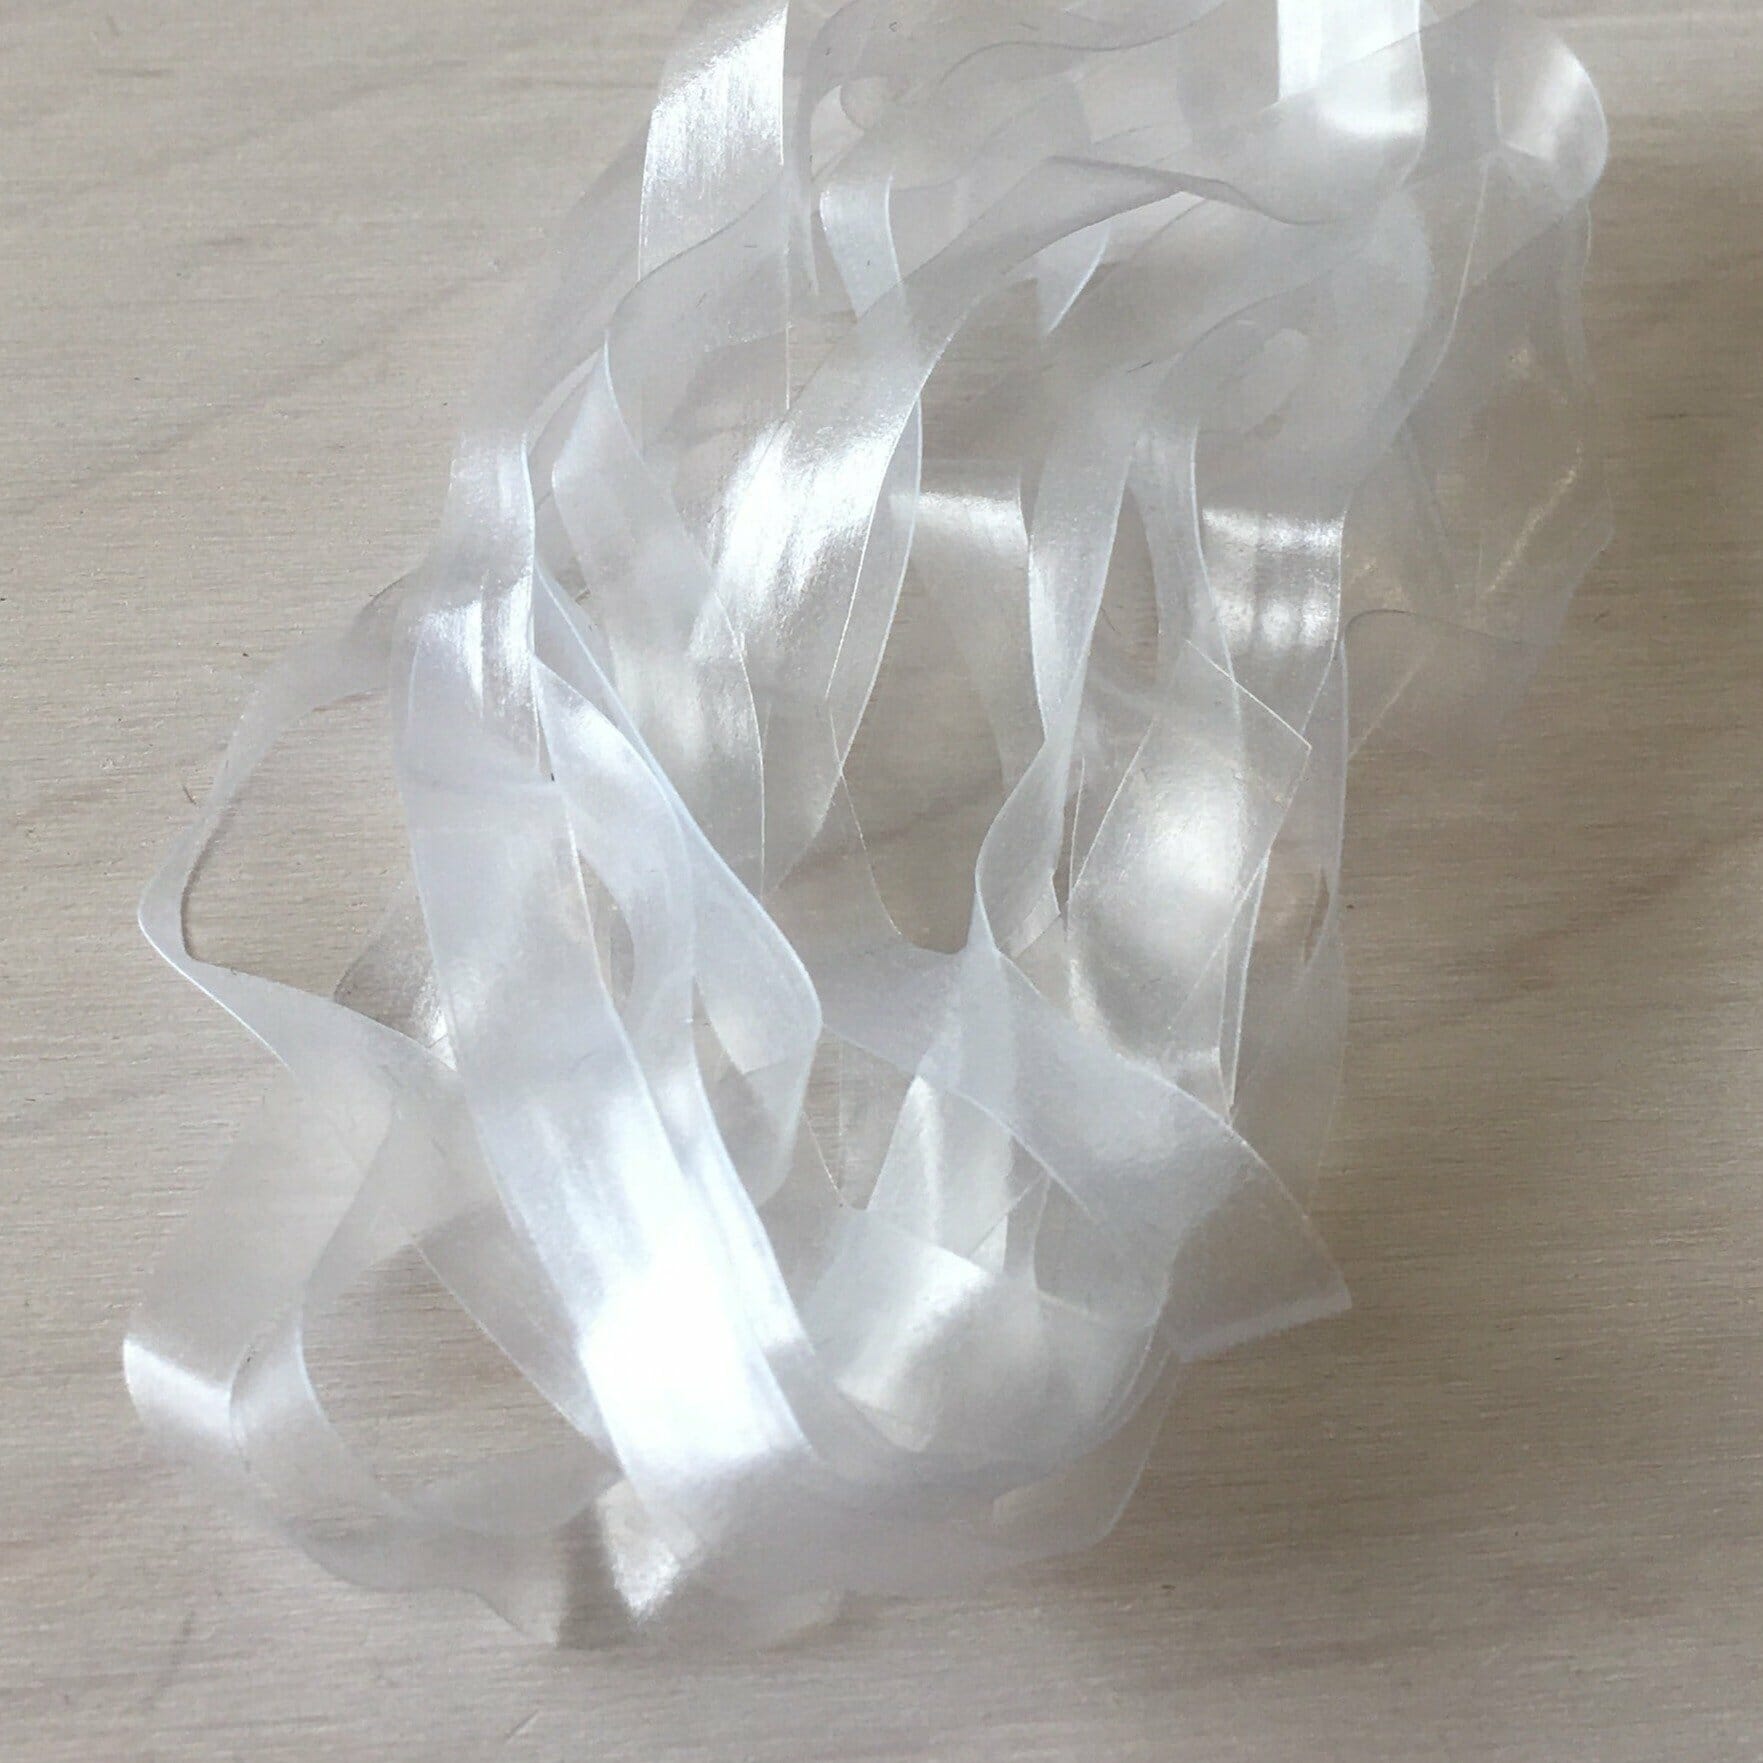
You know me, I love some good fold-over elastic!
I like this because it has a super clean finish, that is really chic, and if you do it on a matching bra and panty set, it really pulls them together. It’s also a really smooth finish and it isn’t too tight on the leg, which I love.
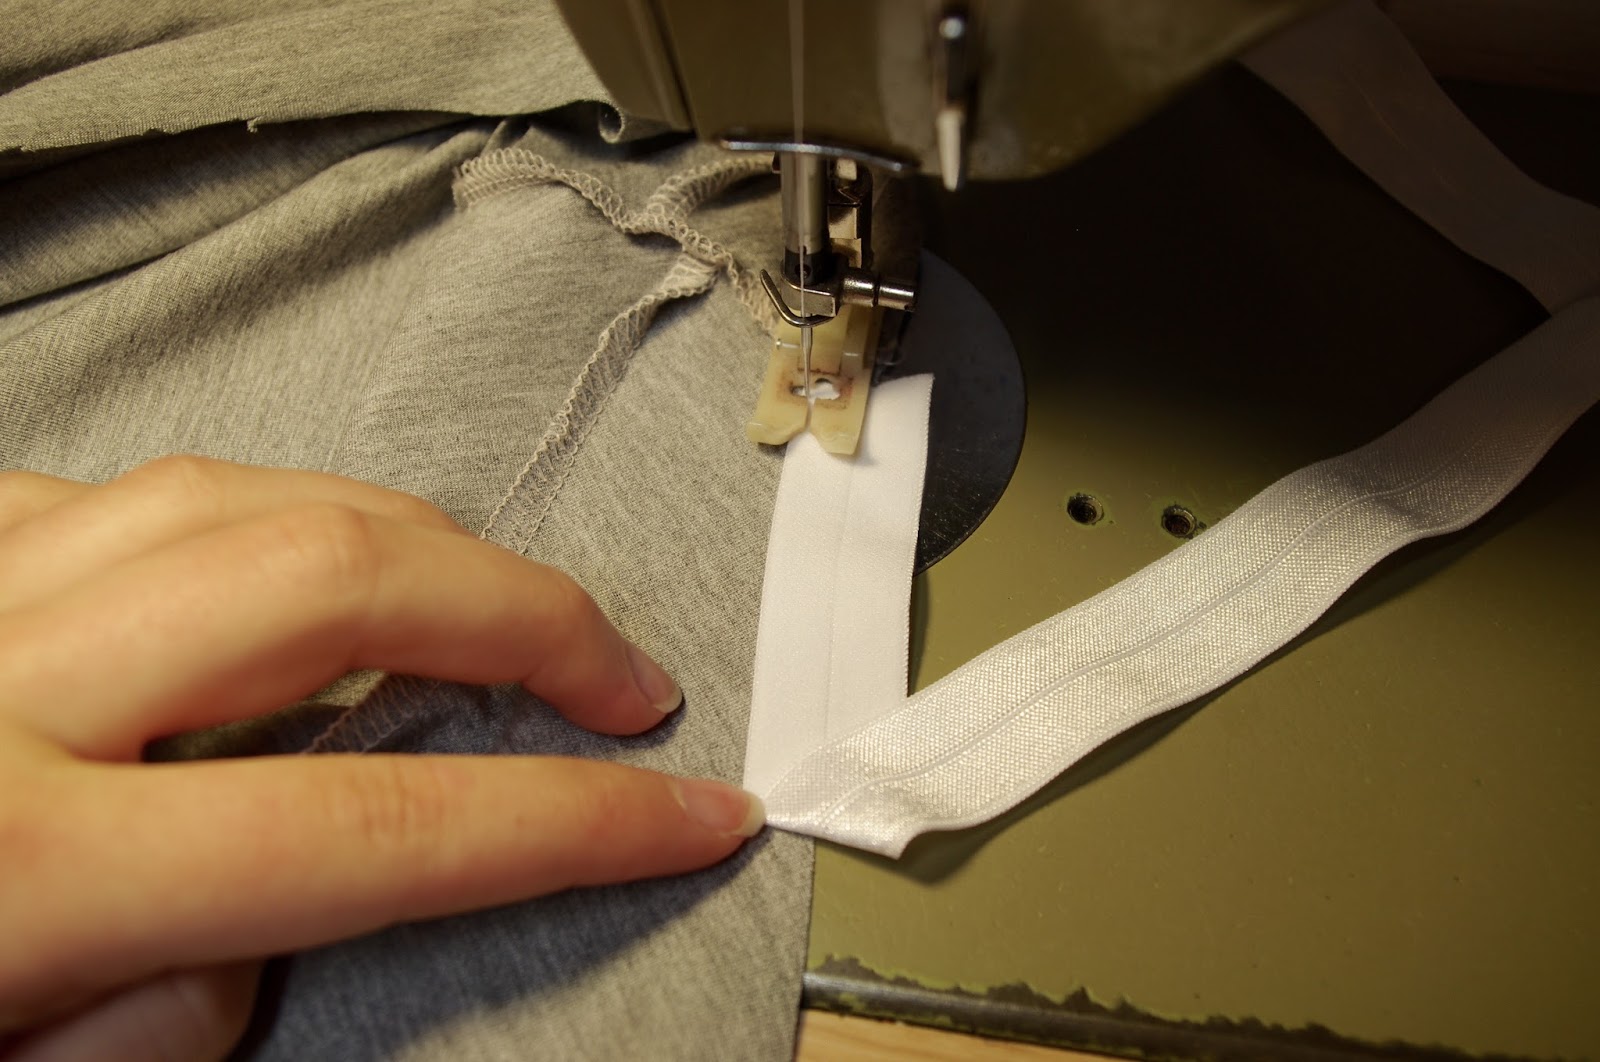
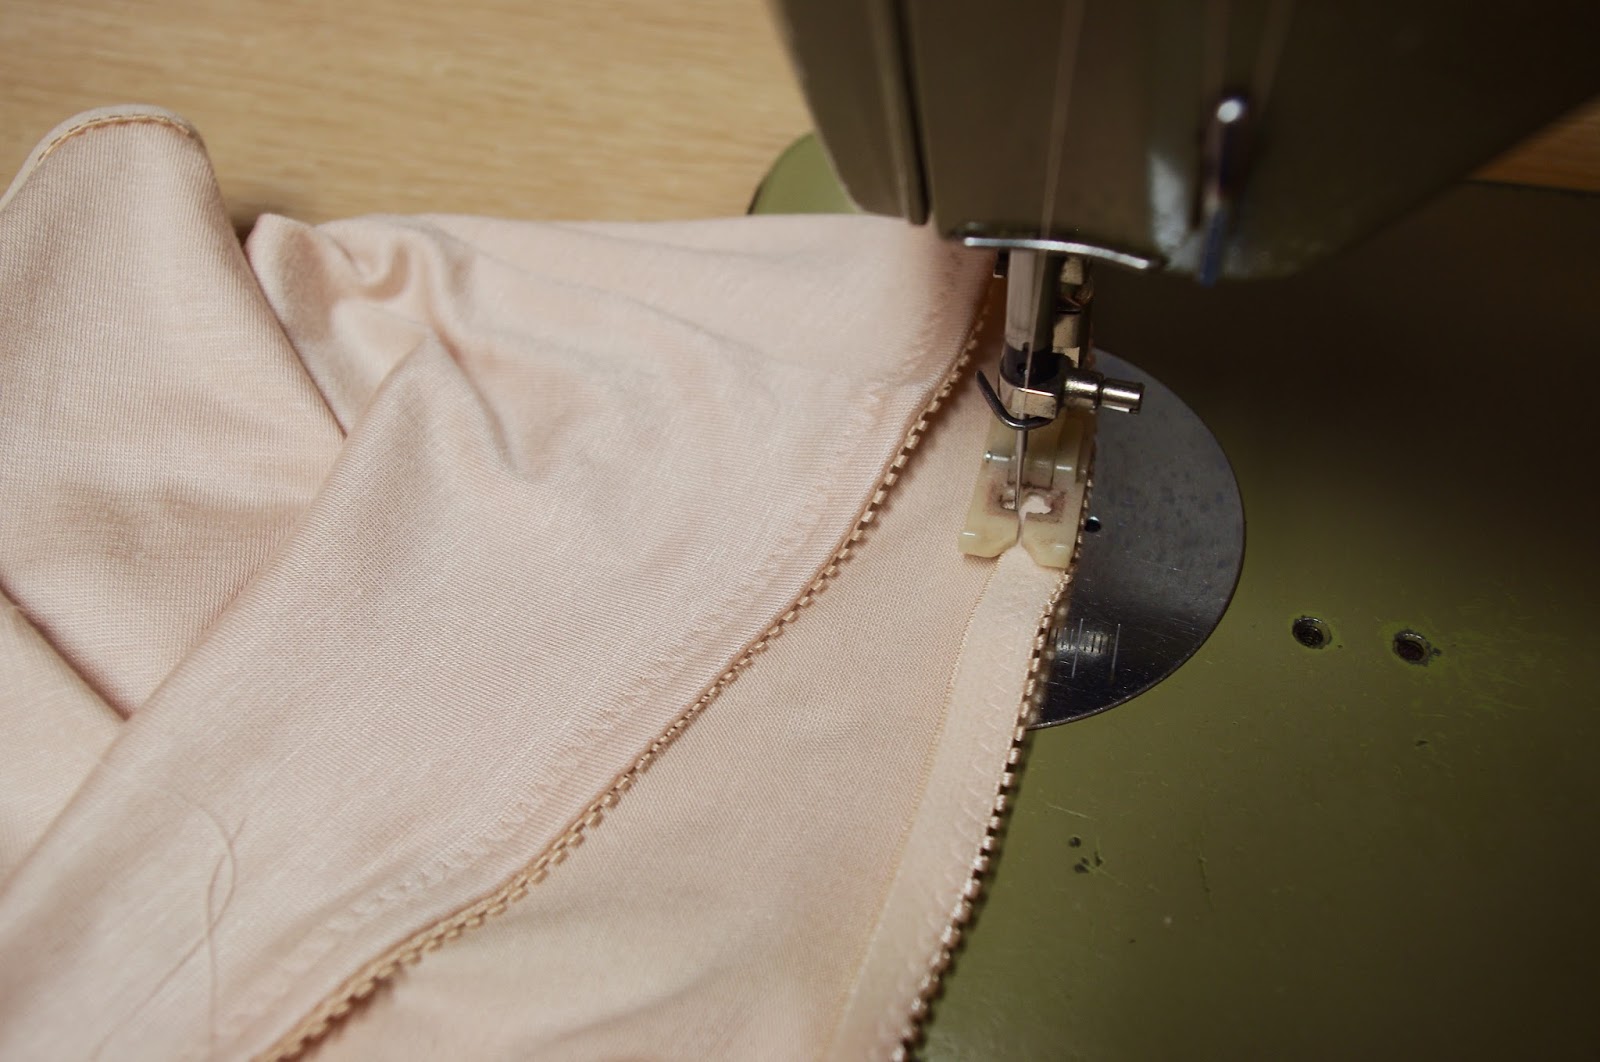
Unlike the previous two methods you want to start with the wrong side of the fabric up. Lay your fold over so that it is open, with right sides up, and the center line of your fold-over is lined up with the outside edge of your fabric. Stitch on the inside edge of your elastic, being careful not to stitch on your fabric. I like to use a slightly smaller zig-zag for this (about 2.5 wide and 2 long).

When you’re coming up the the end of your leg hold/waist, cut your elastic so that it is about 1/2″ overlapping. Then fold that raw edge under by 1/4″ and you will have your elastic overlapping with a nice clean edge. Do the same stitching and pivoting as before.

Super tidy!

Then you can trim your fabric and flip the panties so that the right side of the fabric is facing up, fold your elastic over, and stitch on the inside edge! You won’t have to worry about holding it down, or wedging your fabric in as you go, because it’s already sewn down once- super easy!
Now the other thing about these elastics that I am asked all the time is- do you stretch your elastic? And the answer to that question really depends.
It depends on how strong your elastic is- if it’s very firm, you won’t want to stretch it as much, it also depends on the style, if this is a cheek-hugging panty then you will want to put some tension on your elastic where you want it to hug under the cheek, but on a boyshort or a style where it is crossing your cheek, you don’t want much pressure, just the slightest hint of tension the the elastic keeps it’s form.
And there you have it- the three ways that I sew my panty elastic!
How do you like to sew your elastic? Which is your favourite?
Hope you’re having a great Sunday!
xo
erin
For my last few pairs of underwear I sewed, I used thin non-plush scalloped panty elastic and sewed it on kind of like your second method, but I sewed the elastic to the wrong side of the fabric first so the elastic ended up on the outside. I've also used your first method to apply that same kind of elastic, but I used two parallel rows of zig-zag stitching to make it more secure. I can't decide which method I like best – I guess maybe I just like variety!
Variety is the spice of life! 🙂
Great tutorial! I love, love, love lace trim to finish my panties. So much so, I haven't even bothered with the other types of elastics.
Michelle
Thanks Michelle! The lace elastic is probably my fav too 🙂
This is so helpful! I've never had much success with fold overelastic but I can see your approach should work for me. I've also found the foe I buy here to be quite stiff – that is, rather rigid (not soft) and you have to pull it quite hard to get it to stretch. Is that how it should be?
I love FOE partly because it is so soft, I would definitely search for a softer elastic!
I'm slapping my forehead right now. I've been trying to figure out how to end my f.o.e. and make it look nice. I just tried it and that method looks so much nicer! I was zigzagging both sides in one step.
So happy to help!! 🙂 🙂
I also zigzag my foe in one step! I will try your method next time I use it. I also like your second method – easy. And on my red panties I had nice textured elastic which I zigzagged like your first method.
I find it too fiddly to put on FOE in one step, I don't know how you do it!!
OMG thank you, I've been wanting to make panties for aaaaages and attaching the elastic is the big problem area, just wasn't sure how to do it. Proper bum coverage here I come lol. Modern pants seem to be made of less and less fabric 😀 Now I just need a pattern for those nice big 50s knickers. Perfect lol. I can make em to match my corsets and eventually bras when I brave making a proper one.
🙂 🙂 Proper bum coverage isn't as much common now! I can't wait to see all the panties you make! Also I need to send you an email!!
There is a great 50's style undies pattern here. Scroll down, it's in there somewhere (along with some other fantastic patterns 🙂
https://veravenus.com/diy-things-to-make-tutorials-patterns/