


Hi All!
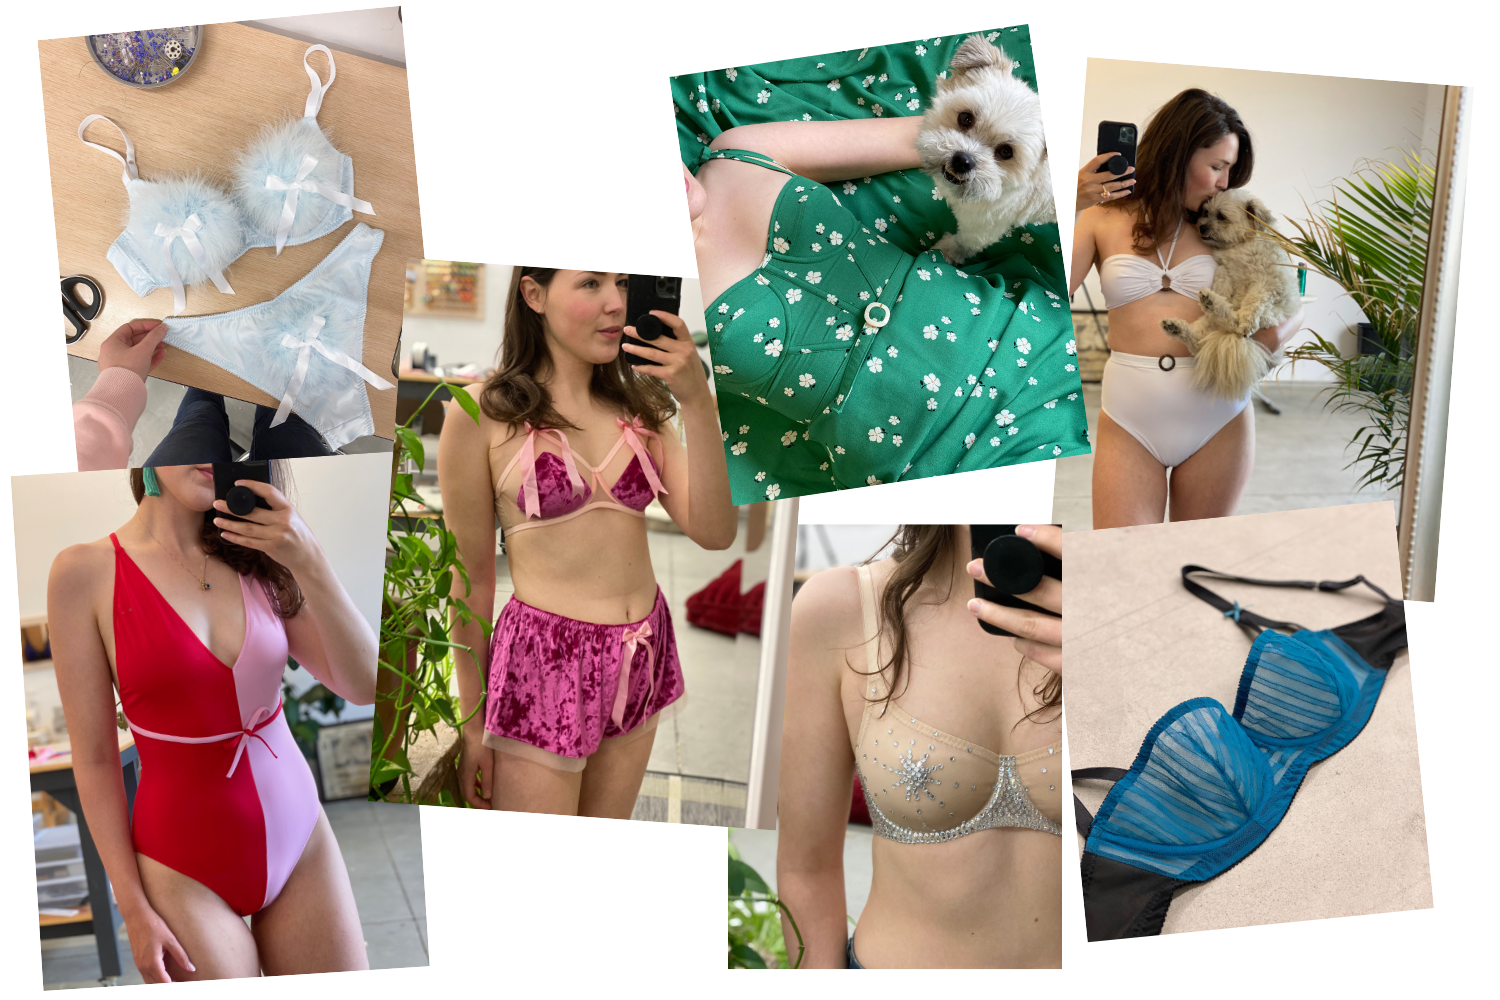
You know what time it is!! It’s Bra Theory time, my favourite time of the month 🙂 And this month I’m feeling really inspired by bodysuits. Specifically I really love bodysuits and bathing suits that have your bra built into them. You may remember these gems:
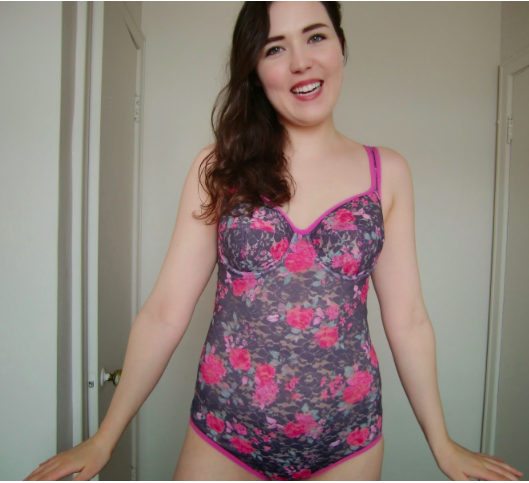
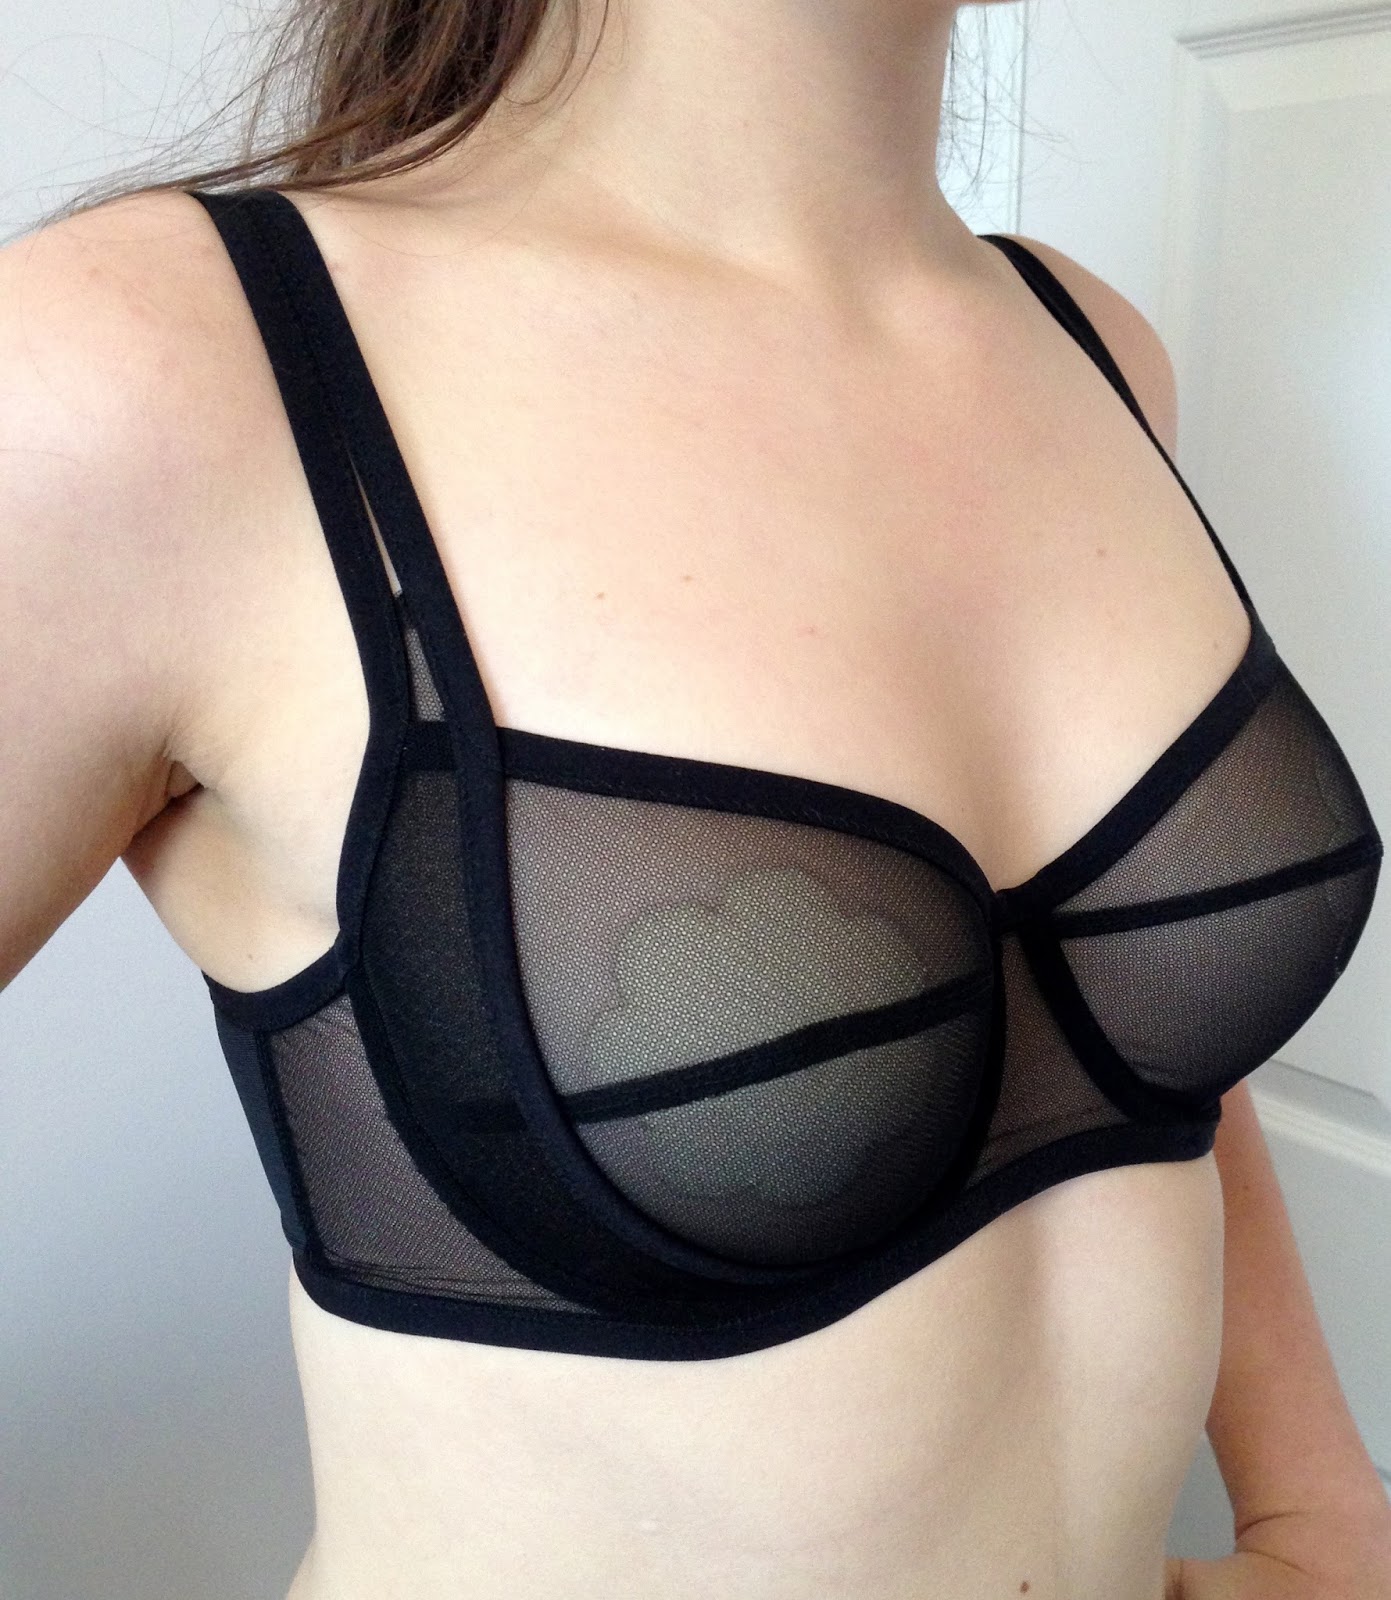
From the week 6 of BAW 2015 this bodysuit with bra cups:
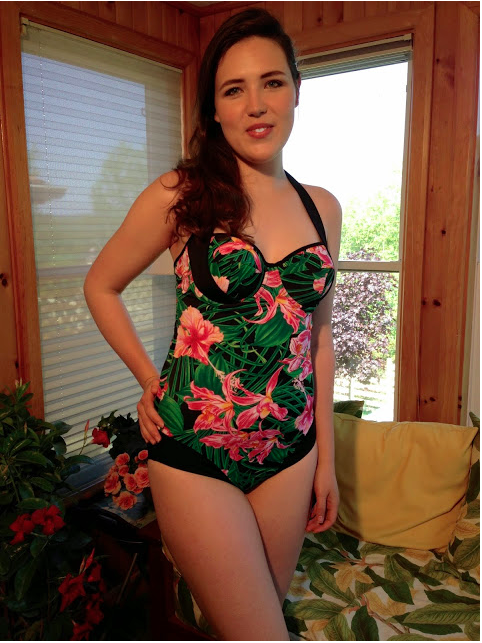
And this bathing suit with cups from BAW 2015 Week 18
Ever since I’ve made these you guys have been asking me for a tutorial on how to draft your bra cups into a bodysuit/bathing suit, and I thought this would be the perfect month for it! 🙂
So I will be making a bodysuit, this bodysuit:
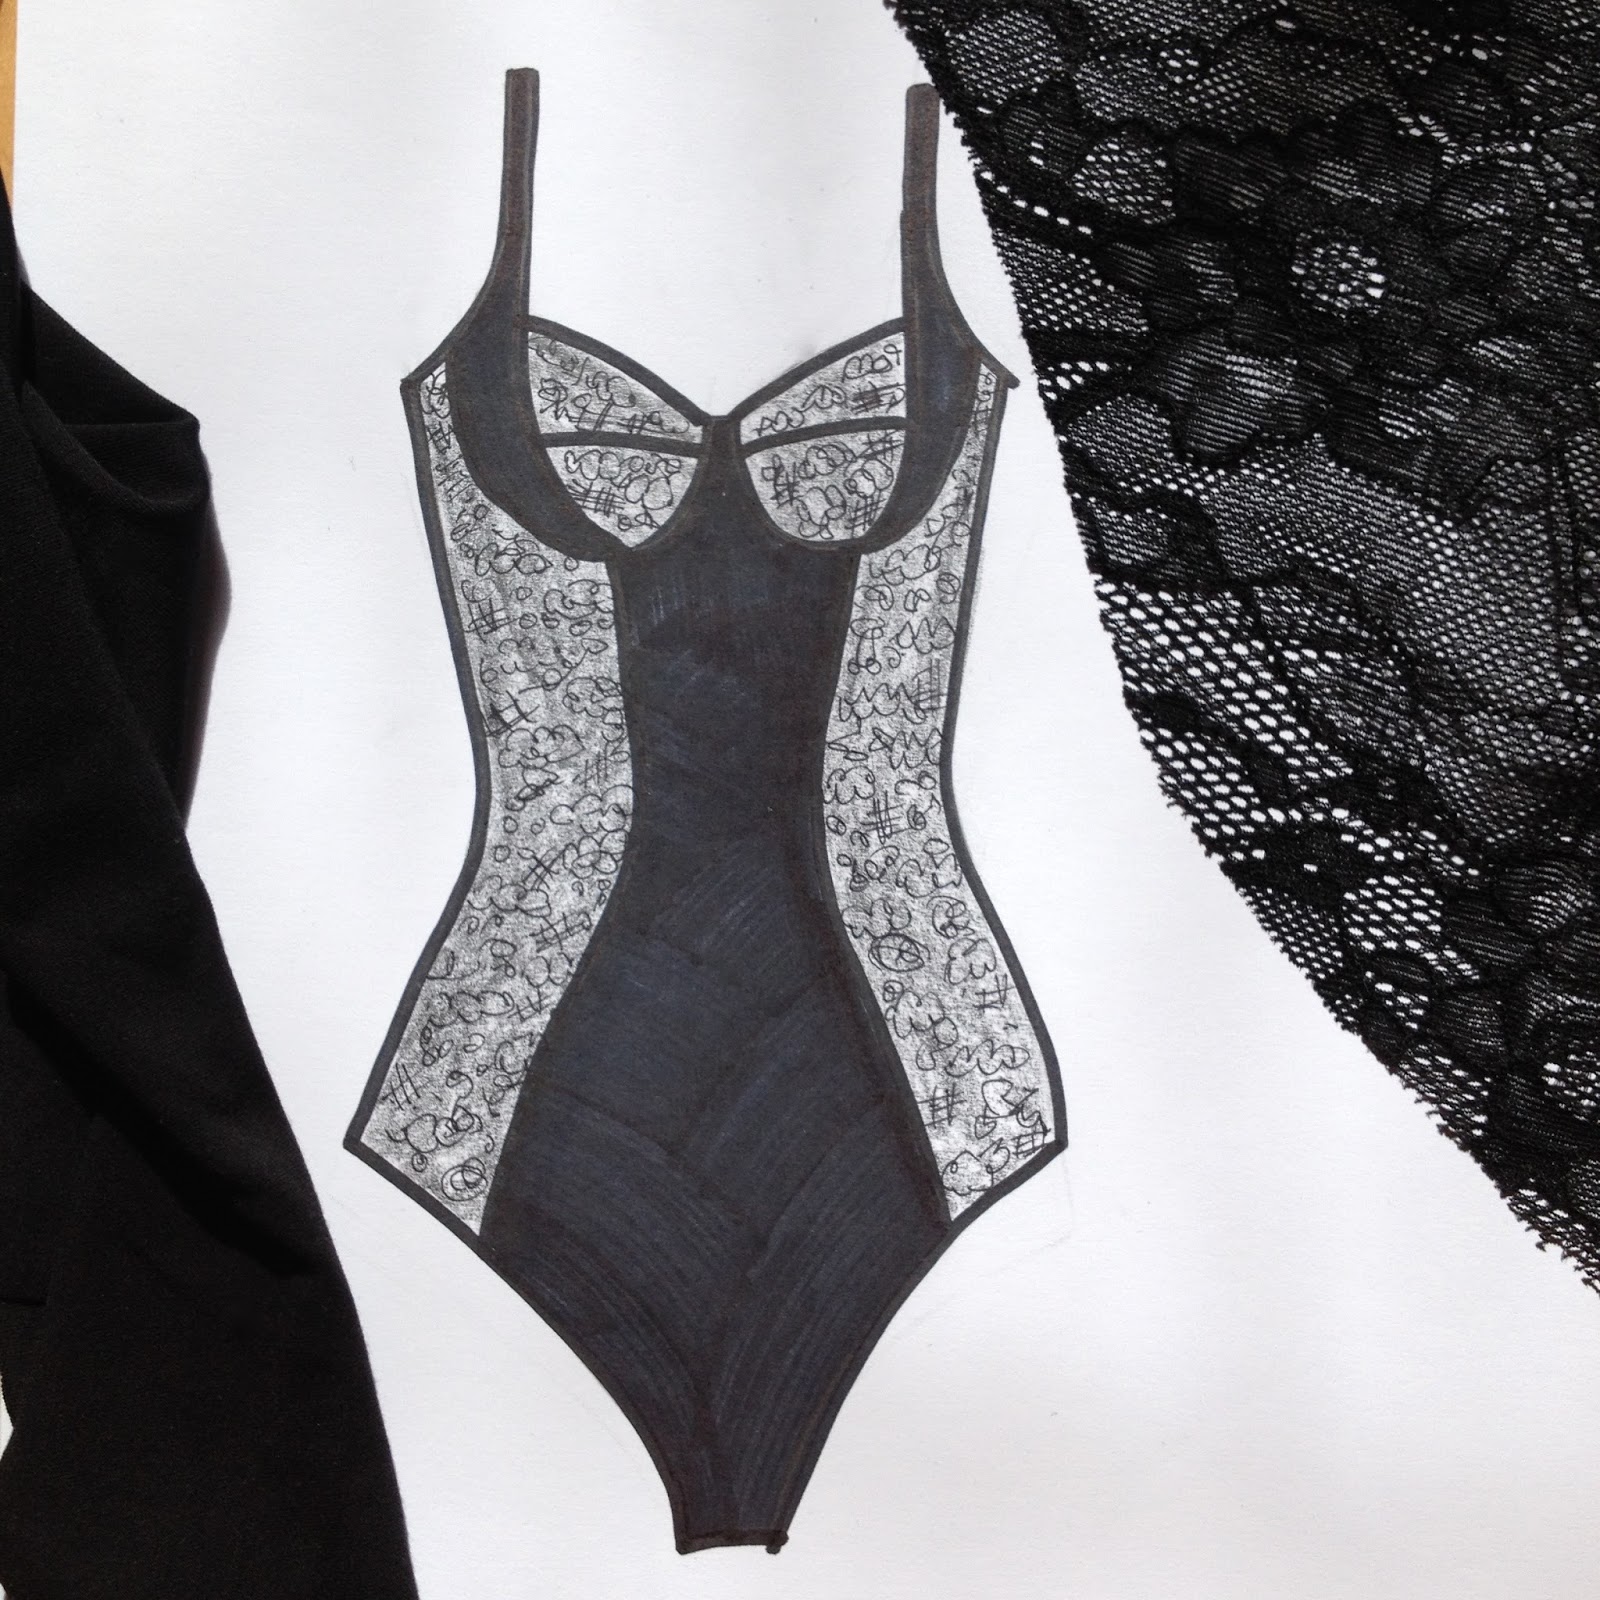
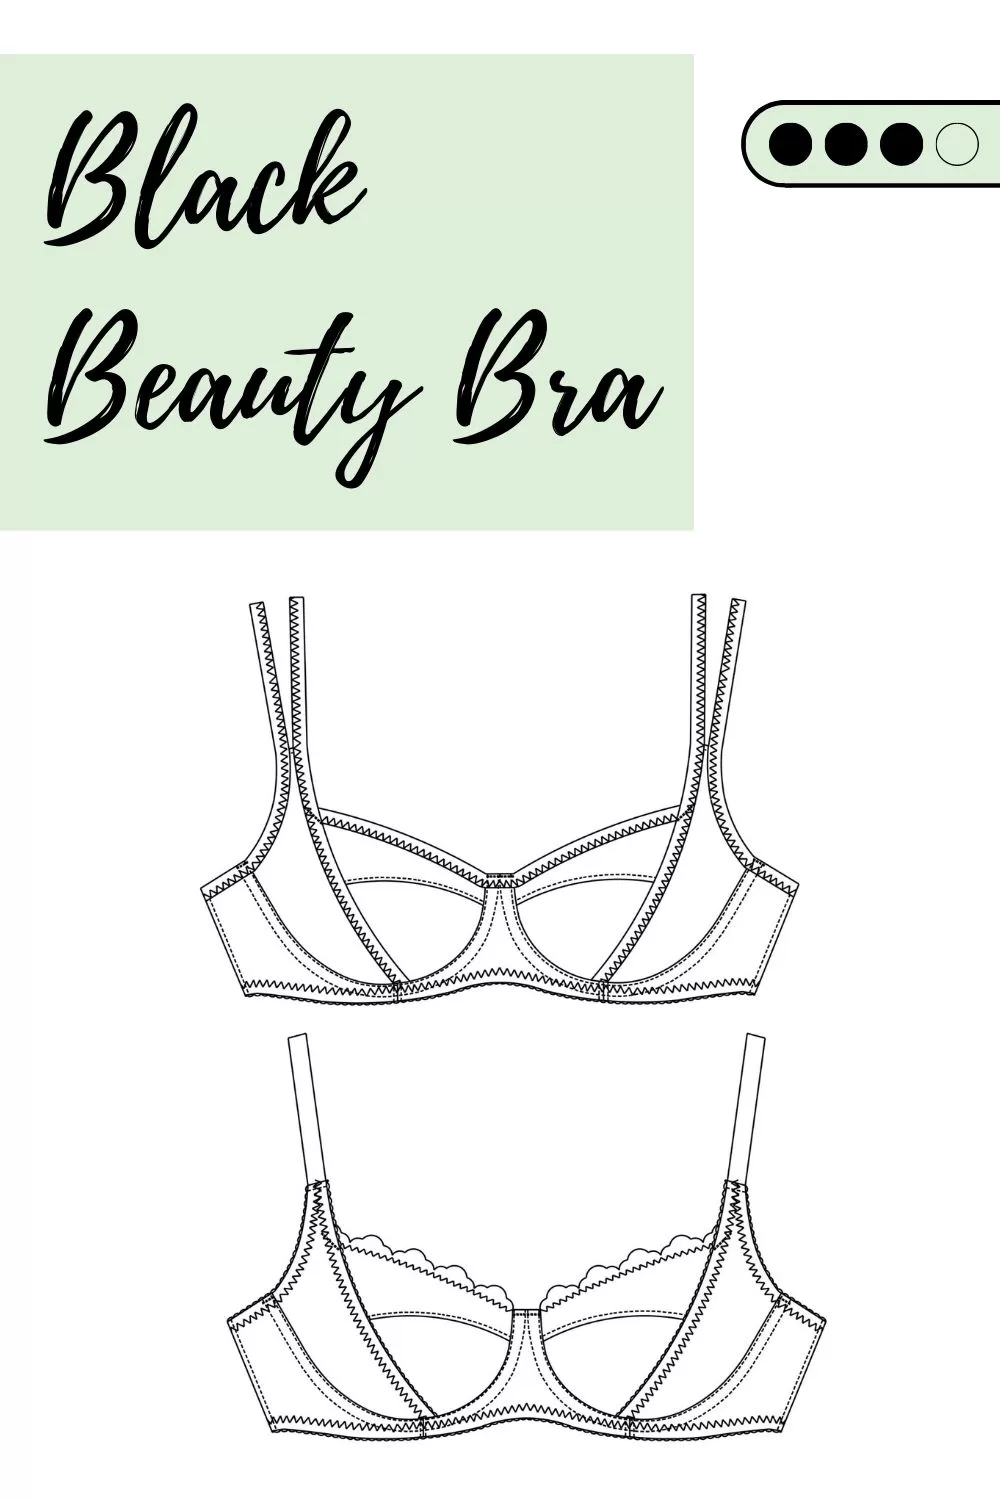
You might recognize the cups as the pattern from my Black Beauty (one of my all time favs <3 )
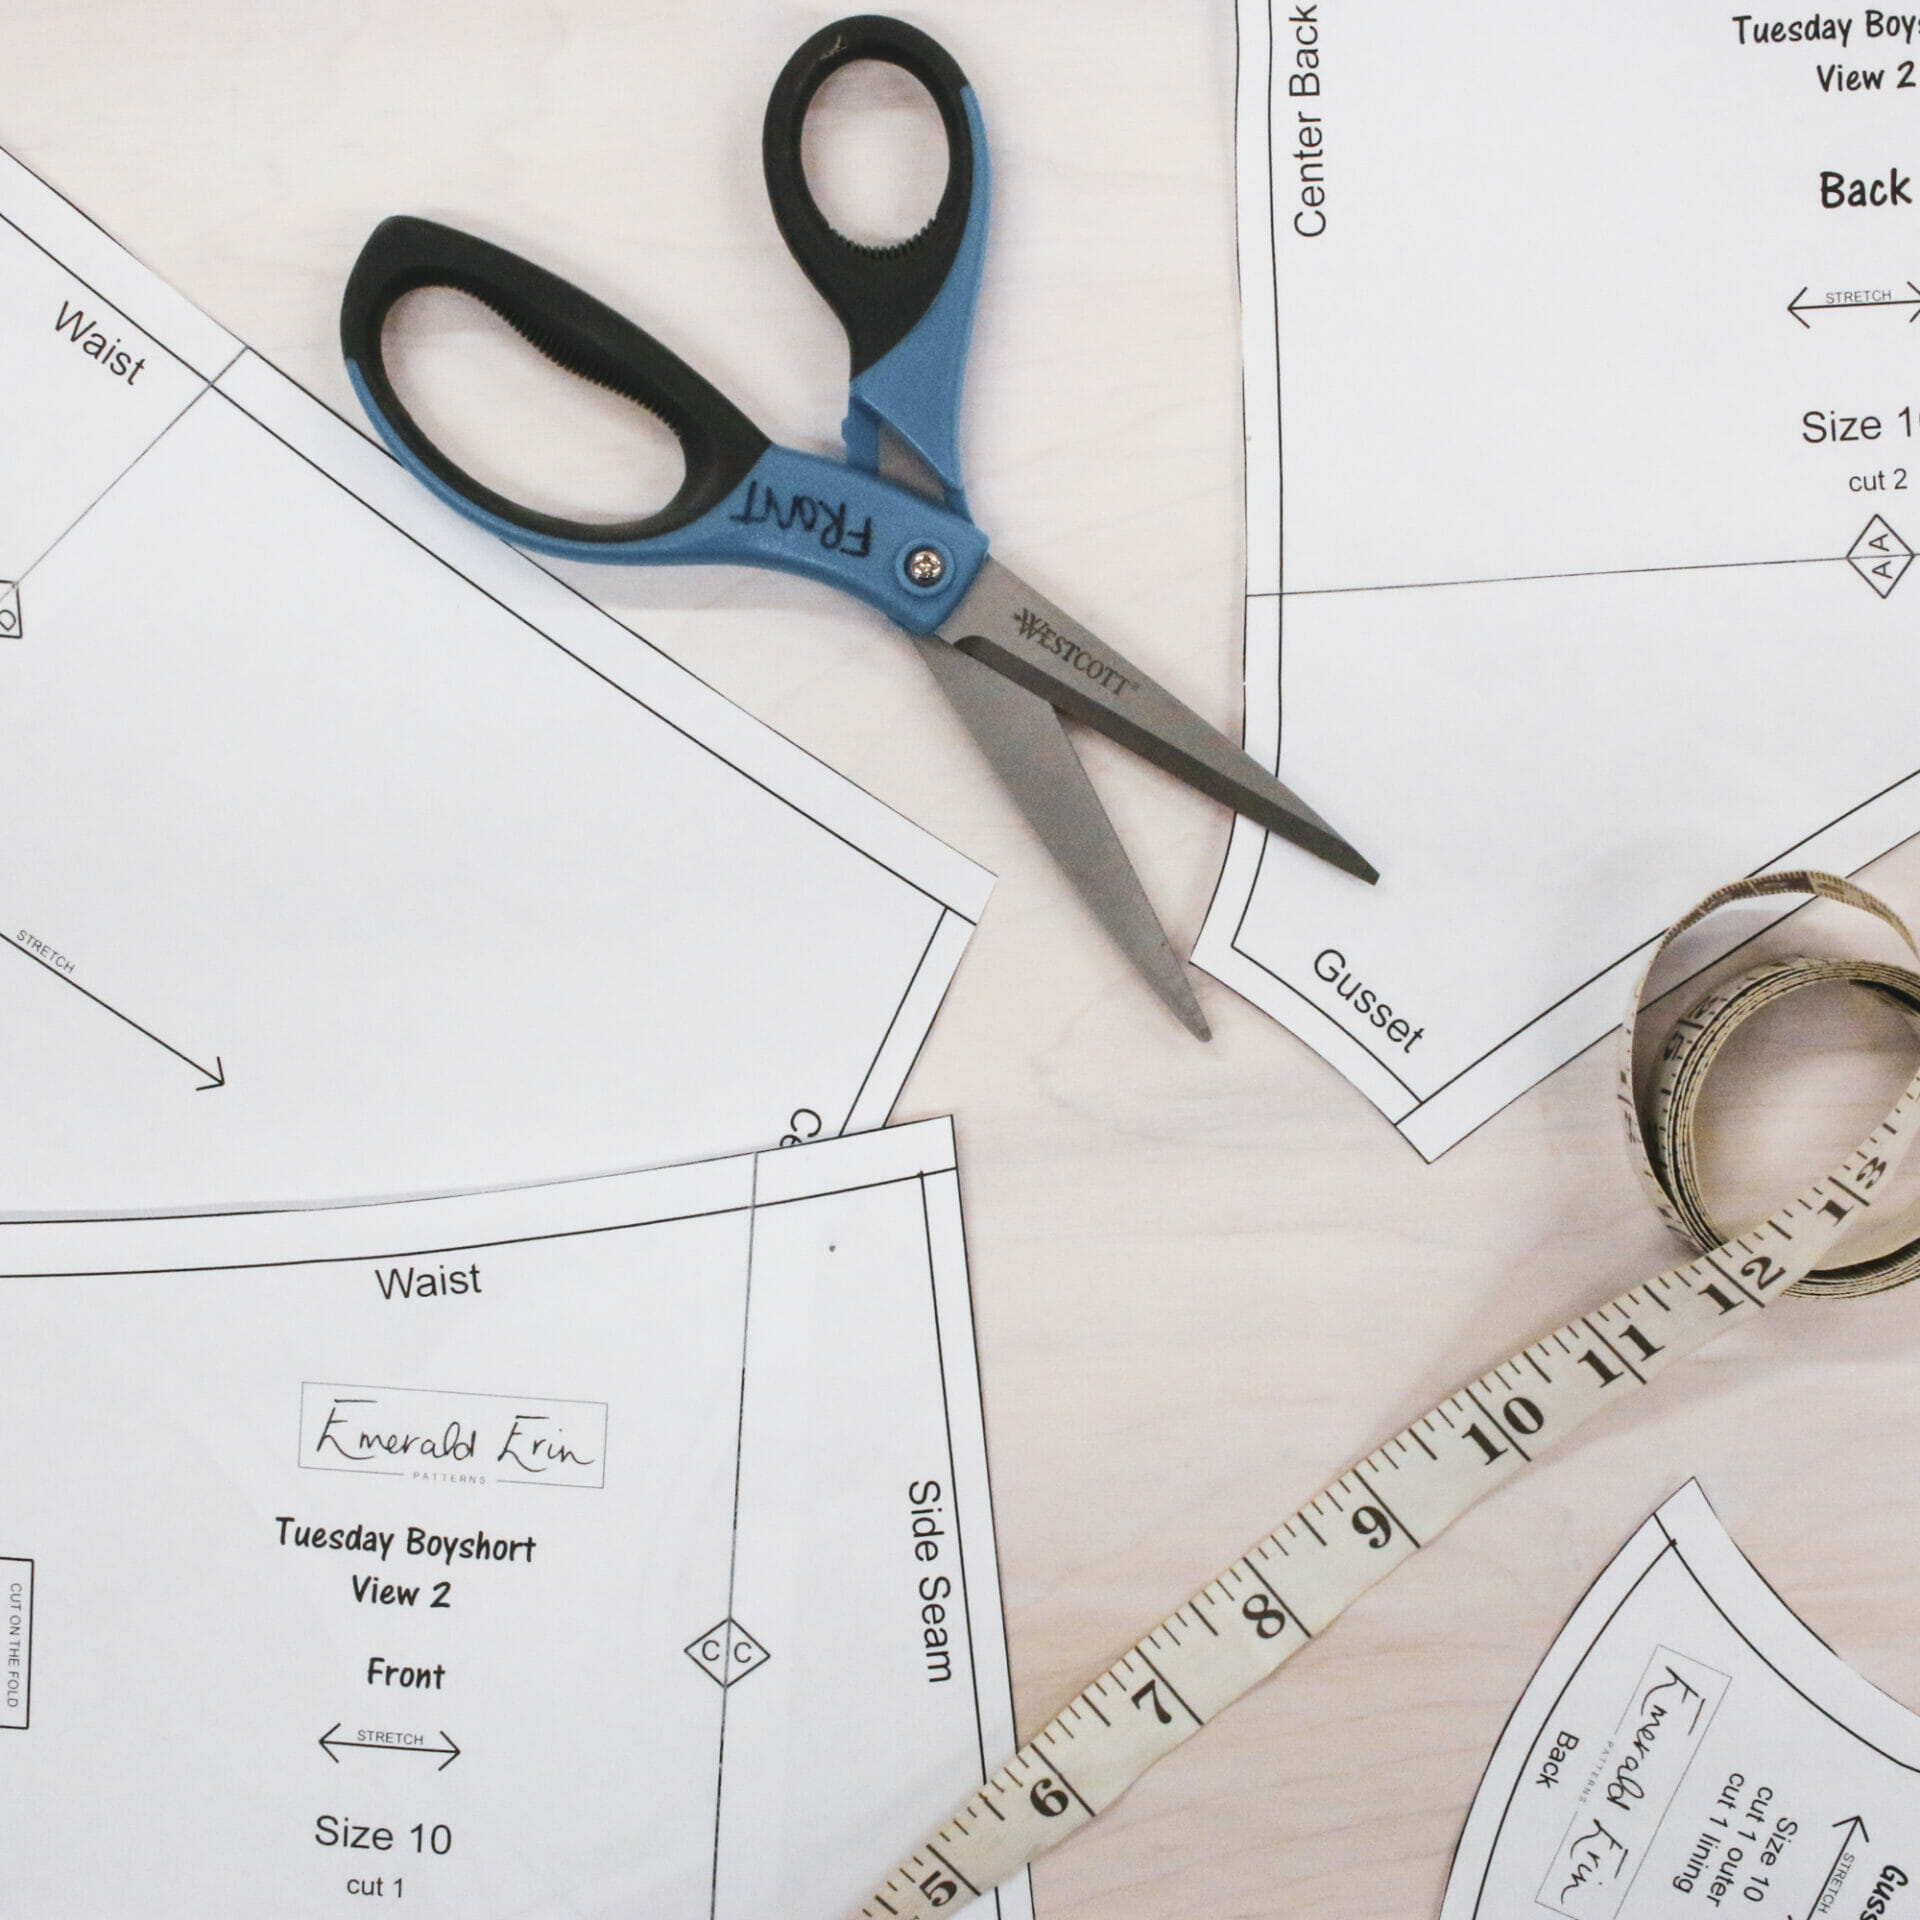
So now – on with the drafting! And I’m keeping it super low tech for y’all today with my paper and sharpie 😛
To start you want to have a swimwear sloper- which is your most simple, basic one-piece swimsuit pattern. There are lots of different patterns out there, you can also draft your own. One of the best things that you can do is pick a simple pattern, make it up, and do all the alterations and fittings you can until it’s perfect, without all the fancy stuff, then keep this pattern as your base. This is mine:

The major alteration that I make to all of my patterns (if they aren’t drafted from body measurements) is the length. I’m 5′ 11″ and it’s all torso, so I usually add a good 2″ of length to any standard pattern in my size.
For this tutorial, this is one of the most important things about your sloper- the body length, because this will really impact the fit, and your placement of your bra cups. You want to make sure that your pattern is not too long in the body (or you’ll get horizontal wrinkles and sagging) and you want to make sure that it’s not too short in the body (or you’ll either be flashing people, or walking around with a wedgie- both bad).
Some patterns have the body length in their size charts, and you can lengthen/shorten accordingly. One thing to consider also is the proportion of your torso- is the length all in your ribcage above the belly button? or is it from with waist to crotch? The best part of making a sloper like this is to figure out all of your unique fitting needs and make a pattern that will be specific for you.
Once you have this pattern, or a pattern that you like well enough you want to first mark your waist:
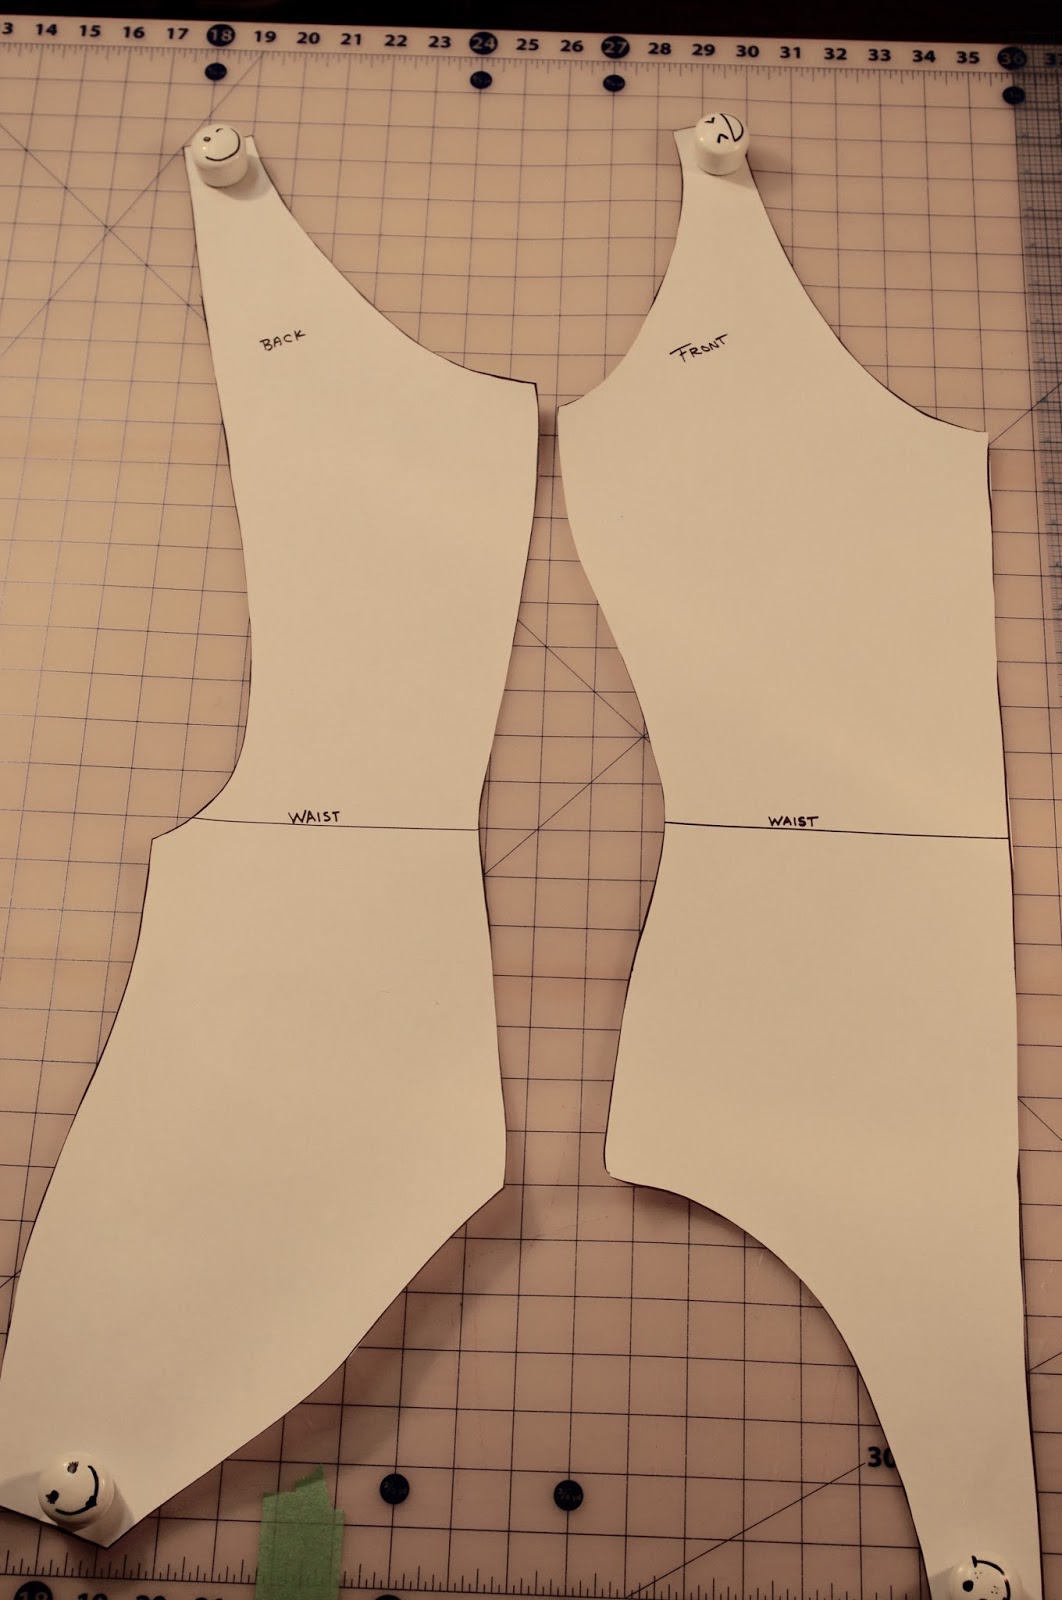
This mark is really important because it will be your reference point for your cup placement. To find your cup placement- you need to measure on your own body the distance from your waist to the bottom of your underwire.
I find the best way to do this is to tie something elastic around your middle (it will always find your smallest point at the waist) and then measure from there straight up to the bottom of your underwire (on either your left or right side), directly under your apex- which will be the lowest point of your wire. For me this was 5 1/2″
Measure this distance up from your waist mark, and draw a line on your pattern parallel to your waist line (this is your underwire line).

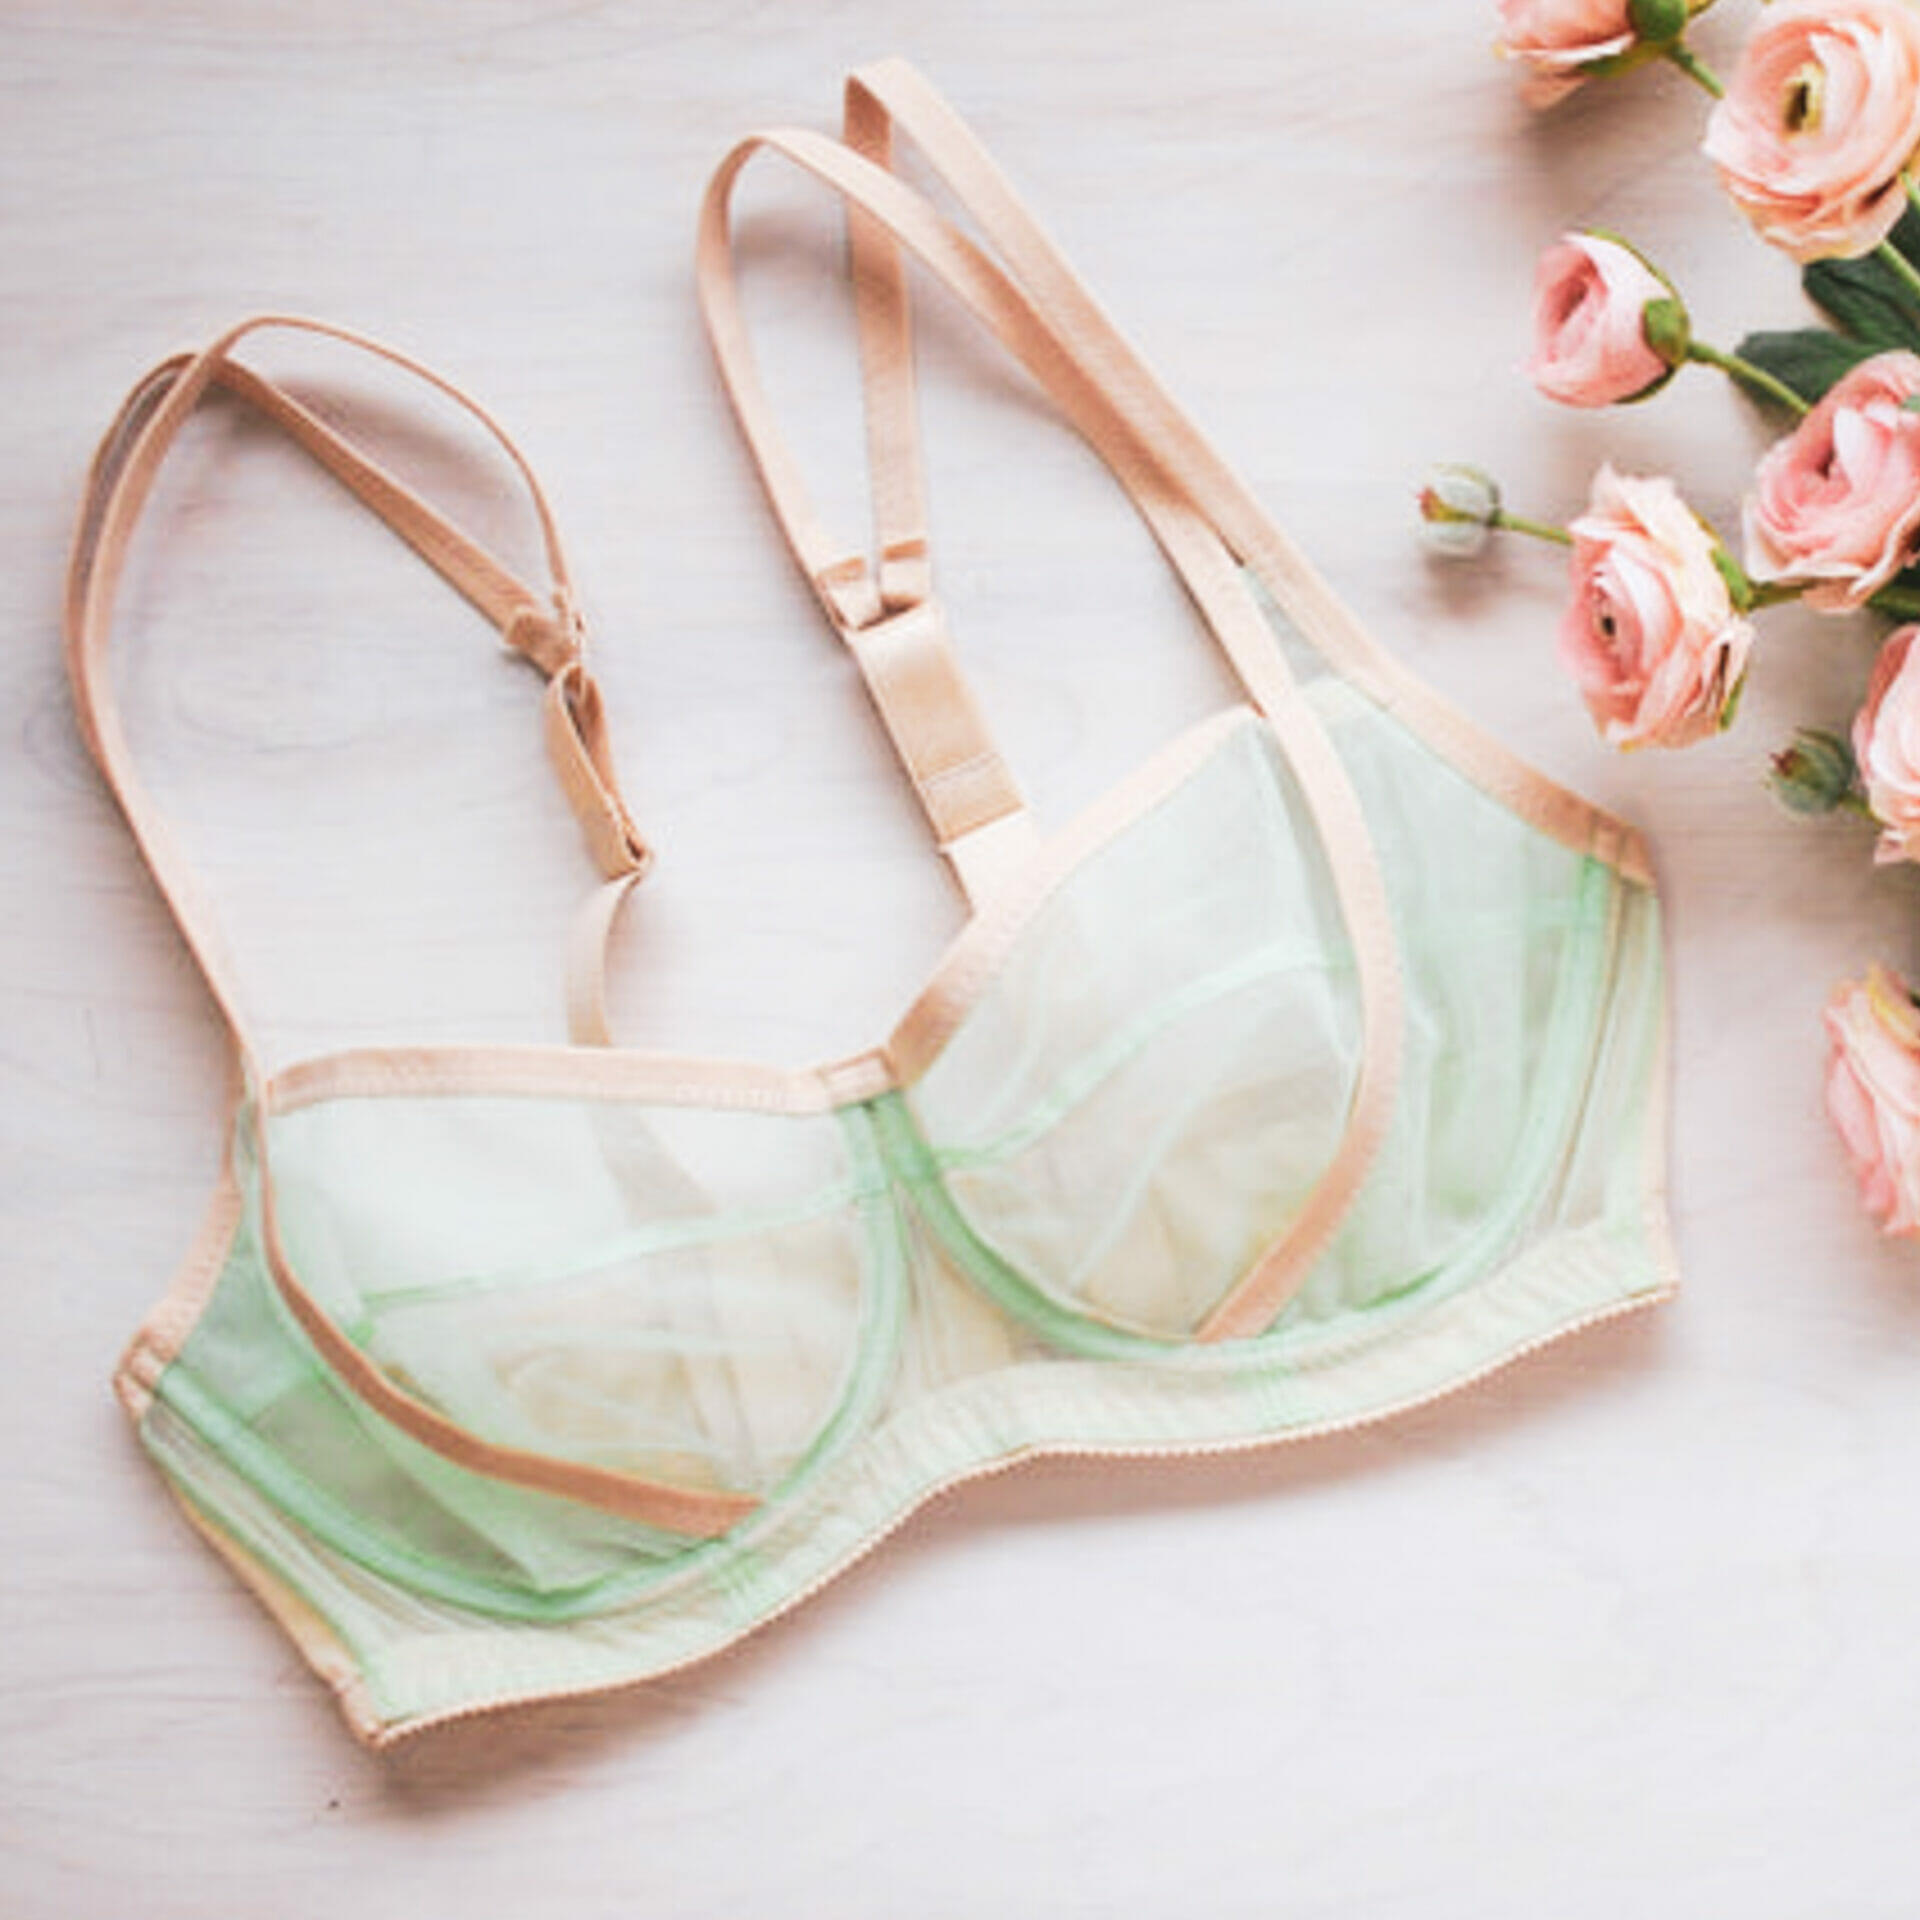
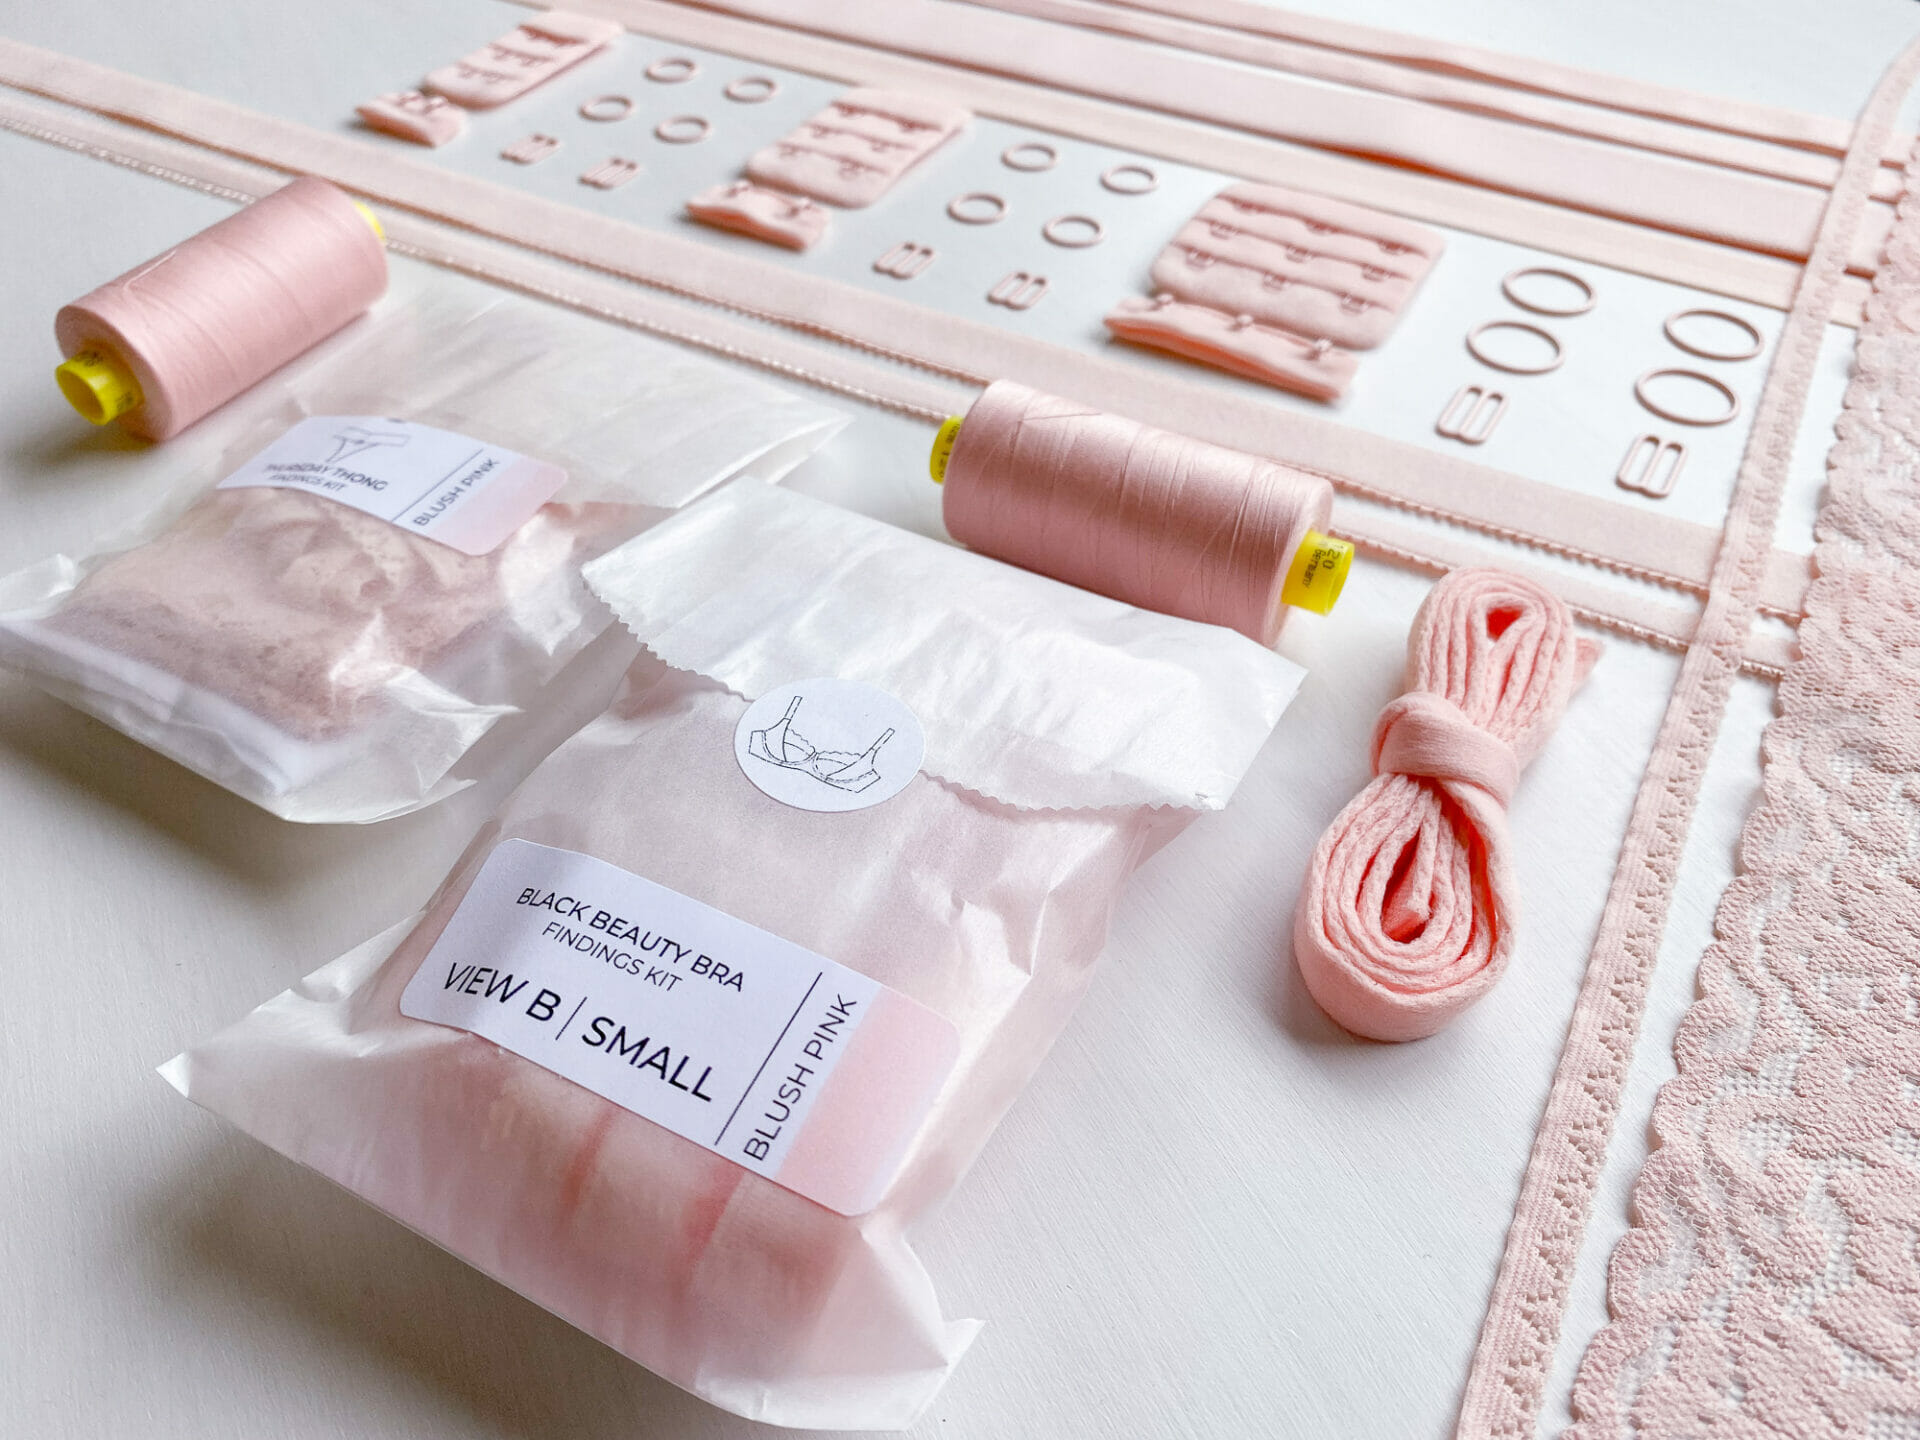
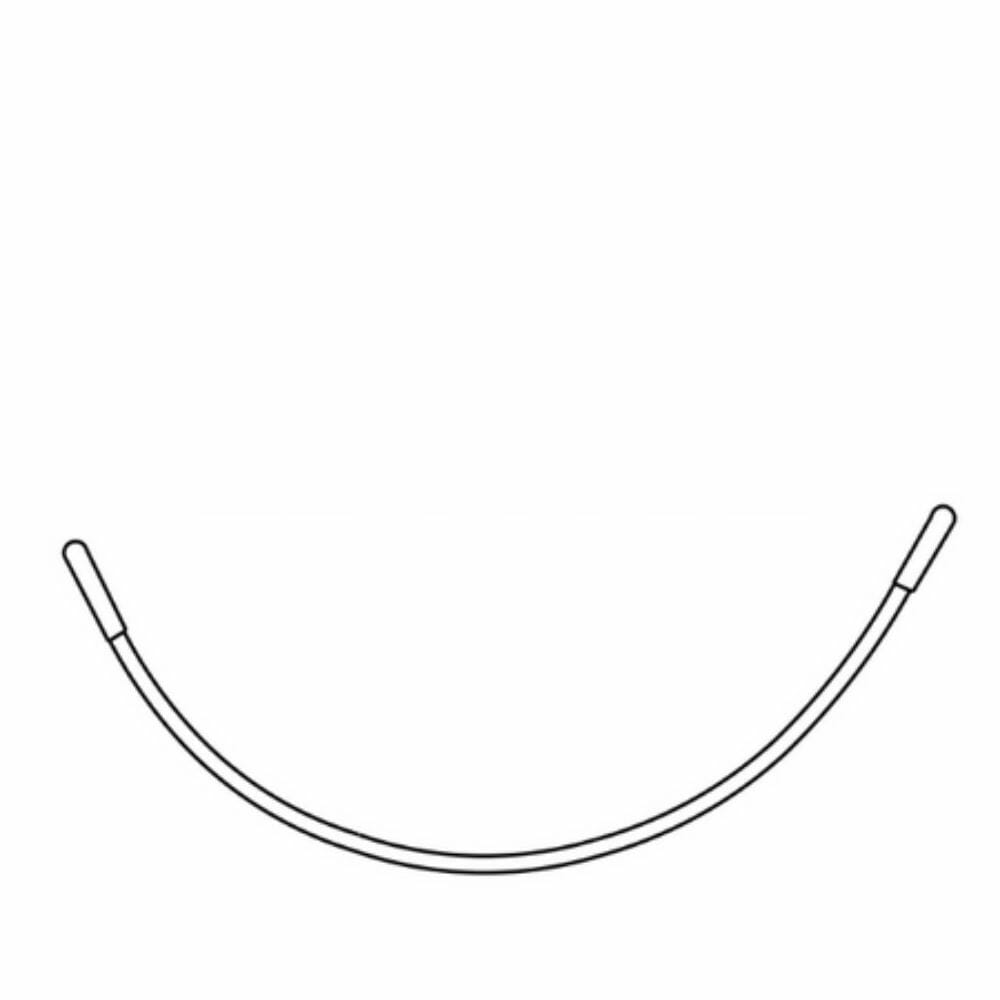
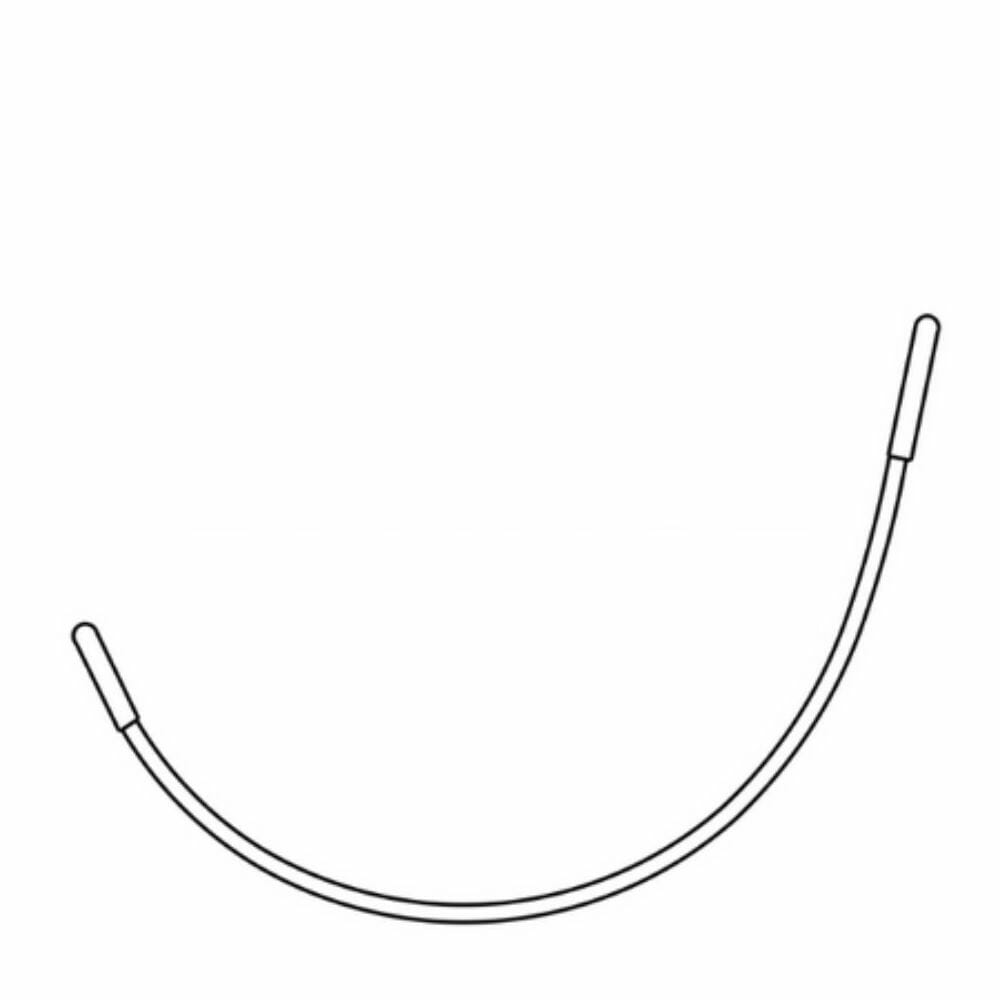
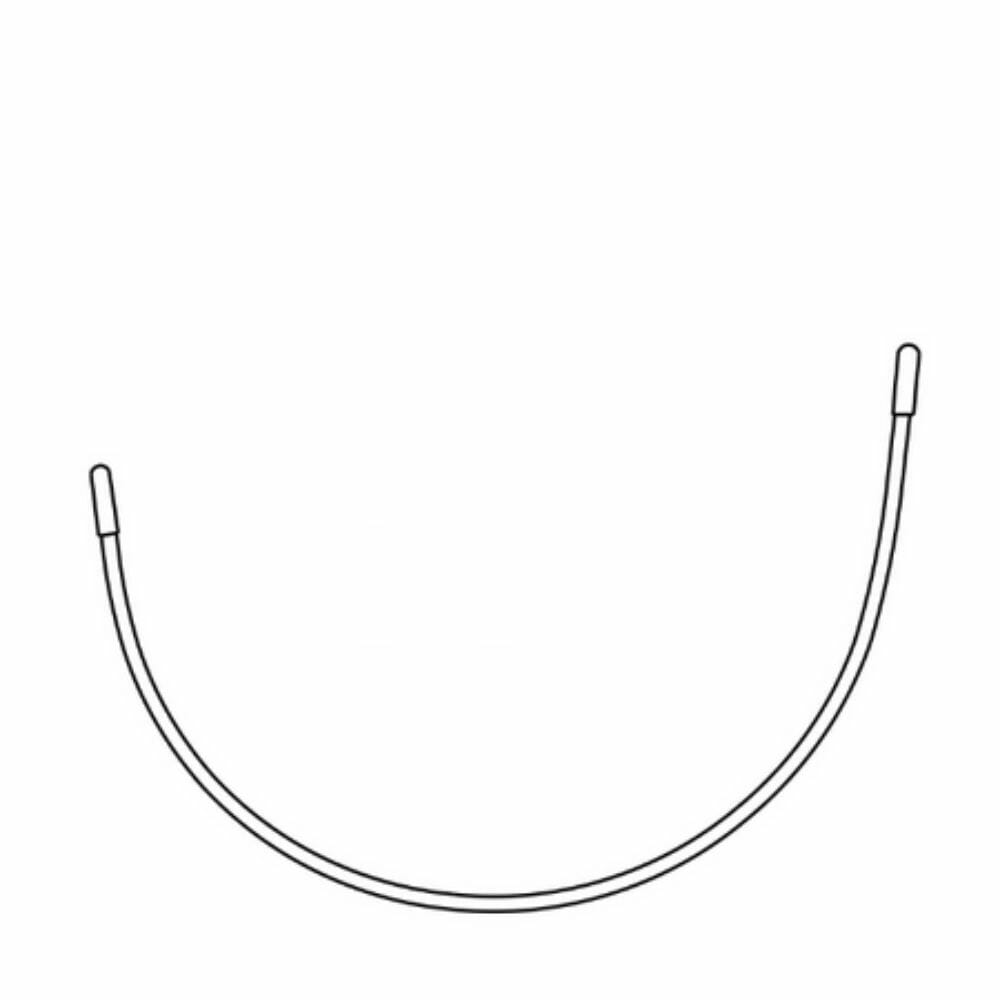
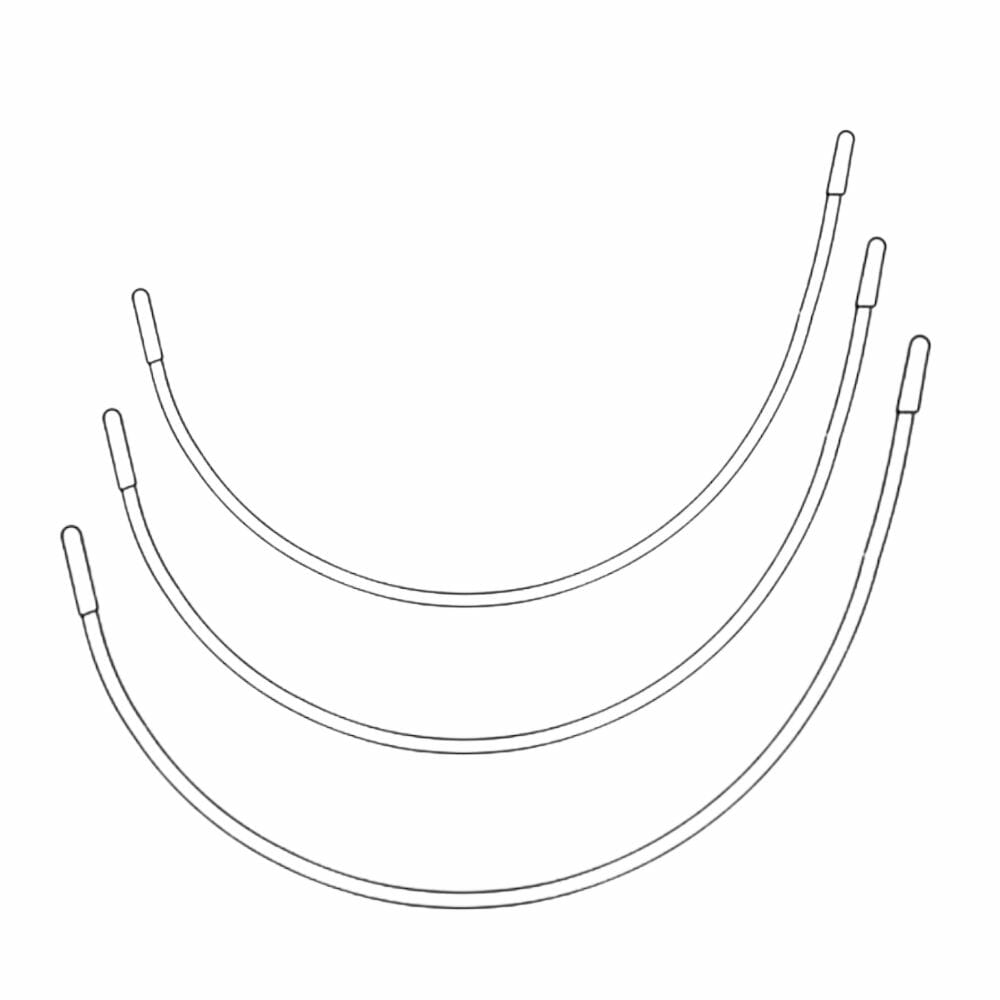
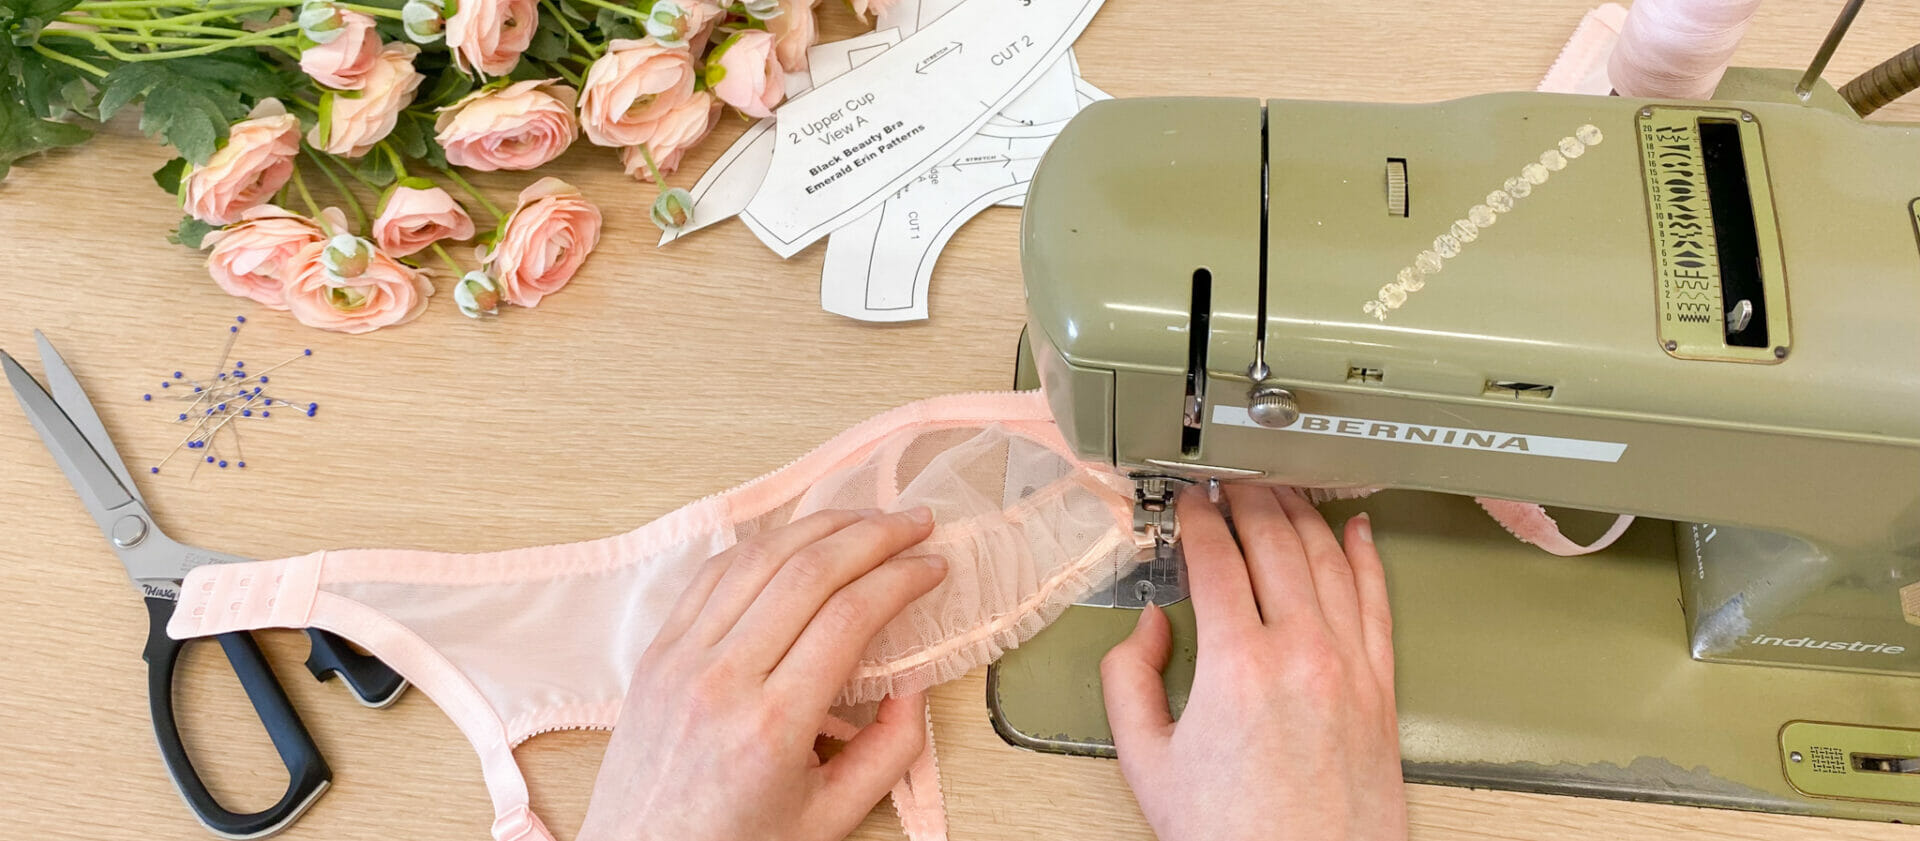
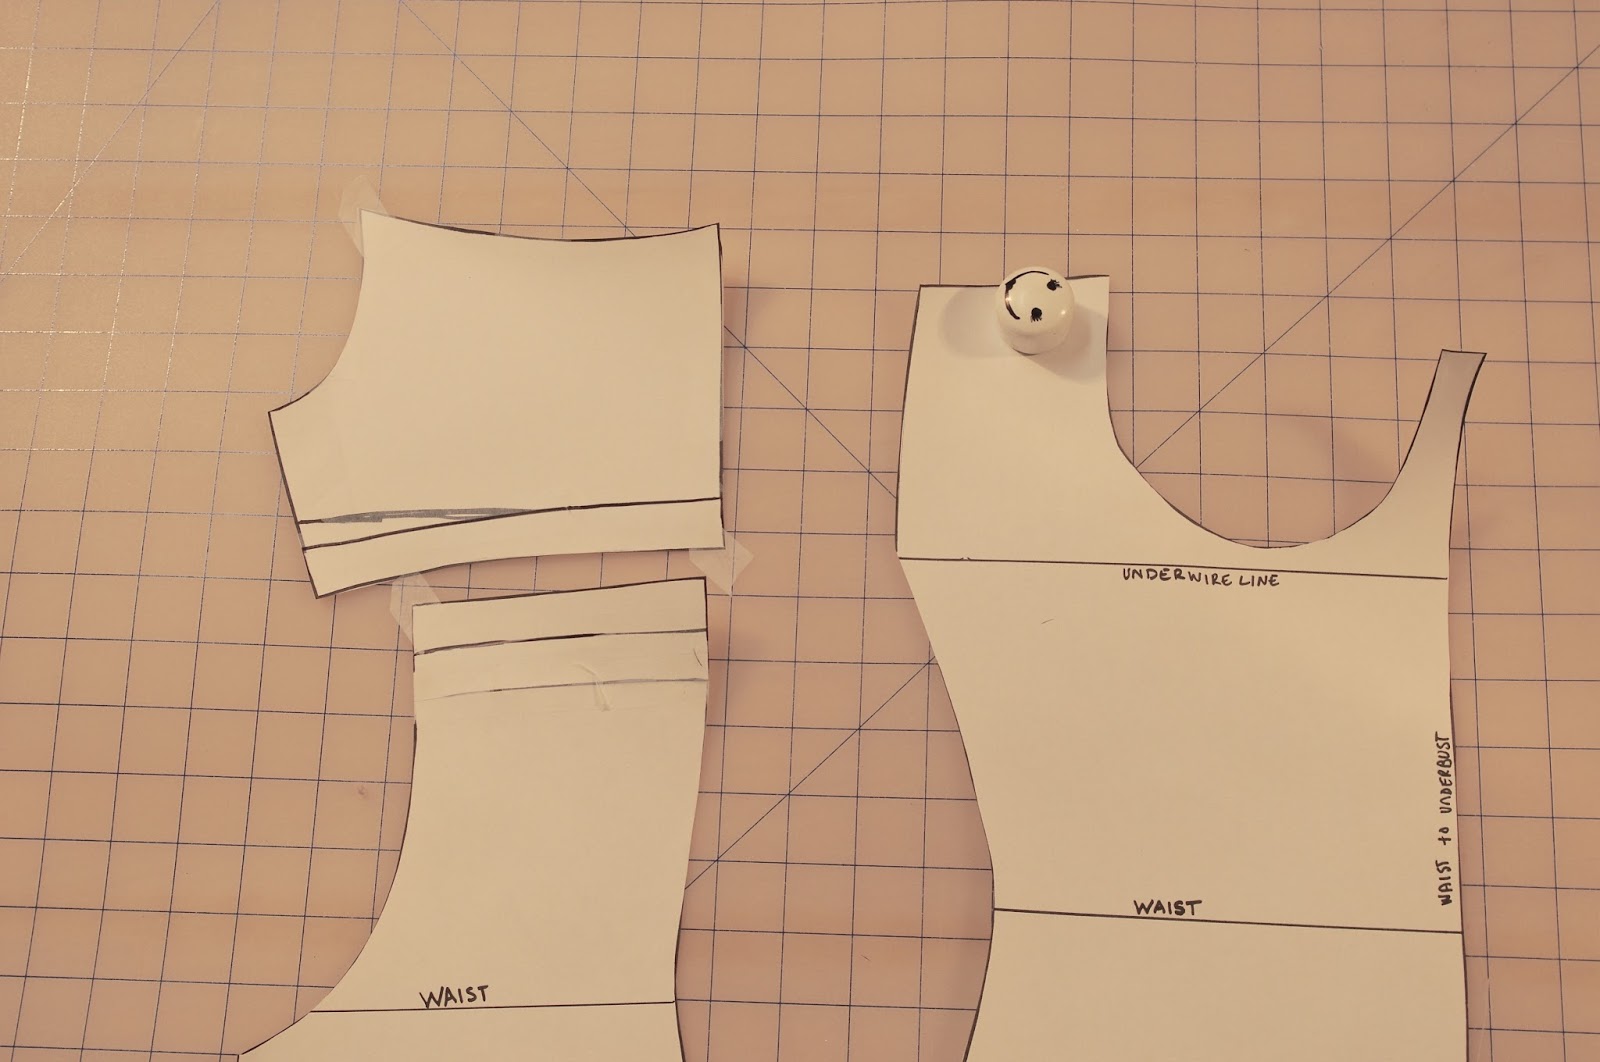
Take your bra frame (this is the one that I used for my Black Beauty bra and it is for my Bliss Underwires)
Line your center fronts up together and place your frame so that where the underwire (which on this pattern piece is directly below the seam allowance mark) is on your underwire line on your suit sloper- because that is where your underwire goes.

Now you’re going to lay your back band piece over top of your back suit piece, making sure that it lines up at the same height as the front frame (don’t forget to consider seam allowances)

One thing that you may notice- The front frame is a bit more narrow than the suit piece at the side seam- but remember that your bodysuit sloper was designed without bra cups and was meant to have allowances for covering your bust, where your bra frame is designed to sit flat against your body and you will add a cup into it- allowing more fabric coverage for the girls, so you should expect this difference. If there is a HUGE difference, then there are a couple things to consider- you may have to change the side seams of your bra pattern to match up better with your side seam on your suit pattern firstly (sometime bra patterns can have side seams that aren’t at the exact side- and that will throw this off a little). You may also have to do a little bit of futzing with the lines until they are nice and smooth, especially if you have large cups/small band.
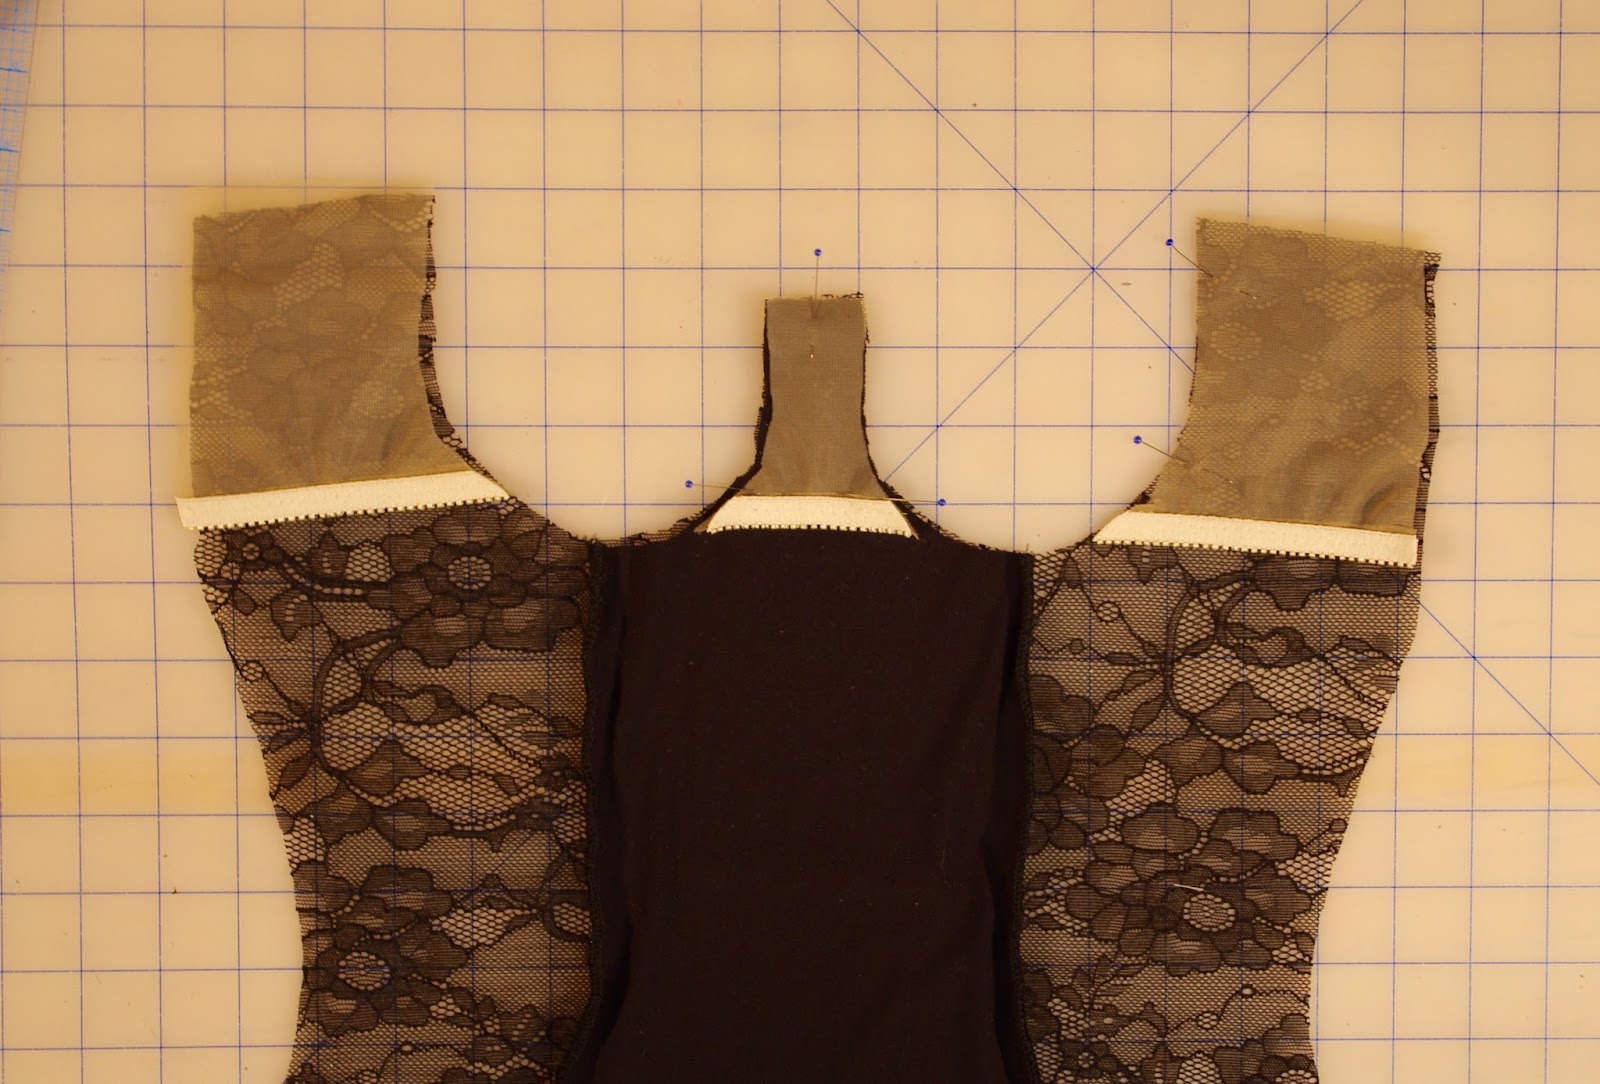
Together they should look something like this- For the front frame piece, you can see that I’ve traced out where it falls (since it is all within the suit pattern piece) and I’ve taped the back piece on top.

Now you can cut away the neckline and strap parts of your suit pattern leaving your suit ending in your bra frame:

With the back of your pattern, you will want to have a seam where the upper back band is seamed with the rest of the back body. There are a few reasons for this- if you have an underwired bra in the front, you need a certain amount of support in the back to counter that- or else you won’t get the support you need, and your side seams will pull to the front- so it’s best to have a bra band in the back with elastic.
Because I like a nice wide elastic, I’ve added a 3/4″ elastic allowance on these pieces for their seam allowance, because I will be sewing a 3/4″ elastic band to this join, like you would normally do with a regular bra back band. Once you’ve added the seam allowances your pattern is pretty much ready to go!
Another good thing to add to your bodysuit is a inner bra frame in the front, just like you’re adding your regular support in the back.
You at the VERY LEAST, want to make sure you line your bridge piece with something non-stretch so your cups don’t have the freedom to drift east & west, but I also recommend lining to your side seam with a non-stretch fabric as well, to give your normal amount of support in your bra.
I did this with these ‘partial band’ type piece, but you could always do a full band style that goes completely under the cup.

I used 15 denier, finished with some nude elastic and basted it into my suit.
And this is the point where you can sew your cups in, sew your back together and finish up your bodysuit!
But I’m not going to spoil the big reveal of this bodysuit- that is for next week and BAW16!!
Do you think you’ll be making a bodysuit or bathing suit with bra cups? I can’t wait to make more for this summer coming up 🙂
What have you been working on this month? Are you enjoying Spring?
Let me know!
xo
erin
Thanks for posting this!
Do you think one could lop off the bottom of this type of design to create a tankini top with built-in cups? Or is the vertical tension created by looping under the crotch necessary to make it work?
You could definitely cut this off to be a tankini, you don't need the vertical tension at all, the band from the bra will keep the bra part where it's supposed to be 🙂
Thanks so much!!! I've been wanting to do this for leotards. Fabulous!
🙂 Happy to help 🙂
Great tutorial Erin! Thanks so much, I've been wanting to do something like this for ages – I thought you'd go about it like this but I feel much more confident now that you've explained it so beautifully 🙂 and I really can't wait to see the finished bodysuit!!
Thanks Maddy! I can't wait to see what you're making next too!!
Thanks for this, last time I forgot to stabilize the bra-part and now the wire is too free to move, but still wearable 😀
Your bodysuit is gonna be super-looking, can't wait to see it!
Thanks Réka! That is a really important step- and I've missed it before too! So many body suits and bra bathing suits to come!!
Great tutorial!! It's very thorough, but yet easy to follow! And it comes in perfect timing for me: I've been so obsessed about bodysuits lately! I'll put all this theory into practice as soon as I can 😉 And I bet your new bodysuit looks gorgeous 🙂
Thanks Sofia! I can't wait to see what you make! You've been giving amazing tutorials too- you inspired me to have a cup with a powerbar in this bodysuit! 🙂
Yes, I can finally make a supportive bathing suit! Thanks for this post!
Thanks Henna! 🙂 🙂
So timely! I've been wanting to do a bodysuit for a while and this answers 90% of my questions. Just want to verify how to measure for body length? I usually have to add 1" to the back rise in pants/panties and I'm not even sure I do it correctly!lol Thanks!
Yay! Body length is definitely one of those things that you have to play with a bit. I would say- for a bodysuit, you will be using a pattern that doesn't stop at the waist, so I don't know that you will have to add an inch, because you don't have to worry about the rise. But what I would recommend is making up a bodysuit (you don't have to add the cups- you can just make it very simple) and test the overall length and where you might need to add and take away 🙂
Is there anyway to make this strapless and still supportive?
Hi Ashley, there are ways to make something like this strapless but I think it would turn into more of a bustier. Especially depending on your size, you would need a different style of cup (for a strapless style with longer wires and no strap attachment point), and you might also want some boning in the bodice. 🙂