


Hi All,
It’s still Sunday! I know I know, I’ve been total crap at posting this month- I completely missed last week- but I have a very valid excuse- I joined the quarter century club, that is- I turned 25- and it was a weekend of celebration and family and friends, and there were too many surprise plans to get anything done!
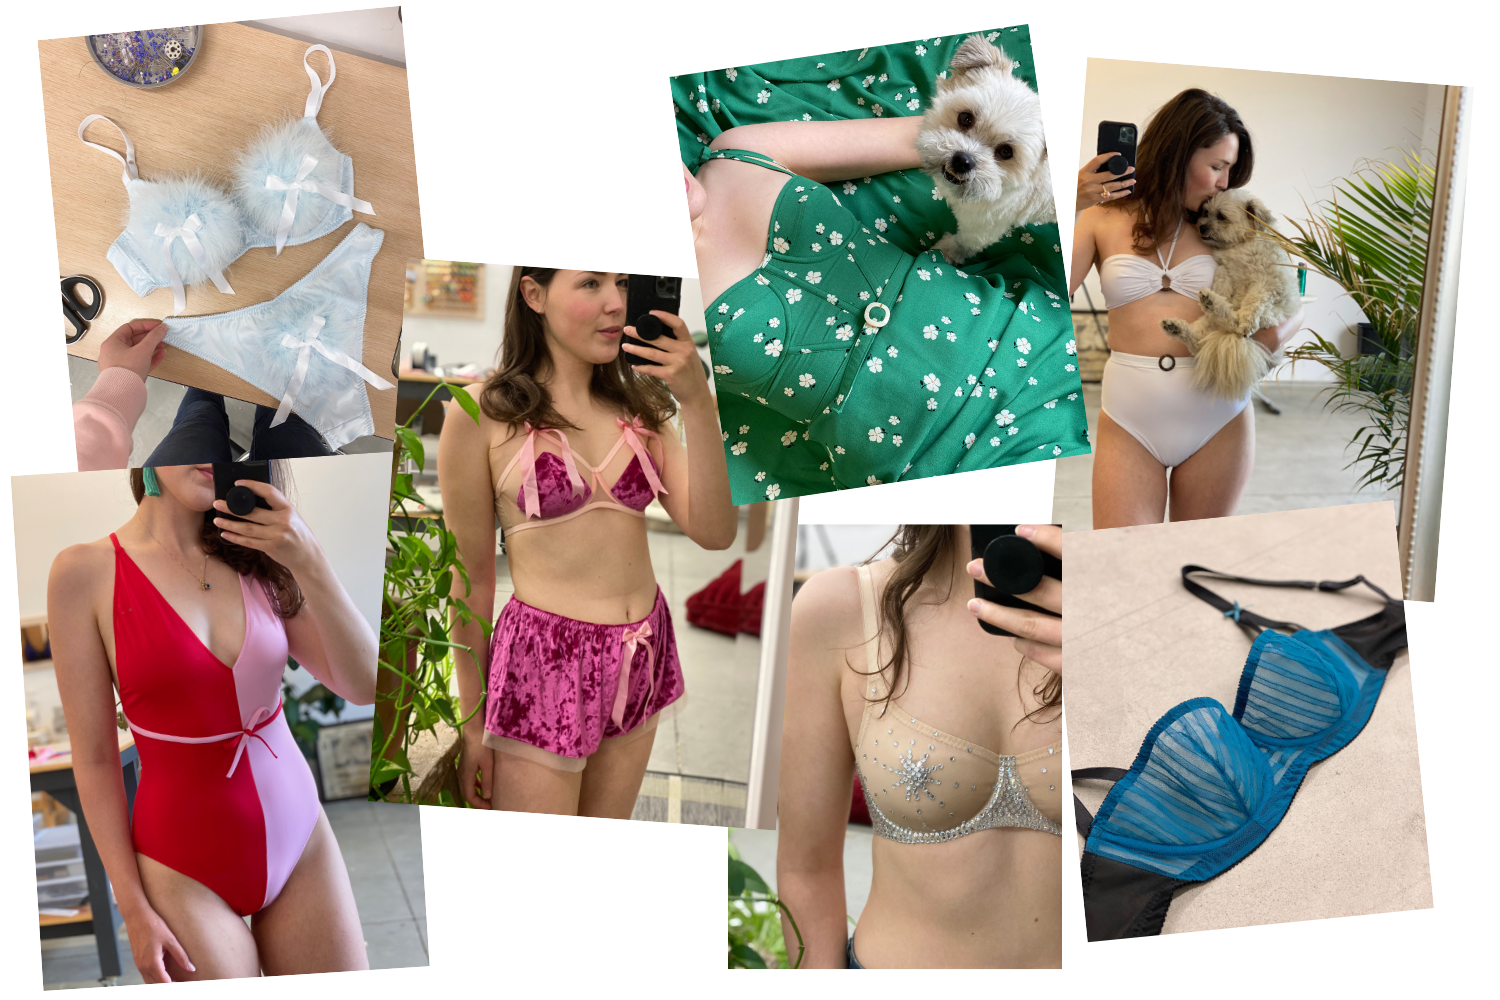
But of course I’m going to make it up to all you lovelies! So I’m starting today with a trio of posts! Today is a tutorial on using cut & sew foam in your bra/bathing suit, the next post will be on making your bra into a tankini oh la la, and the final post will be showing off the lovely tankini that I made for my mom 🙂
So on with todays tutorial!
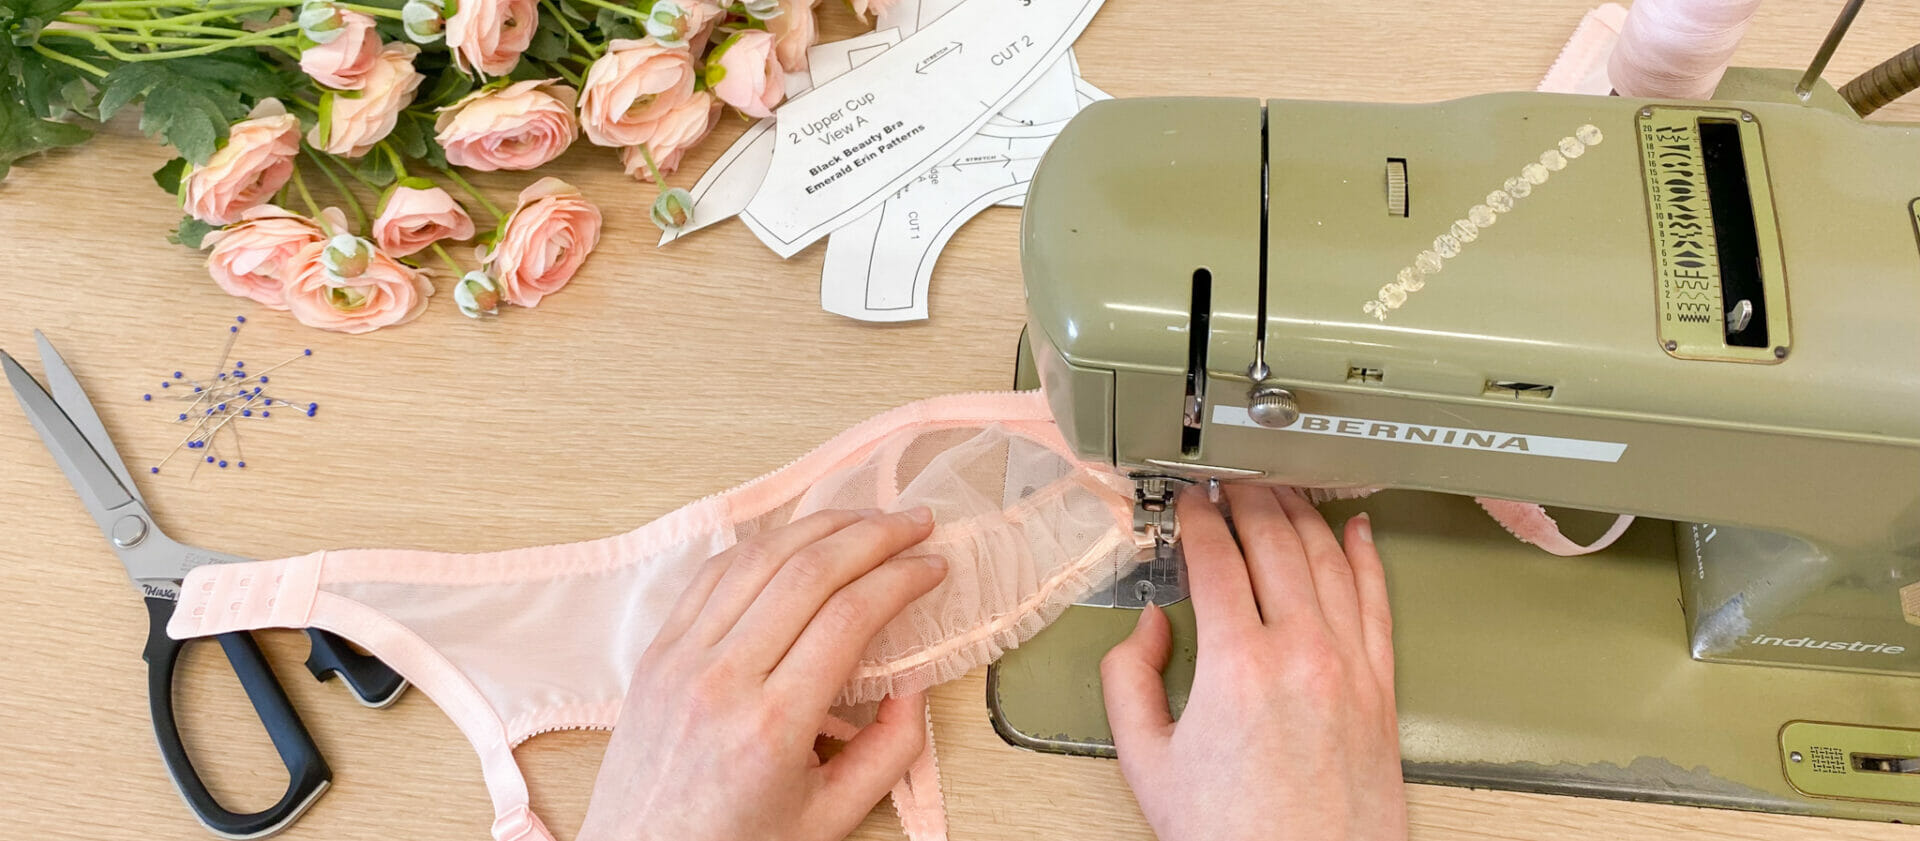
How To: BraMaking with Foam
I’m going to start off by saying that I love foam. I’m a huge fan. I think that it helps so much to add structure, support, coverage and comfort in bras and especially in bathing suits.
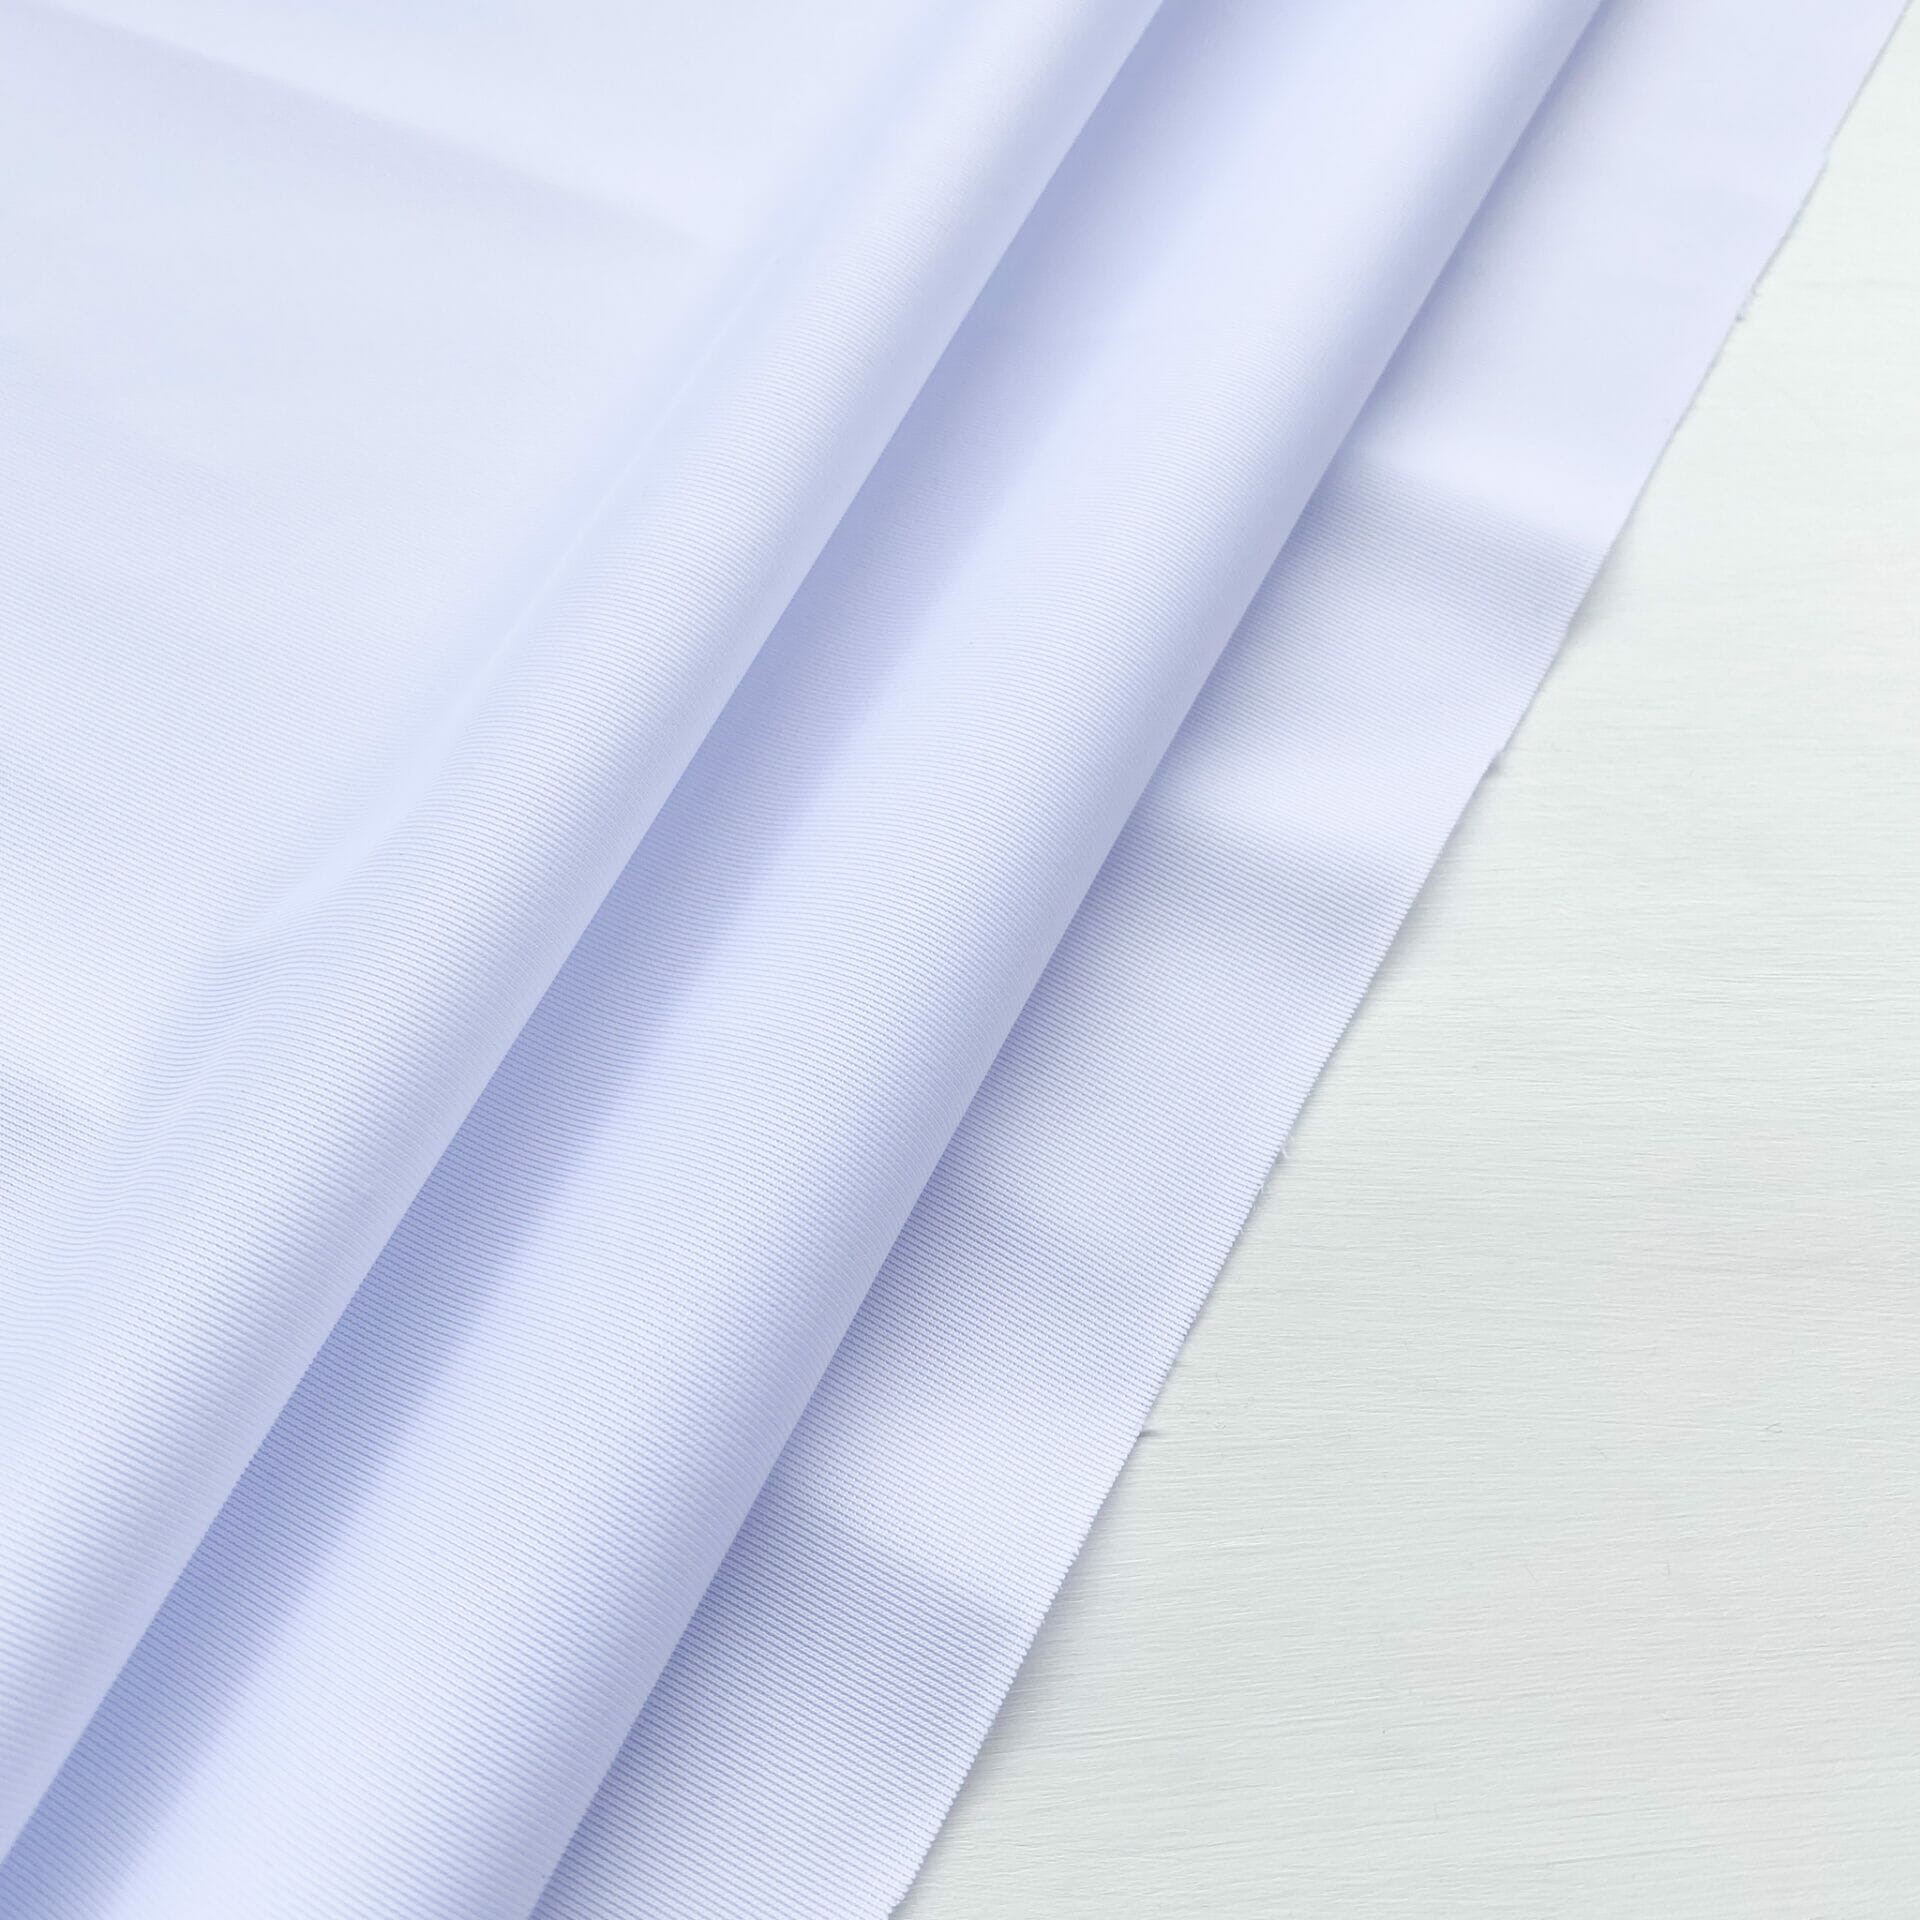
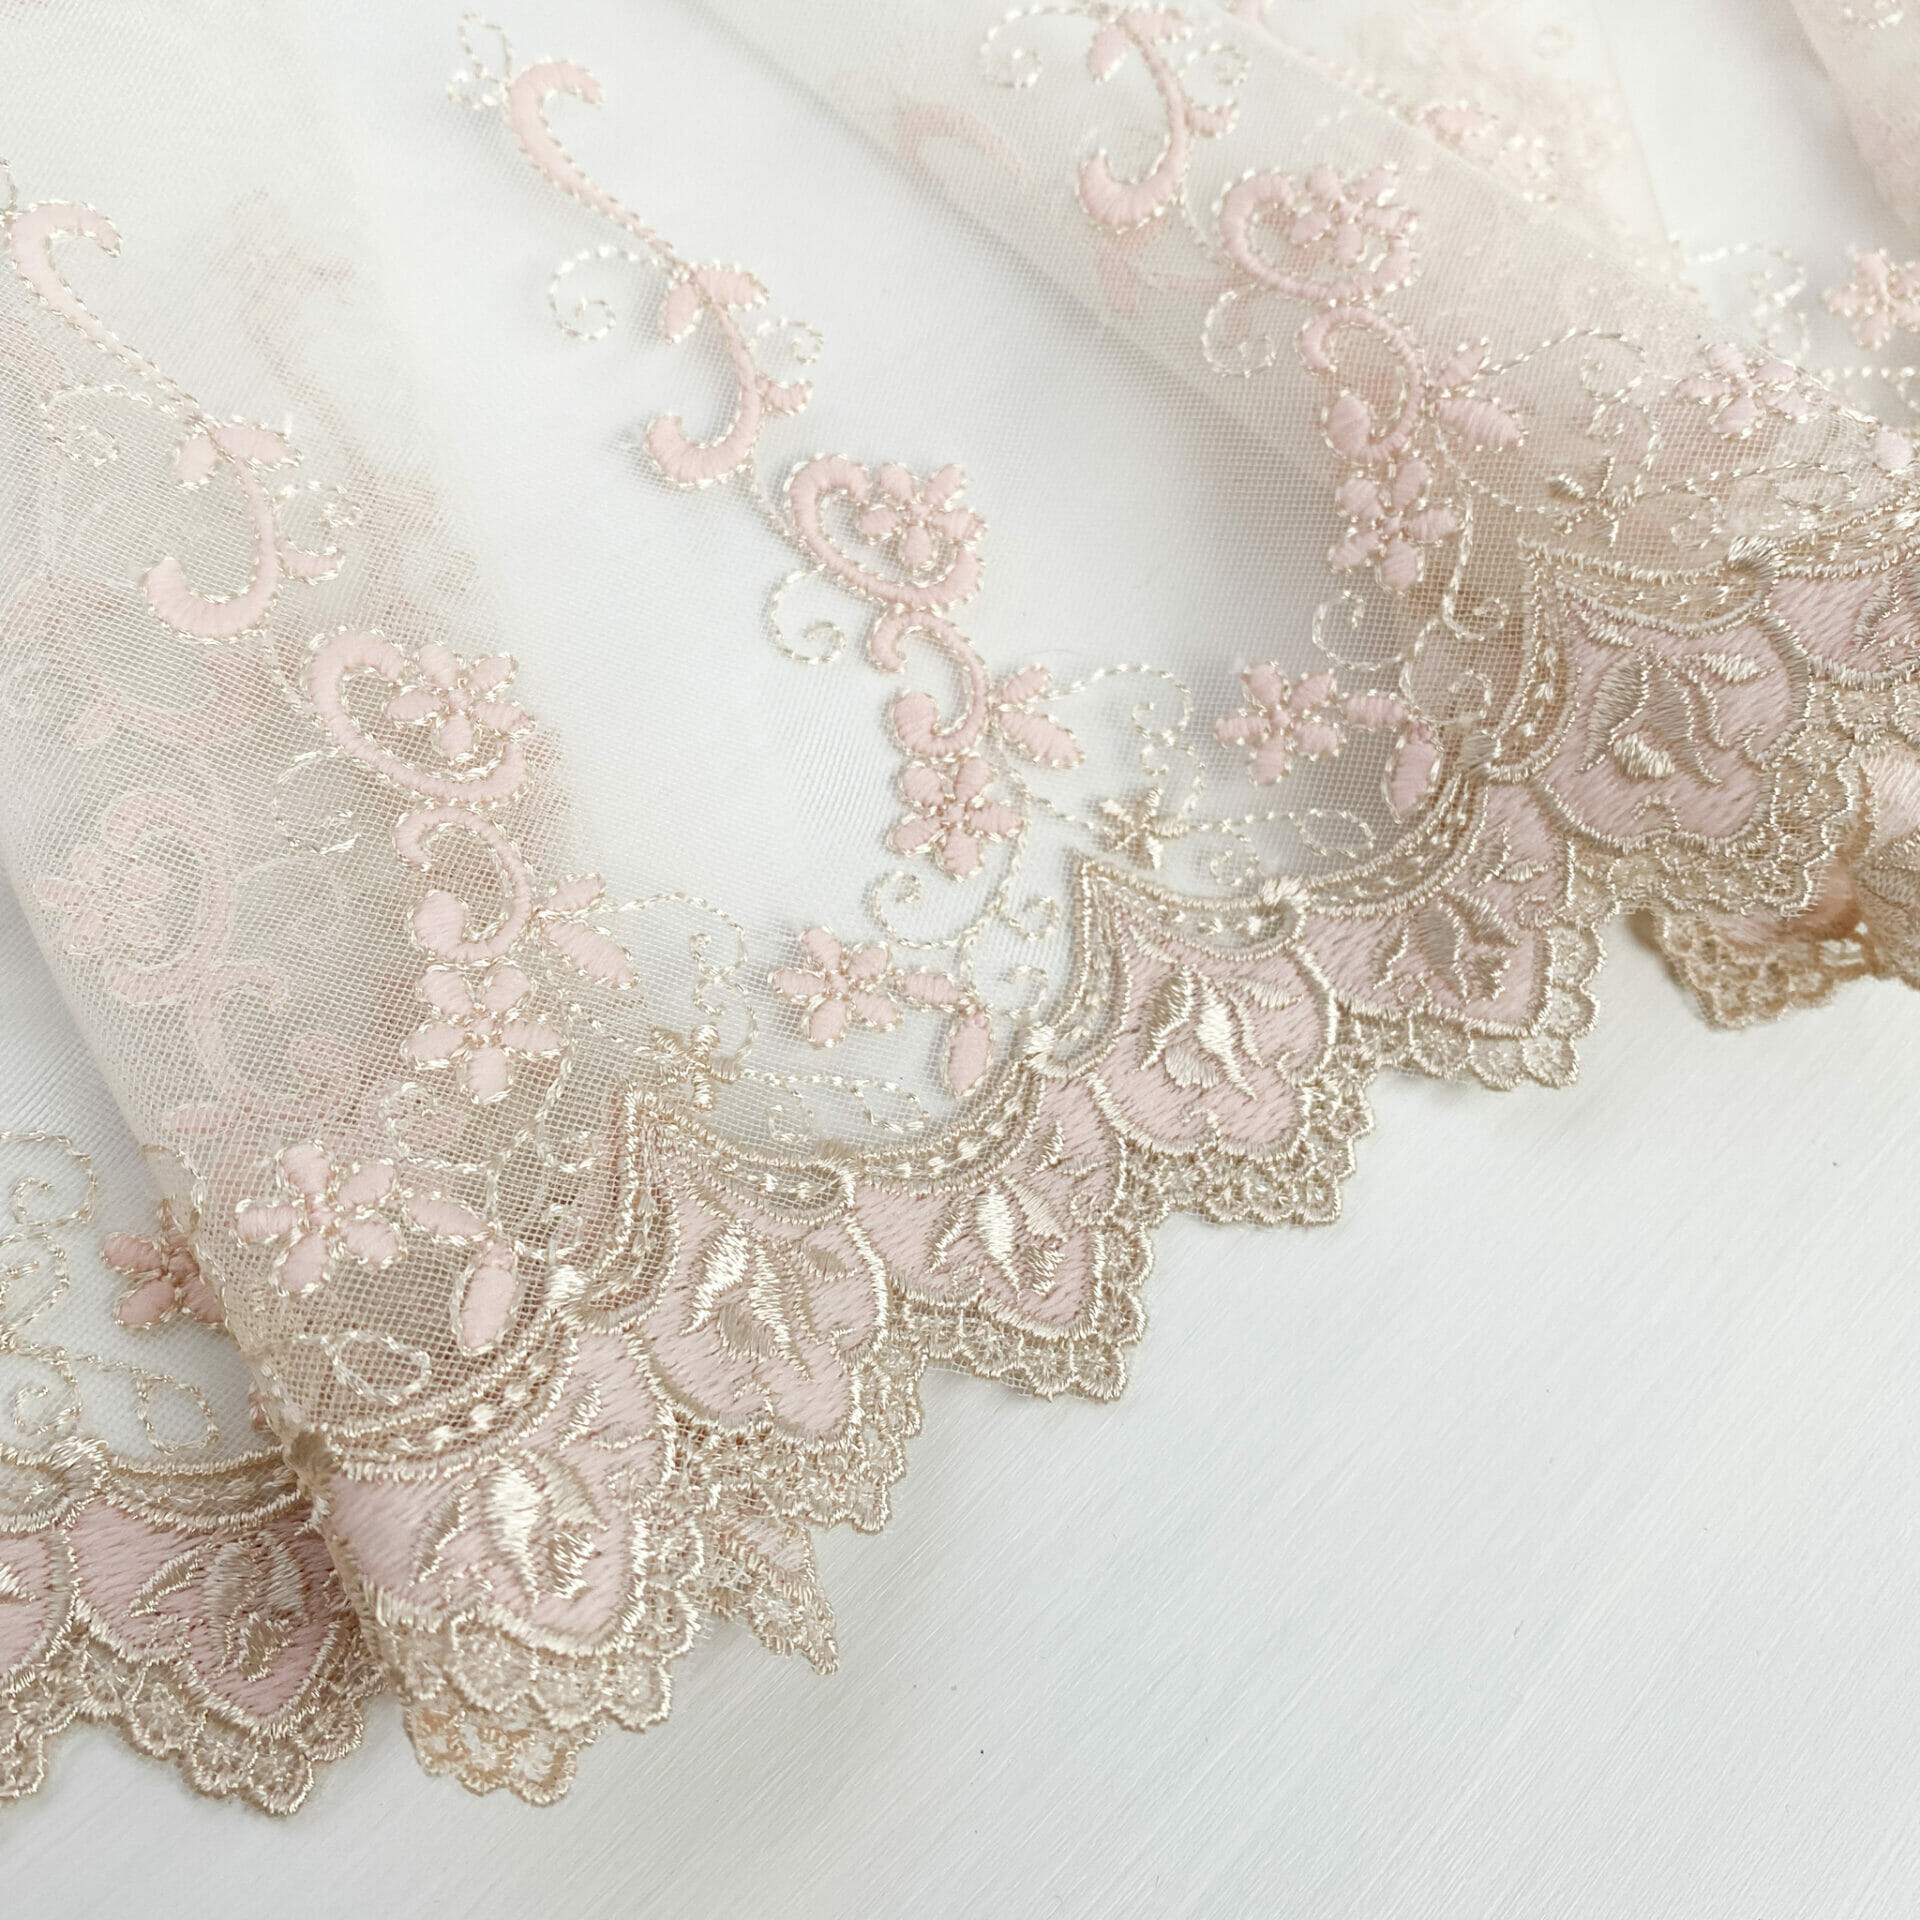
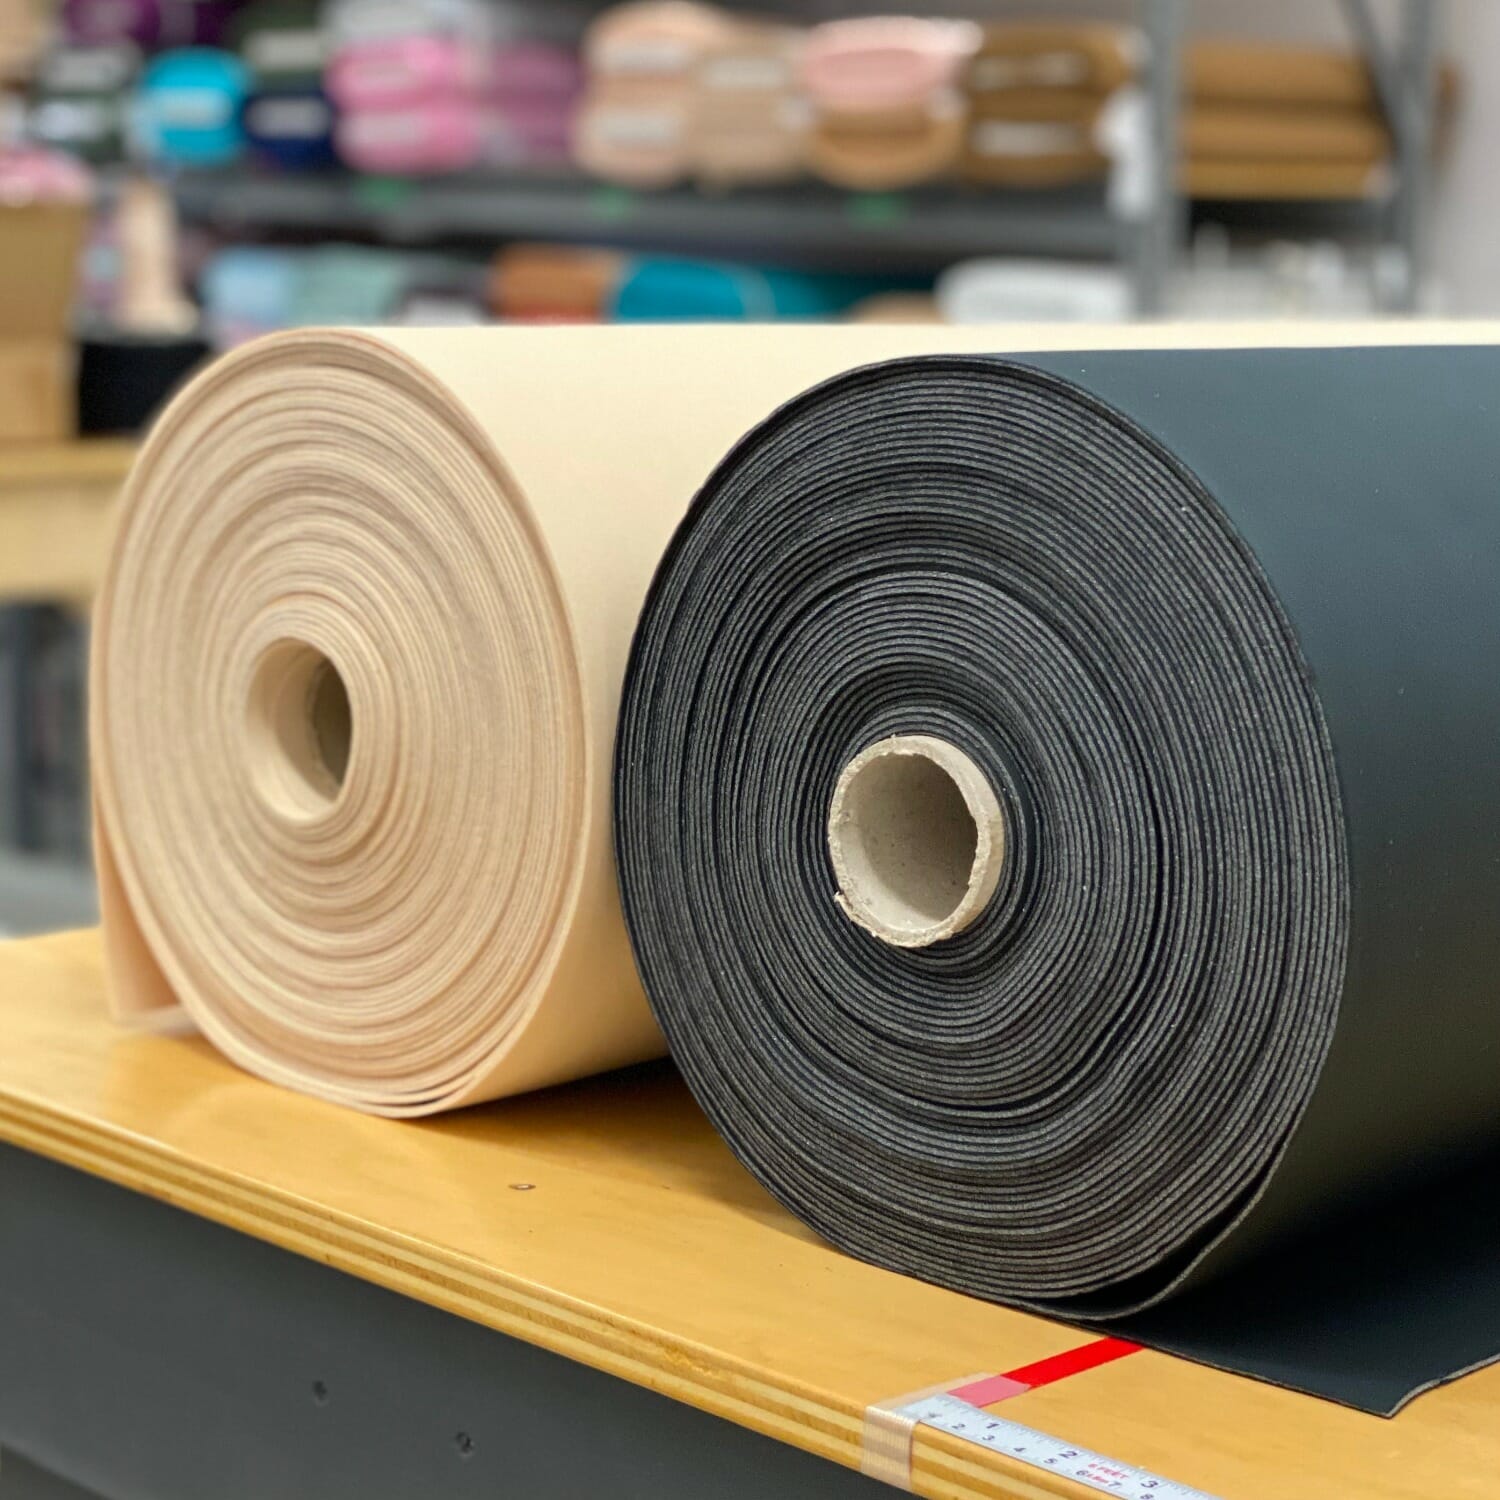
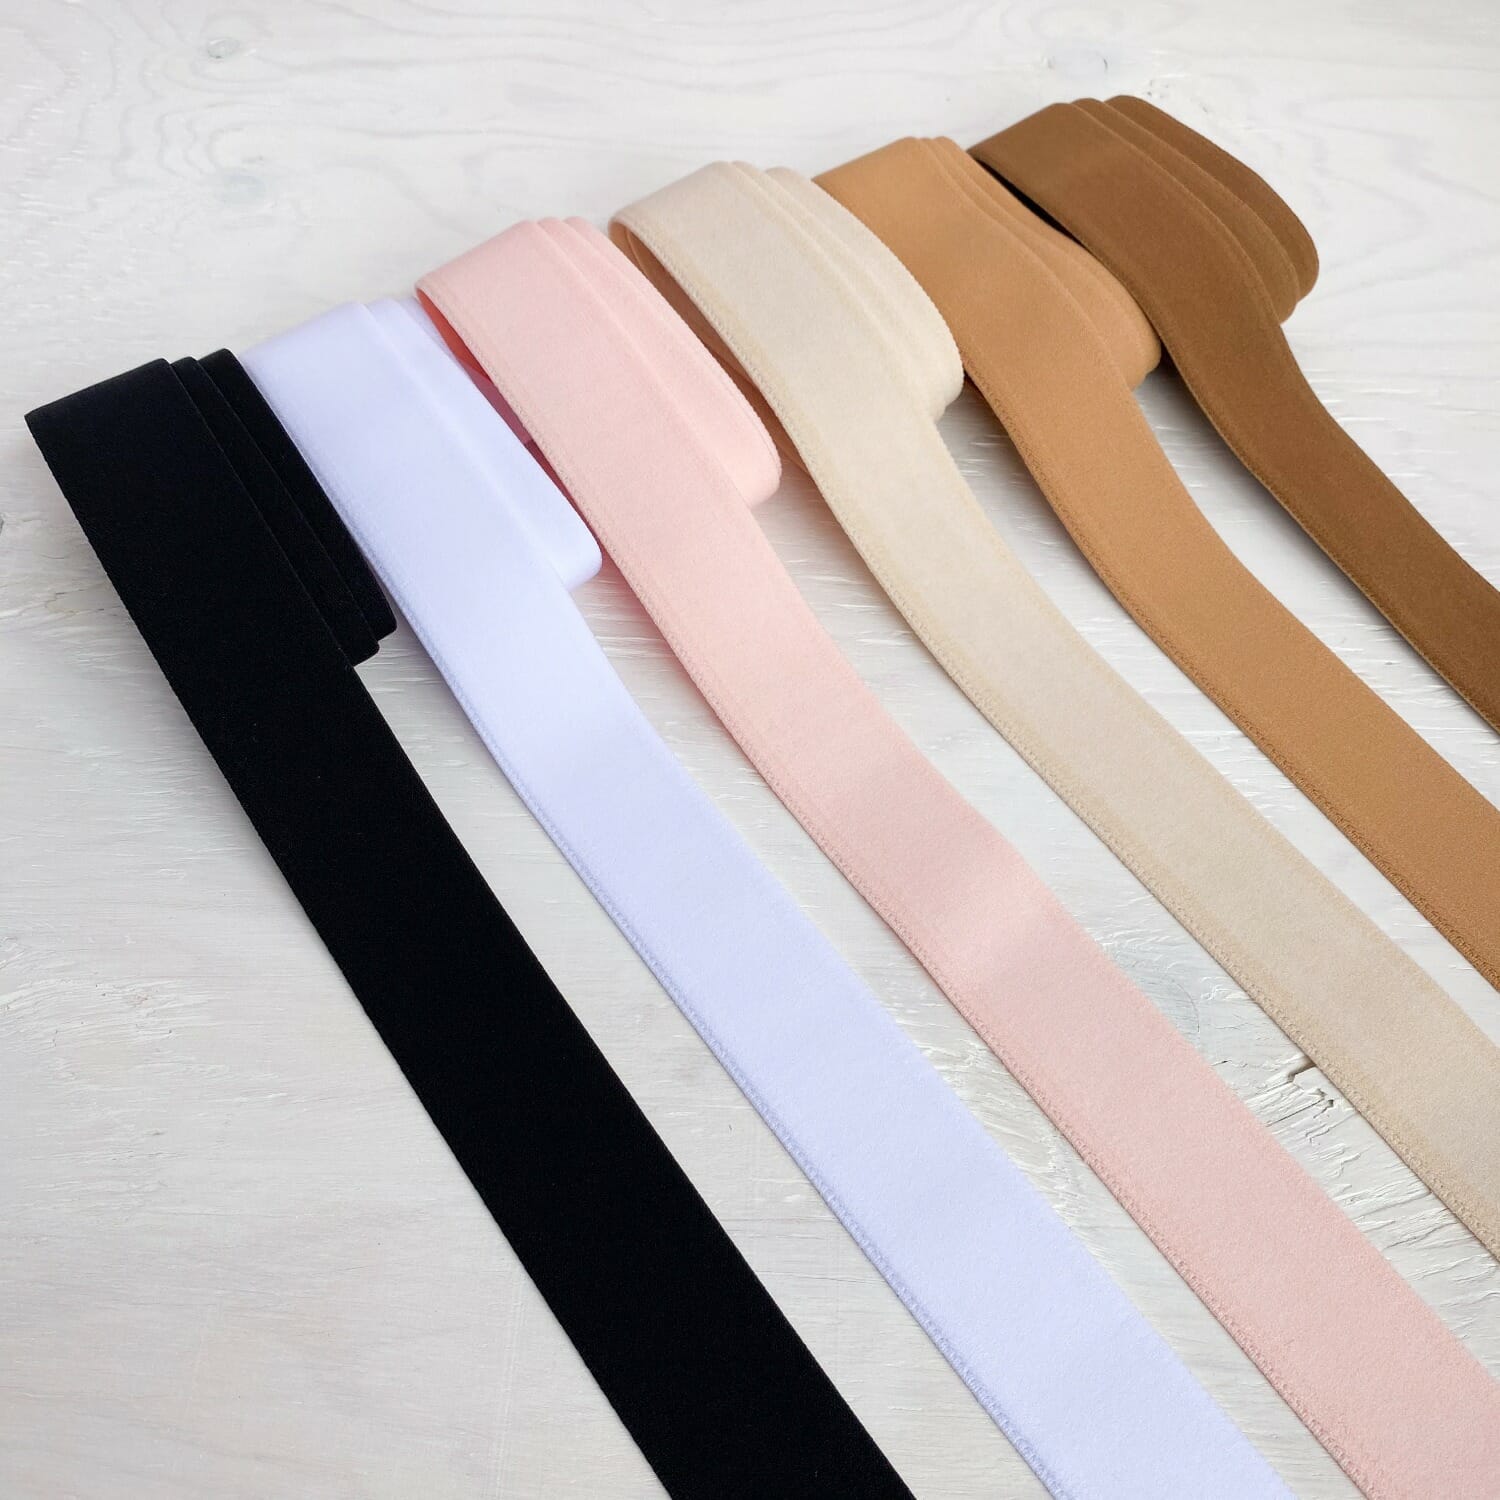
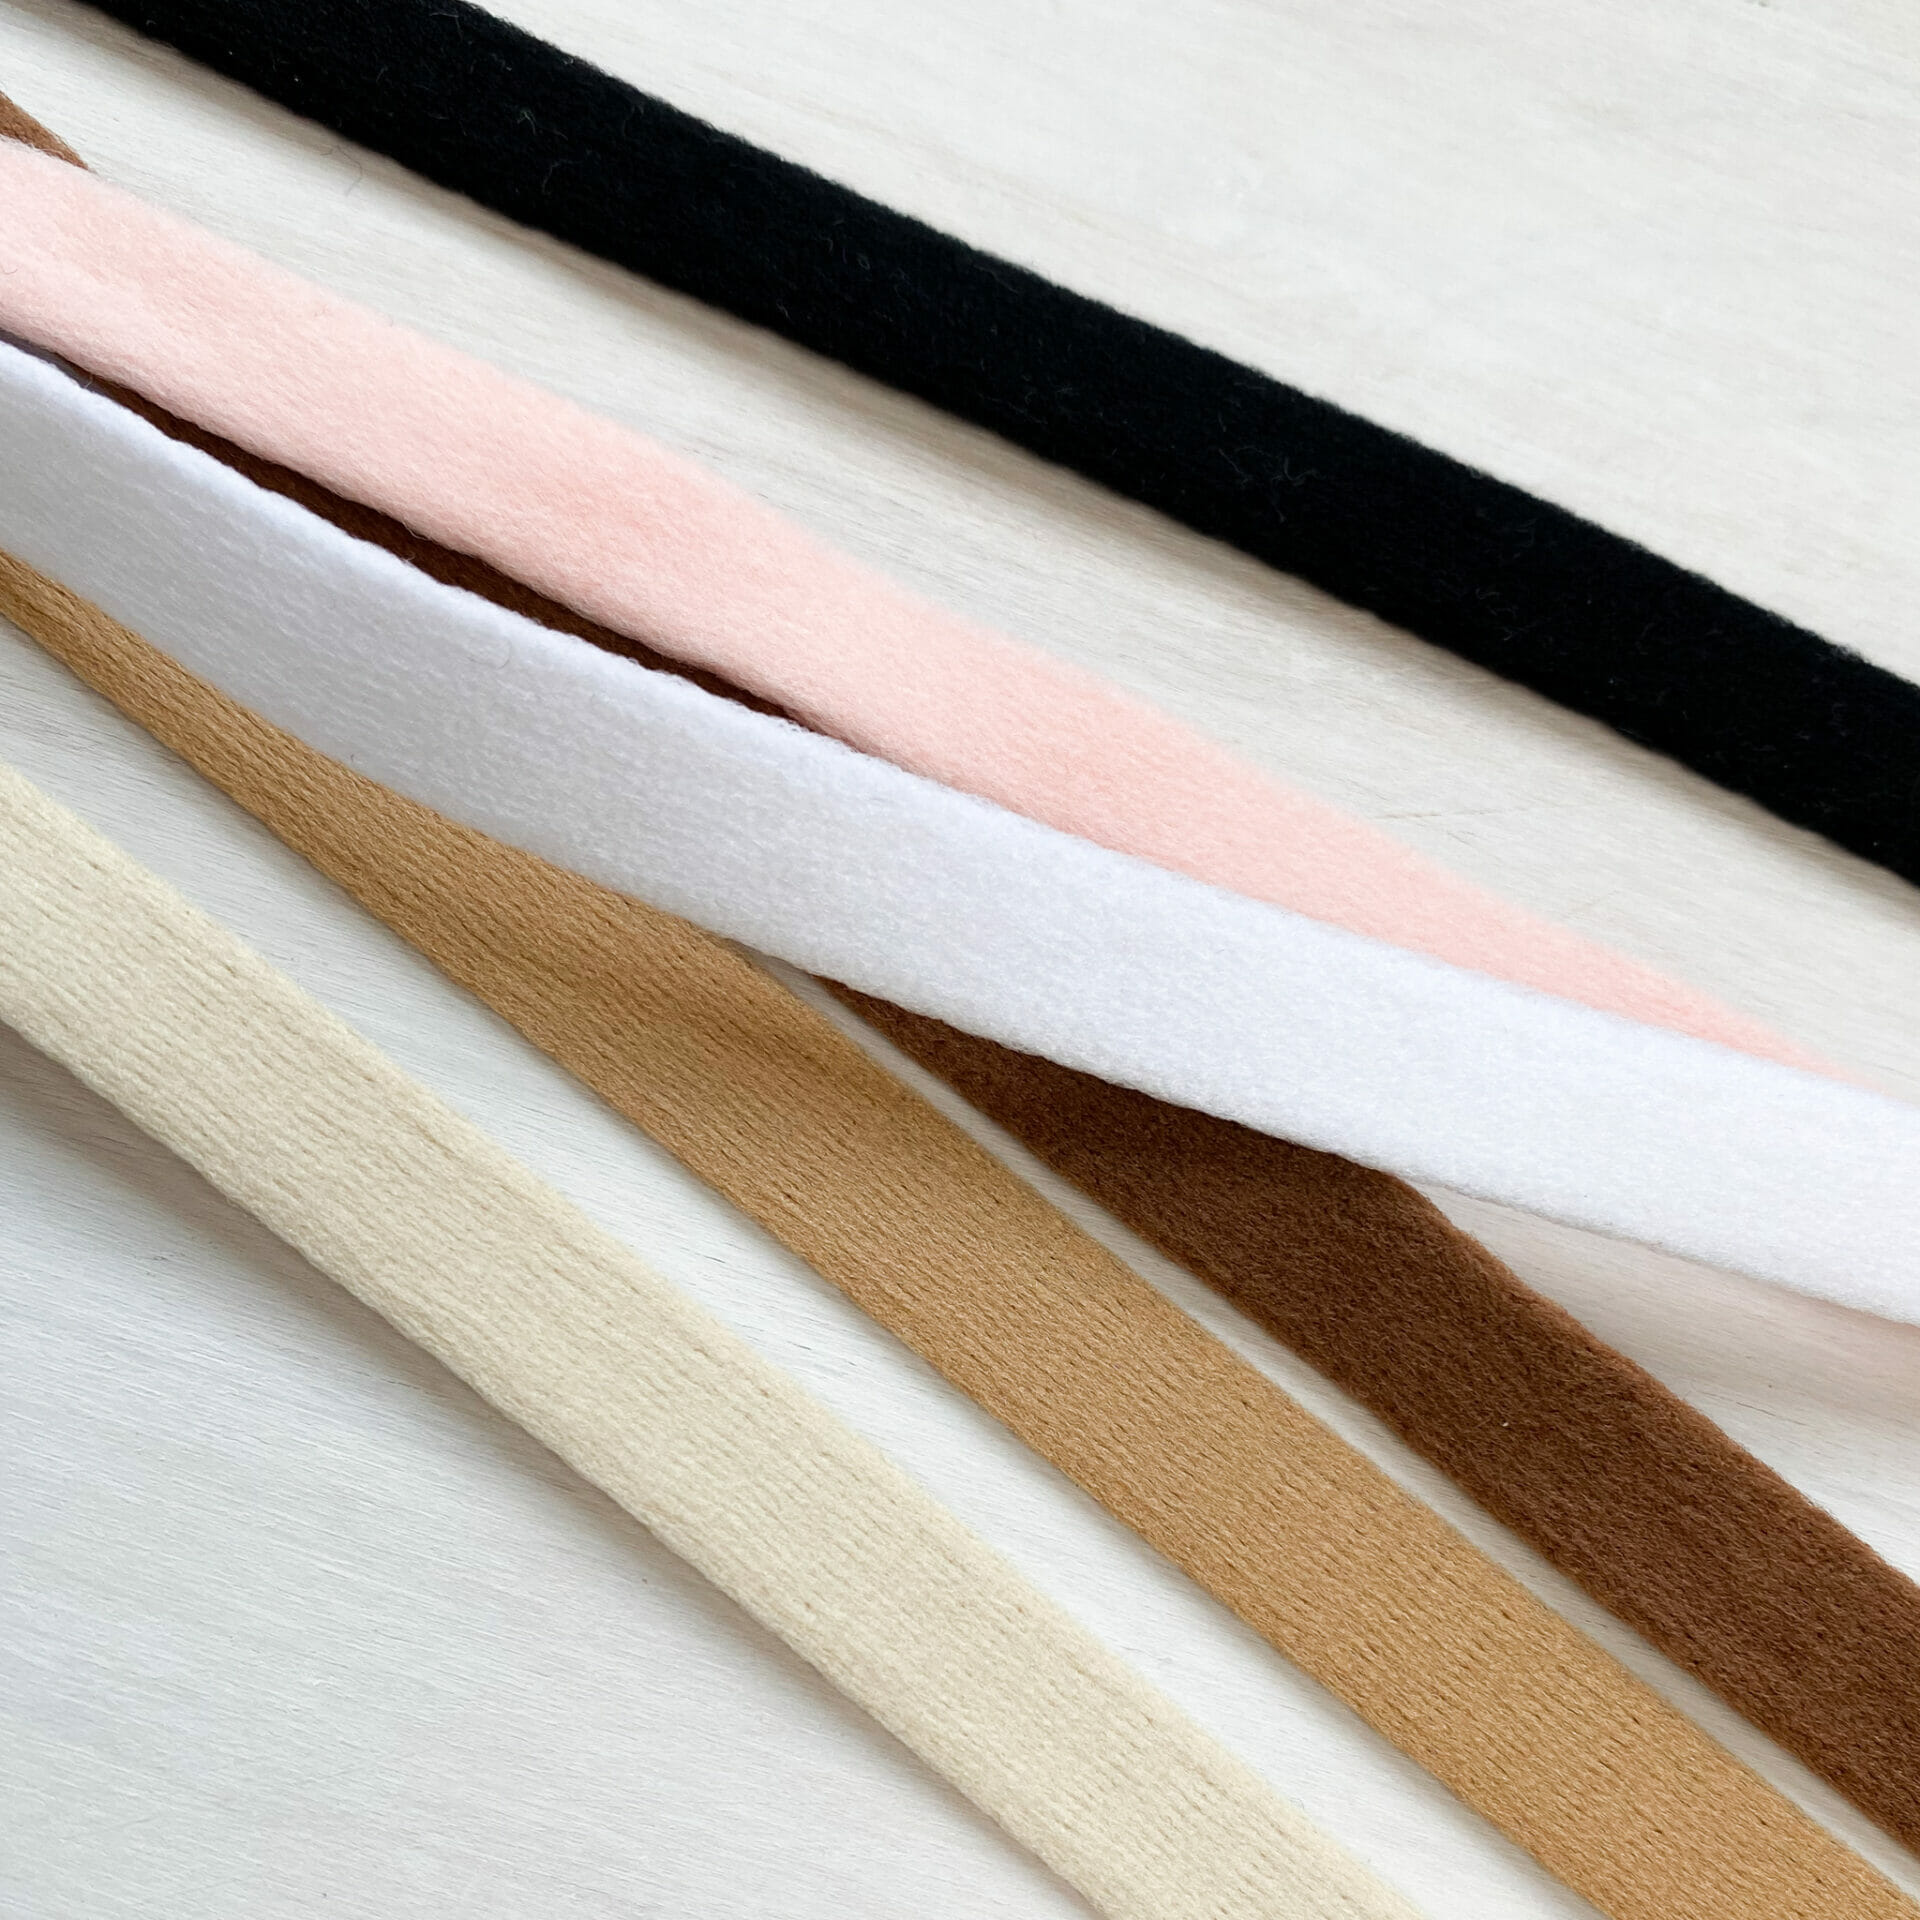
There are different names and styles of foam that you can get for bra making, but they are all generally a layer of foam that has been laminated with fabric on both sides so that it’s nicer to work with. It can be called: cut & sew foam, bra foam, polylaminate foam padding (which would mean it’s laminated with polyester), it can also be called sheet foam. There are various thicknesses, qualities and fabric lamination that you can find, they’re all different and the best one is the one that you like the best.
— shameless self-promo here — I’ve found a foam that I import from France, it’s laminated in the softest microfiber, and it’s nice and thin (1.6mm) meaning that it doesn’t add too much volume, more just the softness, smoothness and overall shape of foam, and I completely adore it! It’s everything I love in foam, and I’ve been using it with everything I make since I got it! —
So once you’ve picked your foam, and you have your pattern that you like, you’ll need to add different seam allowances to your foam pieces than you do to the fabric that you’re planning to cover the foam with.
I’m going to say now- the #1 goal of sewing with foam is that you never fold the foam- it’s just too bulky. If you are seaming your foam together- it should be butt-together with a zig-zag stitch not seamed in a traditional way, and you should try to finish the edges in a way that the foam doesn’t get folded back on itself.
I’m going to show you the process of this step-by-step!
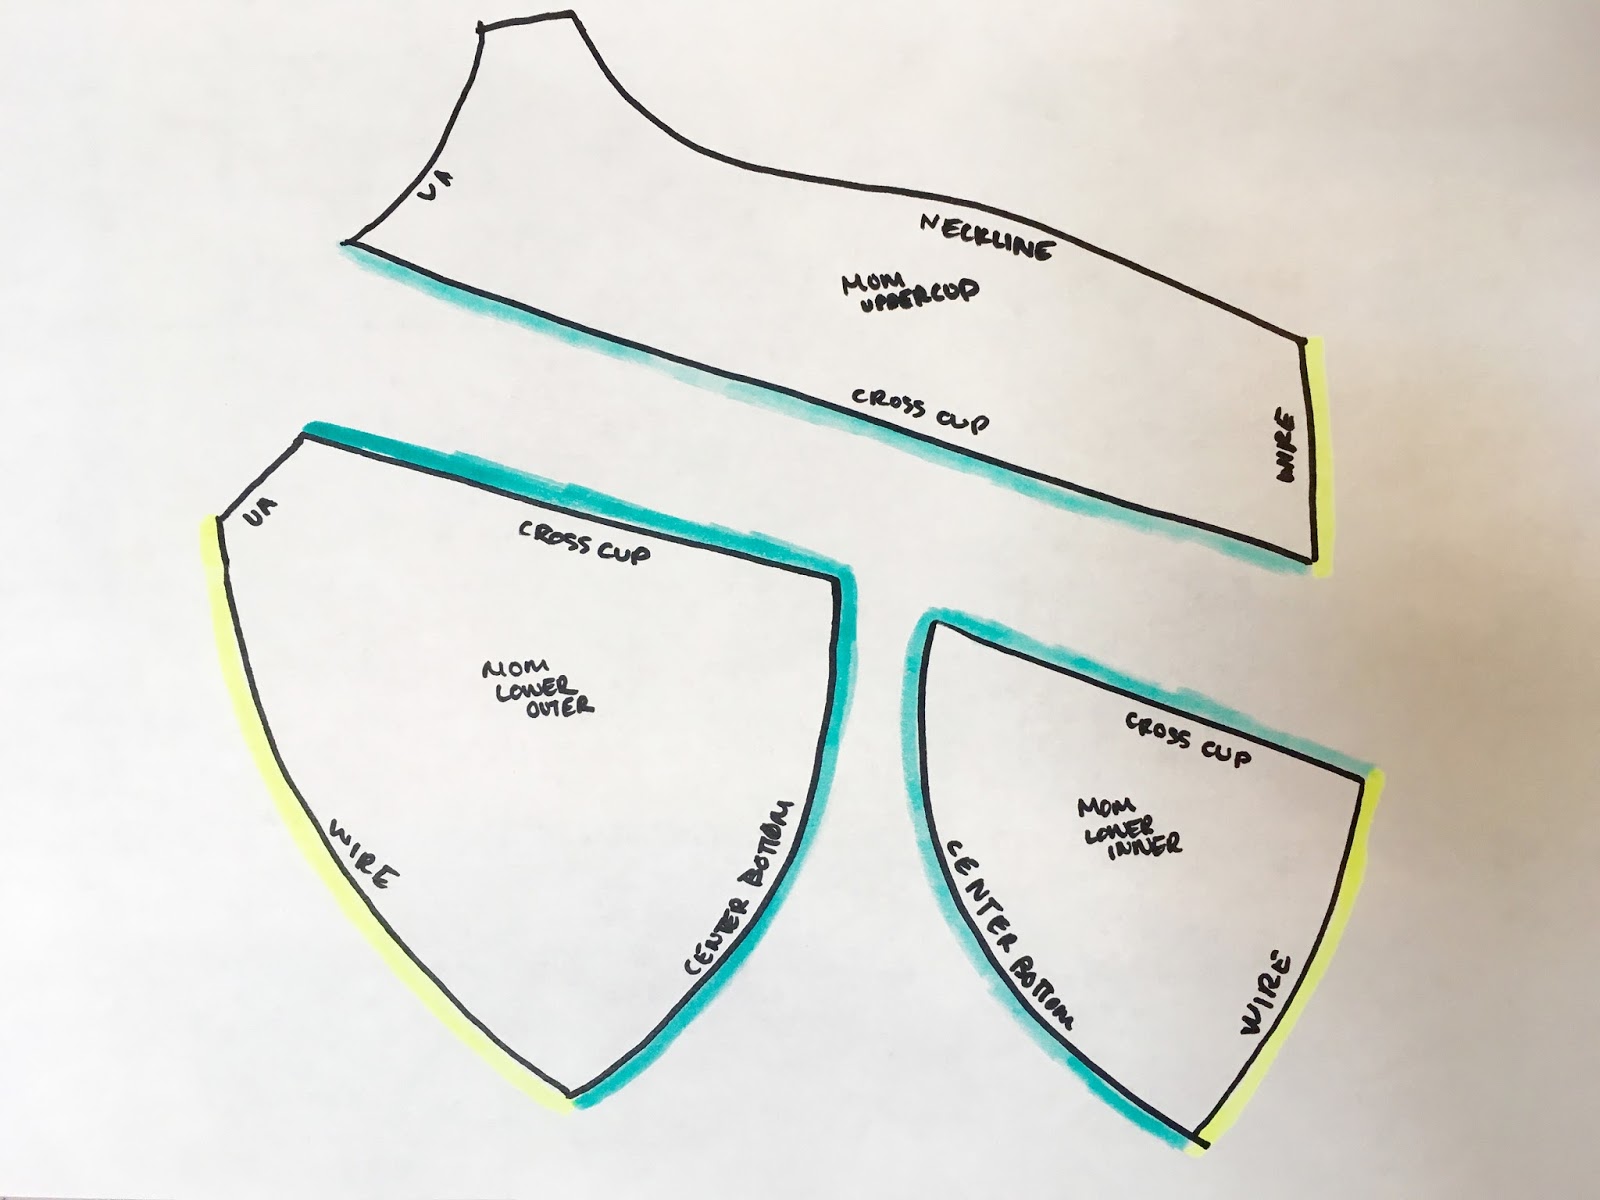
To start: this is my cup pattern, with no seam allowances:
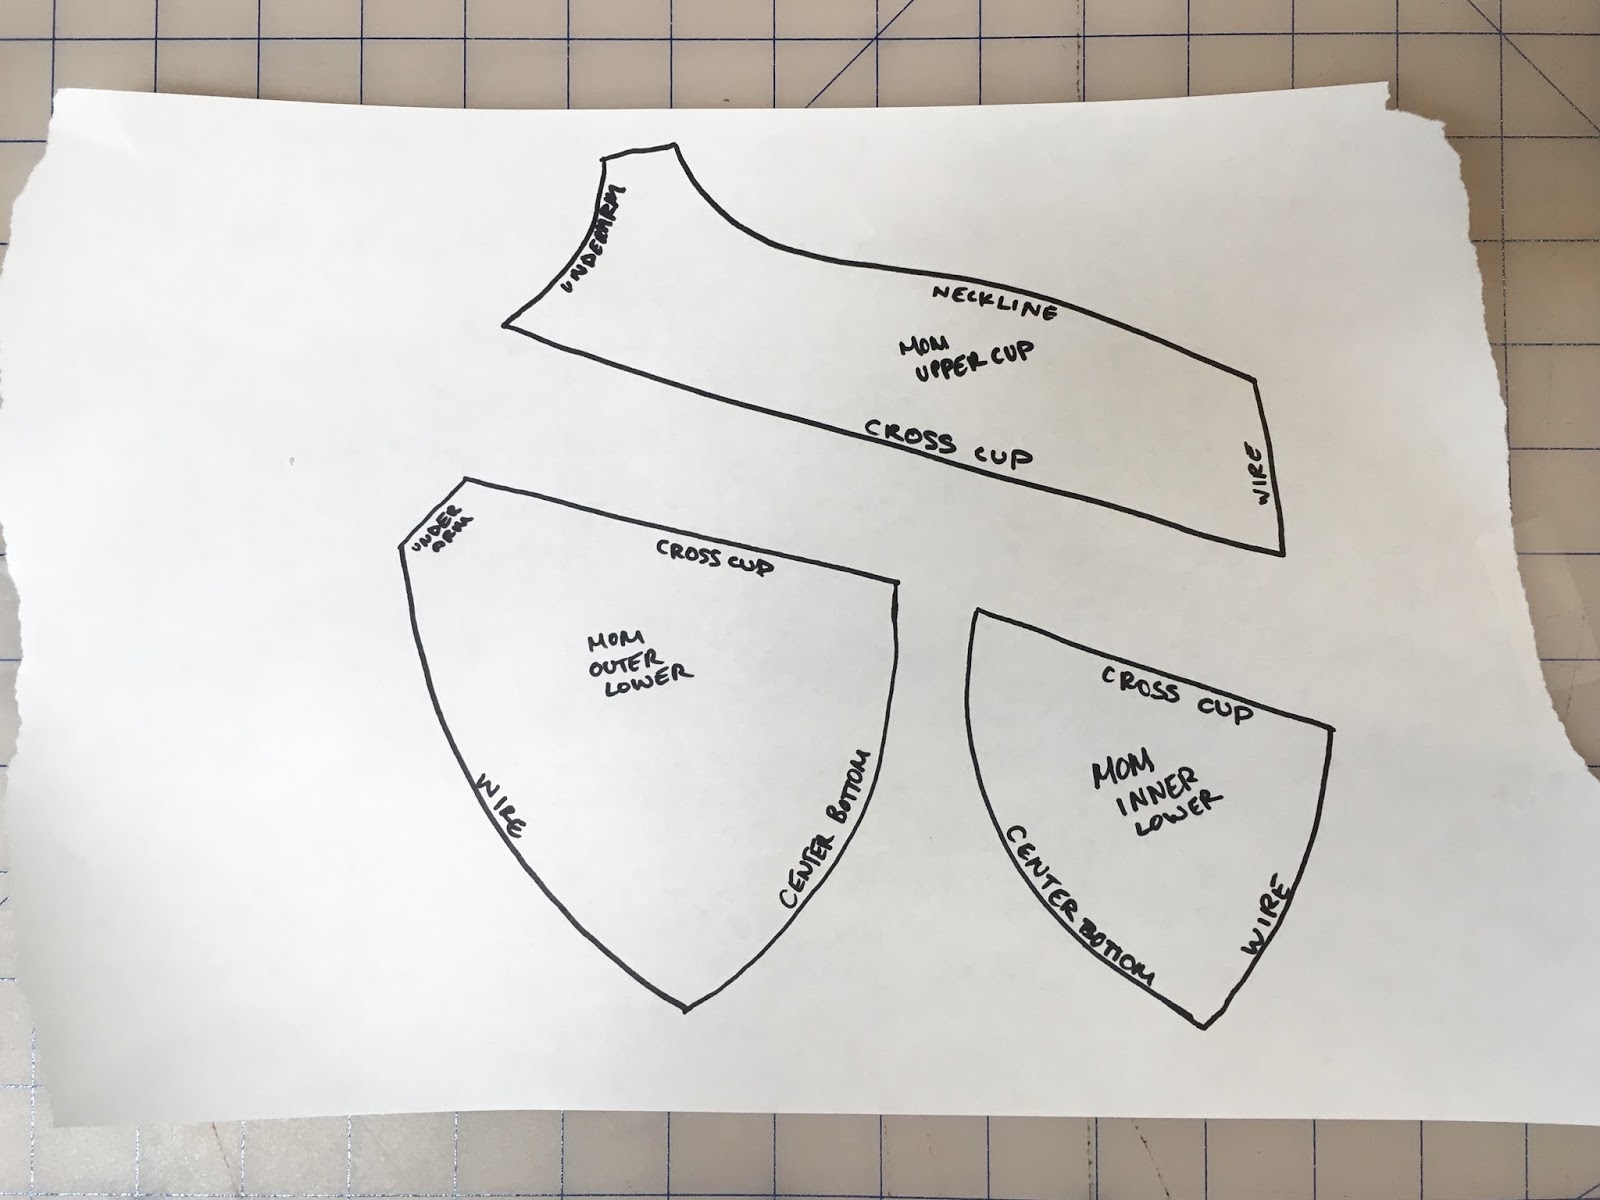
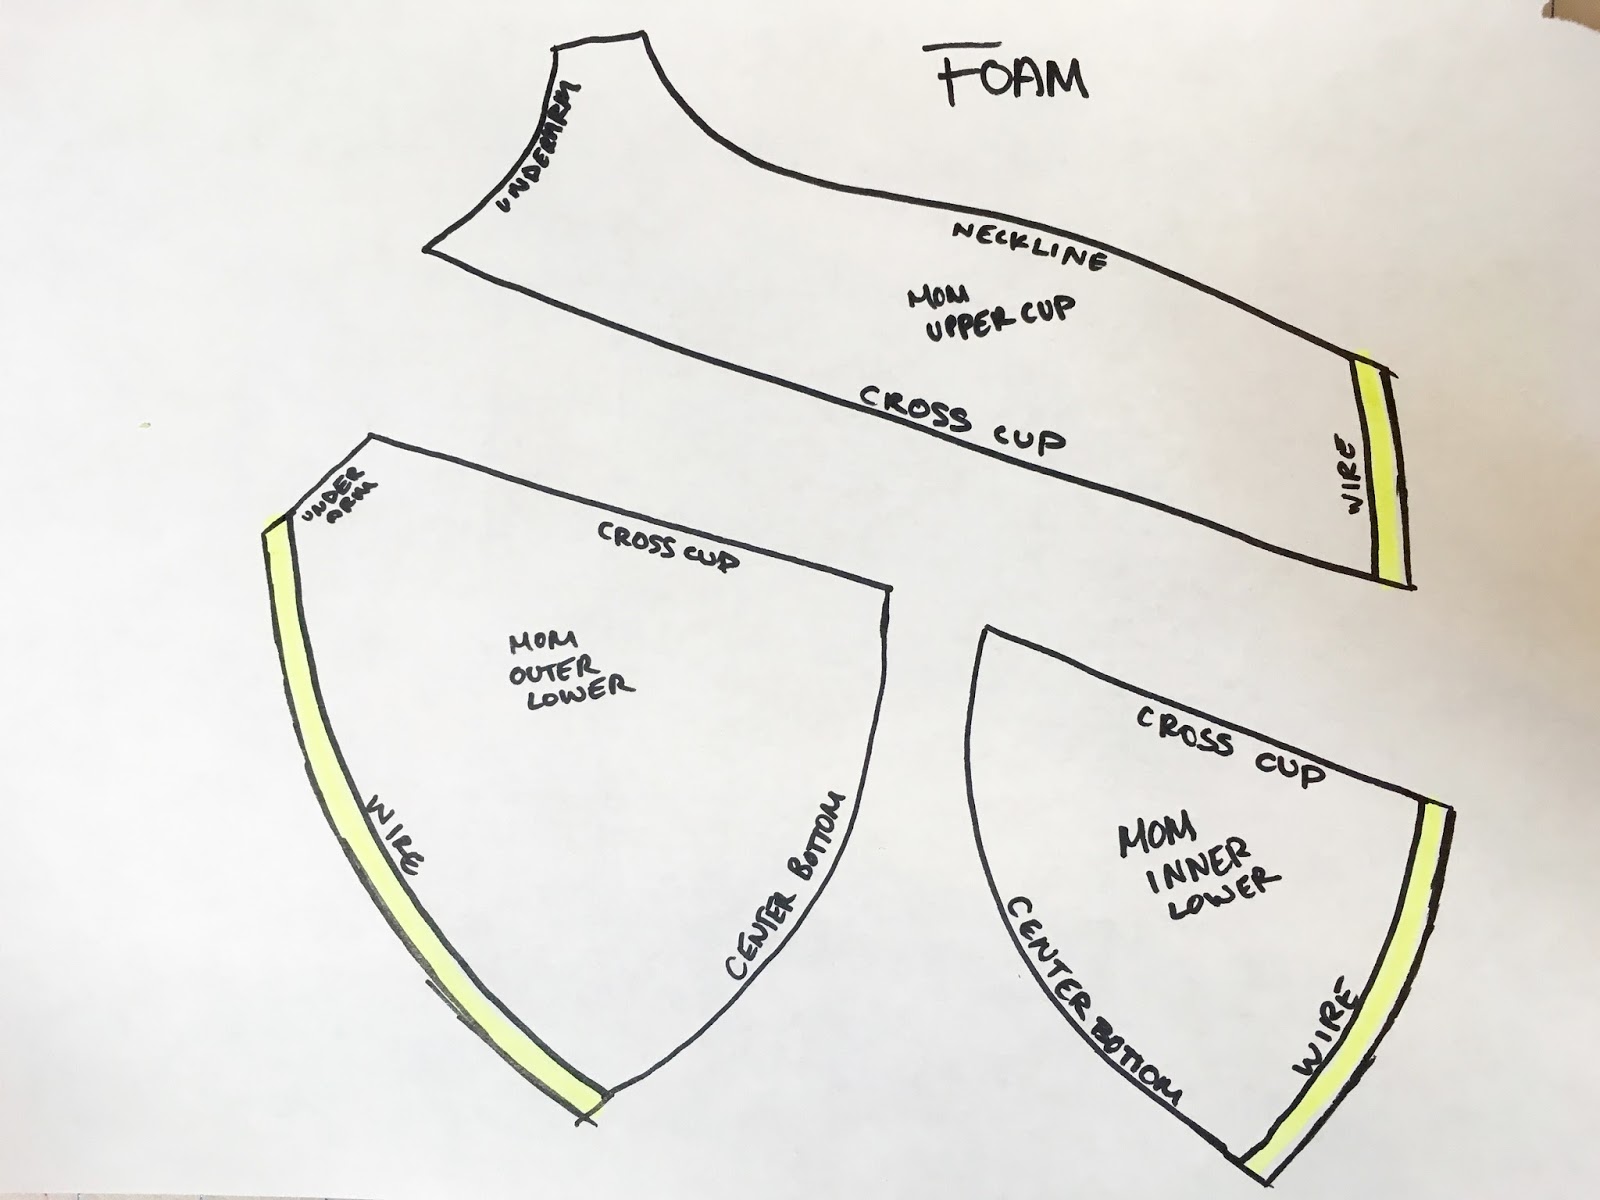
For the inner foam layer, you only want to add seam allowances into the wireline.
*this is if you’re making a standard full-frame bra (not partial band) where you seam allowance along with wireline and channelling is going to be folded away from the bra*
You want to make sure that it you include this seam allowance so the foam gets caught under the channelling and is finished nicely on this area of the cup. Otherwise you don’t want to add any seam allowances to the underarm, neckline or the inner cup seams.
That will look like this:
Once you have your foam all lined-up, you will want to think about your cup-cover. For cup covers- there are many different fabric options you can choose- stretch and non-stretch- the only thing to consider with a non-stretch fabric is that you want to be quite precise with your sewing and your seam allowances to make sure that it fits over your foam perfectly, because you won’t have the same stretch and wiggle room that you have with a stretch fabric. Generally the added support and structure of foam gives you a lot more freedom with your fabric choice.
Once you’ve chosen your cup-cover, you will want to figure out your seam allowances for your cup cover. These will be the same as if you weren’t using the foam. So you will want to make sure that you have your seam allowances at the wireline, for the inner cup seams, and whatever neckline and underarm seam allowances you planned. For this bra I planned to have binding on the underarm and neckline, so I didn’t add any seam allowances.

I’m going to start with the bound-edge because it’s my favourite!
OPTION 1 – The Bound Edge
In this situation, you should have no seam allowances on your foam, or your cover along the neckline and underarm edges- and they should end together at the edge like this:
Then you want to cut a strip of binding, at least 4X the width that you want your finished bound-edge. So for this one, I want a 1/4″ bound edge so I cut my strip at least 1″ wide.
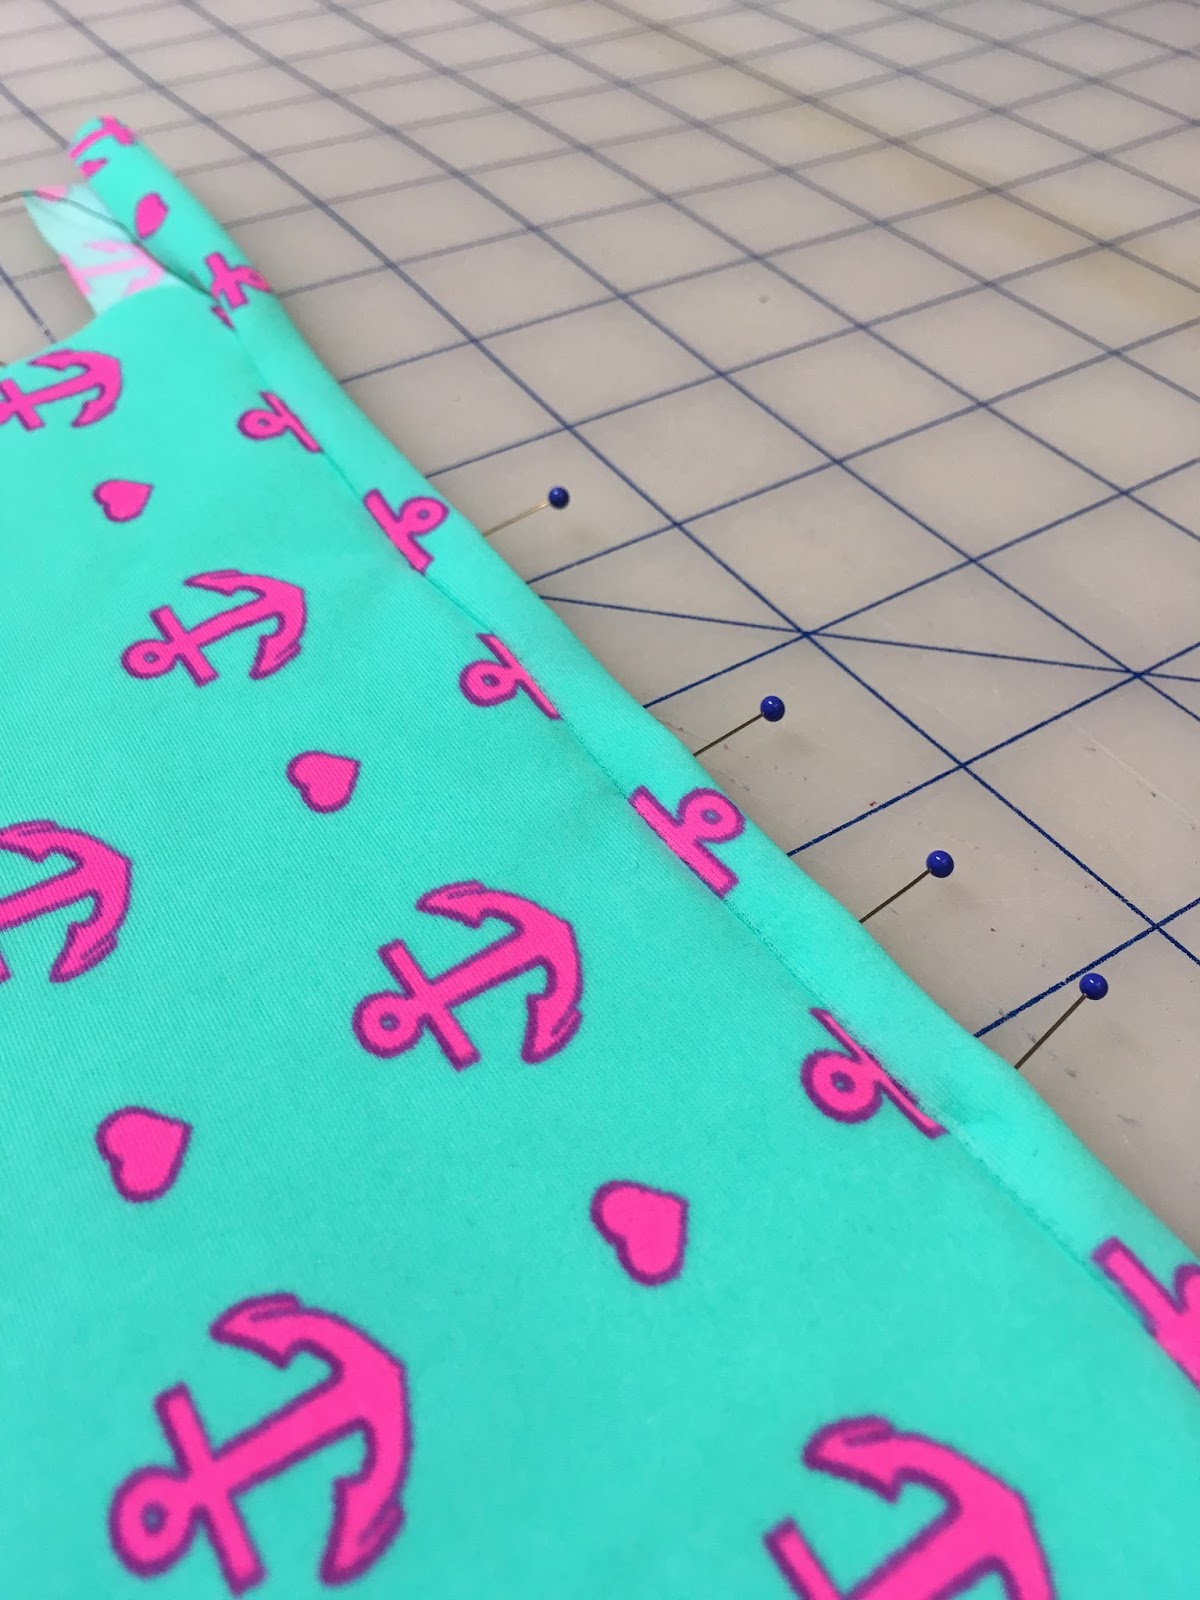
With right sides together pin your binding to the front of your free-edge.
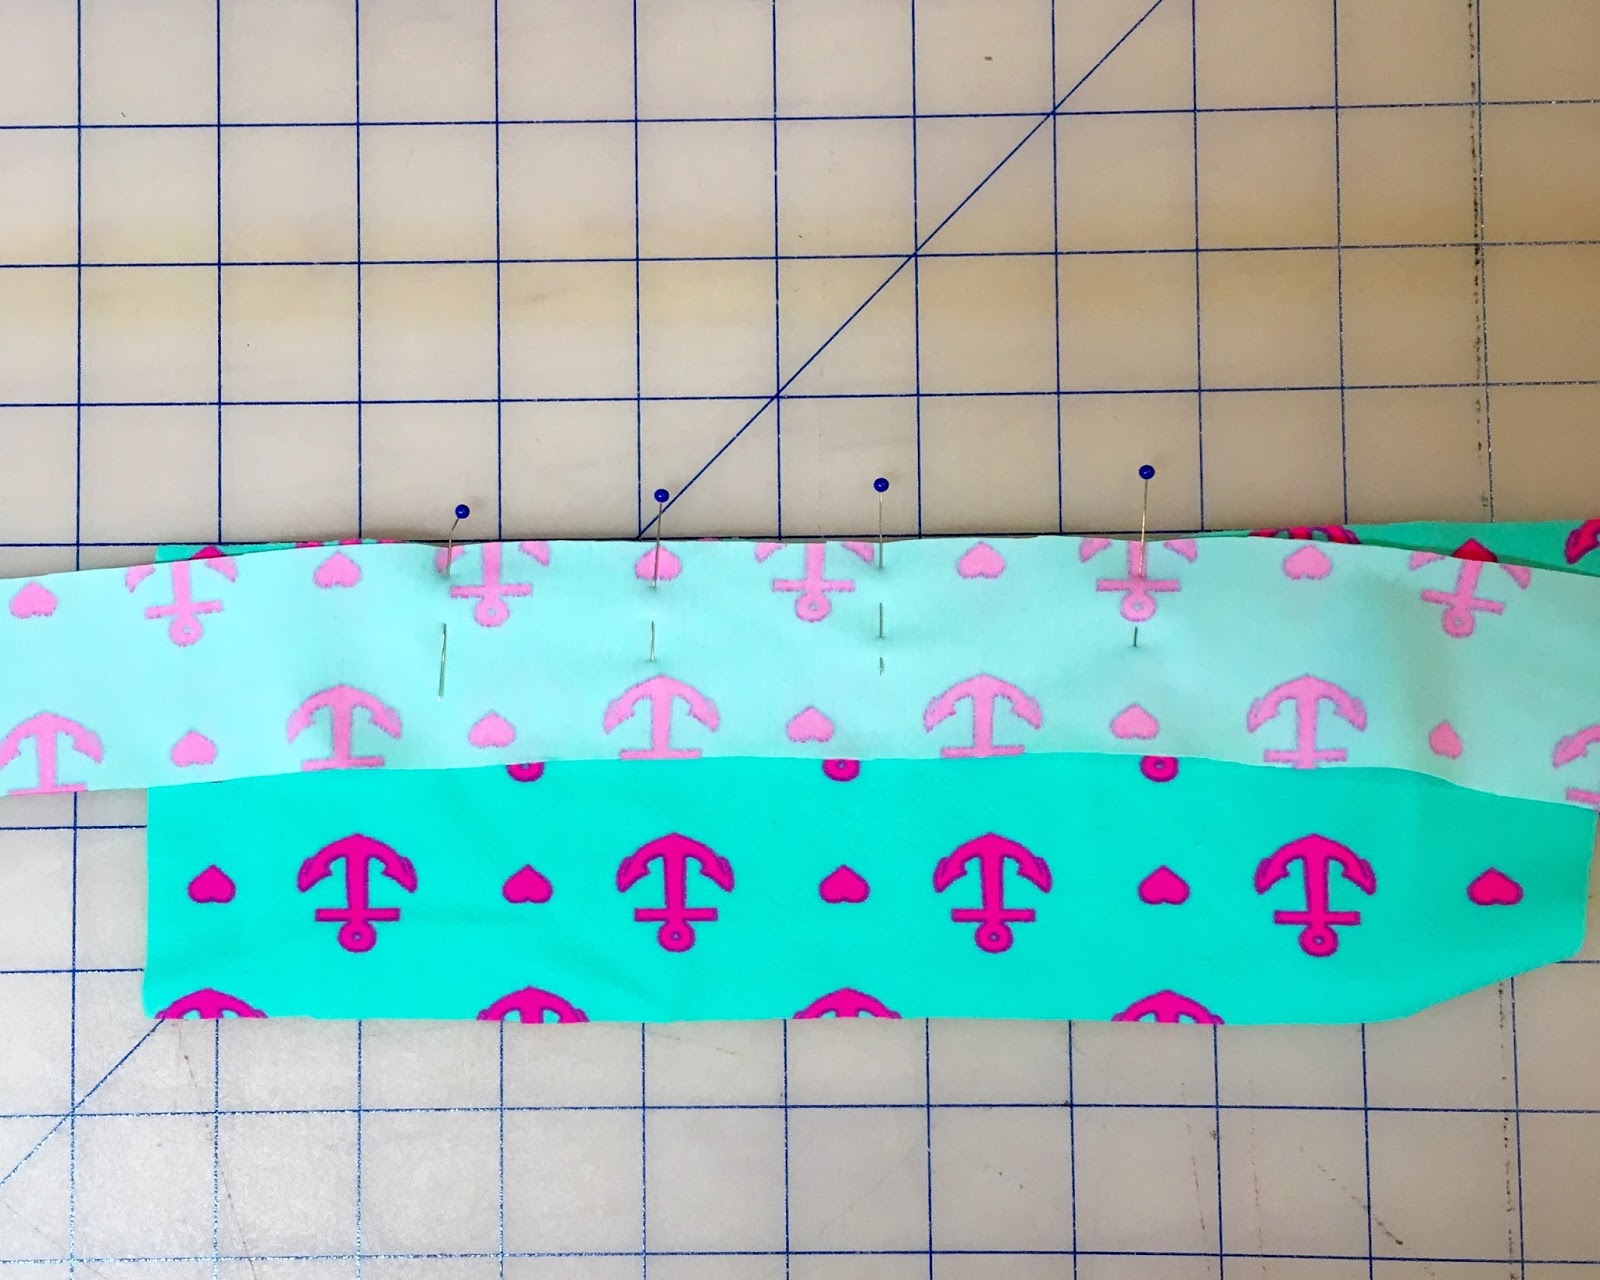
Then you will stitch whatever width you wish for your bound edge to have, in this case I’m stitching 1/4″, which I think is a great choice.
Then it will look like this:
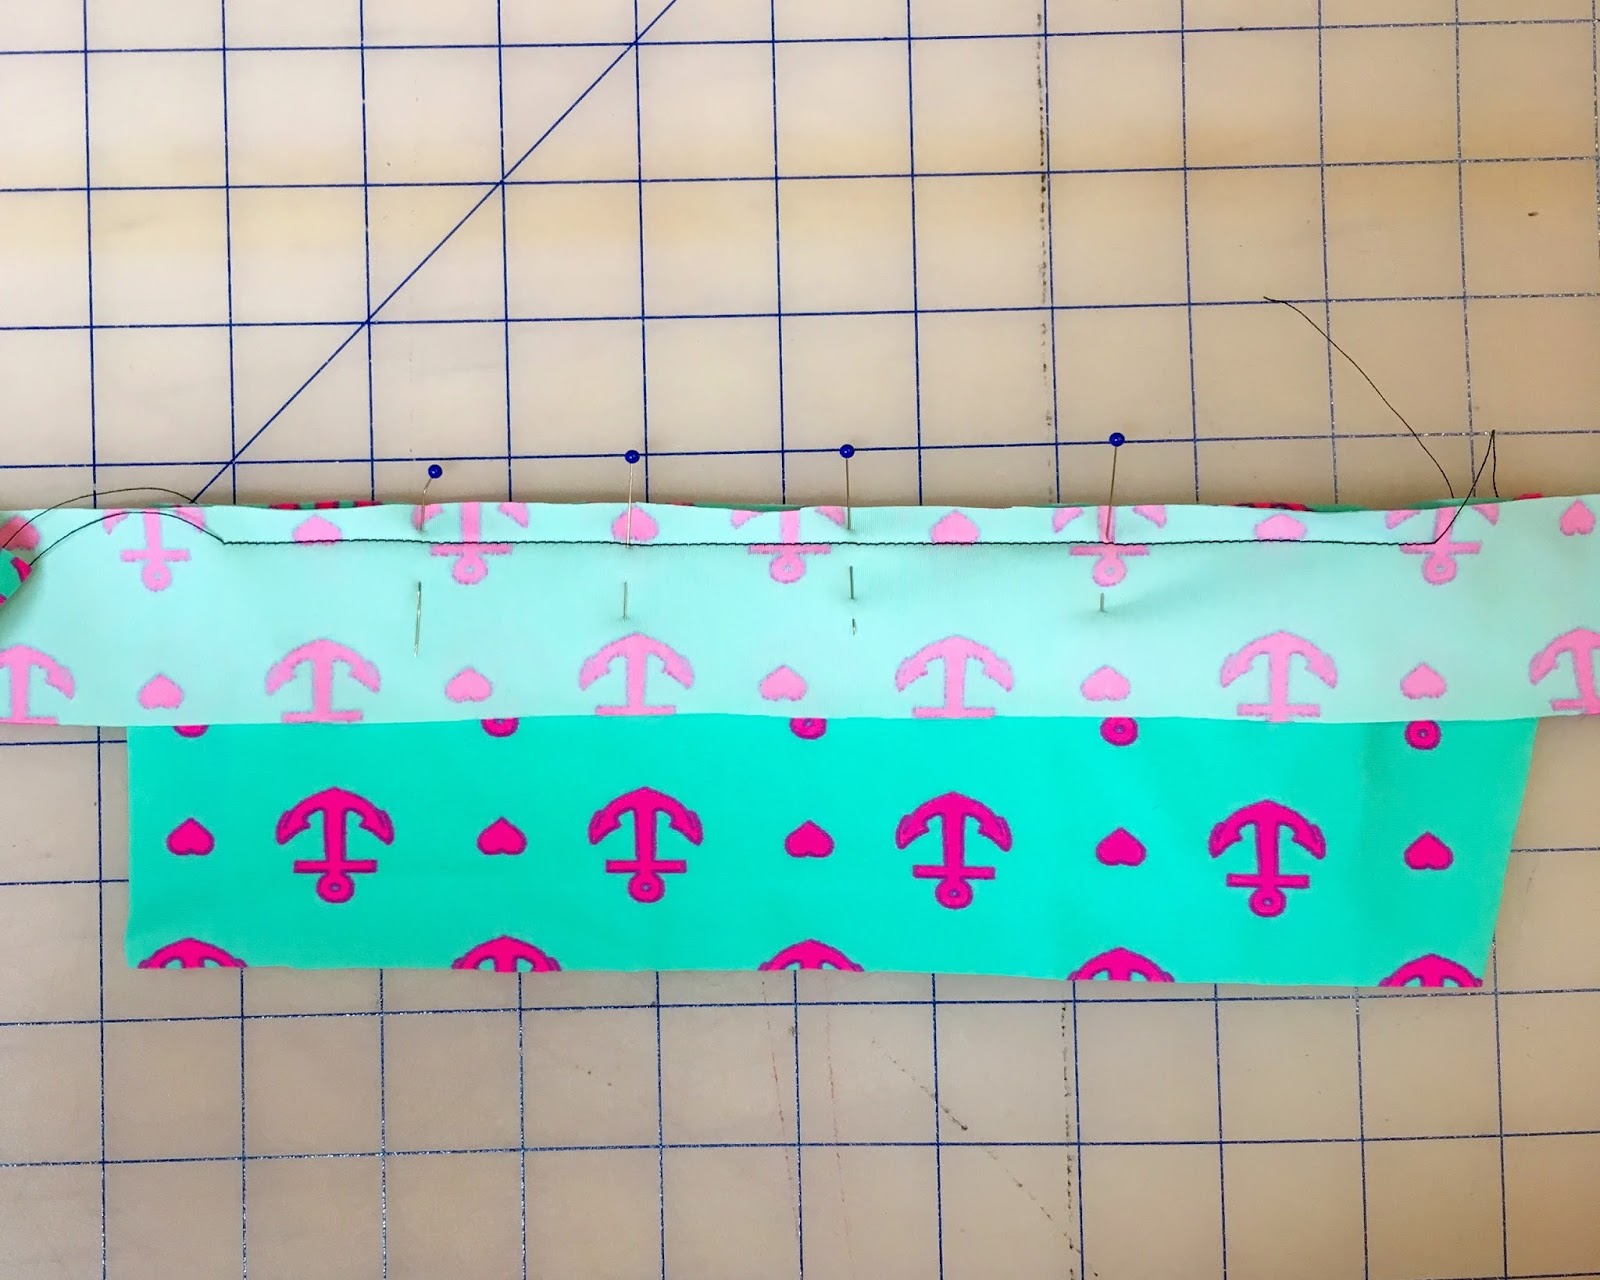
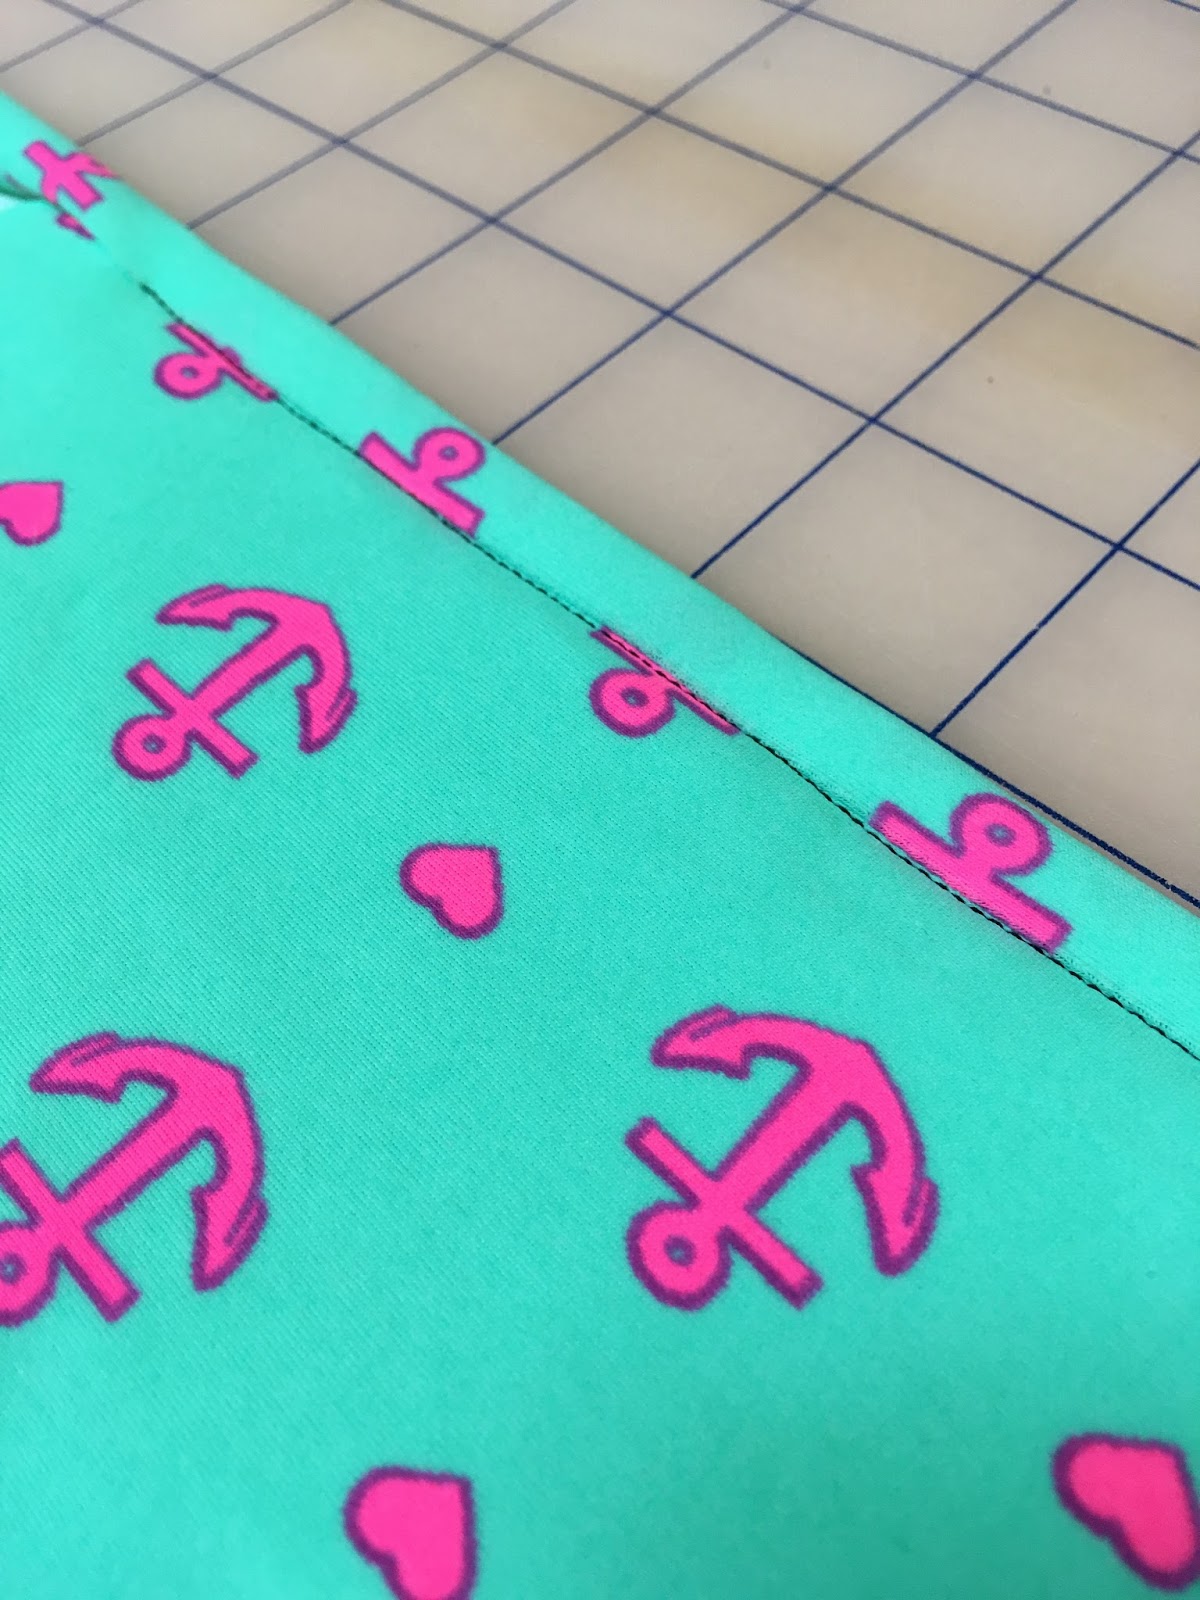
Then like any traditional bound edge, you flip your binding up and around to the other side, from the other side it will look like this with all the layers showing.

Then you’ll want to pin the binding down, enclosing the raw edge. You want it to be comfortably snug, so that it’s not loose, but you don’t want to squeeze the layers- so that you can maintain that nice 1/4″ distance that you sewed. I like to pin this down, just so I don’t have to worry about it while I’m sewing it down.
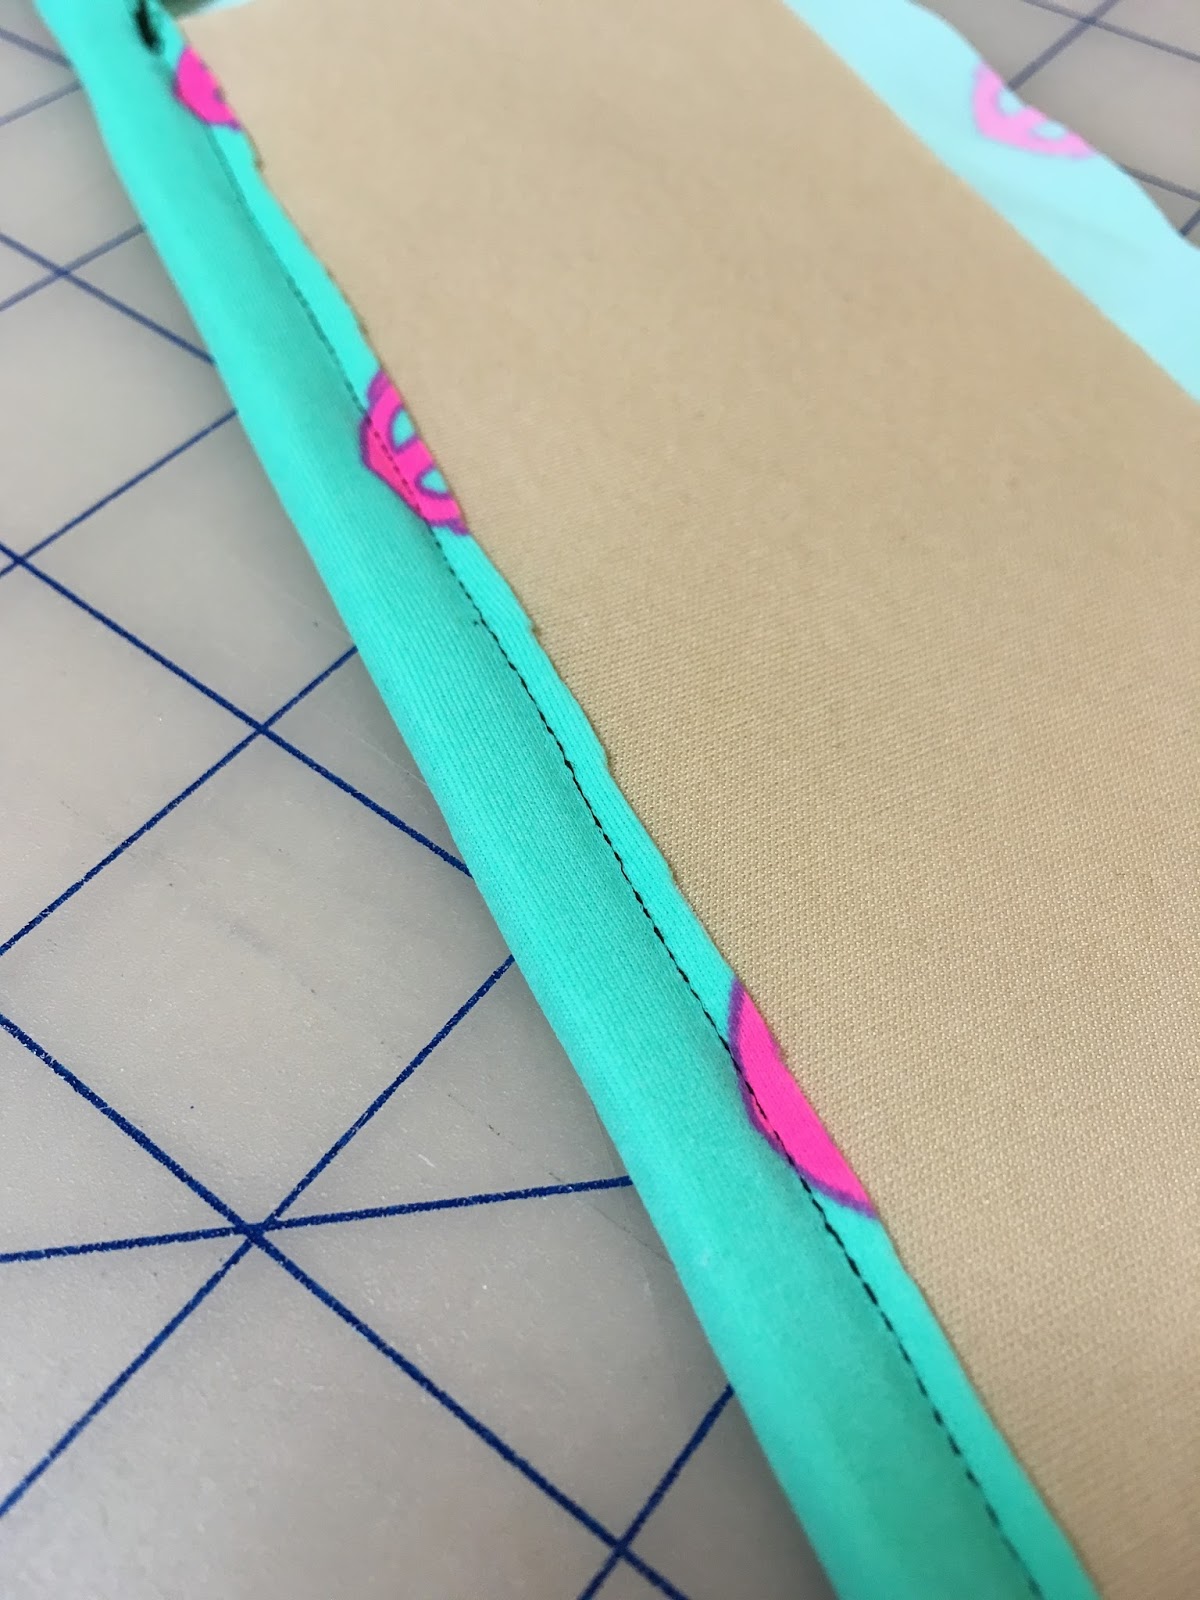
Then you just stitch in the ditch- trying to be as accurate as you can- and presumably using a matching thread colour, rather than the example black stitching that I’m showing you lol. Also if you prefer, I’ve stitched this with a zig-zag that is one-on and one-off the edge of the binding, and that works too.
On the underside you just trim off the excess fabric. This is of course something that is ideal for a knit fabric (which would be my bra fabric recommendation), but if you are using a woven fabric that could fray, than you might want to use a more traditional binding approach, where the binding is folded under on the underside and stitched.
OPTION 2 – The Elastic Finish
Now this other option is also great, and really good if you want the added support of elastic at your neckline or underarm.
For this method you want to make sure that you add an elastic allowance that matches whatever width of elastic you plan to use to finish the edge (in this case I’m using a 3/8″ elastic). And this will only be added to your cover fabric, not your foam.
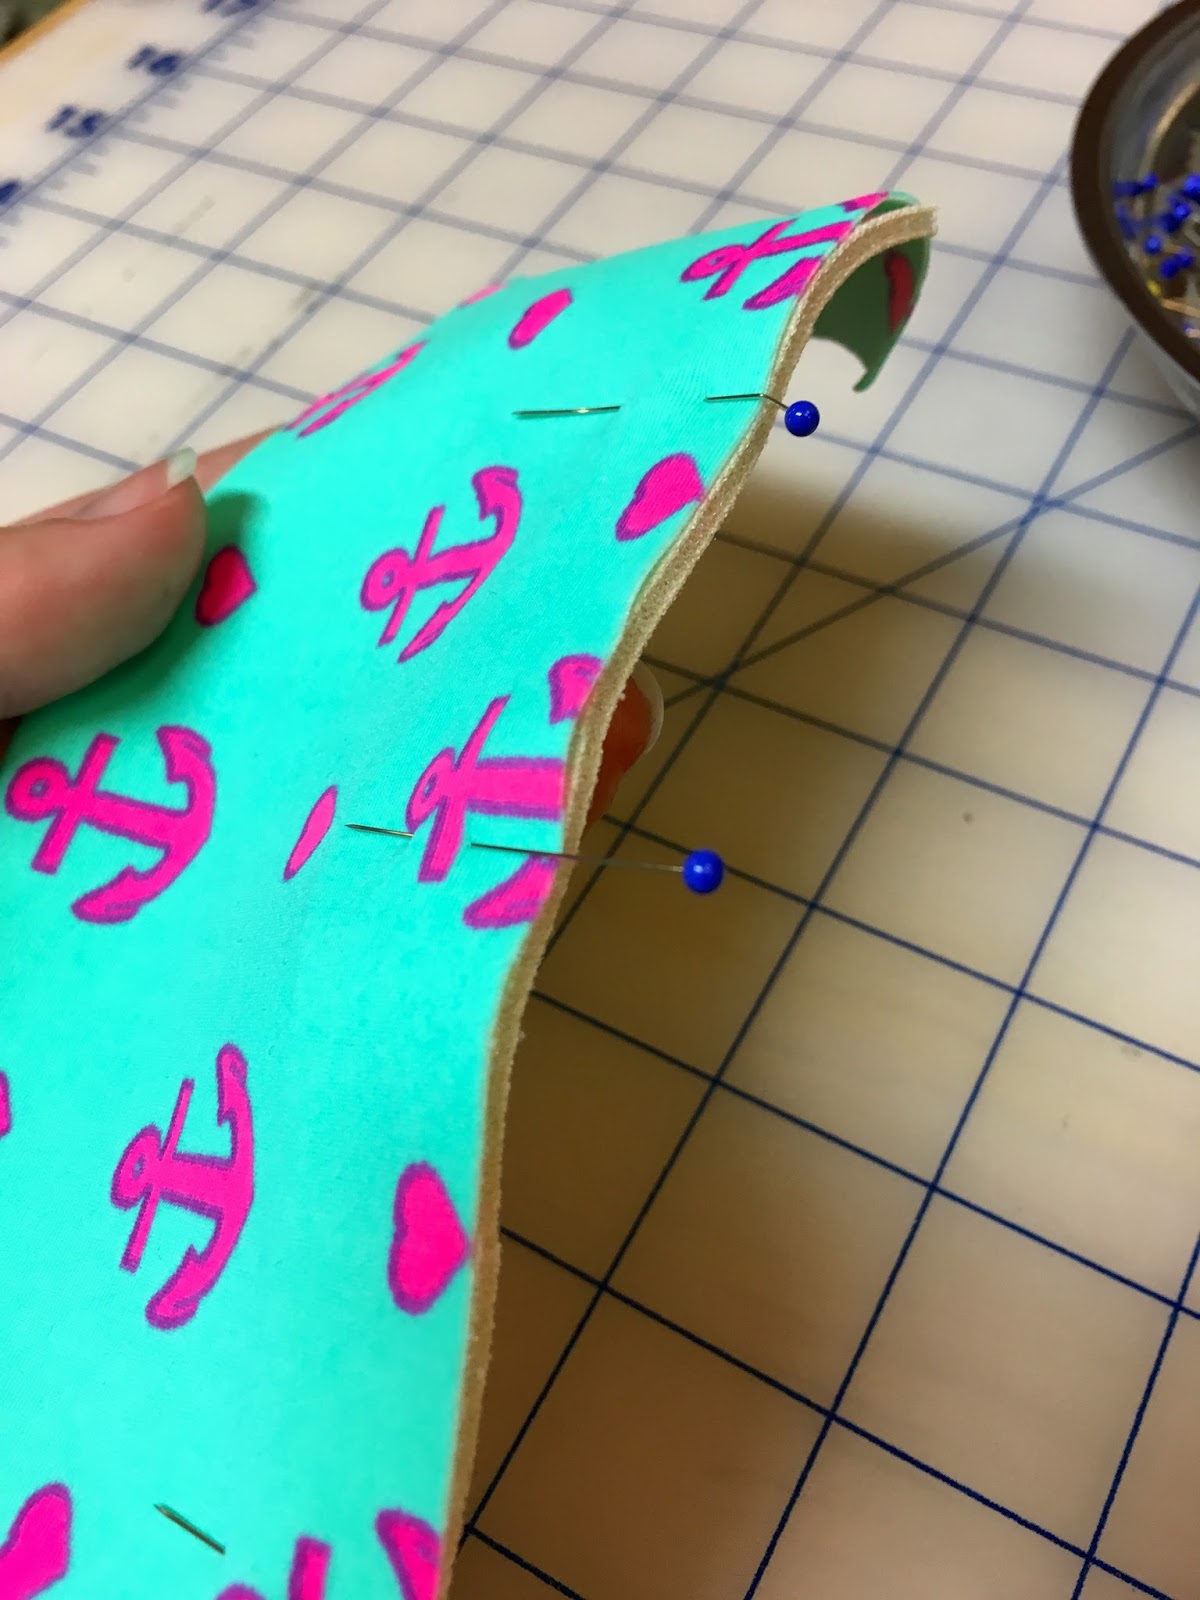
I like to pin my fabric to my foam along those edges, just to hold them in place.
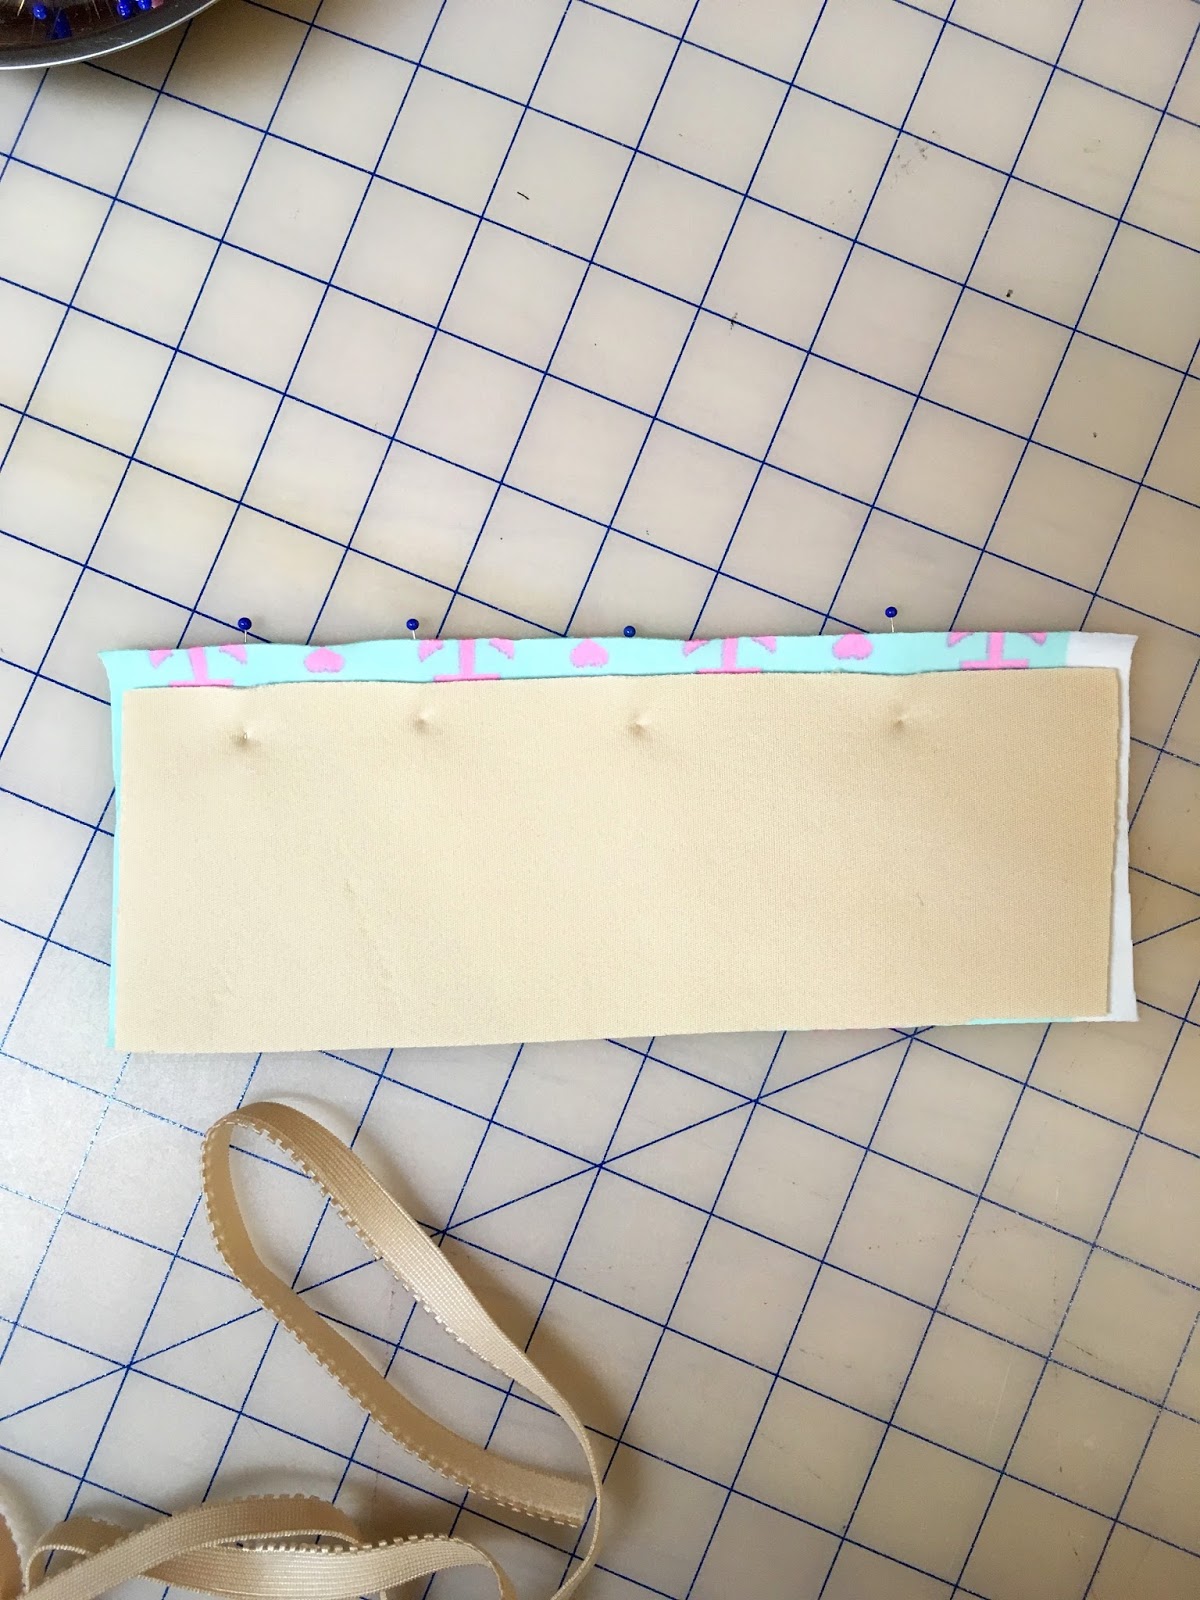
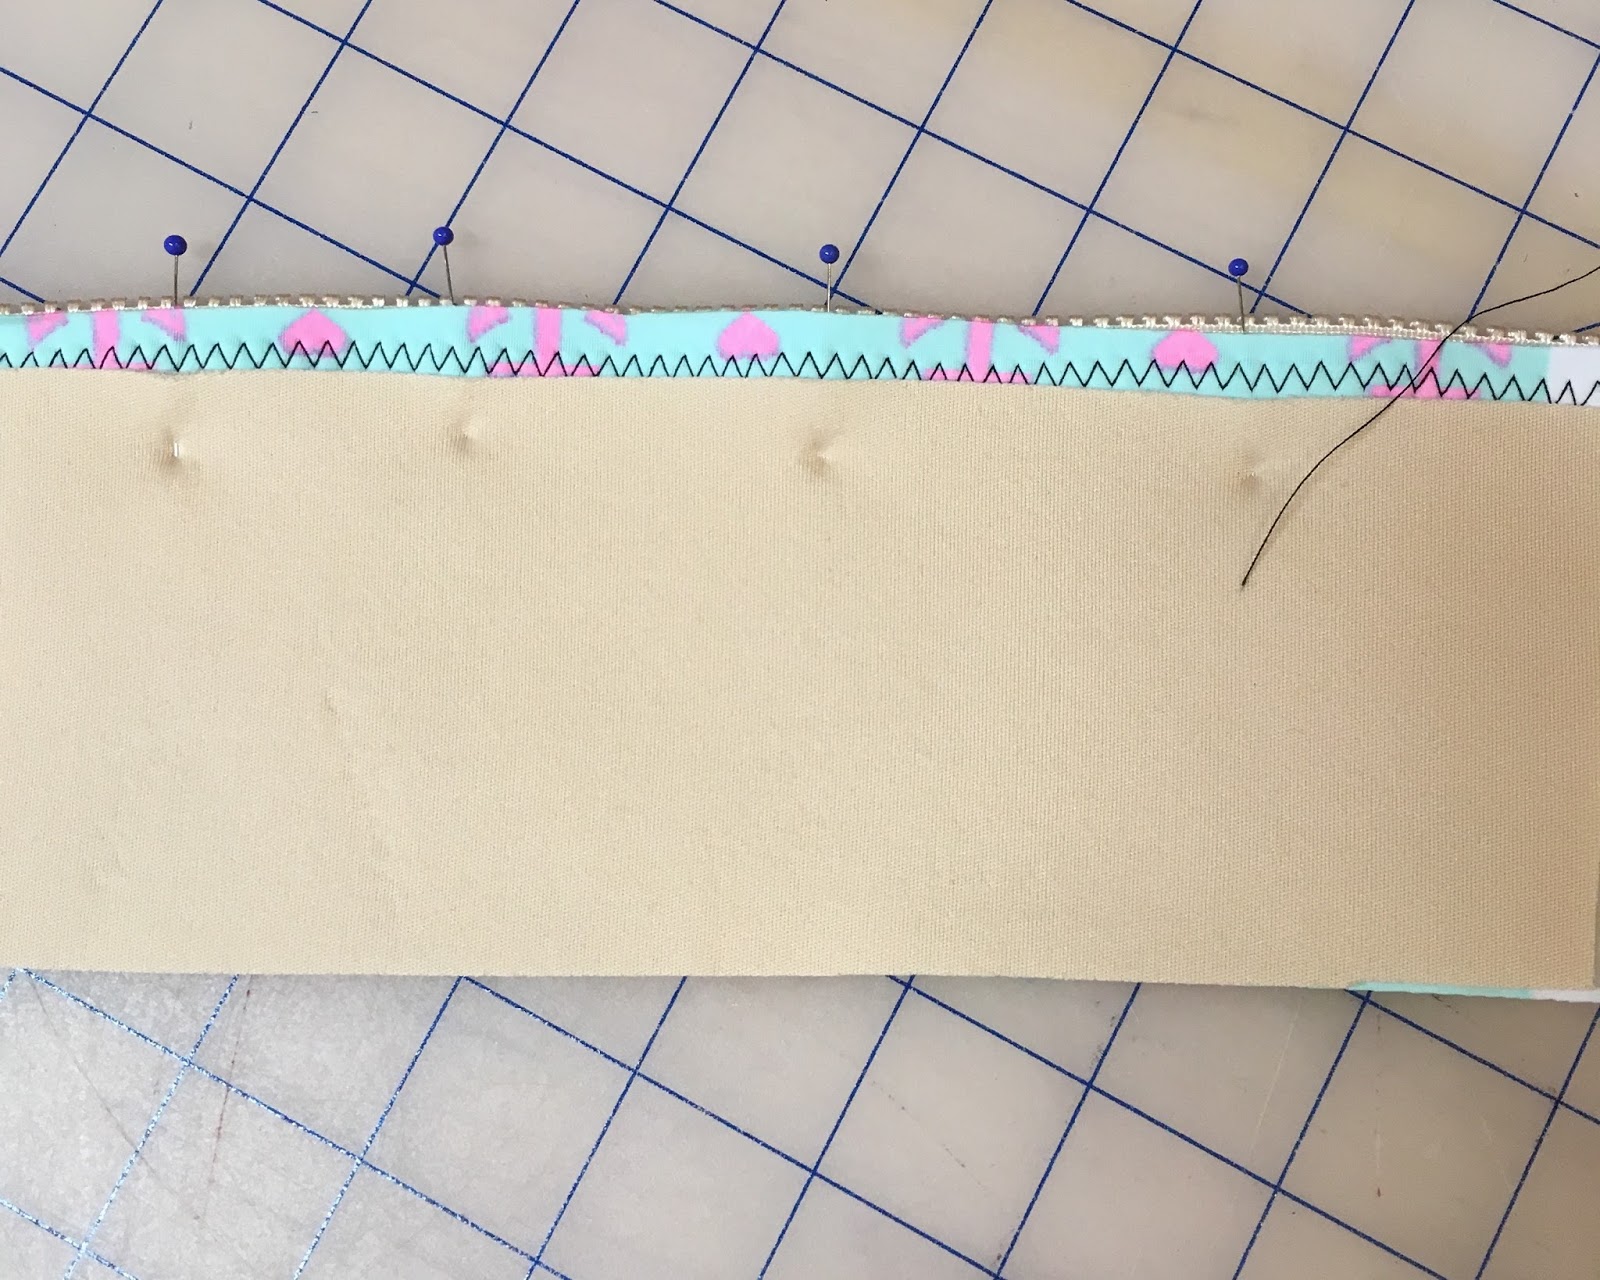
Then from the front side of your cup, just like you normally would (with your plush elastic side up), you will sew your elastic to the edge of the fabric. You want to butt your elastic up to where you can feel the foam end, so you are only sewing your elastic to the fabric and not the foam. And you want to sew on the inside edge of the elastic with a zig-zag stitch.

From the front it will look like this:

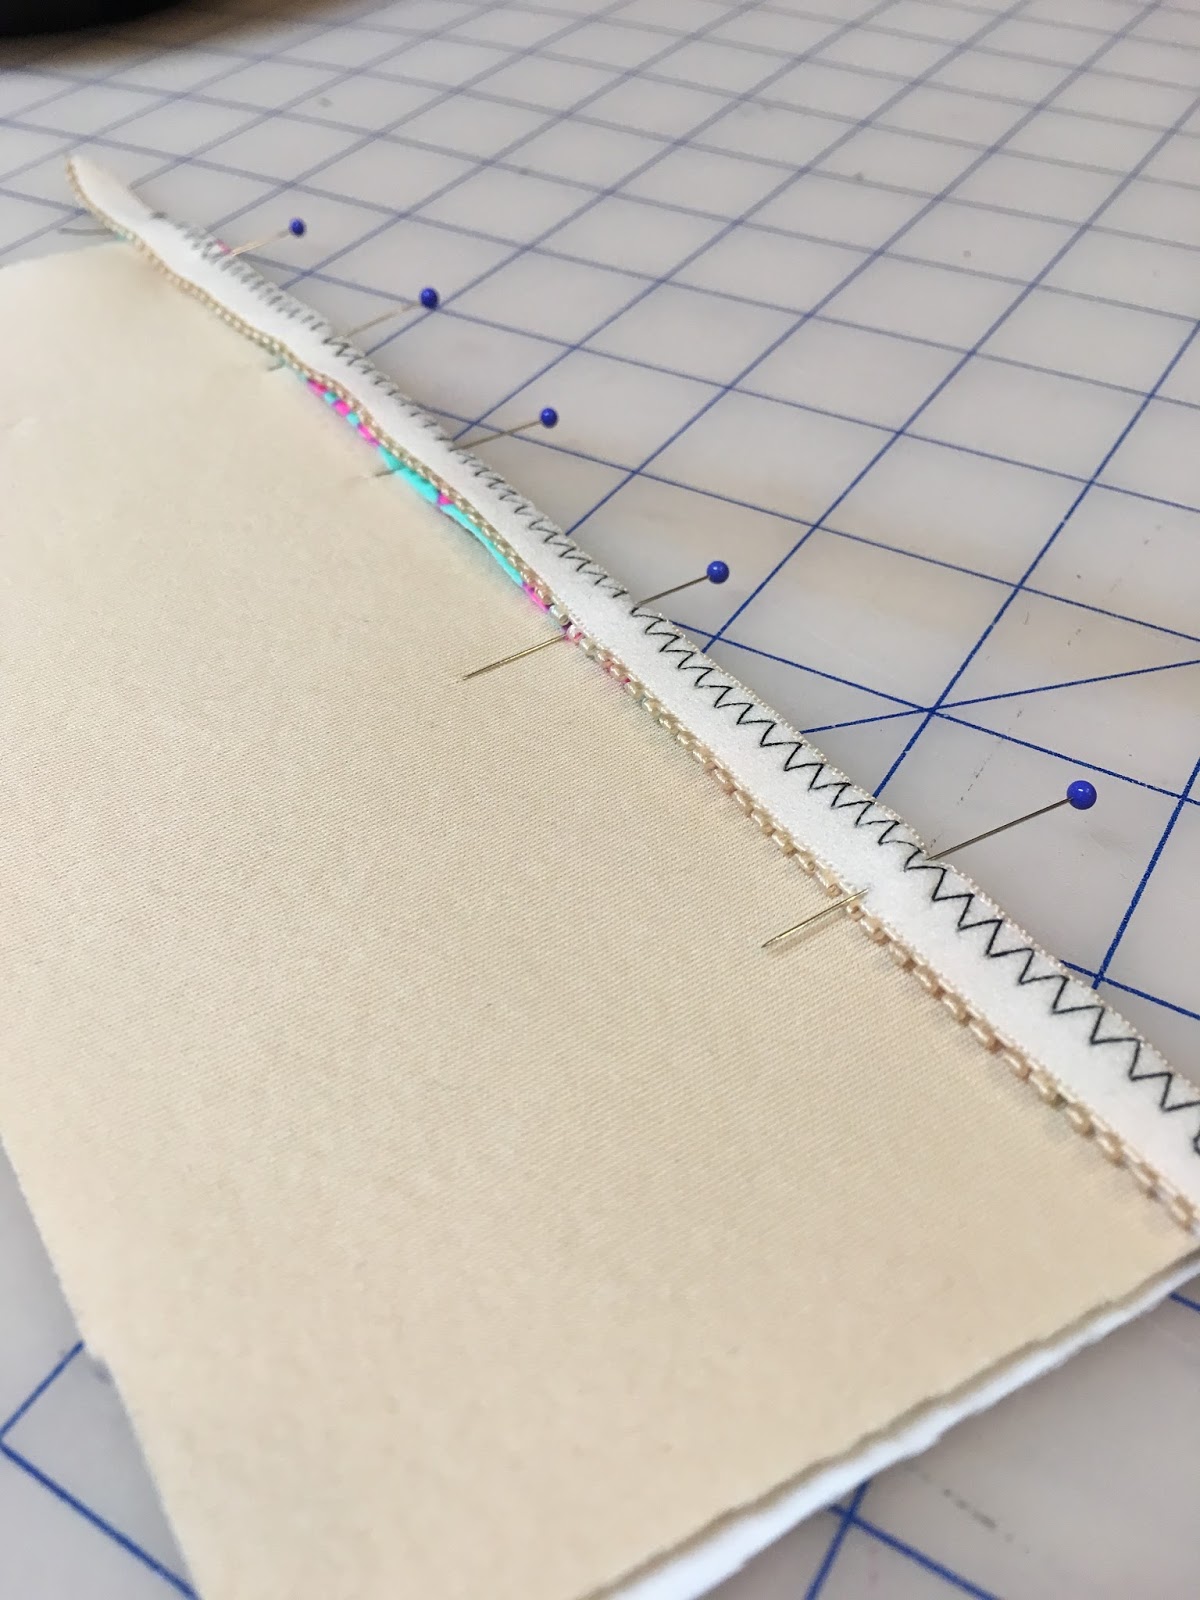
From the inside it will look like this, (At this point your foam is only attached with the pins, and NOT caught in the elastic)
Then you want to flip your elastic inwards, over the foam, encasing the raw edge of the foam. This is why it’s important not to stitch your elastic to your foam, because if you do, you will be folding your foam over on itself, making for a very bulky edge.
Then you will stitch down your elastic, on the inside edge- to secure it down, just like you normally would with your bra elastics.

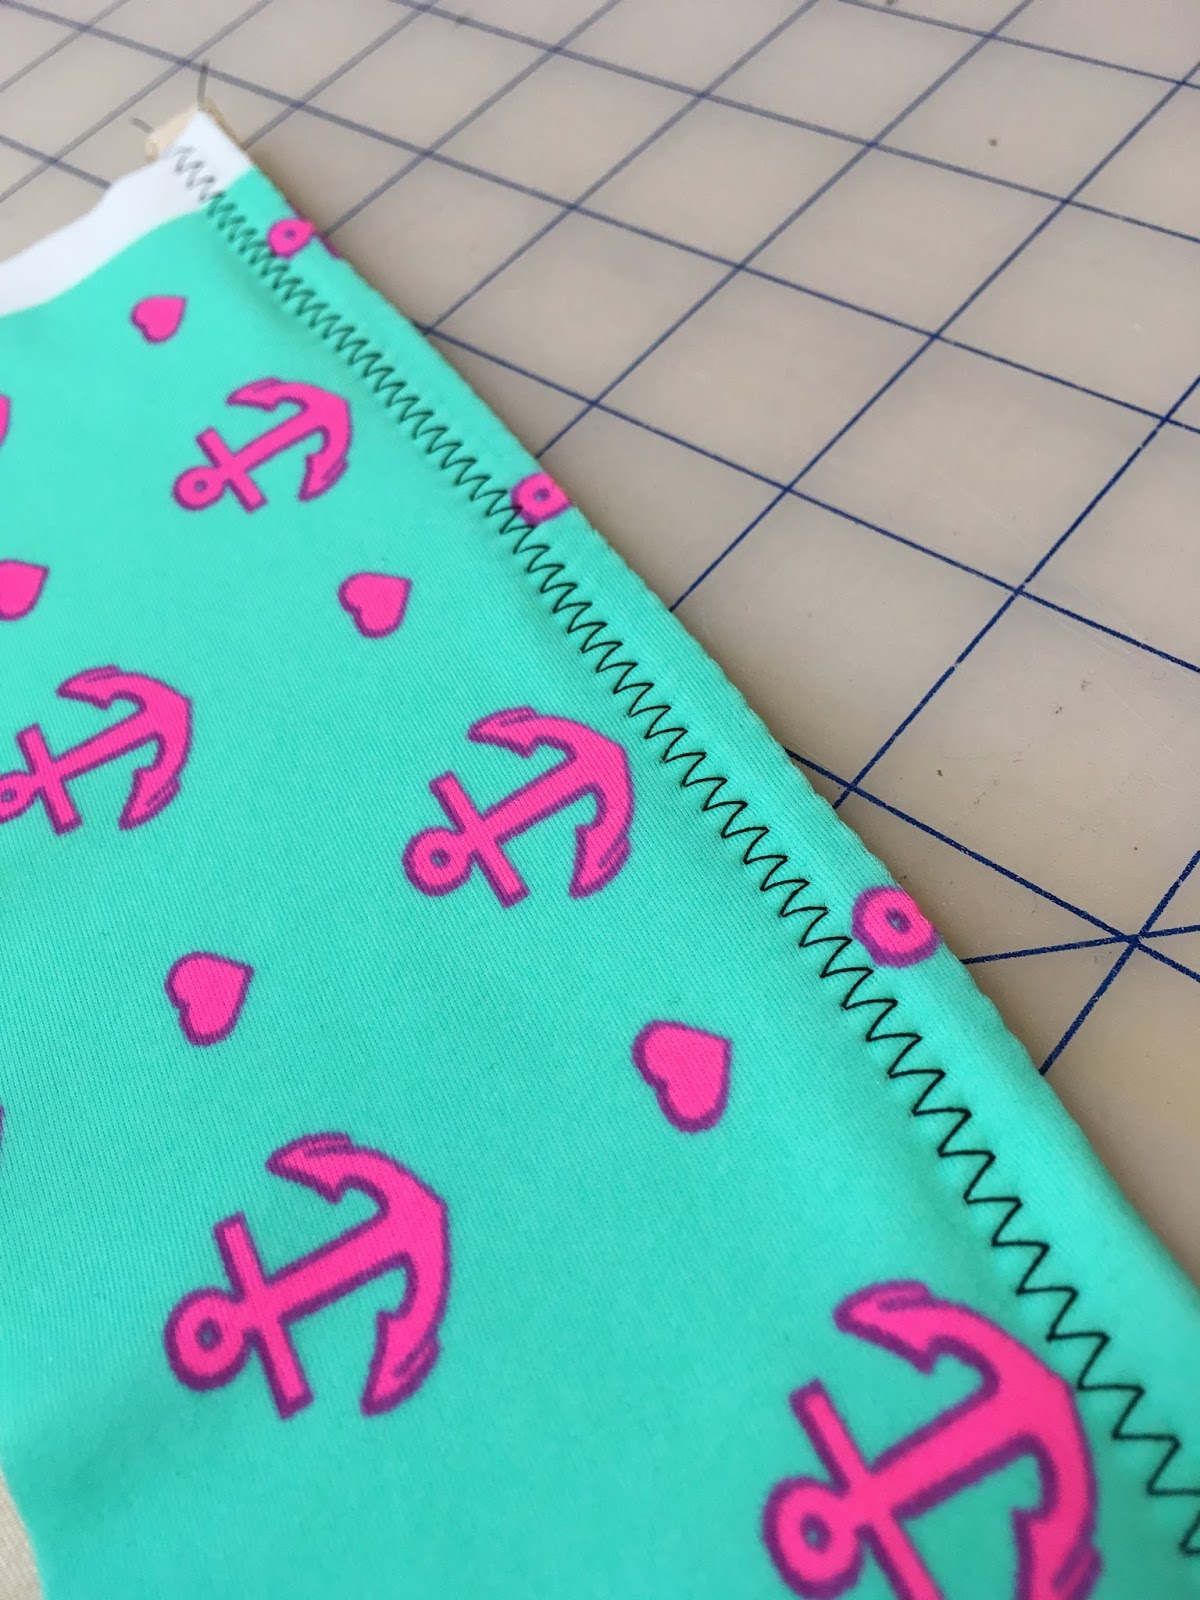
In this example I’ve placed the picots so they’re facing in, so I can have a nice straight edge, but on bras you might normally like the picot showing.

And from the front you have your usual line of zig-zag stitching, the same as your regular fabric bra. But this time you have a foam lining – without the bulk.
As you can see both options offer very low-bulk finishes:
The Bound Edge Method:
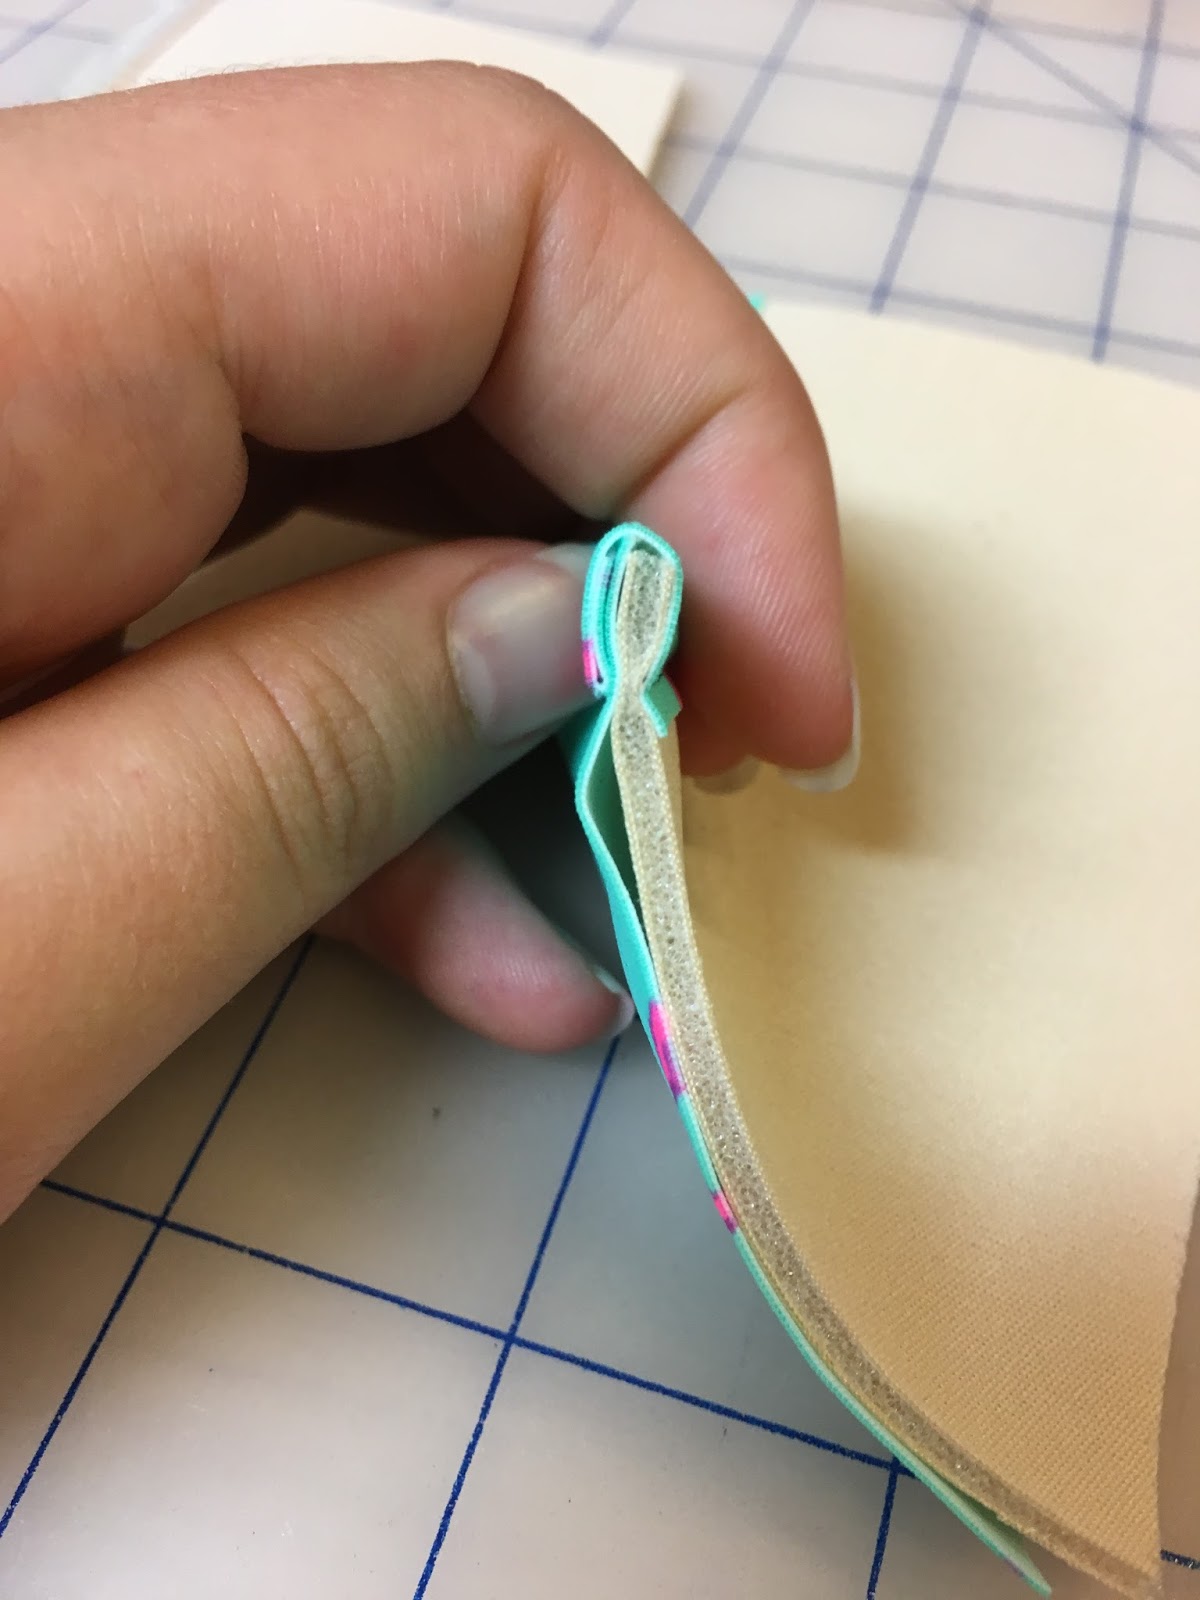
The Elastic Finish Method:

Not only low-bulk which is nice to look at- but it’s also easier to sew.

Which finish do you like the best? Binding or elastic?
I’m a bound-edge girl myself, I just love a contrasting bound edge, I think it looks so clean and sharp- I’m sure you’re used to seeing it from me now!
Do you like to sew with foam?
Were there any foam-bra related things that I didn’t cover that you’re still wondering about?
Let me know!
xo
erin
Love this tutorial! Very clear and easy to follow. Pinned for future reference. 😉
Thanks Ying 🙂
Great tutorial!
I haven't tried binding – maybe next time 🙂
But my problem is, that if I use stretchy fabric as cover, it won't match the seams of the foam… and when I pin the cover around the foam I often pull it too much – cause I want it to be smooth but as a result it will pull the foam too much and will have an odd shape. And I feel like my foam cup bras are not comfortable… so right now I feel like giving up on sewing foam cup bras 🙁
Wonderful job, I love it!
Thanks Réka! Binding is my favourite! I think it's just a matter of practice covering foam cups, and I always like to remember that it's going to stretch a little with the weight of cups so not to pull too tight 🙂 It's just practice 🙂
Thanks Veras!
I love the binding method! I need to give it a try 🙂
Thanks Meigan! It's my favourite method!
How do you get the foam and covering cup shapped?
The seams in the cup are what give the shape.
This post is definitely helpful for me! Thank you for taking the time to share this! I consider myself an experienced sewer, but I have never made a bra before. This is mainly because if and when I do, I definitely want it to have foam cups, and I'm a little unsure about where to begin. So, when you use foam, do you have to use a bra pattern that is drafted for a woven cup? Also, from what I have seen and read around other blogs, it appears that there aren't too many patterns that actually call for the use of bra-foam–you have to figure out how to include it yourself, and that seems like a steep learning curve to me! Do you have any recommendations of patterns that Include or at least easily lend themselves to the use of foam?
Thanks! As for patterns for foam, I don't know of many bras that are drafted for woven fabrics, so that's definitely not required! But most patterns adapt well to foam, I would recommend a full-frame rather than a partial band to start! I've seen a lot of beautiful Boylston bras (the pattern from Orange Lingerie) with foam, so I think that would be a great choice!
Thank you, Erin! I am psyching myself up to tale the plunge into bra-making! It seems like it could be quite addicting…
There are some patterns from MakeBra that are designed for foam. Their DL04 was the first bra I ever made, and it was a nice homemade version of the simple t-shirt style bras I always wore before.
Thank you Jennifer! I will definitely check that one out!
Great tutorial, Erin! I didn't know about the binding technique on foam cups, so I'll definitely try it! I'm sure that it'll take me some time to master, it doesn't seem easy! But I really love challenges, so we'll see 😉
I'm really looking forward to read your next posts: I want to be ready before I dive into the mysteries of handmade swimear this summer! 😛
PS: Happy Birthday!!! I hope you had a great time!! Birthday surprises and gifts from your loved ones are the best 🙂 (I'm turning 25 on August, so I'll join the quarter century club soon!)
Thanks Sofia! I'm sure you'll be great at the binding- and YES to the swimwear!! I can't wait to see what you make 🙂
And YAY on joining the quarter century club!! I promise it's great!!
You are very resourceful and you have a lovely blog.
Thanks Linda 🙂 🙂
Very interesting and informative. However I would like to make a moulded cup rather than having seams which I find a bit irritating. Do you know of any way a home dressmaker can mould foam, or am I doomed to buying bras that don't fit my lopsidedness?
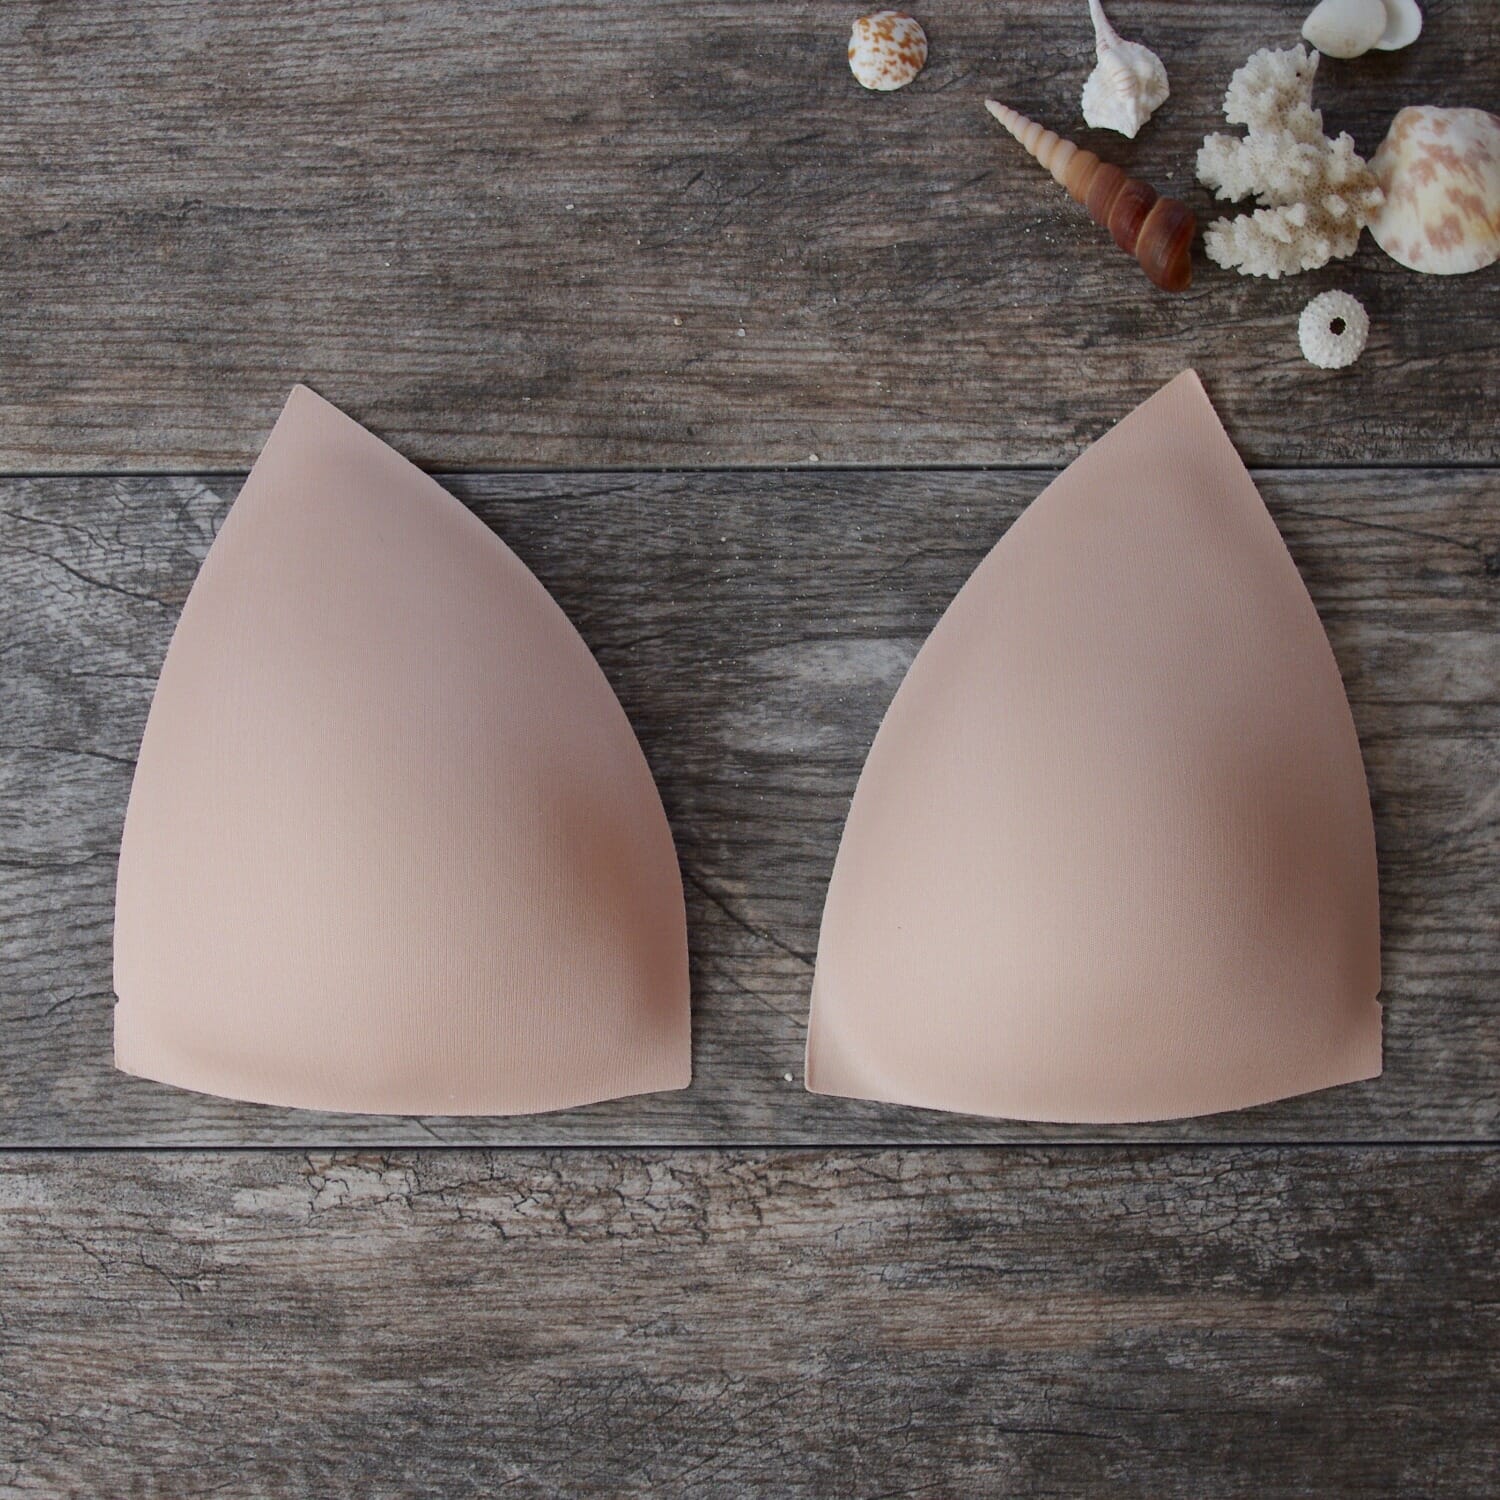
Hi! Unfortunately moulded cups are not something that you can make at home. However you can buy different sizes of moulded cups and just make a bra with two different cups!
Hi Erin, I'm a beginner and in France. Would you happen to give me the way to buy it directly from here ! And wonderful makings !!!
Hi! I have a shop on Etsy and it's easy to buy from all over the world! This is the shop:
https://www.etsy.com/ca/shop/TheEmeraldStudio
🙂 🙂
Hi Erin, great tutorial! I just started experimenting with foam, and I am already a bit discouraged: No matter how many times and with how many different tricks I try, the seams that connect the pieces of foam get super wavy (you can find a picture in my Insta story). I tried lowering the foot pressure, but with no success. I tried pushing the foam a bit, but with no success. I even tried a walking foot, but the foam always got stuck after a few stitches and could not be transported correctly by the feed dogs. I could not find any troubleshooting help on the web for this issue… When I look at your pictures on the sewcialist blog there is no trace of any wavyness – do you have any tips or tricks? I would be so grateful!
Hi Elisabeth, I think I saw this on instagram, and you found that making your stitch longer helped? That would be my first recommendation 🙂
^^ yes, in the end I figured it out much faster than I thought—but thank you anyway for your reply!
I <3 your blog *so* much and I *adore* all of your creations! Thank you for sharing your artistic self with the world! I am very sorry that you already had to go through so much hardship this year and I really hope life will be kinder to you in the next few months so you can regain your energy and passion.
All the best wishes in the world!
Elisabeth
<3 <3 <3
Hello, I’m making my first bra ever. I was going to add a picot elastic on the upper part of the cup but did not know that I had to leave an allowance to match the width of my elastic. My fabric is flush to the foam. What would be other options beside using a fold-over elastic?
Thank you. Sylvie
Hi Sylvie! I can’t think of any options for no-allowance elastic apart from Fold Over Elastic…