

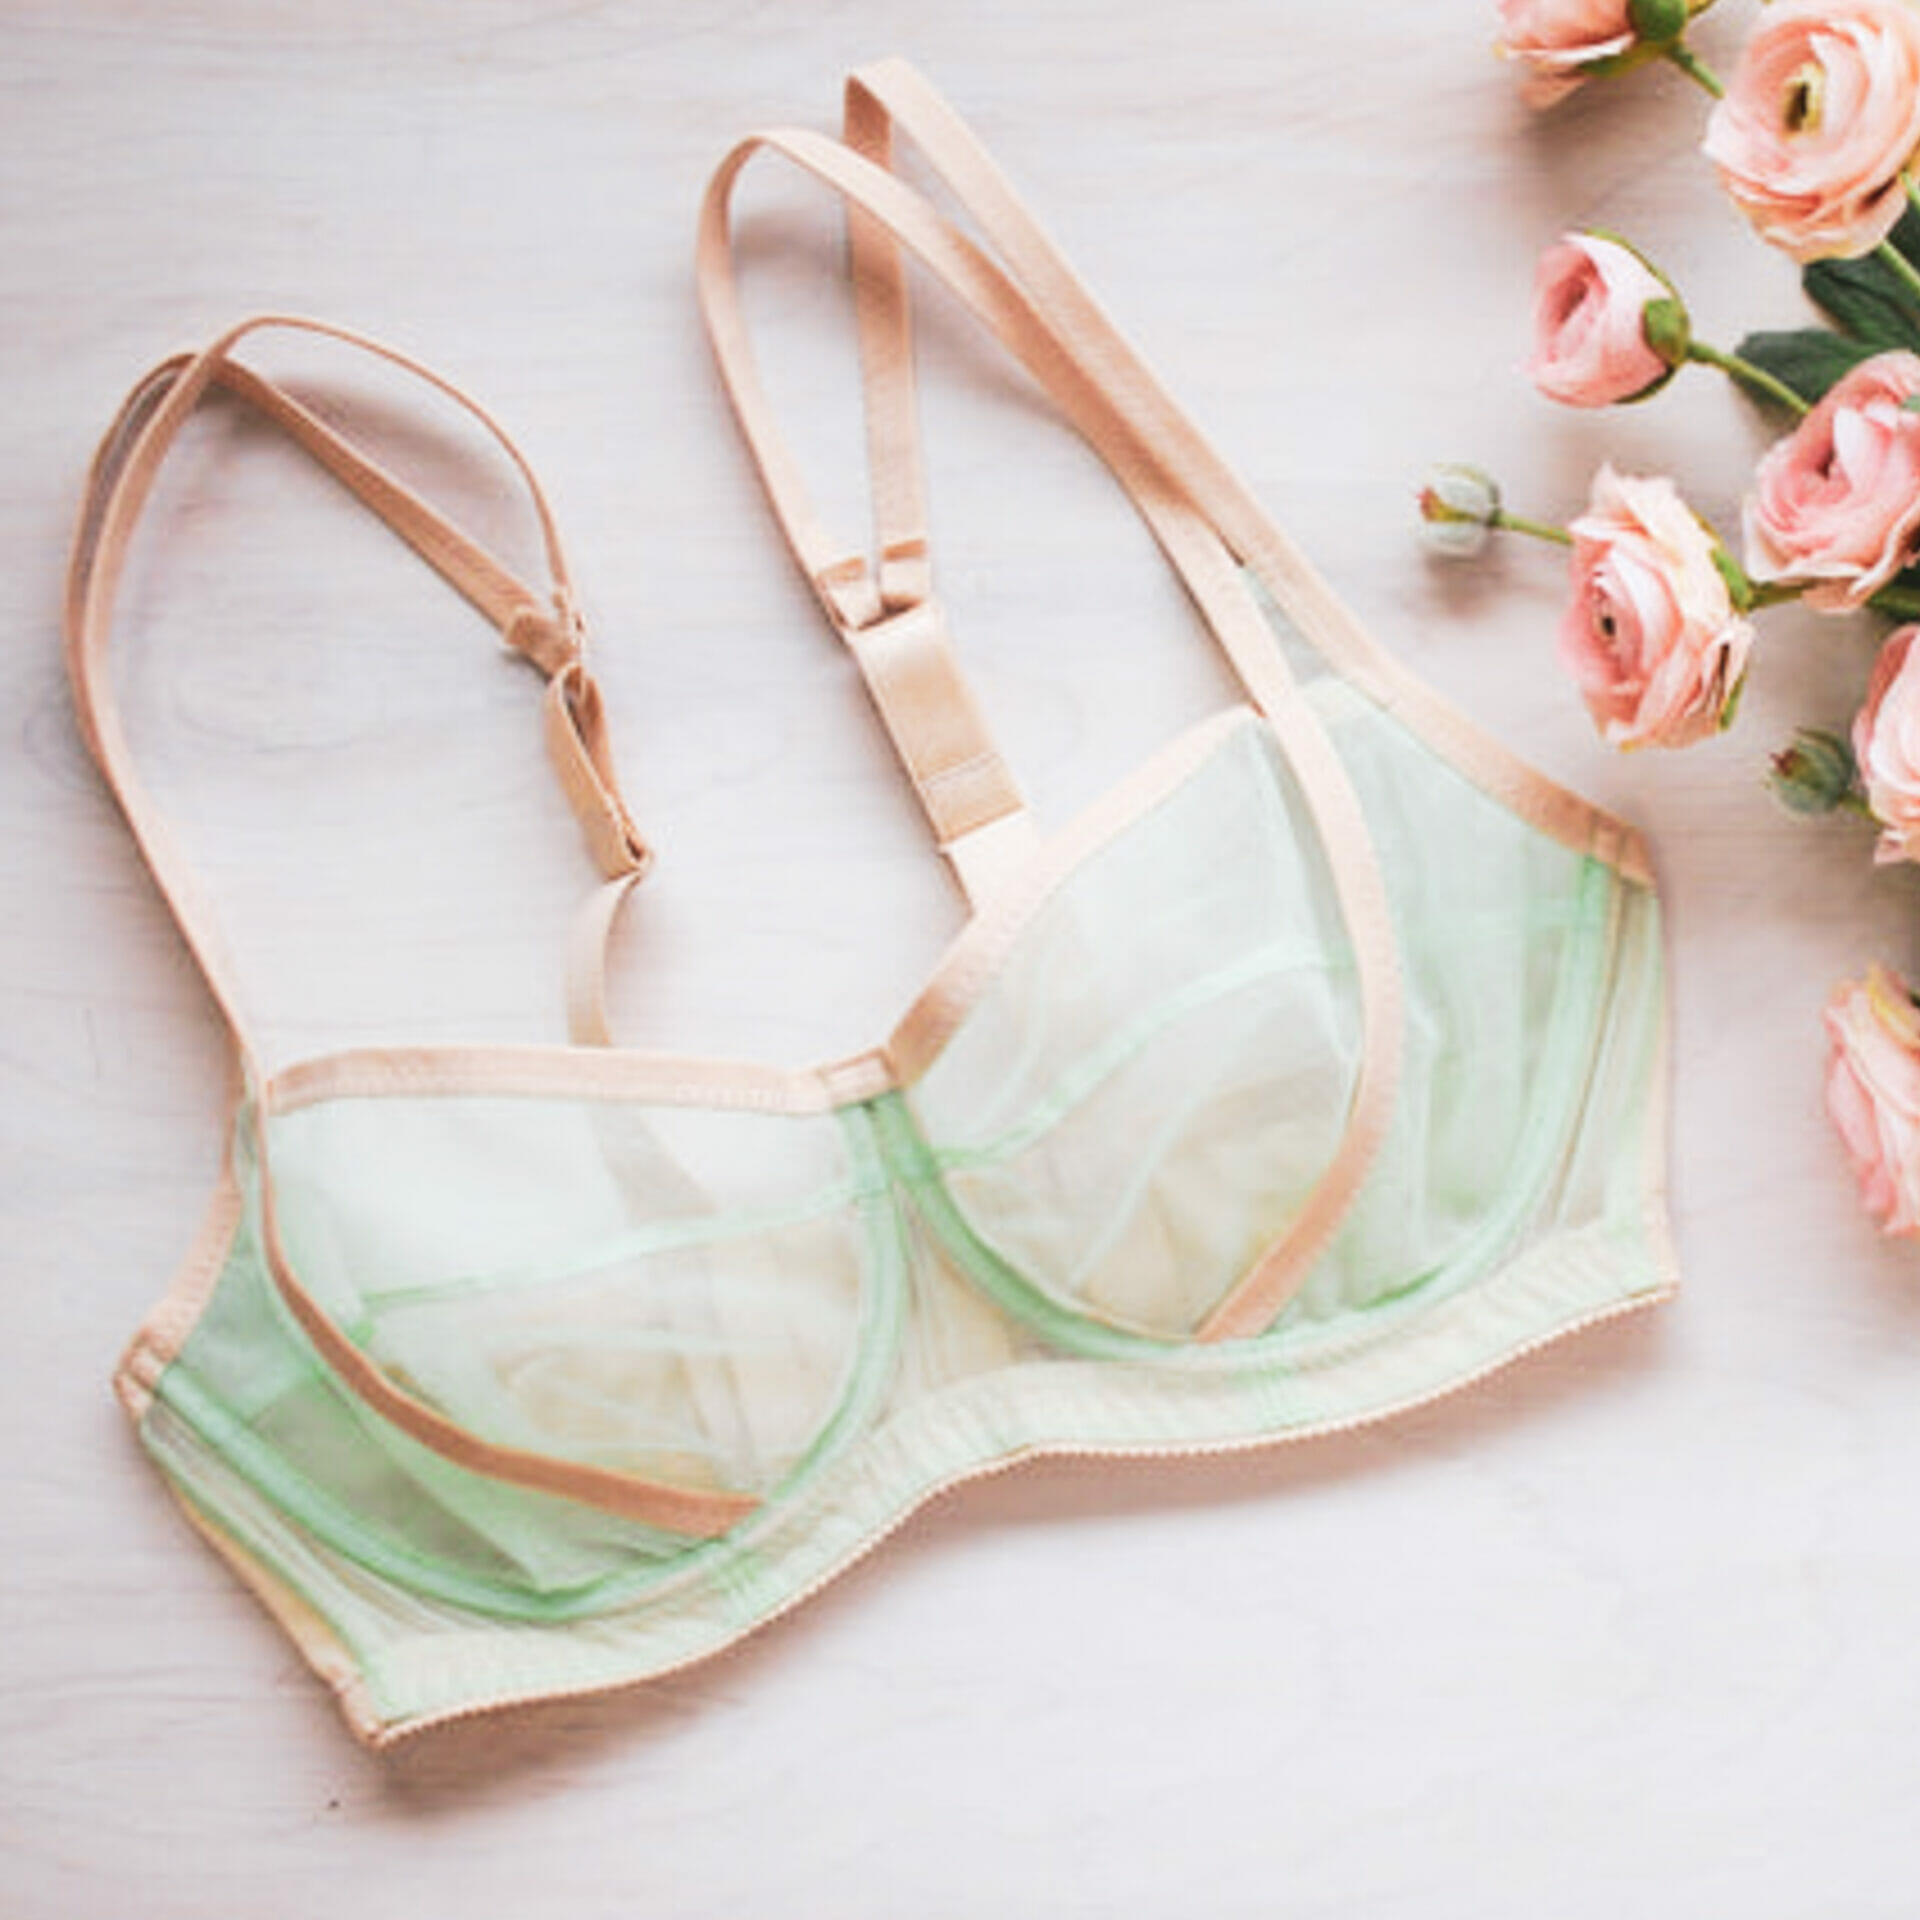


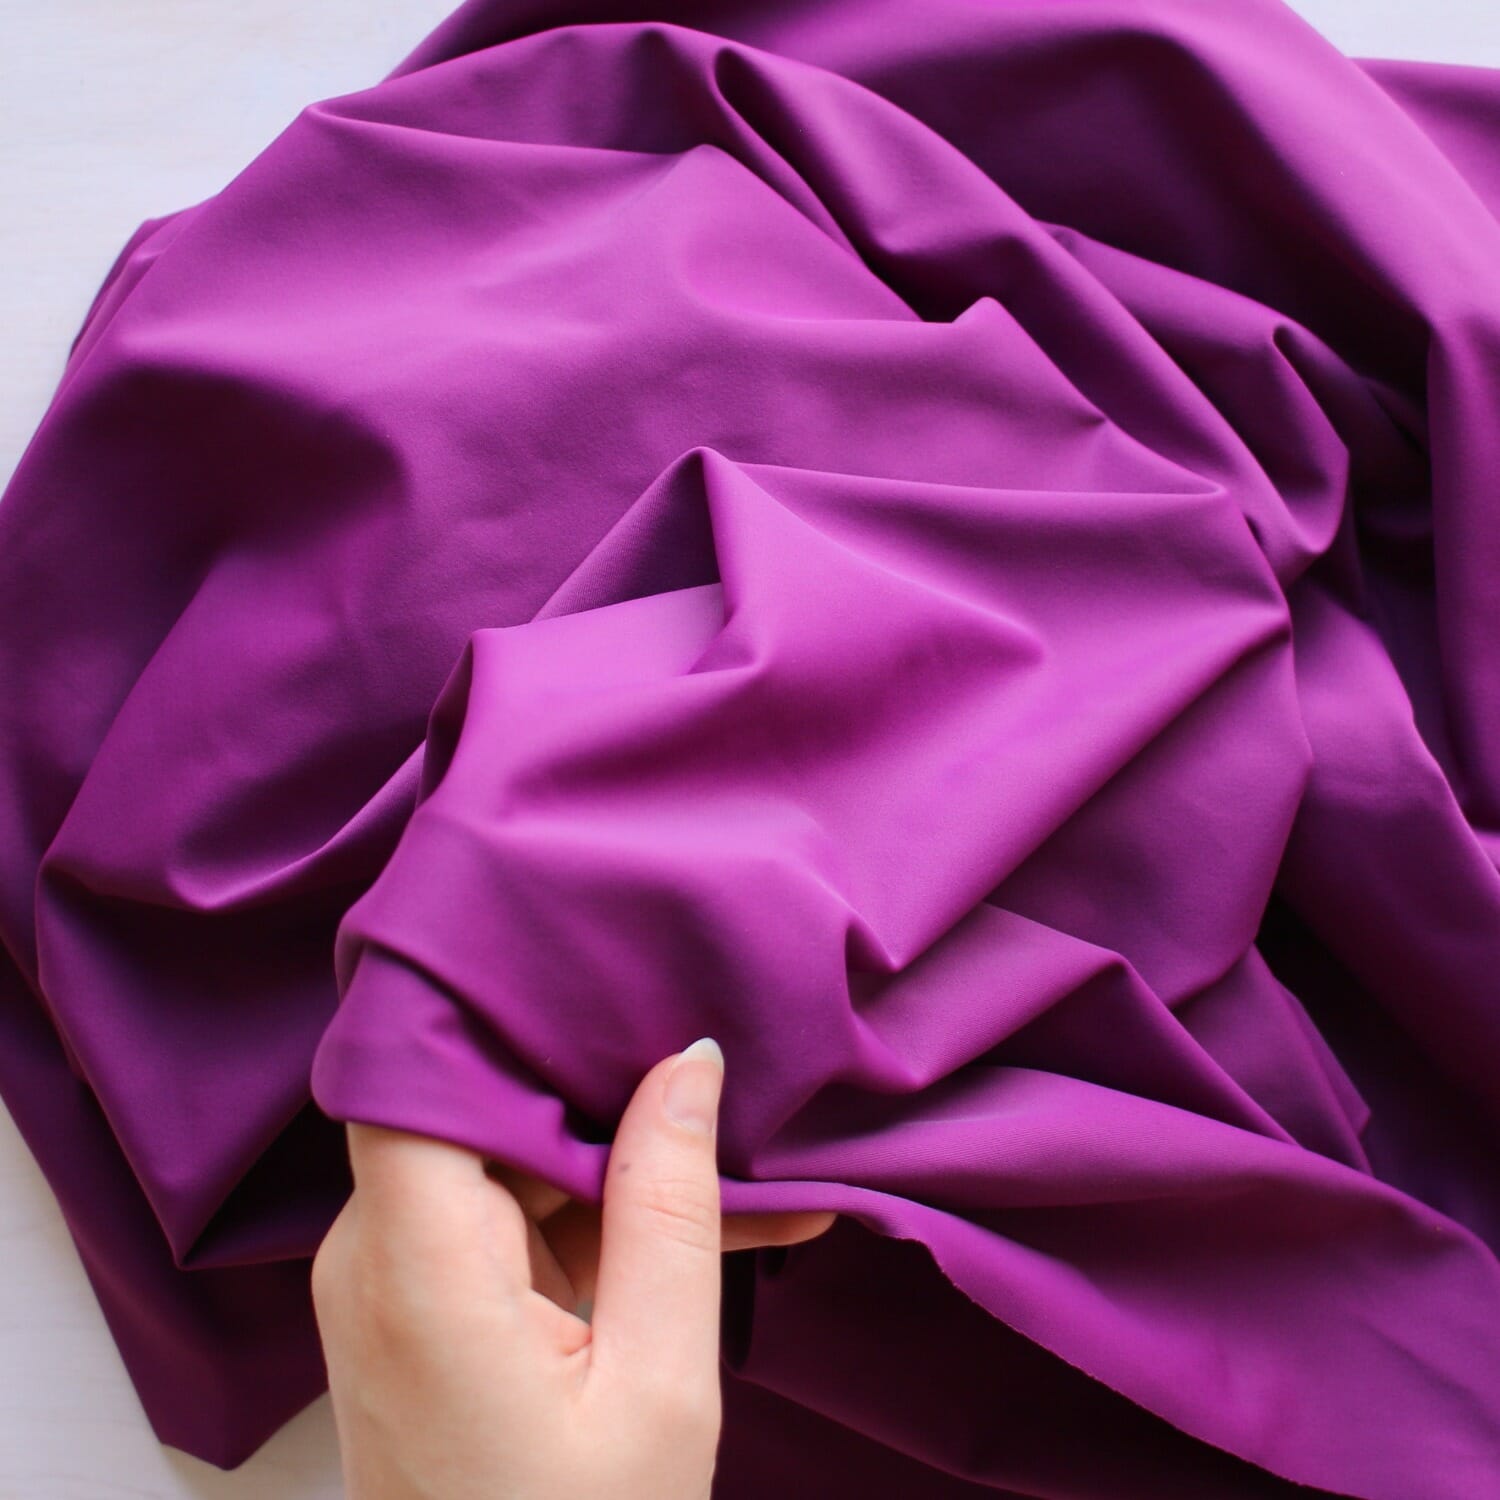


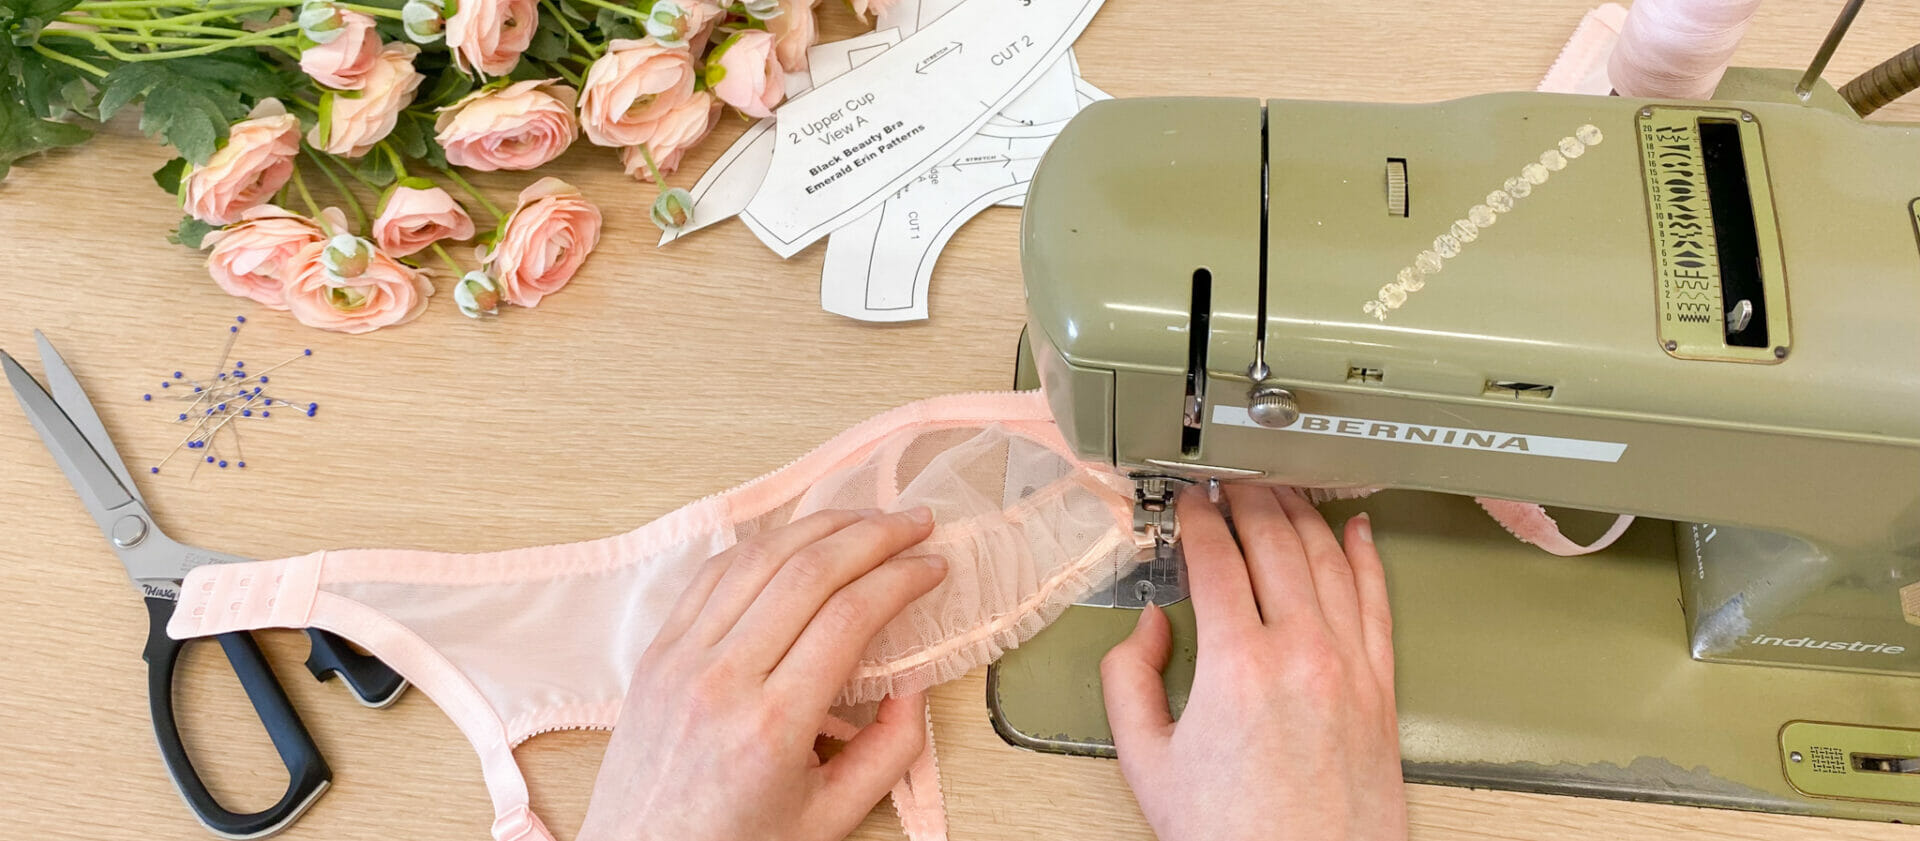

I made this one in our Sangria coloured swimwear fabric using one of our new Jordy Swimsuit Kits
Hi All!
You might recognize this version of the Jordy Bralette made into a swimsuit – it’s a tutorial that I’ve done before in a video on my YouTube channel, so if you like learning from videos more than blog posts, you can check it out here instead: https://www.youtube.com/watch?v=4hQntFIWY0M&ab_channel=EmeraldErinSews
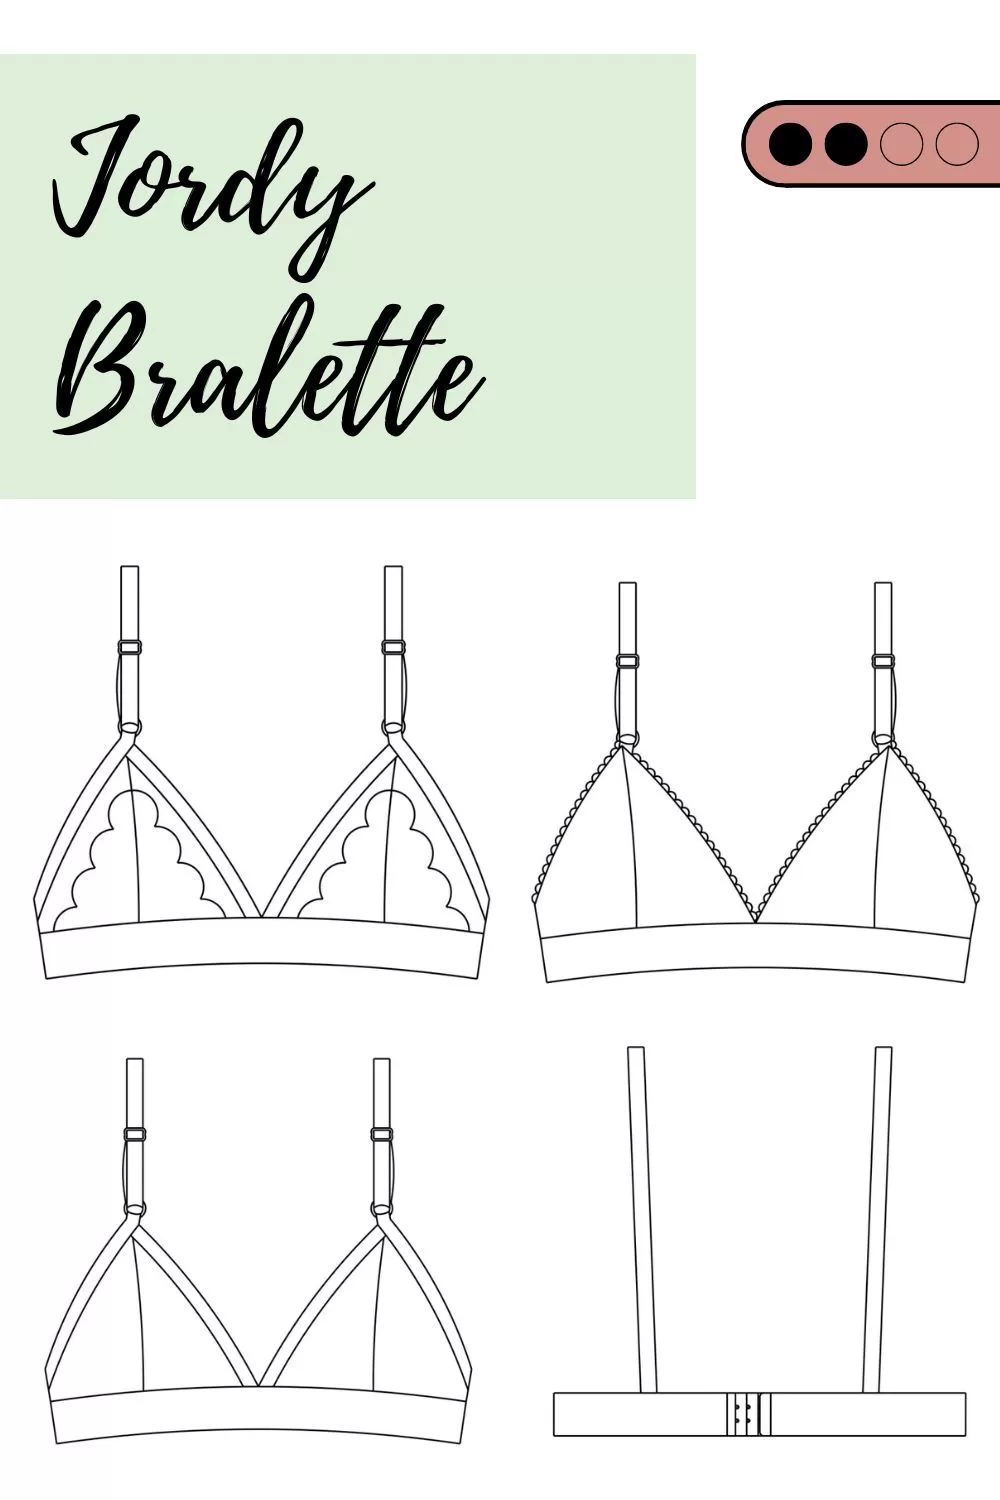
This tutorial is based on my Jordy Bralette pattern available here
But I know some people like blog tutorials too, so I thought I’d share it in this format as well- and of course I wanted a new Jordy Bikini top for myself!
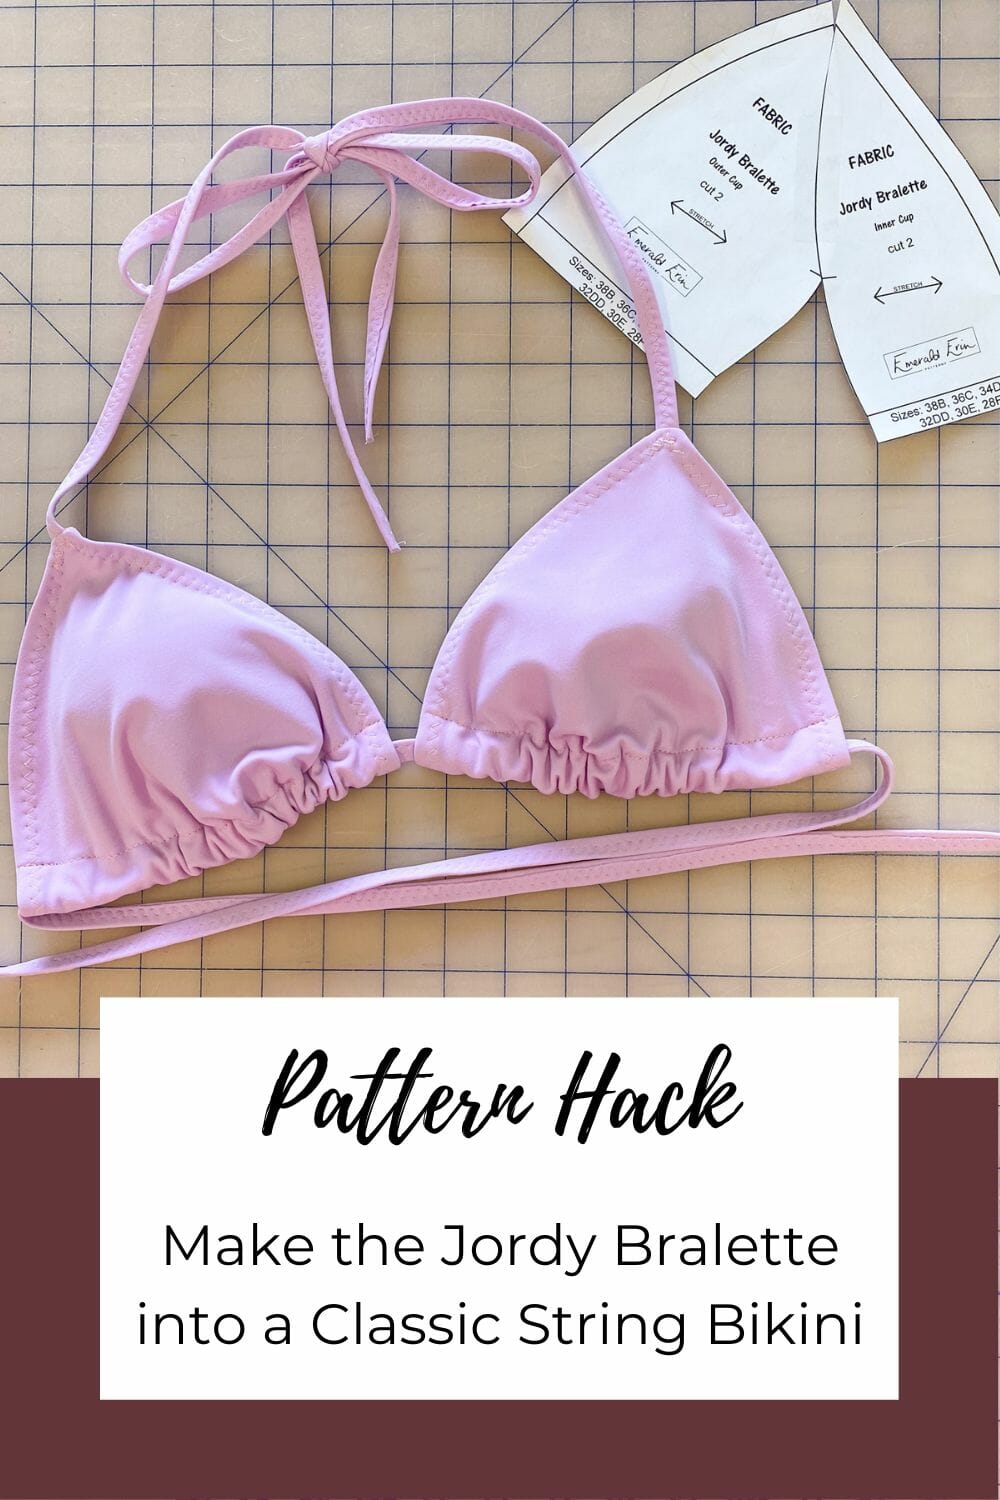
And you might have noticed that I have two Jordy hacks for swim tops- my other is a Classic String Bikini Tutorial, where you combine the cup pieces together and make a classic gathered bottom triangle bikini top. This version is closer to the original Jordy design, with a cup seam and a wider band under the cups. So let’s get into the tutorial!
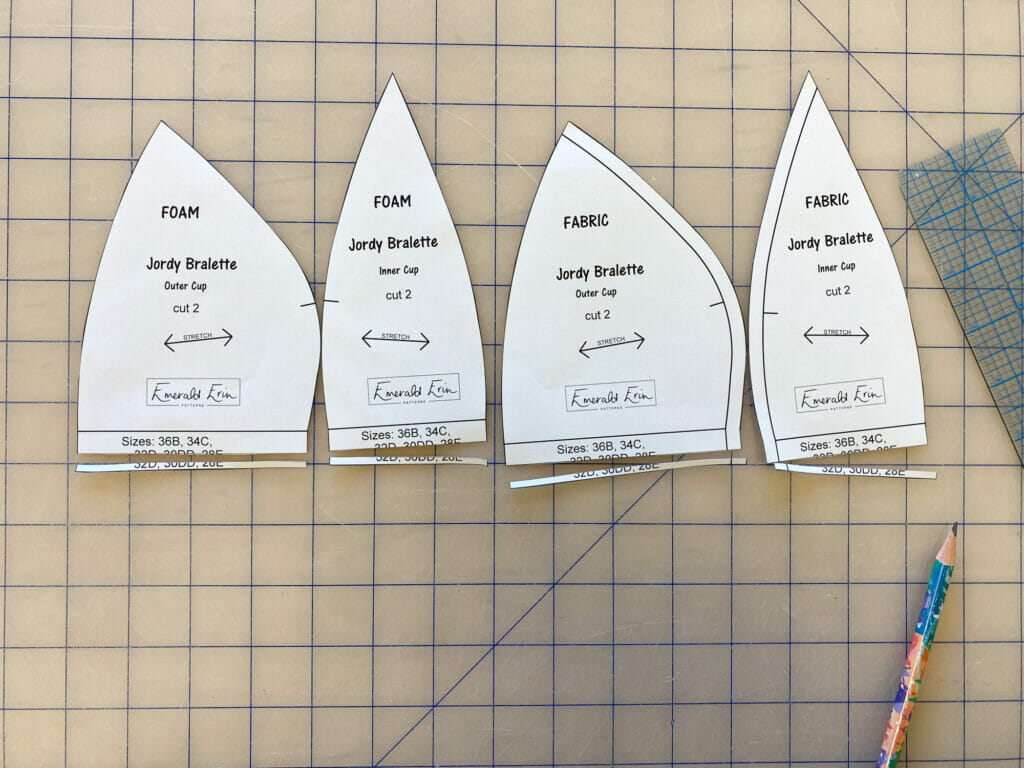
This version of the Jordy is very close to the Foam view of the pattern, just with a few swimwear friendly modifications. Start with your foam pattern pieces, and your fabric pattern pieces with the elastic allowances removed from the edges (just like you would for the Foam view of the pattern, as though you’re finishing with fold over elastic). Then trim off 1/8″ (2.5mm) from the bottom of your pattern pieces. This changes the bottom band allowances to 3/8″ (9mm) rather than the standard 1/2″. That’s all for paper modifications!
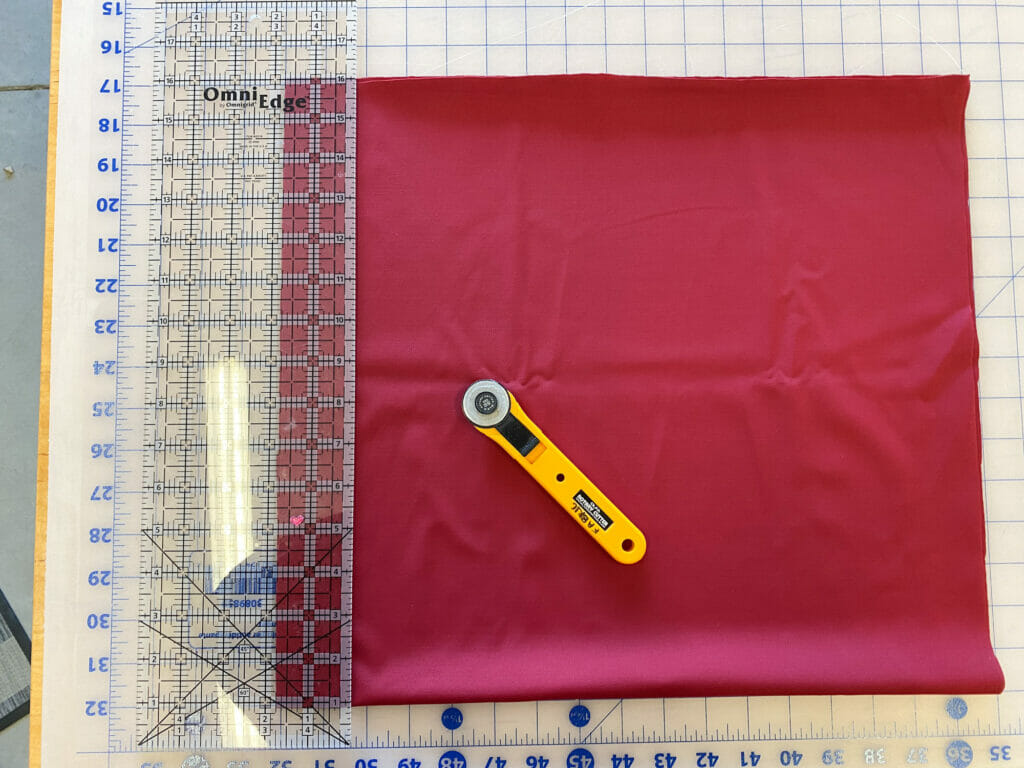
The next step is cutting out your pattern pieces and cutting out your band and binding. I recommend cutting all you binding strips first while you have a nice fresh piece of fabric with a straight edge. I fold my fabric into 4 and use a ruler and rotary cutter to cut my strips from the edge of the fabric.
For the band, you will need a strip of fabric that is 1-3/4″ (4.5cm) wide, and the length needs to be the length of the band indicated for your size in the pattern plus 2″ (5cm). So for this example I made a 32D, and the band size in the pattern is a 26-1/4″, so I cut a strip 28-1/4″ that is 1-3/4″ wide.
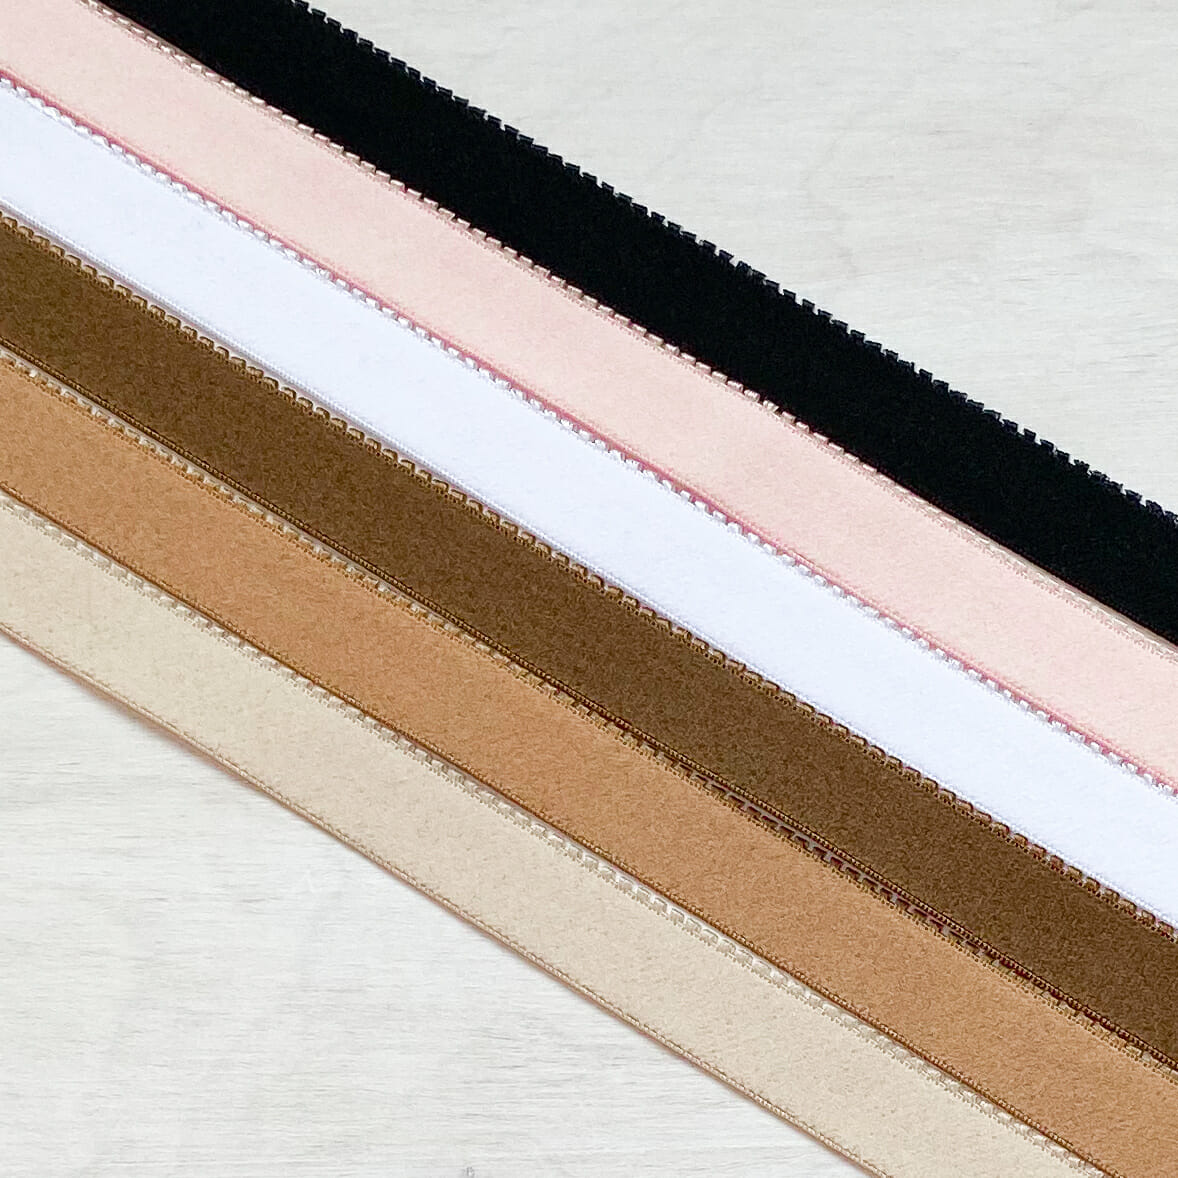
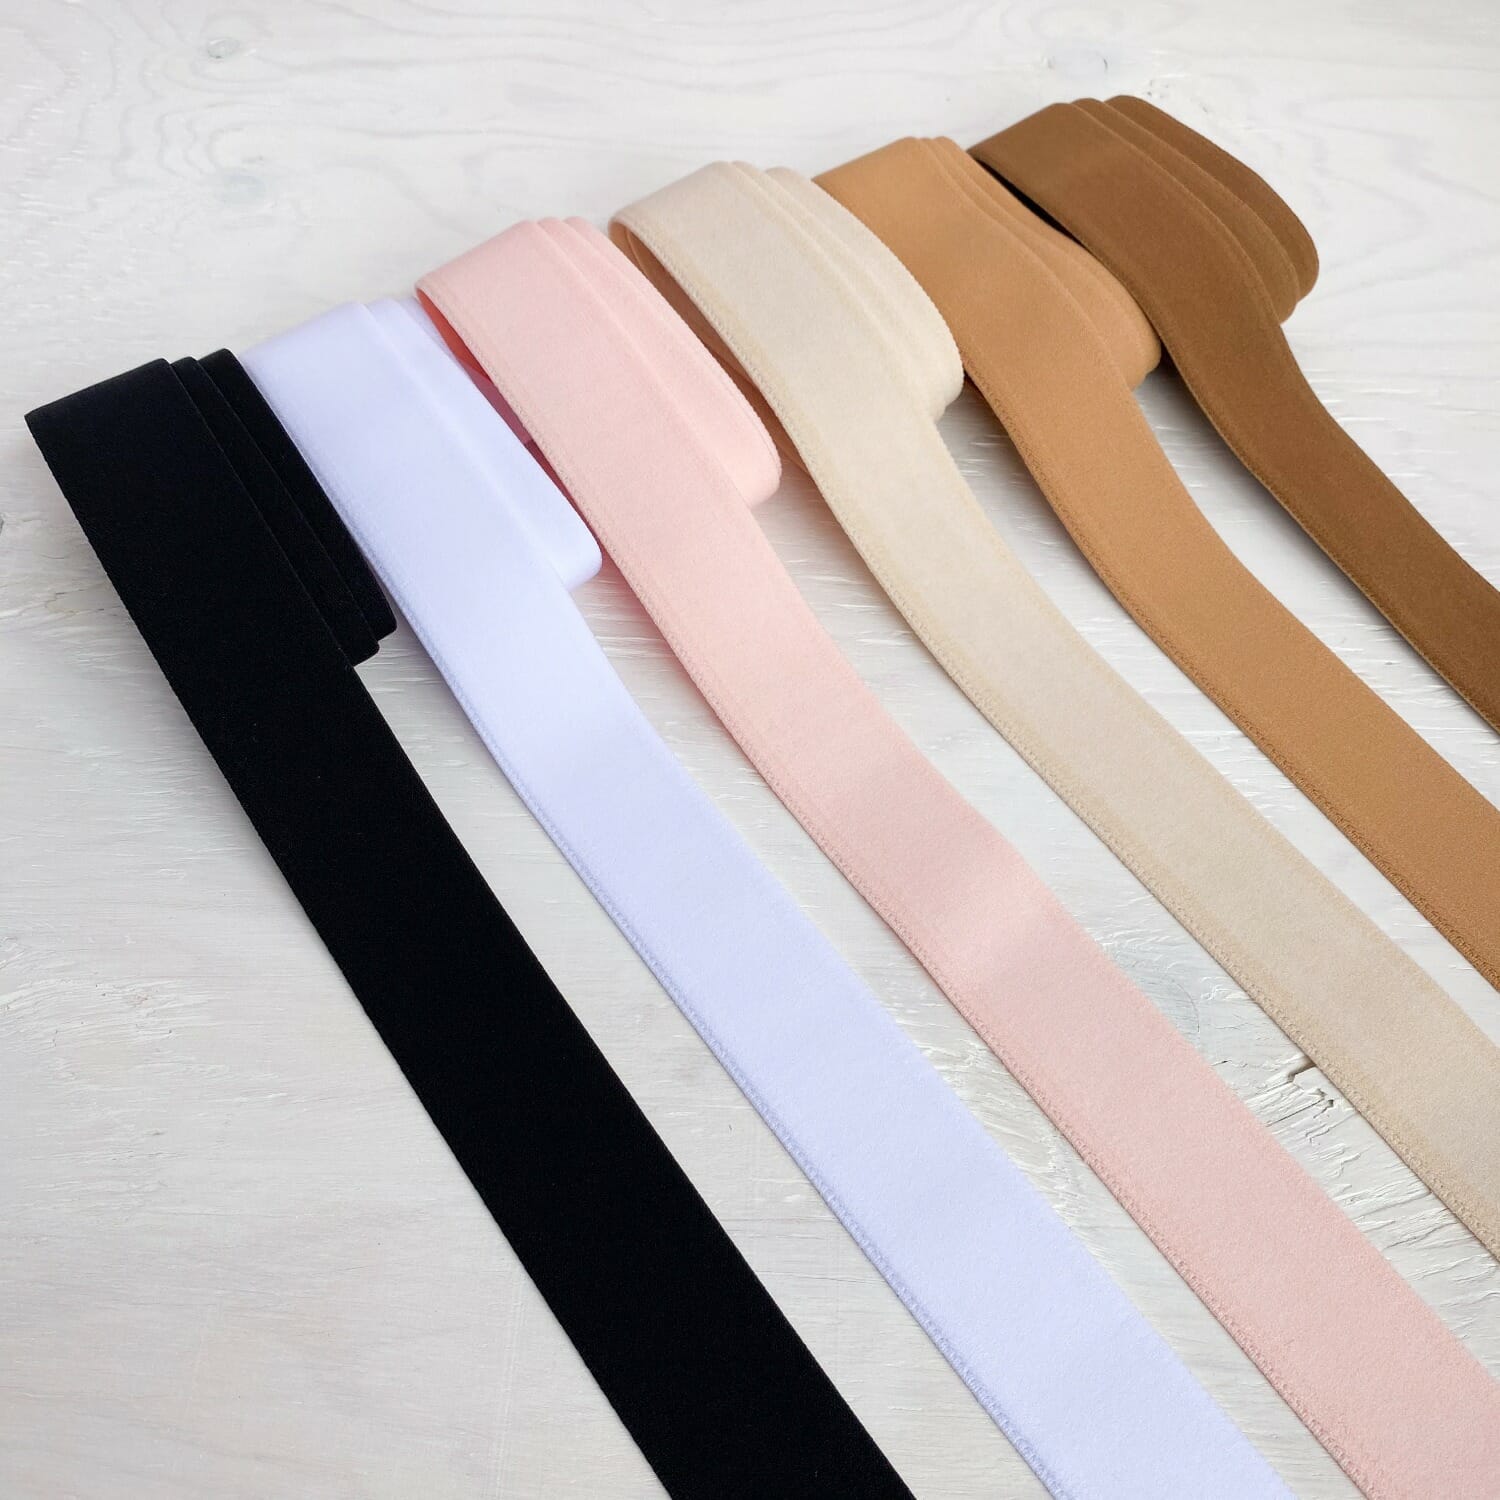
Then you will need to cut enough binding to cover your straps & to finish the edges of your cups, which is about 2m (2.2y) of binding 1m for each straps and cup finishing. I like to cut this binding to 1.5″ (3.8cm). You can make your swimwear straps at this point, and I have a tutorial here on how I do that: https://emeralderin.com/2015/07/tutorial-two-ways-to-sew-swimwear-straps/
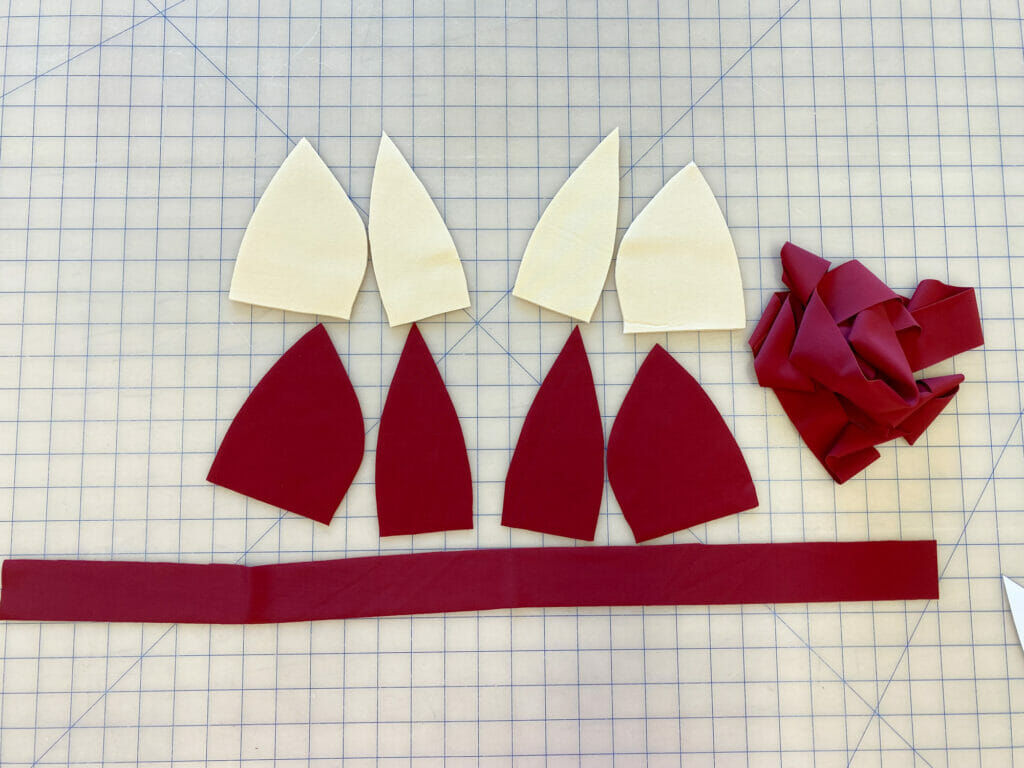
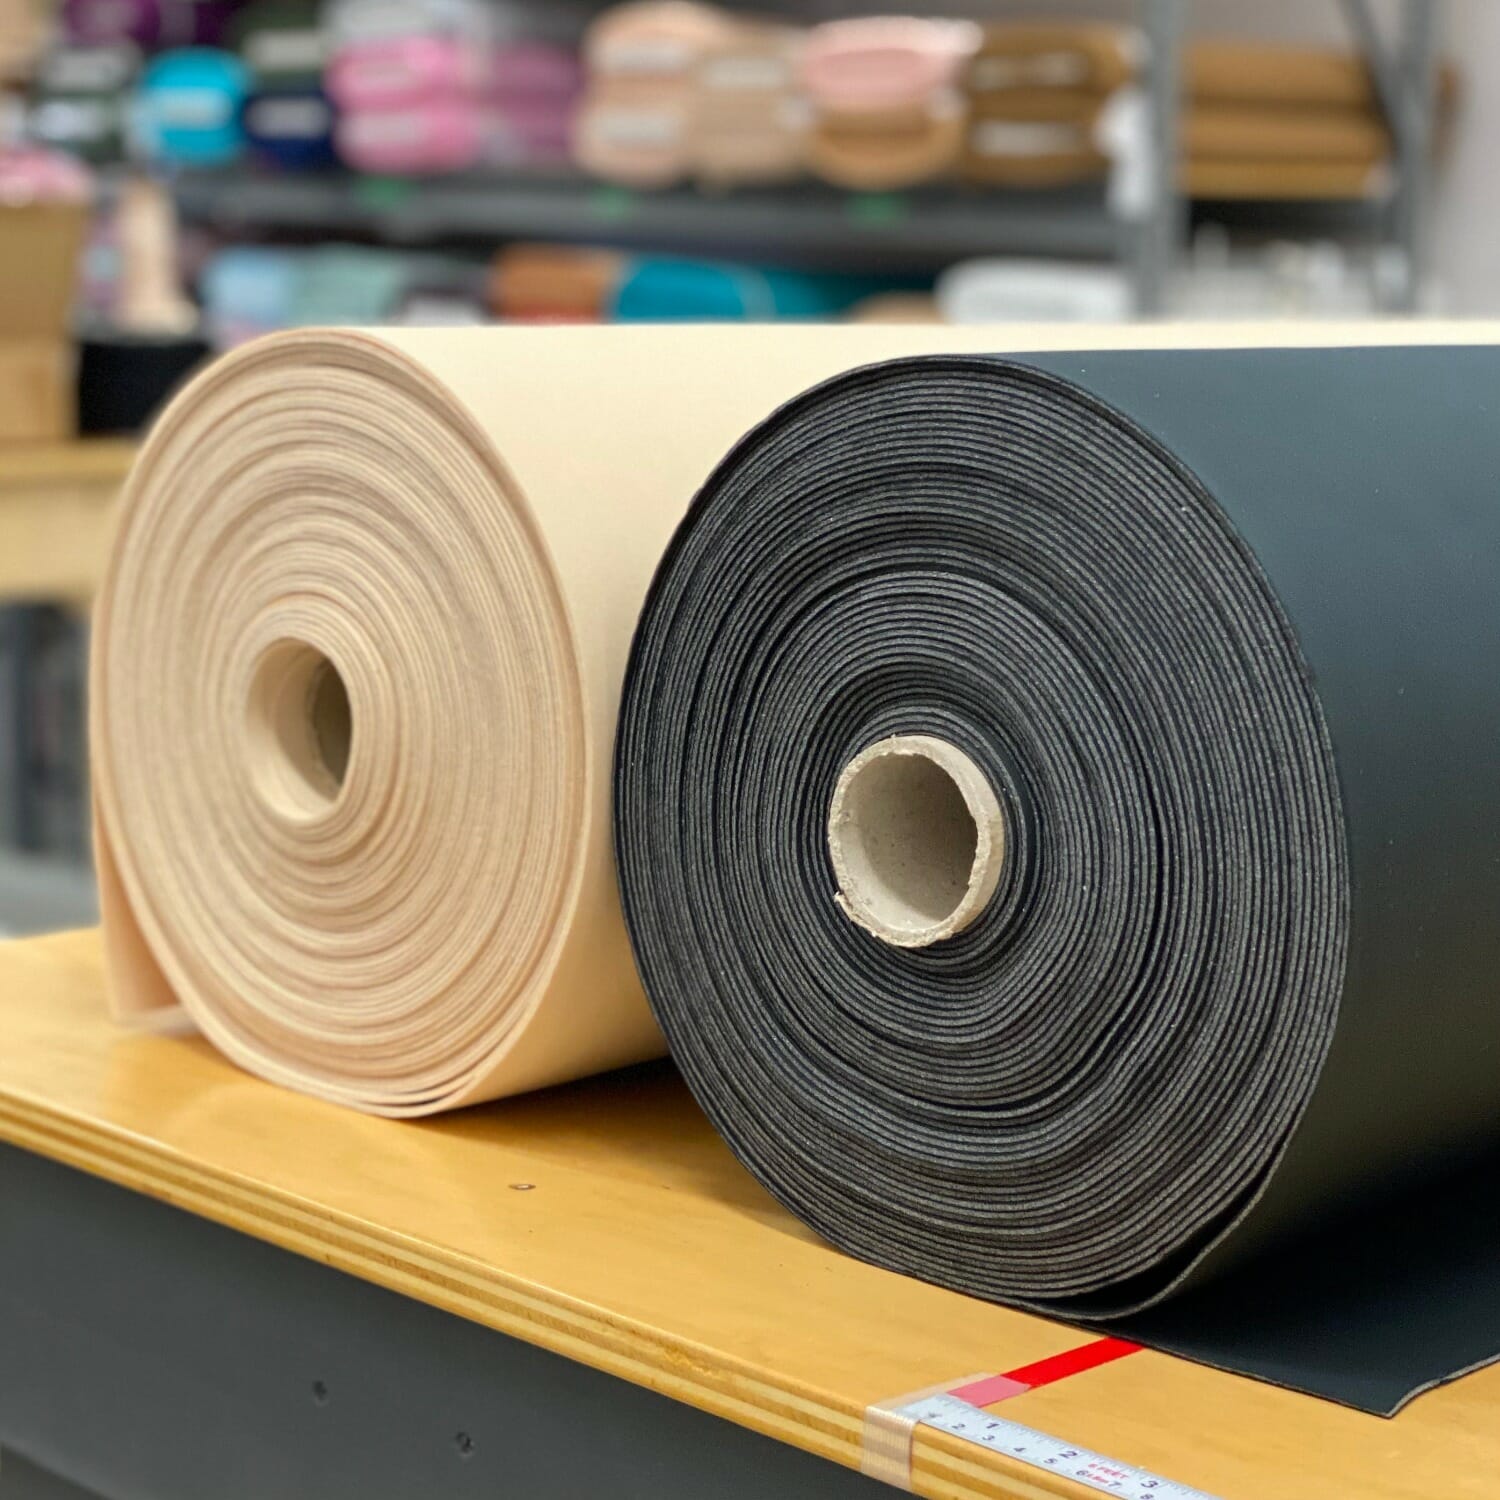
Then cut out the rest of your pieces- the swimwear fabric with your fabric pieces, and the foam with your foam pieces.
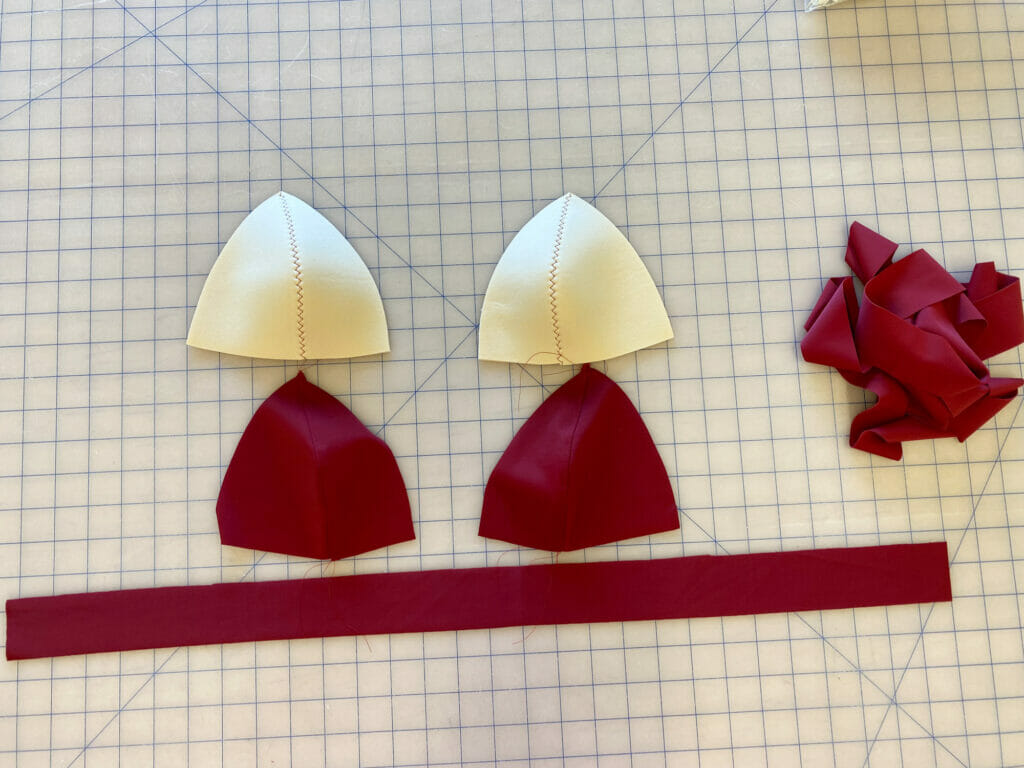
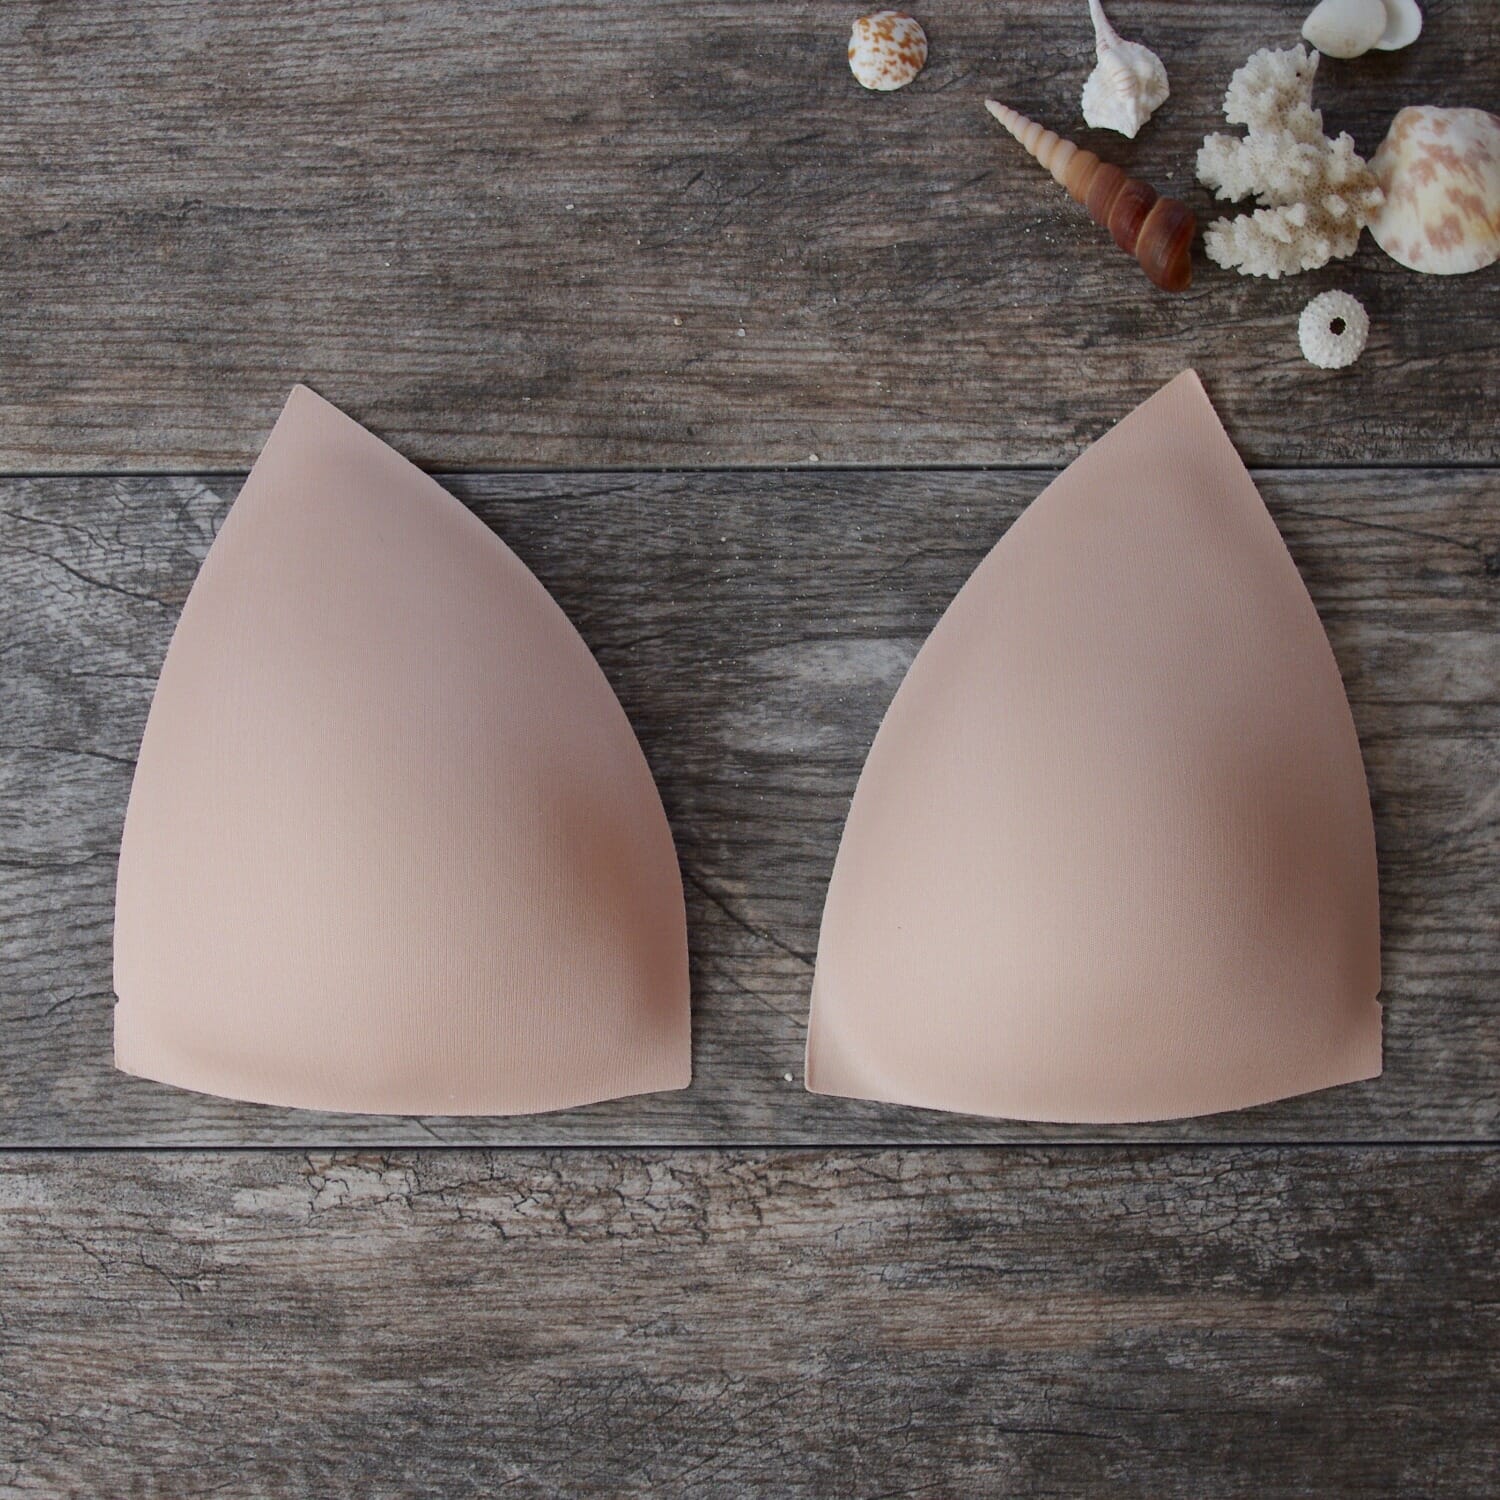
Sew your foam cups and your swimwear fabric cups just like you would in the foam version of the pattern.

Then baste the fabric and foam together along the edges.
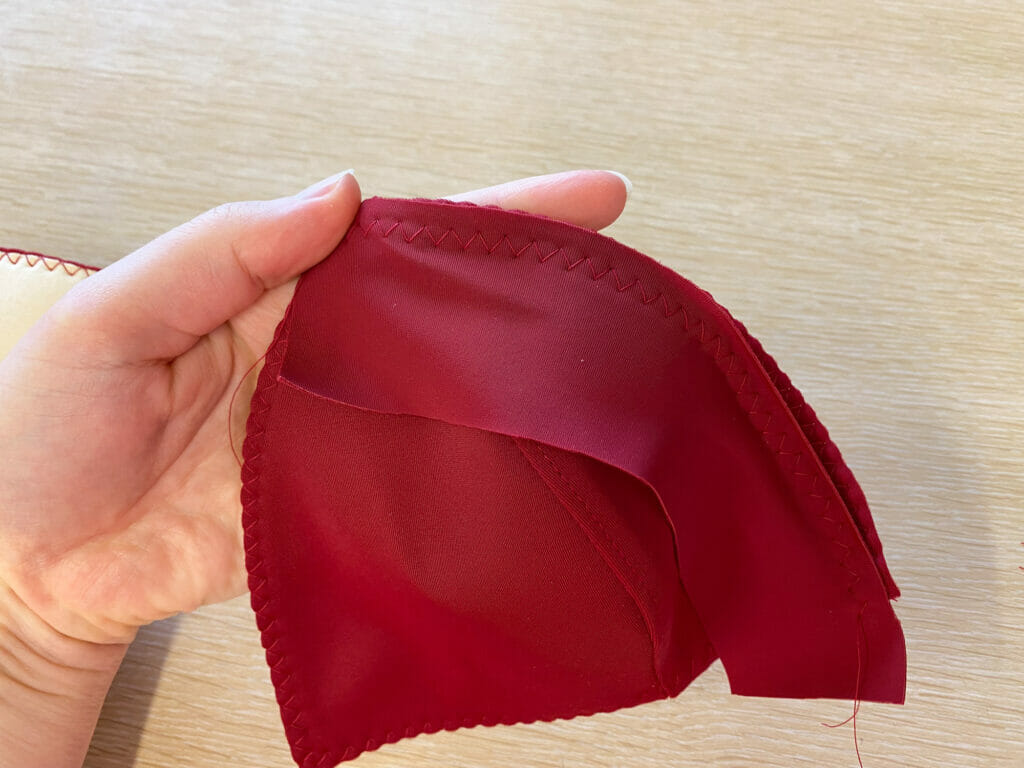
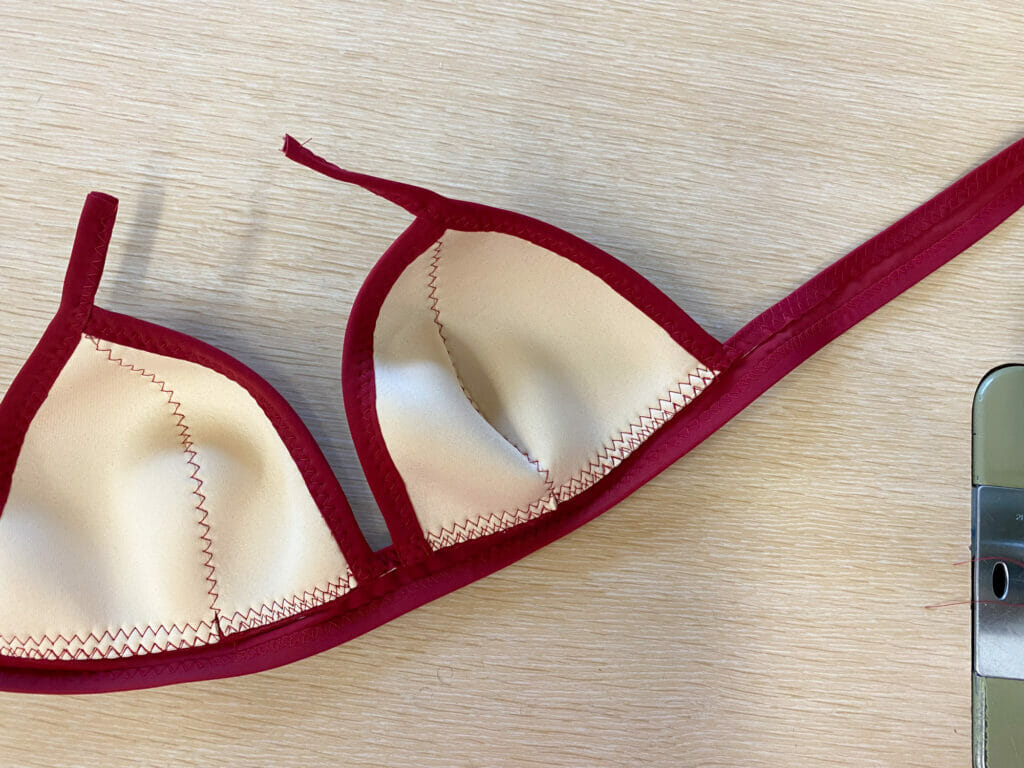
The next step is finishing the cups with binding rather than elastic like you would in the pattern. Start with your inner cup edge, and sew the binding right sides together to the edge of your cup with a zig-zag stitch.

Then wrap the binding around the edge of your neckline to the back and pin.
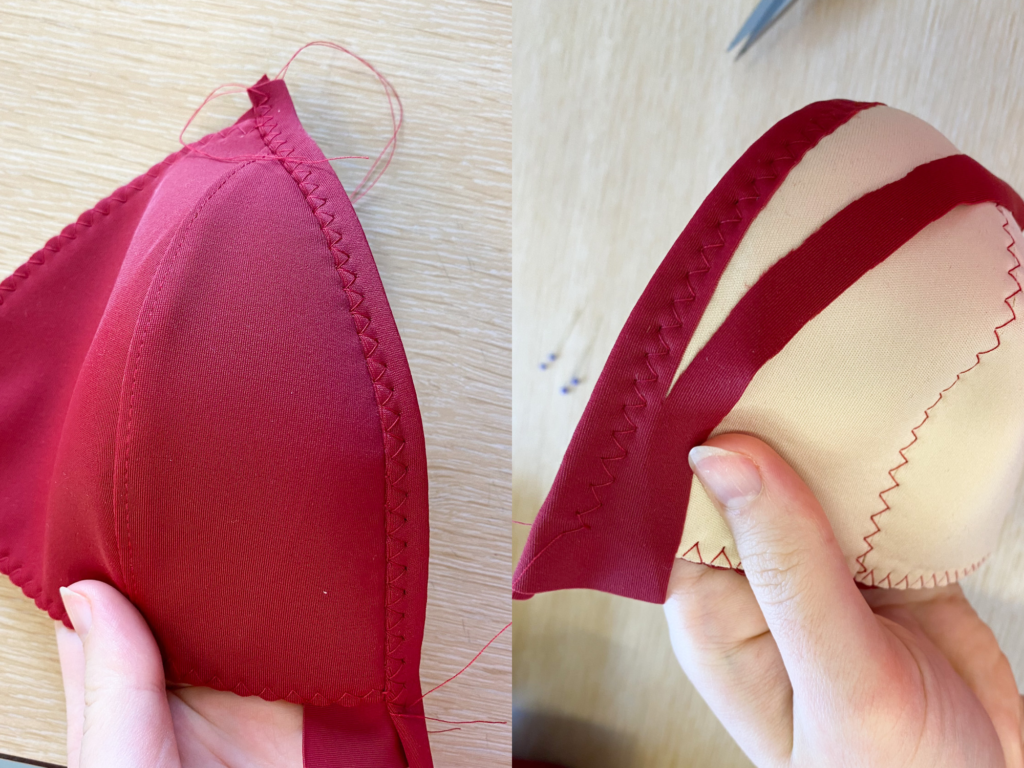
Stitch the binding down along the edge using a zig-zag stitch, then trim away any excess fabric on the inside.

Repeat this same step with the outer edge, but this time leave a tail of binding at the top (this photo shows before the excess has been trimmed away). This tail will be for attaching the rings to the strap. Just like the elastic in the regular version of the pattern.
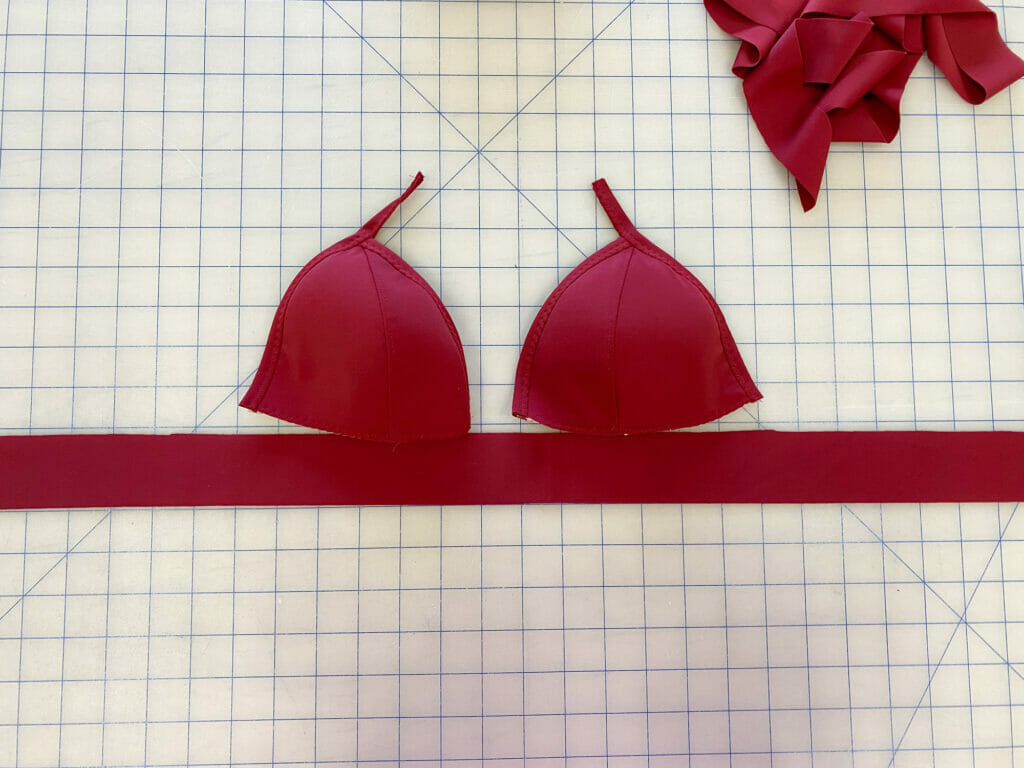
Once both cups are finished the next step is attaching them to the band
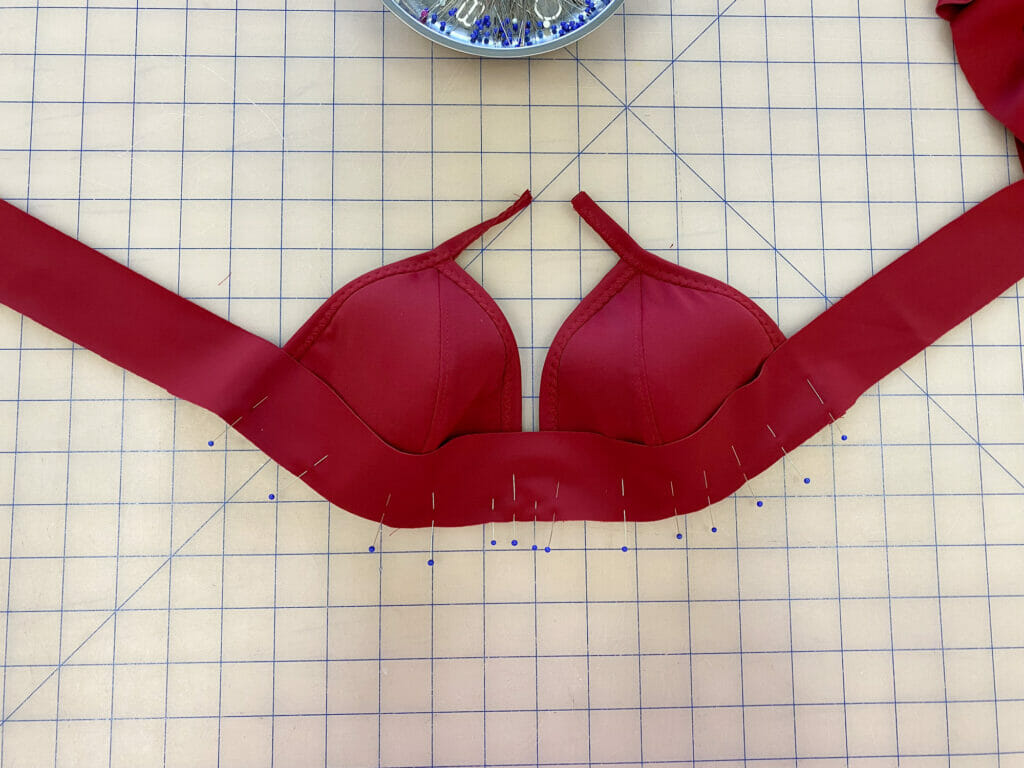
Mark the center of your band piece and line up the cups at the center (or the distance you would like them separated, I spaced my cups apart by 1″ in this version to suit my body). Then pin the cups with the right sides together to the band.
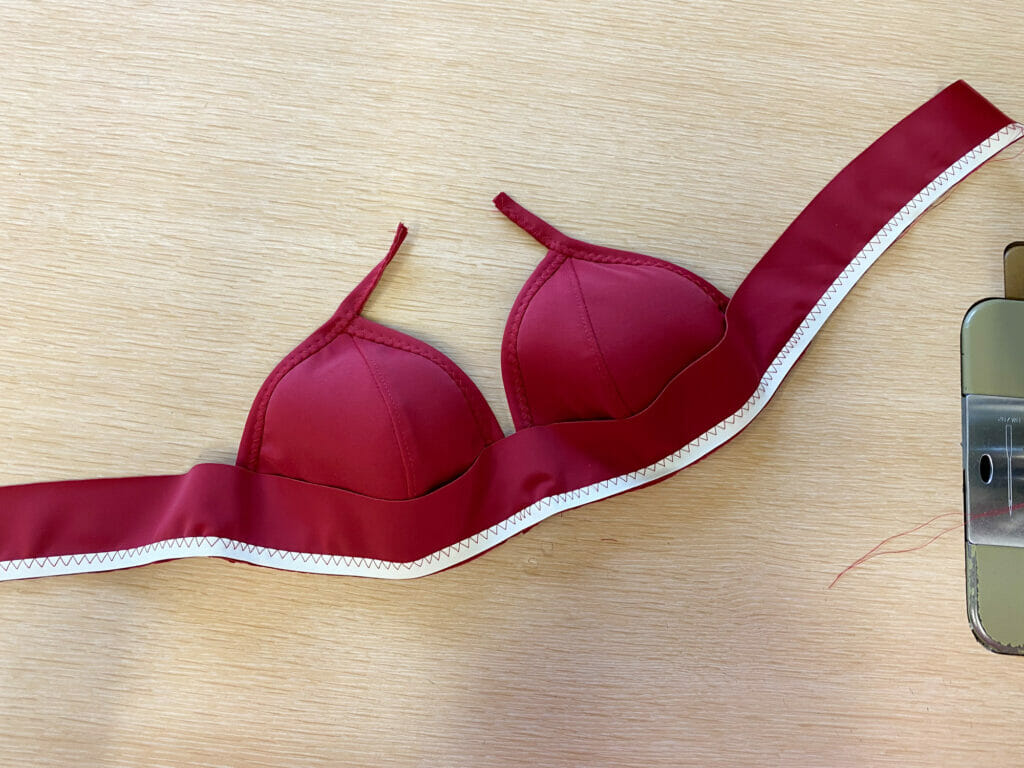
Starting at the end of your band, sew 3/8″ (8mm) swimwear elastic to wrong side of the band, lining it up with the edge of the fabric. Sew with a zig-zag stitch on the inside edge of your elastic closer to the band than to the edge.
Flip this edge over and sew it down for a second pass sandwiching the elastic between the fabric and the cups. Sew with a zig-zag stitch close to the cut edge of the fabric to secure it down.
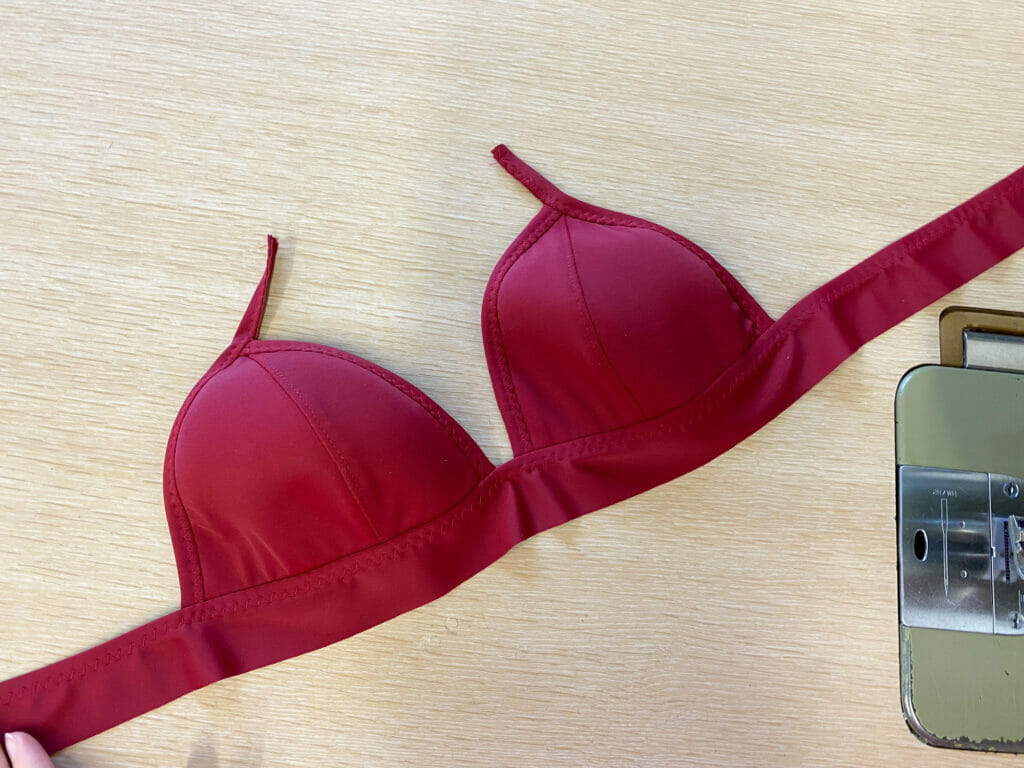
This is how it will look on the right side.

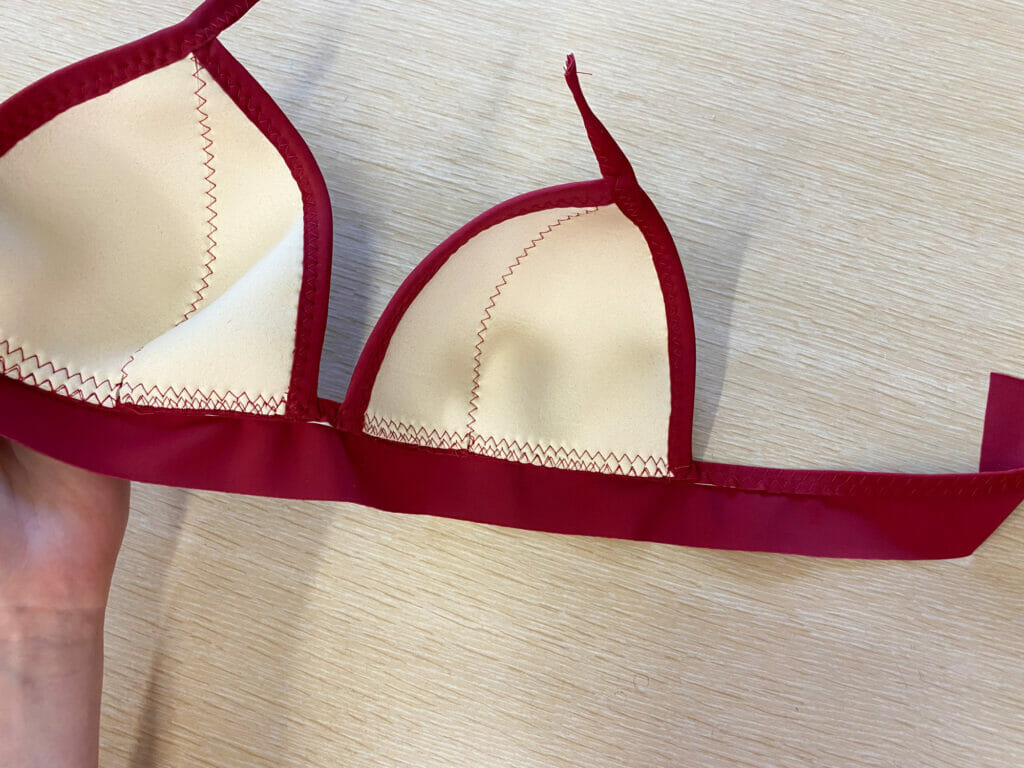
Next finish the bottom of your band with swimwear elastic. Sew the elastic to the wrong side of the band stitching along the outside edge.
Then fold it in towards the band, sandwiching it between the fabric, and stitch down on the inside edge. Your bikini is almost done!
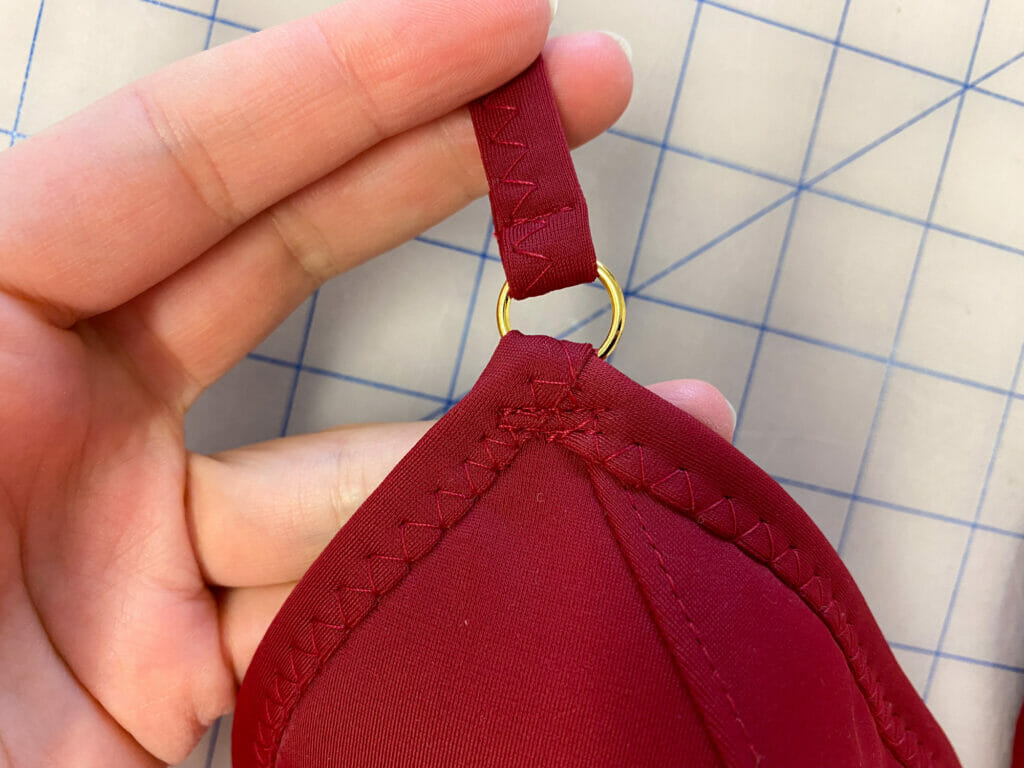
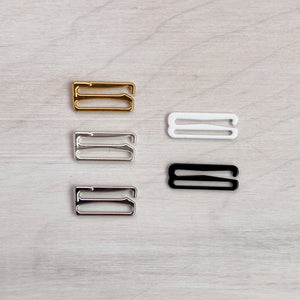
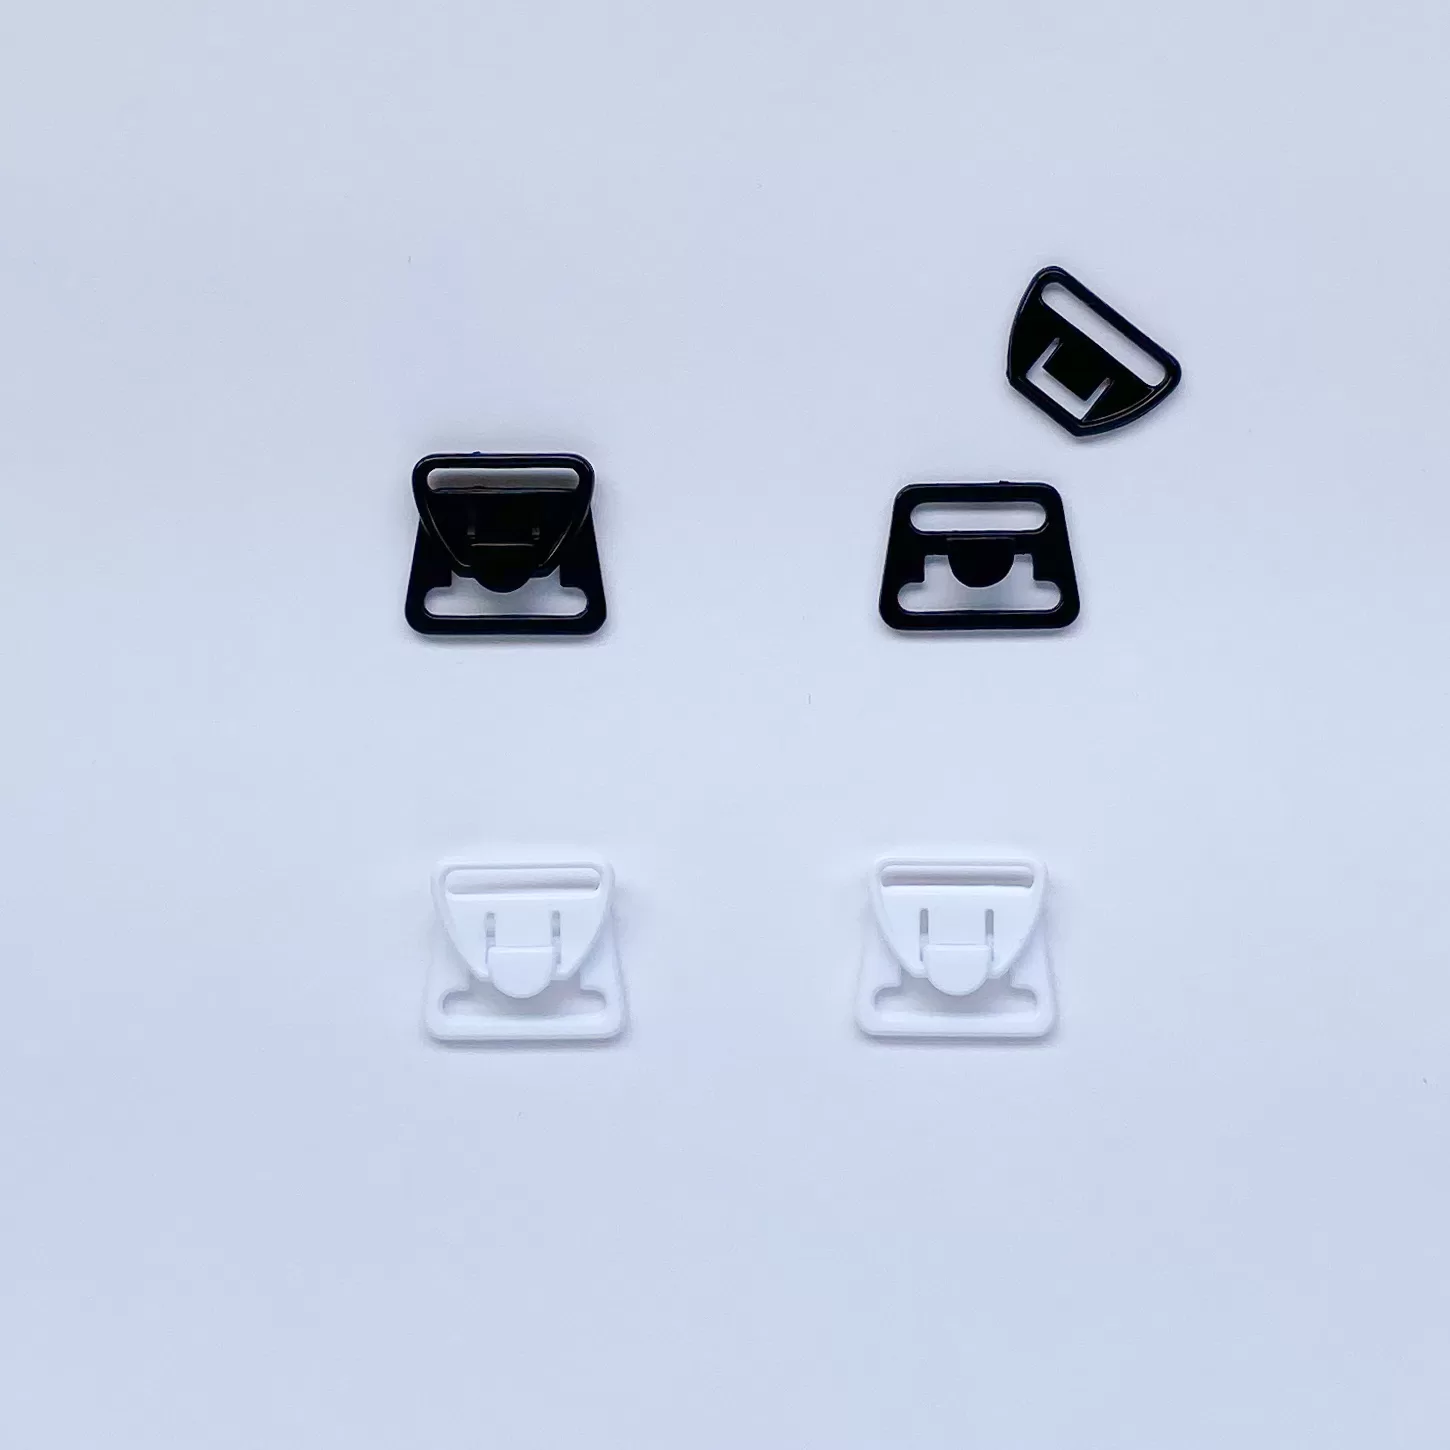
Using a straight stitch, sew your rings to the top of your cups using the little tail of binding and trim away any excess binding on the inside. Then attach your strap to the ring, each strap should be 50cm (20″) long.
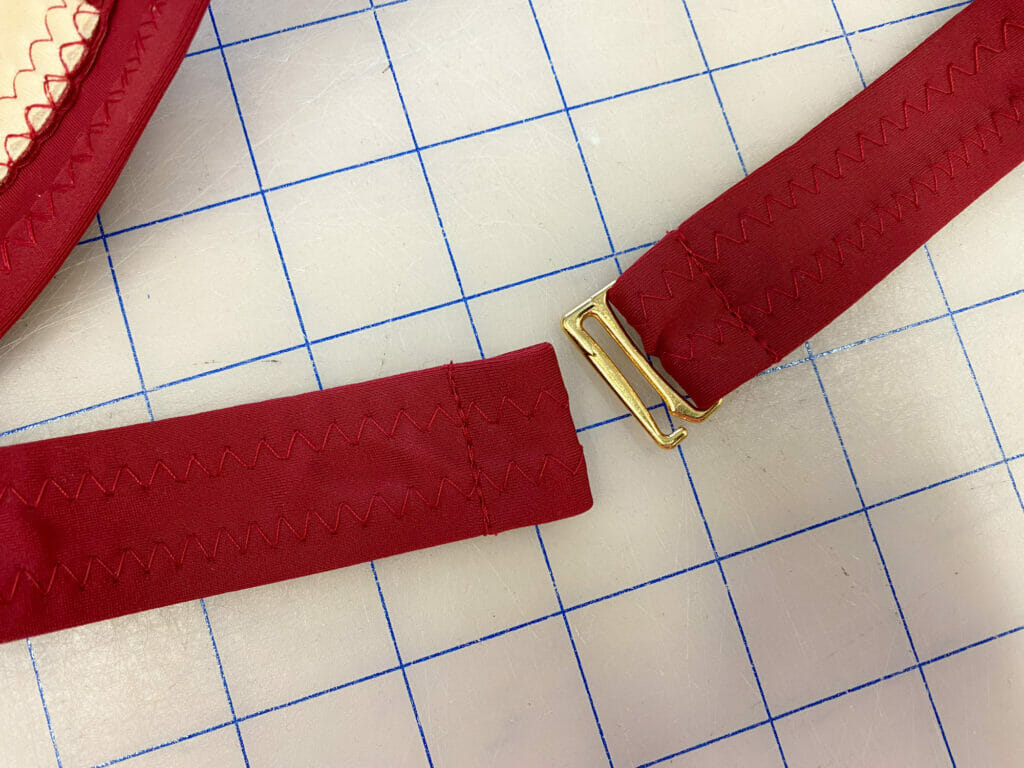
Thread your G-hook into the right side of your band, with the opening facing down, and stitch to secure. We’ve allowed for a 1″ (2.5cm) turn under for this. Then fold the left side under by 1″ and stitch down, creating a loop for your hook to fasten into.
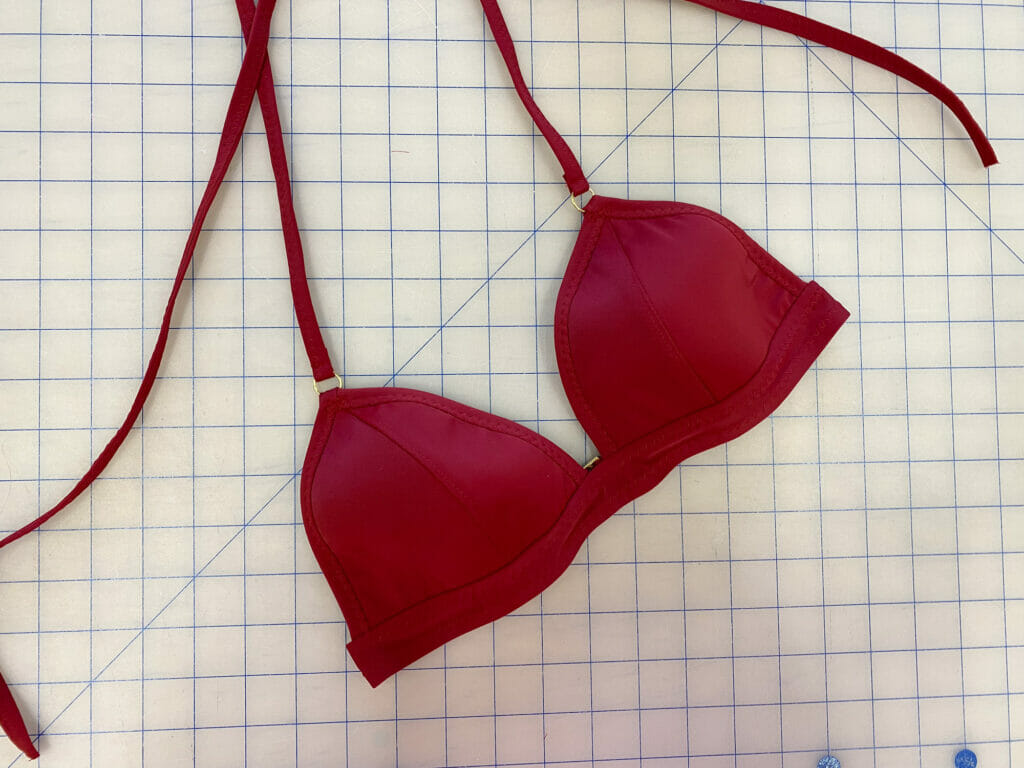
And voila! Your Jordy swimsuit is done!
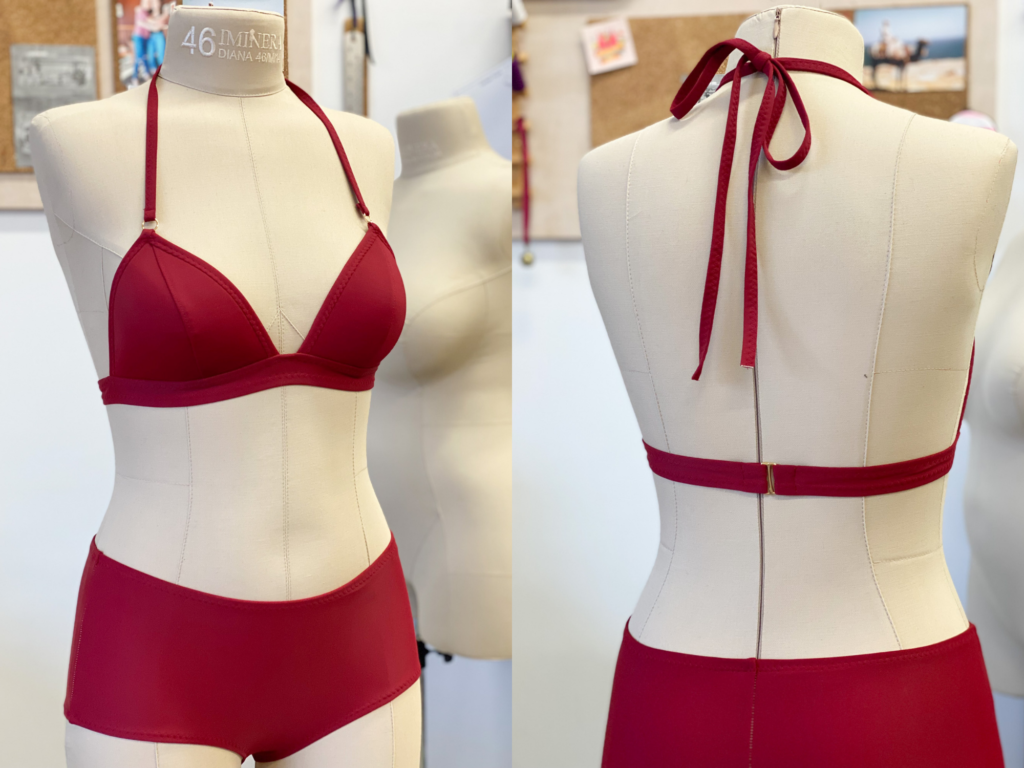
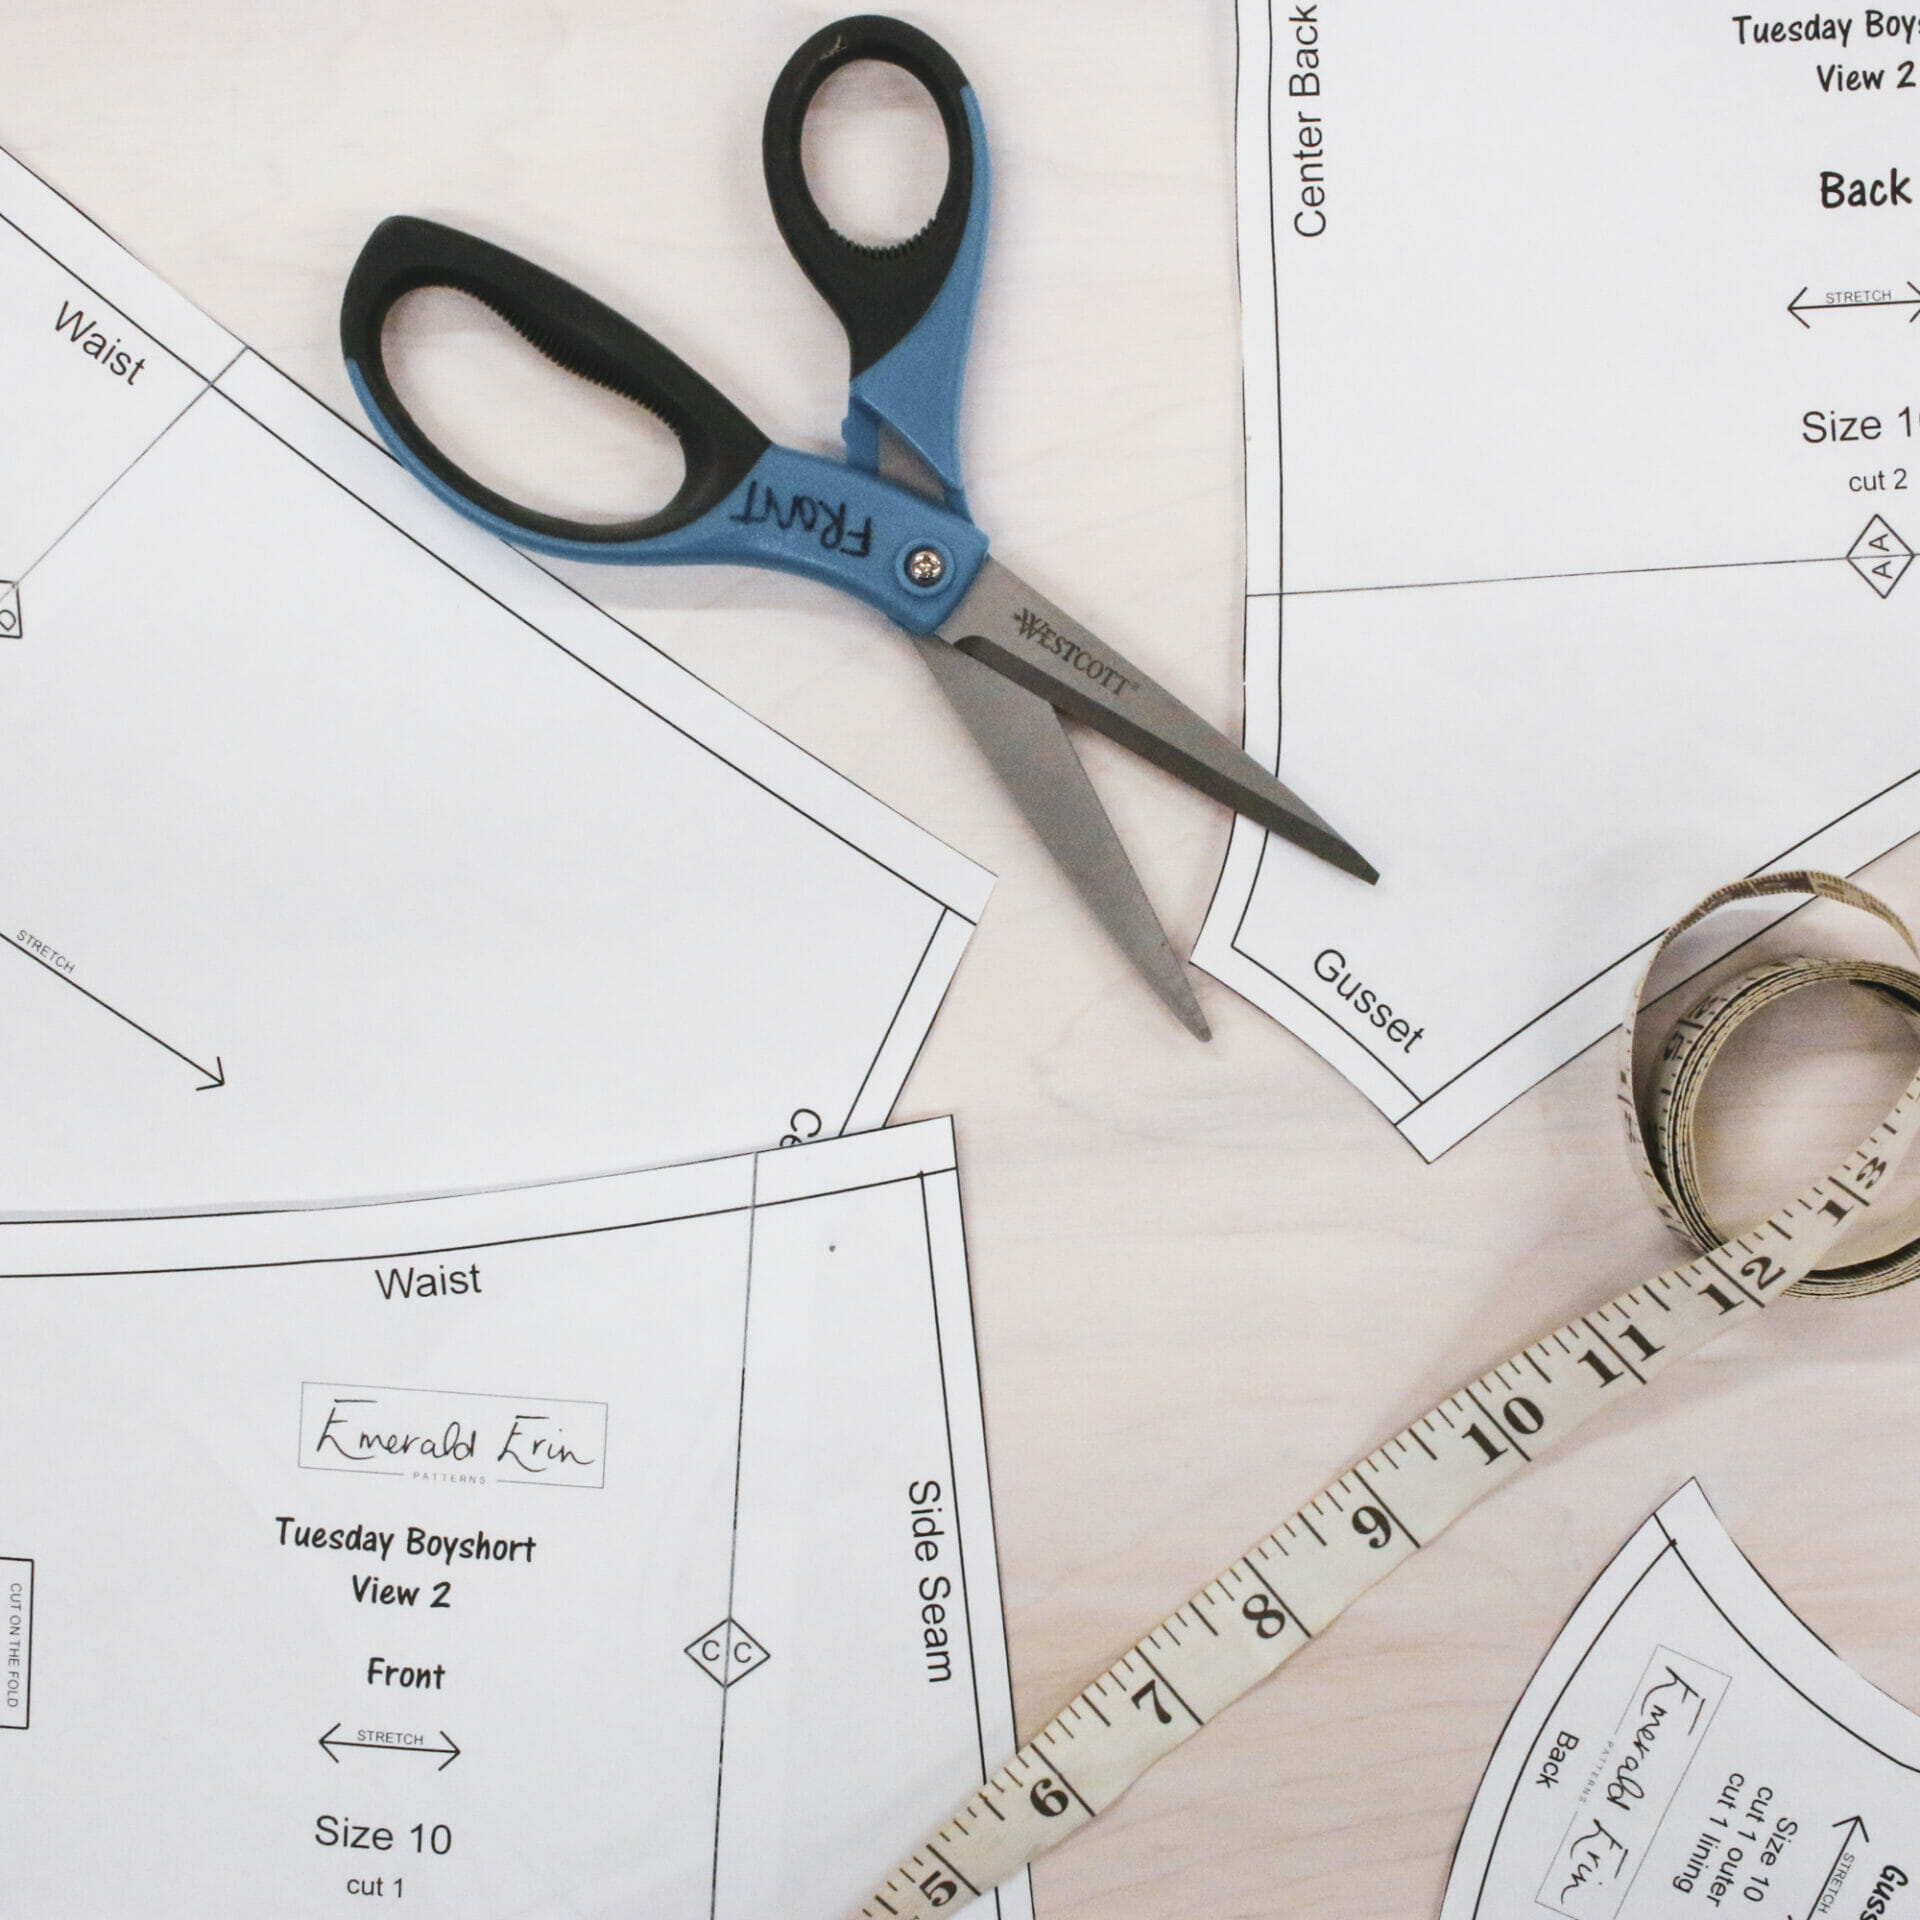
I even made a matching Tuesday Boyshort bottom to go with these 🙂
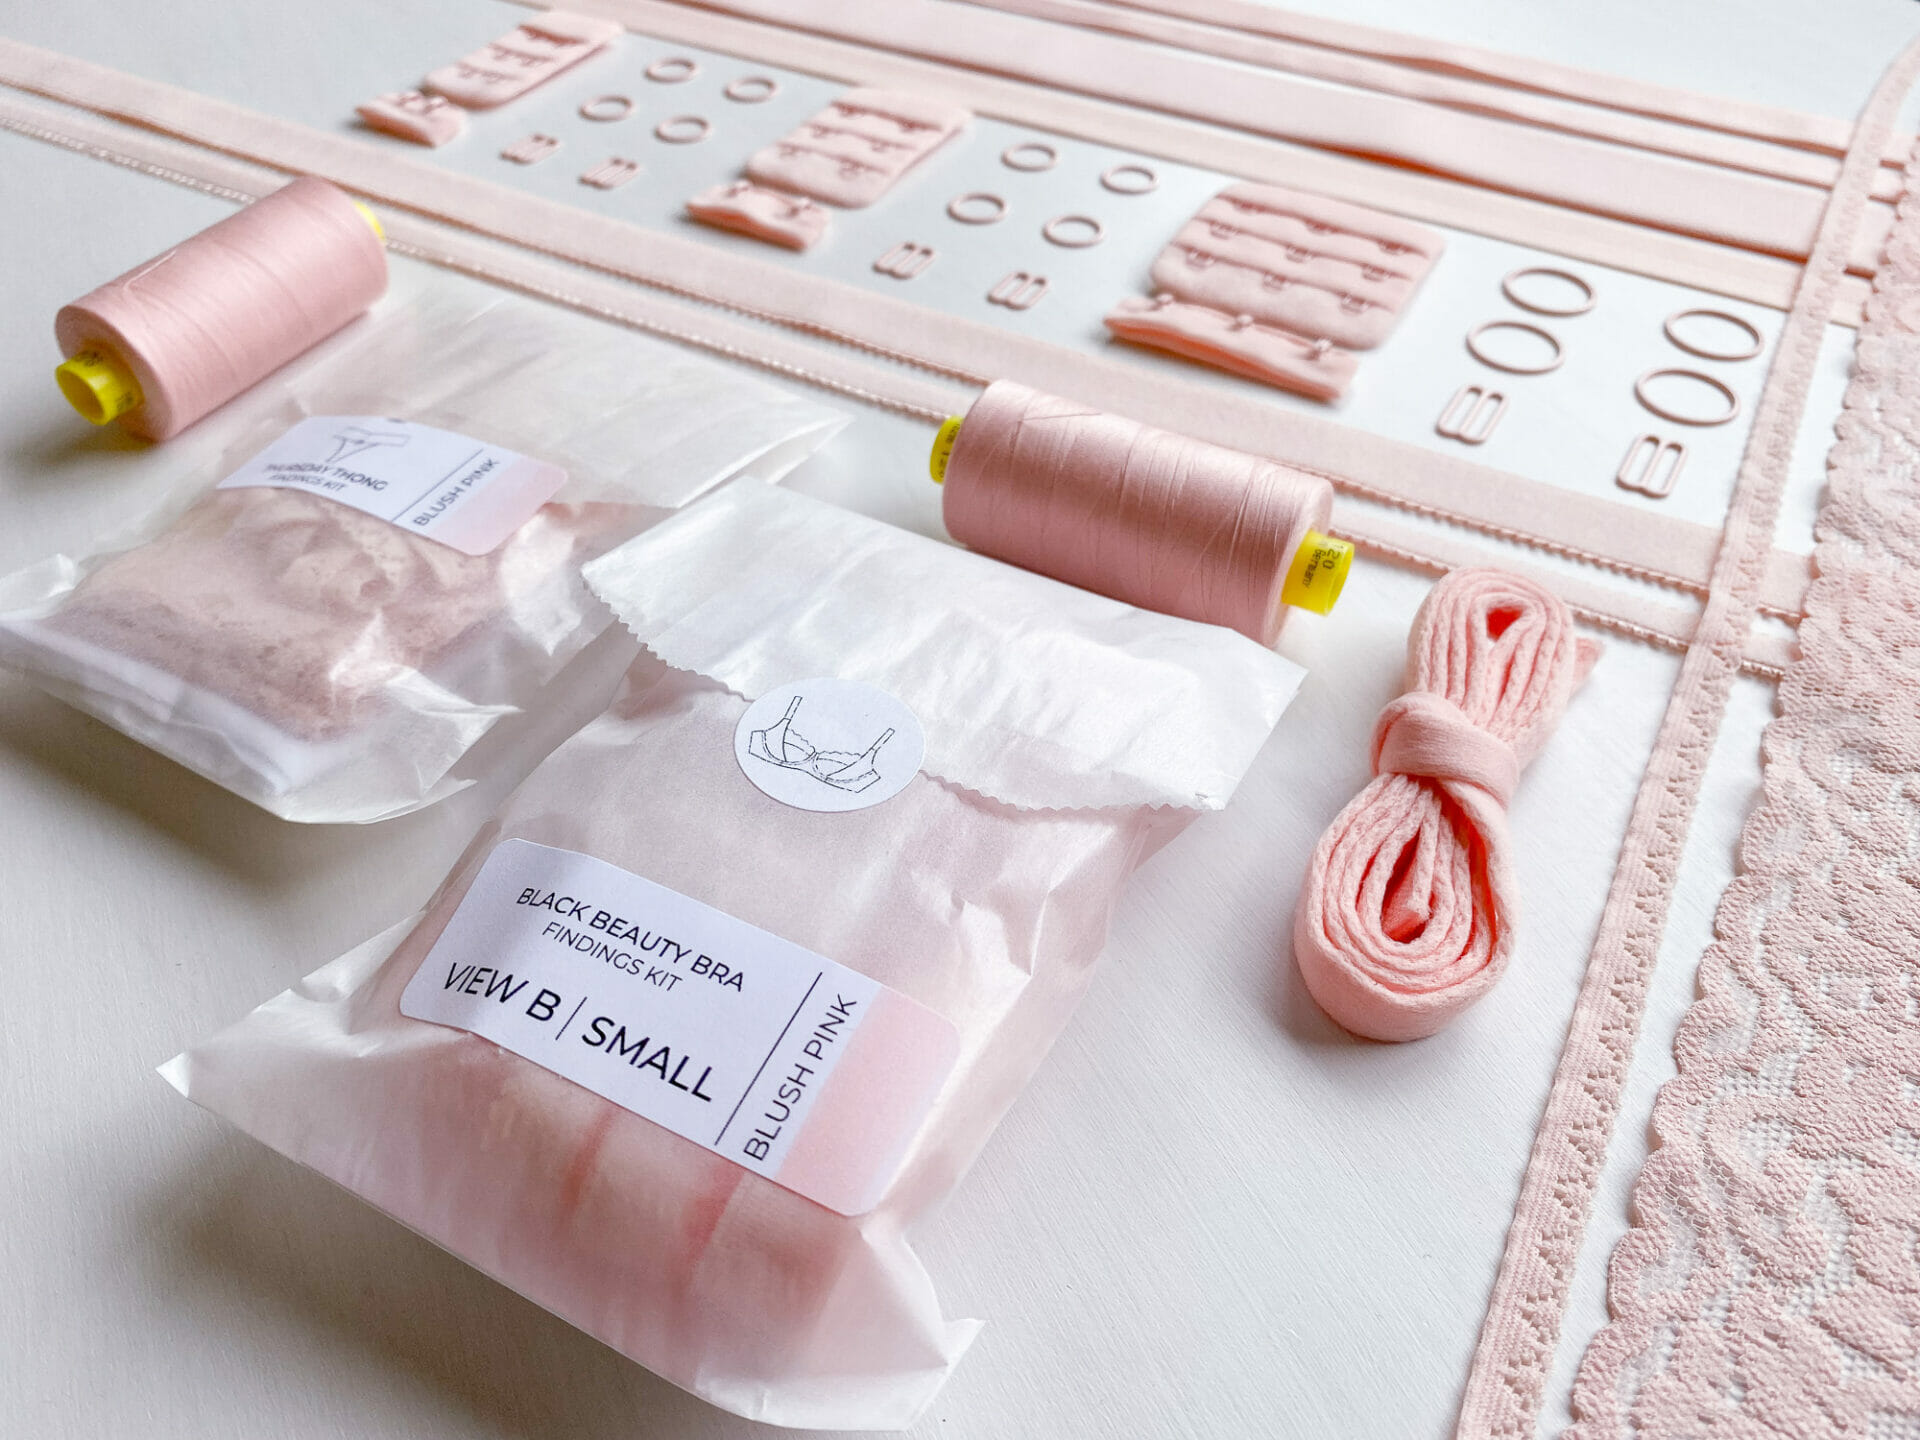
If you would like to make this Jordy swimsuit hack, I highly recommend getting one of our kits so you can have all the materials and things you need to make it.
Happy sewing!
xo
Erin
Erin! This is so well presented. I will try it out this weekend onside test fabric!