


Hi All!
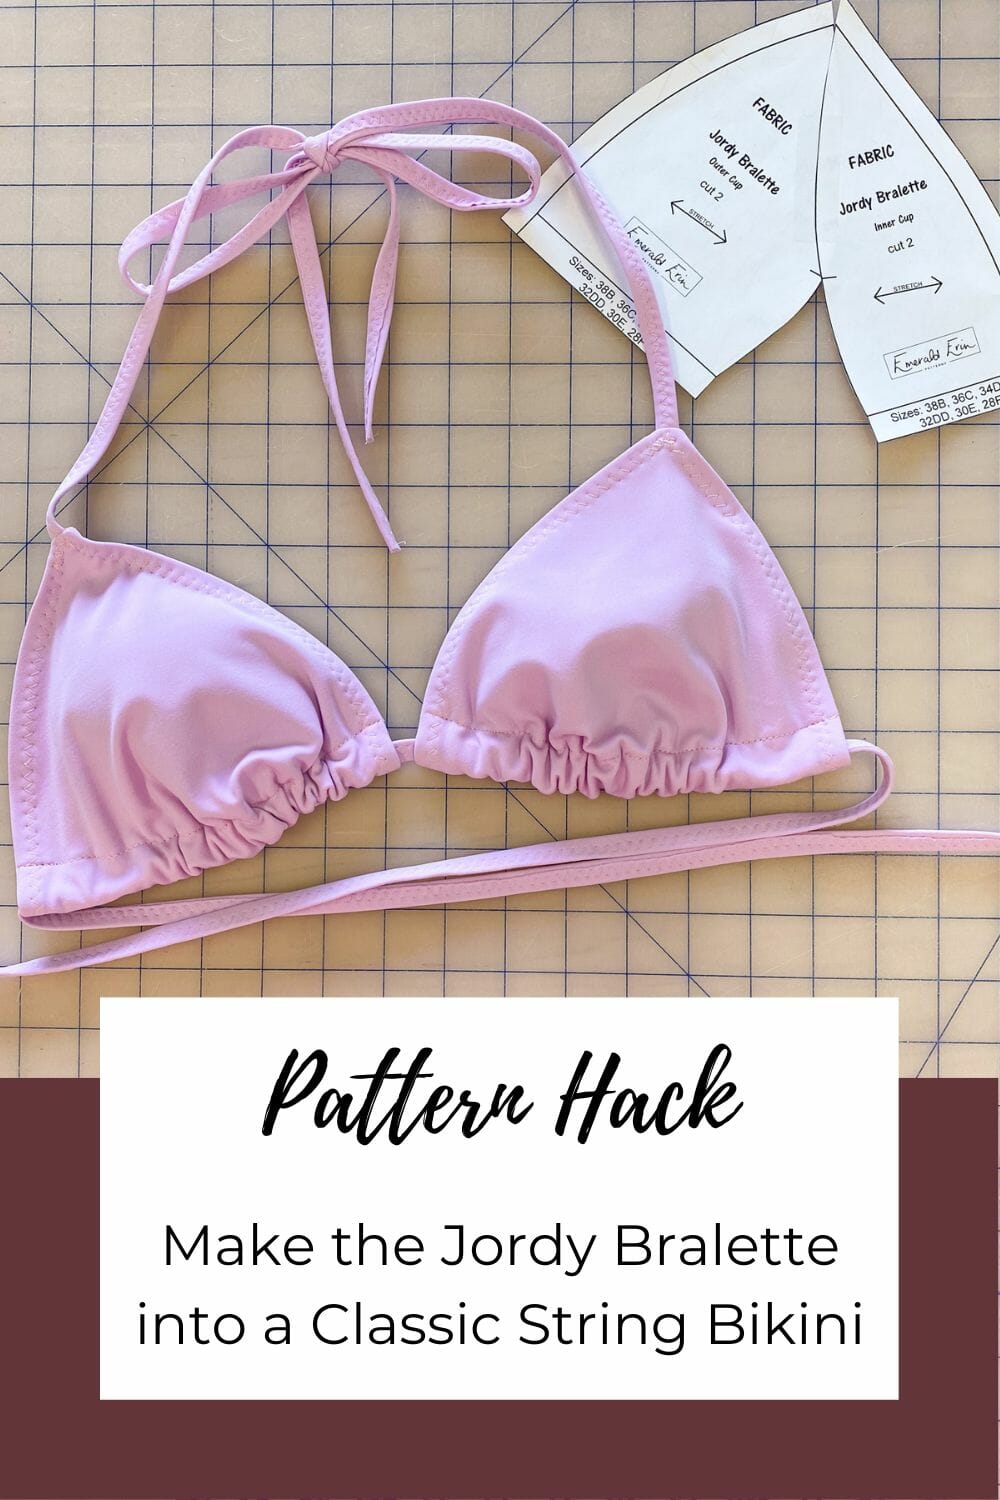
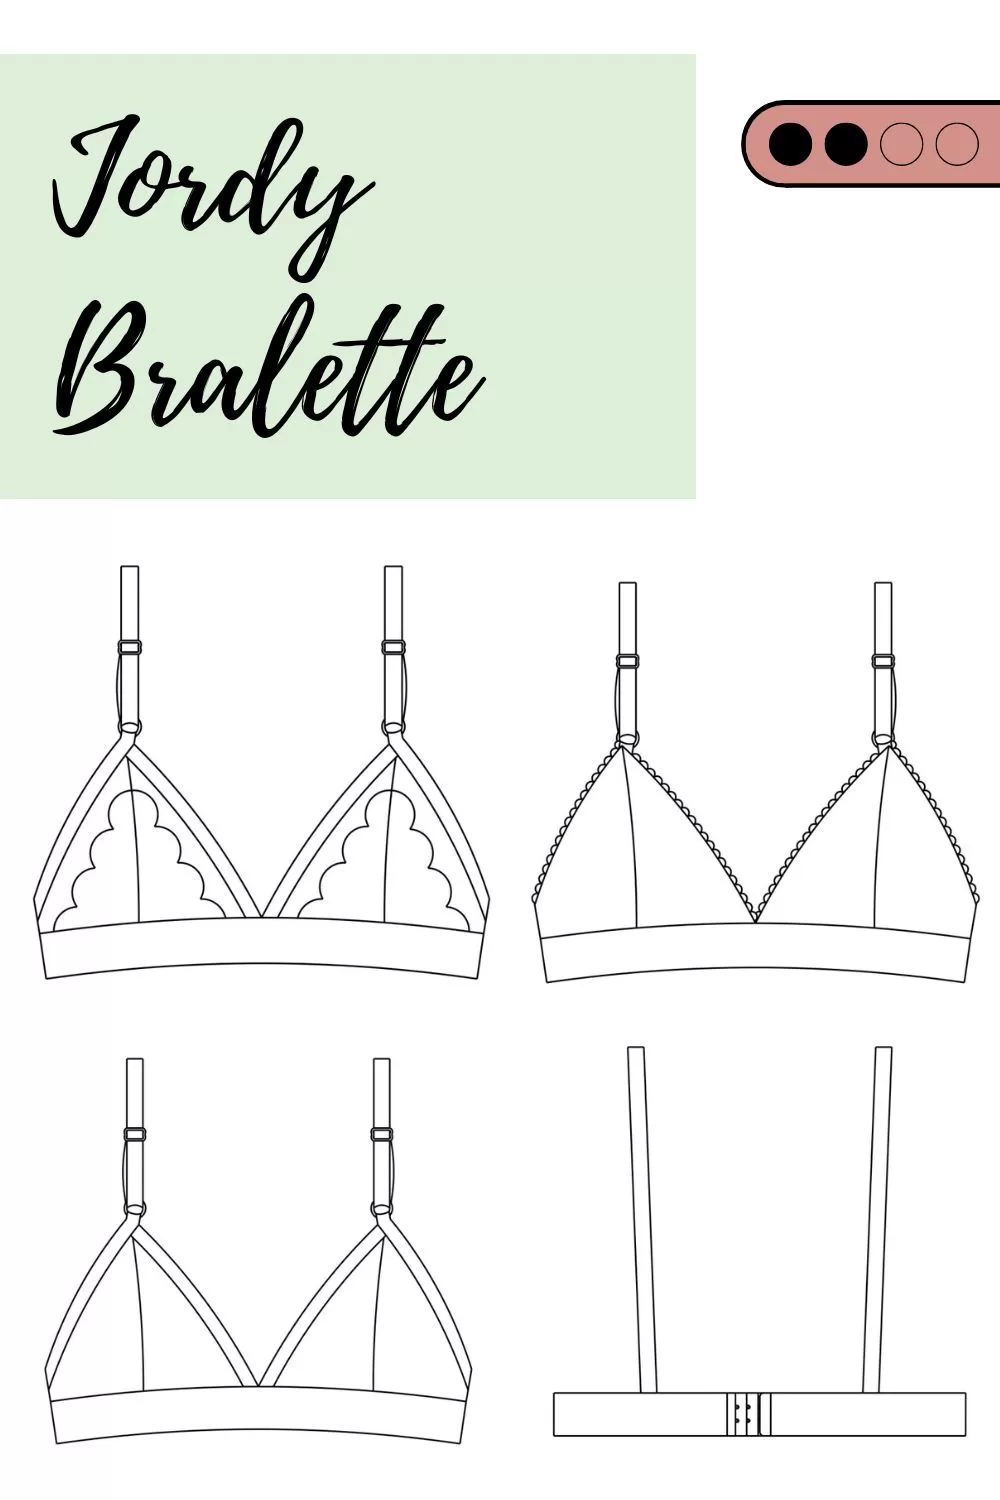
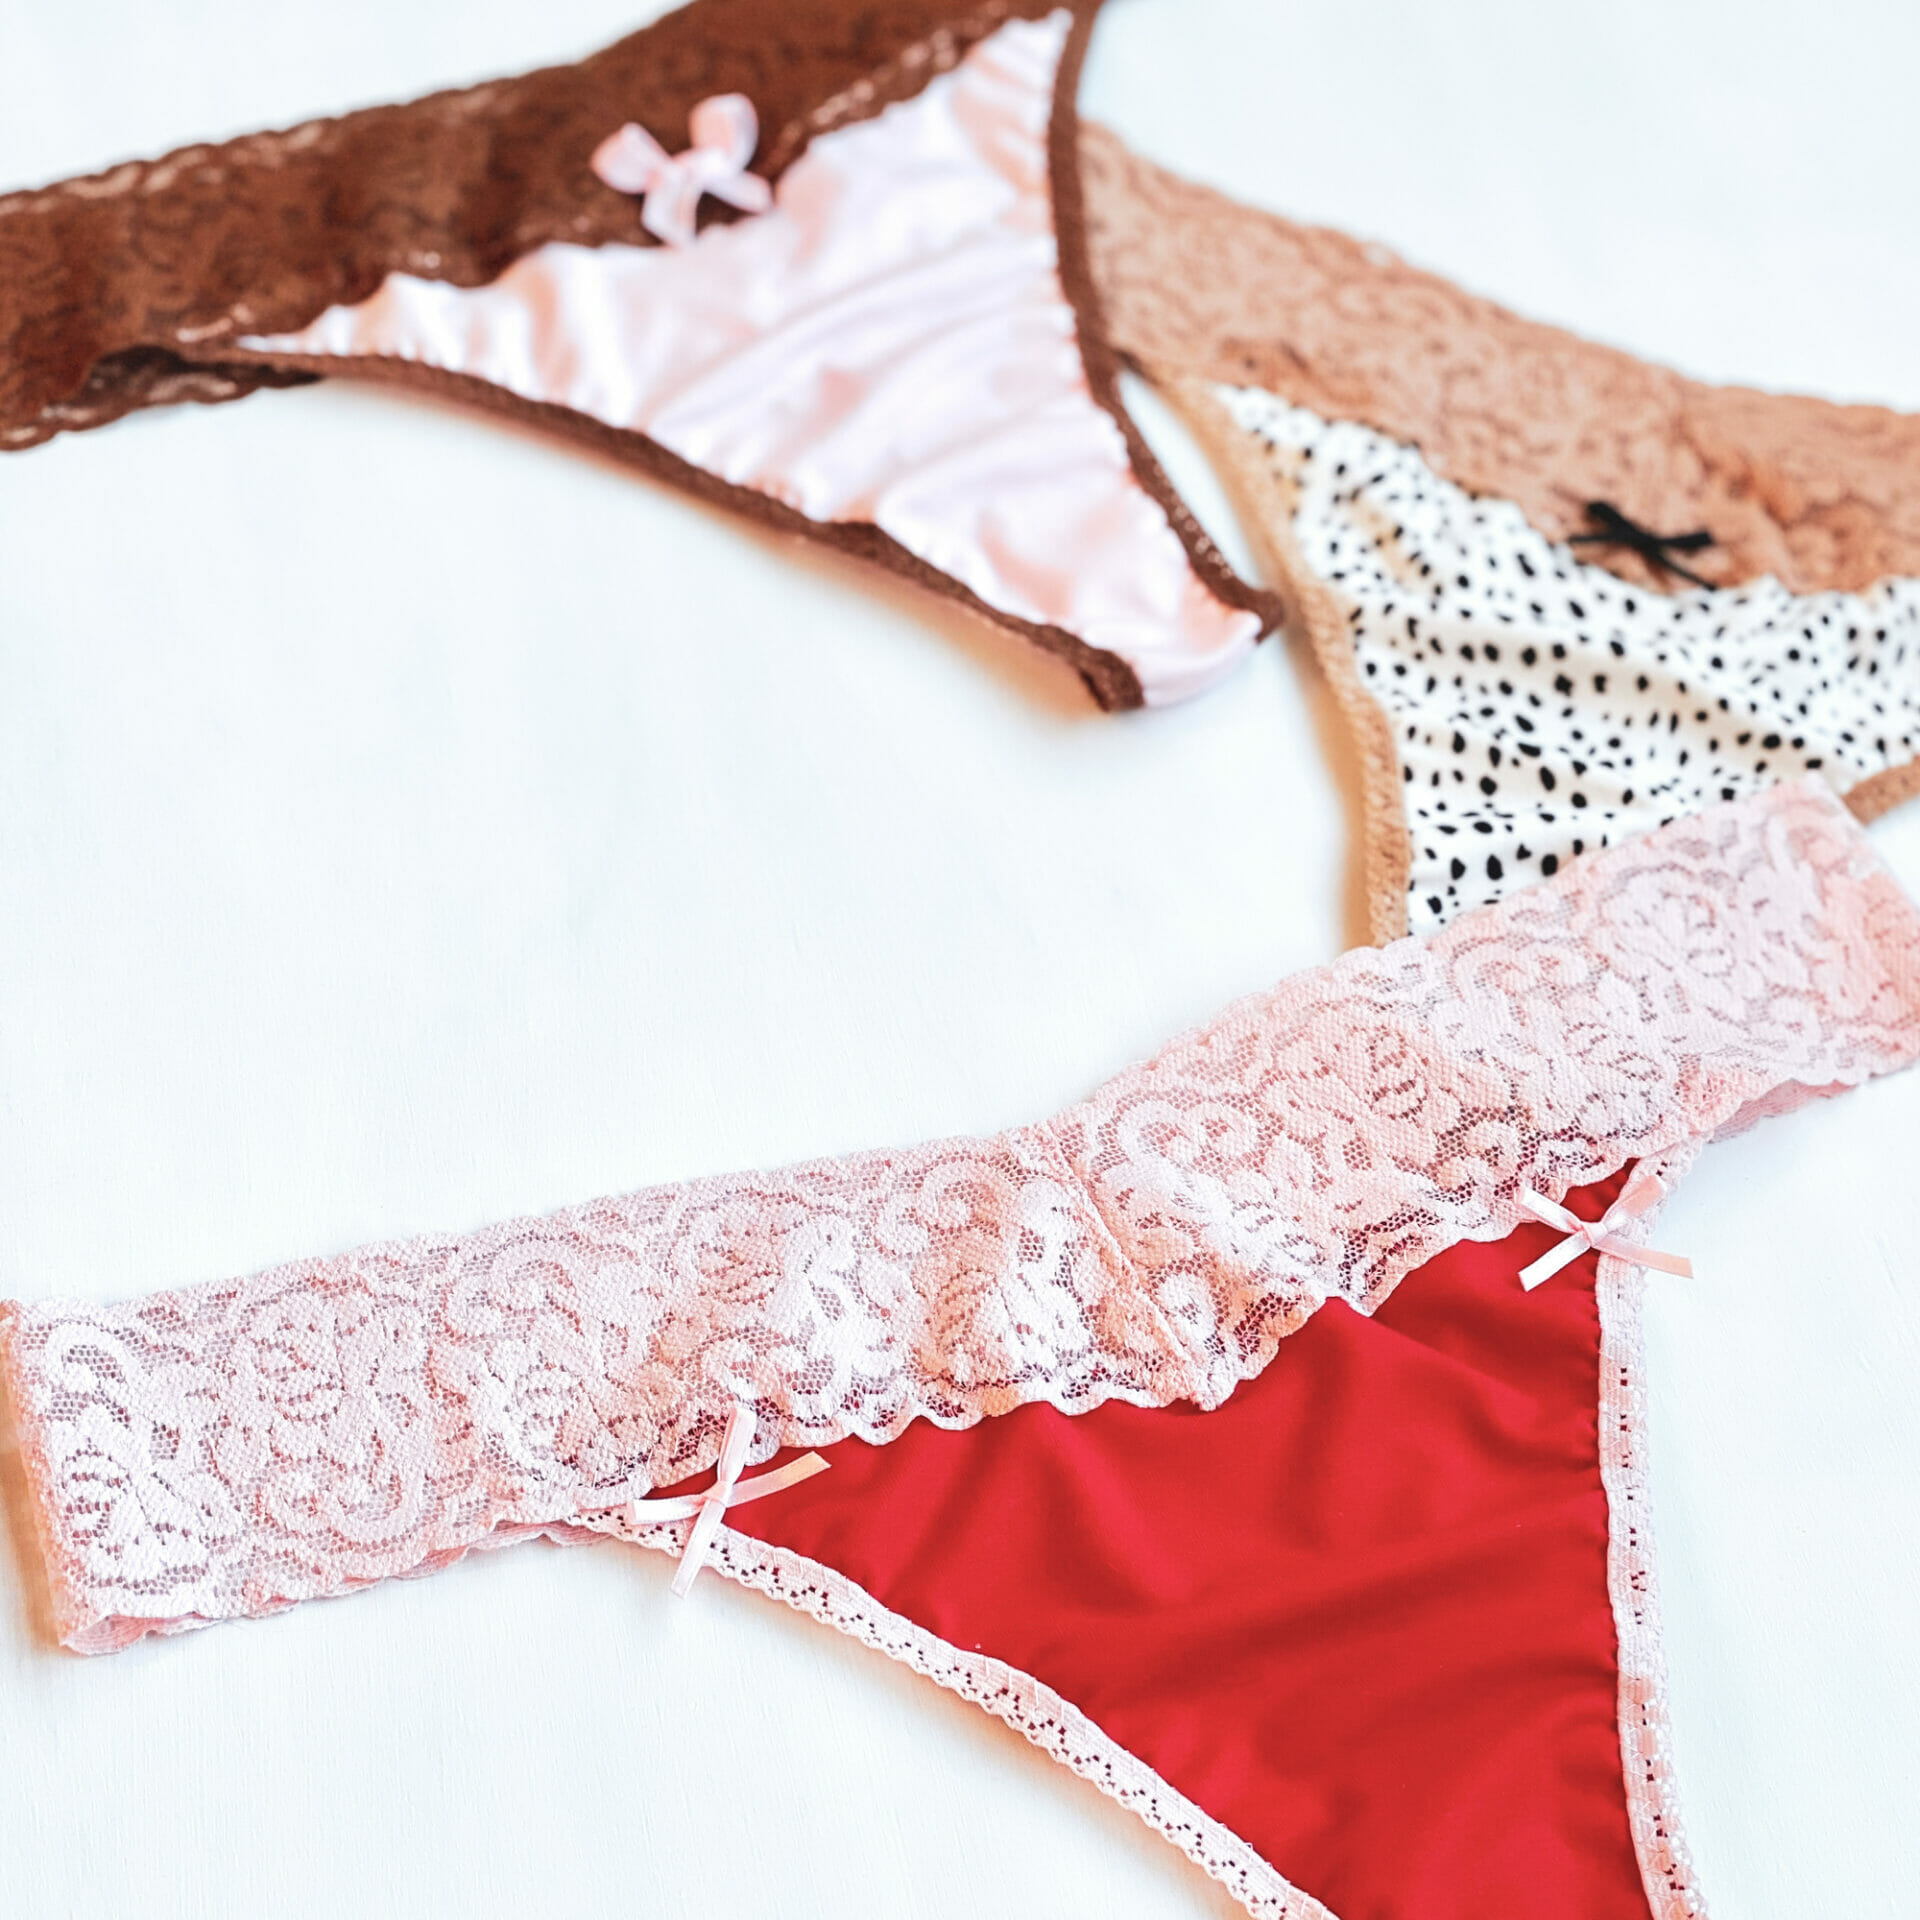
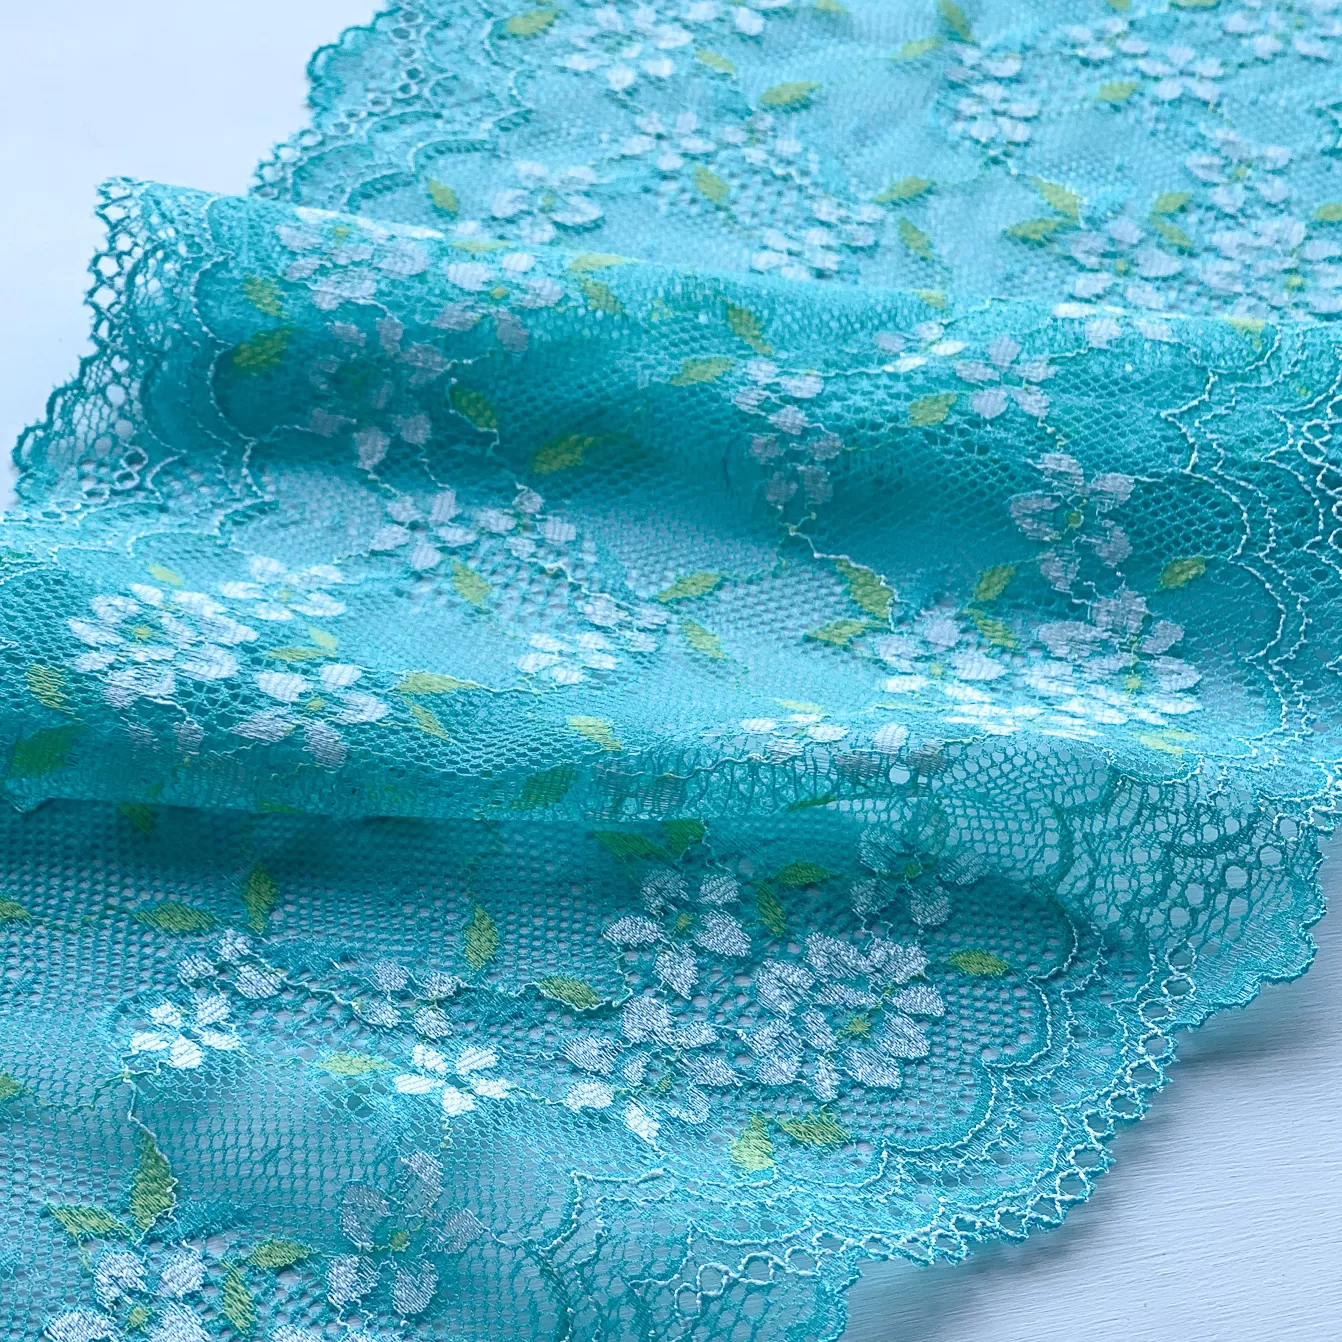
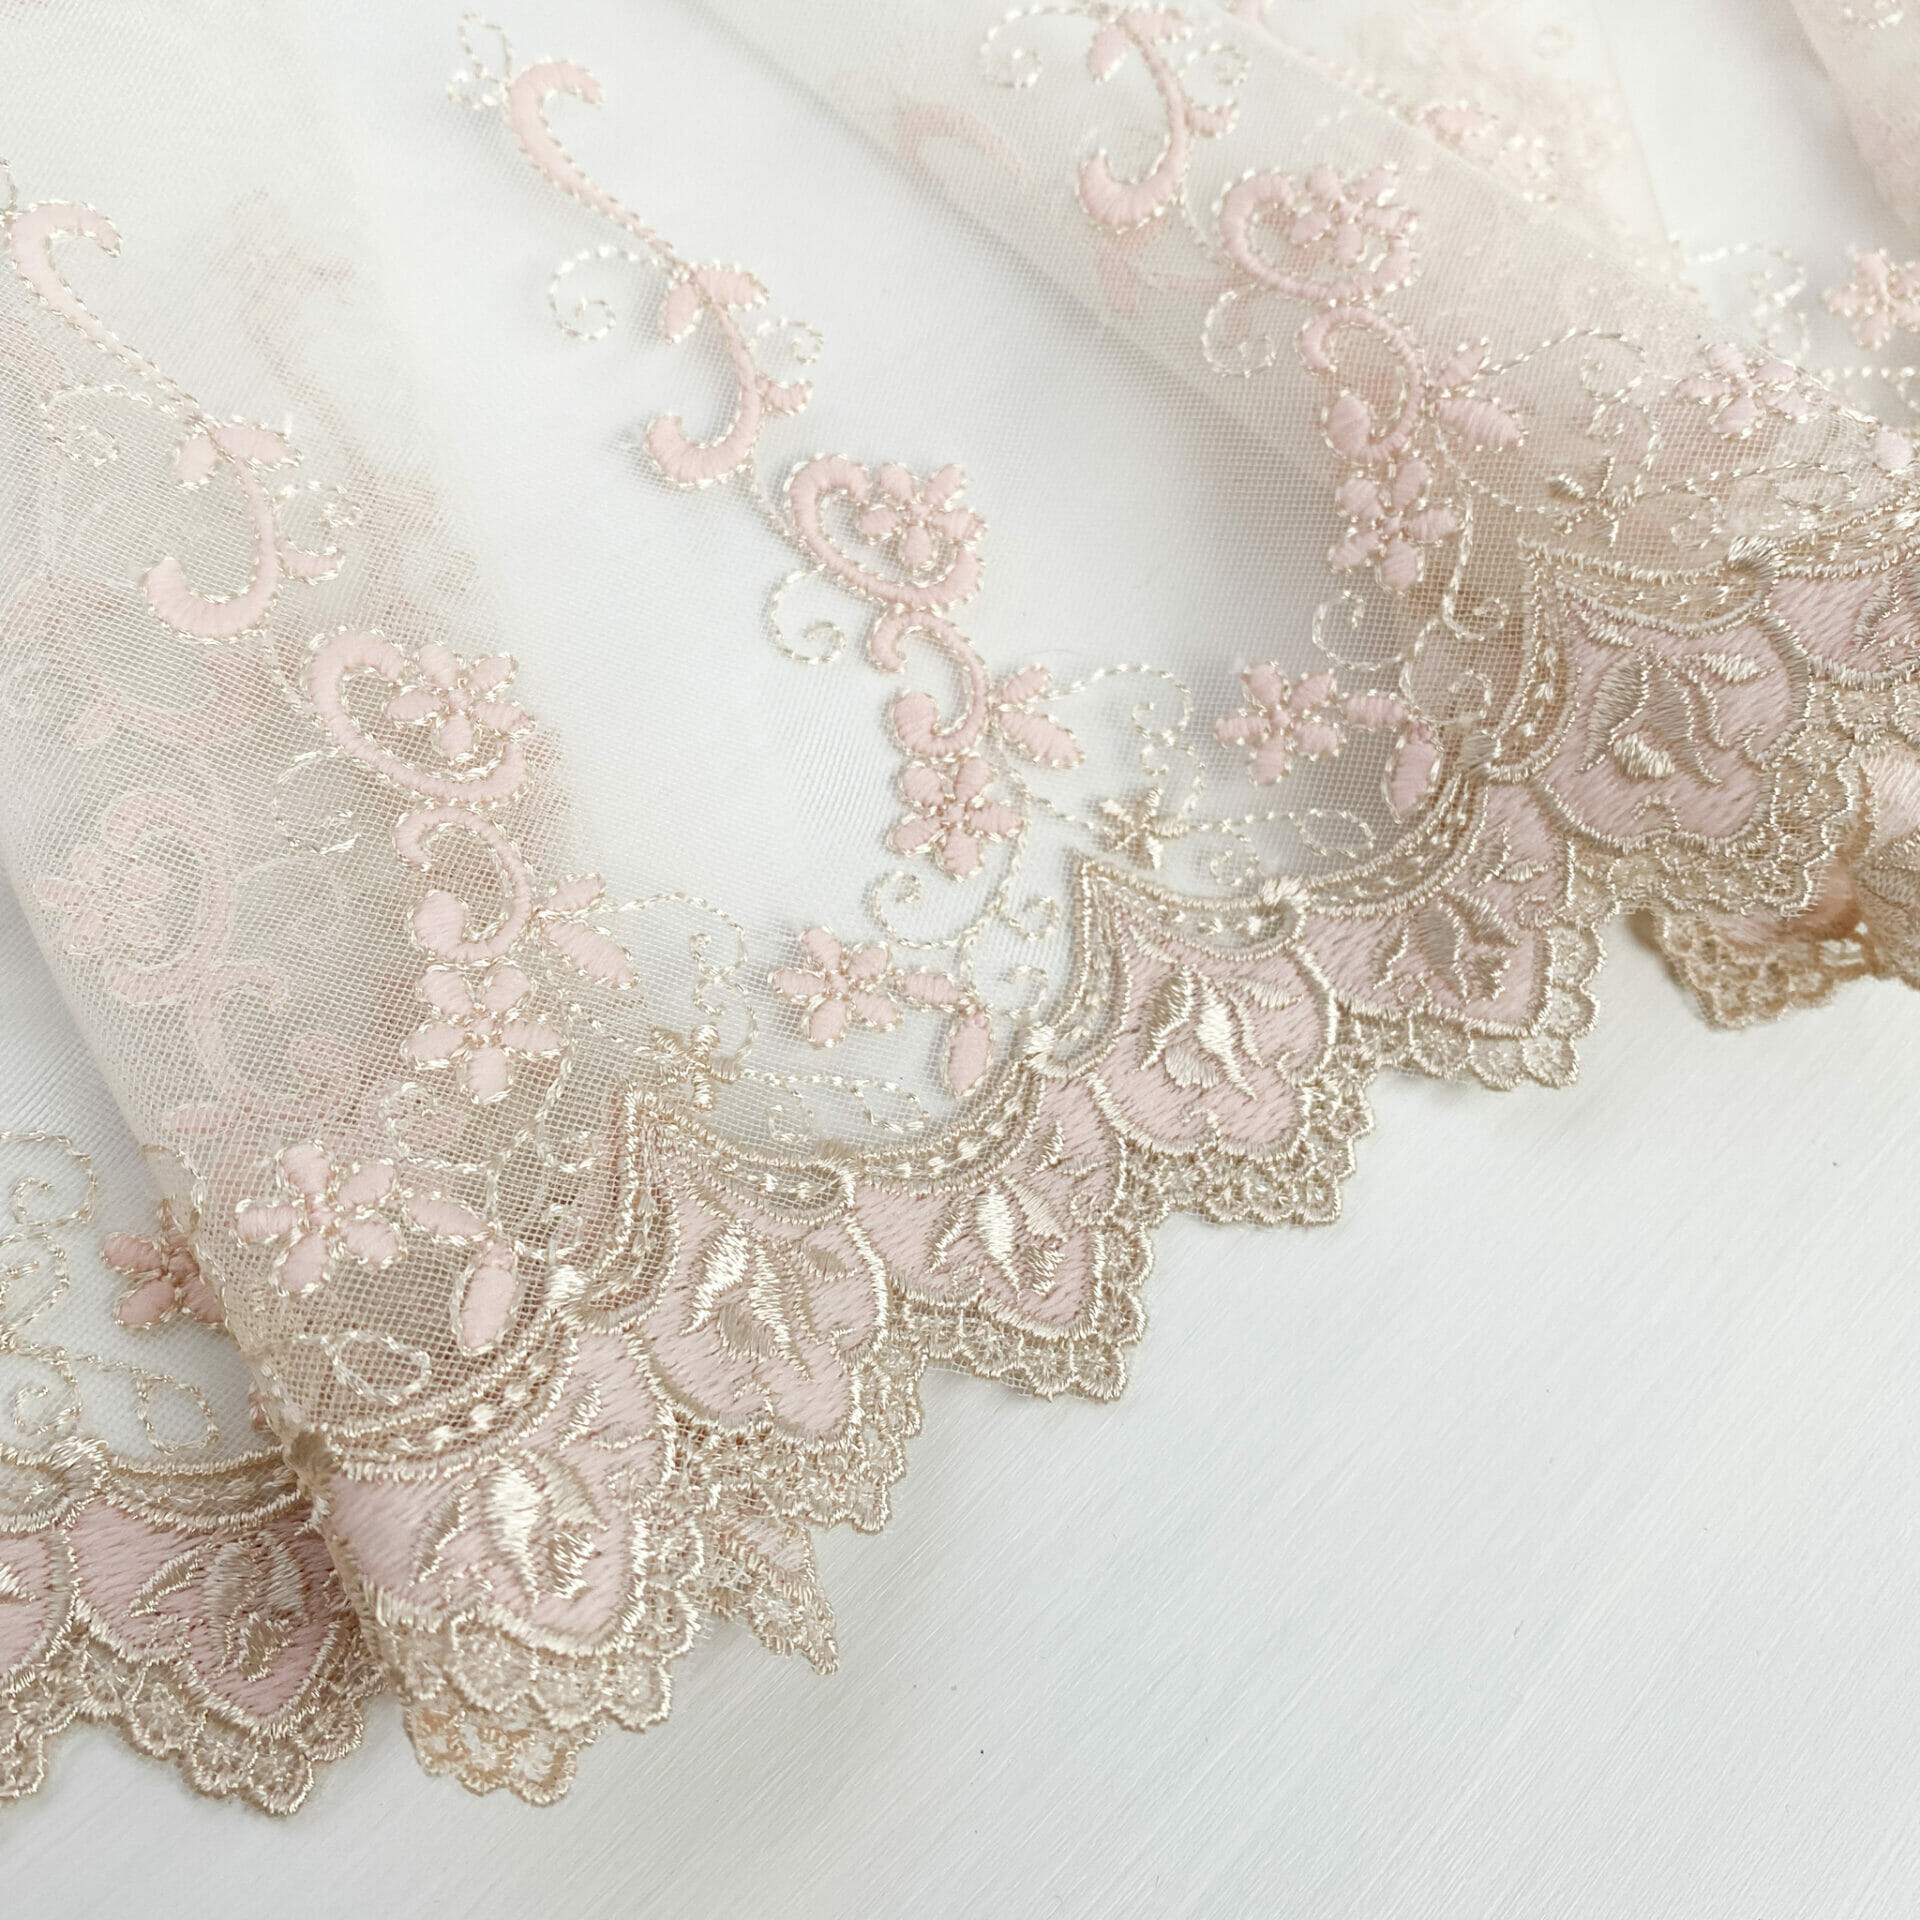
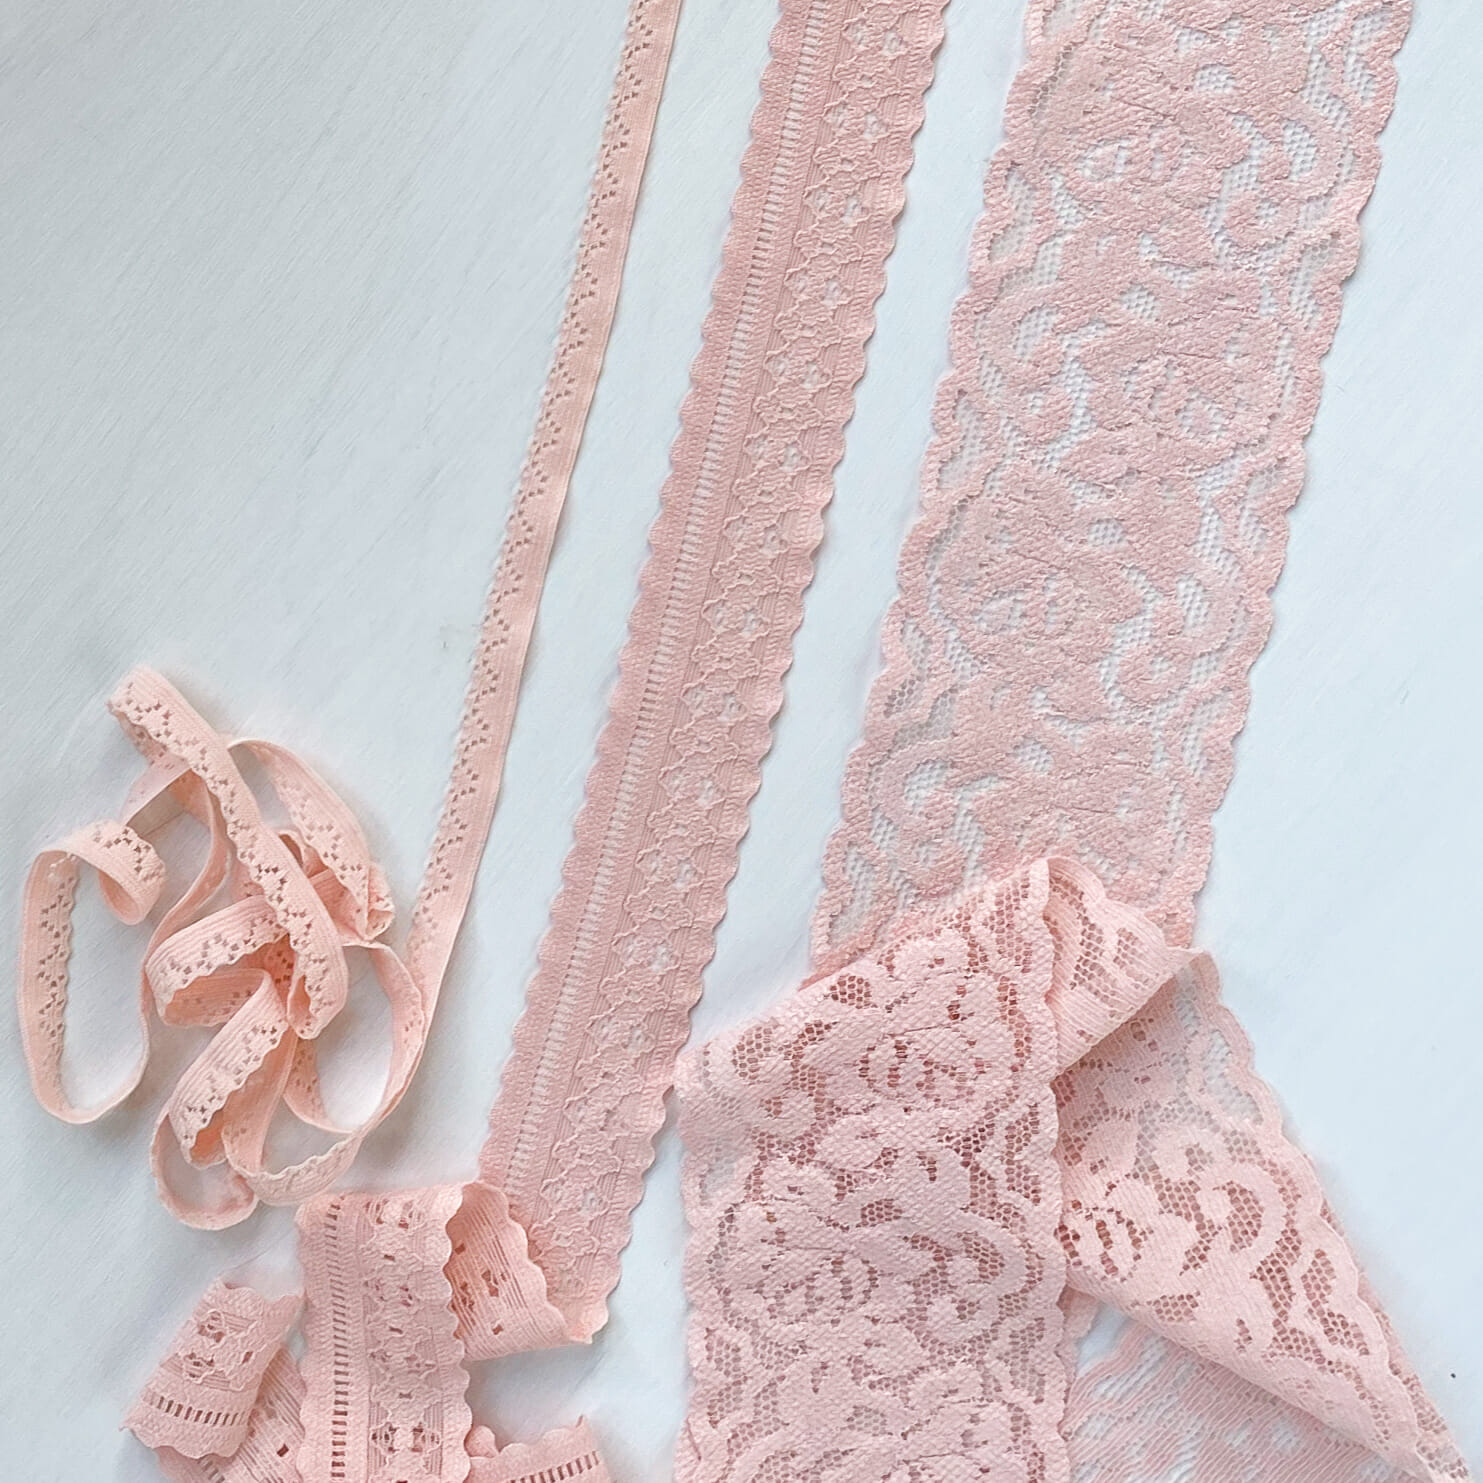
Today I have a post about a really simple hack to the Jordy Bralette to maximize a beautiful lace. As gorgeous as the standard Lace Overlay version of the pattern is, if you have a lace that has a wider pattern, or you just want to make the most of, then this all-lace with a lace outer edge to the Jordy is the perfect solution. You can buy the Jordy Bralette pattern here.
This is an incredibly simple hack to the Jordy pattern. There are two main changes that you need to make for this version. One is changing the outside edge of the pattern to accommodate the lace edge, and the second is using a picot elastic to finish the inside edge.
To make this hack:
STEP 1
Modifying the Pattern Pieces
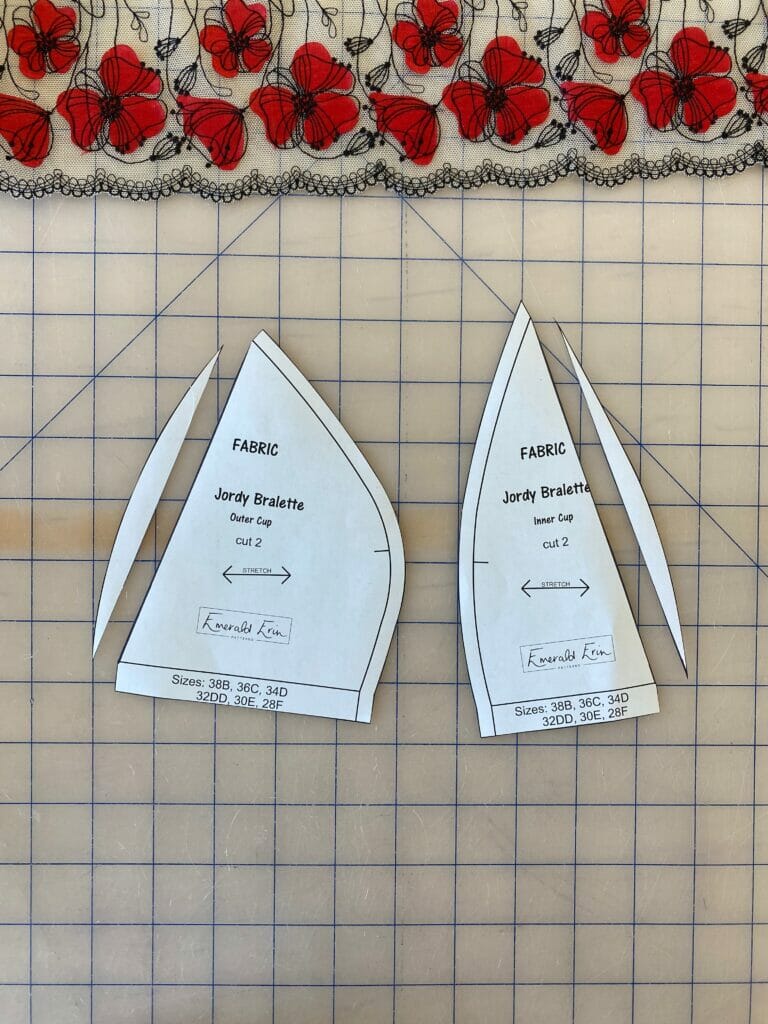
To modify the pattern you want to straighten the outside edges of the inner and outer cups so you can have those edge finished in lace. Use the fabric pattern pieces without elastic allowances, and, with a ruler, connect the top point of the cup to the bottom edge (inside the seam allowances). Then cut off the curve, leaving a straight edge.
STEP 2
Cutting Out & Assembling the Cups
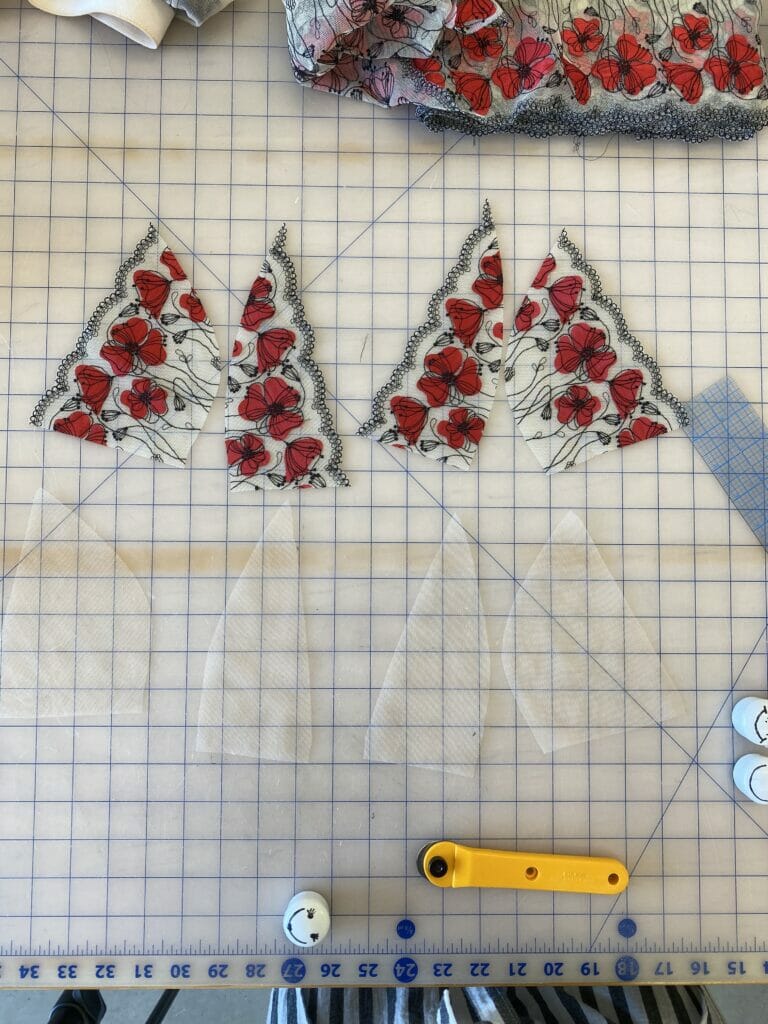
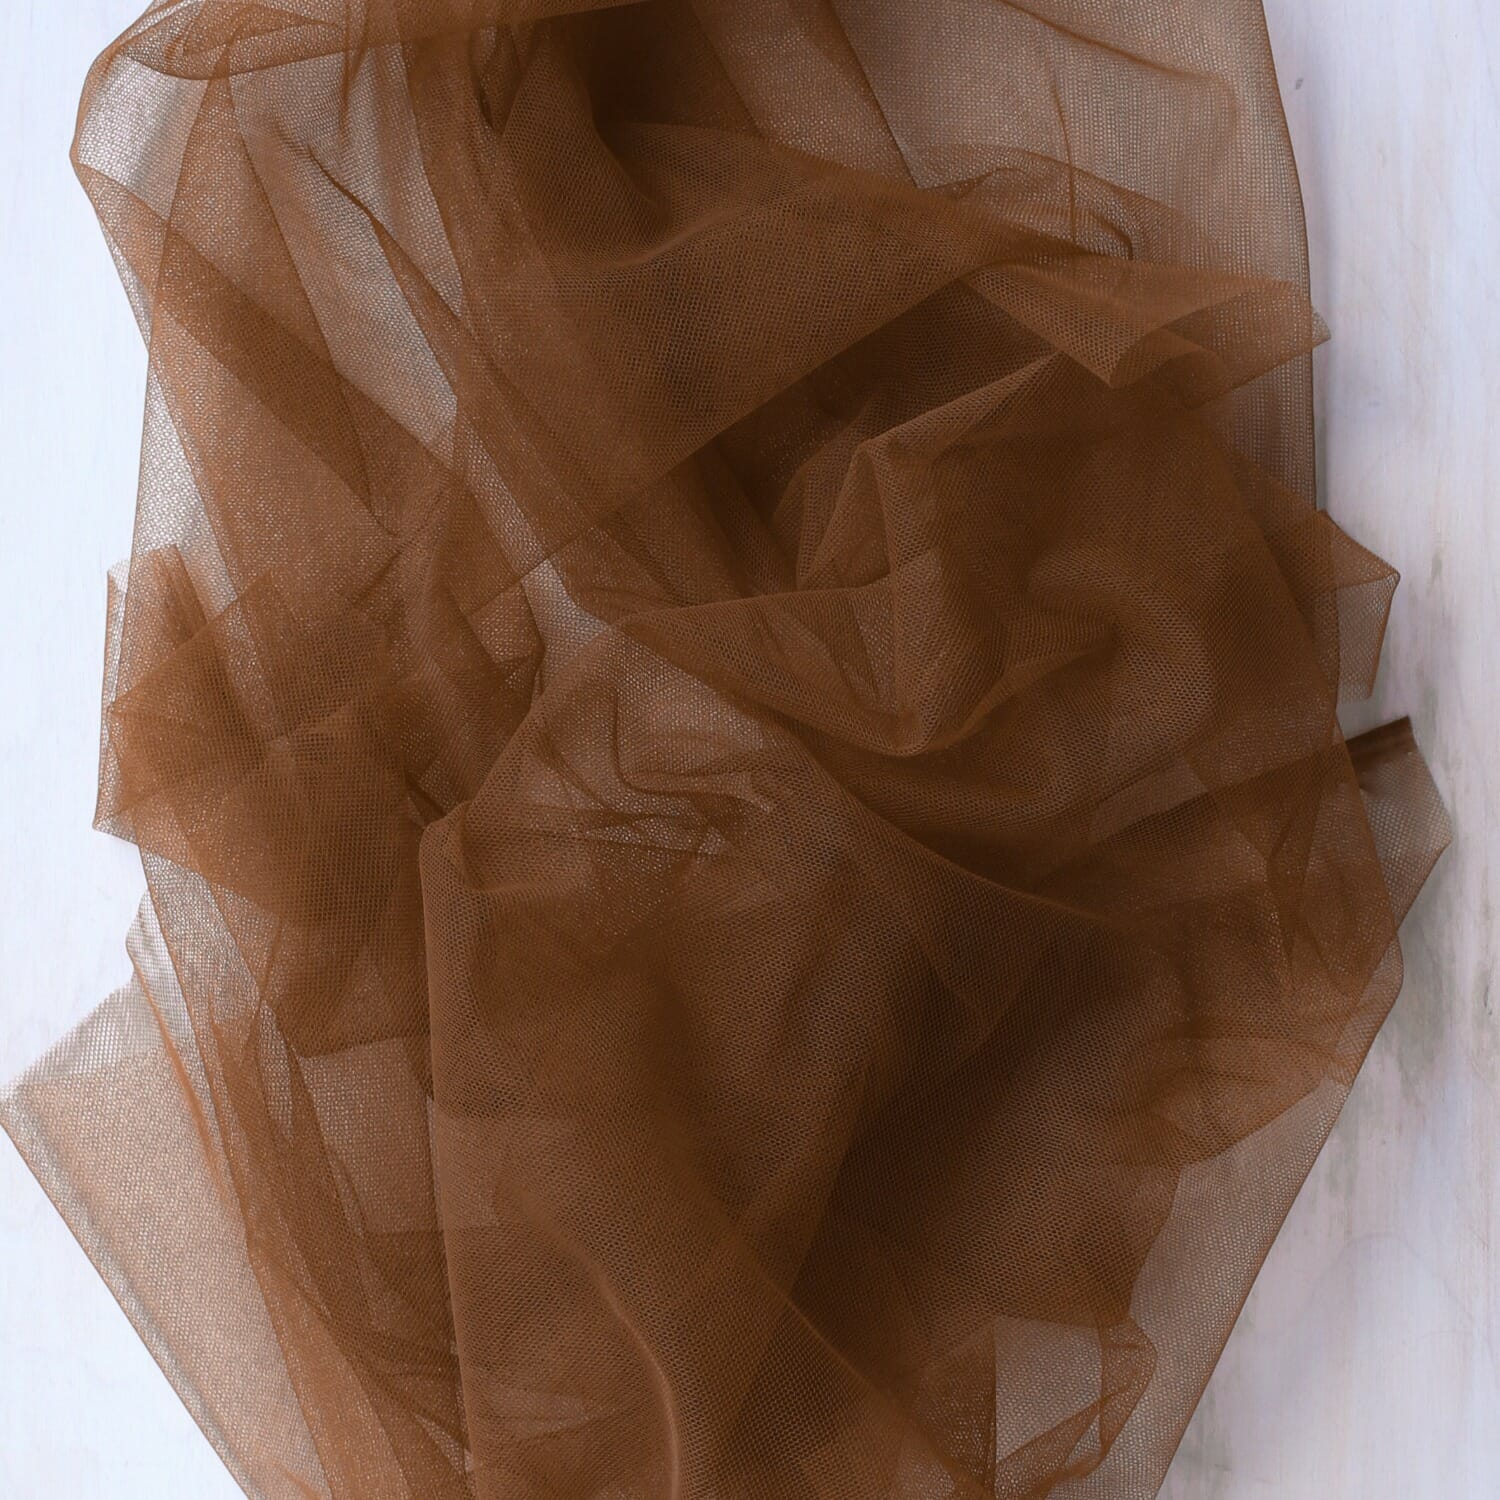
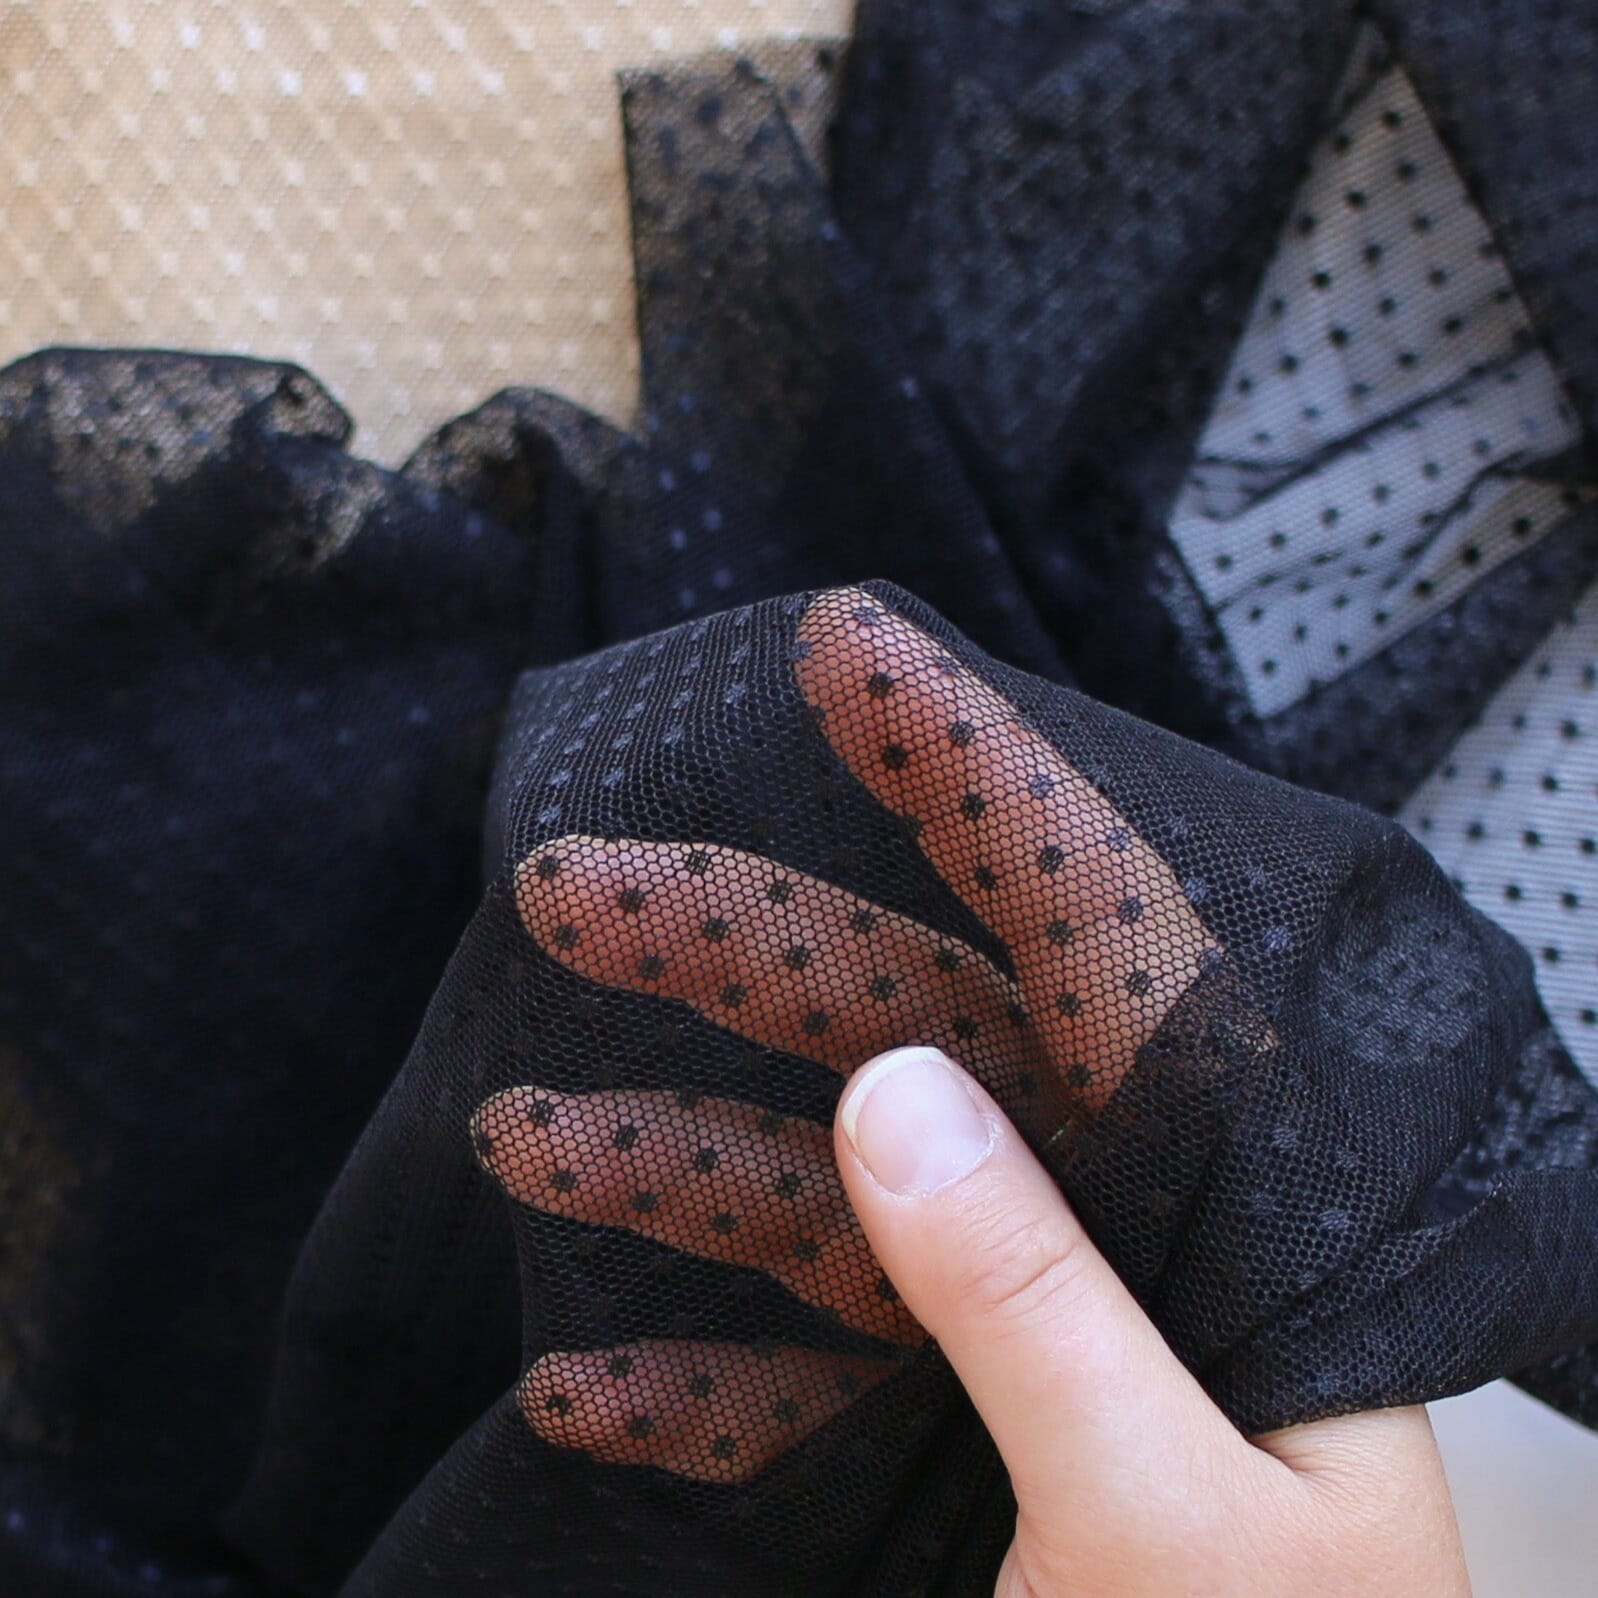
Cut the cups out of lace, and out of bra tulle to line the lace. *when cutting the lace, think about the placement. At the top of the cup, the seam should end at the edge of the lace (usually the low point in a scallop) just like shown in the instructions for the lace overlay version*
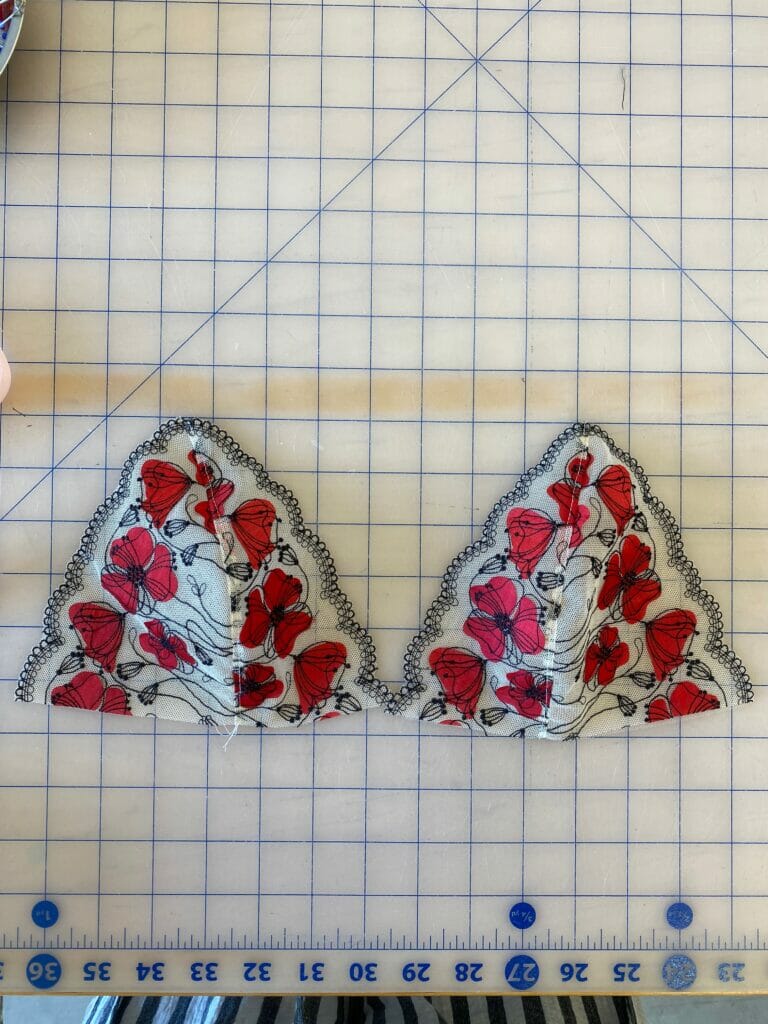
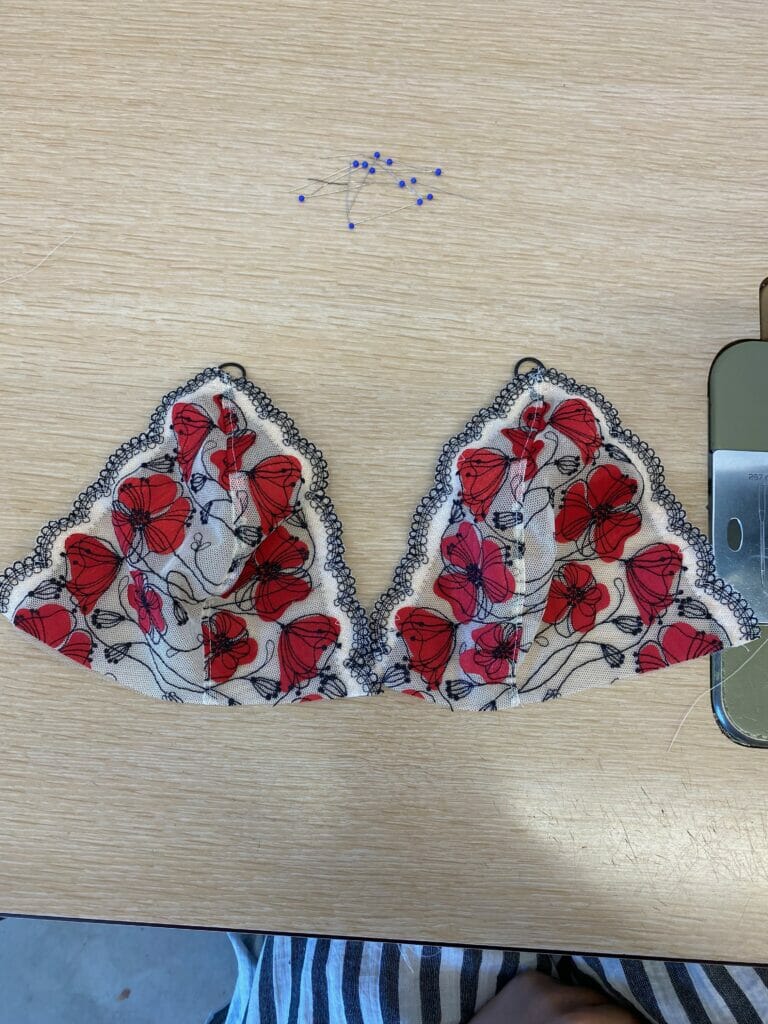
Sew the cups together as shown in the instructions.
STEP 3
Applying the Elastic
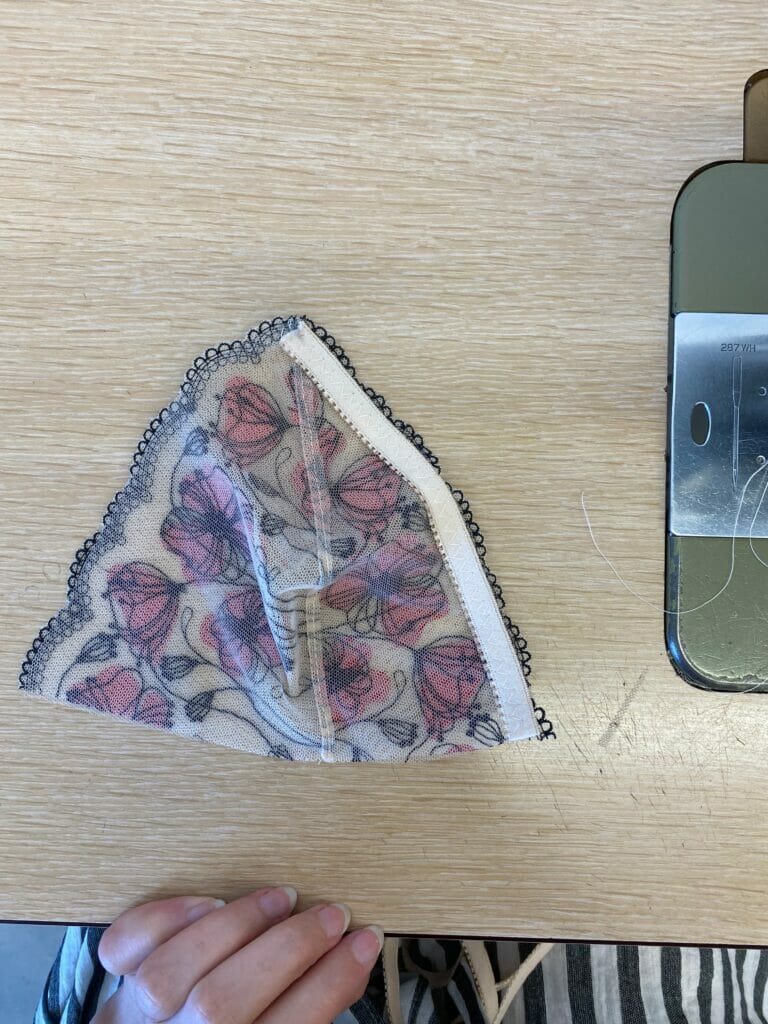
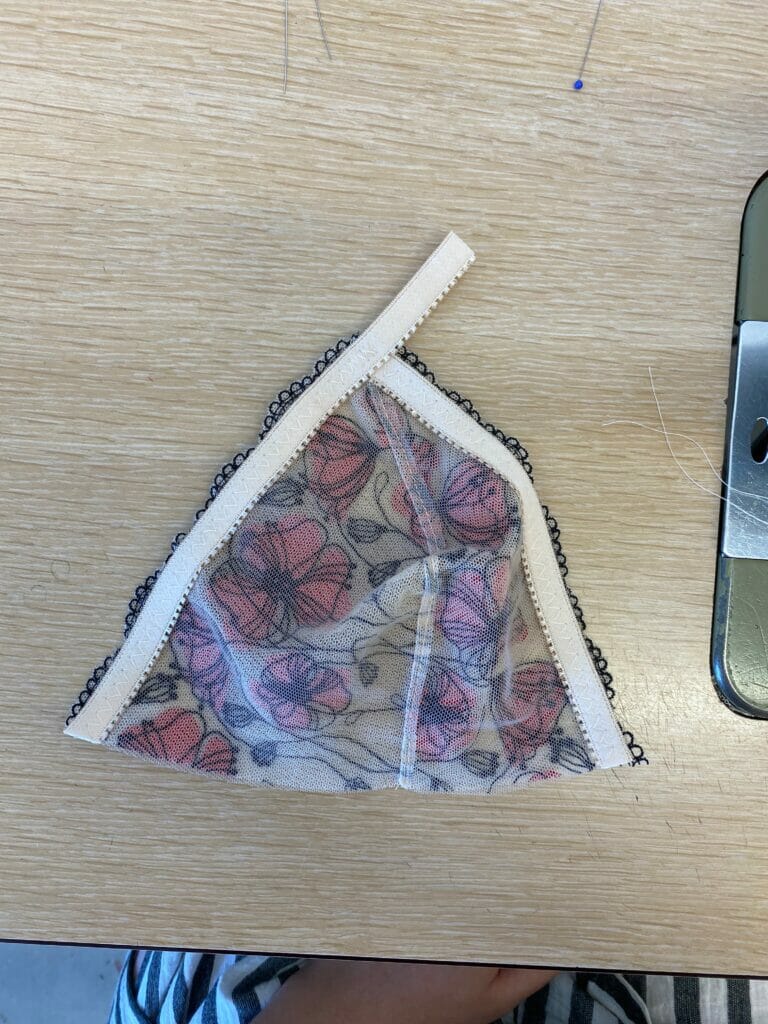
Place the picot elastic (with picots facing in towards the center seam) along the edge of the inner cup just inside the lace edge covering the edge of the bra tulle lining. Stitch down flat with a zig-zag stitch through the center of the elastic.
Repeat this along the edge of the outer cup overlapping the elastics at the top, and backstitching to secure. Leave a tail of elastic at the top of the cup to attach the ring.
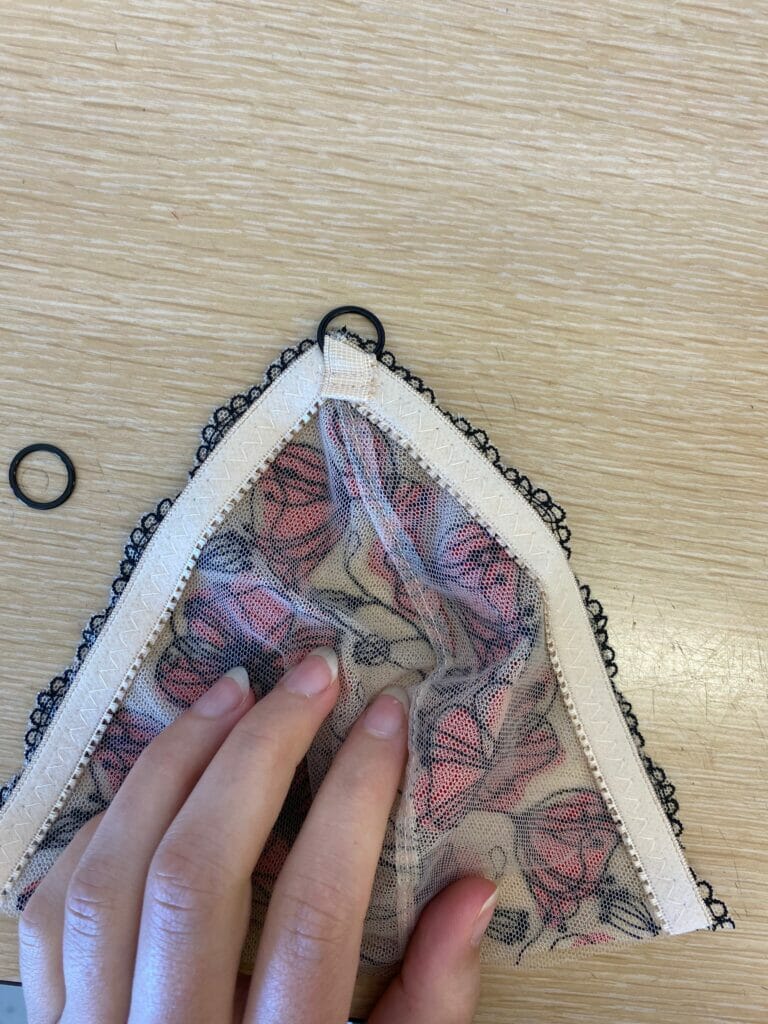
Attach the ring to the tail of elastic, trimming away the excess.
STEP 4
Finish the bralette as usual with the Instruction Booklet.
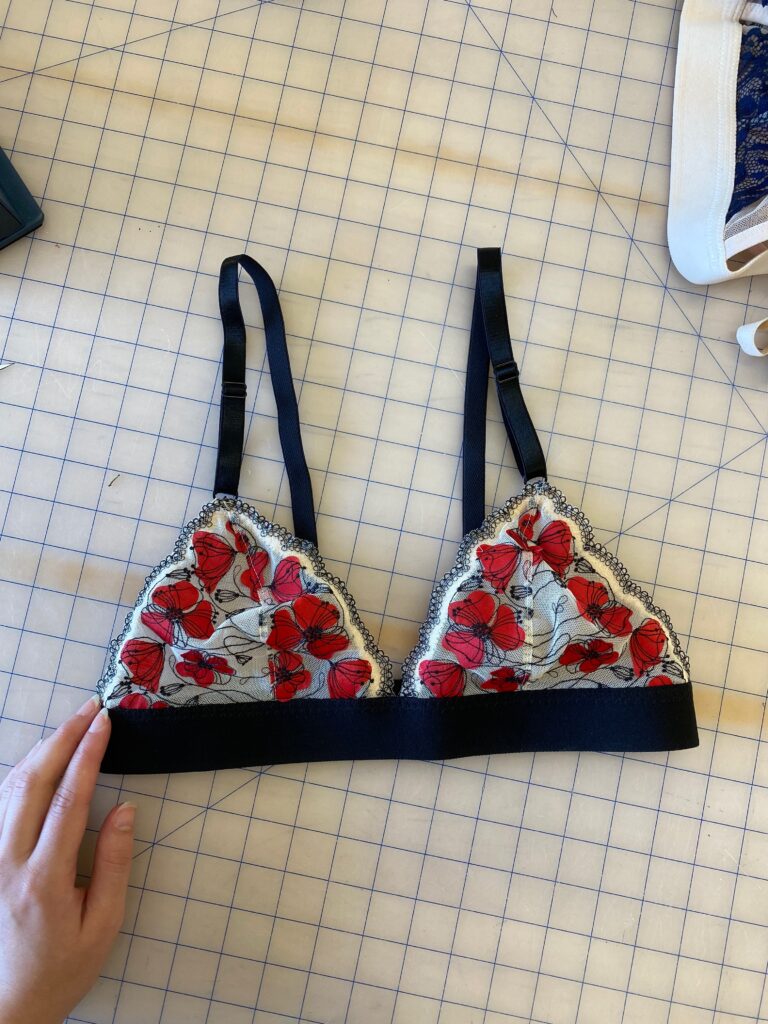
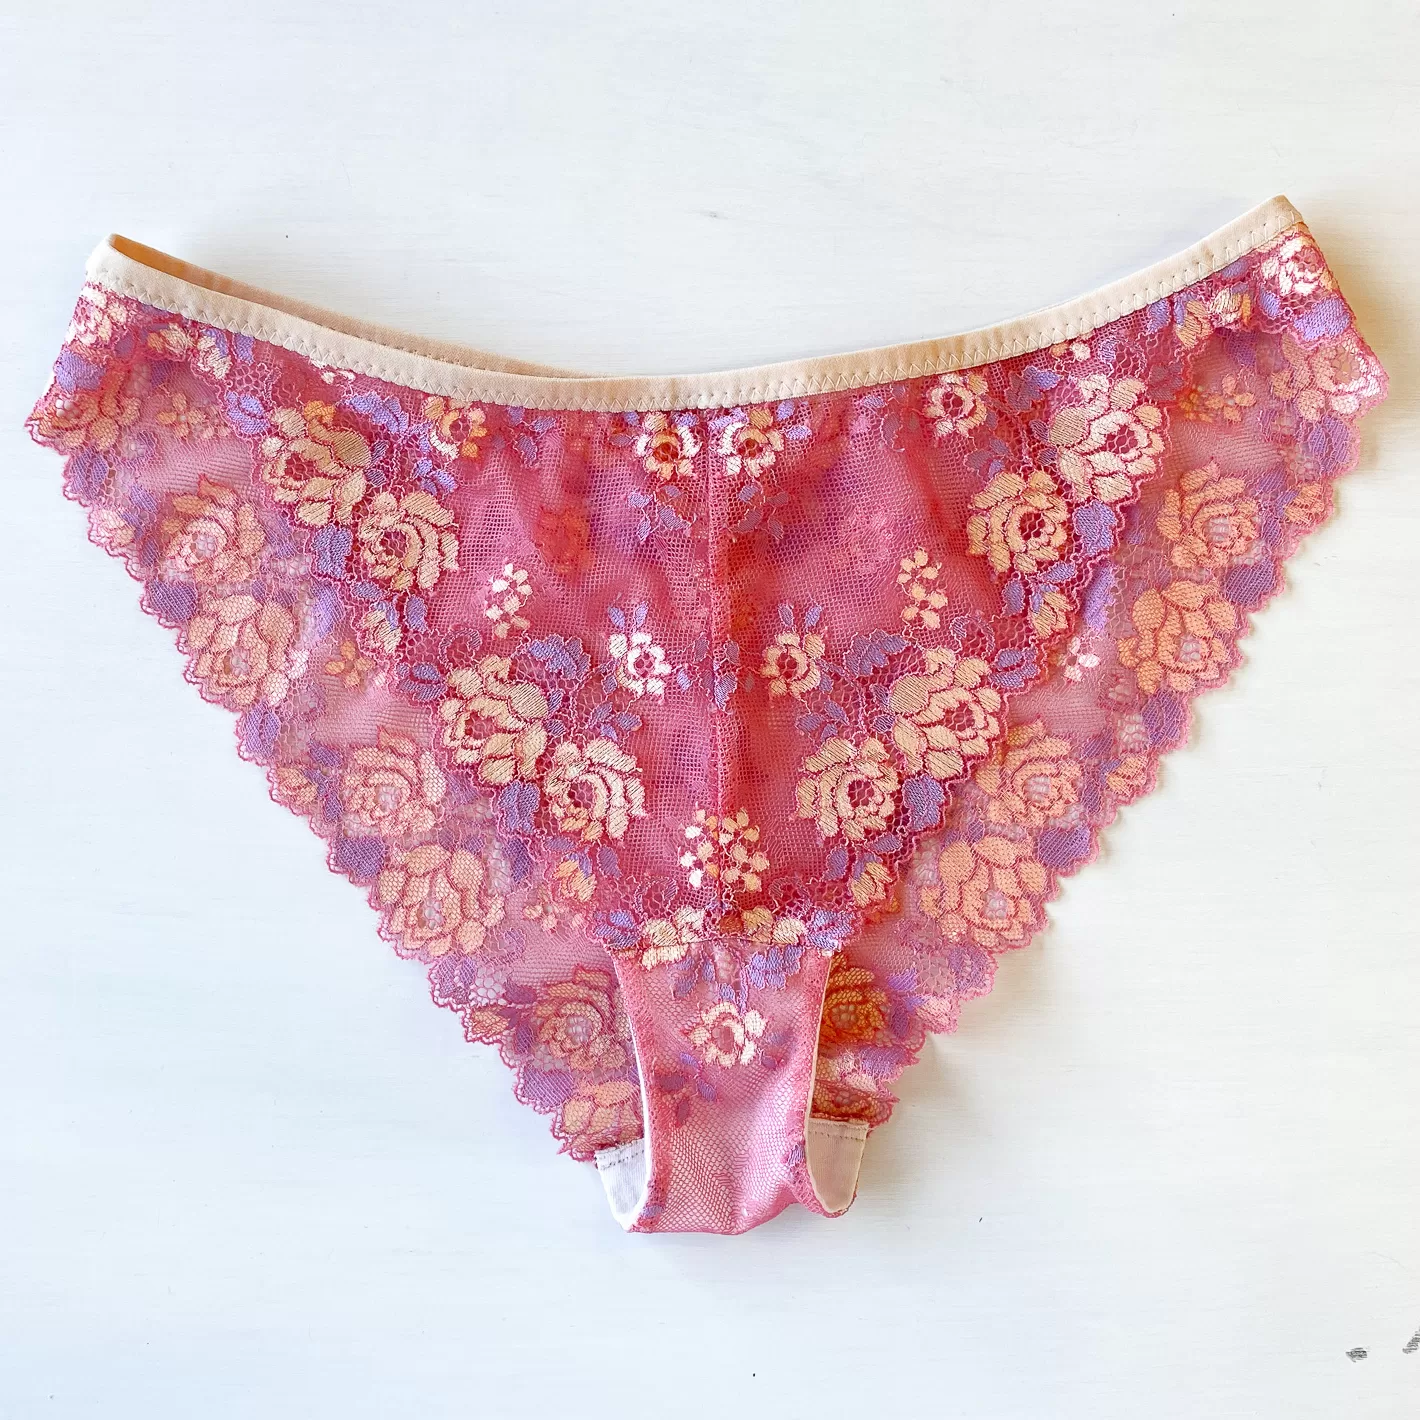
Voila! And now you have a beautiful all-lace Jordy
Happy Sewing!
Buy the Jordy Bralette Pattern here
xo
Erin
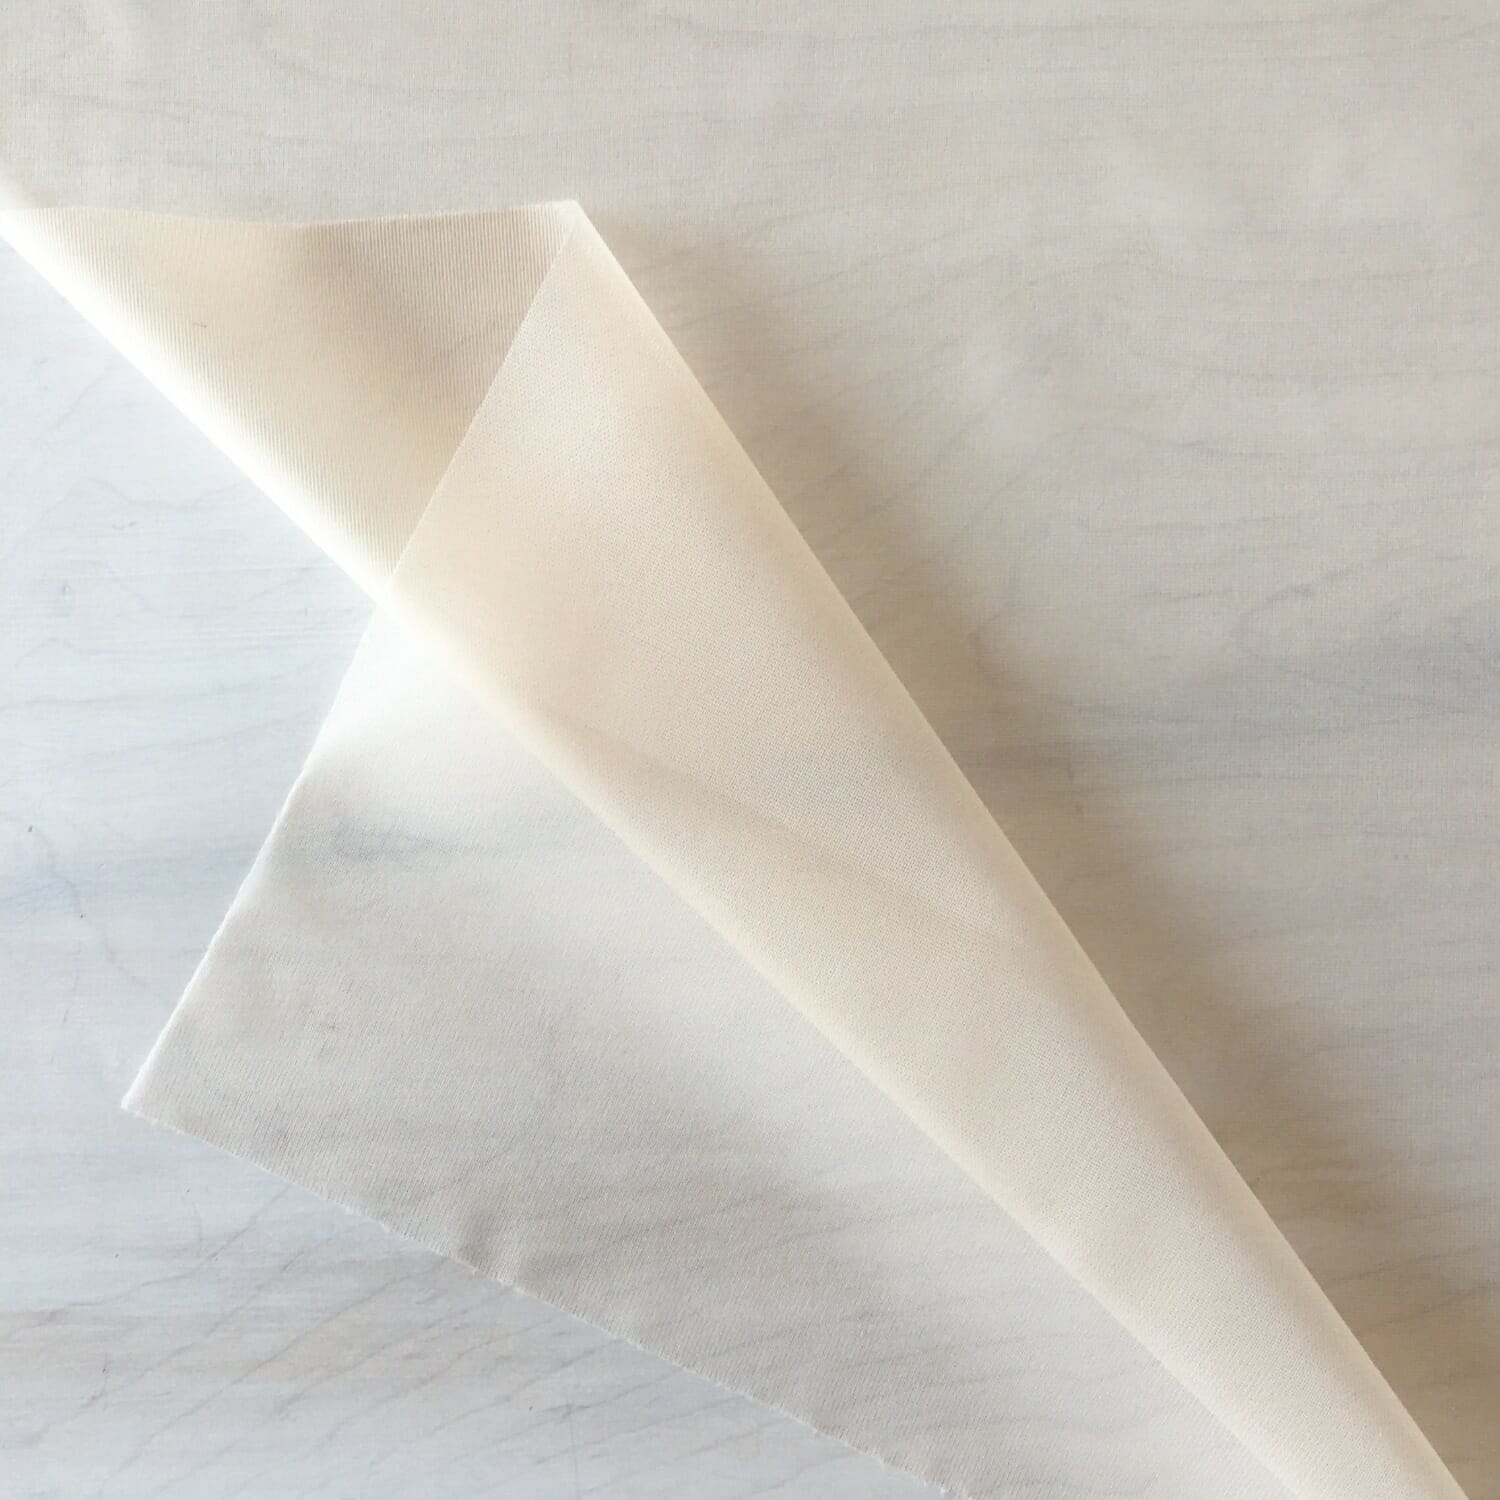
Overall, it’s a good pattern for beginners, but with this all-lace version, I found the cut lace that attaches to the band to be scratchy. The second one of this version I made I ended up doing a silk bias tape on the side of the cup that didn’t have the small elastic. You can see it on the inside but the bias tape isn’t visible when when worn.