


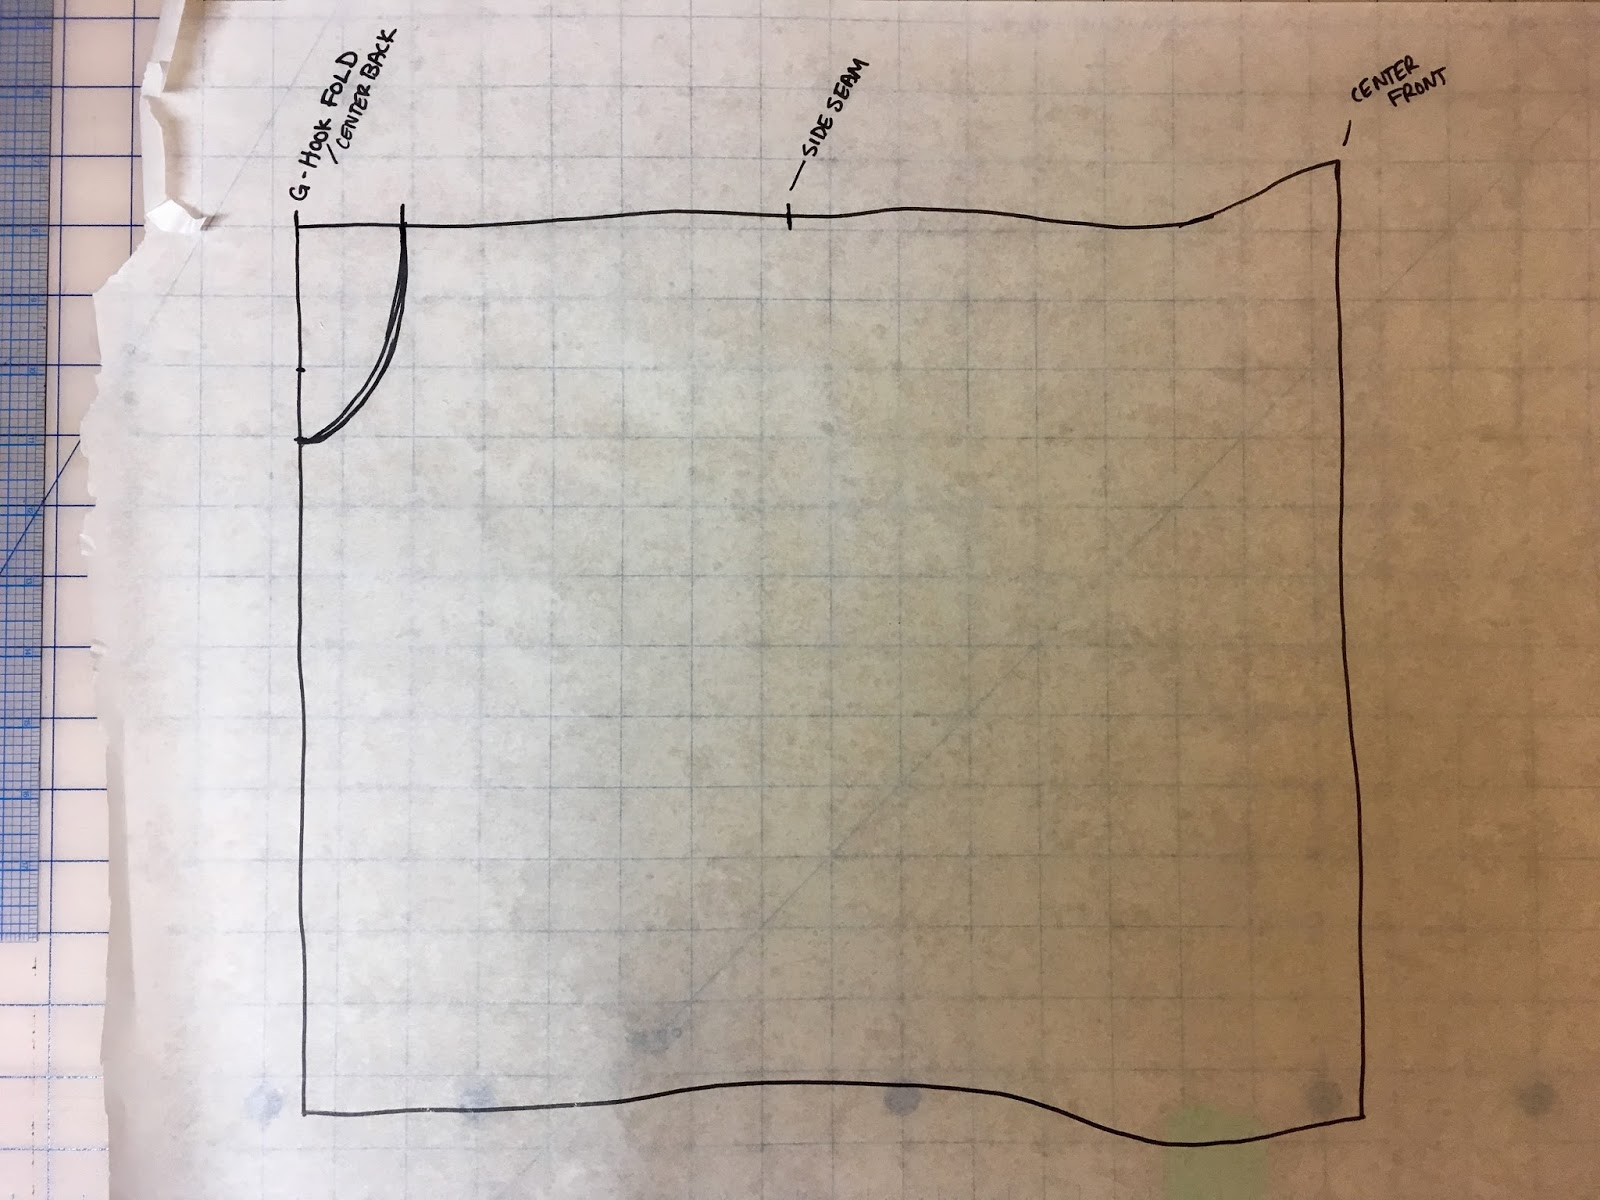
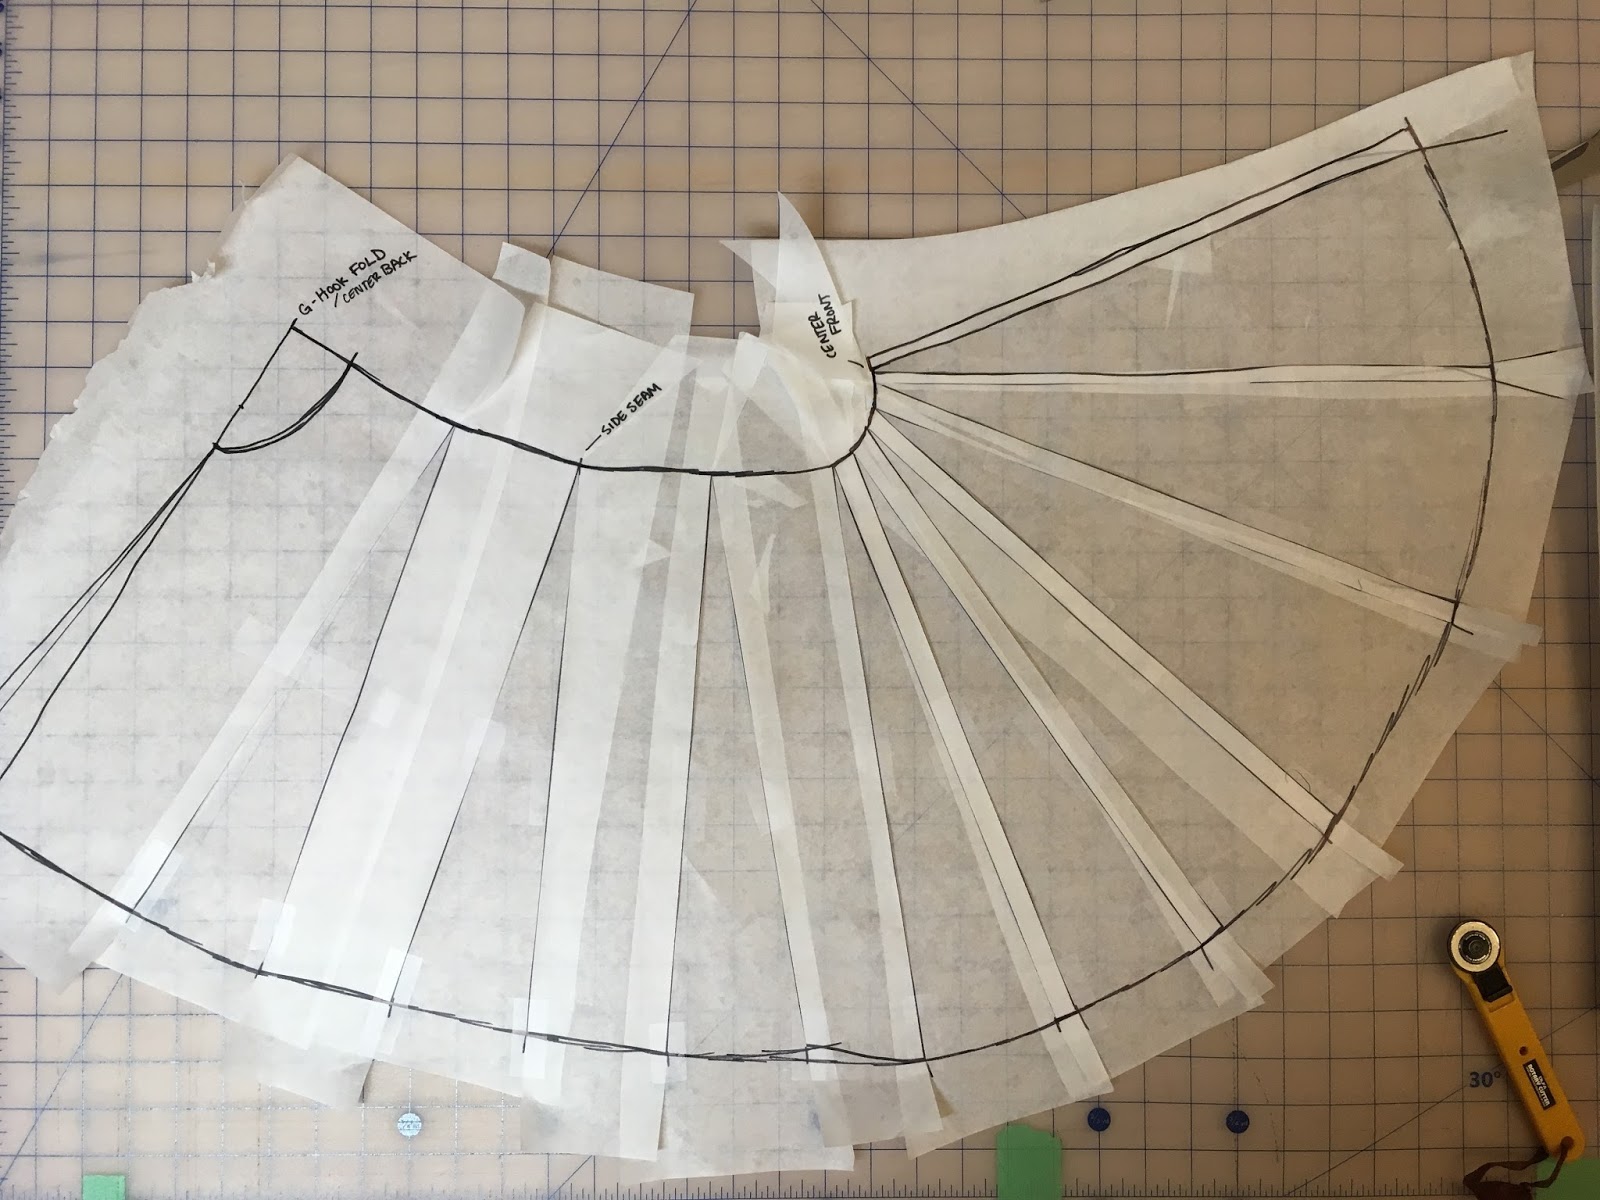
Now you’ll want to trace the bottom of you bra frame, marking the center front, the side seam, and the center back (this is the bra hook placement- which would be the point you attach your hook & eye, or the fold point that your g-hook would sit in). In this photo I traced all the way past the g-hook fold, but please ignore that.

Now that you have this, you want to measure on your body how long you want your tankini skirt. Do this by starting at the center front of your bra, at the bottom of your bridge, then measure down your body to the point you want your tankini to end. For my mom this was 13″.
Then on your pattern measure straight down from the center front and the center back 13″, making a box.
If you left your pattern like this, you would have a very straight tankini skirt, with no allowances for your hips.

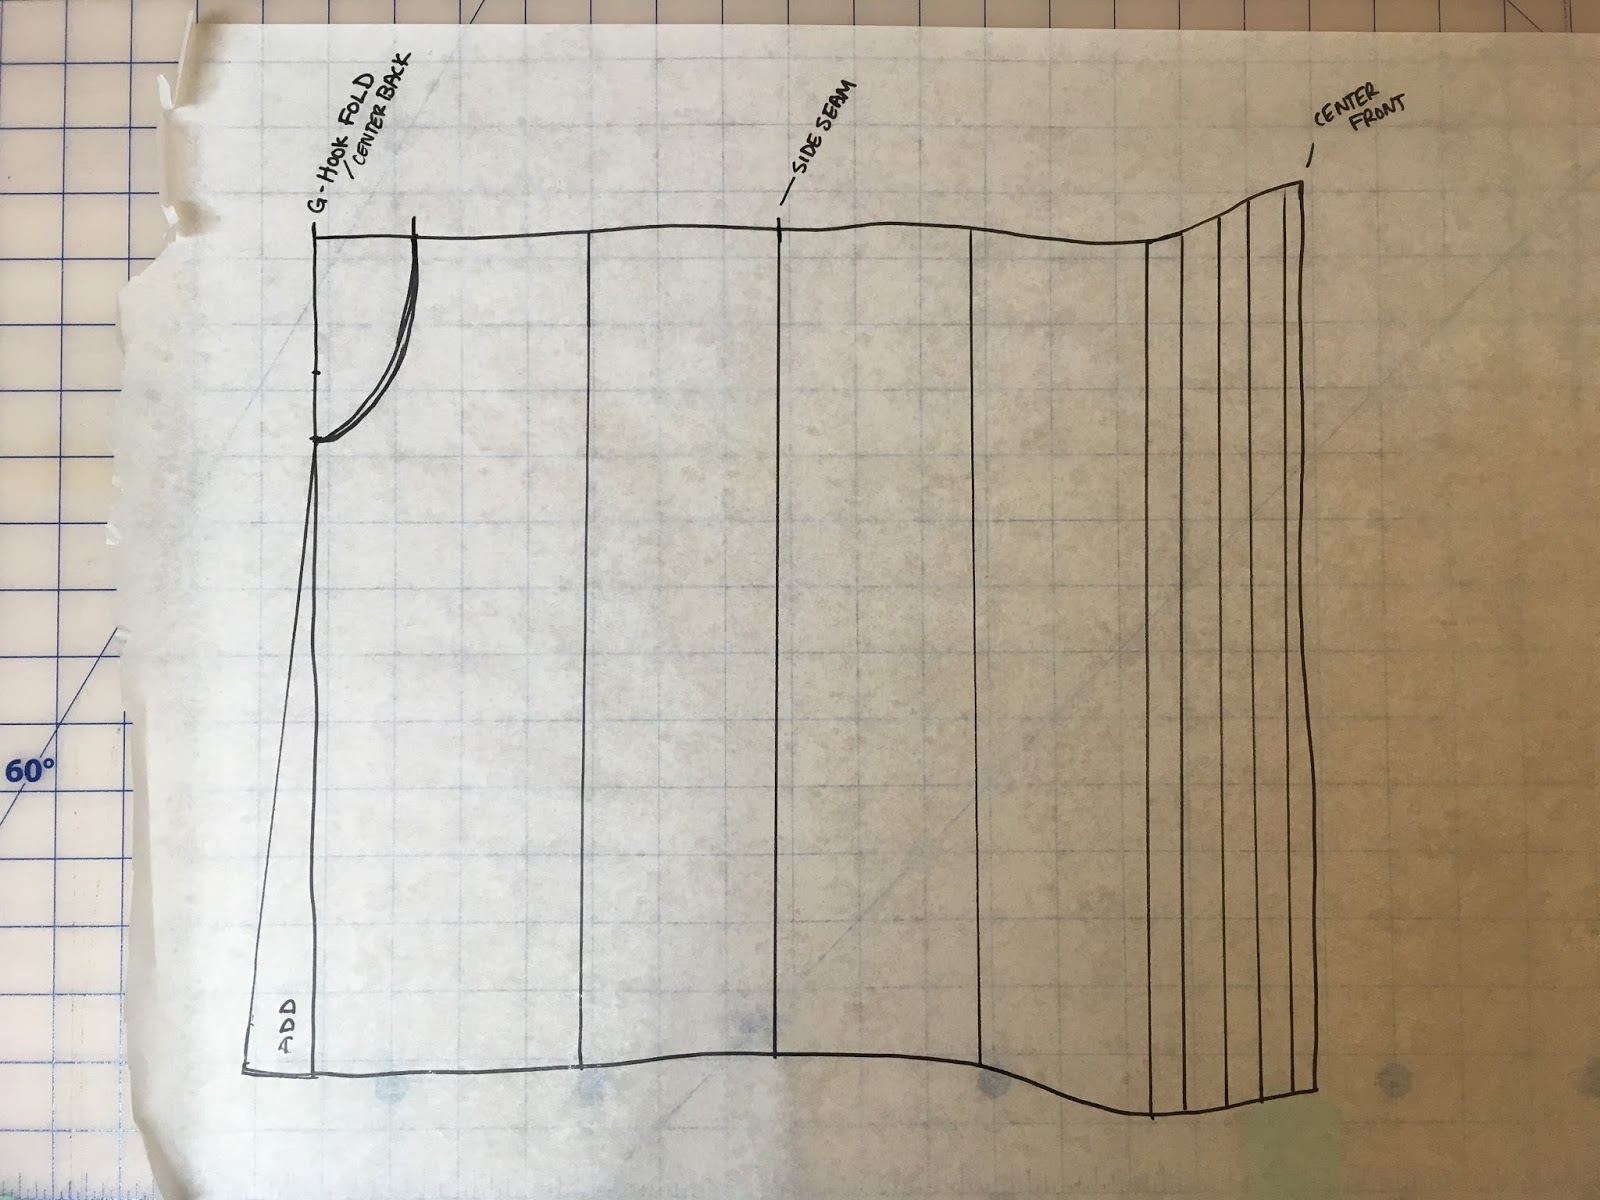
In the back of this tankini, you want to have some wiggle room to fasten your bra hook. Measure approximately 1.5″ in from the center back along your bra-frame line, and 3″ down the back of your back seam, and connect these in an arc. This will give a nice little space in the back to allow for your bra fastening.
Now this is the point where you want to add in all your volume, and I like nothing more than a lovely flouncy tankini skirt!
I like to use the slash and spread method, where you slash your pattern, the spread it to add some volume. This gives a lovely circle-skirt type of volume, so there is no extra gathering and bulk at your bra frame, but it just flounces and flows out from there in waves! Really flattering and easier to sew!
For this tankini skirt I’ve drawn lines where I want to split the pattern and add some volume: one in the middle of the back, one at the side seam, one in the middle of the front, and then I want to add some big fun volume in the front, so I’ve added 5 lines, which will all be slashed and spread. I’ve also added just a little at the center back seam that you can see!
Now to the slashing and spreading! Remember that this is one side of your pattern piece, so the extra you add will be to both sides! I find that with stretch mesh- you really can’t go too wrong- it’s so forgiving and light!
I decided that for the middle back, side seam, middle front, and the first two front slashes, I would add 3″ of width. I did that by slashing along my line, inserting a piece of paper under, and measuring a 3″ gap between the old hemline marks.
To create some bigger drama, I added 5″ to the three front slashes closest to the center front.
Also (and of course I didn’t get a picture of this step)- You need to add a seam allowance along the top frame edge, this allowance should be the same width as the elastic that you are using for the bottom band of your bra, since this will be sewn into the bottom elastic allowance on the frame of your bra.
Add a standard 1/4″ seam allowance along your center back seam (or whatever seam width you like to sew your stretch mesh with).
At the center front I’m going to be leaving my tankini open, so that it has a slit up the front. For a nice finish with this style I like to add a little extra seam allowance, about a 1/2″, this is so that I can fold it in on itself (so there are no raw edges showing) and so that I can overlap the fronts.
Once you have your skirt pieces cut out you will take you your bra that you’ve made up (just the the point of before you add your elastics)

Then you can see laying this out, just how your skirt pieces will be attaching to your bra- you want to attach them along the bottom frame of your bra.
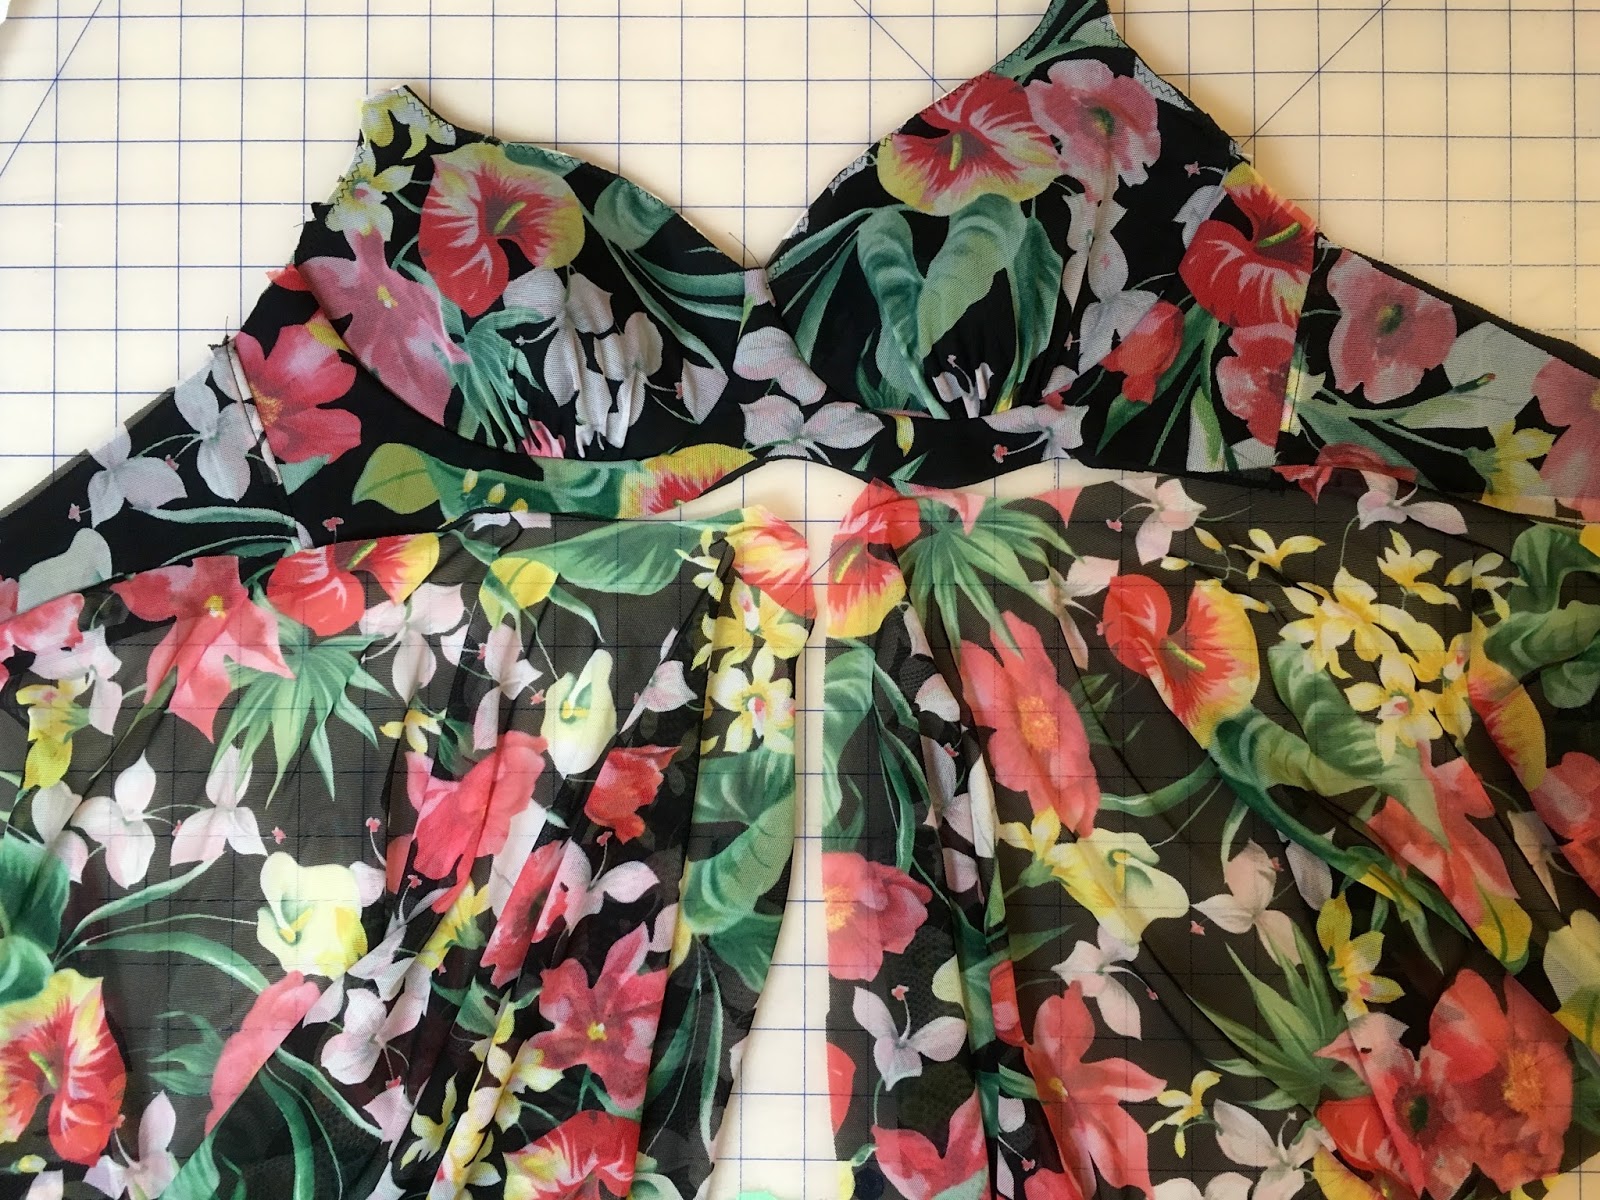
So flip your skirt pieces so they are right sides together with your bra, and pin it along the bra frame, remember to line it up just overlapping the center front (so that your skirt pieces overlap) and you skirt should end 1.5″ in from your hook and eye.
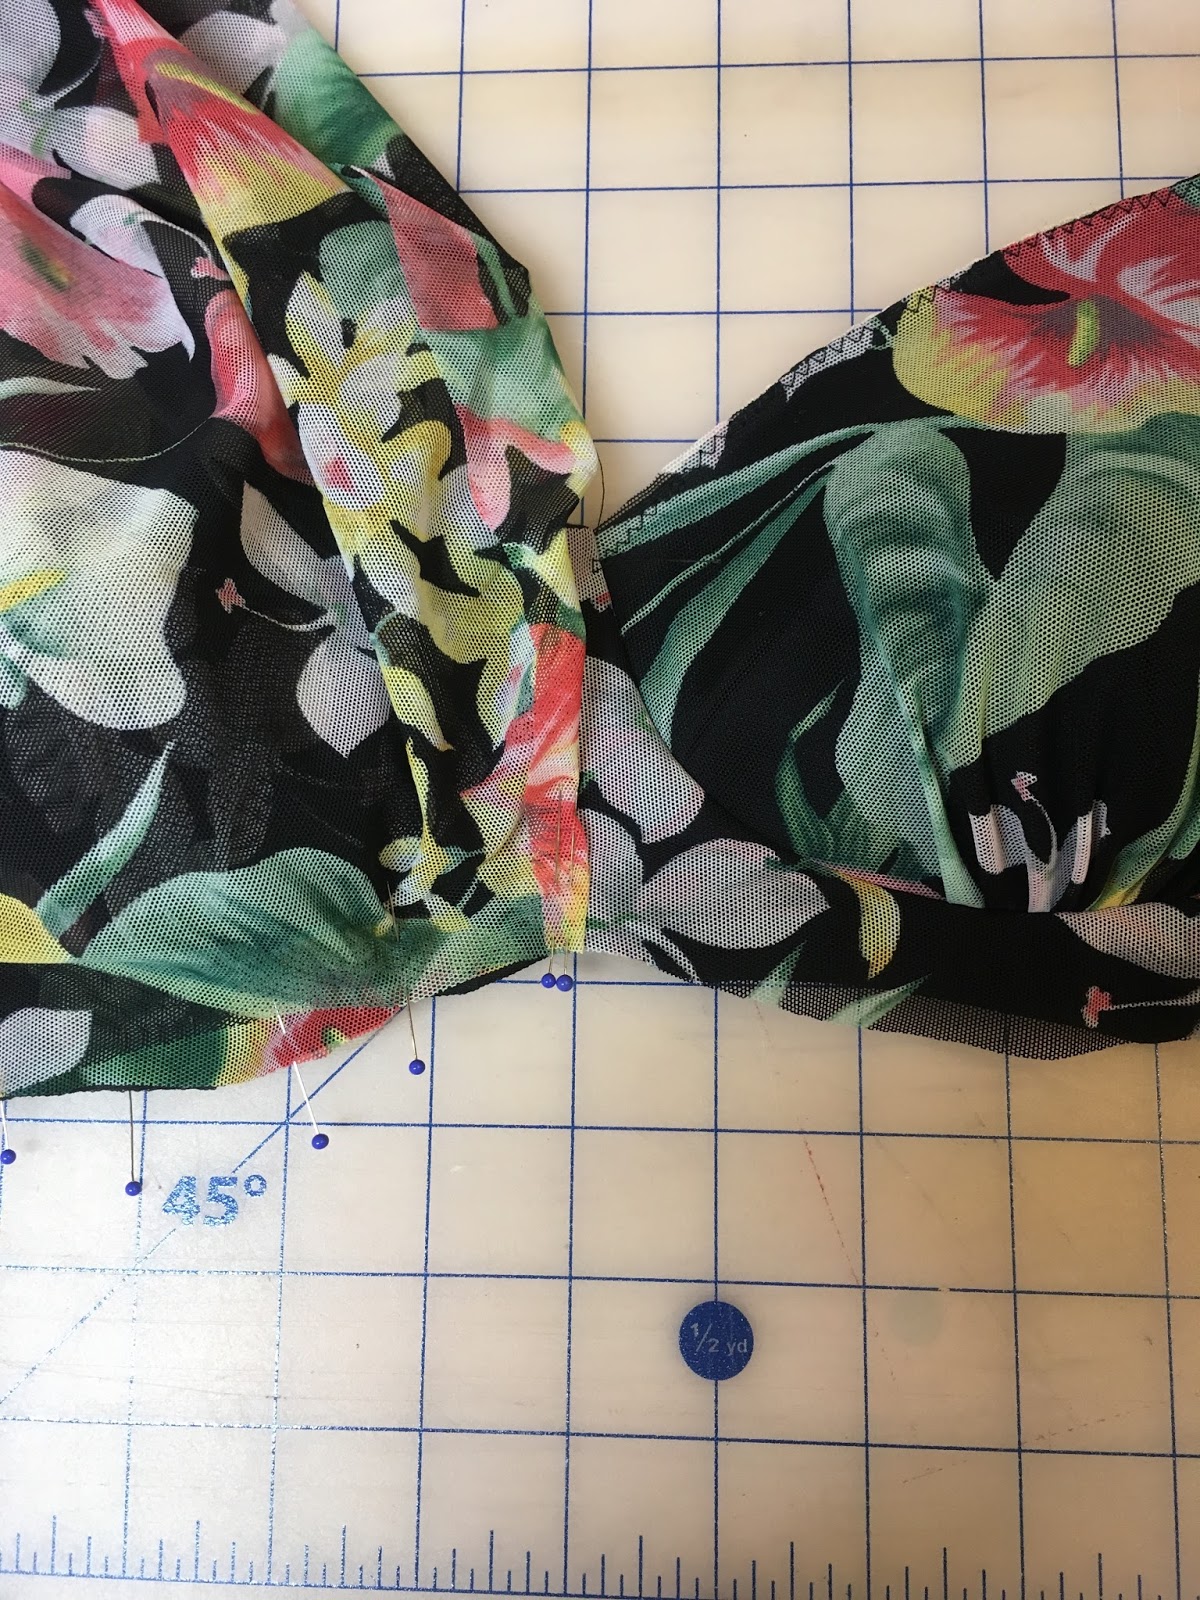
After you’ve pinned both sides, I like to baste it down with a zig-zag stitch like this, you can faintly see that the bra is under these skirt pieces in the picture below.
Once you have it like this, with the skirt side up, you will stitch your elastic to this edge. Imagine there is no skirt piece and you are sewing your elastic to the bottom edge of your bra just like you normally would.

The next step is to sew your elastic, on the second pass, like you normally would, only when your flipping it back in towards the bra cups, make sure that you separate your tankini skirt from the bra frame, so that your skirt is going down and your bra is going up.
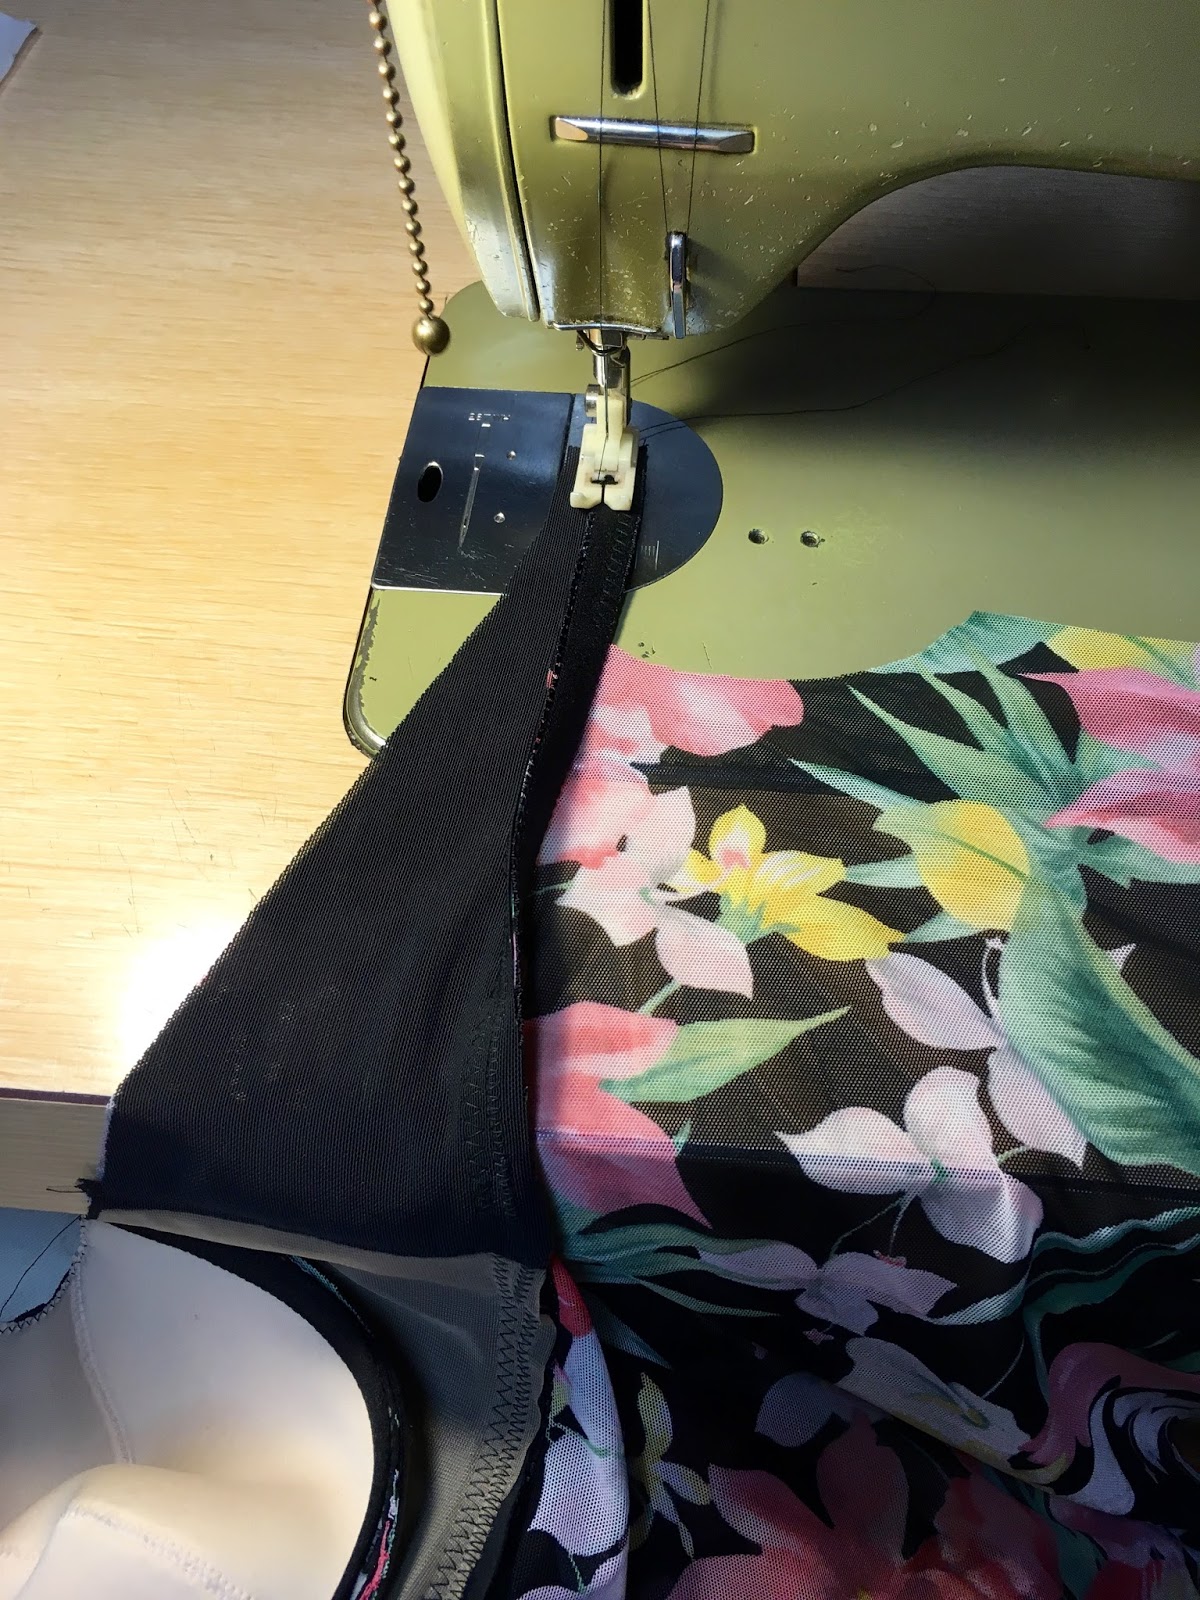
This way your elastic will only be shown on the inside, and your tankini skirt just looks like it’s seamed with your bra frame. It’s a very similar technique to if you were adding a ruffle there, or piping.

Then all you have to do is finish sewing up your bra as usual, however you planned, and sew up your center back seam of your tankini skirt!
And voila!!

It’s really super easy! And with the stretch mesh it’s even better because you don’t have to worry about hemming or finishing the edges, it’s best to keep it very simple and light!
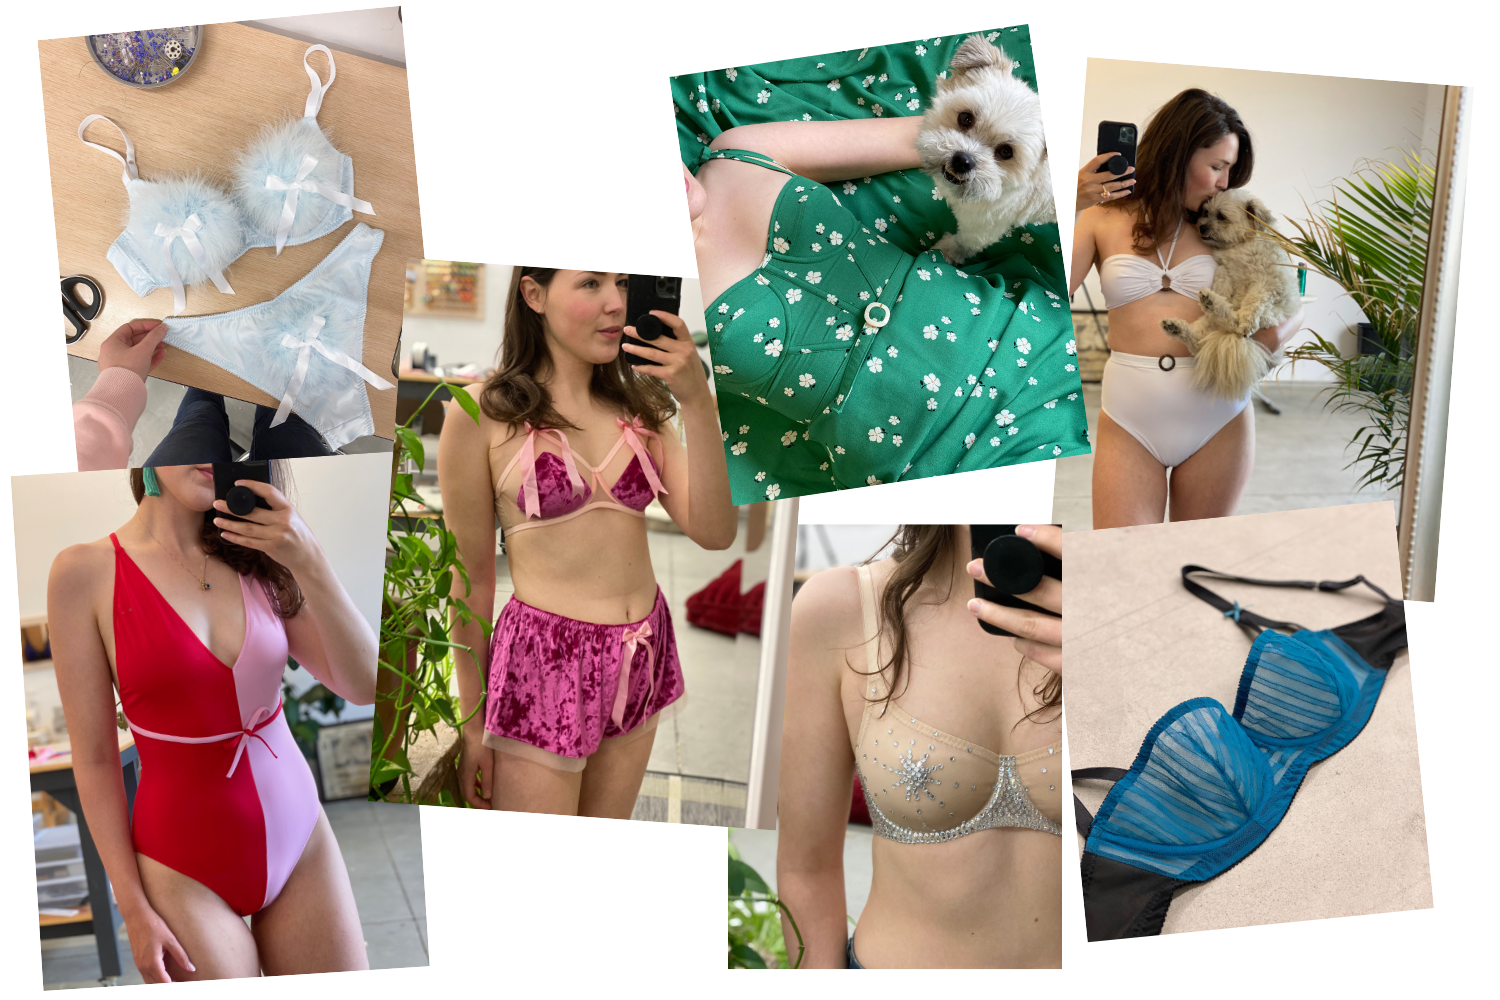
I can’t wait to show you the photo shoot I did with my mom for this one so you can see it on her!
I also have another little surprise for you with the photoshoot reveal! 🙂 😉
So much fun stuff happening!!
Do you like tankinis? Do you think you’ll use this tutorial?
Talk to me in the comments!!
xo
erin
This is great! thanks!
🙂 Happy to help!
Wow, such a cool idea, and oh-so-doable! Thanks for the excellent tutorial!! Can hardly wait for the photo reveal!
Thanks Judy! Sometimes it's the super simple tutorials that are the best!! 🙂
So gonna do this once I have a decent fitting bra. SO gonna do this. Thank you doll.
No problem GG! xo
I was just looking for this. Thank you!
🙂 Happy to help Kimberley!
I have been waiting for someone to show me how to do this. I just wish that there were more patterns out there for tankinis. Awesome!
I might have to make this into a pattern one day 🙂
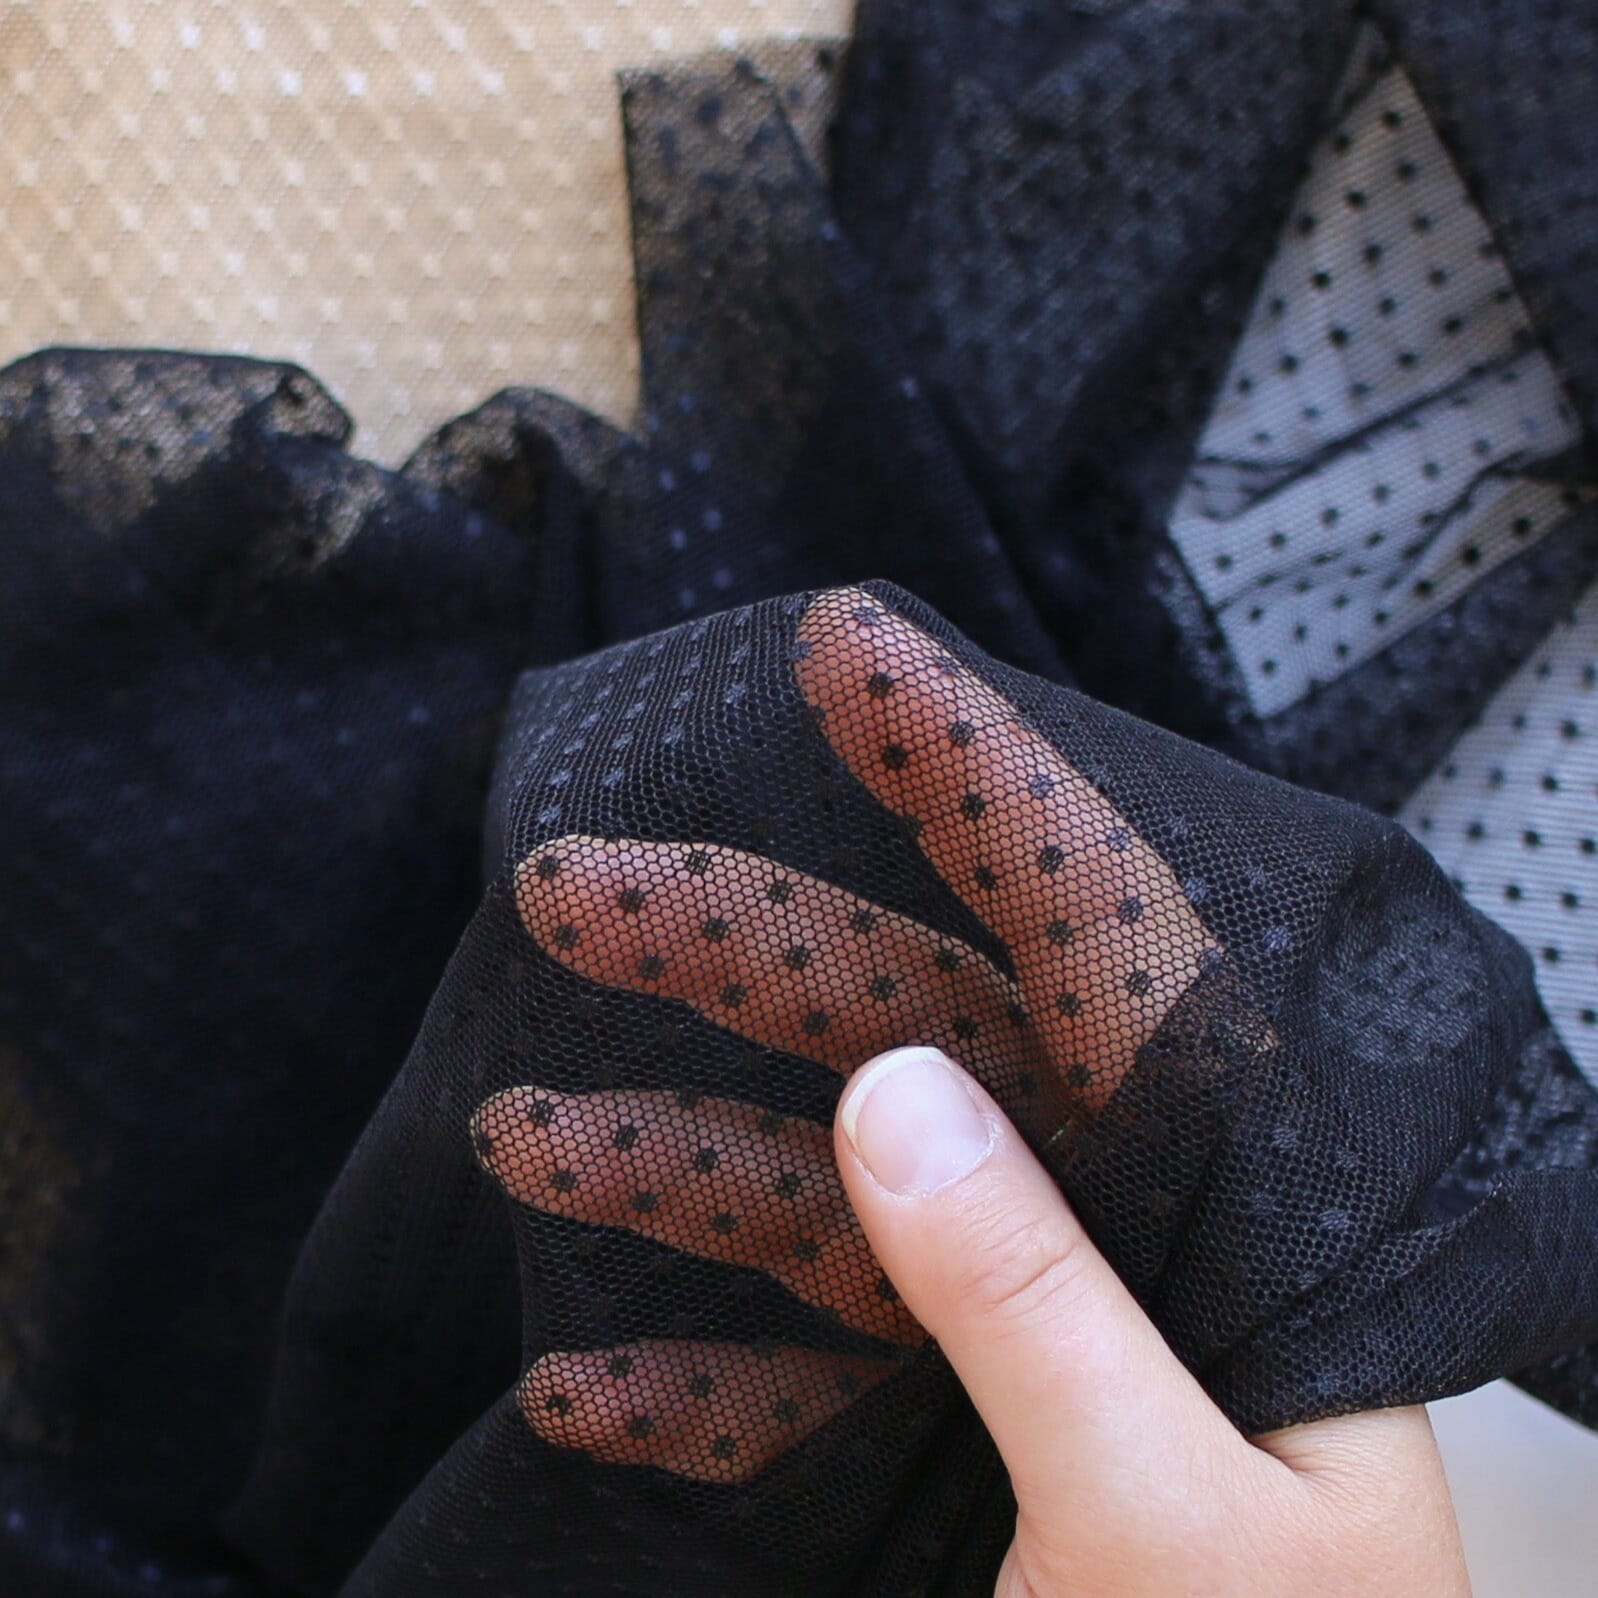
Where do you actually get printed mesh like this? It's beautiful! I have only seen printed mesh occasionally and there hasn't been much selection. Thanks!
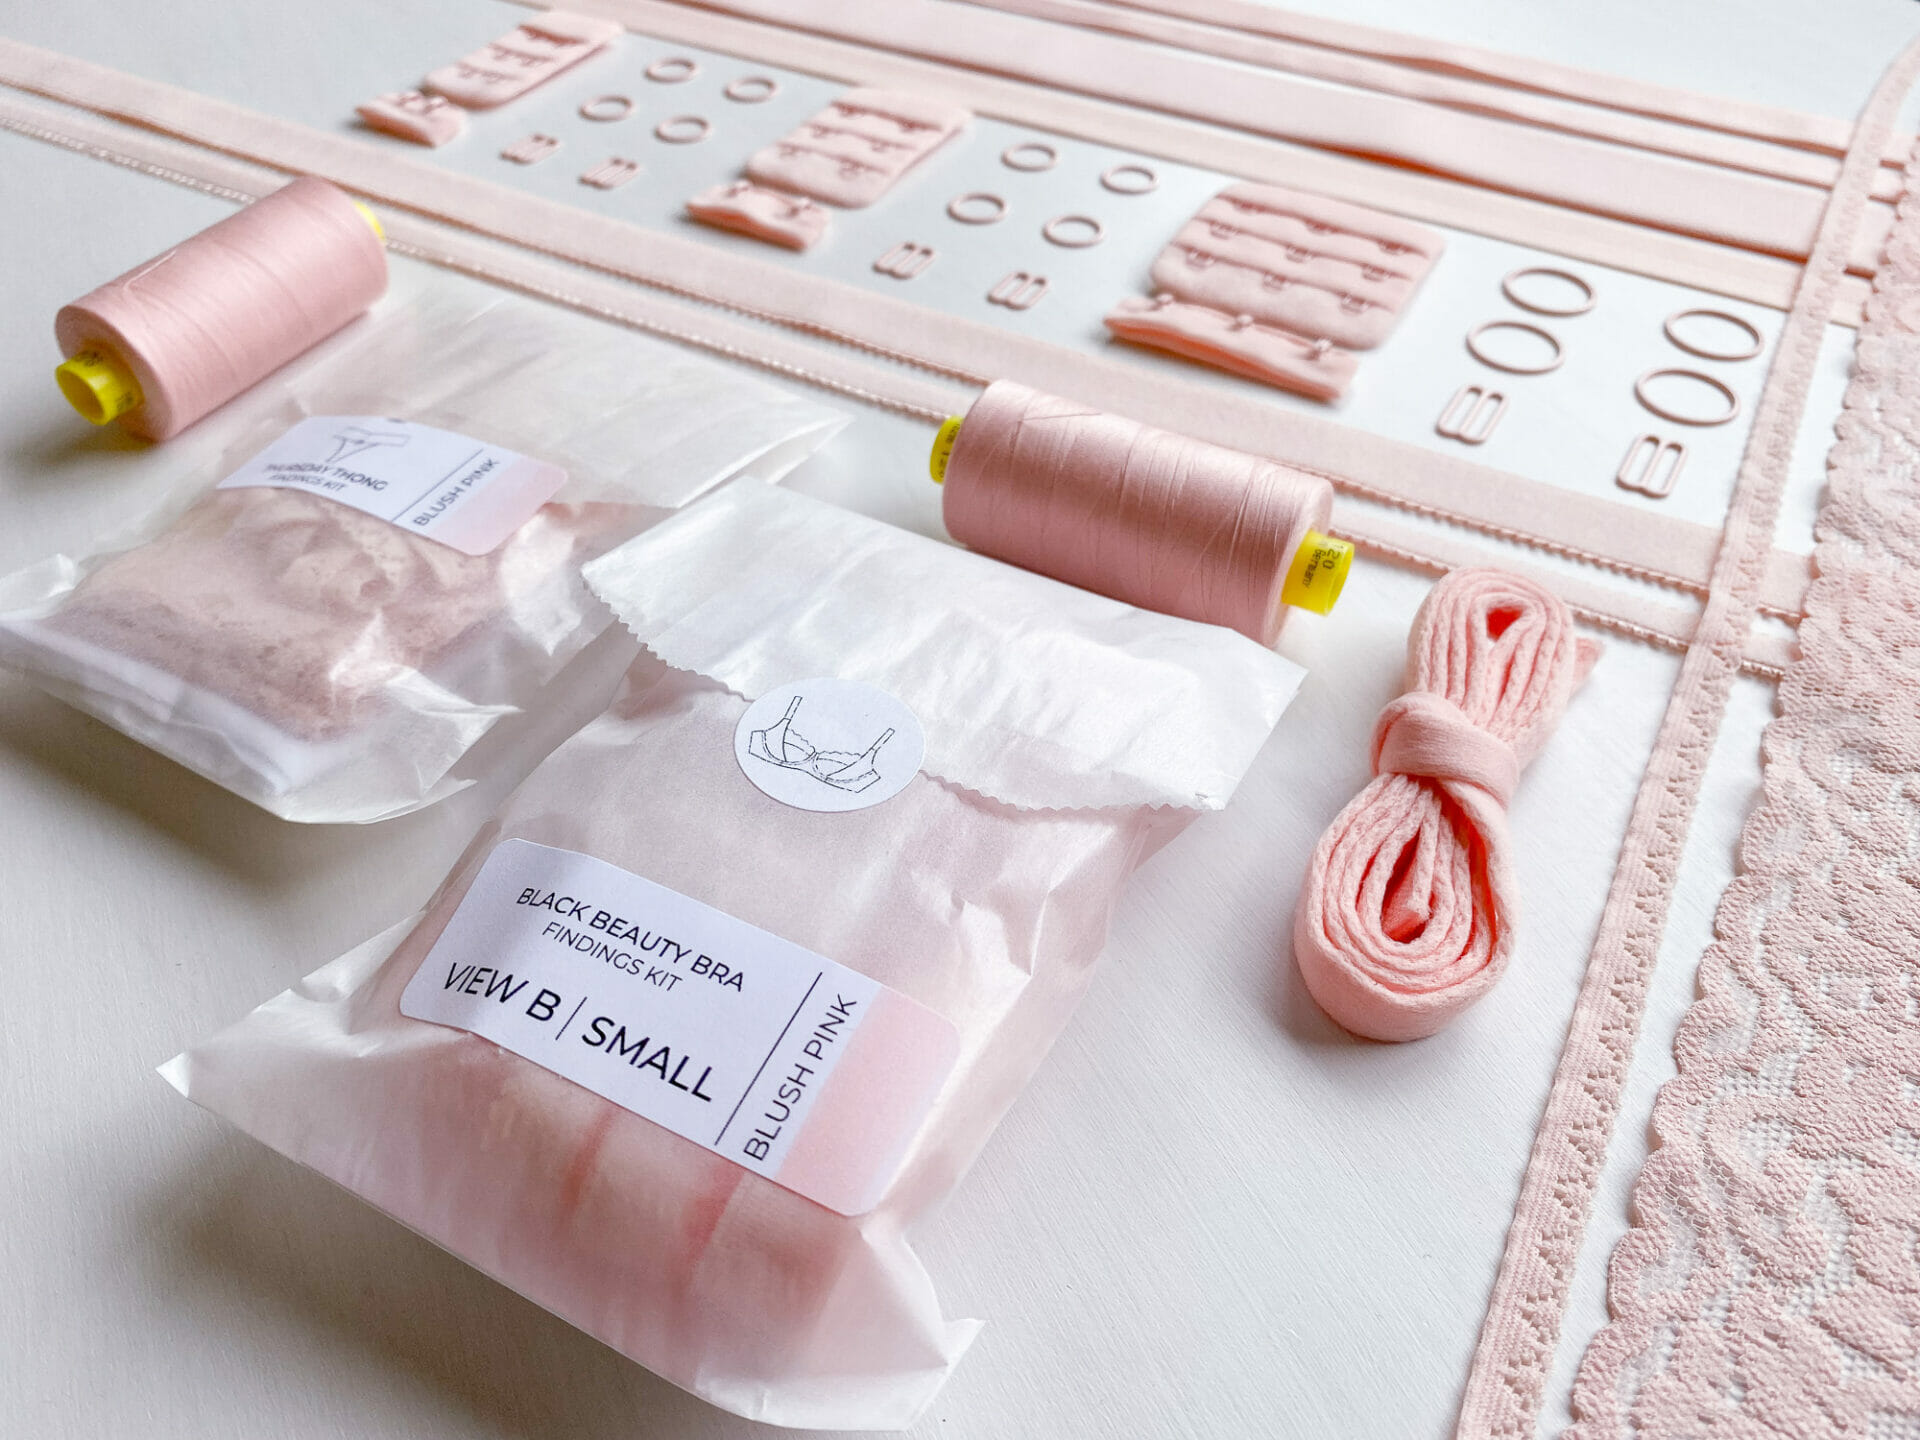
I source my fabrics from all over! I will have this fabric in a limited edition kit available in my Etsy shop as soon the Canada Post strike is over!
Thanks for the tutorial. I think this can make a sexy chemise too…
OOOHHHH!! That's a great idea 🙂
Great tutorial, Erin. Thanks! Your mom looked great in it in the pic on IG.
Love it..thank you..whenever I see your name I get excited..lolll
🙂 🙂
Hi, I just want to say a big thank you. The amount of time I’ve spent searching the WORLD for a good fitting tanking in my size, well I could have made a dozen of these. I’ve seen some very colourful bras in our Asda supermarket, I’m wondering if I could make a plain skirt straight on to a bra and just change the back fastening. What do you think?
That sounds like a good idea! Happy Sewing 🙂
It seems that tankinis have gone out of fashion, since I can’t find one to buy.
Finding this tutorial is a real treasure. Just in time for our summer!
Thank you at mych.
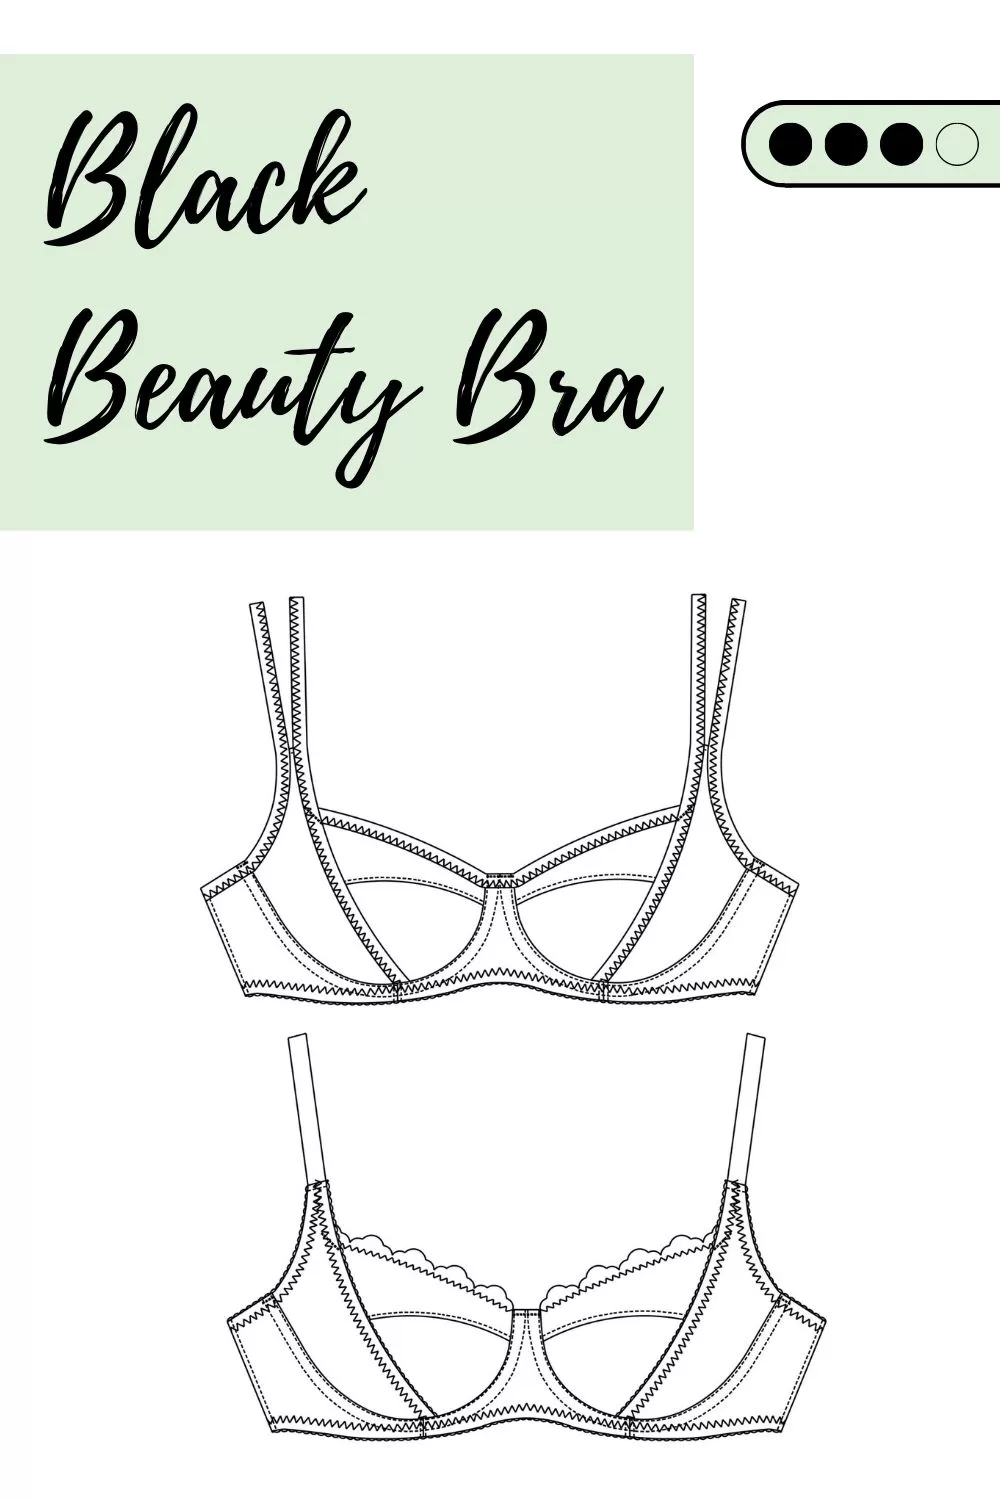
Thank you so so much Erin, I have been looking for this kind of tutorial for a long long time, finally I found it and with your Black Beauty Bra pattern that I love it. I have made a lot of Black Beauty bras for myself, it´s my preferred pattern, so thank you so much !!!!!