


Hi All!
So a couple weeks ago the Sewcialist group from Toronto, decided to get together for a fancy sewing outing. It was a chance to see the Dior Exhibit happening at the ROM, have high tea, and of course, wear our fancy me-mades.
Now I have to say that I don’t really sew fancy clothes. Like most sewists, I made a nice party dress or two when I first started sewing- but that was in high school, and those dresses definitely wouldn’t fit me or suit me anymore. So I took this outing as a great opportunity to make something a little more challenging for myself (after weeks of sewing super quick and easy Jordy & Tuesday samples!)
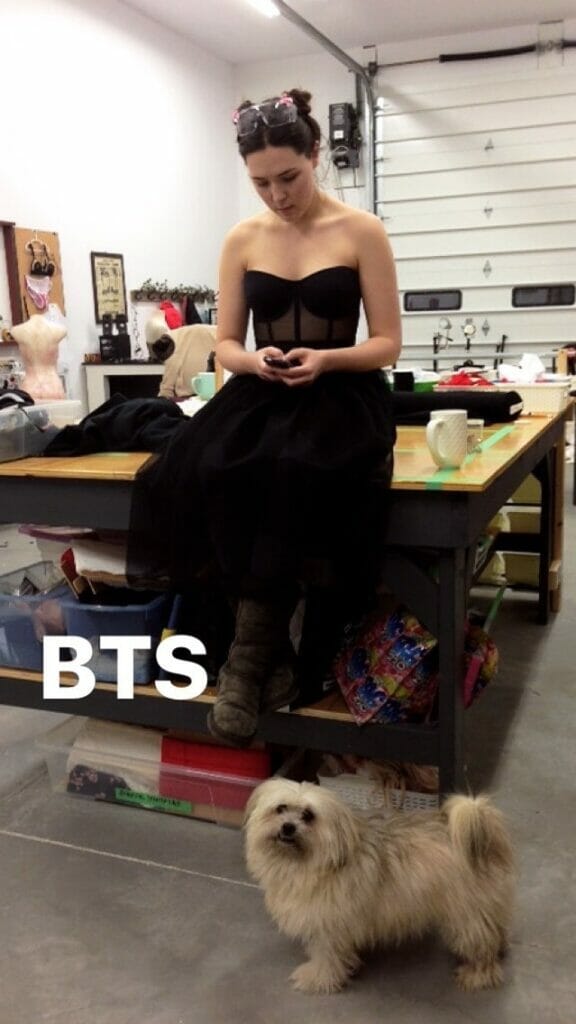
Since we were going to the Dior exhibit, I got really inspired by the Dior style. I love that silhouette of the small waist and full skirt -and it definitely suits my curvy/pear-ish body type. In particular the Spring Summer Dior collection from last year they had a lot of dresses that were longline-bra tops with tulle skirts – which is right in my niche and something I still had time to make- because I naturally started sewing this two days before the meet-up. You can see the whole saga of making this over on my insta stories– I made it a highlight so you can still watch it 🙂
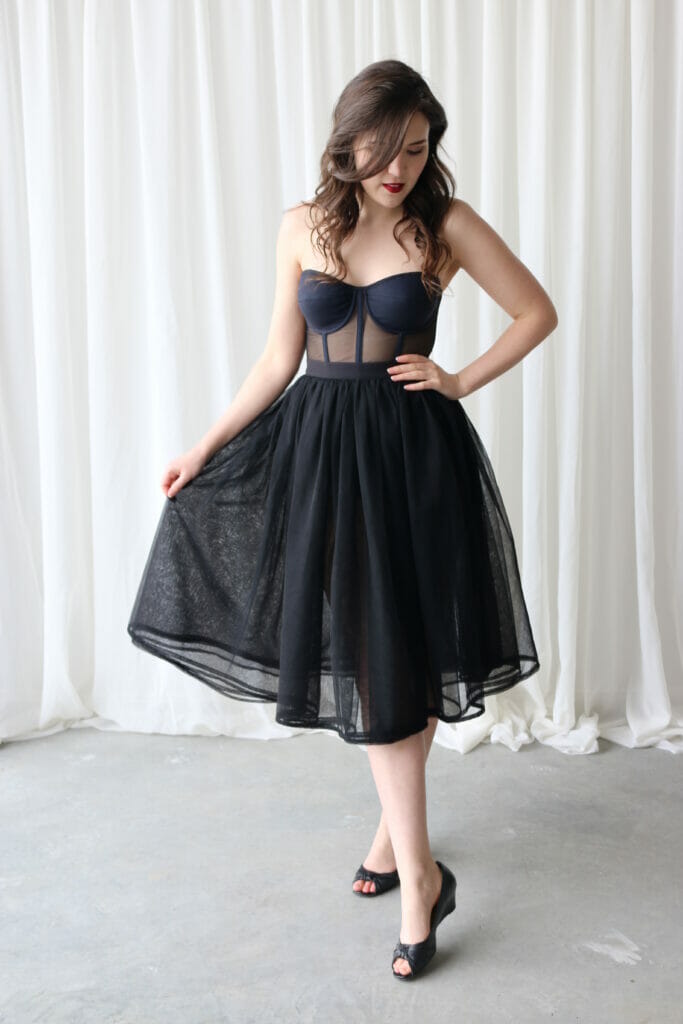
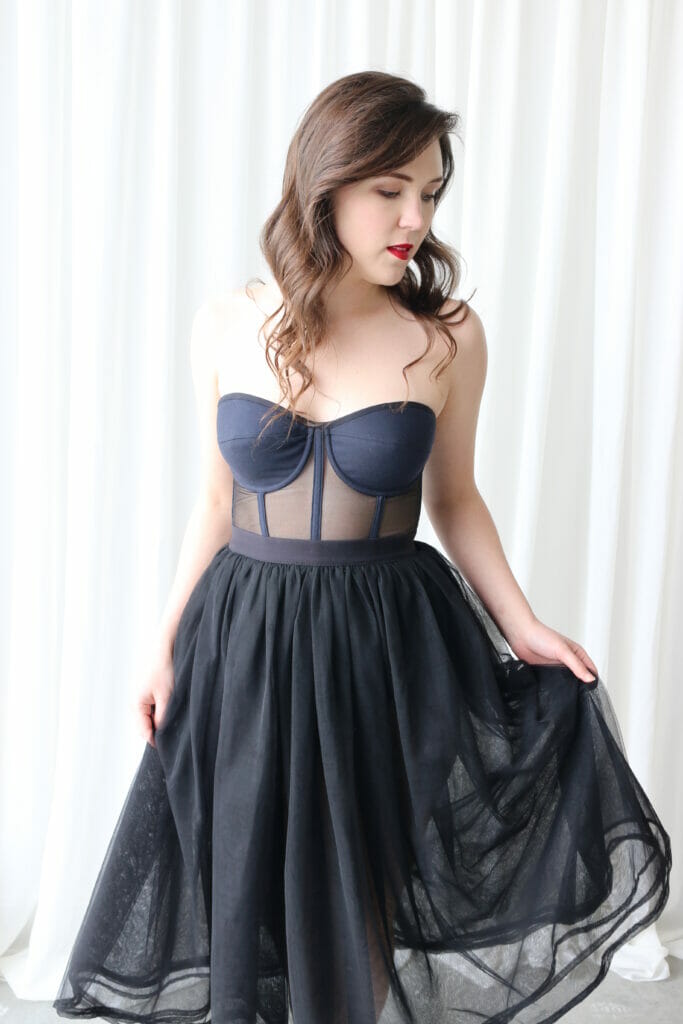
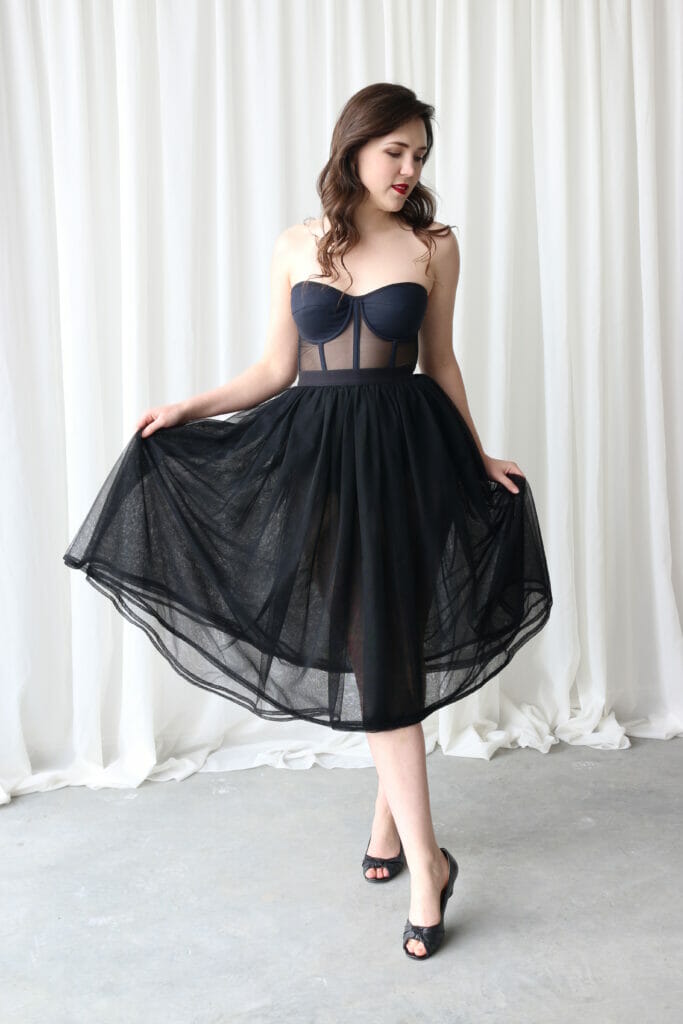
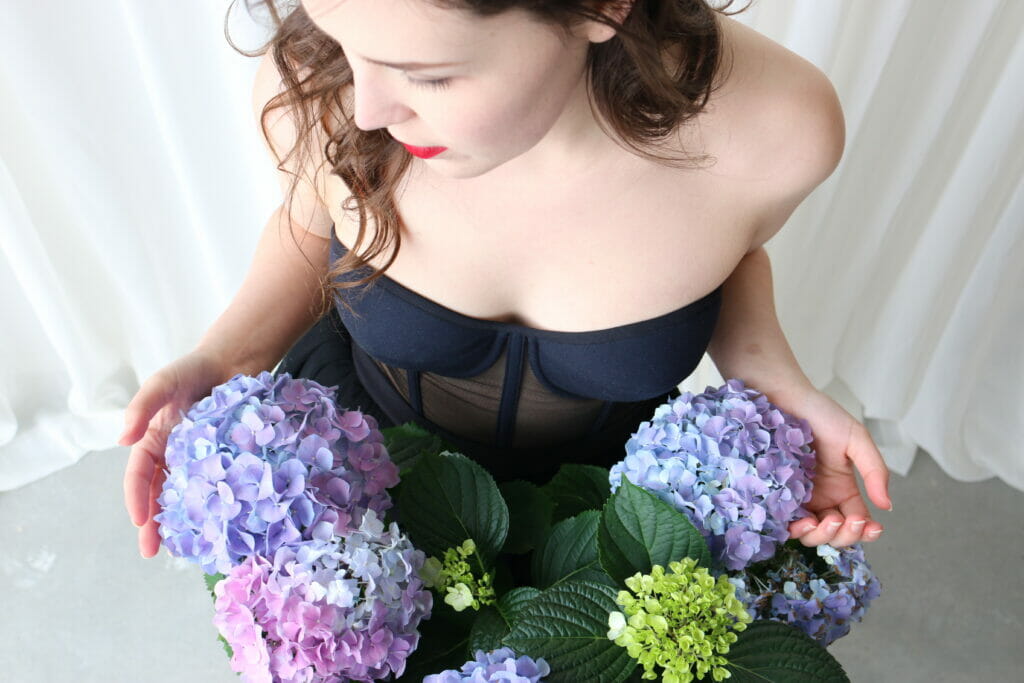
So on to the garment- I made it in two pieces, so it’s actually a skirt and a top.
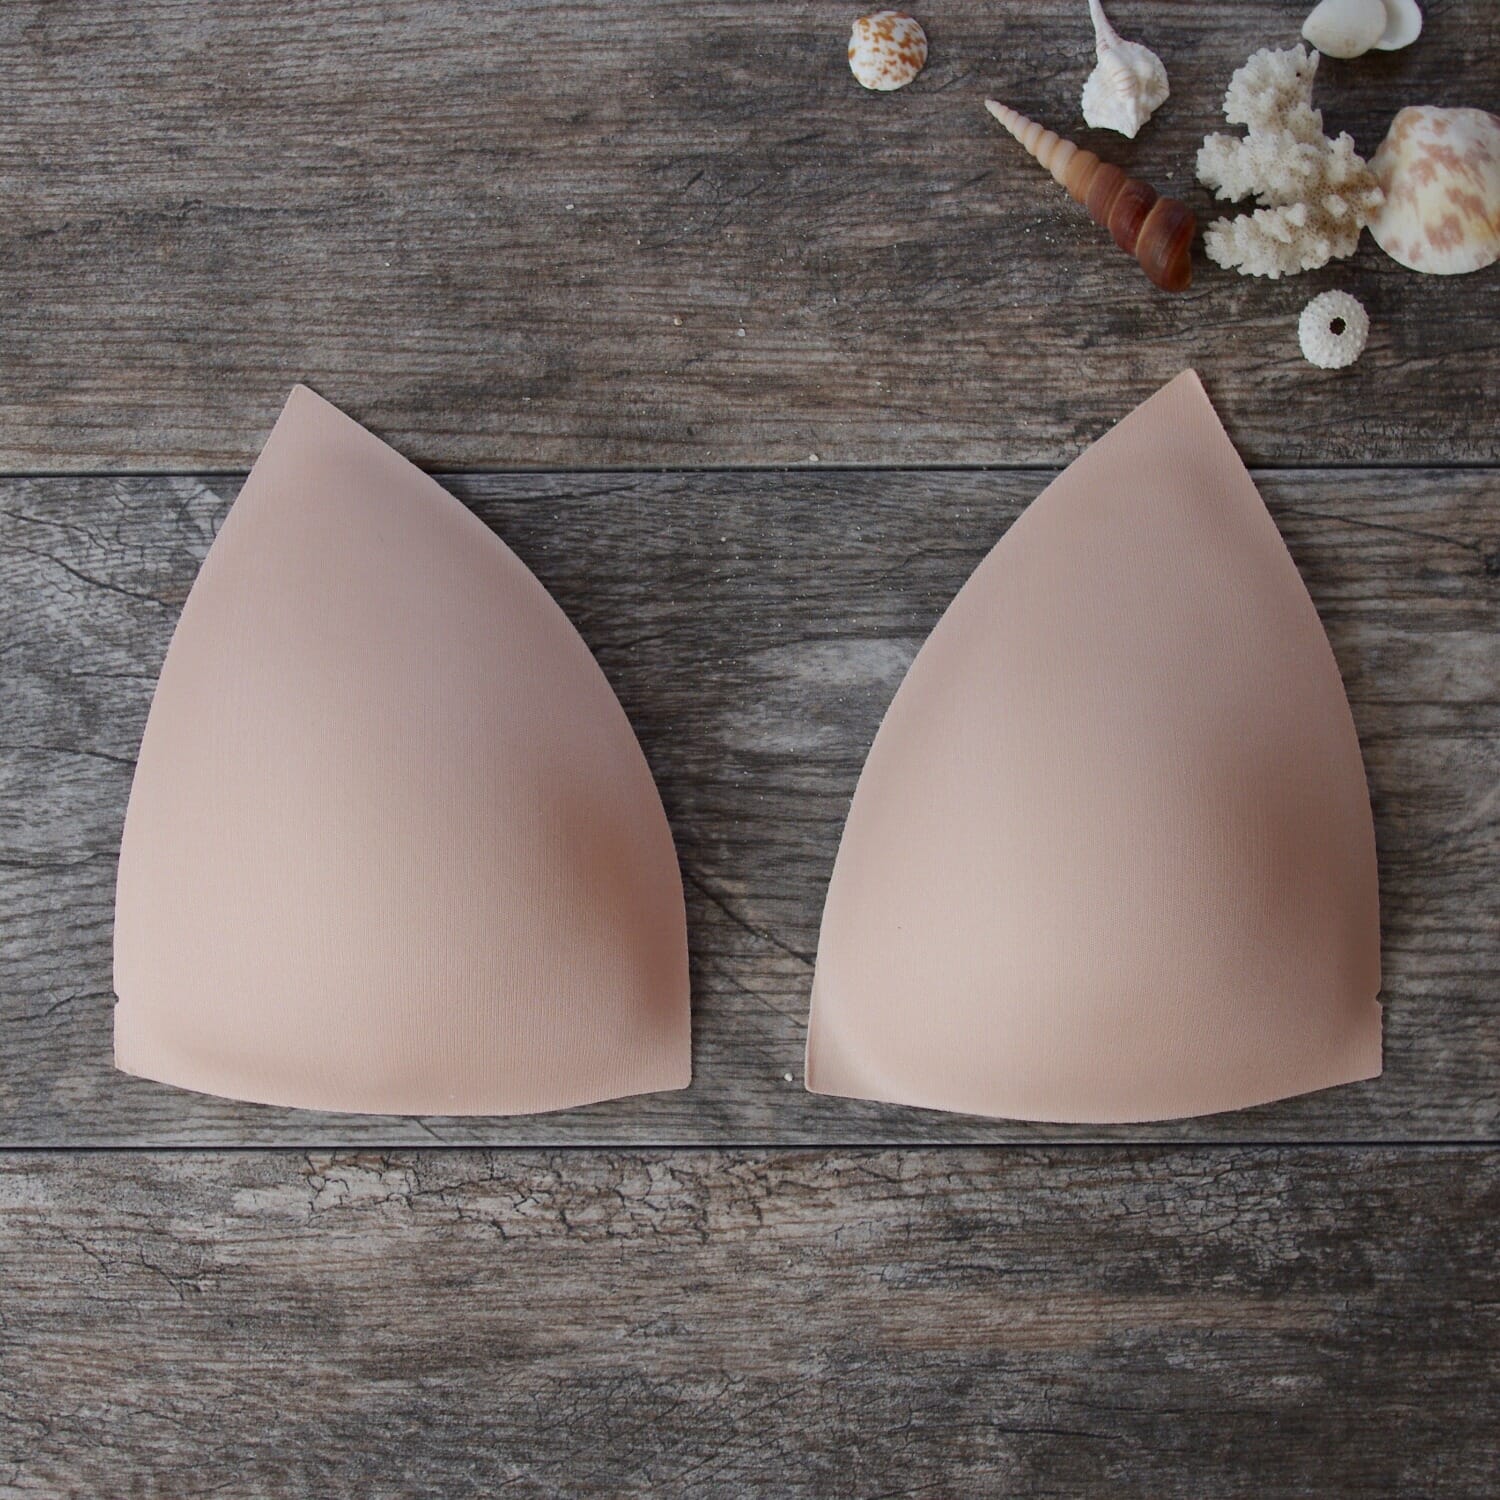
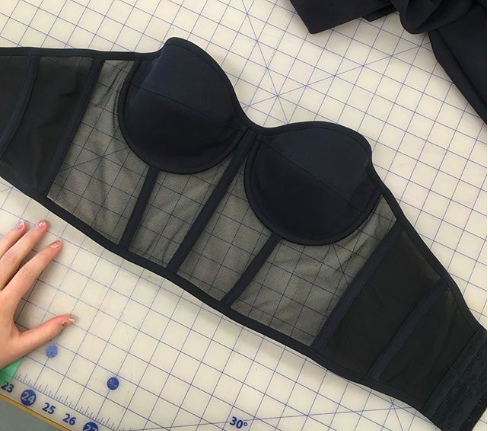
The top is a longline boned, strapless style. I used the same self-drafted pattern for the bra cups that I did when I made the strapless Slice of Paradise swimsuit top.
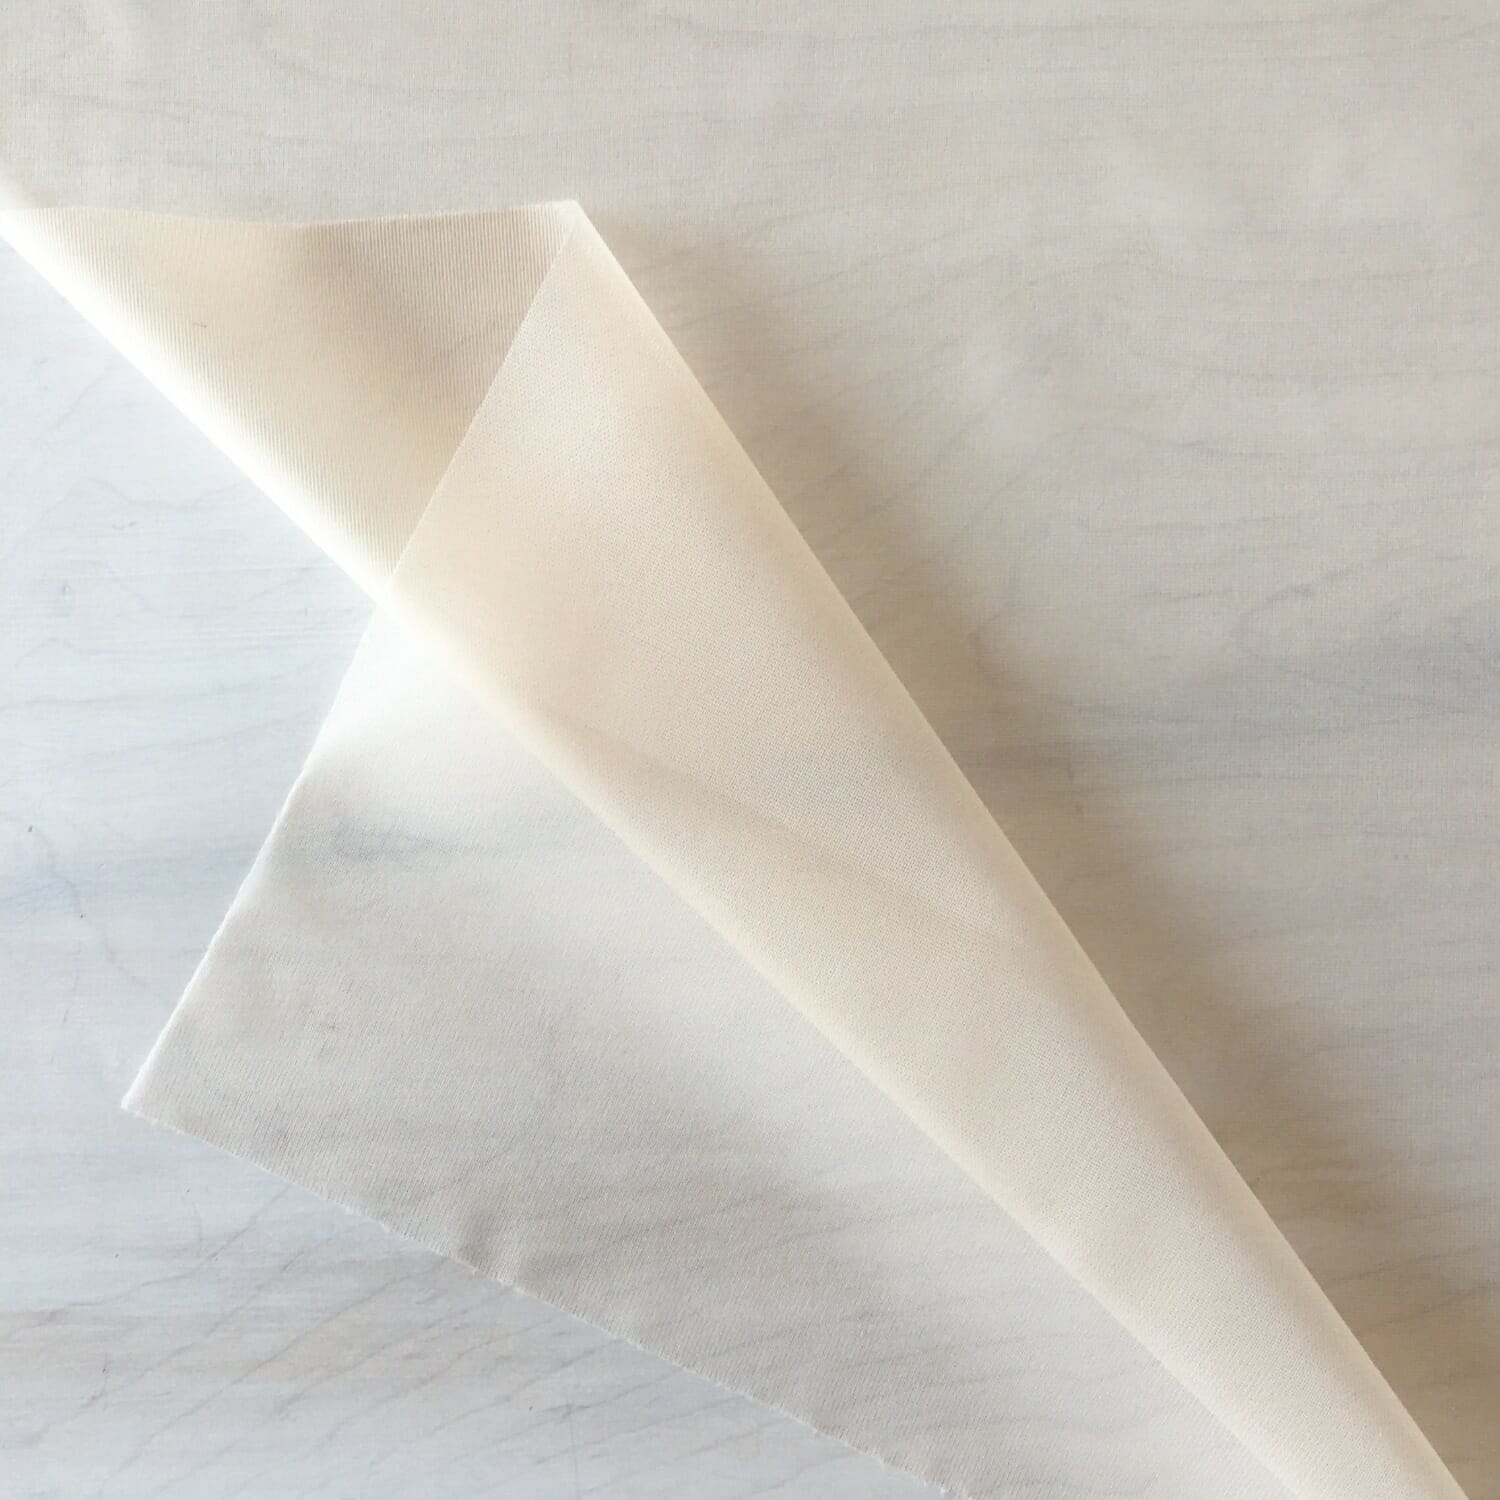
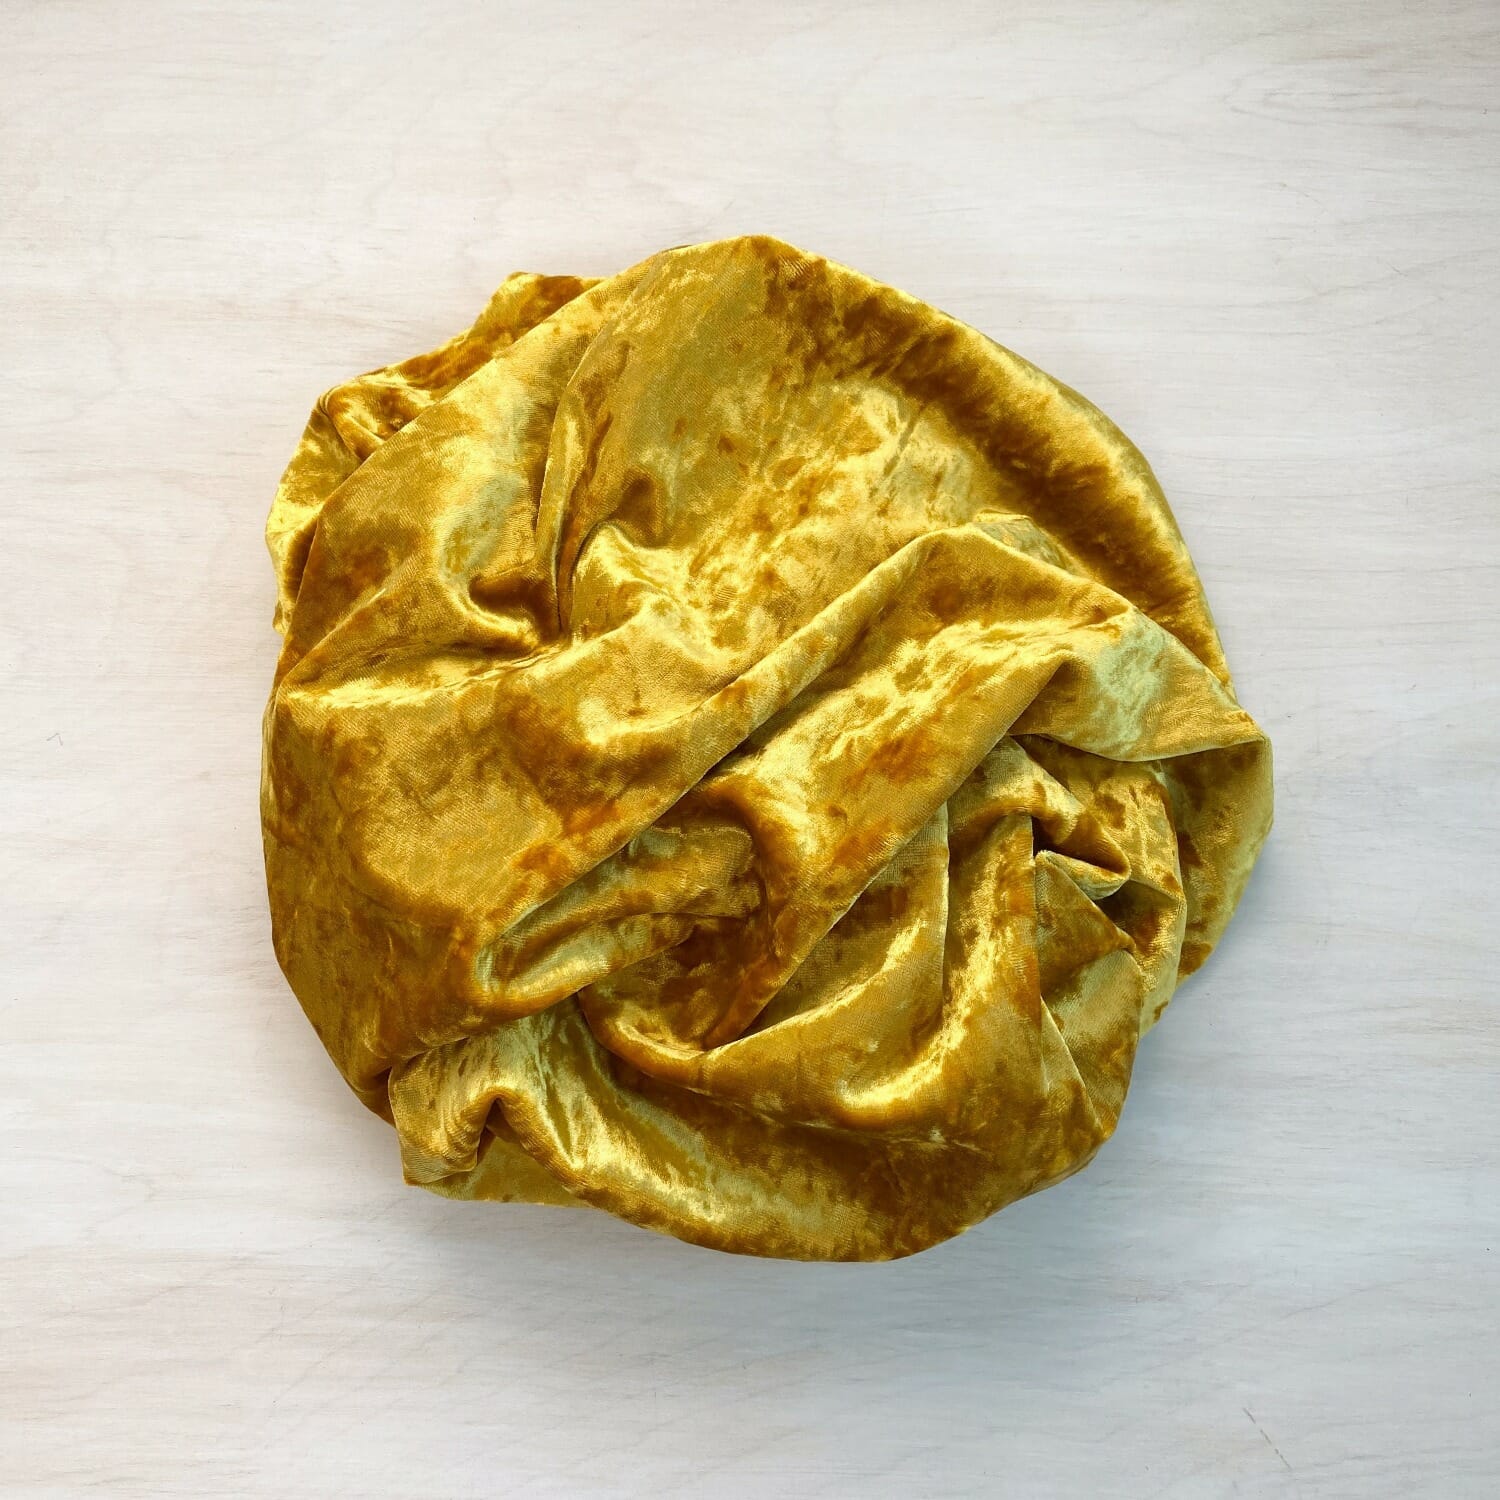
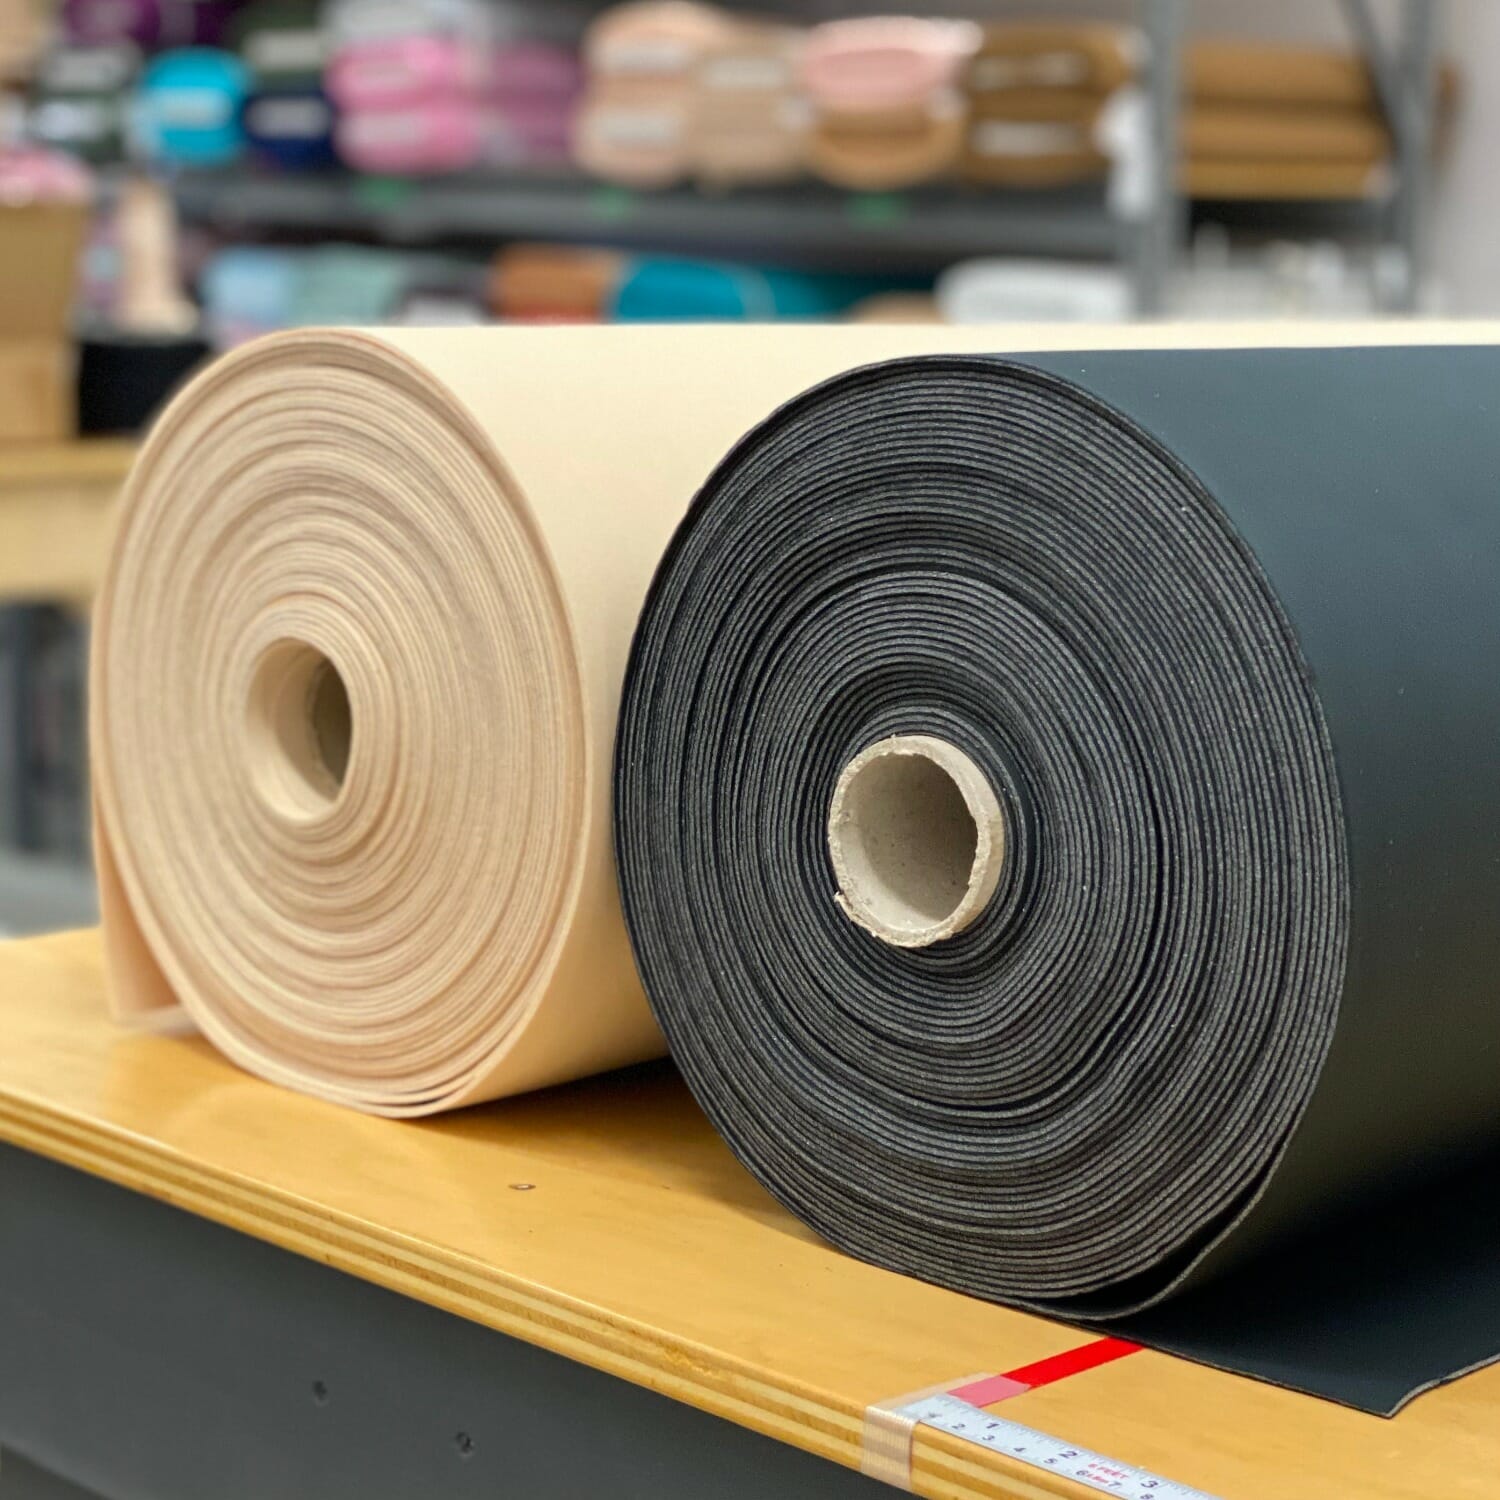
For the cups I used a really fine wool suiting, lined with foam. I wanted the wool suiting to make it look more like outerwear than underwear, and I think it worked really well to give that effect. Lining it with foam was really important though, because it needed the extra support and smoothness from the foam to keep a nice shape, and support on the small seam allowances so they would fray through (and let’s be real, the nipple show-through with unlined wool would be no-so-pretty).
I also used the wool suiting for the boning channels to keep the whole look really cohesive. I used a plastic 1/4″ boning that I could cut down to size, and I have channels at the centre front, under the cup, at the side seam, and one centre back (total of 7). I think the most important ones are the centre front and the side seams, but the other ones do help it to lay really nice and smooth! And because the top sits right at the smallest part of my waist, the bones keep the bra from sliding down – I didn’t have to adjust this bra top all day!
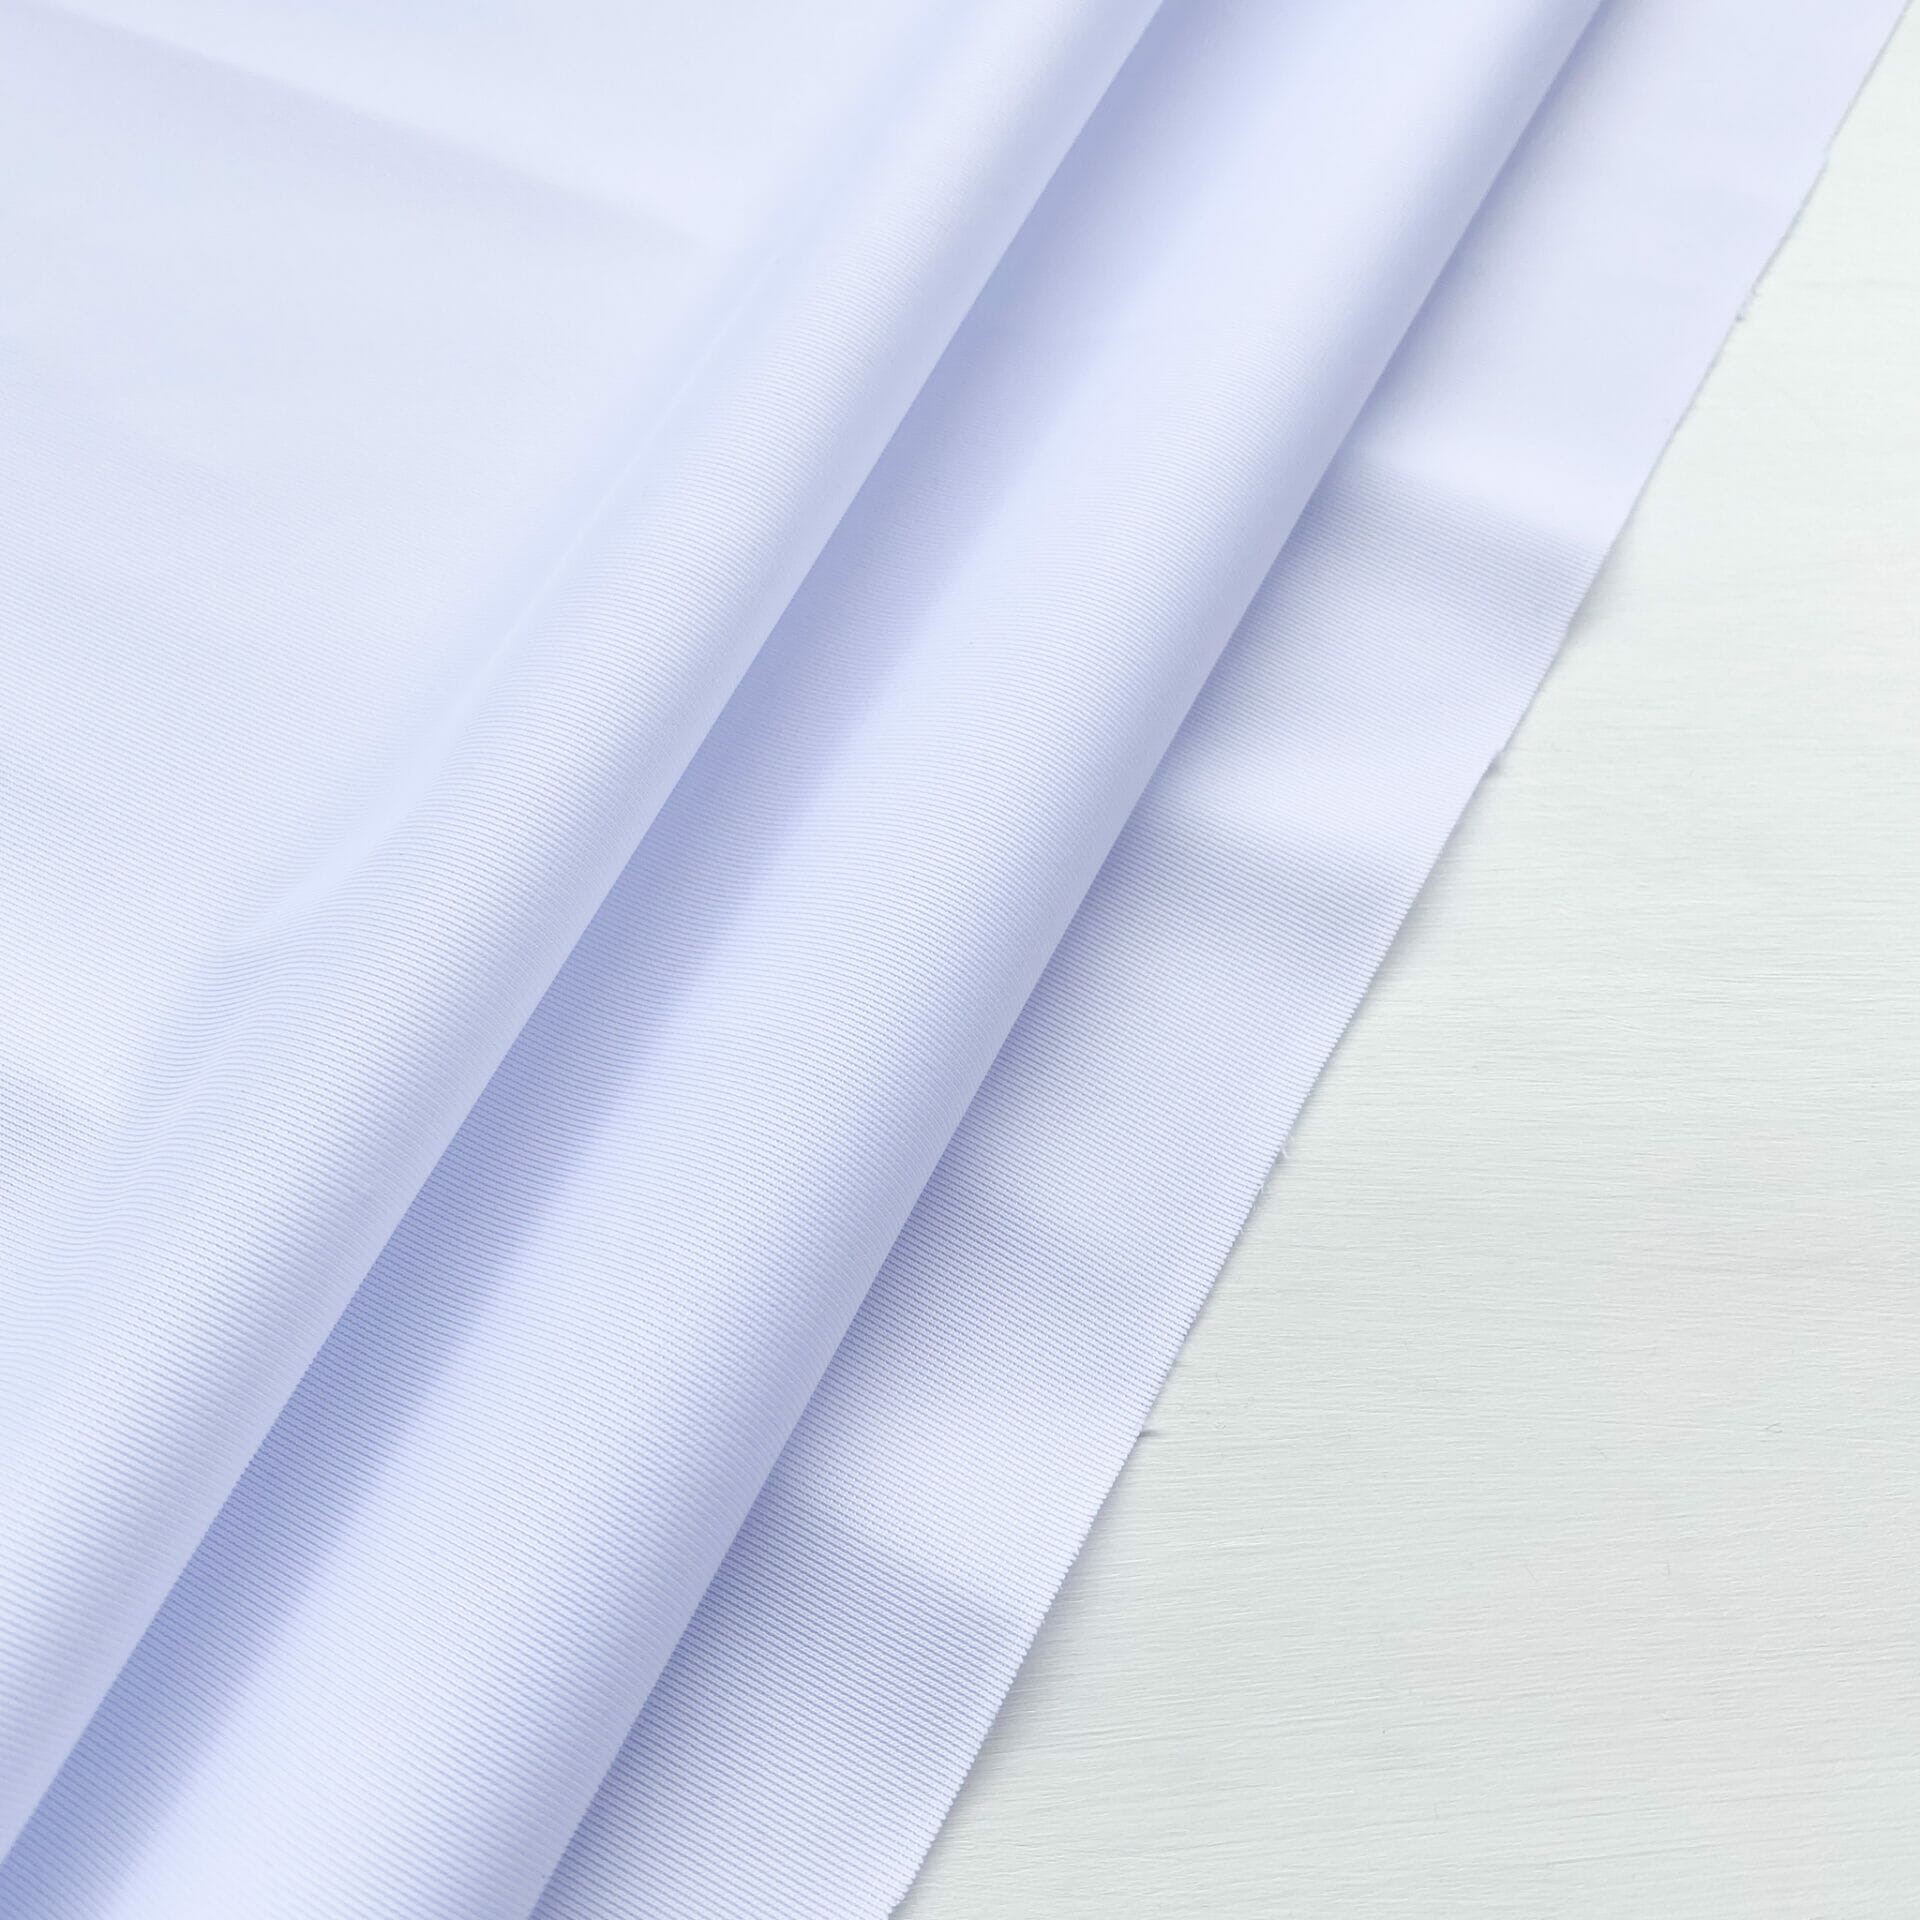
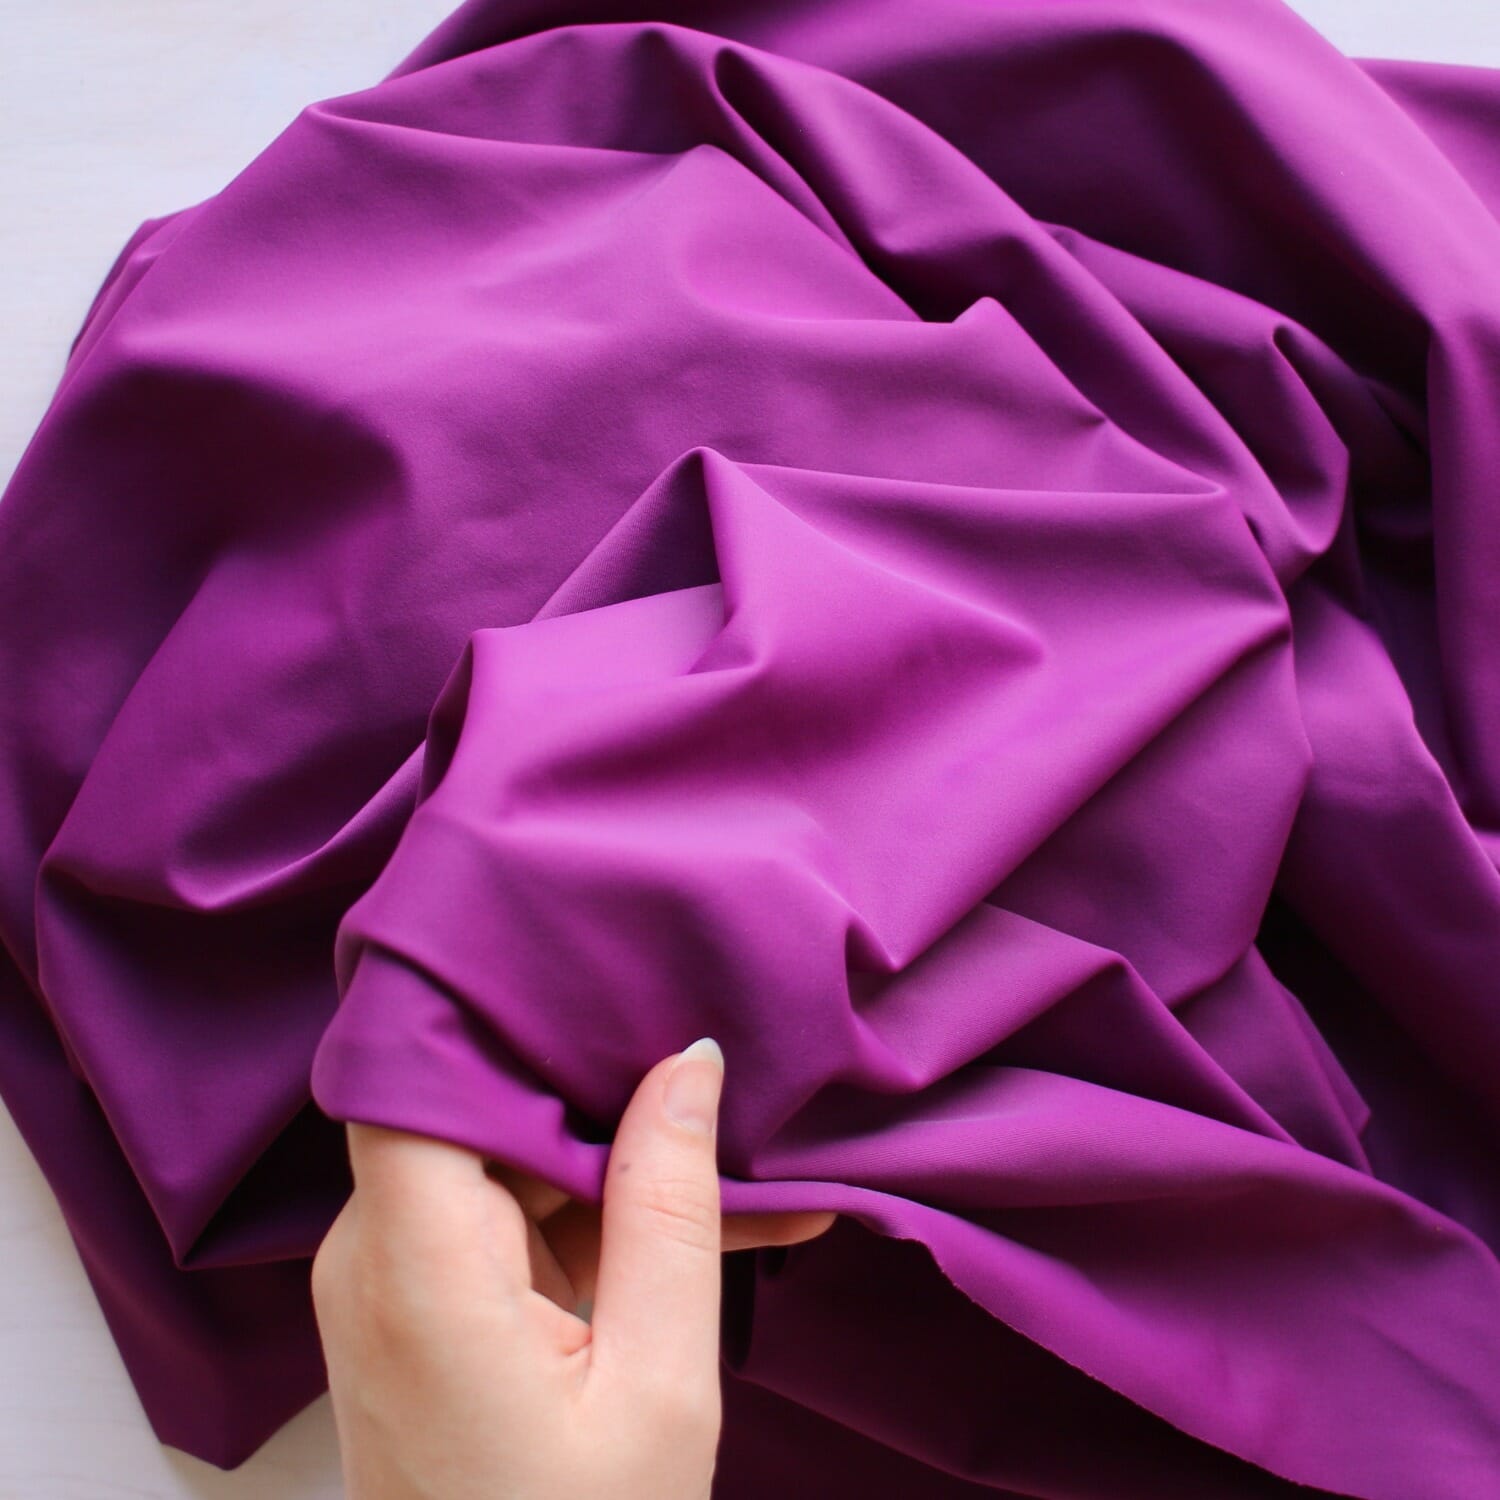
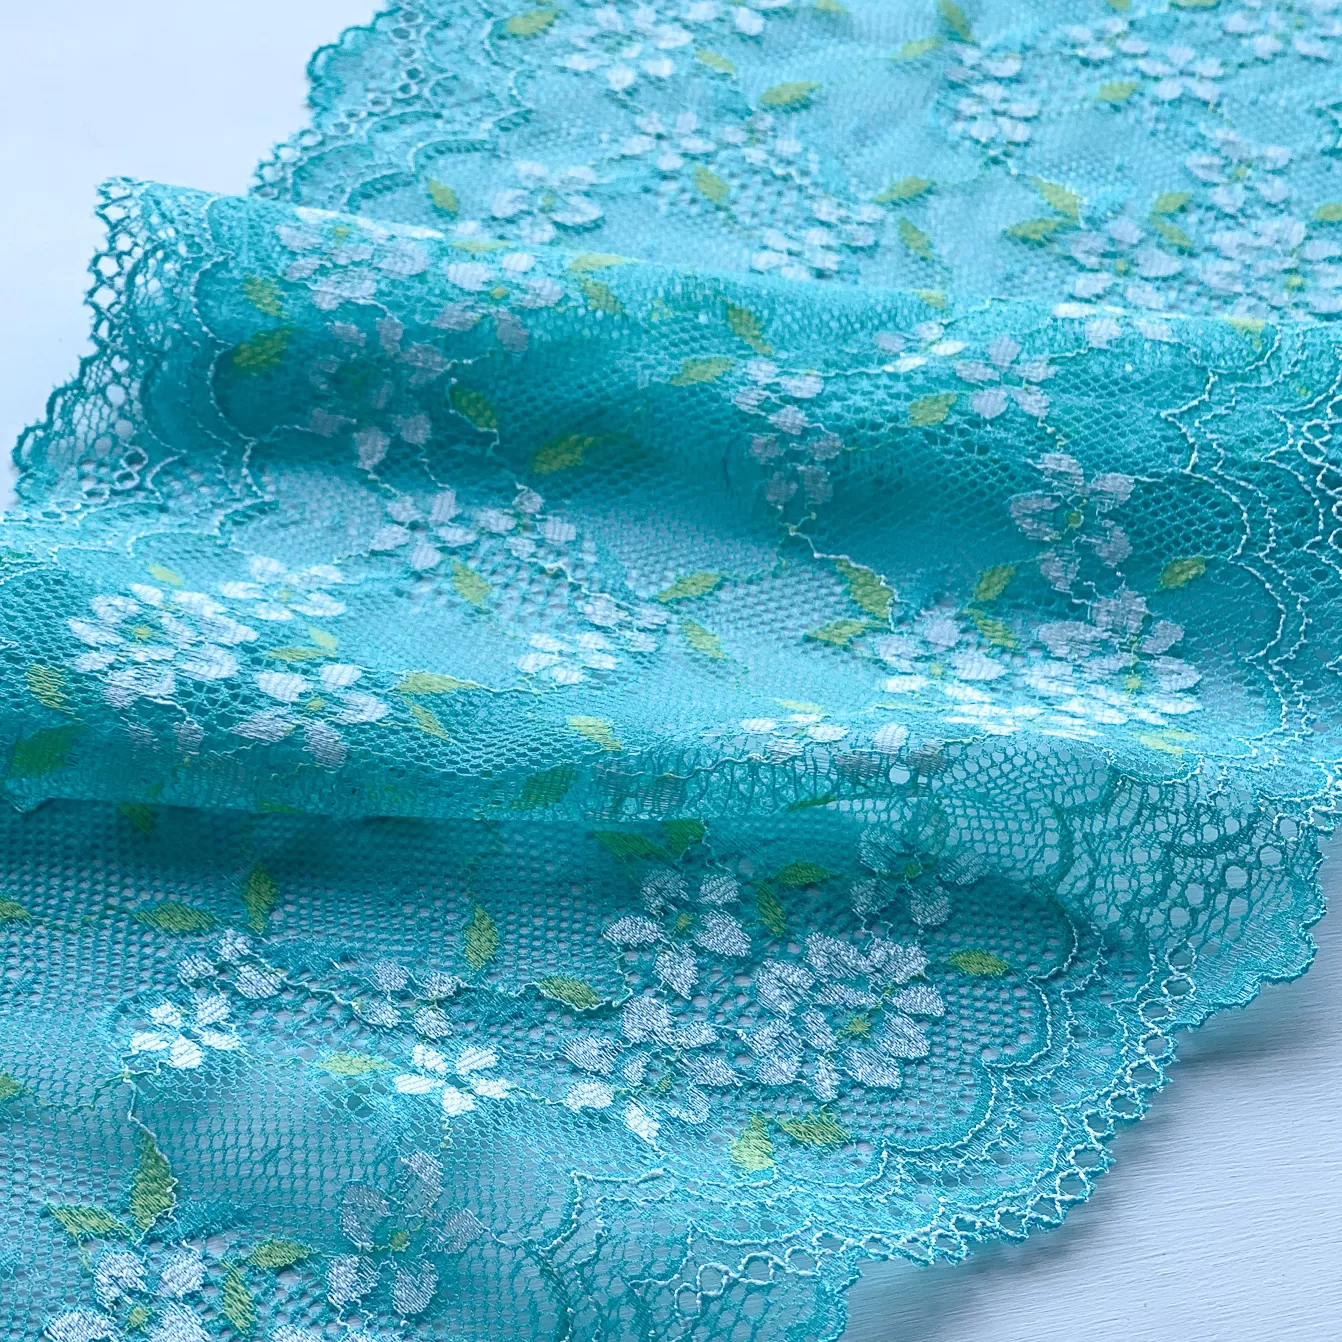
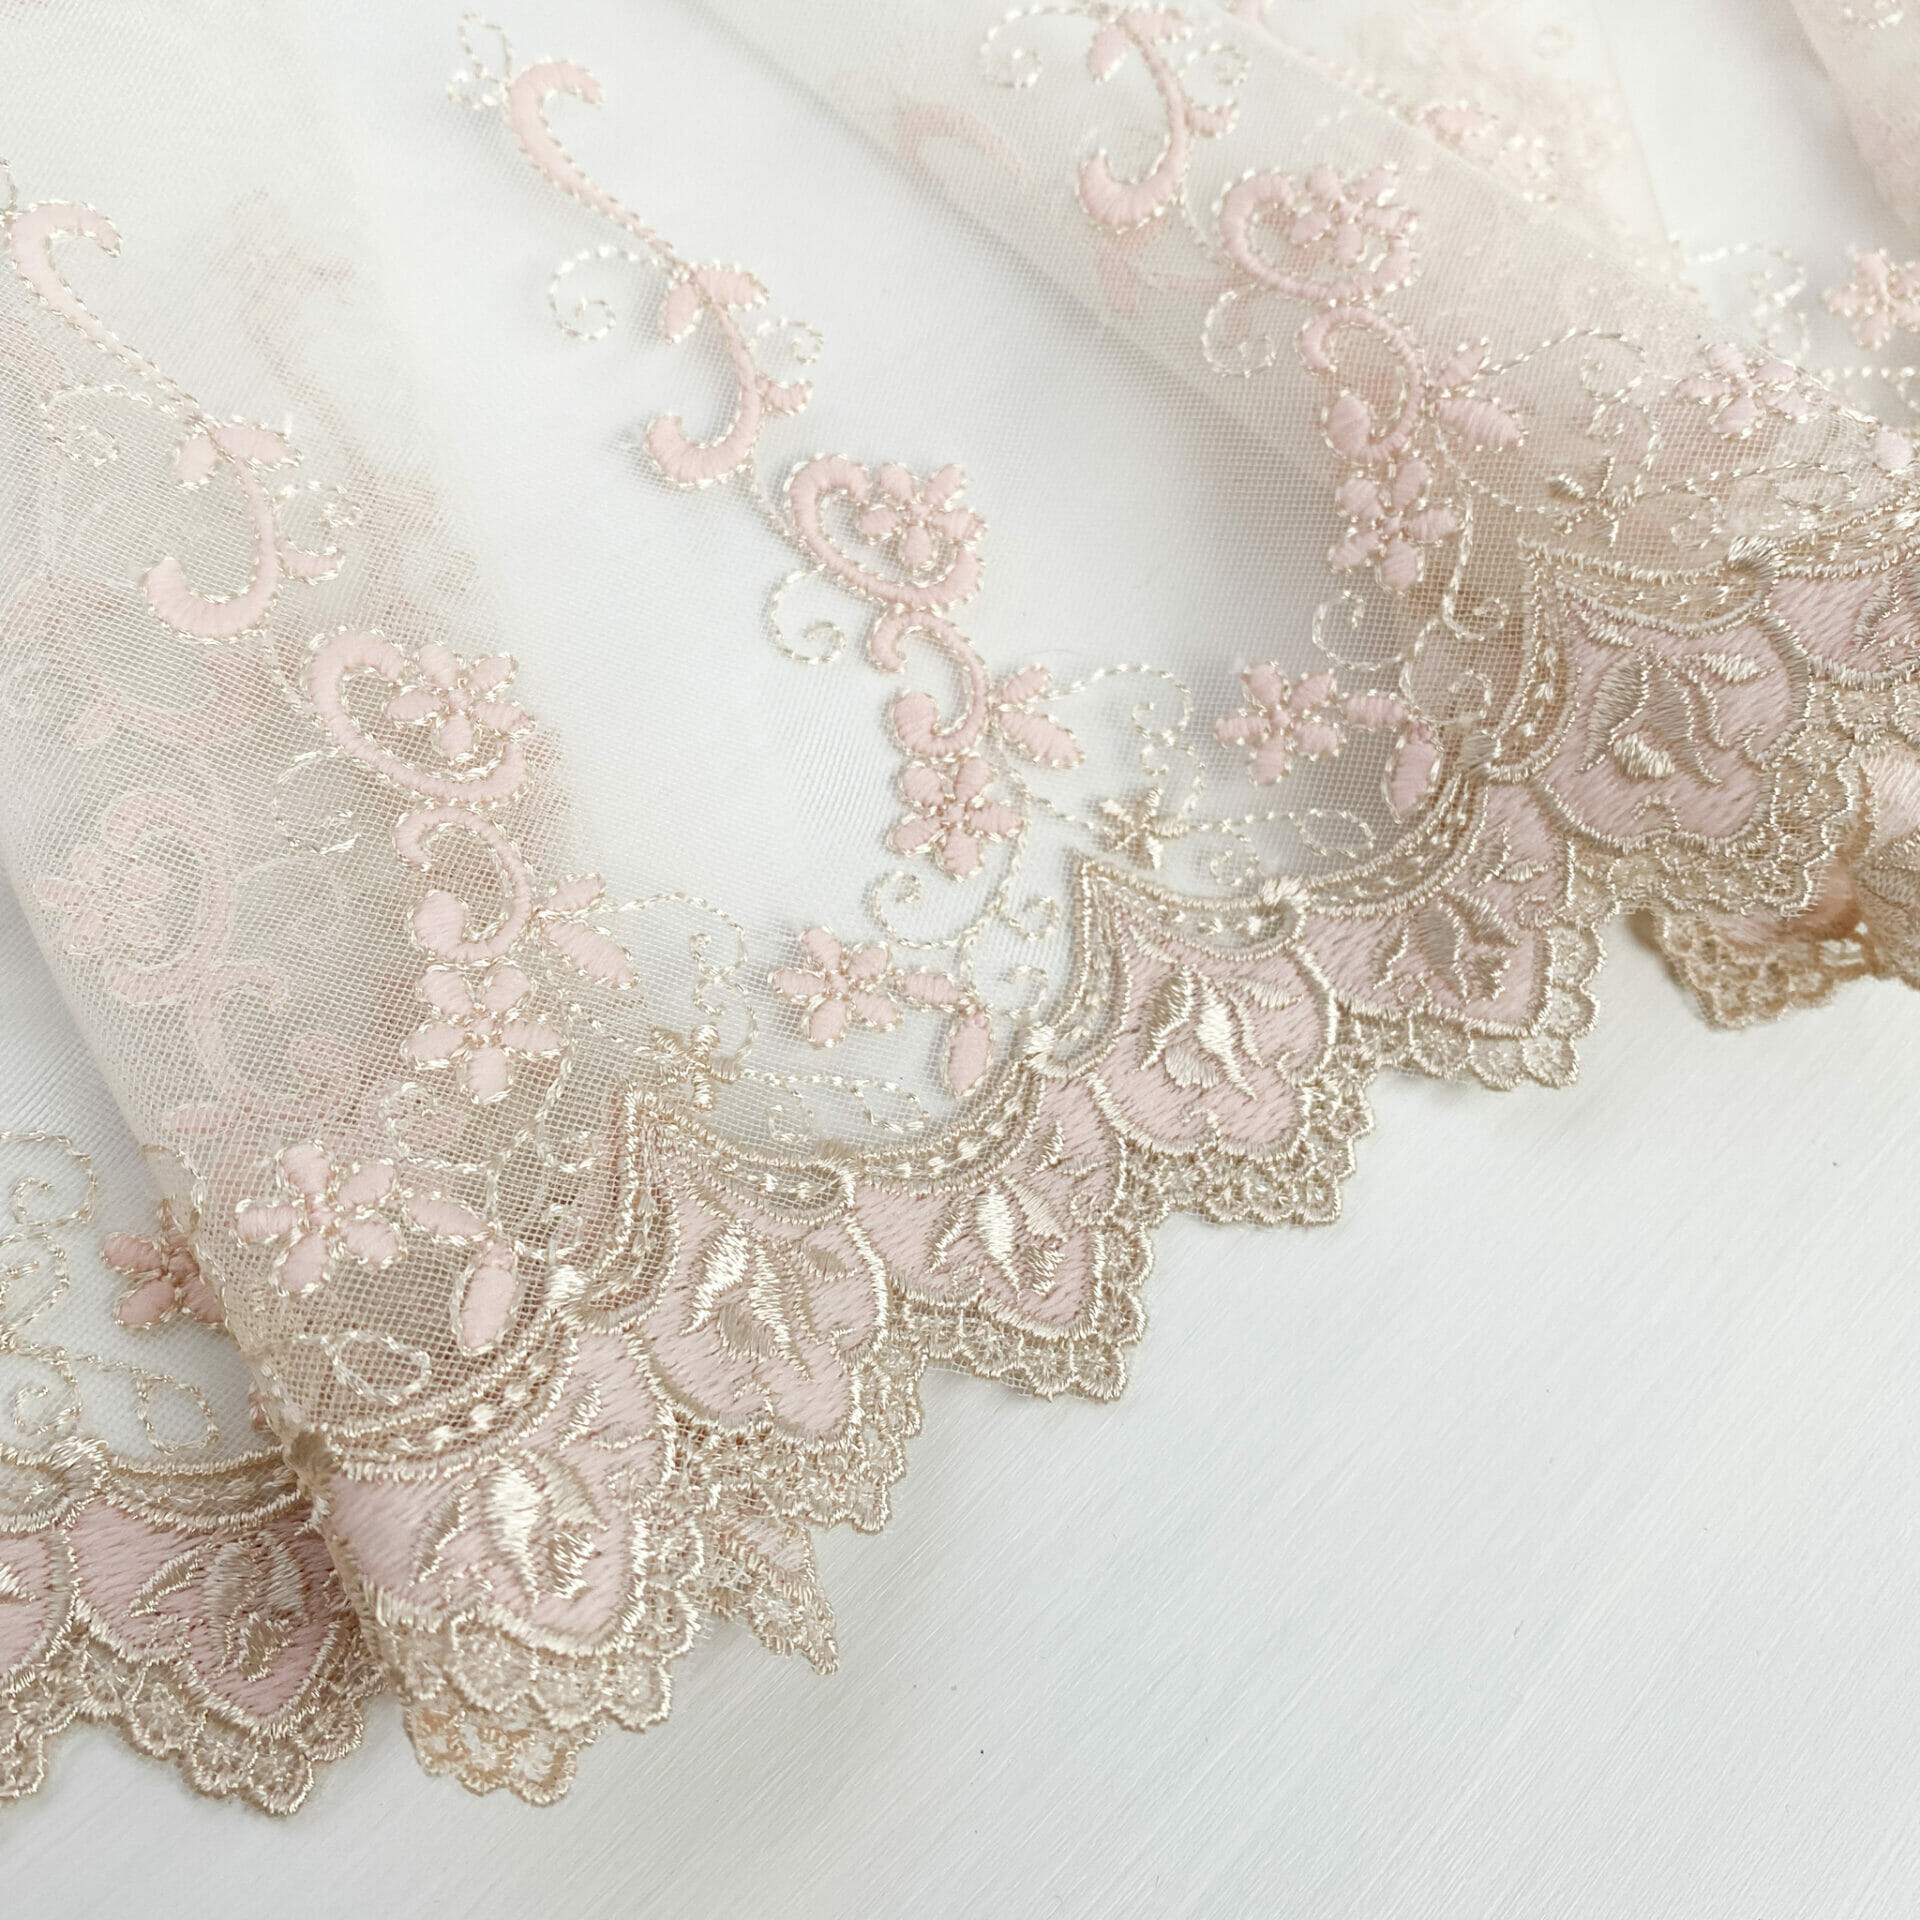
The bodice is made with a double layer of bra tulle (with opposing direction of stretch) and the back is made with powernet.
Some details about the top:
-I modified the cup pattern pieces to be a partial-band cup style, which means that you add your channeling width to your cup and when you sew your channelling to the cup-to-frame seam, you turn it in towards your cup. This made that seam a whole lot tidier (because if you flipped it out towards the frame you would see the channeling underside and seam allowances through the tulle) And also it makes the cups appear bigger, and less narrow, which is a little more clothing like, and less bra like.
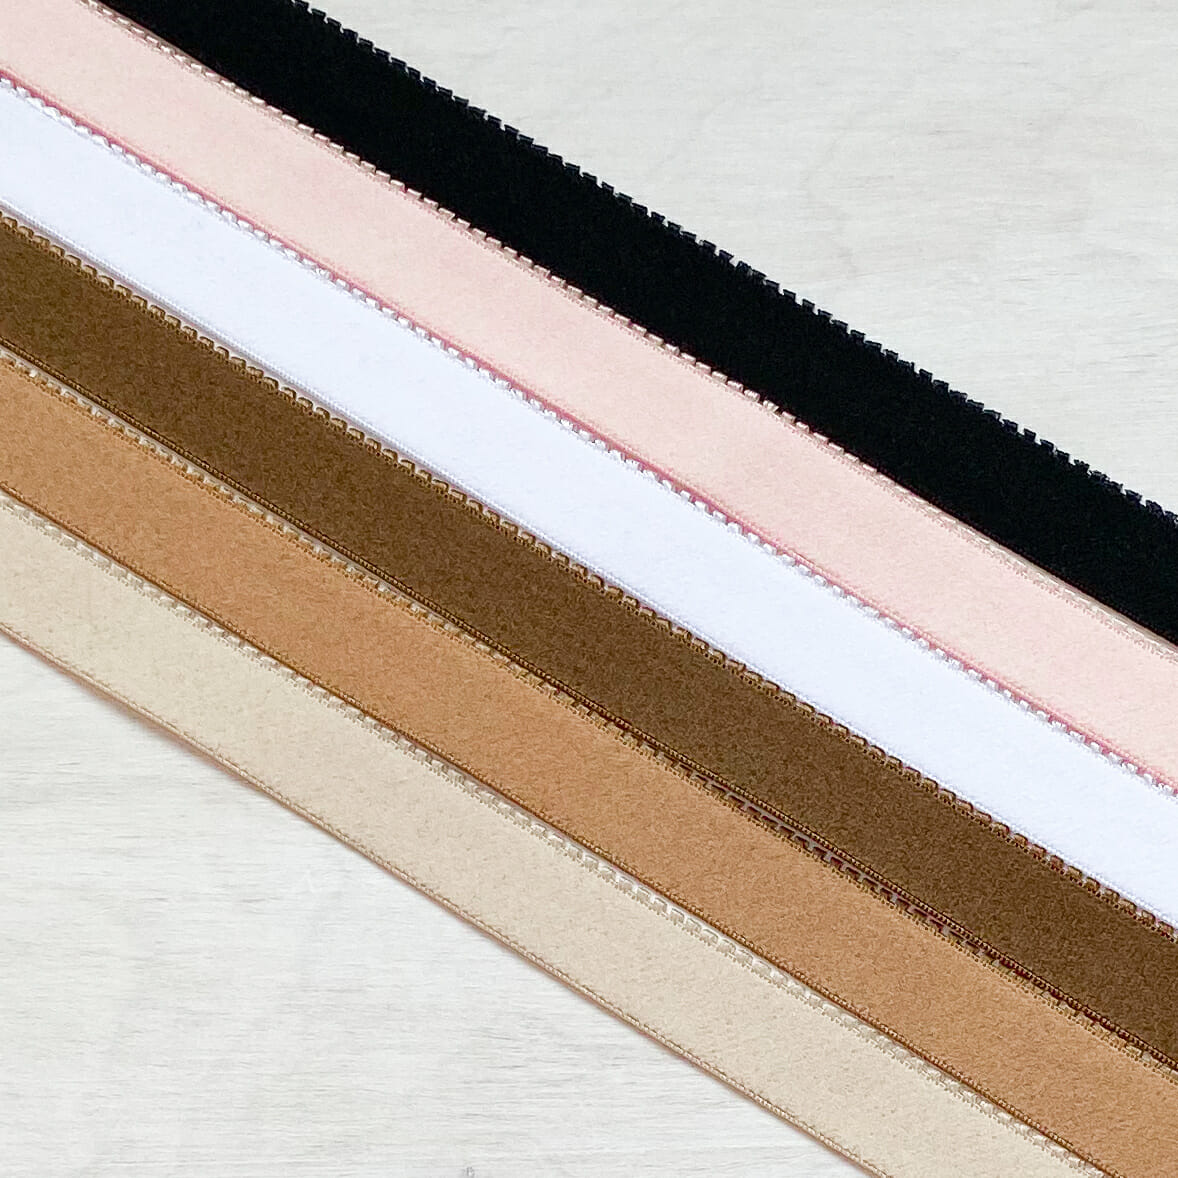
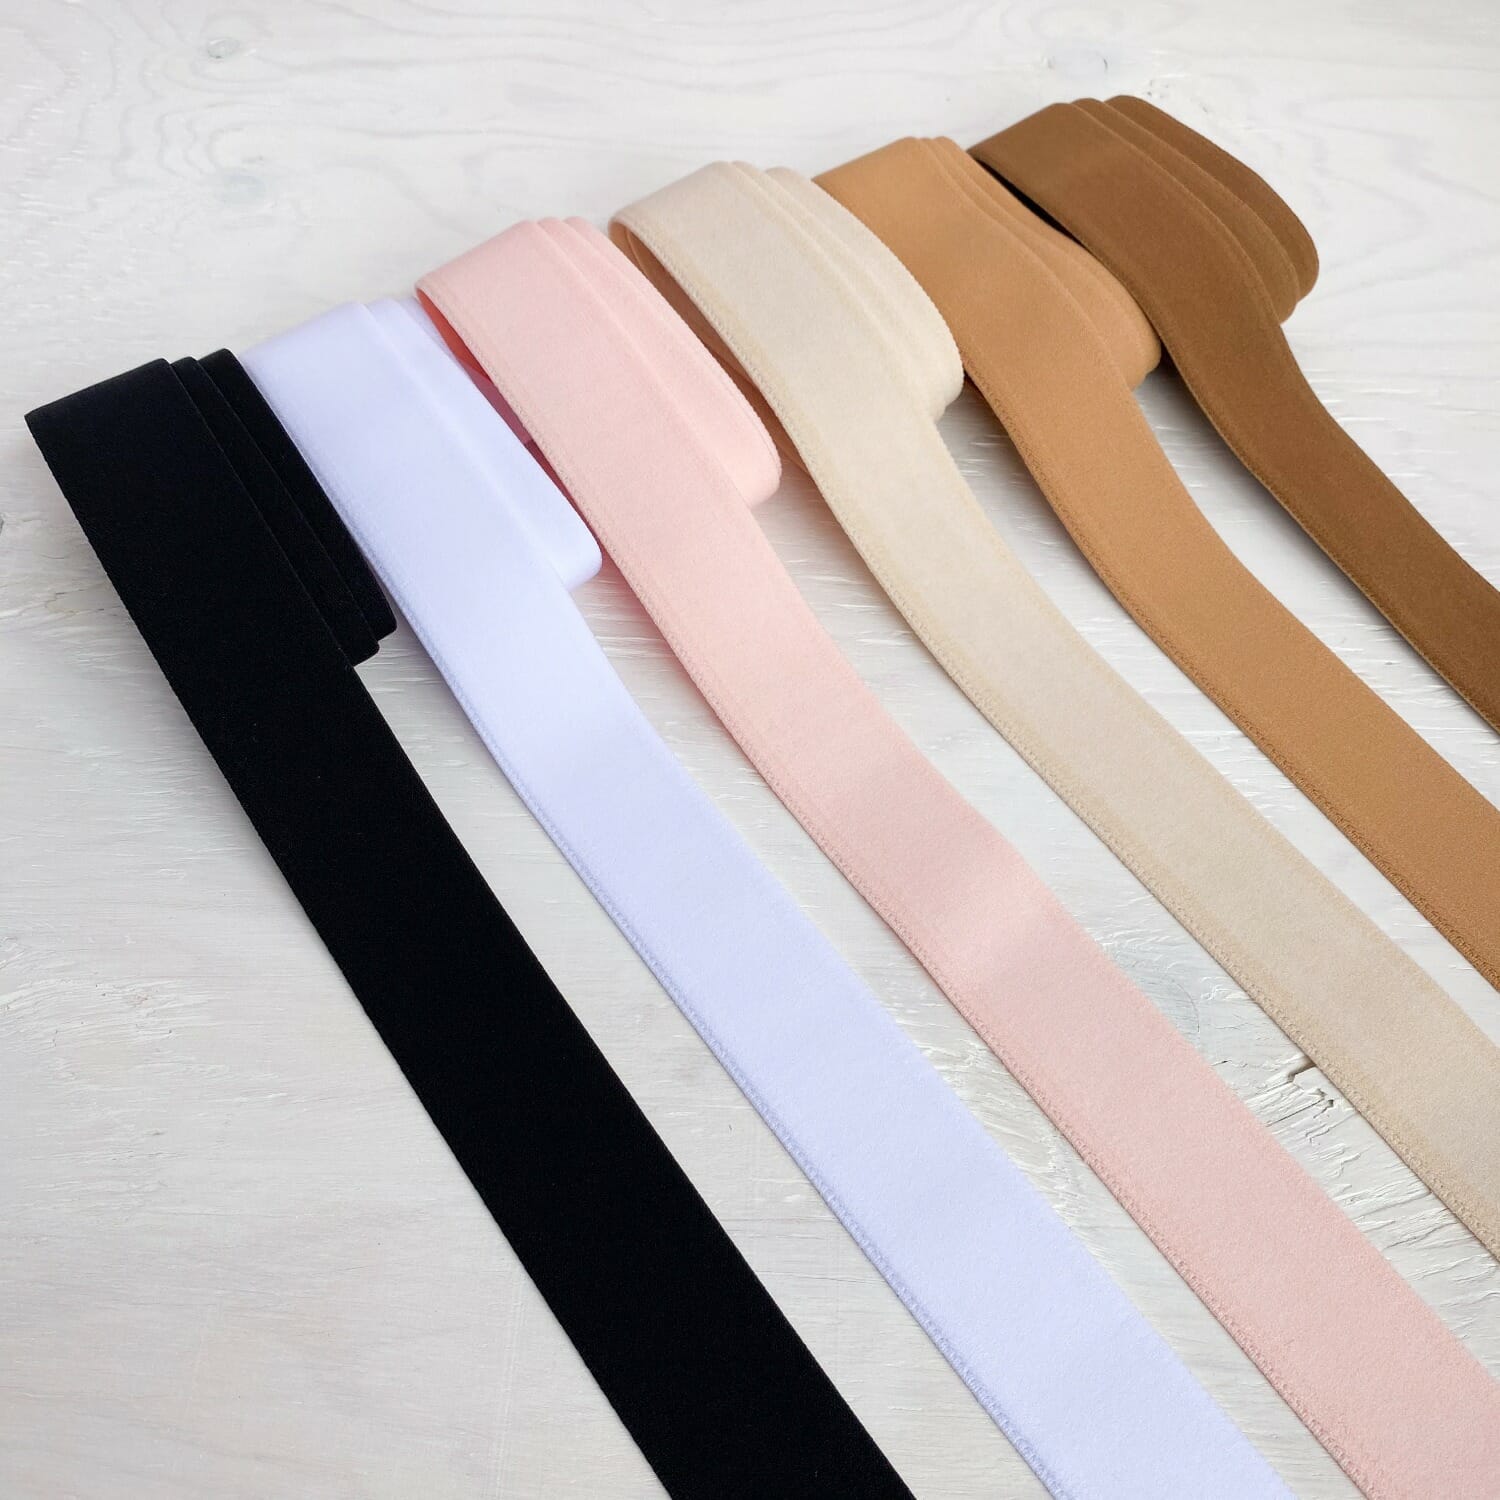
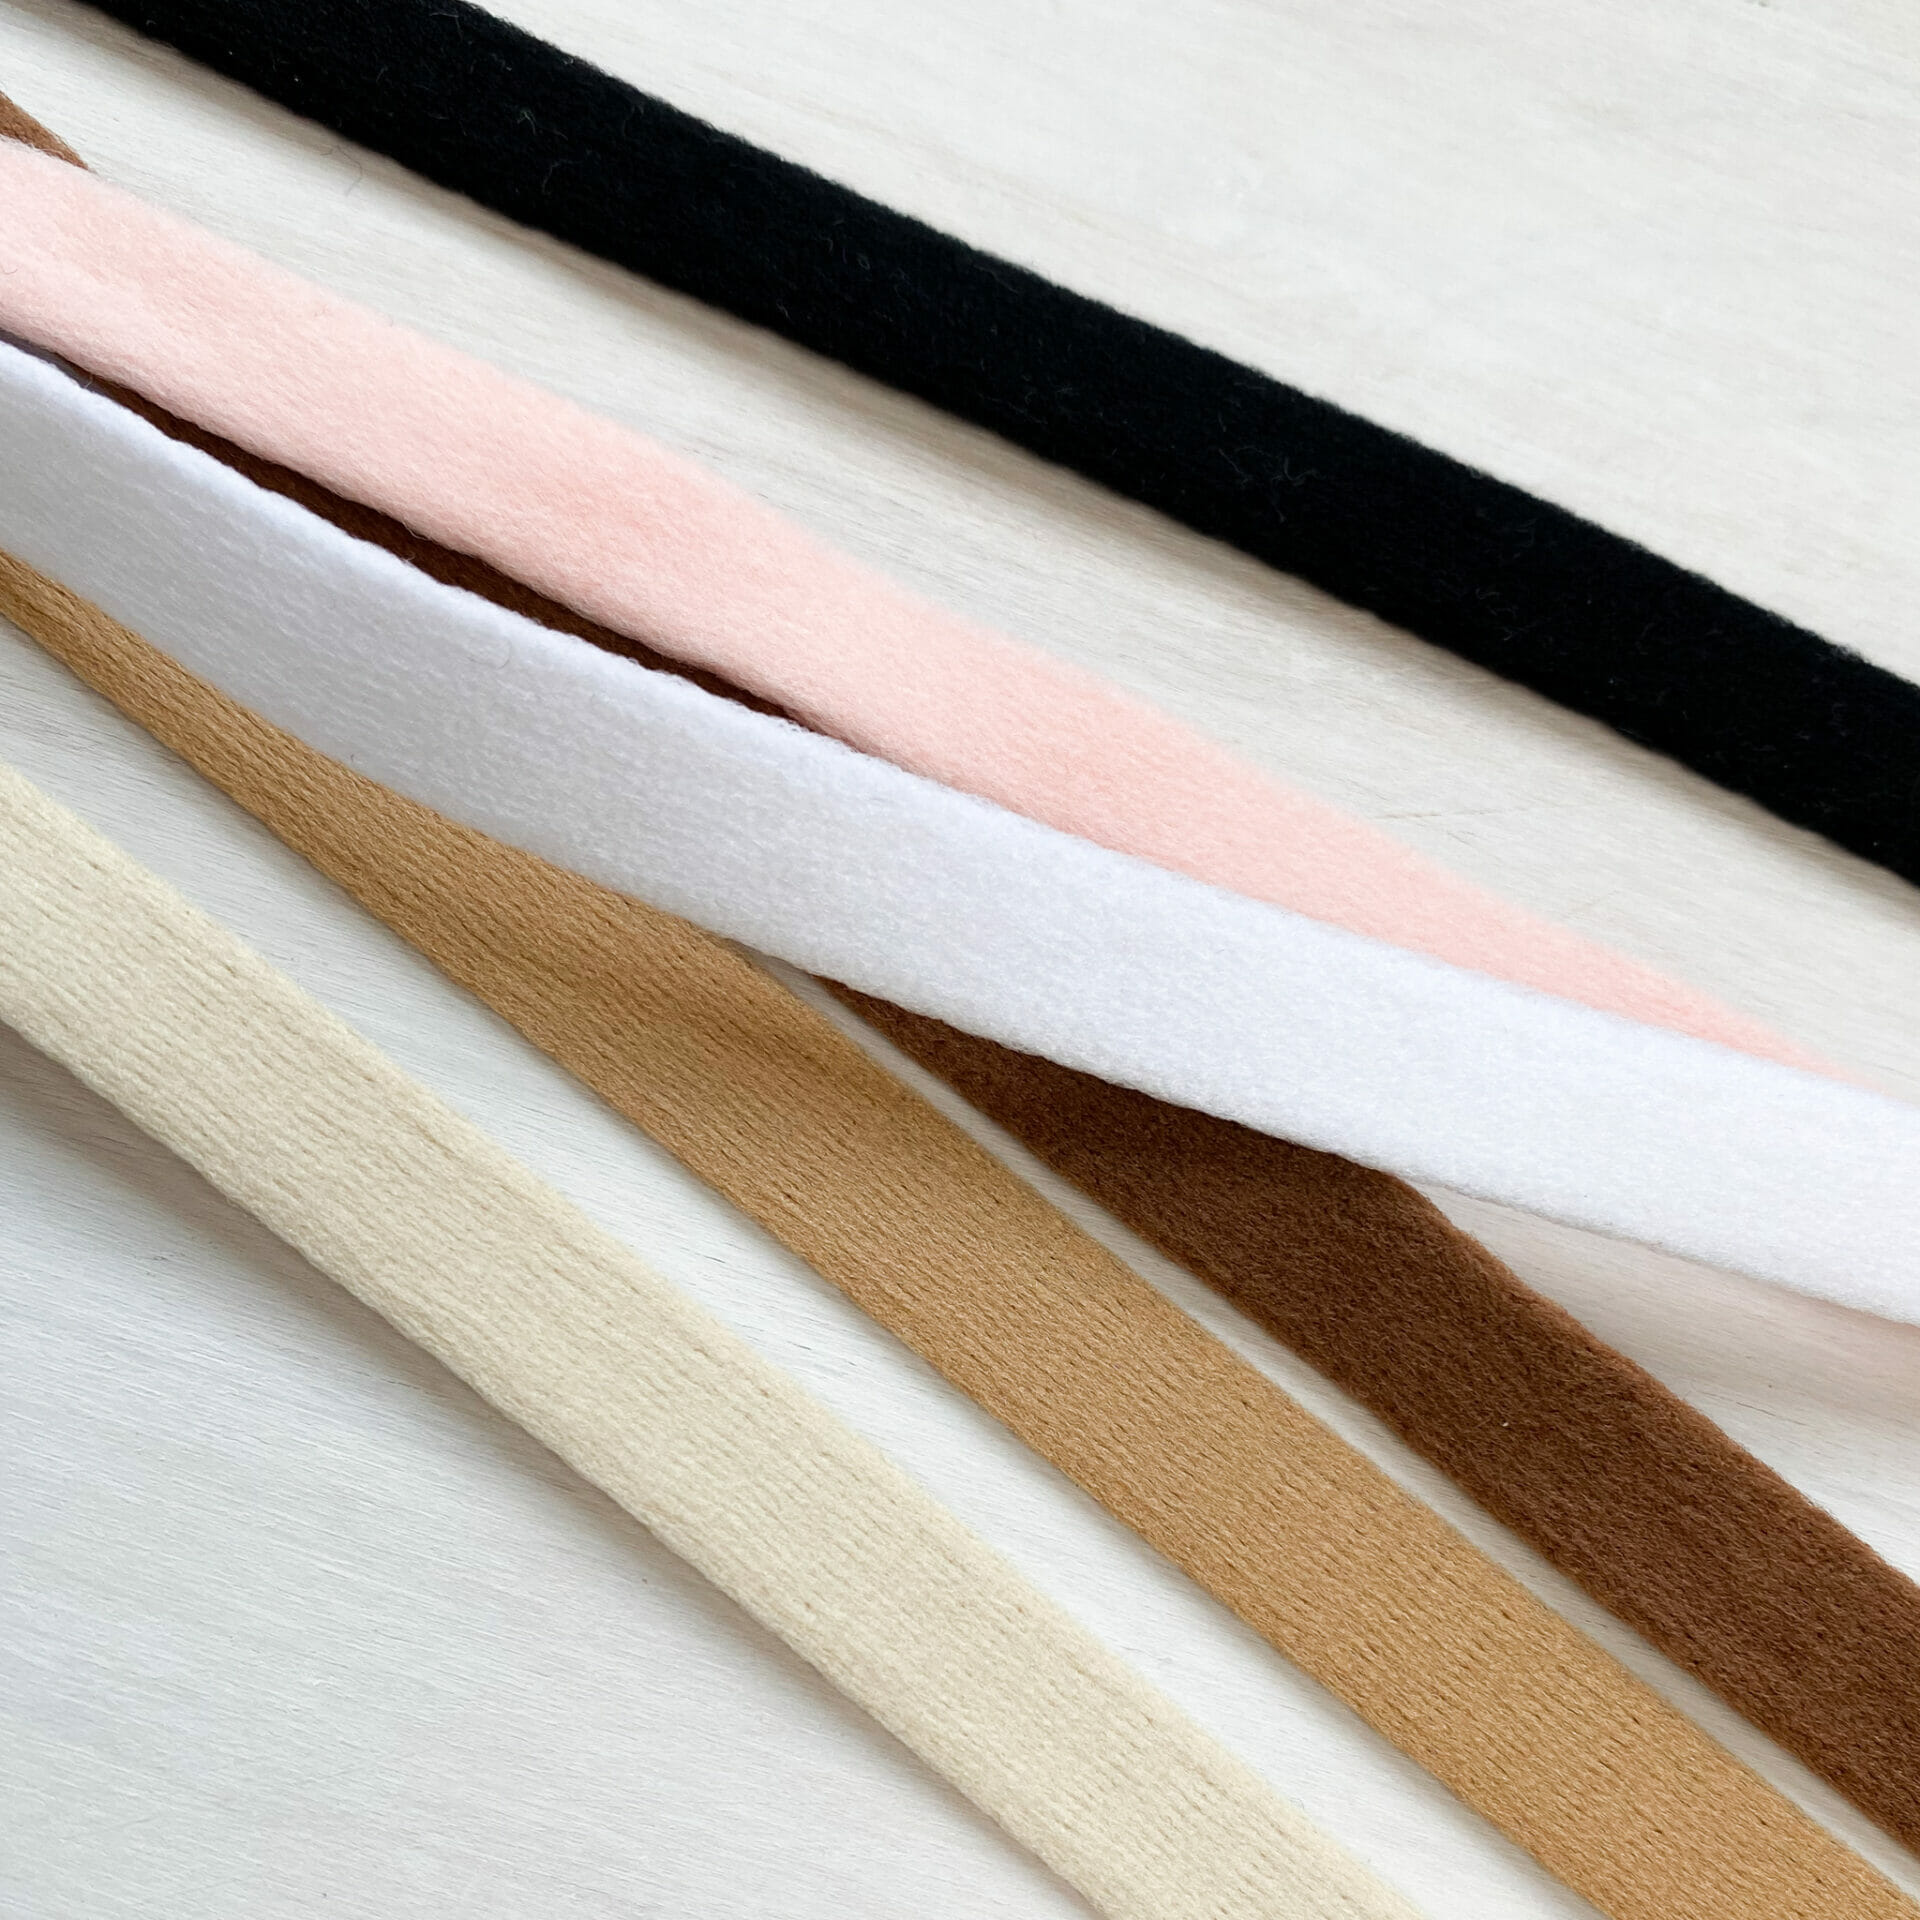
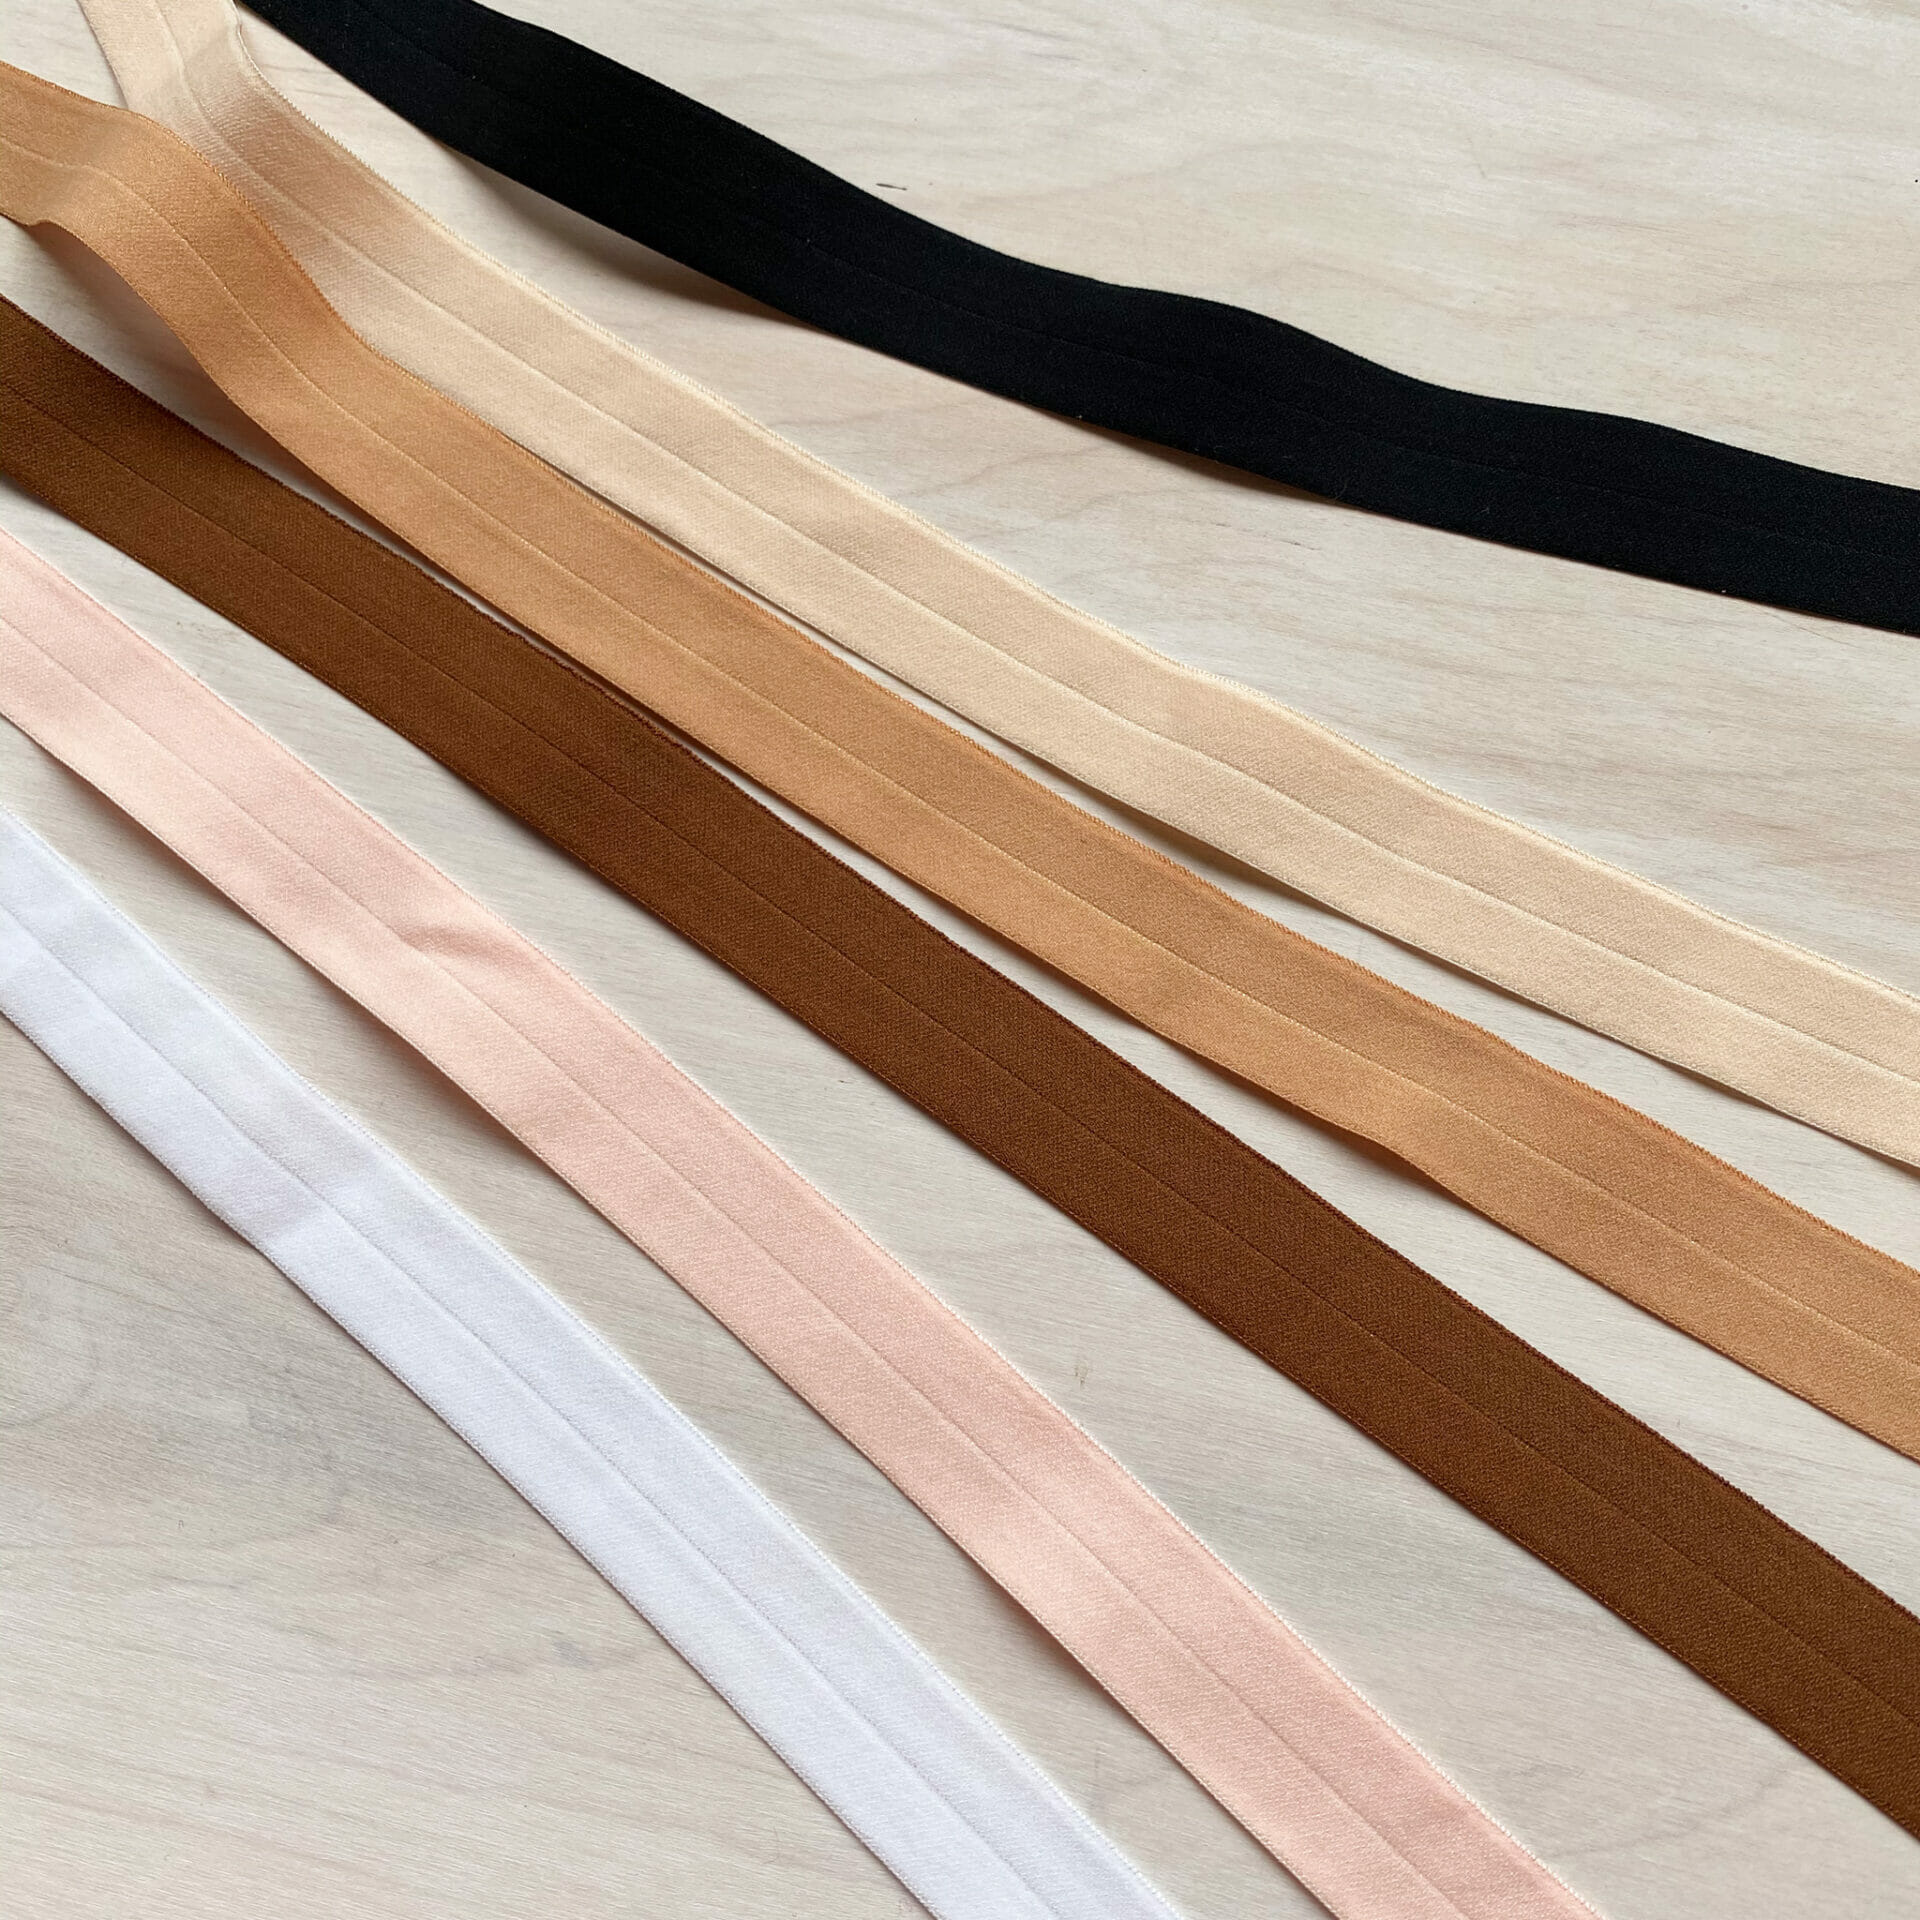
– I finished the top and bottom of the bra with fold over elastic. I applied it in the usual way (with a zig-zag stitch) on the back band because that part is meant to stretch. But across the front, I finished it with a straight stitch, so that it would look more like a binding than elastic, to further give that ‘outerwear – not underwear’ look.
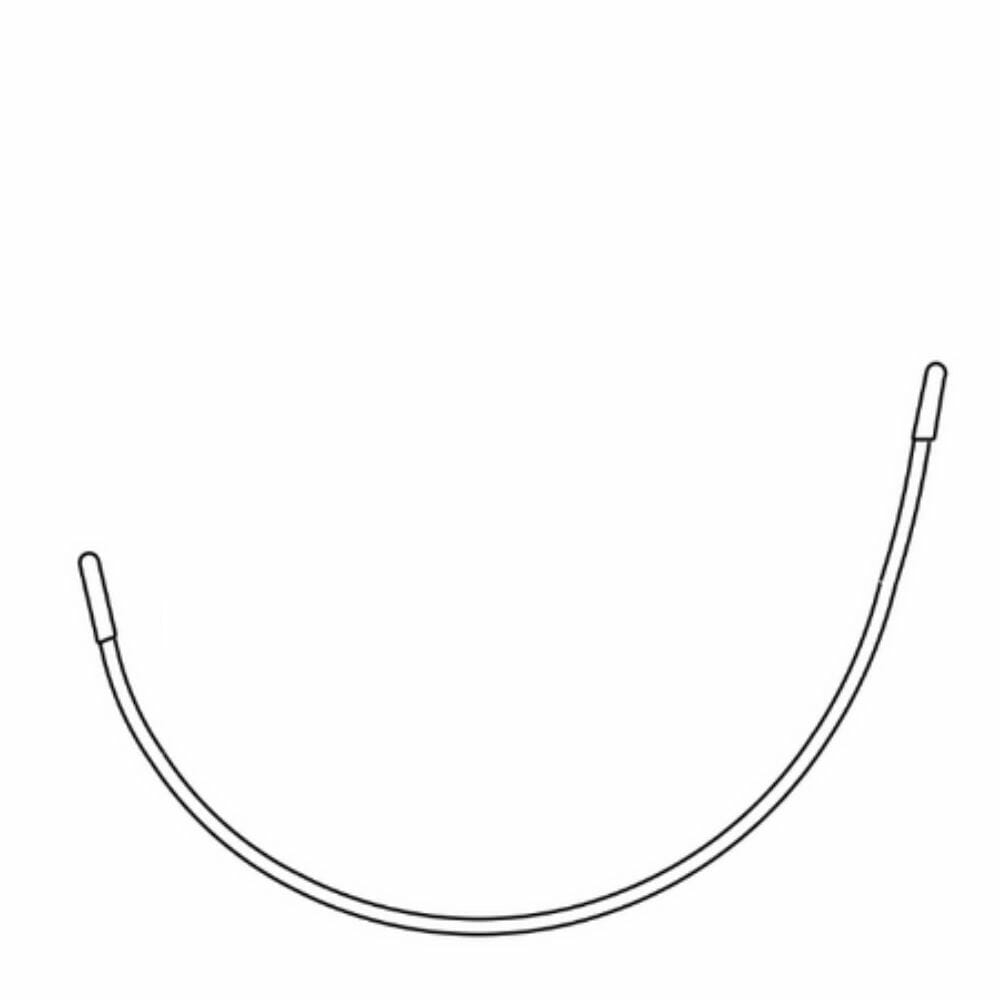
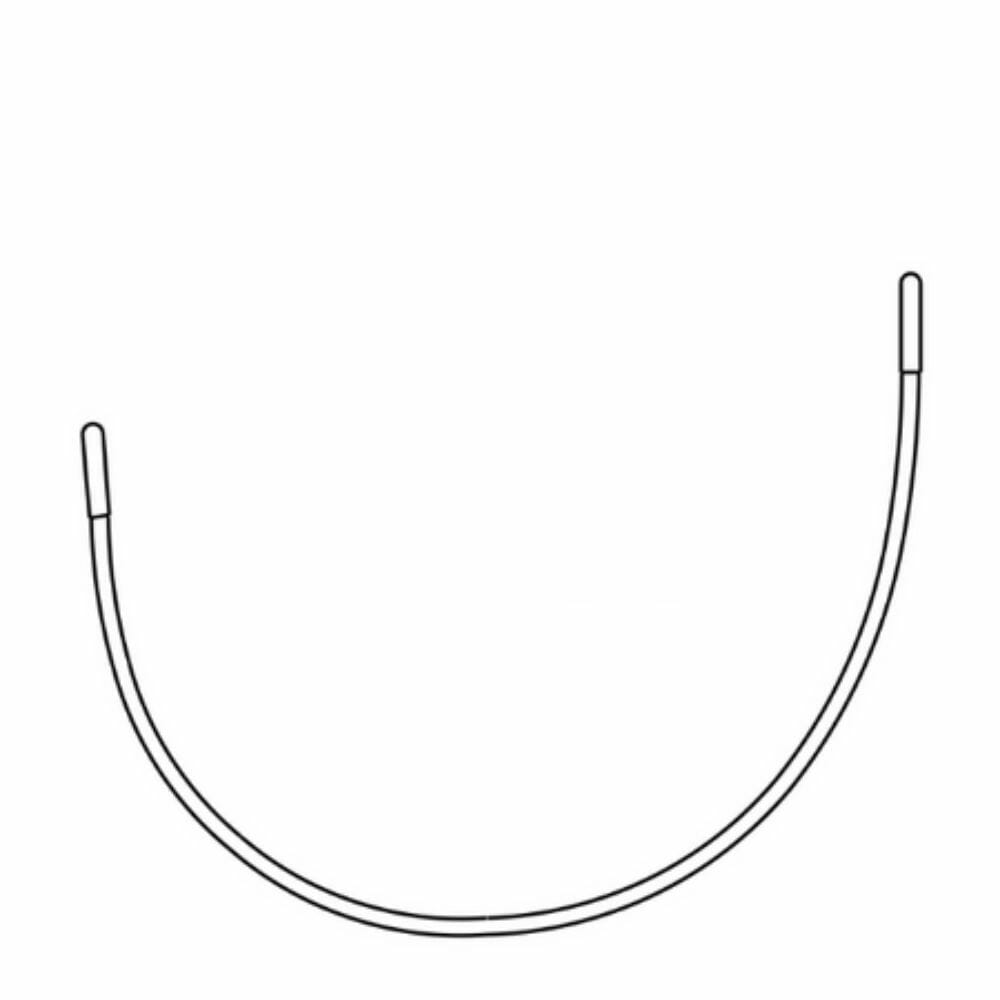
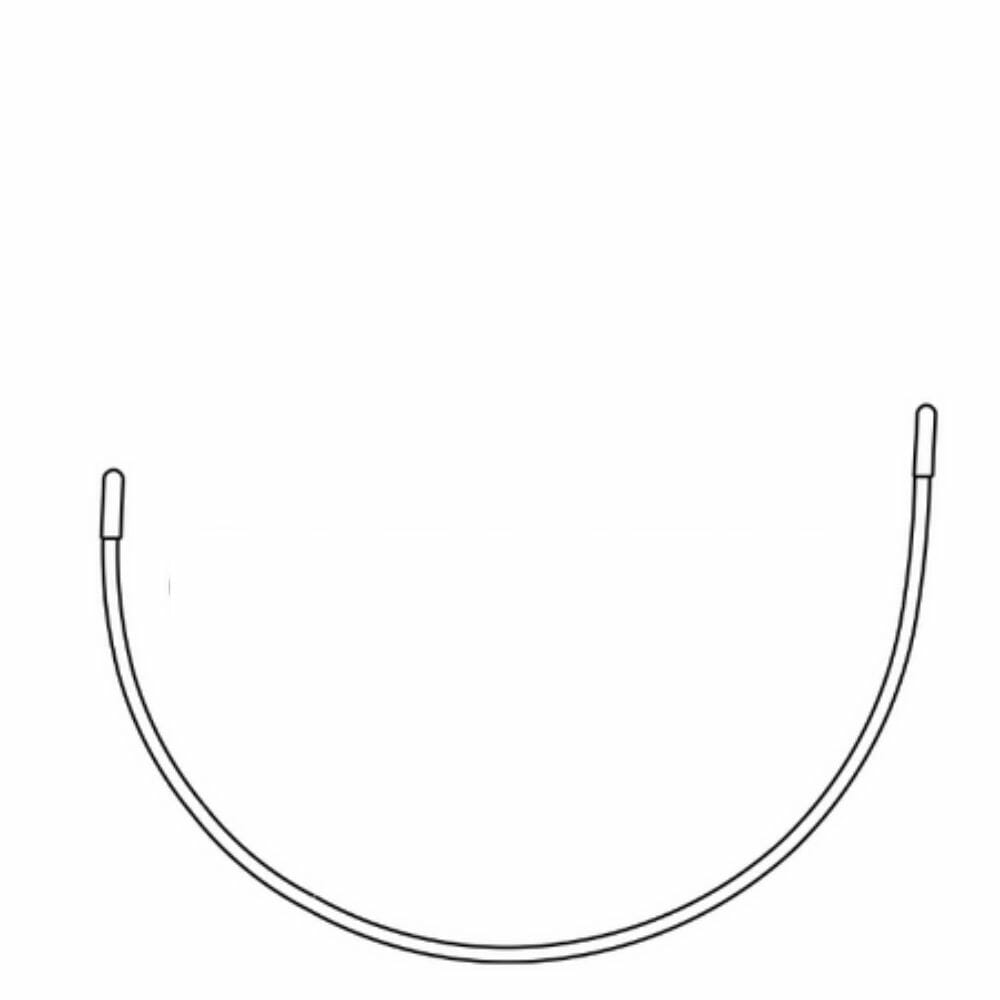
– The pattern was originally drafted for a Bliss Underwire, which is a great option for strapless because it’s tall and narrow and helps to keep the shape of your cups without strap support. But for this top I decided to go with the Carmen wire, because it’s still tall enough at the centre front, but it has a wider shape to it, and didn’t need as much tension and spring to get a really round shape on the cups, and I didn’t want this top to be too tight – especially since the long-line and boning gave tons of support too!
– For the back closure, because I don’t have hook and eye tape or a super long hook and eye, I used a tiny tight zig-zag stitch to attach two 3X3 hook & eyes together and they were the perfect width for this! So you can always double-up if you need a really wide hook and eye!
Other than adding these little details, the construction was really pretty straight forward bra sewing.
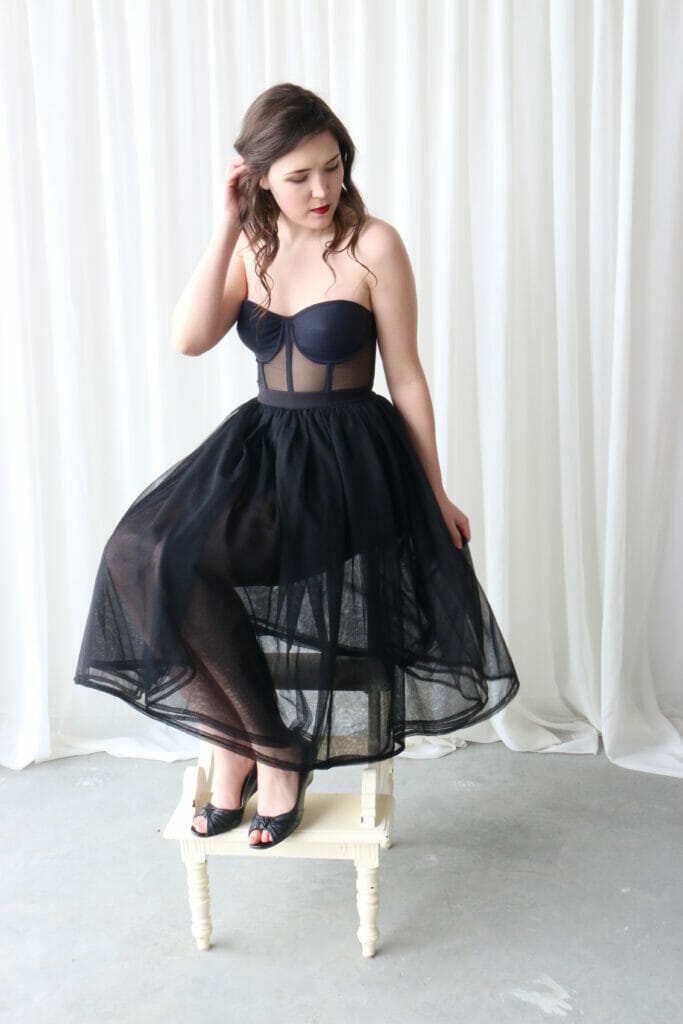
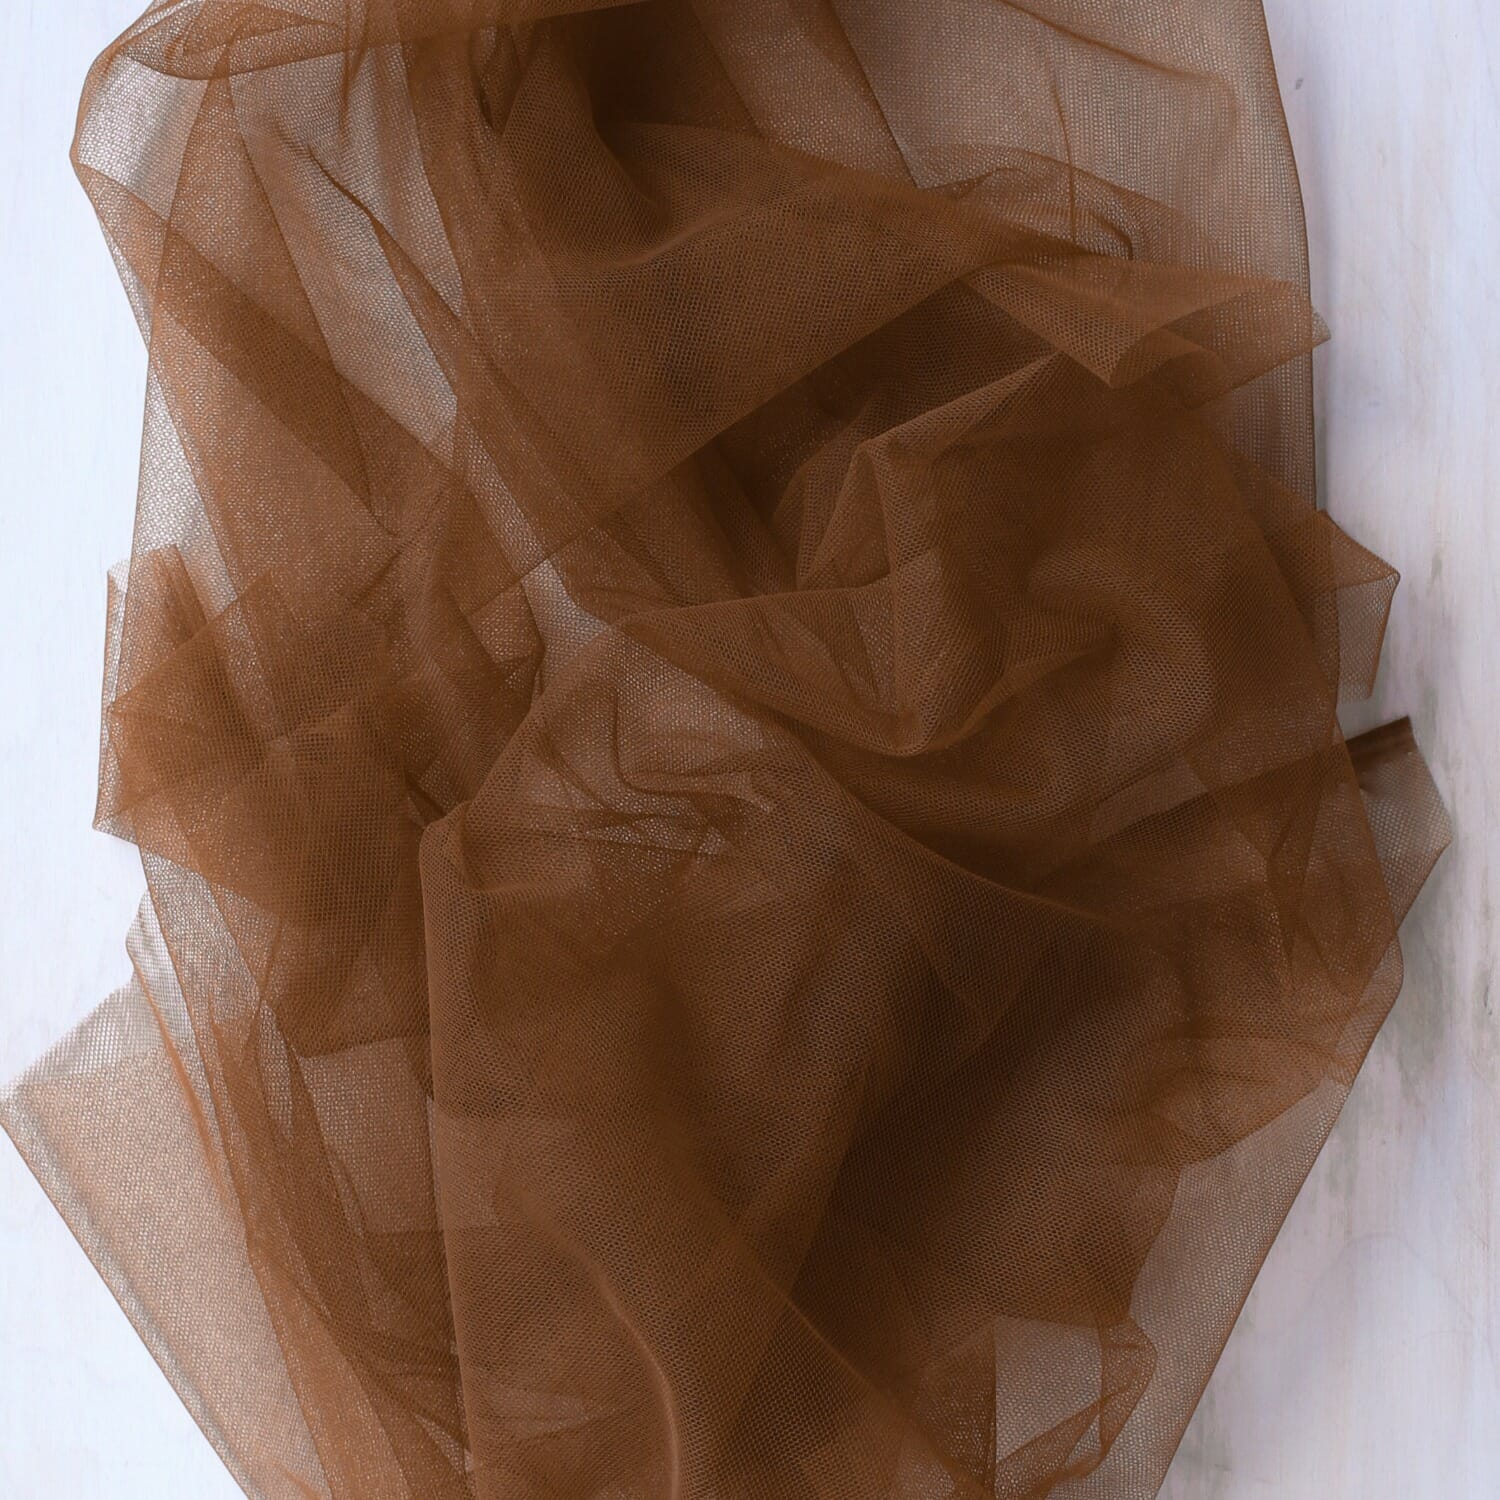
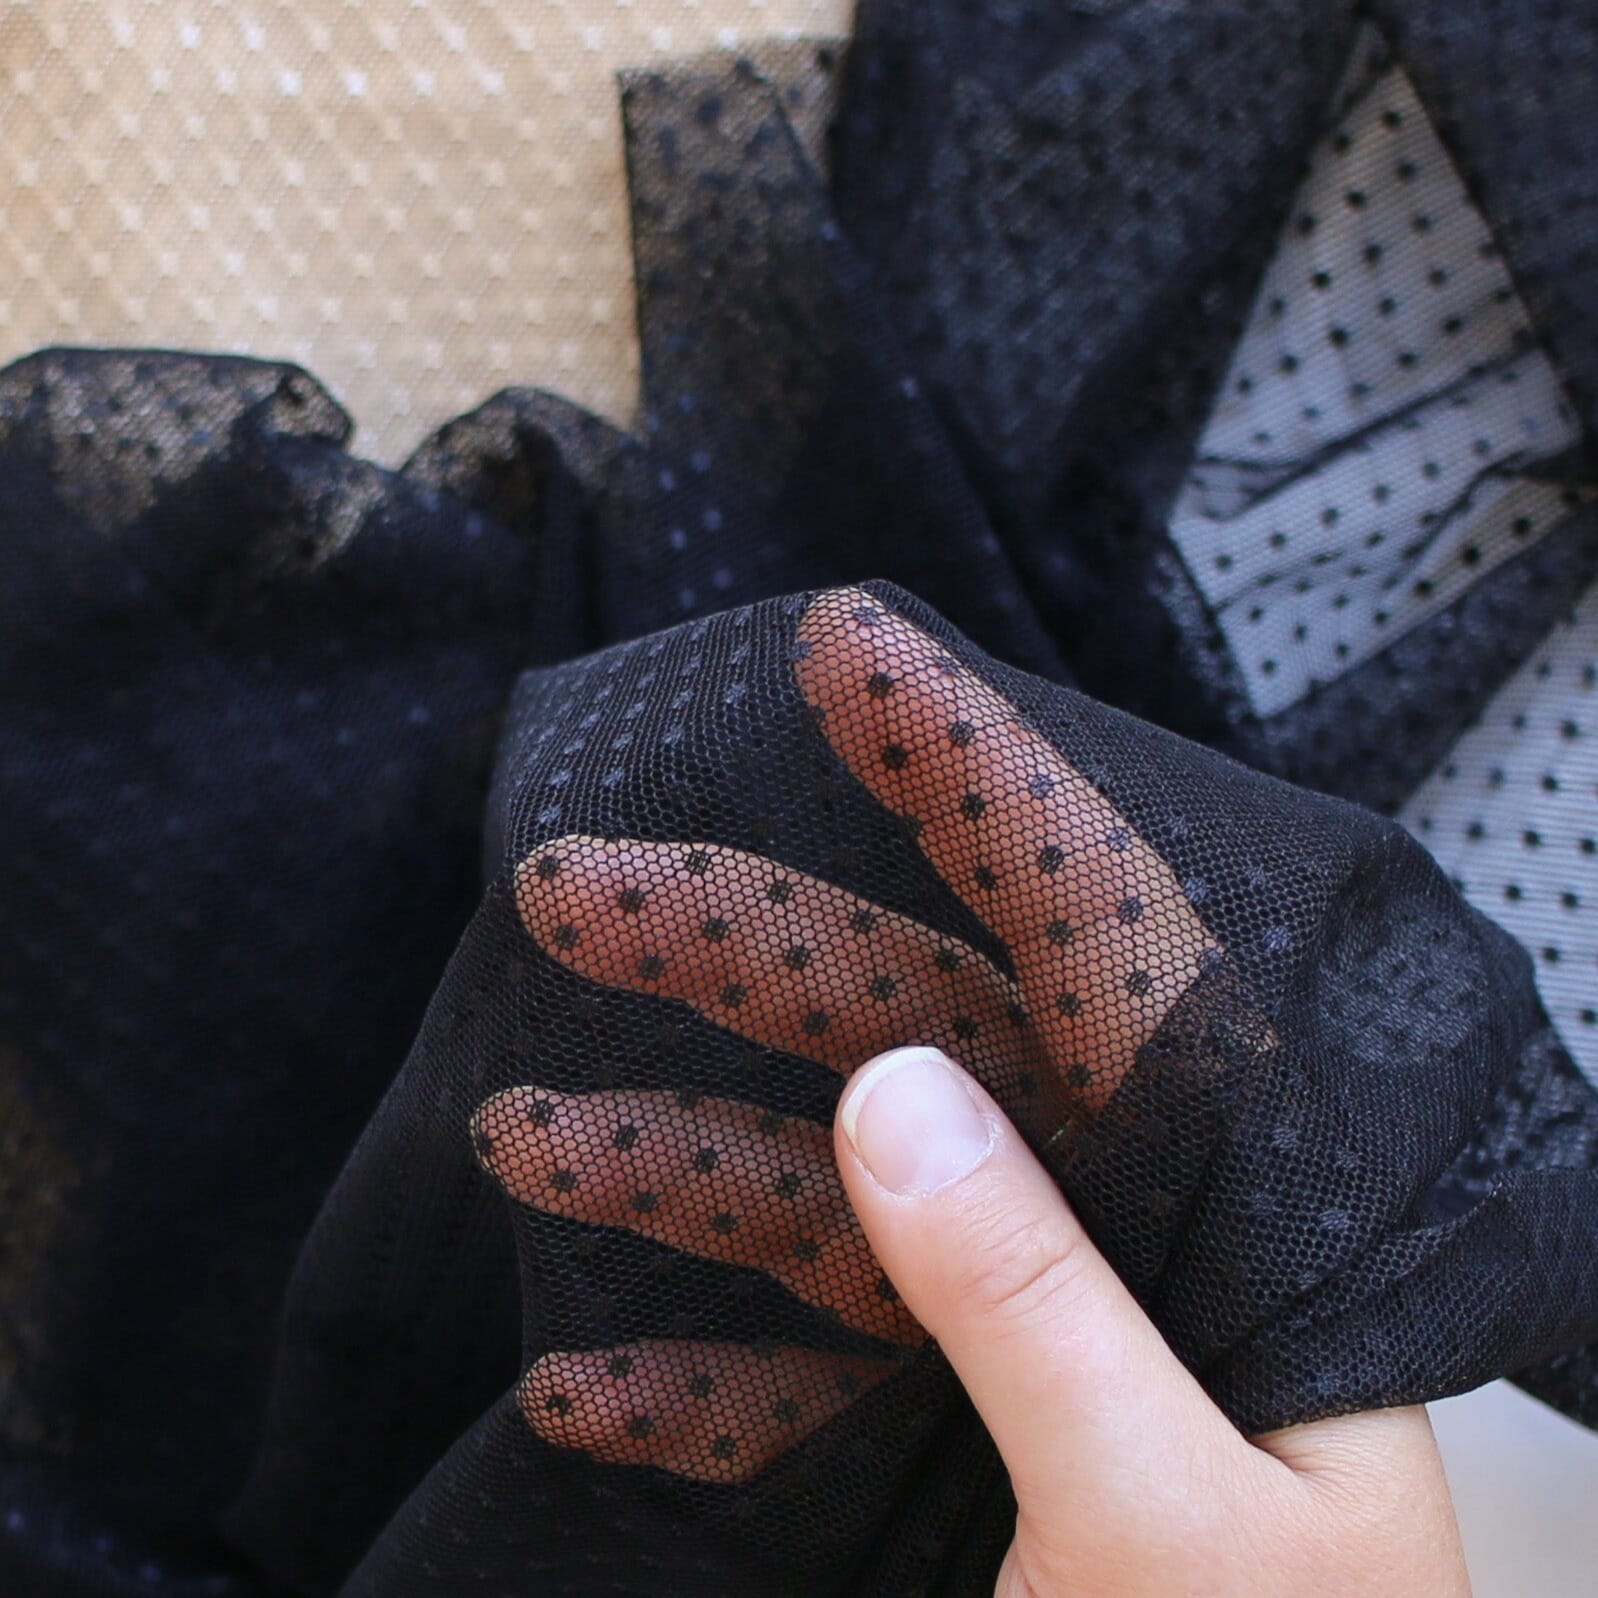
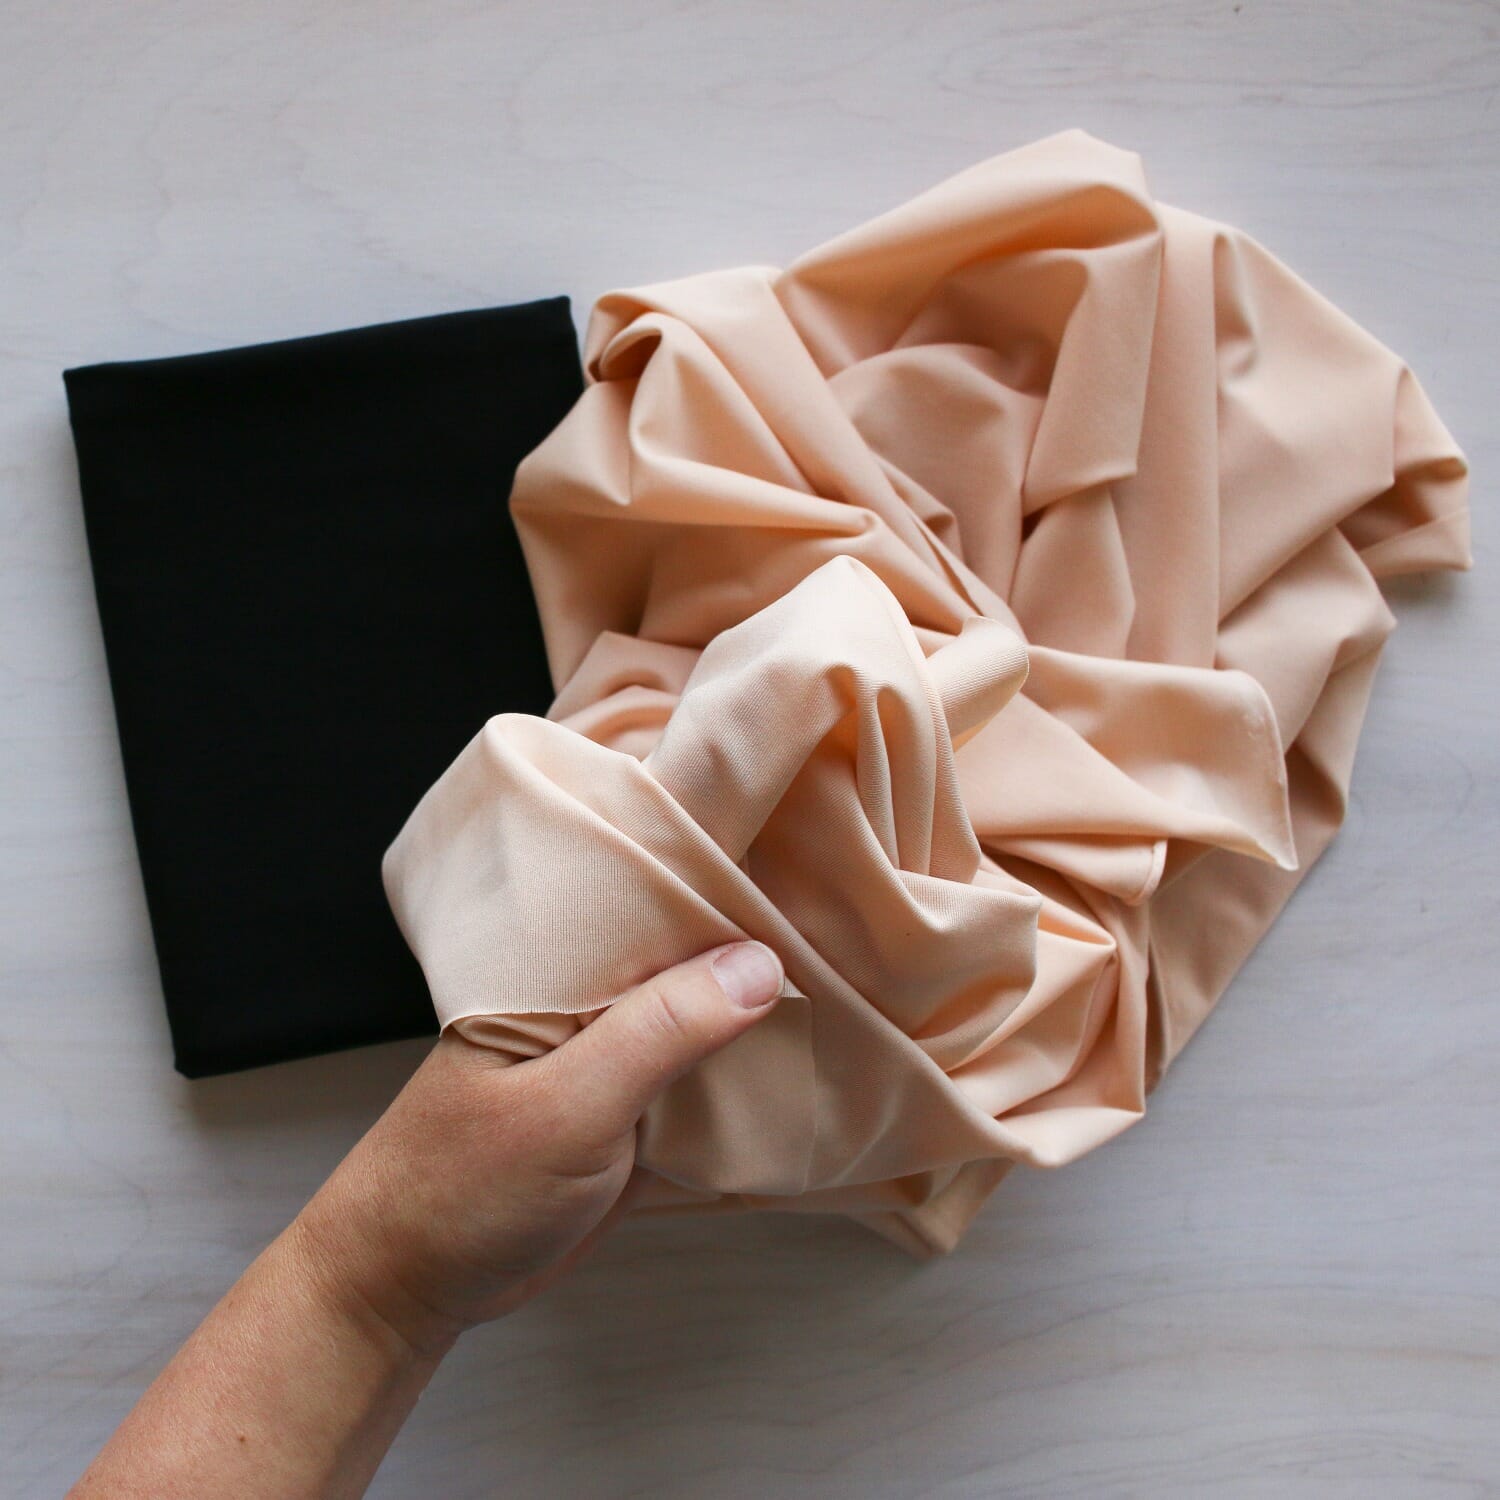
The tulle skirt was dead simple to make. I used my bra tulle for this, and I took at my hip measurement (40″ approx 1meter) and I wanted to triple measurement in volume and have four layers of tulle, because it’s pretty sheer on it’s own. I did wear sheer black nylons, and high waisted black underwear – but if the wind caught this just right, it’s a bit of a peak-a-book effect.. which I kind of love : ) You could add a lining if you aren’t feeling so bold lol
For the construction I cut 2 pieces of tulle, 3 meters long each (yes I am wearing 6 meters of tulle!). Then I cut a piece of my wide band elastic for the waistband (which made the whole thing so nice, because everything had a bit of stretch and give- I was not about to hold back on those scones at high tea).
I cut the elastic just shy of my waist measurement (I cut it to 28″, and my waist is 29″) because I knew there would be some overlap of the elastic for the closure, so the final measurement would be around 27.5″ which would give a nice elastic stretch to hold it in place and not sag from the tulle.
Then I gathered the tulle along the centre fold line of the fabric down to the length of the elastic, and I did both 3m pieces of tulle separately. And then I based them onto the elastic waist band, so there were 4 layers of tulle coming from the waistband.
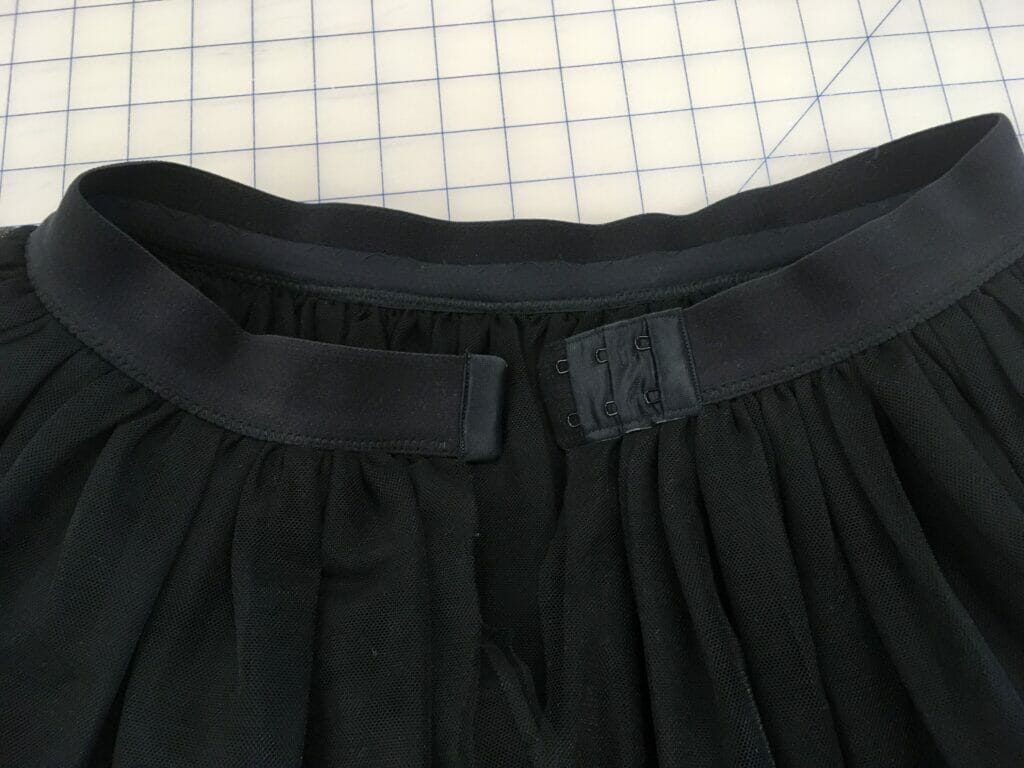
To enclose the seams inside the waistband, I used a fold over elastic flat. I laid it over the layers of tulle, lining the edge of the foldover elastic with the edge of the waistband elastic underneath and sewed with a zig-zag stitch to attach them together. Then I took out the basting, pressed the gathered seam allowances of the tulle flat, and hand stitched the top edge of the fold over elastic to the inside of the waistband, so there wouldn’t be a second seam showing through to the front of the waistband.
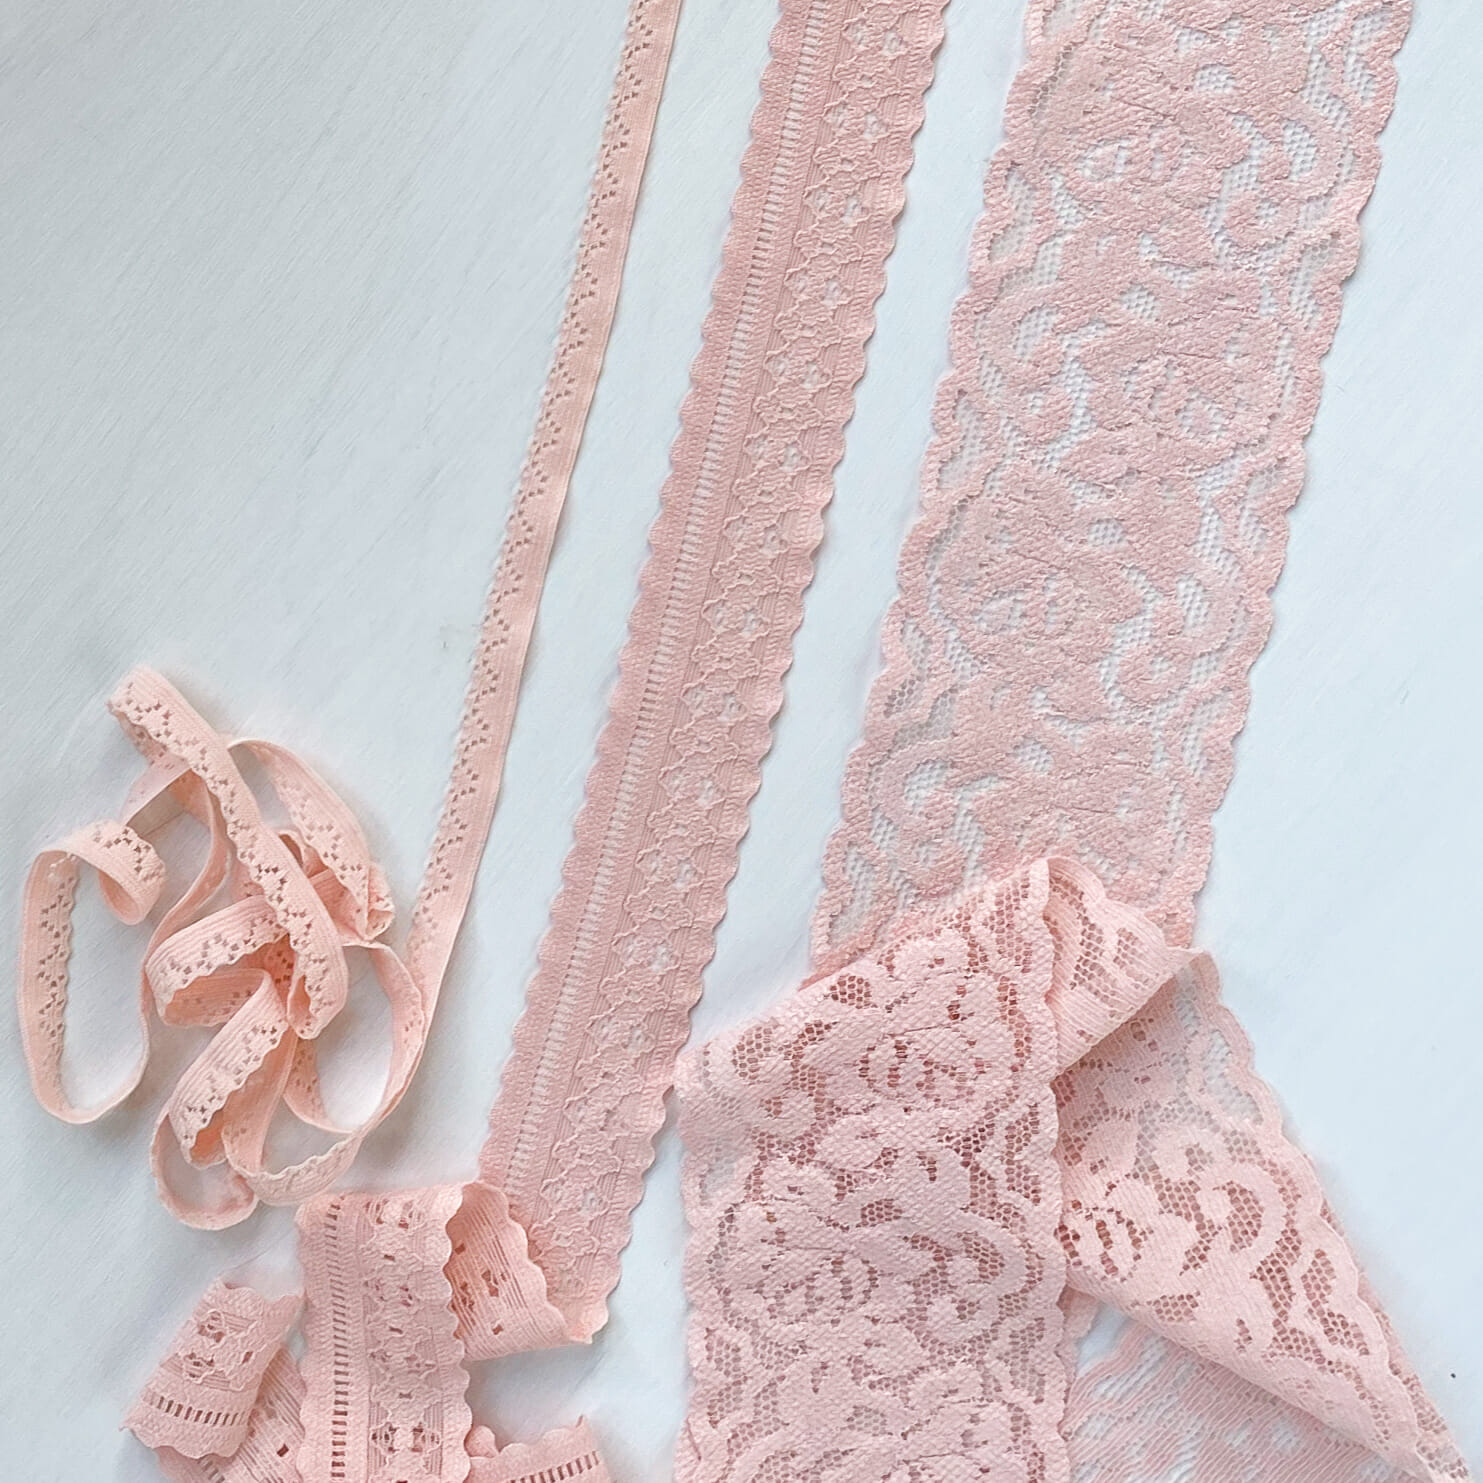
I finished the back with a matching-width hook & eye closure, and sewed up the centre back seam of the tulle each layer individually, leaving a slit at the top to get in and out of it! I hemmed the bottom by double turning the salvage edge up and stitching. It was actually such a quick make, and I’m super tempted to do this with my blush tulle for a summer look too 🙂
Supplies I used for this project:
bra tulle – foam – carmen underwires – channeling – powernet – fold over elastic – 3X3 hook & eye – wide band elastic – 2X3 hook and eye – mara 120 thread
And of course it wouldn’t be a photoshoot without a Gibby picture- and he’s all fresh cut for spring!
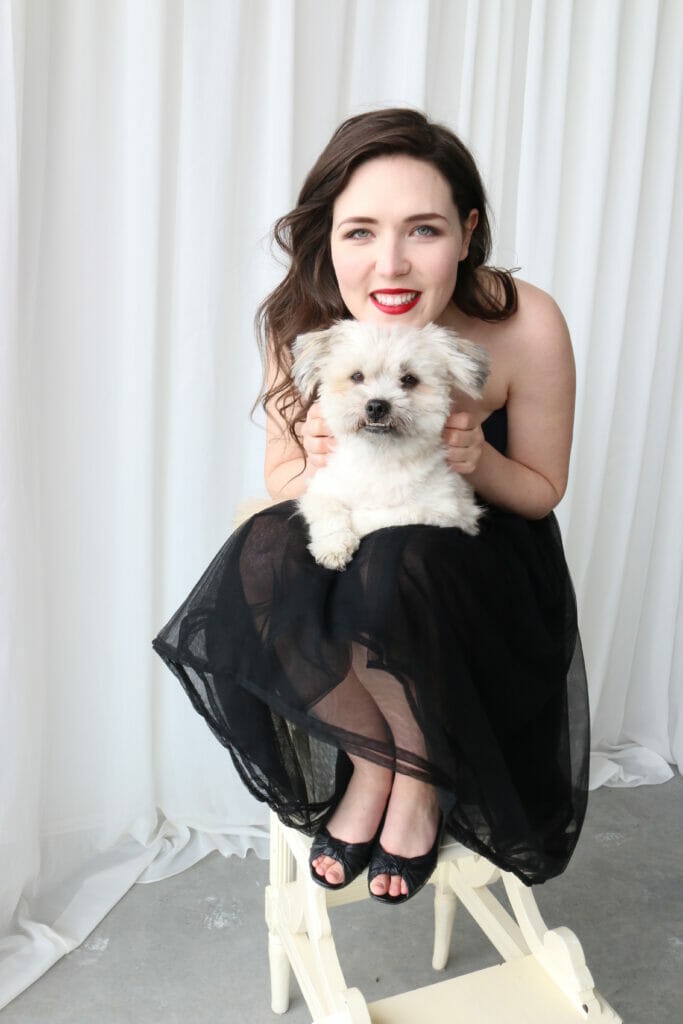
unlike the fluffy little beast he was when I made the dress over a month ago…
I have to say it was SO inspiring and refreshing to make this dress. I actually don’t spend as much time sewing anymore, and when I do, it’s usually samples for a patterns. I’d like to find more time in my month, if I can, for some selfish sewing, and projects that really push me – because it does shake you out of your sewing routine a bit!
Have you made any projects lately that have really jumpstarted your creativity?
xo
erin
I followed along with this make on Instagram, & it really did turn out just lovely. & the Dior influence comes through loud & clear!
🙂 Thanks Ciara! So cool that you followed on insta! I’m loving using my stories now 🙂
Your outfit is stunning!
thanks always xo
What a stunning outfit, Erin! I saw the Dior exhibit recently too, but wasn’t nearly as dressed as you were!
🙂 Not many people were lol, but it was so worth wearing it!
This is gorgeous! Love the idea of separates that also give the look of a dress. A perfect outfit for the Dior exhibition.
Thanks! Having it as separates makes it so comfy and versatile, I’m already thinking of other ways I can mix and match 🙂 🙂
This is absolutely gorgeous Erin! I just heard you on the Love to Sew podcast and from there started checking out your blog. I adore vintage Christian Dior styles, and would love to make this top as a kind of “inner corselette” to attach inside a 1950s style dress. Do you have a pattern for it for sale? I have never made a bra before but I can’t wait to learn!
A large Dior exhibition is coming to London in 2019 which I’m super excited about… I must make a dress to wear to it! Thanks for all your excellent information! 🙂
Just replied to you by e-mail about this 🙂
Hi, do you sell a pattern for this gorgous dress in a larger size?. Iabsolutely love it!
Thanks! This dress isn’t available as a pattern at this time