Hi All!!
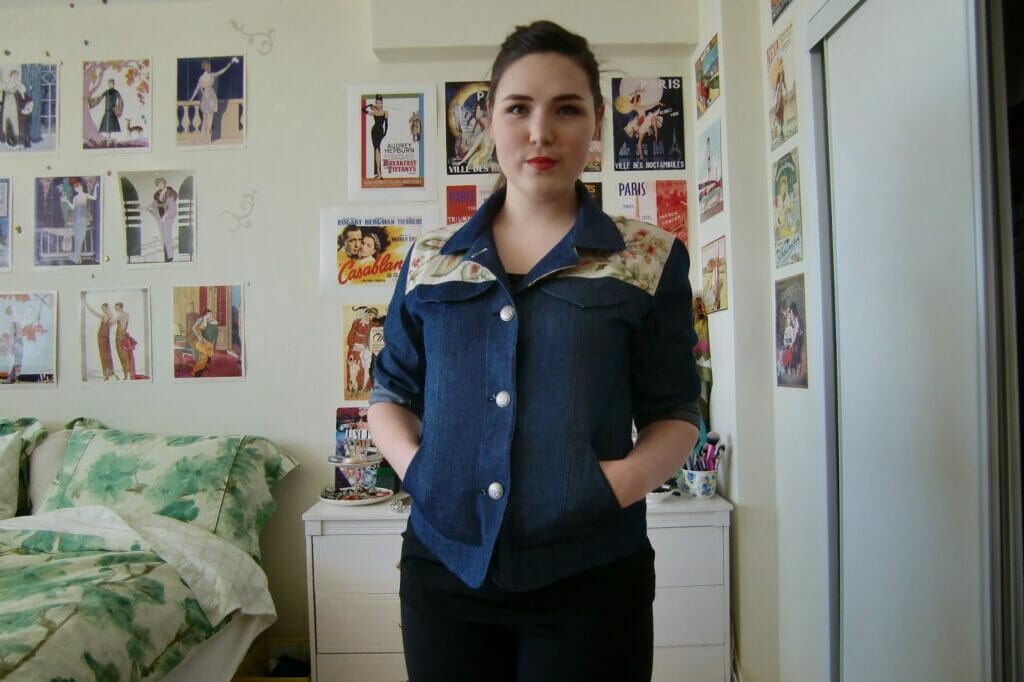
Finally it’s here!! I have completed my Islander Sewing System jacket!! And I love it!
If you didn’t read my post before about me making this jacket- then all you need to know is that my mom bought me a course on Craftsy.com taught by Janet Pray (the woman behind the Islander Sewing System) who teaches you how to achieve industry sewing techniques at home through making her ‘Jacket Express’. I absolutely loved this course- Janet is such a great teacher and I learned so many tips and tricks- I can’t wait to dig out all my jacket patterns and apply everything I learned!
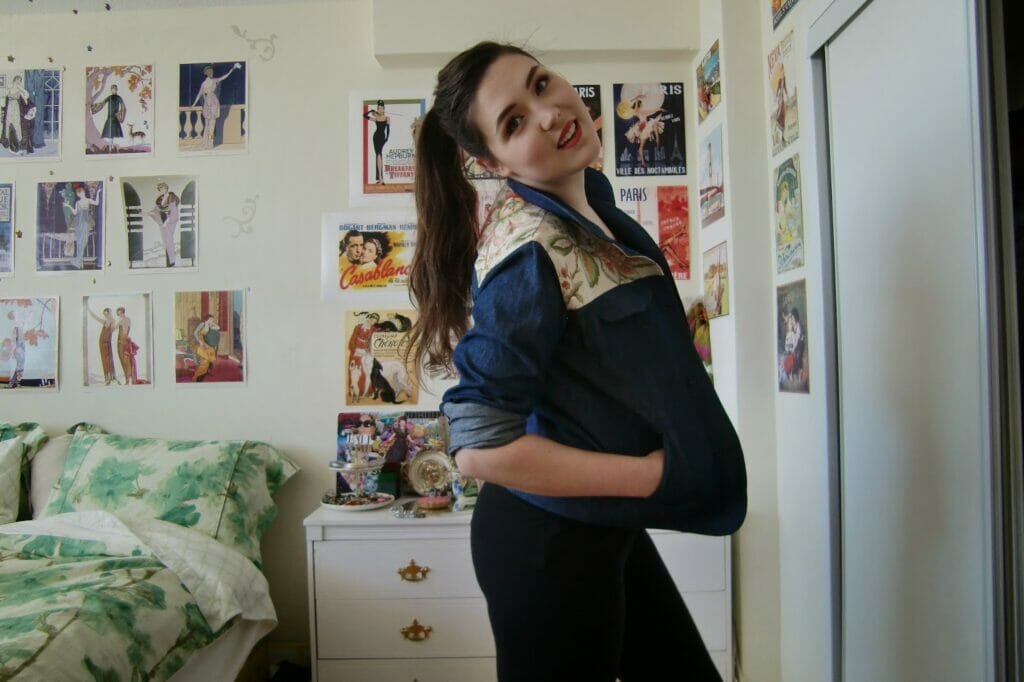
Anyways without further delay, here is my jacket!
The Front- all buttoned up!
Is my hair ever getting long….
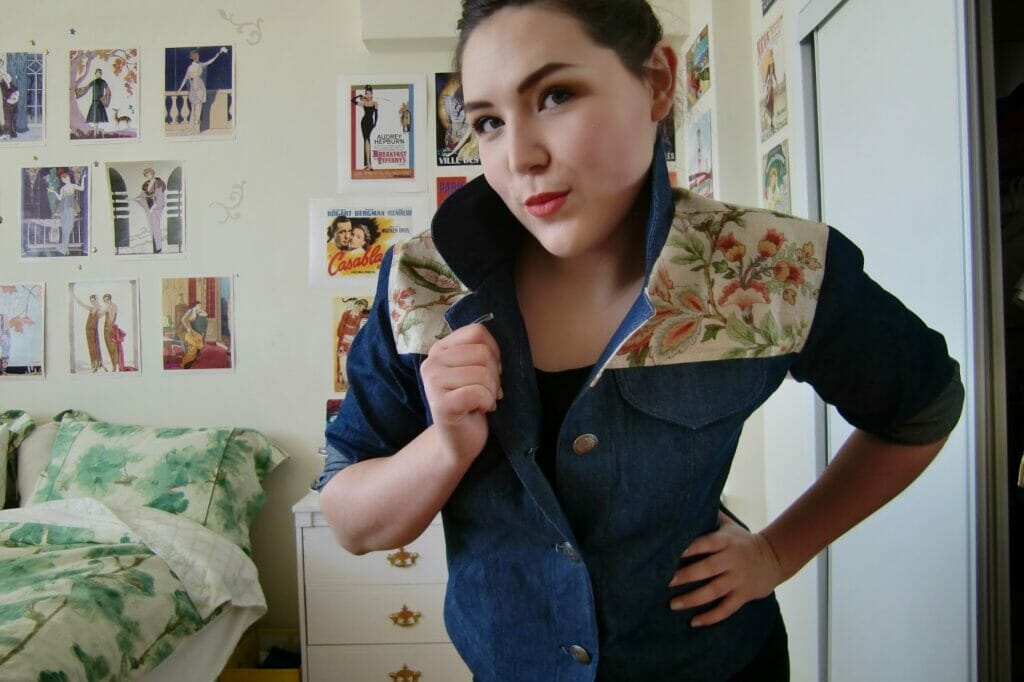
When I’m feeling like a bad-ass and poppin’ my collar, lol
But when I’m not feeling so bad-ass I just smile big and pretend I’m a bird flying..
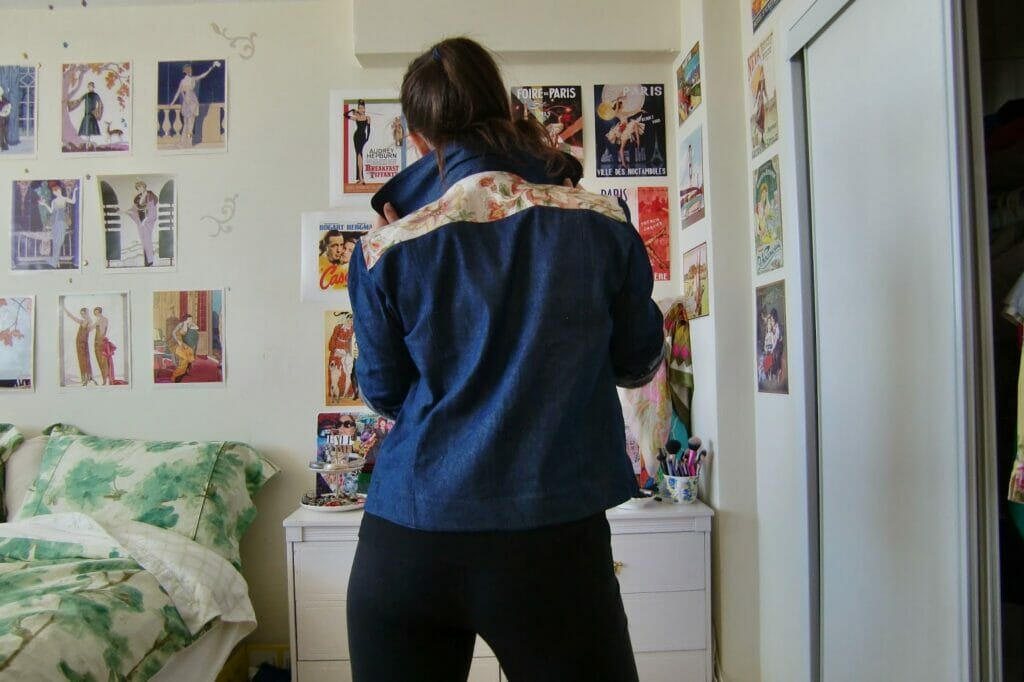
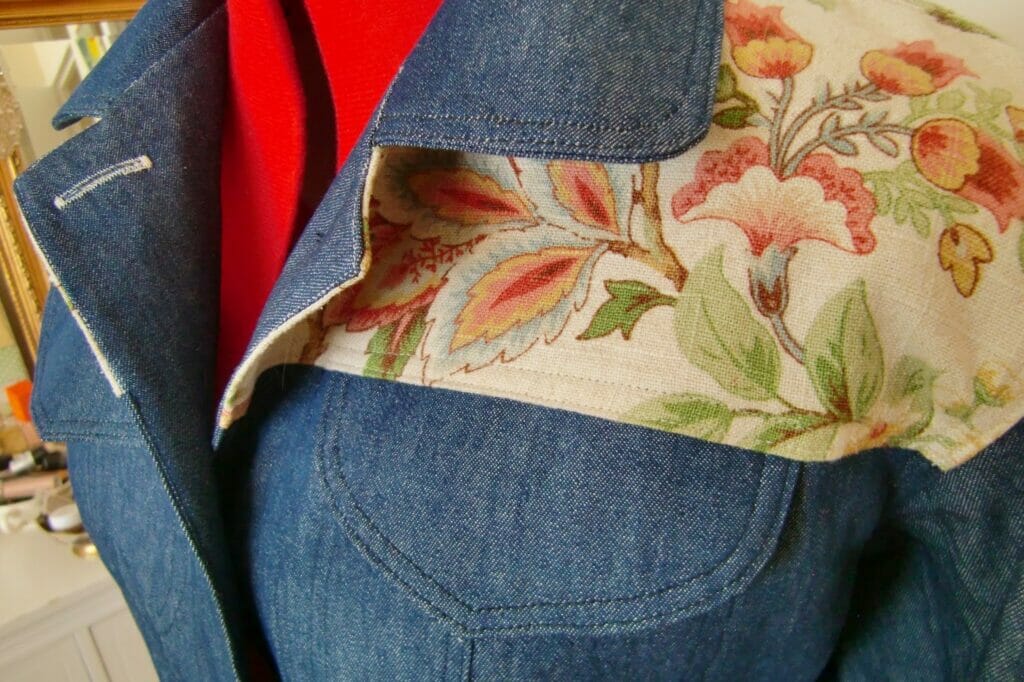
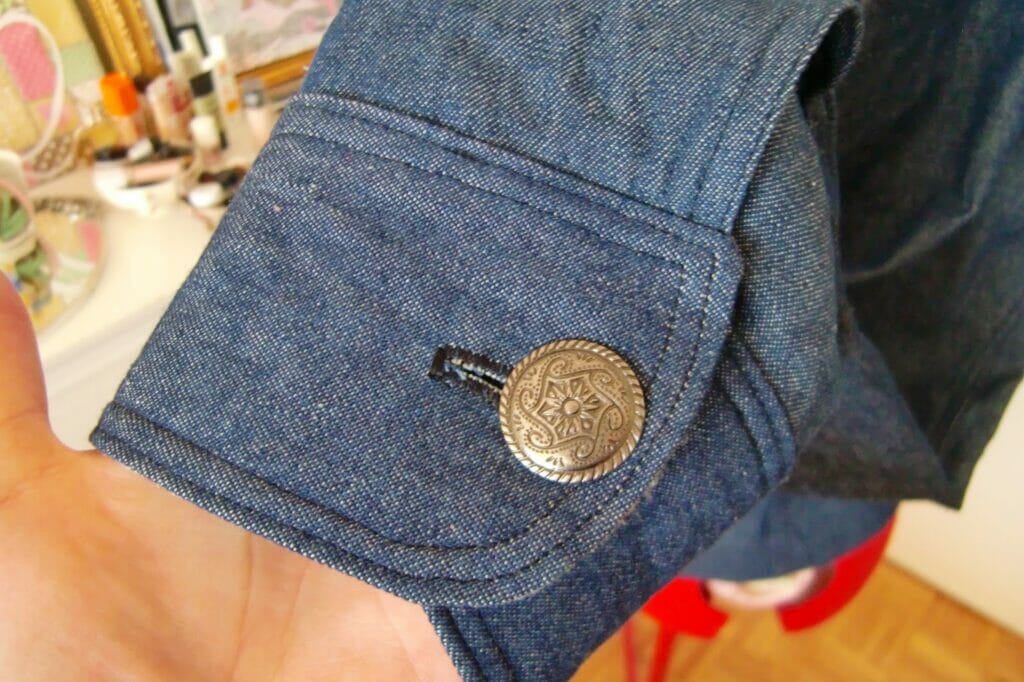
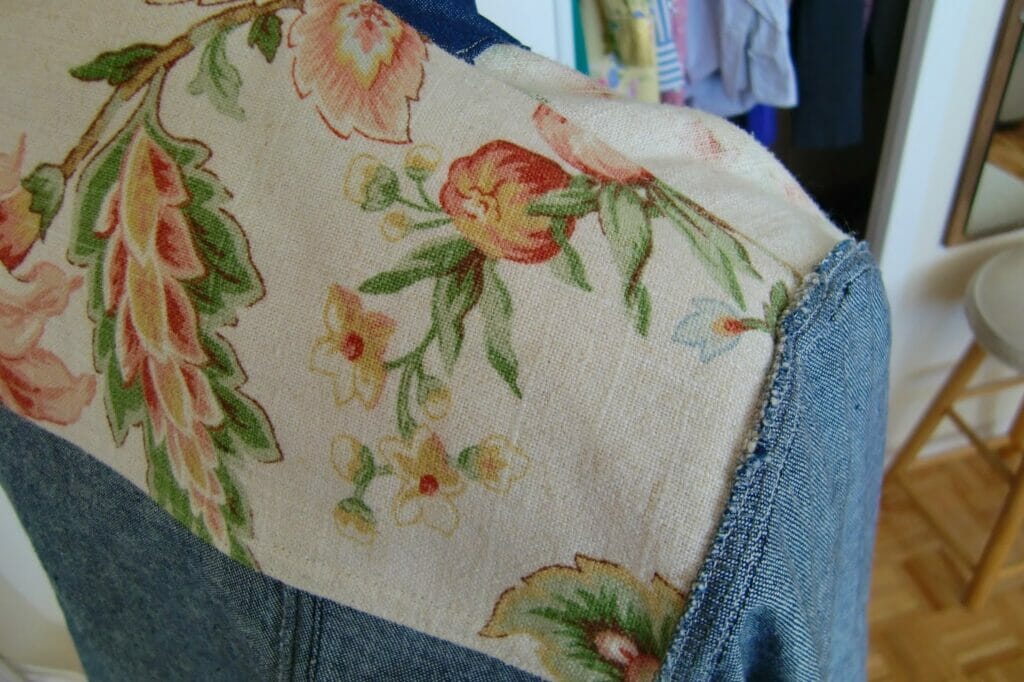
I kinda fell in love with the yoke fabric I picked, I was a little unsure about it when it was under construction, but I’m totally into it now- and the silver buttons I chose.
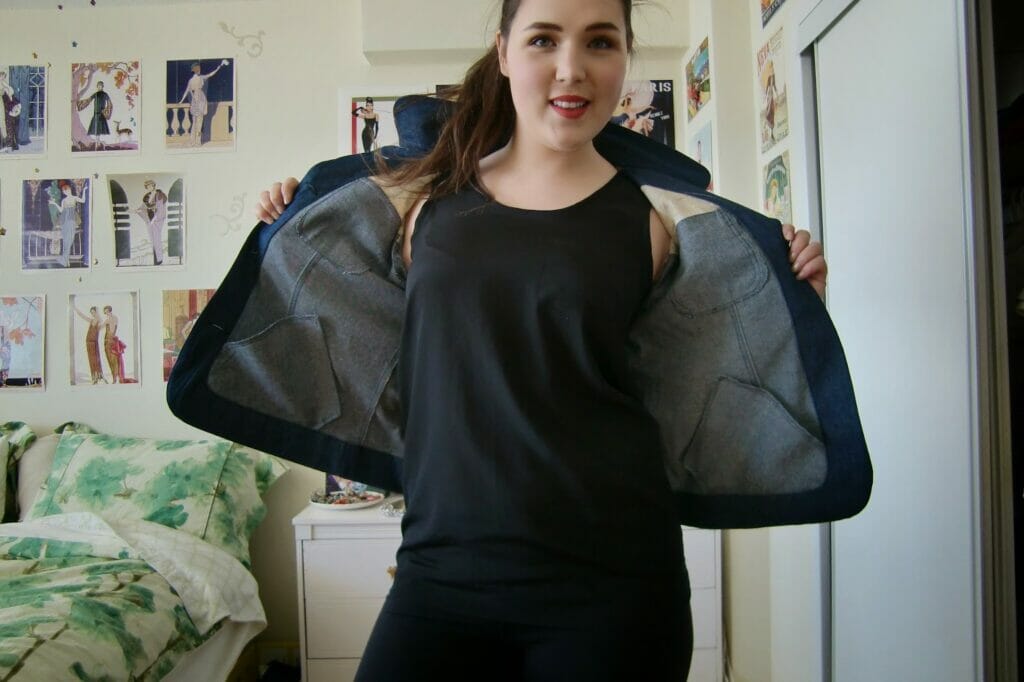
And the inside is so NICE and finished looking!! AHH- no lining but so finished looking!!! <3
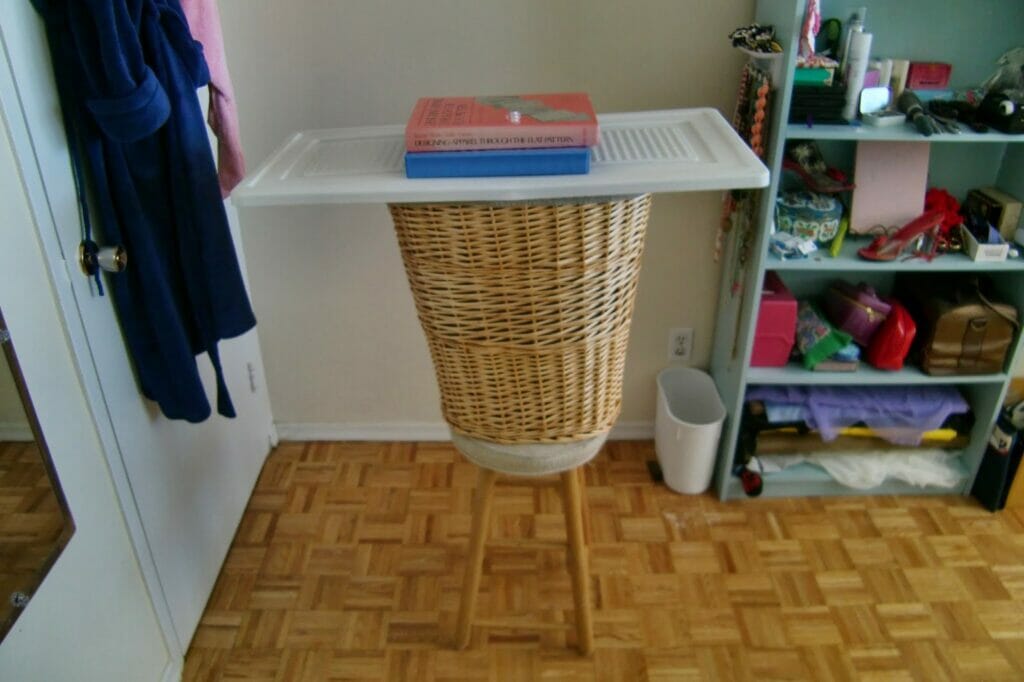
If you’re wondering how I’m getting such glamourous pictures, it would be because of this super professional set up here:
I don’t call this unprofessional- I call it resourceful.
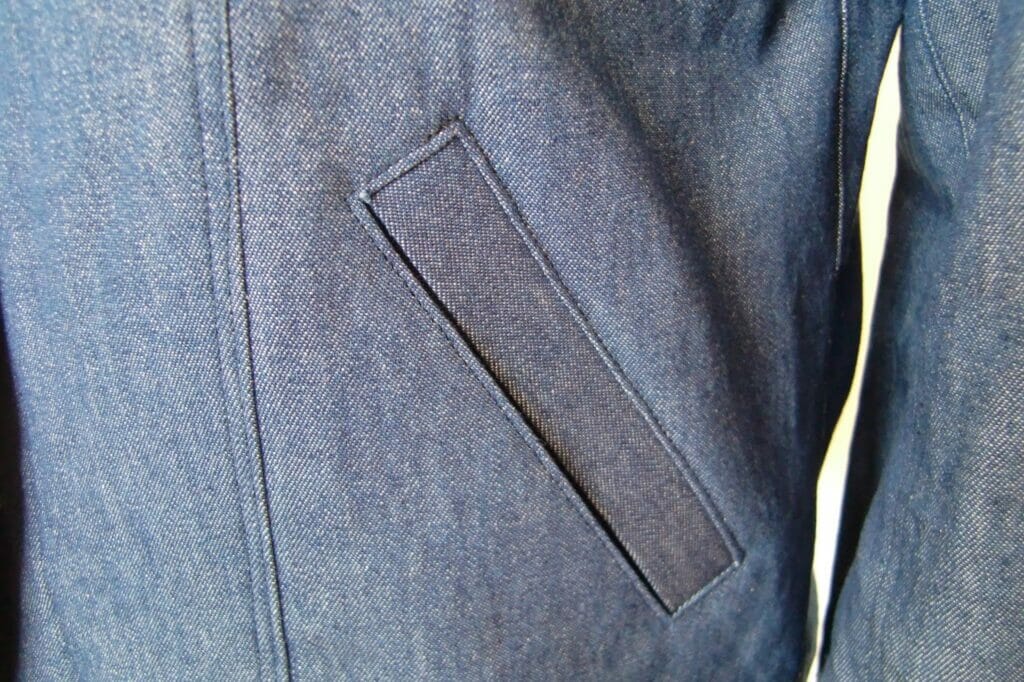
More importantly!! The details- because this is one of those projects that is so well made that you don’t mind taking close-ups of the top stitching and things!!
Check out my topstitching!! a needle-width away from the edge, then 1/4″ away- for the most RTW look! I used black thread for my topstitching and a fairly short stitch length, and I like the effect! (I used a cream colour topstitching on the yoke as you can see)
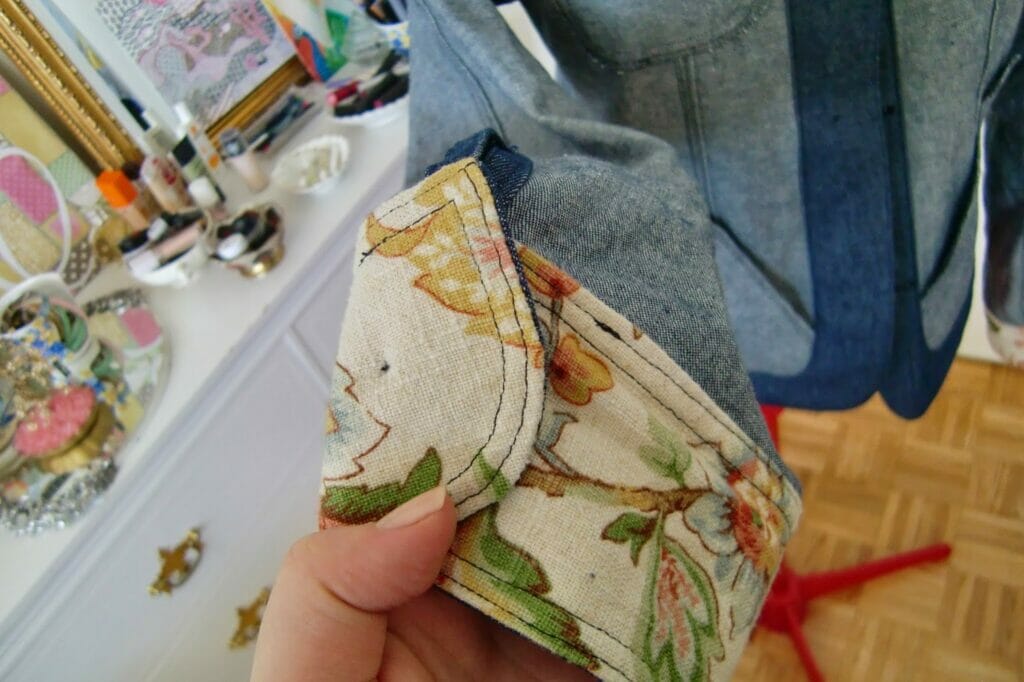
As you can see I did the interior cuff in the same printed fabric as the yoke! Just for a nice little detail. Which looks nice if you want to roll the sleeves up- which I always do. Although I realize I rolled them up further for the pics.
The back yoke all finished with the burrito method!
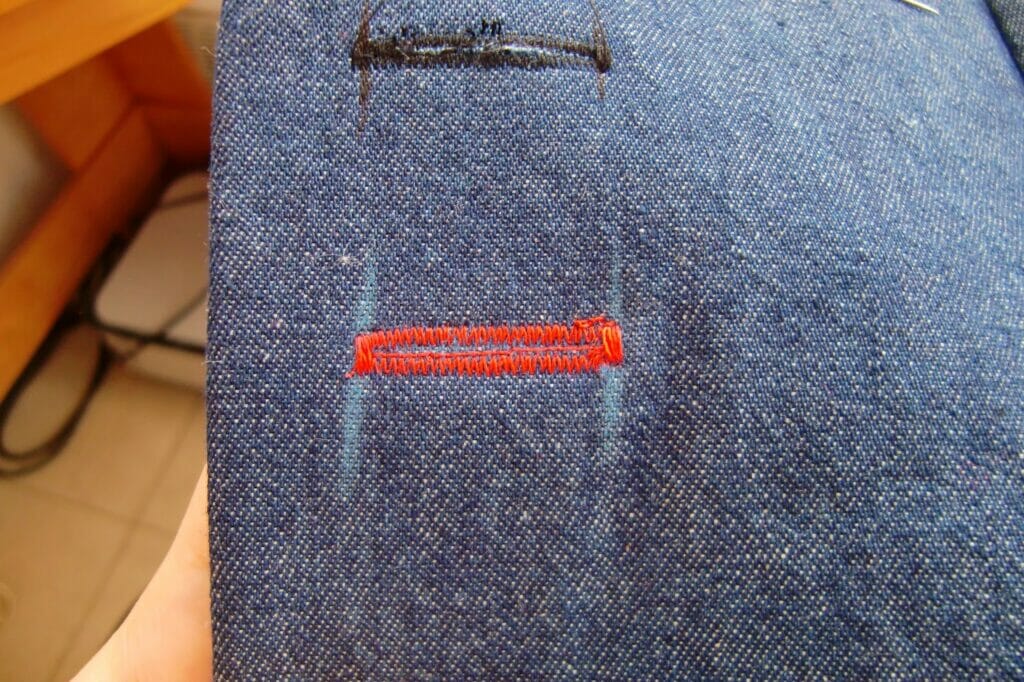
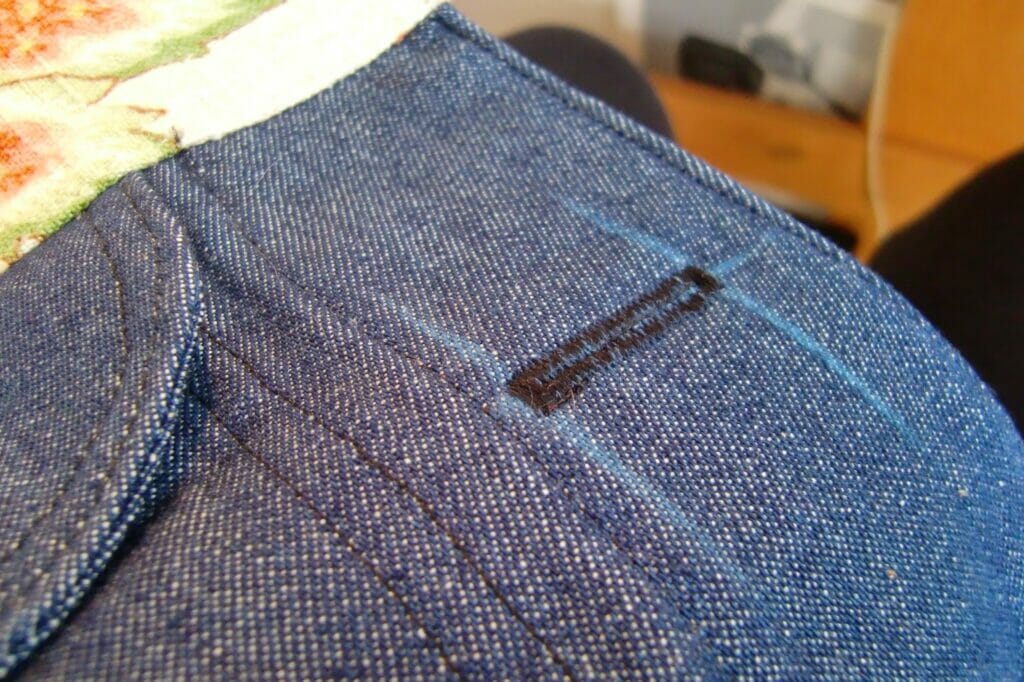
And this is the project where I tackled my fear of buttonholes! I have an old machine so there aren’t all the special features for button holes, and I didn’t have one of those special button hole feet here either because I think it is at home- so I managed to do these with just my regular foot.
These ones were my practice ones to get the hang of it- and I think I did a pretty good job on the finished project- with all 6 buttons (4 on the front and 1 for each cuff)!
By the end my fear was conquered!! I will never avoid a pattern again because it has buttons! Also I can say much of my success with this can be attributed to this youtube video: How to Sew a Buttonhole with an Old Machine, SO HELPFUL OMG! I used their method exact and it was perfect every time!!
I am really looking forward to wearing this in the spring (why must it still be -7 out?) and even more excited to make another jacket for myself!! 🙂
If you have any questions/ comments please leave them below!!
– Now back to the sewing machine!!
xo erin




















Totally love! It's got a nice Western vibe without being tacky – a hard feat to pull off (and that's coming from a girl who is very proud of her Western routes!).
– C
Aww thanks!! I was a little worried about it looking tacky but I really love how it turned out- I think it will look even better when I break it in a little. 🙂
Yes, I love this girl, great job with the contrast yoke.I have this pattern and never made it up, you've given me a push to get on with it.
Keep poppin ya colllar!
Thanks!!! I would love to see when you make yours! 🙂
Erin, I hadn't seen this before LOVE it!!!! Thanks for the heads up on the class. It's in my wish list now. 🙂
Michelle
Thanks Michelle! I know this is such a throw-back now! Still loving it though 🙂
Great! You look fab in your jacket1 The class is on sale now – your review has pushed me over the edge 🙂
Thanks Katherine! This was so long ago, but I still love it!