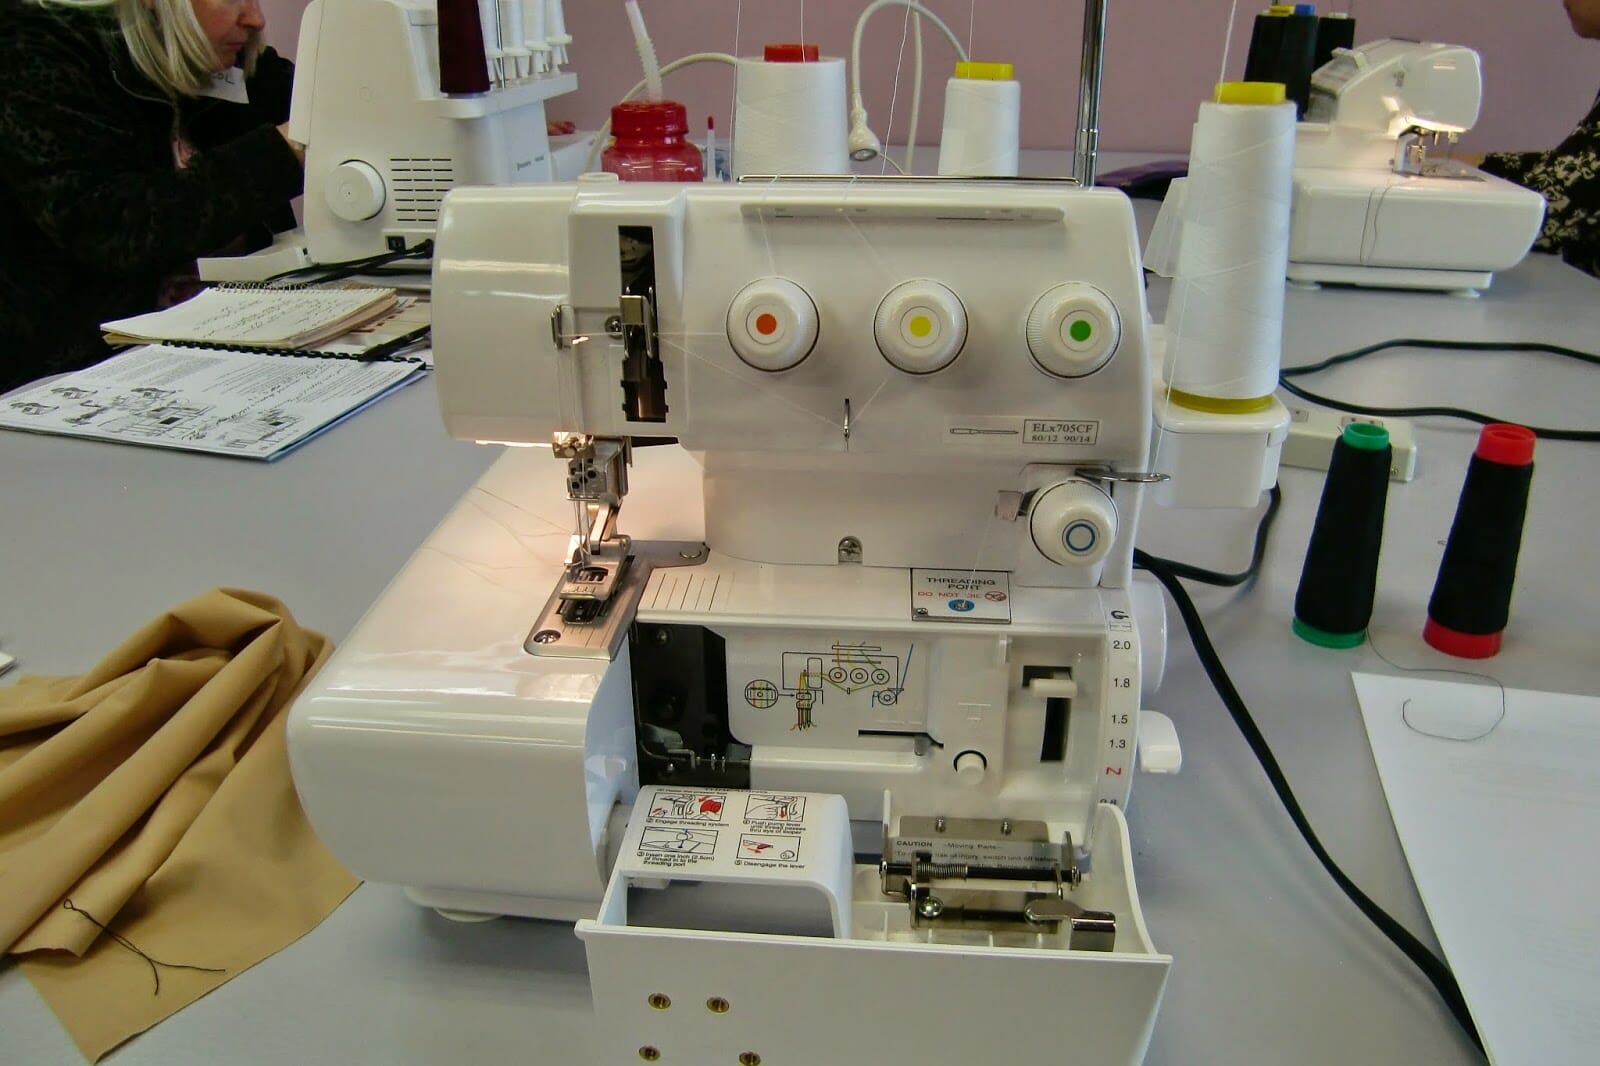
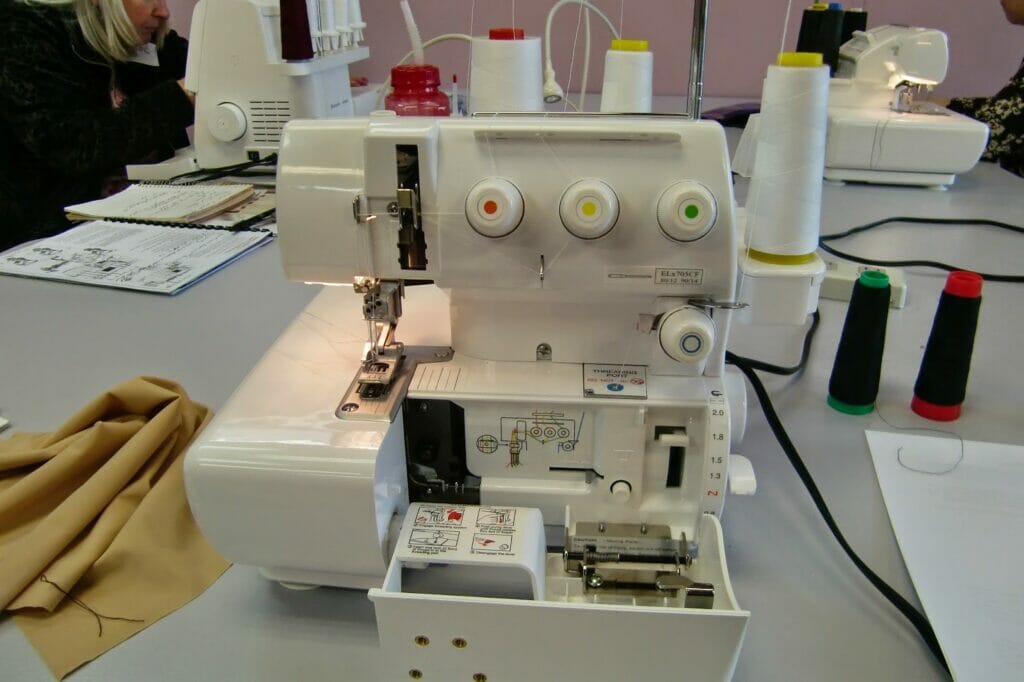
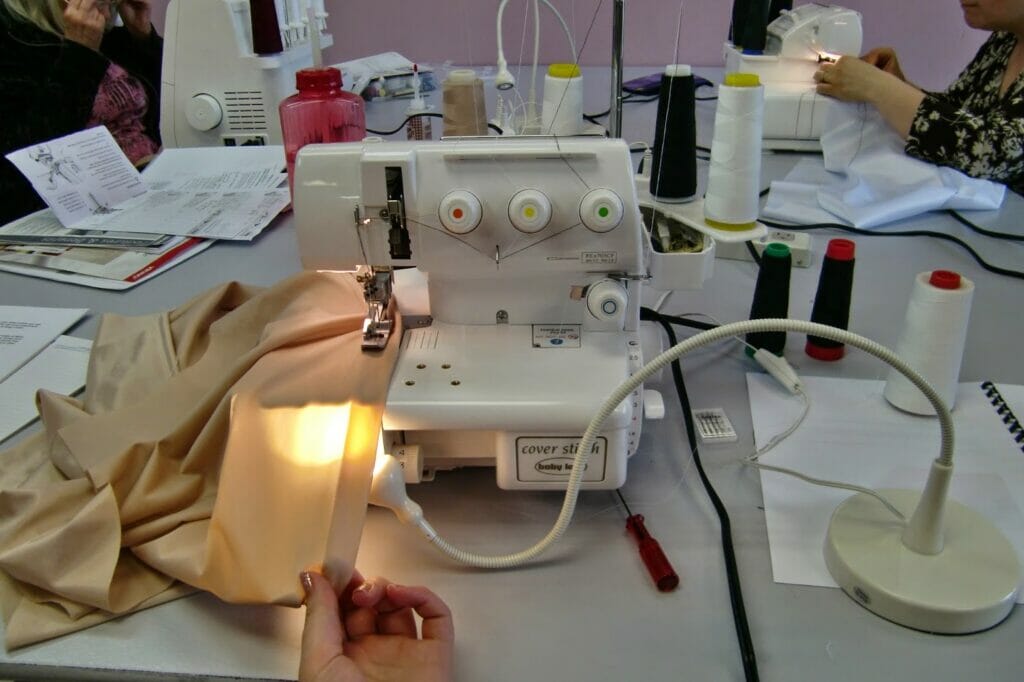
This was the BabyLock coversitch that I used today- and our first step was threading the machine, which would be different for every machine I imagine, so I won’t really go into detail about that.
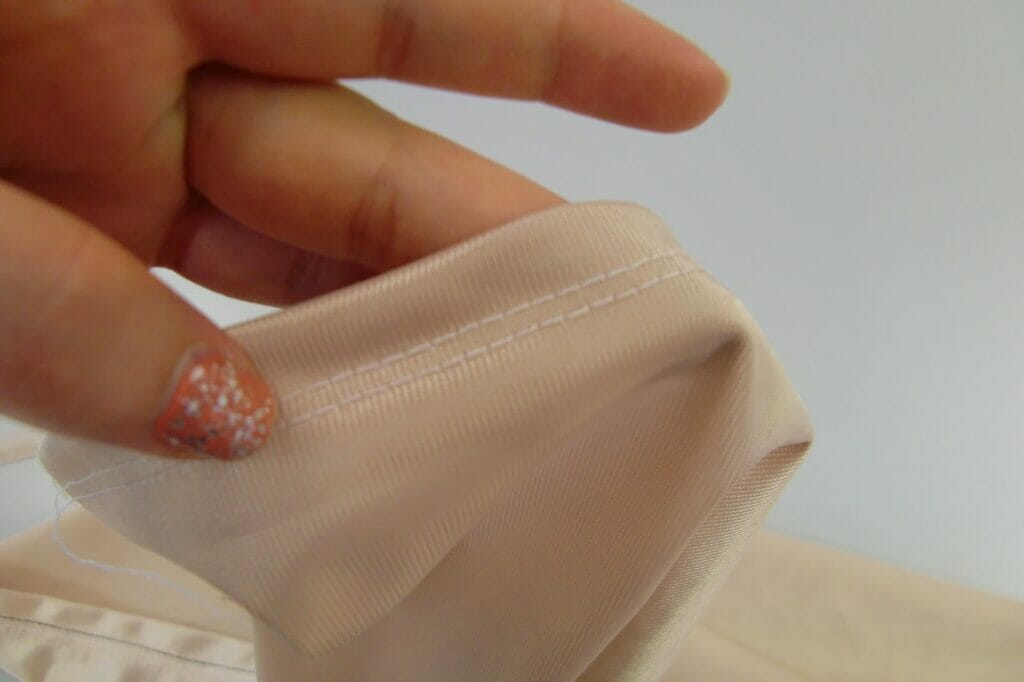
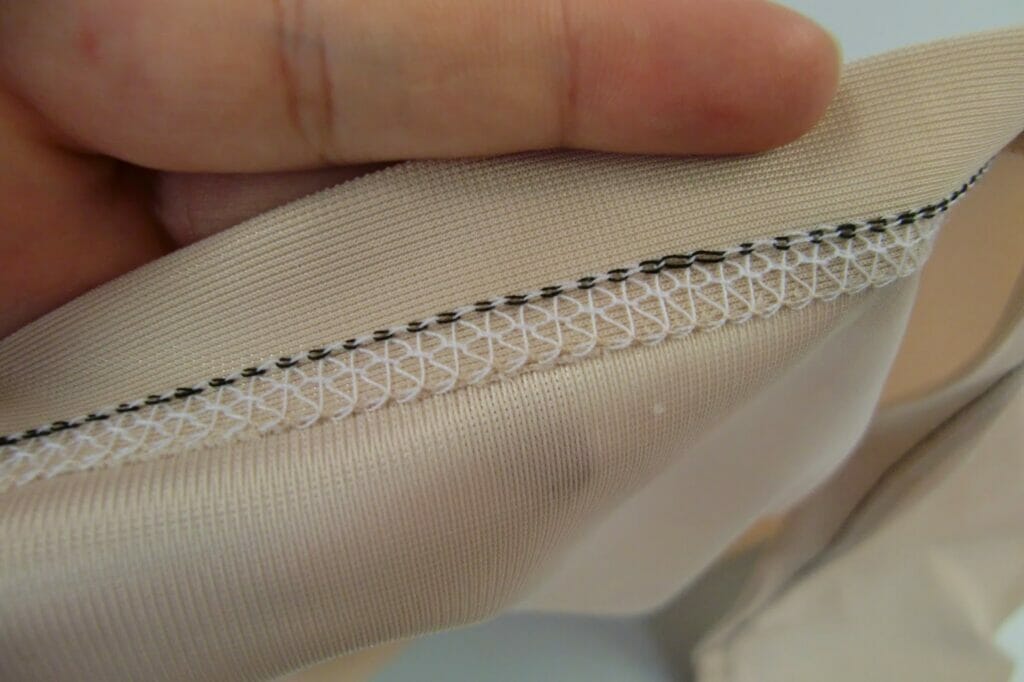
This was a stitch using the left and middle needle, so they are closer together- and this is what your underneath looks like:
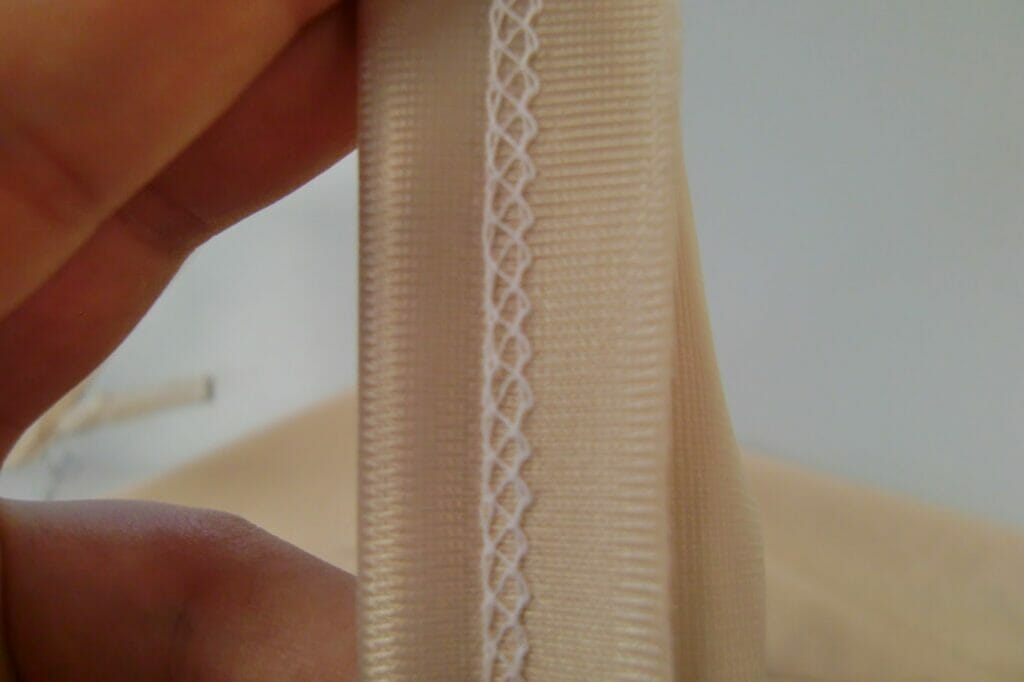
And lastly here is your three needle/thread option, which is purely decorative and not really commonly used- but it is kind of cute with the three colours!
And the back is fairly similar, just a little wider than the last
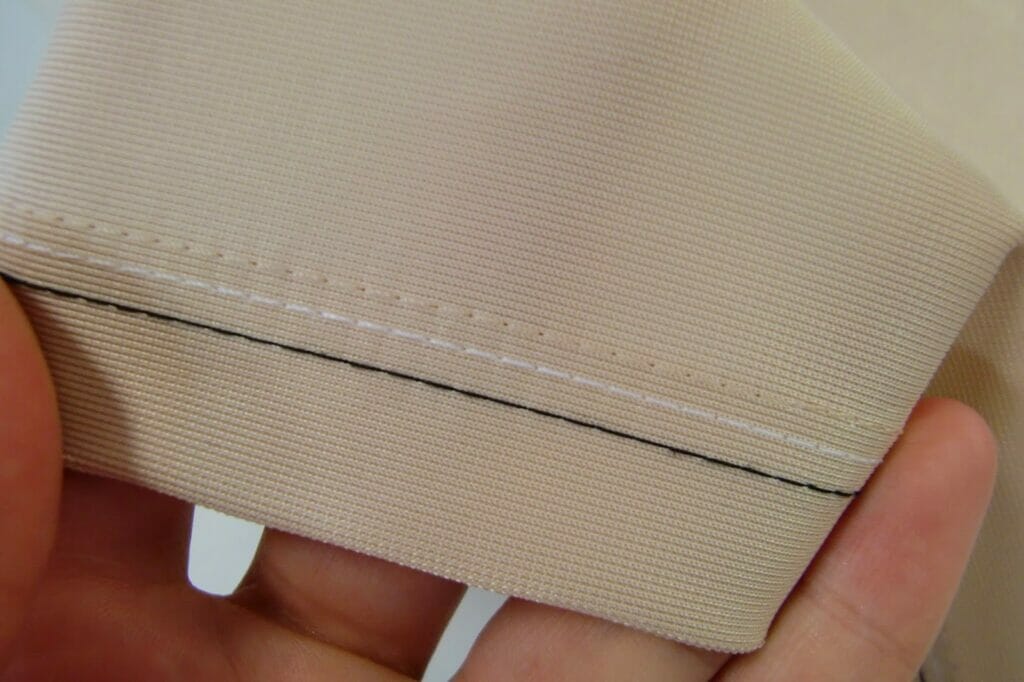
And you can see that this stitch I did as a practice hem- and I got it perfectly so that the underneath threads catch the edge of the hem and enclose it! How perfect is that!
And how you might ask did I know exactly where my hemline was? Well this genius tip from Beverly:
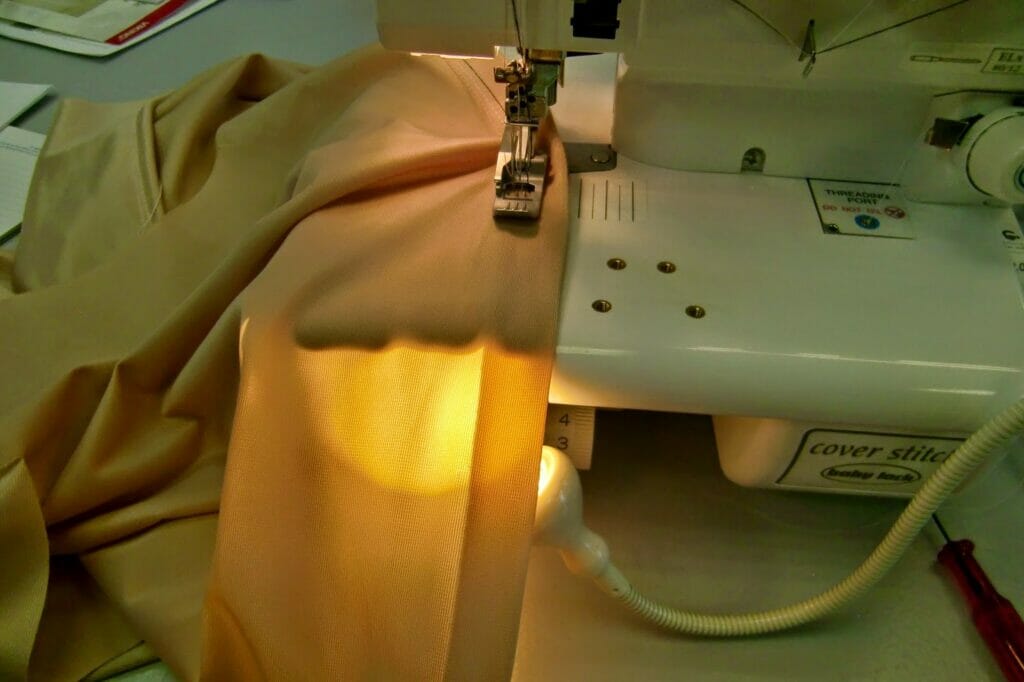
Put a light- in this case we used a snake-light from Ikea- and shine it right underneath your fabric- and you can see where your fold is for your hem!
So when you go to sew it is super clear where that edge is underneath! Alternatively there are hemming attachments that you can buy and screw to the front of your machine that fold your fabric- but I think this is just as easy and will work for any width of hem.
Now- the next thing that I should tell you about, which I mentioned above- is how to lock your stitches- so when you get to the end of your fabric- you bring your needles up to their highest position and raise the foot releasing the tension. Then, using a little tool (something long and thin like a thin screwdriver)- pull your needle threads towards you from under the machine, pulling them out, then cut them, now give your fabric a sharp tug backwards out of your machine. In this process your top needle threads will get pulled through to the back, locking them- and locking your stitch! Then you can cut your bottom thread and you have your finished seam! How cool is that.
Next we moved on to all the binding! Which is Beverly’s favourite- you can see her eyes light up when she talks about applying binding to the edges of panties and swimwear- and how easy her coverstich makes it!
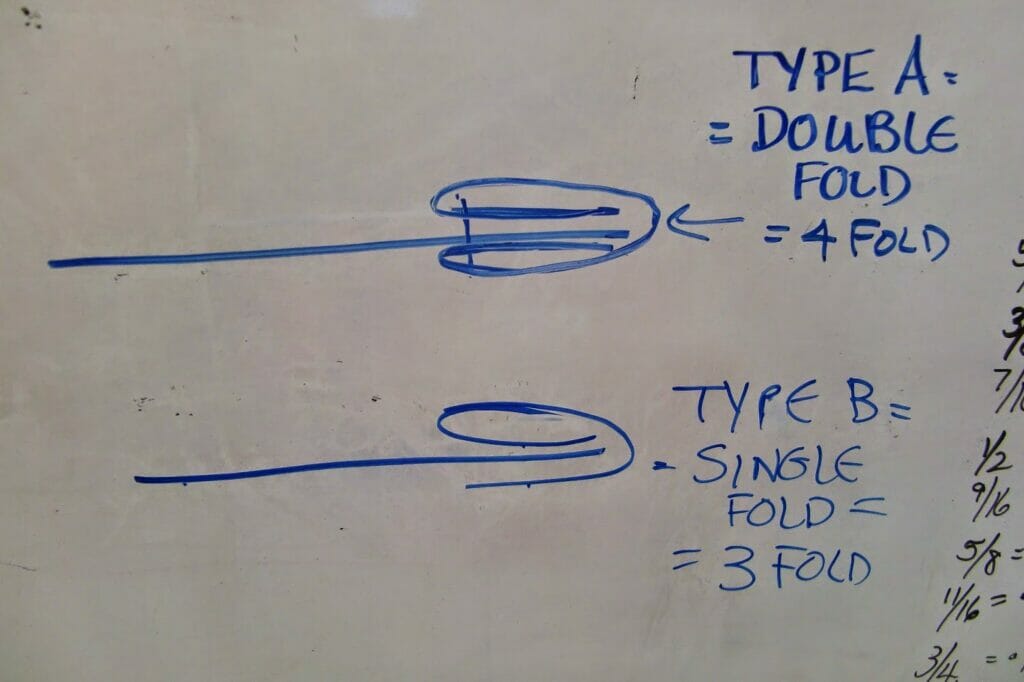
She explained the different types of binding edges:
So as you can see the first one (double fold) is your regular binding, what you would use with a woven fabric that would fray. The second one (single fold) has the fold on the top edge, but only one layer of fabric on the bottom, which is great for knits because they don’t fray, and it reduces bulk.
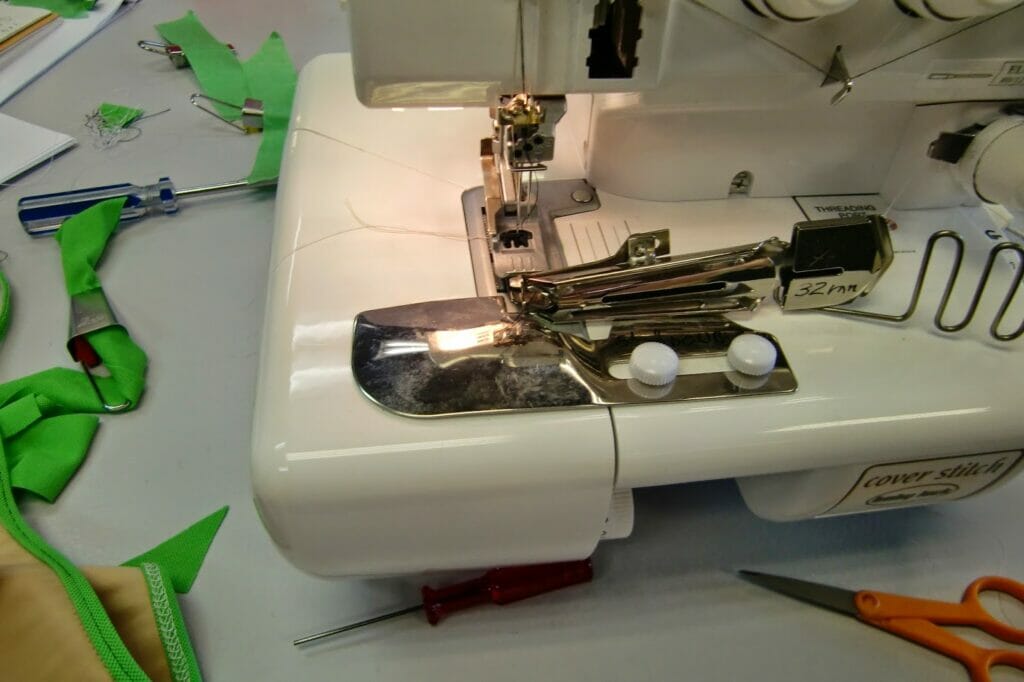
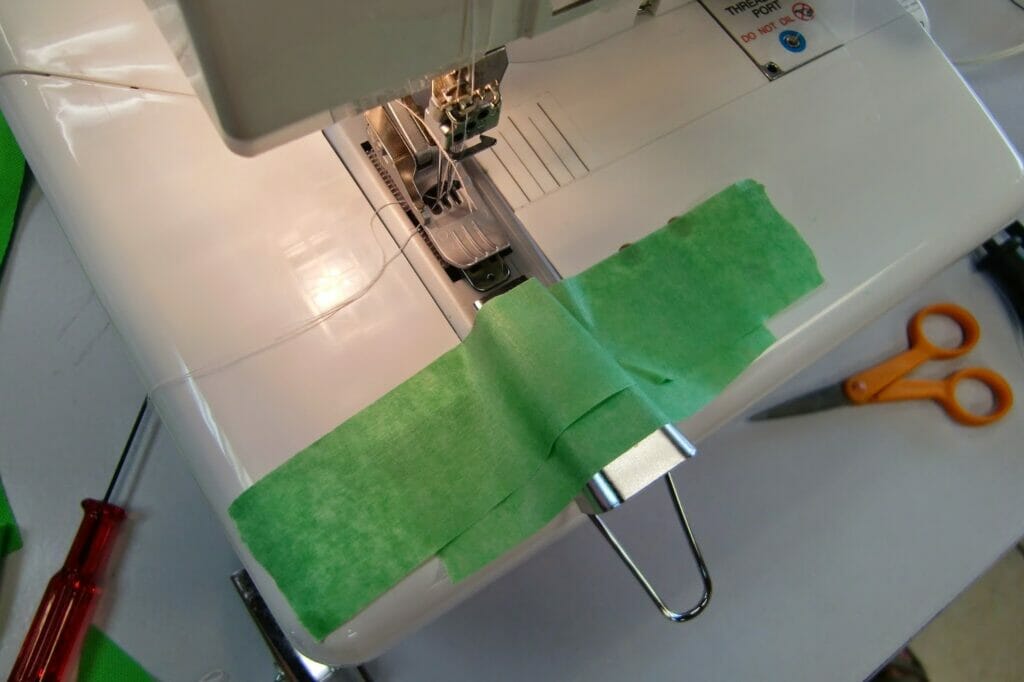
So this is what a binding tool looks like for a cover hem! Really intimidating I know, but it is actually really simple! It is like a regular binding maker- but on its side, and it’s designed to feed your binding right into your machine- so you screw it on so that where there binding comes out is directly in front of your needles.
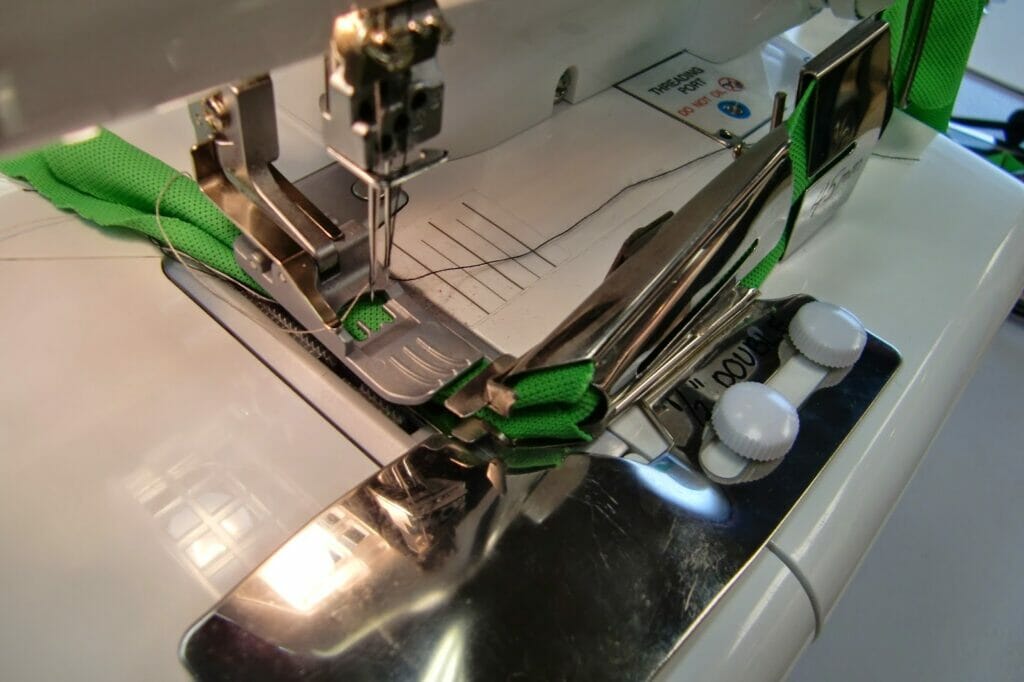
And this is what that looks like with your binding strip in there!- This one is a double binding- so it has a fold on both the bottom and the top as you can see.
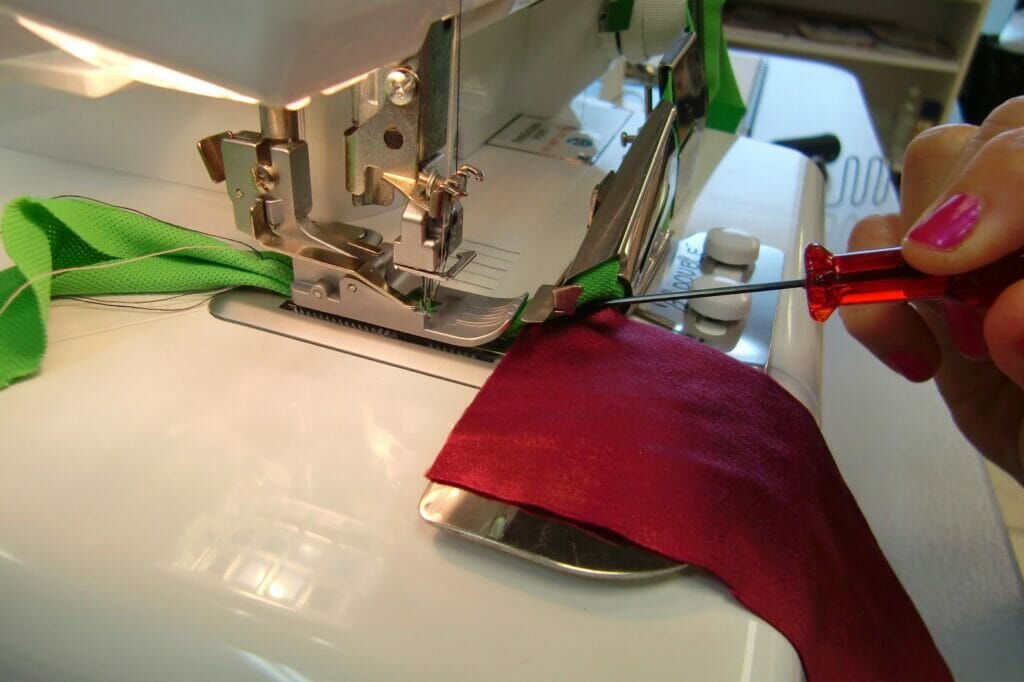
Then the best part about this is that you can stick your piece of fabric in the middle of your binding like so- and it sews the binding onto the edge in one step!
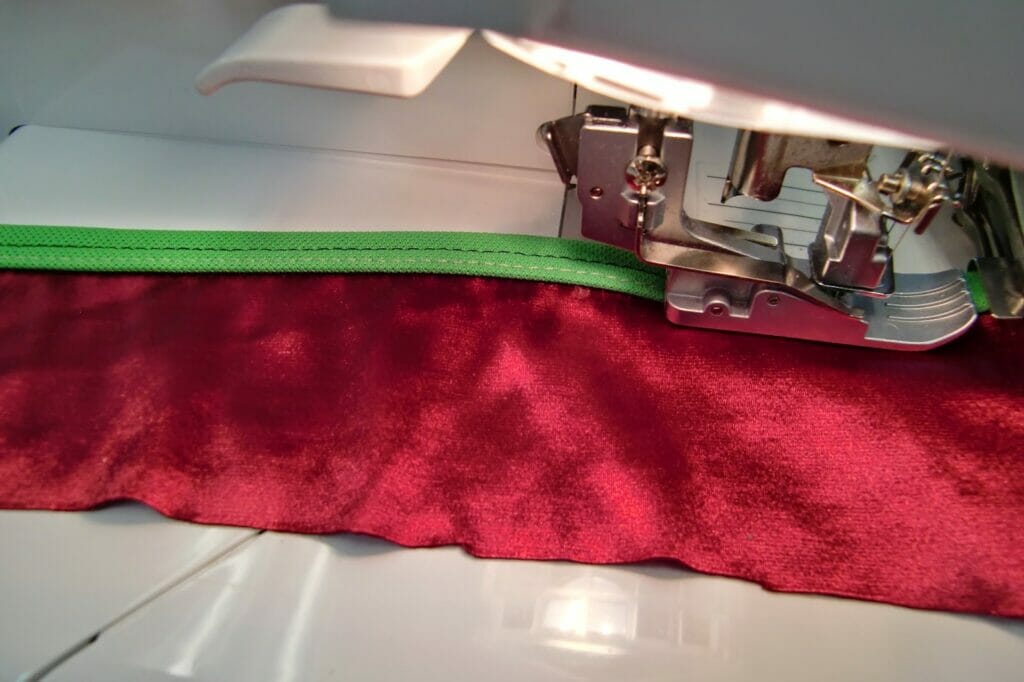
Voila! How cool is that!
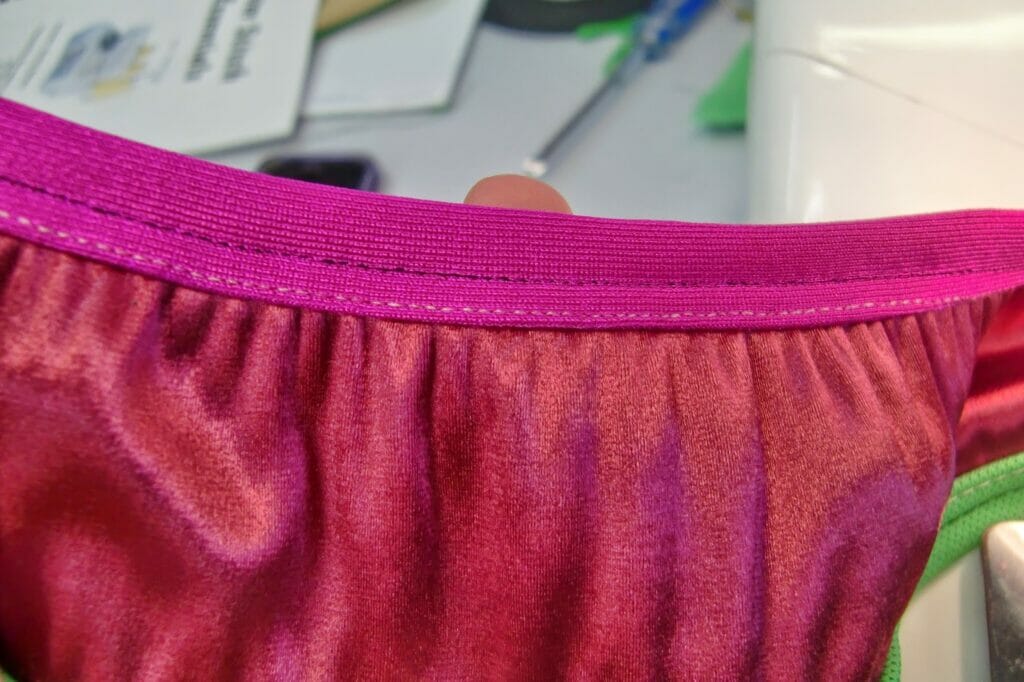
And just for a little more info- if you use a stretch fabric for binding, and you give a little tension on your binding as it feeds into your machine you can get this great gather! – wouldn’t that be pretty on a neckline!















Hi Erin, So cool that you got to take a class on the cover stitch machine. I have a cover stitch/overlock machine but am a little intimidated by it! I need to deal with it and start practicing with it.
Also, I loved your red and black bra you made last week. Super pretty.
Thanks Anna! I love the coverstitch- but I found it was completely about practice and making samples, by the end of the day I felt so much more comfortable on it! So definitley just spend a couple hours testing it out and doing samples!
Loved all your pictures. I just got one in March for my birthday and LOVE it! 🙂 It is great for sewing on knits – my kiddos no longer pop those hems! And I enjoy using it to topstitch certain things or for attaching binding.
Oh that sound great! I love the idea of being able to hem any knit fabric projects on a coverstitch and the binding options are great! I may have to sneak in and use Bev's until I can afford one of my own lol!
Loved all the pics and explanations Erin! I have never seen the binder attachment before. I have a coverstitch machine, so I should check to see if mine has an attachment that can be ordered for it!
Thanks! It's definitley worth it! I love the look of bound edges and this is just so simple!
Thanks for the pics and the great explanations. I have a cover stitch but like Ann am intimidated by it so haven't used it. I got it 2nd hand and it hasn't got a couple of bits for the thread so I must order and just go for it. Very neat finishes. And I love the light tip!
Thanks! Isn't that light tip great- always perfect hems! Definitely fix yours up and go for it! They are so worth it!
Thank you Erin for the update. I think I need to get out all those binders and give them a good workout!
I must admit, I couldn't wait to get my hands on the coverstitch machine, and yet it sat for 6 months before being unpacked, and now is seldom used. Time to change.
Time to change indeed! just imagine all those amazing bound edges in your future! lol
I have been thinking of getting a machine. This is the best explanation of how it works. Thank you.
I'm glad I could help- I didn't know anything about the coverstitch before this class and now I really want one!
Love this. I am currently coveting a coverstitch and am contemplating the different functions and machines. Thanks for this little peak into your experience.
Thanks for reading and commenting! I'm coveting a coverstitch now- if only to hem some of my too-long t-shirts! But they seem so useful if you like to sew with knits!
This is so incredibly awesome! It was so hard for me to find any kind of coverstitch machine tutorials online. Do you have any tutorials for how to attach foldover elastic (FOE) with a coverstitch machine?
Thanks! I don't have any tutorials on FOE but I might think about doing one now- thanks for the suggestion!!
Hi Erin….Thank you for this tutorial. I have a Brother Coverstitch and the binder attachment which I love. I have been working on onesie's for my new Grand-Babies X2 and I am having a hard time keeping the fabric in the binding around the hard curves on the bottom? I either sew off the binding around the corner or it fabric pulls out of the binding….I have practiced and practiced these corners and still 1 out of 5 comes out close. Do you have any suggestions on curves?
Hi! Thanks for your comment! Unfortunately I have no idea how to help with curves, I didn't end up getting a coverstitch machine myself. Good luck!
Hi! Can you share the location for this class? I have a coverstitch and would love to learn from someone. Thank you!
Hi Leigh-Anne, I took this class at Bra-maker's Supply in Hamilton.
I have a Bernia Coverstitch and want to try wooly nylon for shortening yoga pants to shorts for bathing suit bottoms and under sun dresses. Not even sure where to use the thread..any thoughts? Found you on Pinterest and thrilled you share !!!
Hi Cindylee, beyond this little beginner class, I'm sorry to say I don't know much of anything about coverstitch, I still do everything on my serger and sewing machine 🙂 Good luck with your coverstitch though 🙂
Thank you very much for your tips! I actually learned two new things. Can you please tell me the Binder itself can it be changed to be Type b ( 3 layers) or we must buy another binder? As the one I have is a 4 layer binder. Also! Is it possible to use the single needle, for just joining seams???
Don’t have coverstitch BUT I see the last picture of an awesome way to put binding around the terry and quilted fabric of my thick aprons. Plus make the ties