Hi All!
I have something really exciting to show you! I’ve been sitting in on more classes at Bra-maker’s Supply lately and one of them was a corset making class!!
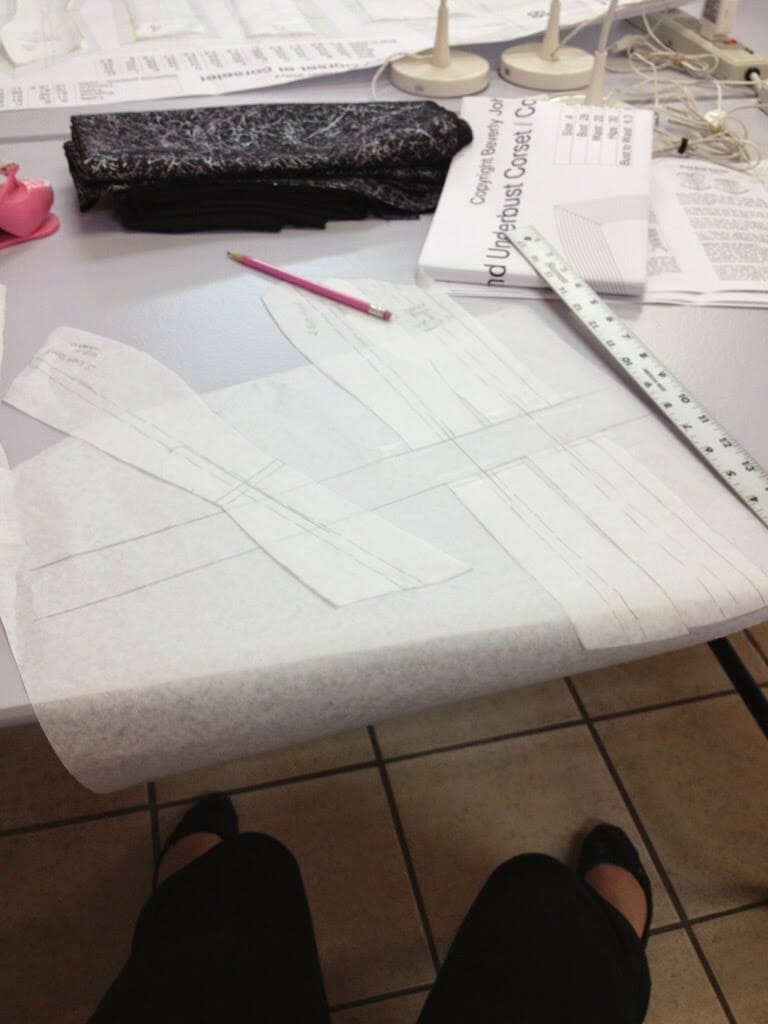
Here I am tracing out my pattern pieces 🙂
Of course I’m using the Pin-Up Girls Pattern- Beverly really has the most beautiful corset pattern, it gives such an amazing silhouette! They are designed to give you a 2″ waist reduction, but after talking about the different amounts that you can cinch, I decided it would be fun and draft it down to a 4″ waist reduction instead! Apparently 6″ is still comfortable, but as I am a person who lives most of their life in stretch t-shirts I was a little dubious about that…
I decided that I wanted to go for the ‘Full Coverage View’ rather than just the under-bust corset.
Then the first step, once you have all your pieces cut out (and labeled! they are all long funny shapes and you will never remember what order to put them in!) You put in your busk, which you sew into the center front seam between the lining and the outside fabric.
The busk is traditional on a corset, and closes it up in the front, so that your laces don’t have to be two miles long for your to get it over your body only 5 meters long lol!
One side has the little hole-hook things
And the other side has these pegs.
And they go together easy-peasy like this!
Once you have your busk in your frontmost panel, then it’s just a matter of sewing all the panels together in the right order
Then on to the bones! Which are much less scary than you would think! We learned about all the different bones and I actually decided to use three different types of bones in my corset!
Over the two bust seams (that curve) I decided to use spiral steel bones (which look like a flattened steel slinky) and they are the premium corset bones- they are flexible in all directions, and bend around curves very well without flattening or being inflexible.
I used spring steel bones on either side of my back grommets – which are flat solid pieces of steel, they are not at all flexible side to side, and would be perfect to keep my back corset edge straight and take the strain off the grommets.
And lastly I used regular plastic bones for the rest of the corset, because they work fine and are a much more economical choice!
So on a corset generally you put, at minimum, a bone over every seam (which would be 6 bones on each side – plus the ones for either side of the grommets. But I decided that I would be much more structured and intense and put a bone between each seam too.
If you like sewing straight lines on woven fabrics- you will love corset making! For the seams you sew the bone casing to the seam allowance, then you fold it over and stitch the other side down. And the ones in between I found it was best to mark with chalk where you want them to go and just lay them down as you sew following the line.
All the bone casings in! Miles of boning! Actually about 8 meters :P, with 12 bones on each side!!
And let’s not forget the grommets! In the class Beverly has an amazing grommet press- no hammering, this made it SO easy, no real effort required! And they are the lovely 2 piece grommets that are really nice and smooth against your skin on the backside, rather than eyelets that are one pieces and have sharp edges that clamp the fabric on the underside.
Don’t those grommets look so slick!
And you can see that I chose a lacing style called “Rabbit Ears”, what that means is that there are two grommets placed closer together right at the waist of the corset, and laces come out from one and go down and back into the other hole below instead of crossing over to the other side to continue the lace.
What this does is leaves these ‘rabbit ears’ where you can pull the corset in from these ears at the waist, and lace your corset yourself, rather than awkwardly trying to lace it from the bottom or top, or having to be laced in by another person!
The last step to corset making (after you’ve tried it on to make sure it fits) is making sure all your bones are the right length and doing a binding edge top and bottom!! You can use a store bought bias binding or you can make your own out of the fabric of your corset which is what I did- and I used a 3/8″ binding 🙂

















Can't wait to see it Erin! The fabric you chose is gorgeous, and your stitching is so perfect! Looking forward to the big reveal!!!!
Thanks! didn't it turn out amazing! I'm so thrilled with it! 🙂
Wow, that looks amazing! Sounds kind of easier than I expected… I wonder if I can get boning around here…?
It is easier than you think! I'm sure there is somewhere that you can get boning where you live, at least the plastic kind. Bra-Makers does sell all of their bones online too 🙂 You'll have to send me a pic if you make a corset too!! 🙂
Nice work. Could we please have a new post at the BMS website?? I'm going through withdrawal!
Thanks! I'll talk to Bev- I think she's started posting more again though 🙂