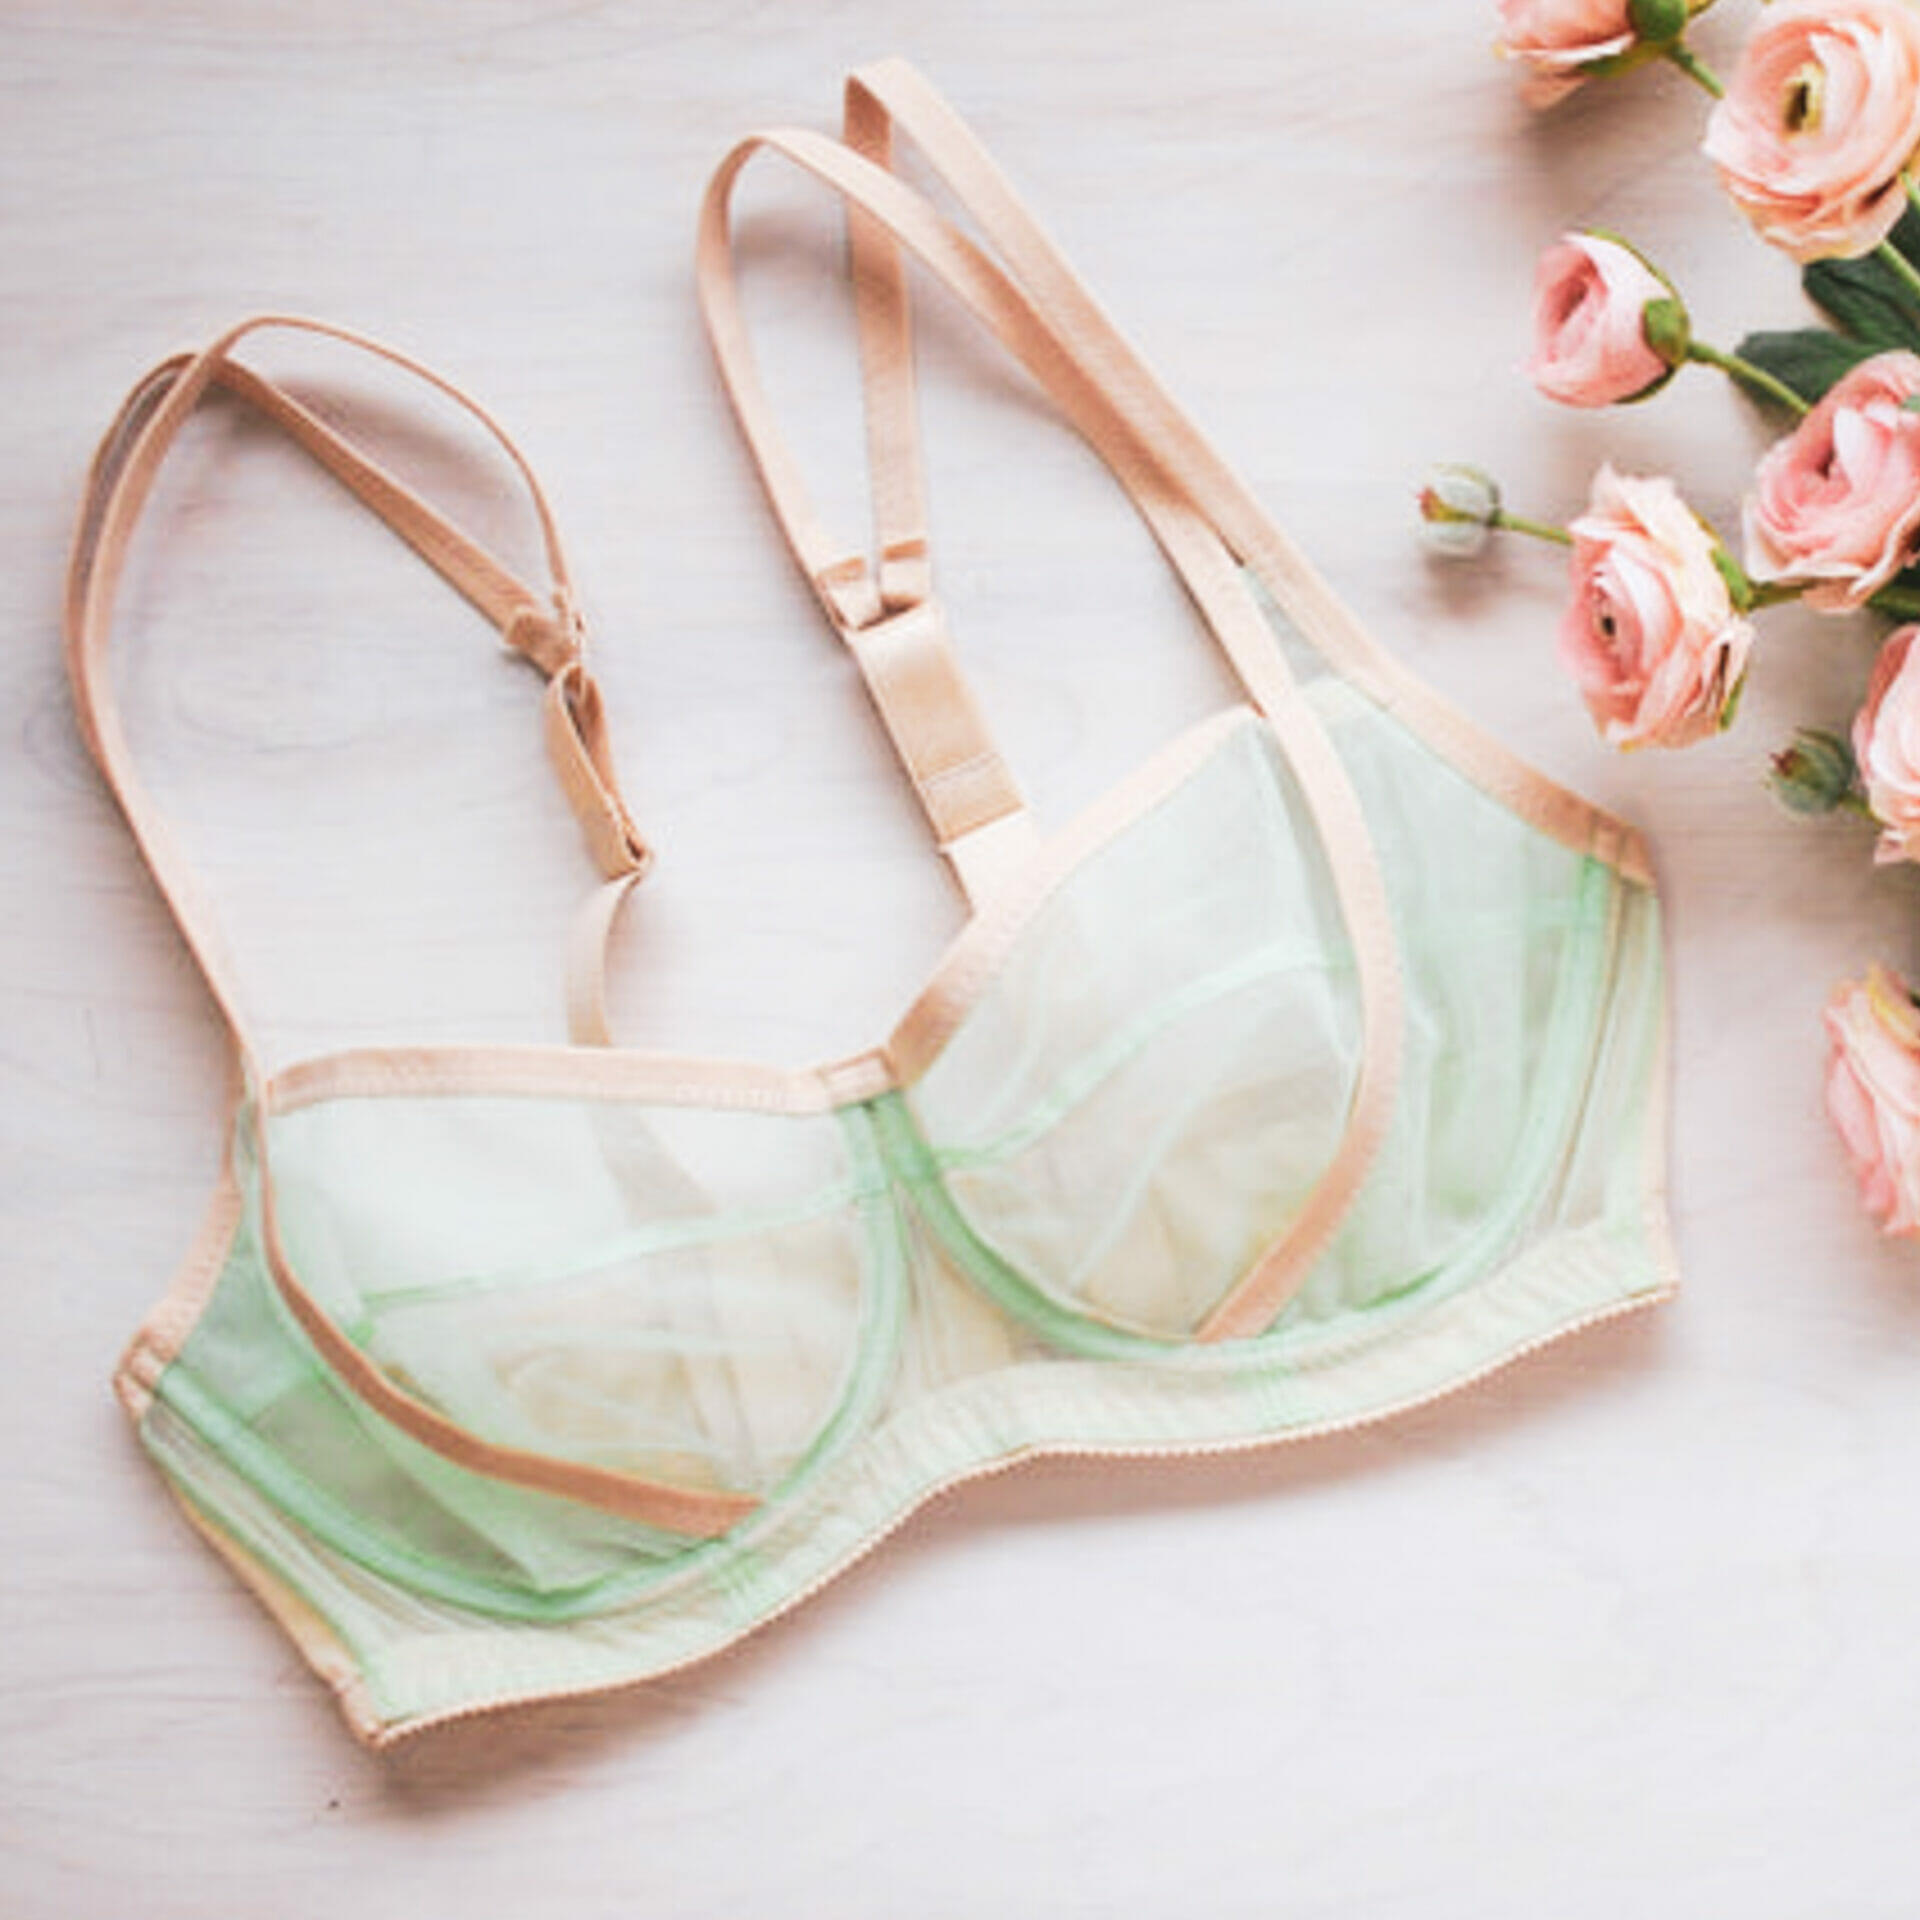
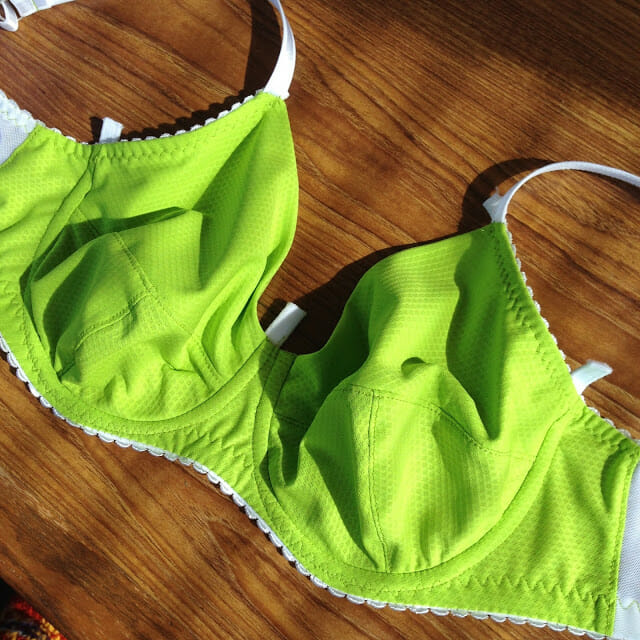
Now as a 24 year old with no children, and medium cup size- I don’t really have enough of a lift issue to show this very well- so my mom very kindly offered to model this bra for me 🙂 in exchange for a custom bra of course- in her favourite kit- chartreuse, with white findings, with the more vertical ‘Bliss’ wires. (I’ve decided to call these wires ‘Bliss Wires’- for obvious reasons 🙂 )
Now this is one of those tester bras with two different cups – one side lifts and one side doesn’t (and I promise that I replaced the non-lifting cup for mom after I was finished with the lift experiment!)
Before I jump into this bra- first I’m going to talk a little bit about lift- and I think this is where people start to get confused and terminology starts to get mixed.
Lift is the upwards force that is pulling the breast up from the strap and is controlled by the upper cup. This is not to be confused with ‘push up’ or ‘push in’ forces that come from slings and powerbars on the underside our outer edge of the cup.
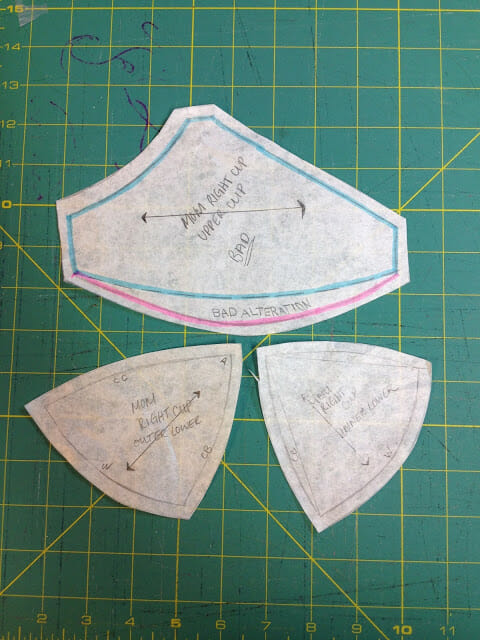
Lift is controlled by the upper cup- and if your upper cup is too long from apex to neckline/strap- then your bra is going to be letting you down- literally.
So to show this- I took moms custom pattern, and I added a bad alteration to one of the cups- The blue is the original seamline, and in pink you can see the additional curve and vertical length that I added to the upper cup in the cross-cup seam.
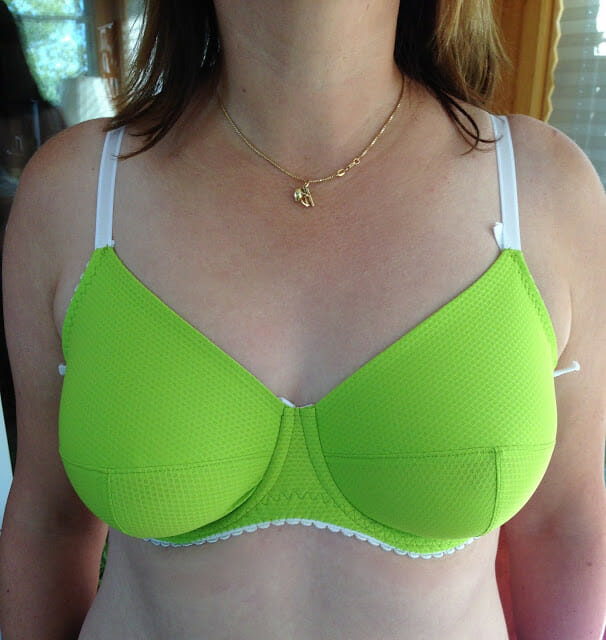
And this is the effect:
You can see that the right side (right side of the photo) is lifted and rounded, no wrinkles in the cup, breast sitting entirely above the wireline, apex pointing ahead.
But on the left side- there are wrinkles, the breast is drooping below the wire, and even the apex looks off centre now.
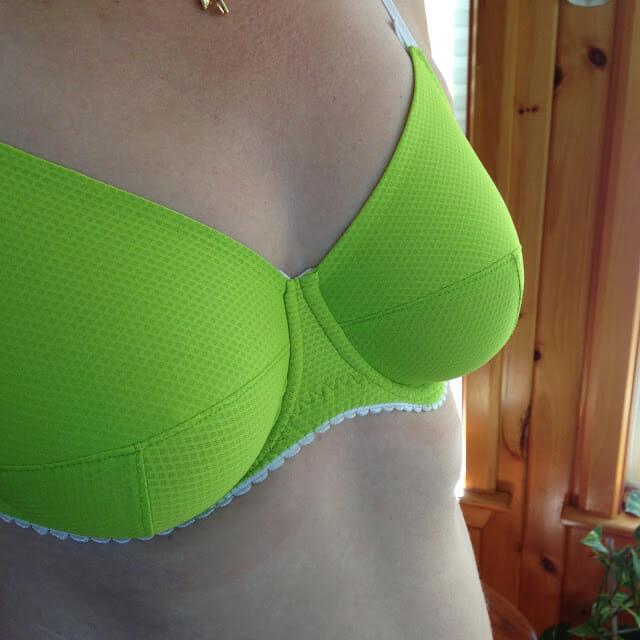
The effect is even more dramatic when you see it from the side view:
This side is a nice lifted, but round and casual fit for under T-shirts.
And this side is is looking quite let down.
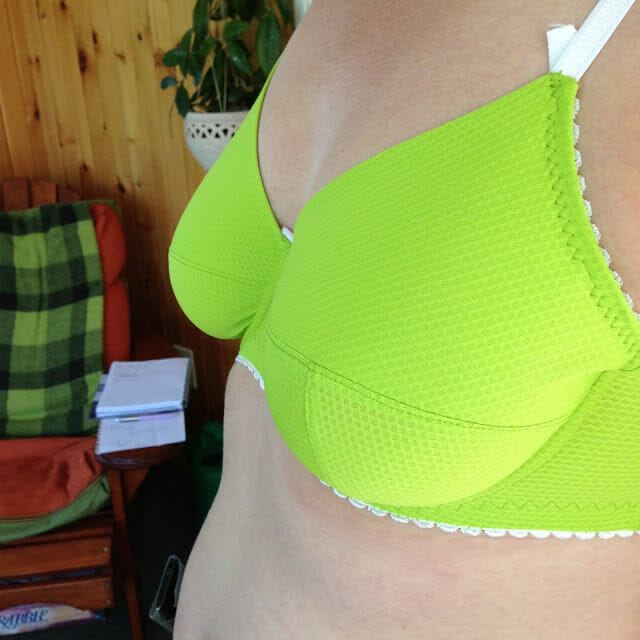
You can even see through a T-shirt how much more lifted the right side is!
Isn’t it amazing how a little alteration like that can make such a huge difference to the fit!
A good way to test your bra to see if it needs this alteration is to take a big horizontal pinch from your upper cup and see if that makes things more lifted for you!
Thank you again so much to mom for being such a good sport! And for breast-feeding me for those 9 months! I already have your bra cup replaced with a lifted one- ready for you to wear! 🙂
What are you opinions on lift? Is that something that you struggle with in your bra fit?
————————————————-
Now on to your lovely submissions!
————————————————–
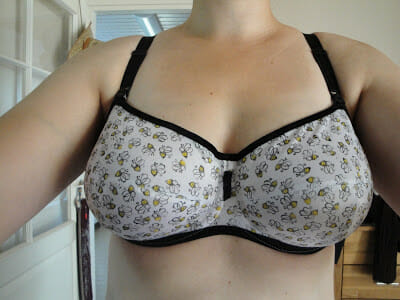
First we have this super fun bra from Amber!
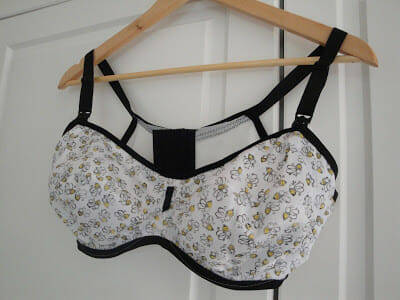
If you can believe it this beauty is actually a nursing bra! Who says nursing bras can’t be beautiful!
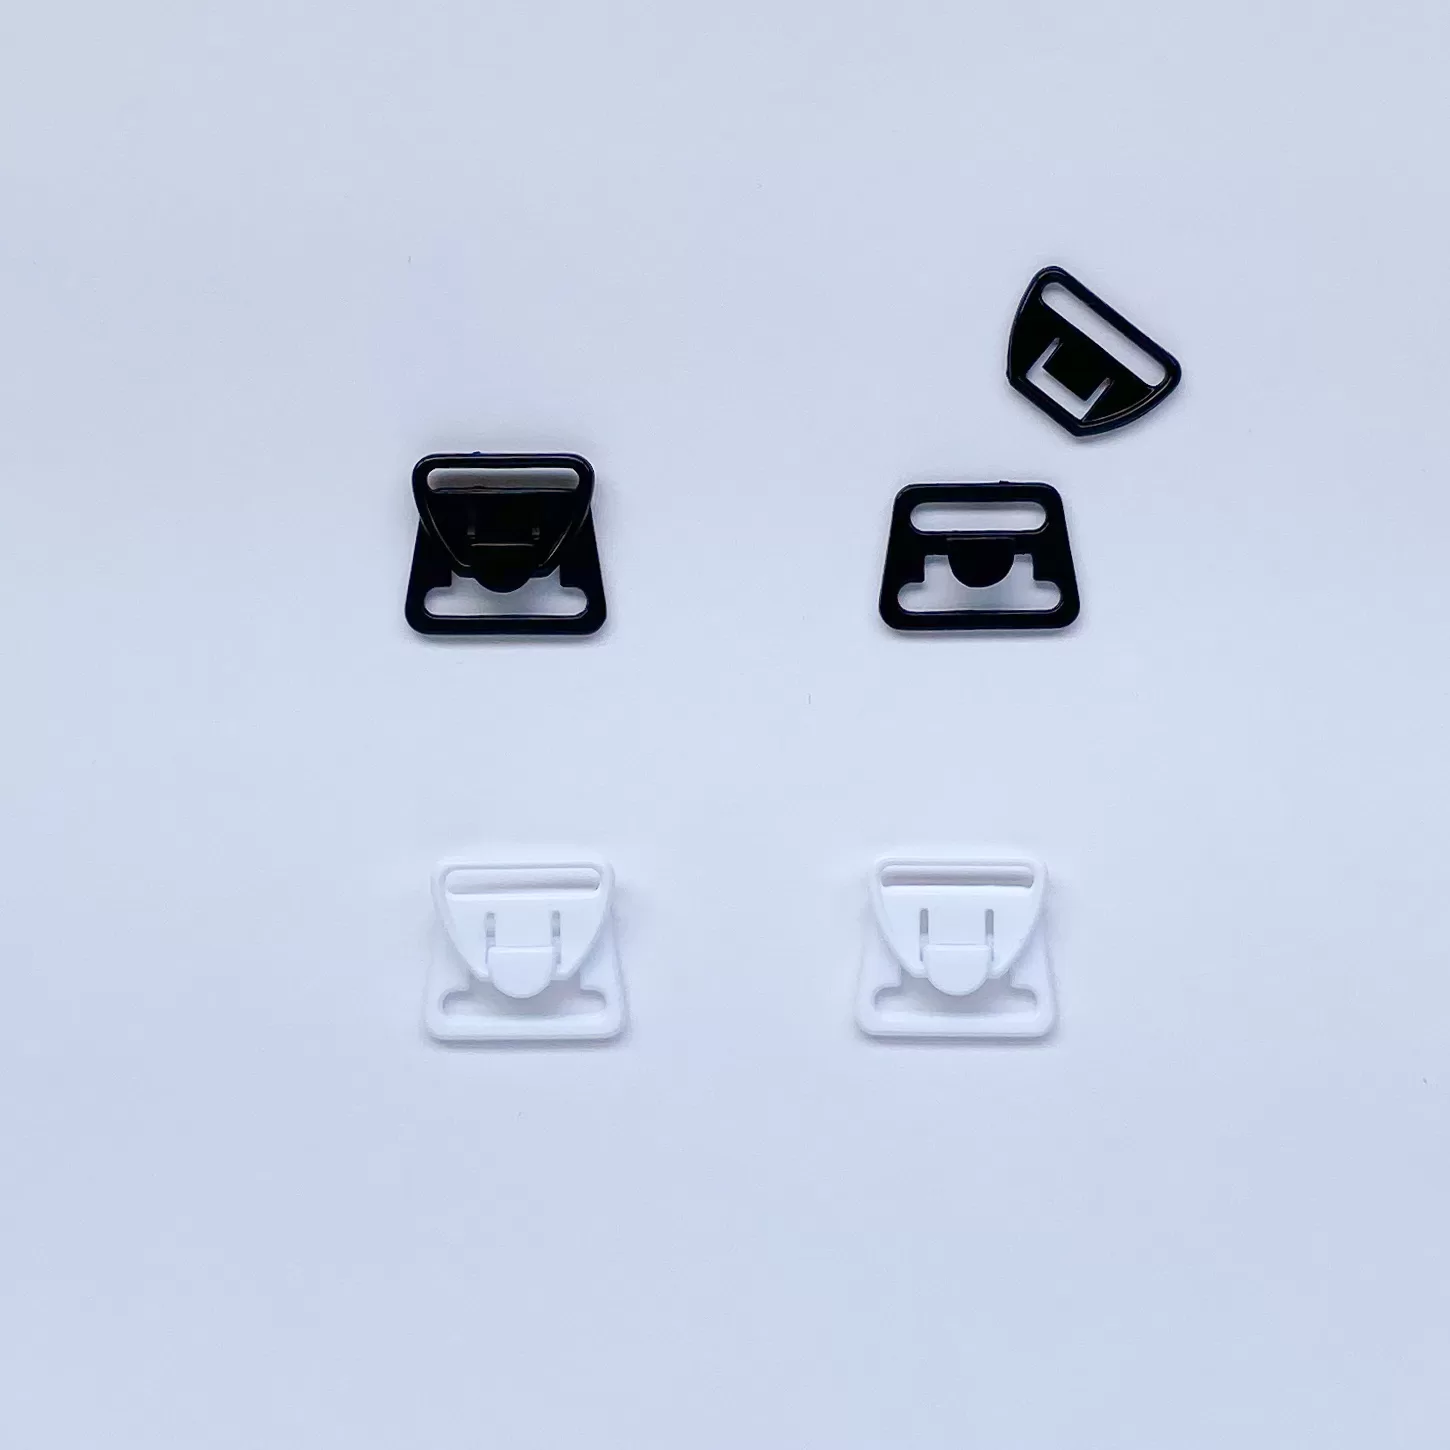
Amber made this from a Pin-Up Girls Classic pattern- modified for a horizontal seam with split lower cup and powerbar! And modified for nursing clips!
Amber made this bra with white duoplex, and stamped these little bees on with stamps and fabric markers! HOW CUTE ARE THEY! I want a bee bra! She also used fold-over elastic and a little folded ribbon for the front! Love it! Thanks Amber!
————————————————————-
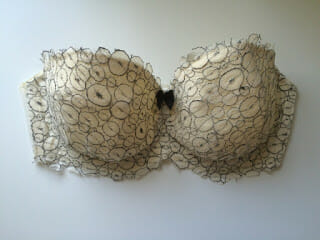
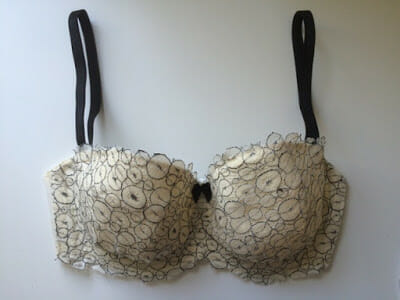
Next we have this gorgeous lacy number from Karin of Mrs. Weaver’s Finest!
Karin made a strapless bra! which is always quite the feat in bra-making- especially with larger cup sizes!
And oh my is it pretty- such a delicate feel- and that little bow 🙂
She also added little loops for G-hook detachable straps- just in case she wanted them- love it!
Make sure you go over to Karin’s blog to check out her post on this beauty, and all the info that she gave with it- more Bra Theory 🙂
————————————————————
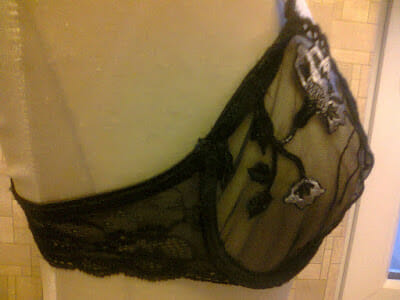
Next we have pretty lace bra from David of Bonnet Bleu
David made this bra with underwires and two types of lace- non stretch embroidered lace for the cups and stretch lace for the back band. Love those lace cups, and a perfect job on mirroring the lace! So pretty!
dpolrolniczak (at) wp (dot) pl
——————————————————-
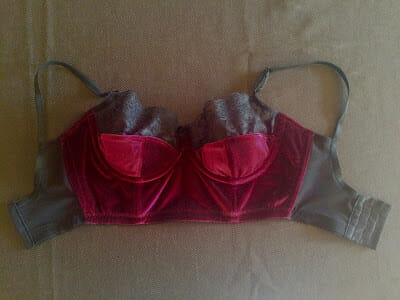
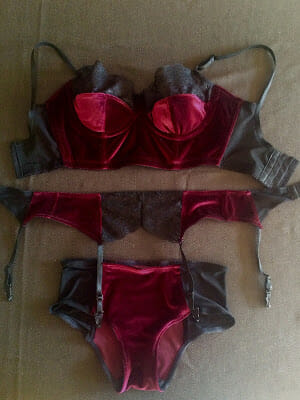
Next we have a very luxurious set from Maddy of Miss Maddy Sews!
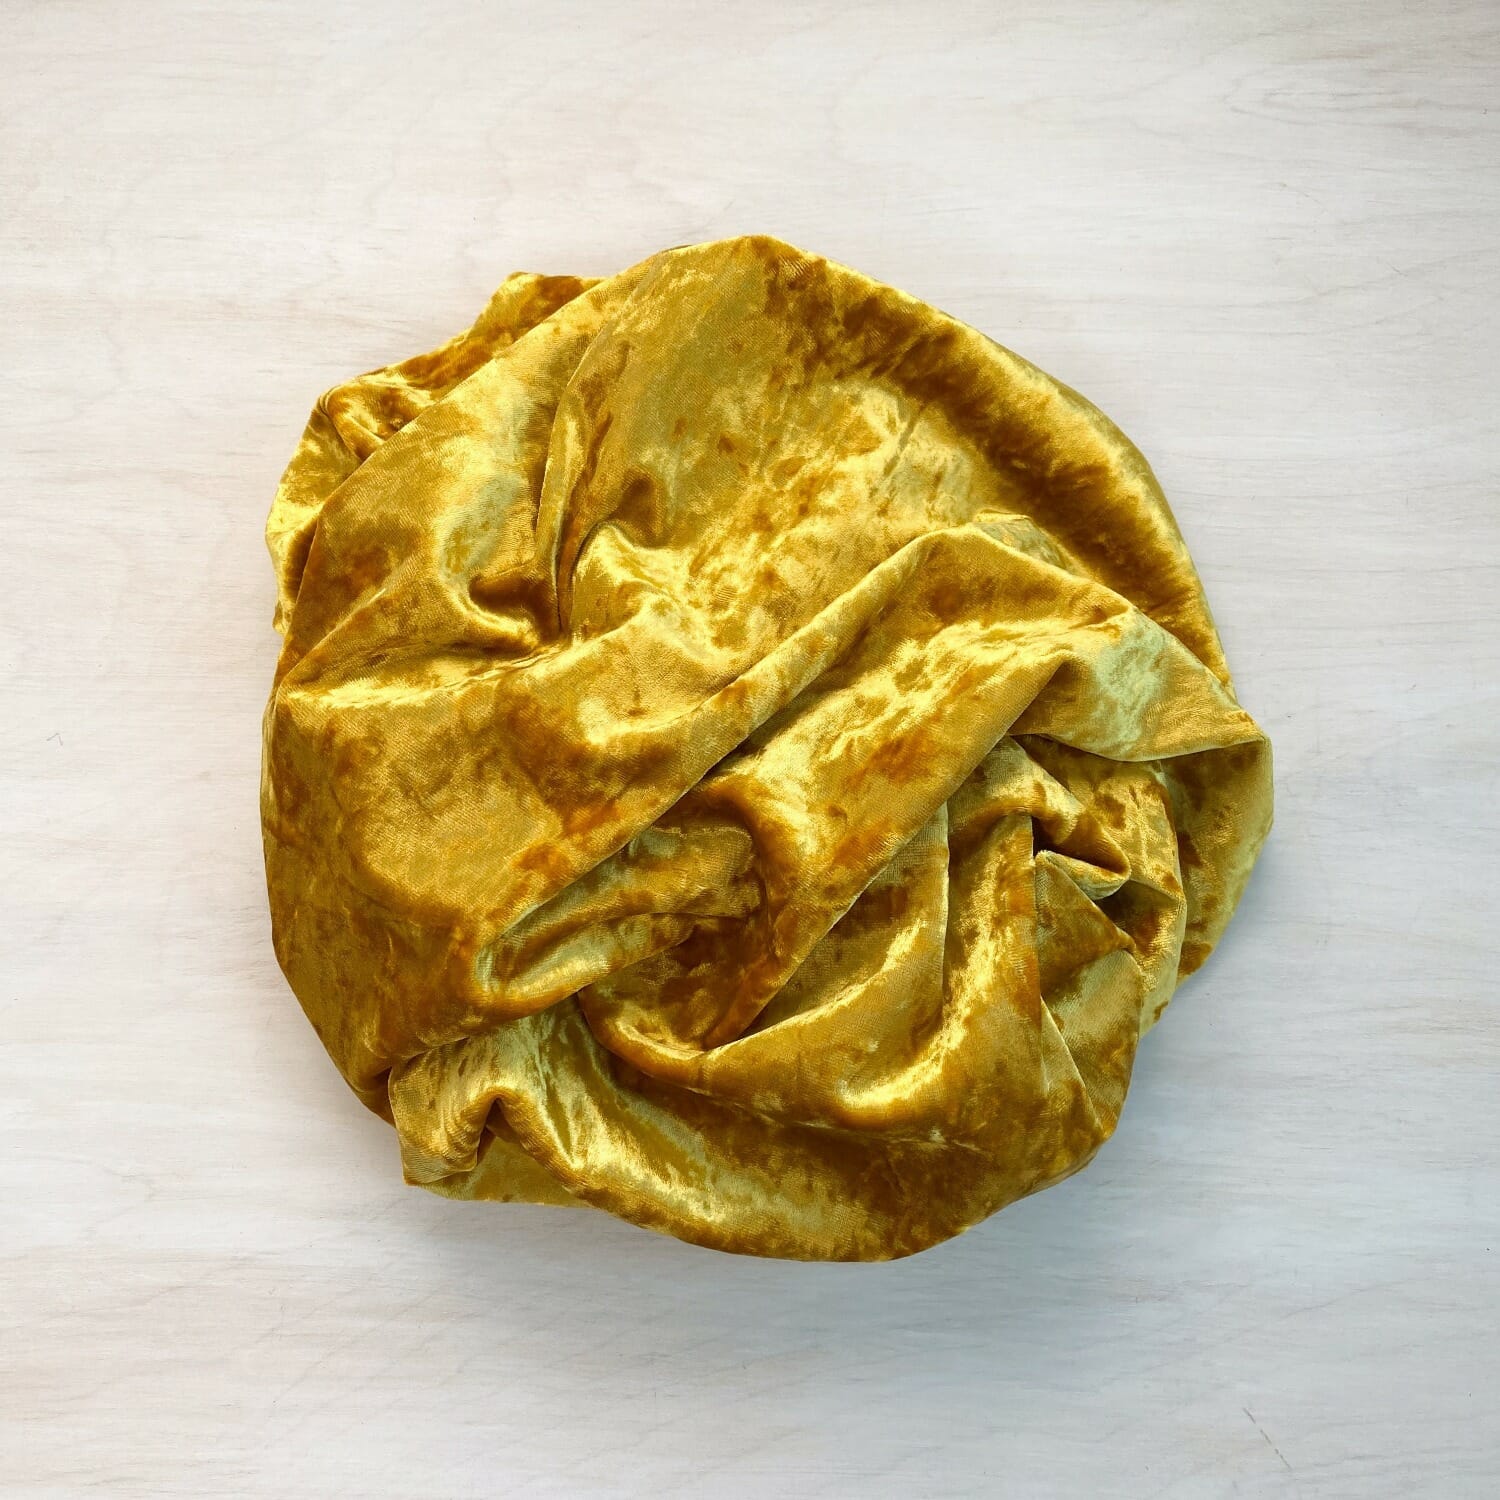
This is Maddy’s Burlesque set! She made it using stretch velvet (found in the remnants bin *all hail the remnants queen!*) and stretch lace. What a gorgeous effect- there is just something about velvet- and this colour is gorgeous!
And of course she didn’t just stop there but she made the whole set, panties, garter belt and all! Wow- I must say that I’ve been feeling a bit of lingerie envy – I definitely need to get making some full sets! I bet you feel like a million buck in this Maddy!
Make sure that you head on over and check out her post on this delightful set!
——————————————————-
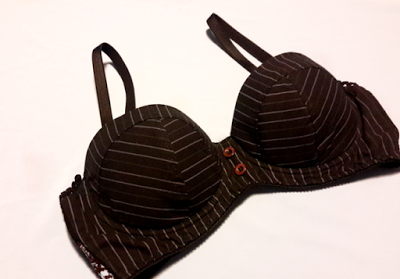
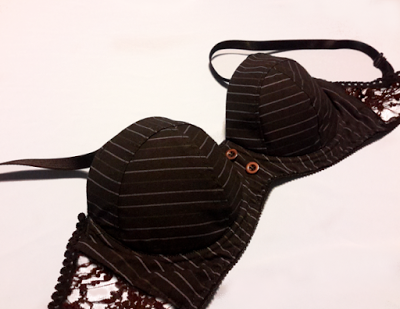
Next we have a very fashionable bra from Sofia of Silver Lining Atelier!
This is Sofia’s second Maya pattern bra- and tweaked with perfect fitting alterations! And this time Sofia was really resourceful with her fabric and made it from her boyfriend’s shirt sleeves! Love it! She even used the cuff buttons for the front embellishment!
I’m really loving this look for fall- I think you could wear this under a sheer shirt or a mostly buttoned up blazer! very tailored/menswear feel! Fantastic!
Make sure you head on over to Sofia’s blog to see her lovely post about it!
——————————————————–
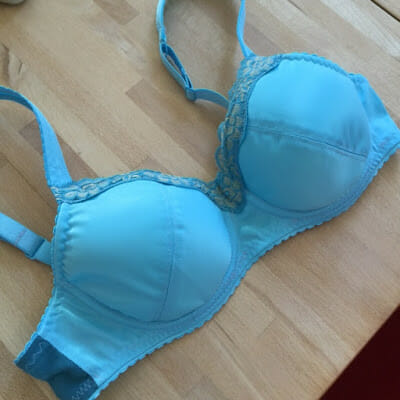
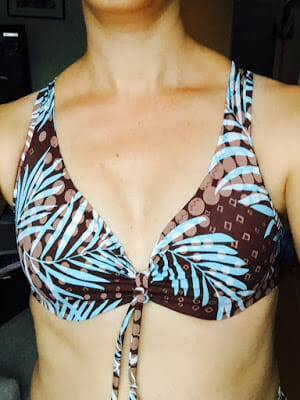
Next we have two beautiful makes from new contributor Anna of AnnaSkapar!
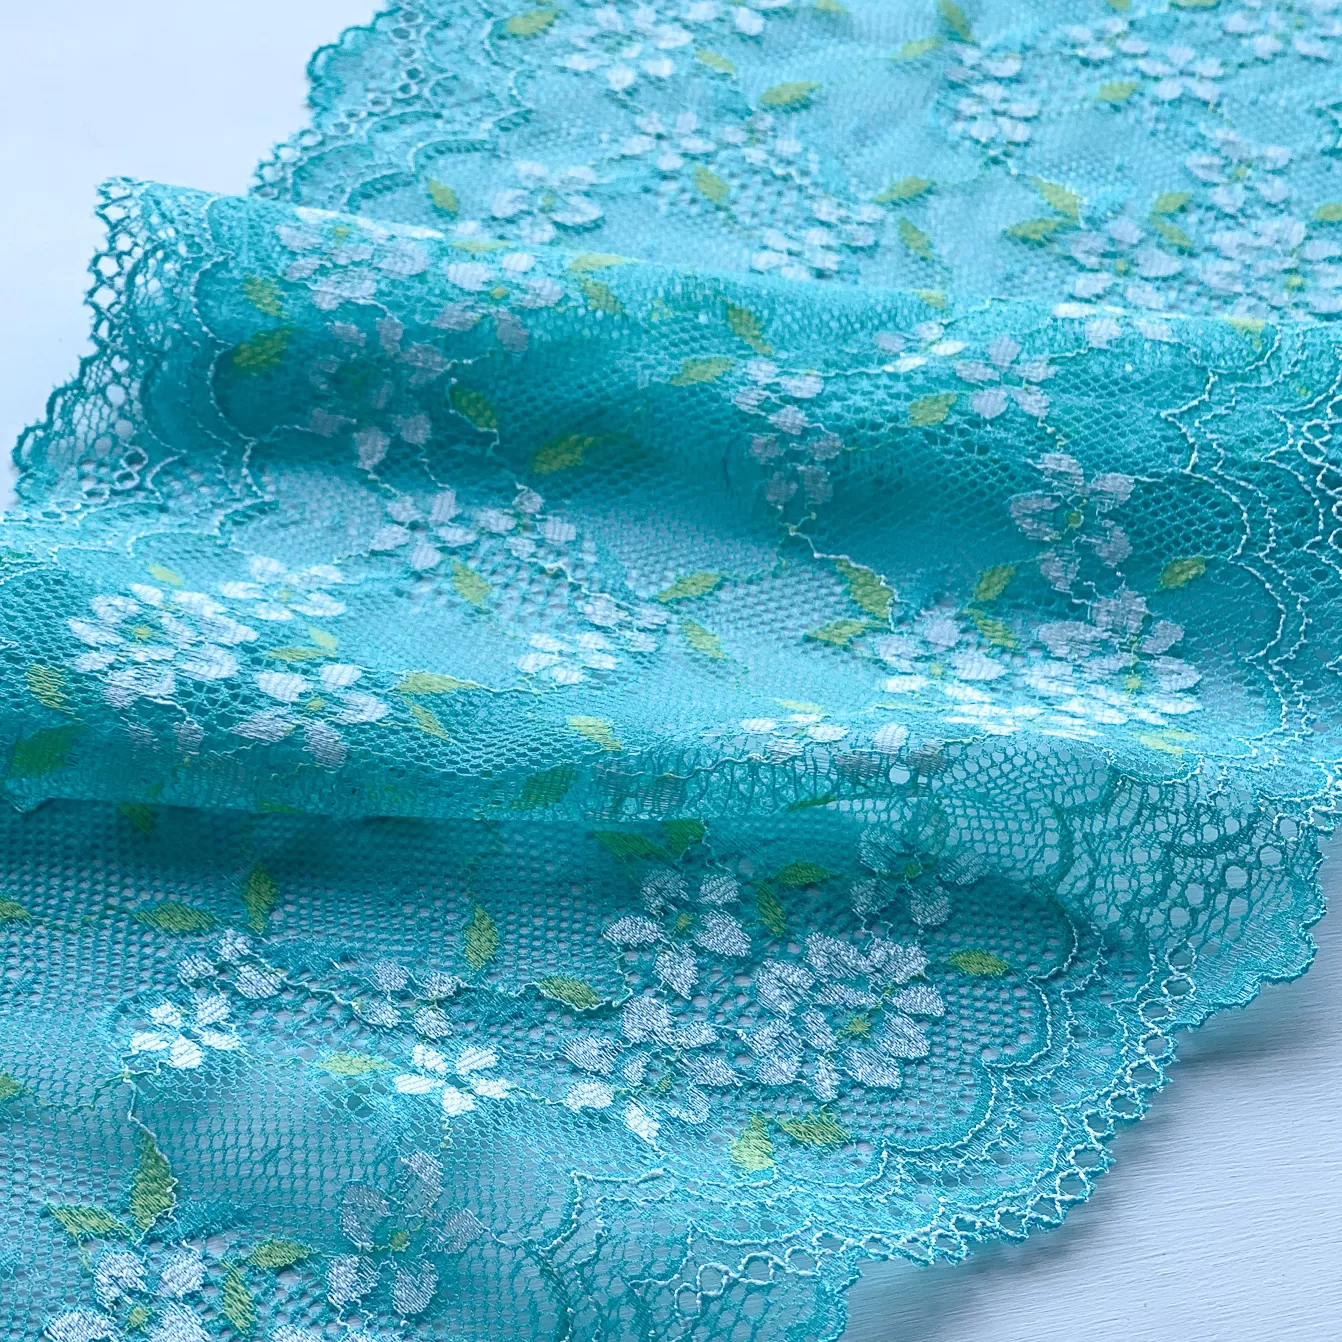
Anna made this beautiful bra using the Pin-Up Girls Classic pattern with modified seams. She used a lovely turquoise fabric with foam underneath! Loving that lace trim along the top!
She also made this gorgeous bikini top for her trip to Mallorca! She said it was the only top that didn’t have to worry about falling off when she jumped in the water! She made this using the Pin-Up Girls Three Sisters Bikini, the Rebecca version, with some modifications. Love this print! So tropical!
———————————————————
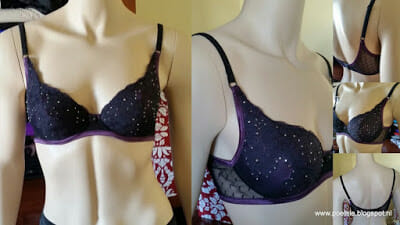
And last but not least we have these two lovelies from Diana of Diana Lingerie Design
These are both from Diana’s new pattern that she is testing, and she made these for her sister- What a great sister!
Wow these look so pretty and professional- and I’m loving the shape on that vertical seam! Great!
Make sure to check out Diana’s post about these two over on her blog!

















I've really enjoyed all the bra theory posts. =). You have a lovely blog 'voice', very easy to read and understand what you are explaining. Looking forward to future ones!
Thanks Melissa! I love writing the posts- and people tell me that I write just like I talk 🙂 I'm excited for more in the future too 🙂
I love that style!!! I tend towards that as well, I'm very verbal ahahaha (talk a lot) and so that comes more natural to me.
Soooo what I gather from this is if I want to lift the cup up, I need to take out a bit of the top, along the seam line….I'm going to attempt this with the Shelley. Thanks for the diagram. I couldn't picture this when it was recommended to me.
Thanks!! And yes, to add extra lift you can take a bit of length out of the upper cup! You can test it first by pinching a little bit out to see if that works for your cup!
Diagrams are really so important!
I loved this, because I also need some lift! Is the green fabric stretch fabric? I love all the other entries too – I need to make another bra soon, I'm so jealous of all the lovely lingerie I see.
Thanks Ilna!! This green fabric is a non-stretch knit that I sell in my bra kits. It has a little bit of give, and is more relaxed than something like duoplex – but definitely no stretch. It just has a nice drape, and smooth look- and it's wickable which always adds comfort!
Aren't the entries gorgeous! And it's nice to have some new contributors too 🙂
Excellent, and highly relevant explanation and illustration! My question relates to the ‘next step’. I have flattened my cross cup seam on a 39H PUG Shelley, but now need to make lower cups and upper cup cross-cup seamlines the same length….or at least I think I do!
Do I need to alter the lower cup pattern pieces – leaving the central seam from base of cup to apex intact, so that I do not alter the bottom cup depth, as well as the sides affecting the wireline alone -….recognising that the volume in the lower cup would be reduced…-
On a Simplex and (supportively-lined) lace upper cup bra, it does not make sense to me that I would want to, or be able to, ease in the extra lower seam length into the now shorter upper cup seamline (in my case approx 11mm shorter)
Would you kindly rescue me from my conundrum!
Woah, that's amazing! Now here's my question – if my upper cup is stretch lace and the strap attached to a power bar, how do I adjust for more lift?
Thank Gillian! And great question! What you can do is still take a bit out of the curve on your upper cup piece- but more importantly- you can line your stretch lace with a no-stretch lining- like bra tulle- and have the DOGS running horizontally. Any stretch that you add to your cup will instantly decrease the amount of control and lift that you have on the cup! 🙂
Erin, what an awesome post. Something I have never considered – that maybe not only Djusting the strap is involved might need to alter cup too. Thank you. By the way, I ADORE that green fabric.
Thanks! I know that lift is something that a lot of people look for in bras- and this is just such a simple alteration and good demonstration! And thanks- I adore the green fabric too! I haven't made myself a bra out of the green yet- mom beat me to it! But I'll have to hold back a kit for myself!
I'm loving your bra theory posts!! This one is really interesting, and so well explained! I may put some of this theory into action when I make a bra for my mum -she's been requesting one for ages, so now it's about time!
There are a lot of beautiful submissions this week, and some lovely new contributors! The little bees bra is so so cute!! I hope all this creativity will be present during Corset October too 😀
PS: As always, thank you for your kind words about my bra! 🙂 But you've missed a little detail: as far as I know, I'm not married yet! lol That was my boyfriend's shirt, not my husband's 😛
Thanks Sofia! and oops! I read Mr.SilverLining and instantly went to husband- lol I fixed it!
What a wonderful daughter! And I have to say- making a bra for mom has paid off in lots of cooking for me!!
Don't worry, we're like a married couple anyway! XD
Awesome info as usual Erin! And particularly pertinent for me :D! Looking forward to employing your technique on my next bra.
Gosh the submissions are just divine this week. I have bra sewing envy big time and can't wait until I have a bit of sewing time — the project queue is growing very long!
Thanks Ginny! I'm so happy this Bra-Theory helped!
I know- aren't the submissions amazing- they're the best little surprises to my inbox all week 🙂 and definitely motivation!
Great post, Erin! And what a trooper your Mom is! I've loved all the bra theory, and look forward to more in November. Corsets will be great to see and learn about too. Beautiful submissions this week – they're all so very lovely. Awesome job everyone.
Michelle
Michelle
Thanks Michelle! My mom really is the best 🙂 I think she'll be volunteering for more Bra Theory come November- especially with all the bras she will get out of it! I'm so excited for Corsets- but i really think I'm finding one of my ultimate passions with Bra Theory 🙂 I already can't wait to get back to it!
Very clear explanation of how to give more lift to a bra. Thanks, Erin! I just made my first Shelley, but need to look and see if that adjustment is what is needed. I'd love to stop by your shop on my next trip to Ontario and get your opinion–and check out your kits. Much success to you!
Thanks Donna! I'm so happy this post helped you! I'd love for you to stop by my shop!! I'm going to be opening mid-November!!
I love the bra theory posts. Thank you so much Erin!
This is very interesting. I wonder how to incorporate this theory to bra with vertical seams. I think I can make a horizontal pinch/reduce the height on both side cup and center cup….
Thanks Novita! I'm loving them too! They'll definitely make a come-back after Corset October!
I think that this should apply in the same way with a vertical seam cup- by taking the pinch out of both pieces at the top. And it would help to have your DOGS going horizontally!
Thanks for your bra theory posts! Some interesting, new points, even for me!
This one is very clear for me. You added lenght and with this also volume to the upper cup. There is so much more place now in the upper cup than in the old one and the breast must hang down with this length in the upper cup.
If you do this the other way (shorten the cup by straightening the curve) the bra gets more lift, yes, but if the cup fitted optimally before in volume, you'll get the effect, that it gets too small then. The breast bulges out of the cup now. Very difficult to solve the lift up-problem only with this method.
Unfortunately bra alterations are so complex – I get nasty surprises again and again, when I do not consider the consequences to the other bra parts. It's really hard learning and trial and error :-).
Go on with your bra theory! All of us can learn so much!
Monika
Thanks Monika! There's always so much to learn about bra fitting!
You are correct- if your cup was fitting very well before, taking the pinch out of the upper cup might make it too small. That's why I recommended that you try pinching some fabric out of your upper cup to see the effect before you make the alteration. But it can definitely be a good solution for some cups!
Bra fitting is definitely a complicated thing! But I hope that this helped to illustrate one principle of bra fitting to take a little more of the guess work out of fitting!
Yay for more Bra Theory after some Corsets!
Great post, love the new entries too.
Thanks Diana!! 🙂
Great post, and really interesting! I'm just wondering – is the cup on the right simply the same pieces without the extra 'bad alteration'? I ask because that means there's less volume over all, I have trouble where I have the lack of lift, but also lack of volume, and I'm not sure how to fix it. Thanks for all the info though!
Thanks! yes- they are the same cup, just showing the difference with the bad alteration, and yes this means that there is a different cup volume. It's hard for me to give too specific of advice for your situation without knowing more about the specific pattern and fit issues, but you might overall have the wrong size (too small, and maybe the strap length or placement might not be giving you enough lift, and it could be the shape of the cup aswell. Good luck with your bras!
Erin, thanks to you and your mom on the visual! You are a good teacher and a good daughter. This post was very valuable in my bra fitting & making. xo
Thanks Andrea!!
So if I take a bit of length out of the upper cup piece it then is shorter that the bottom cup pieces and the cross cup seam doesn’t line up. How would I fix this?
I think this problem requires a photo, and a little more context- I’m not quite sure what you mean. Also this tutorial might not work on every bra style. Thanks!
Hi Emerald, I live in the UK and I am struggling to find suppliers to get pretty materials and stretch lace etc to mak bras. Do you have any recommendations.? Thank you for all your very useful info .
Hi Gwen! I sell lots of bra making materials in my online shop- and I ship internationally 🙂 shop.emeralderin.com
AM NEW HERE. WHERE WOULD I FIND THE PATTERN FOR THE GREEN AND WHITE BRA YOU MADE FOR YOUR MOM? REALLY LIKE THAT STYLE!
I’m not sure, that bra was self-drafted, but I think you could make something kind of similar from the Boylston pattern from Orange Lingerie 🙂