


Hi All!
I have some SUPER COOL BRA THEORY for you today!!
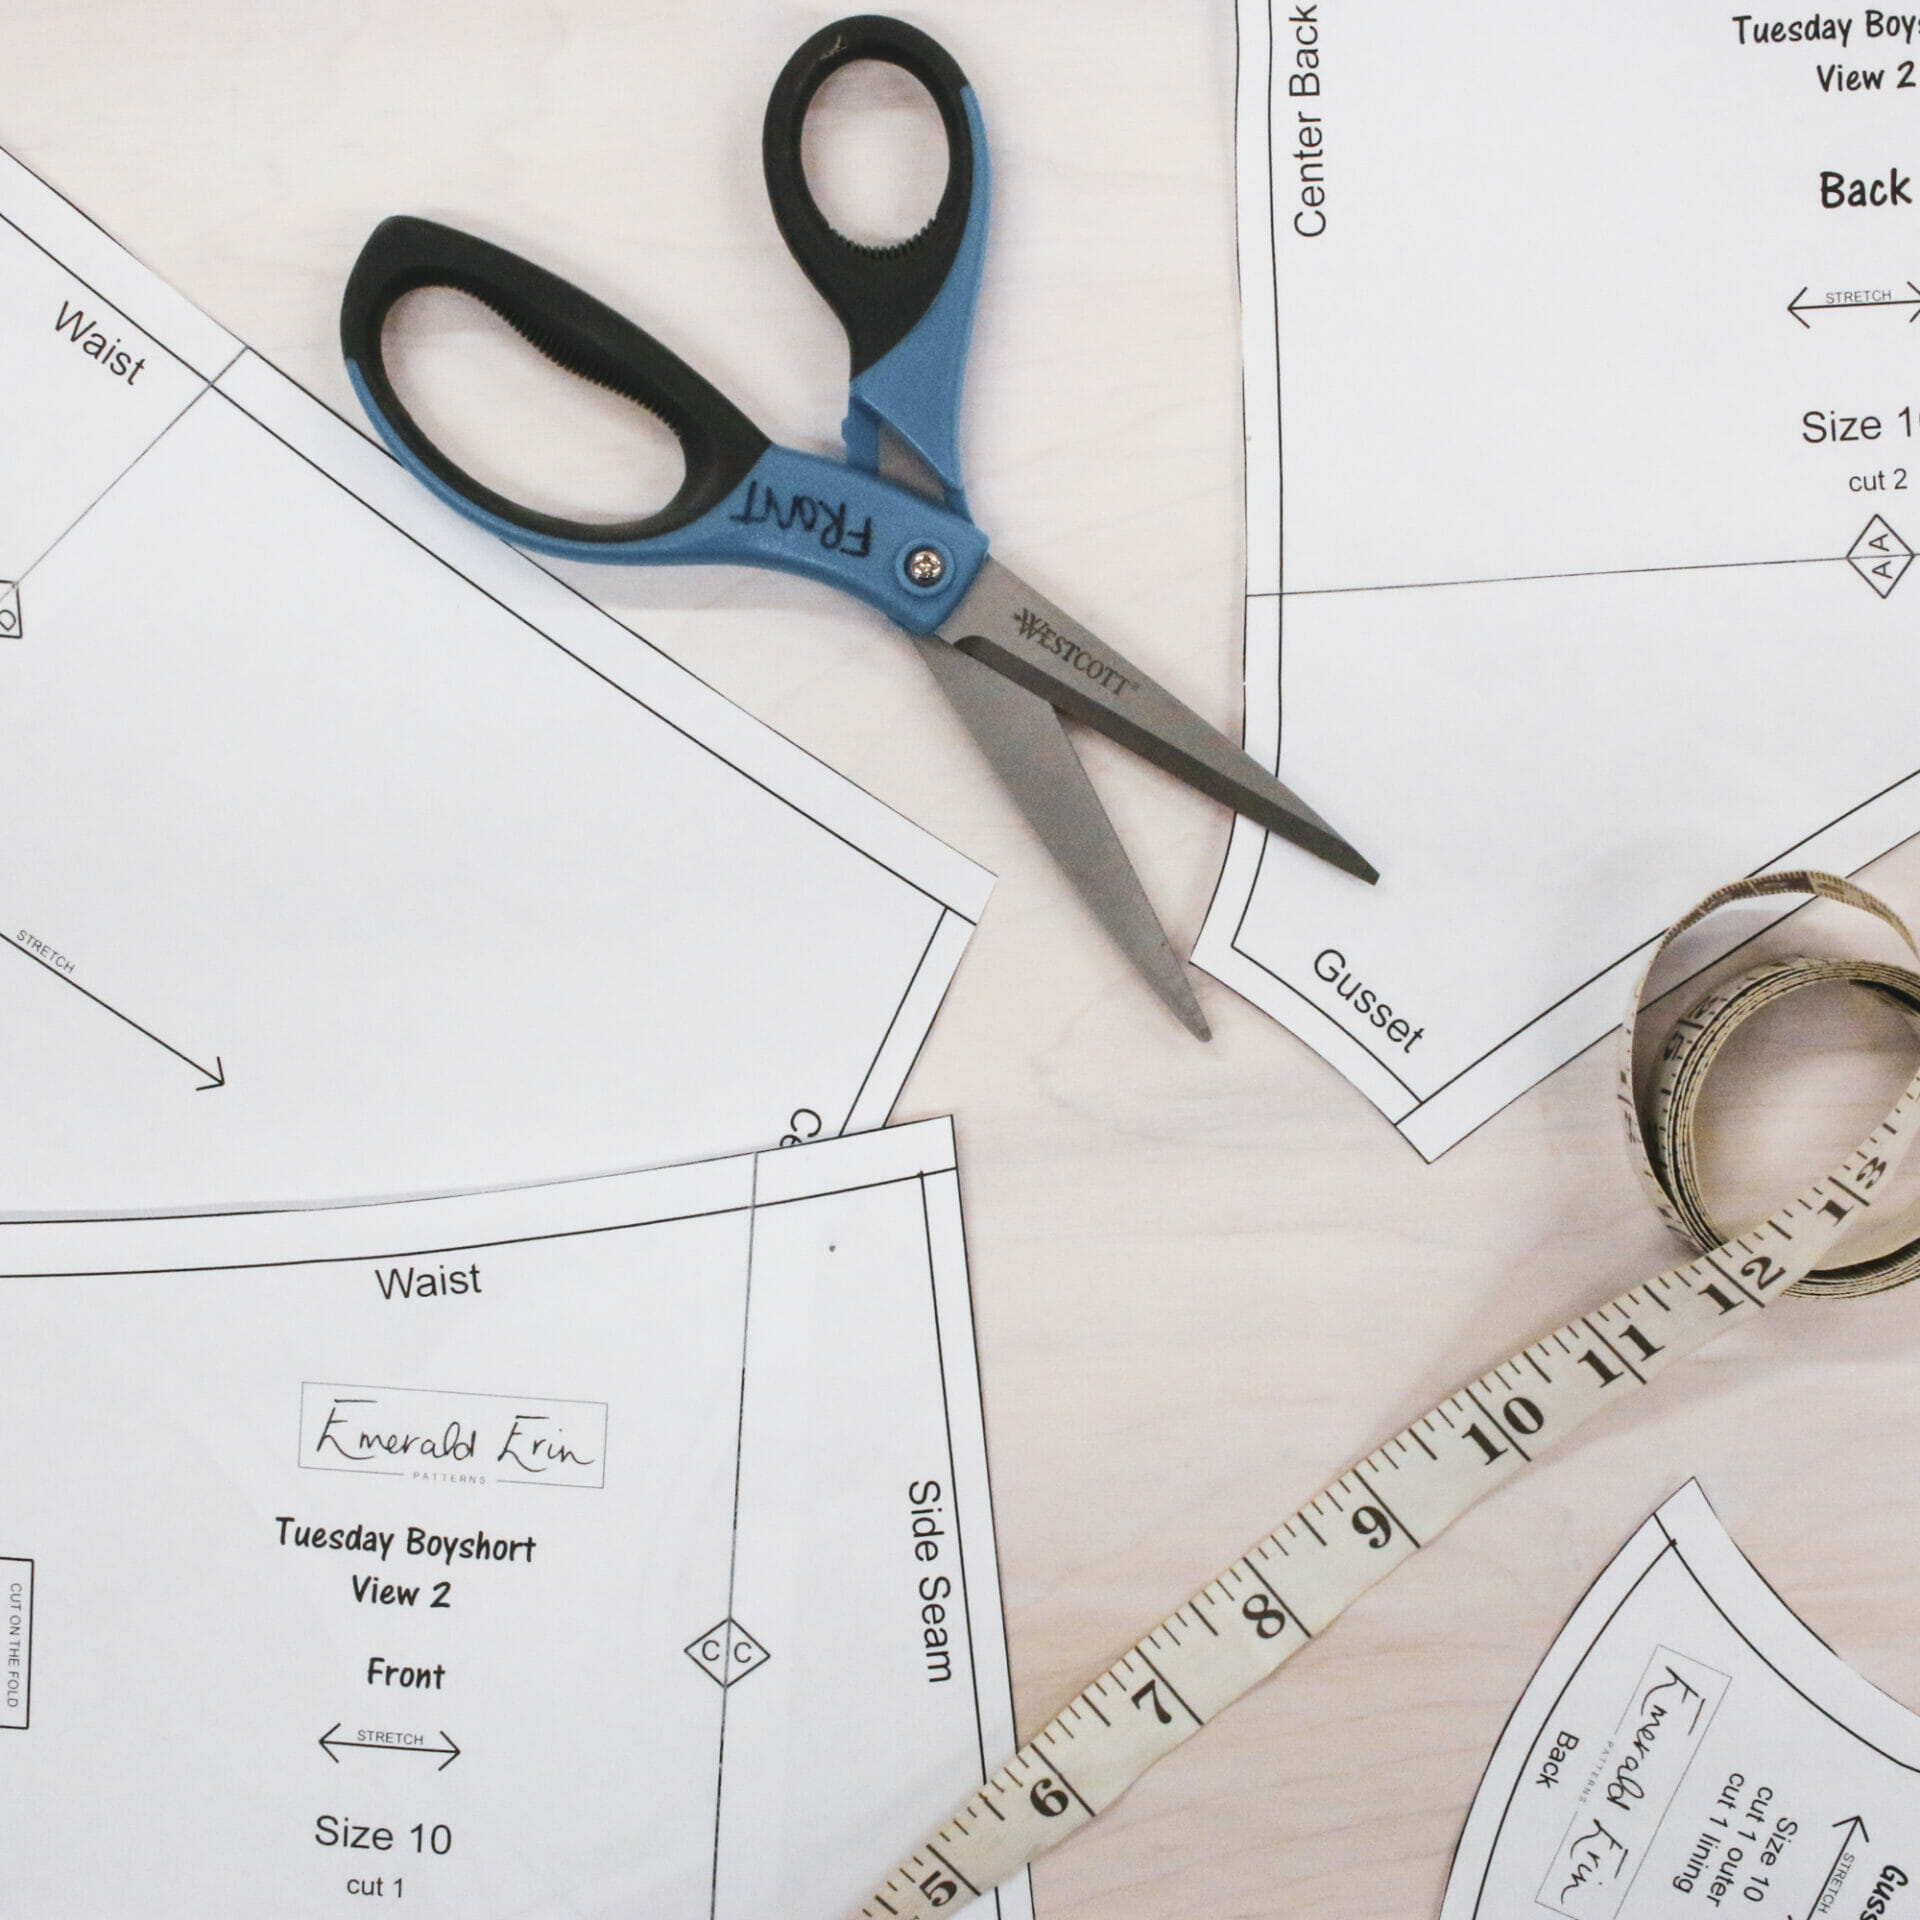
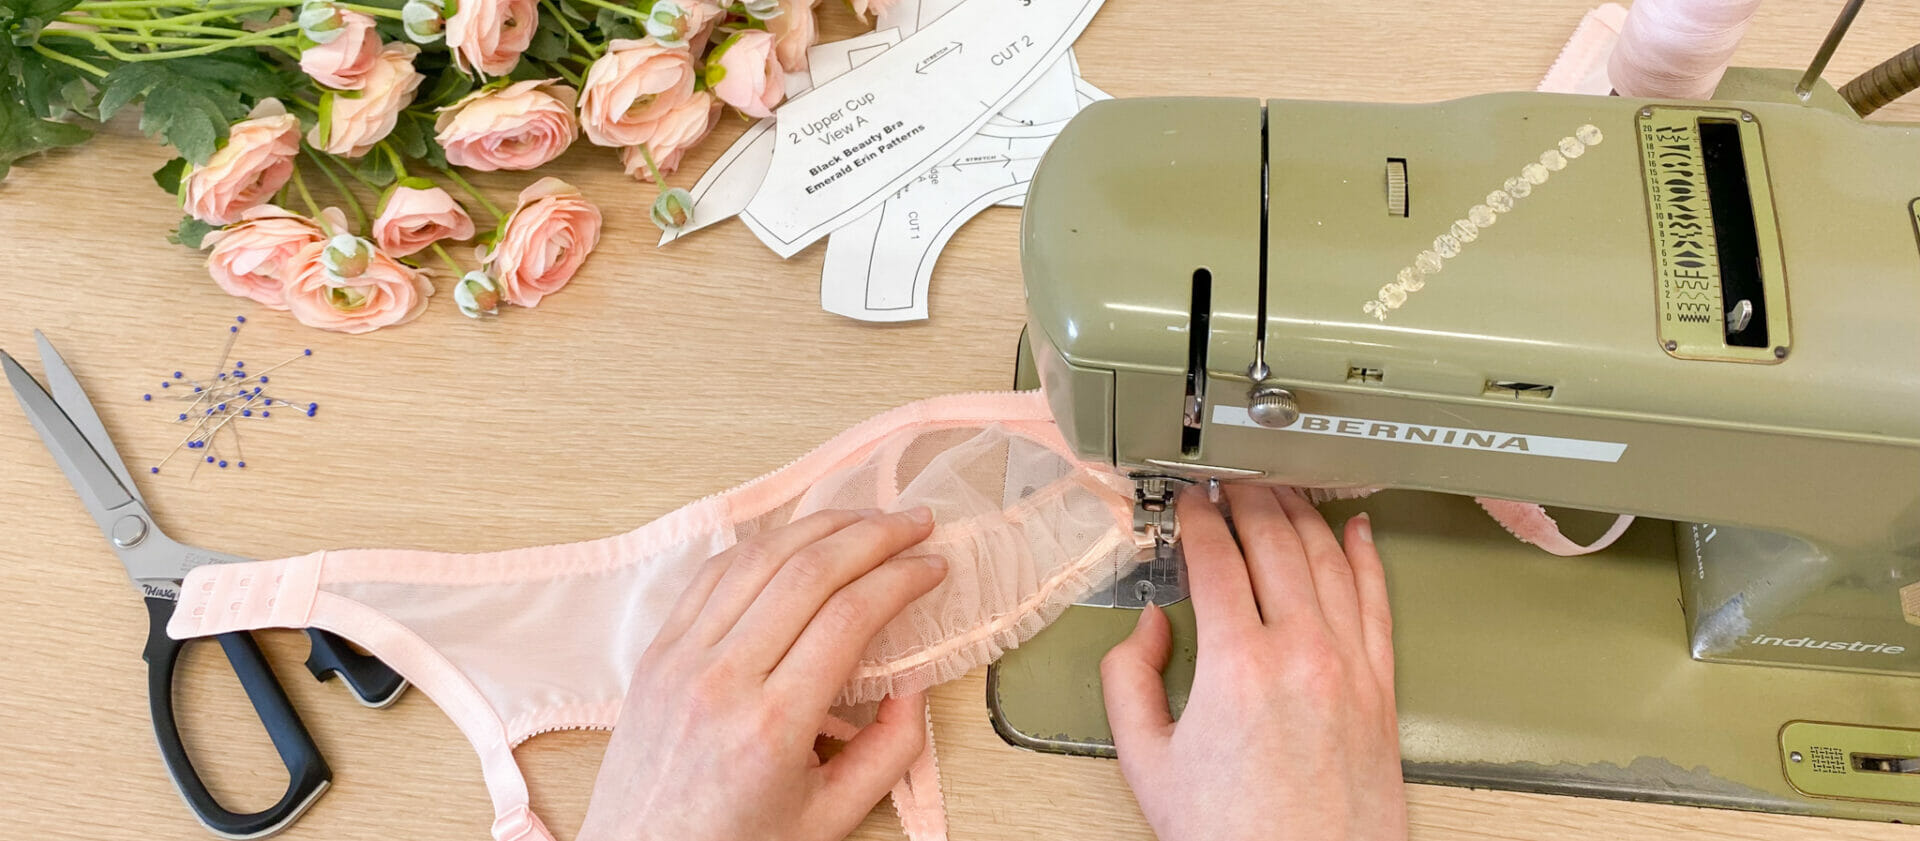
I often get asked “how do you make so many beautiful professional looking bras?” And that real answer to that is- experience- I’ve been making a bra almost every week for about a year and a half now! And what I’ve learned from that is the importance of bra planning. Thinking about the bra before I make it, where the seams are going to be, how I’m going to attach the strap, what elastics and fabrics I’m going to use.
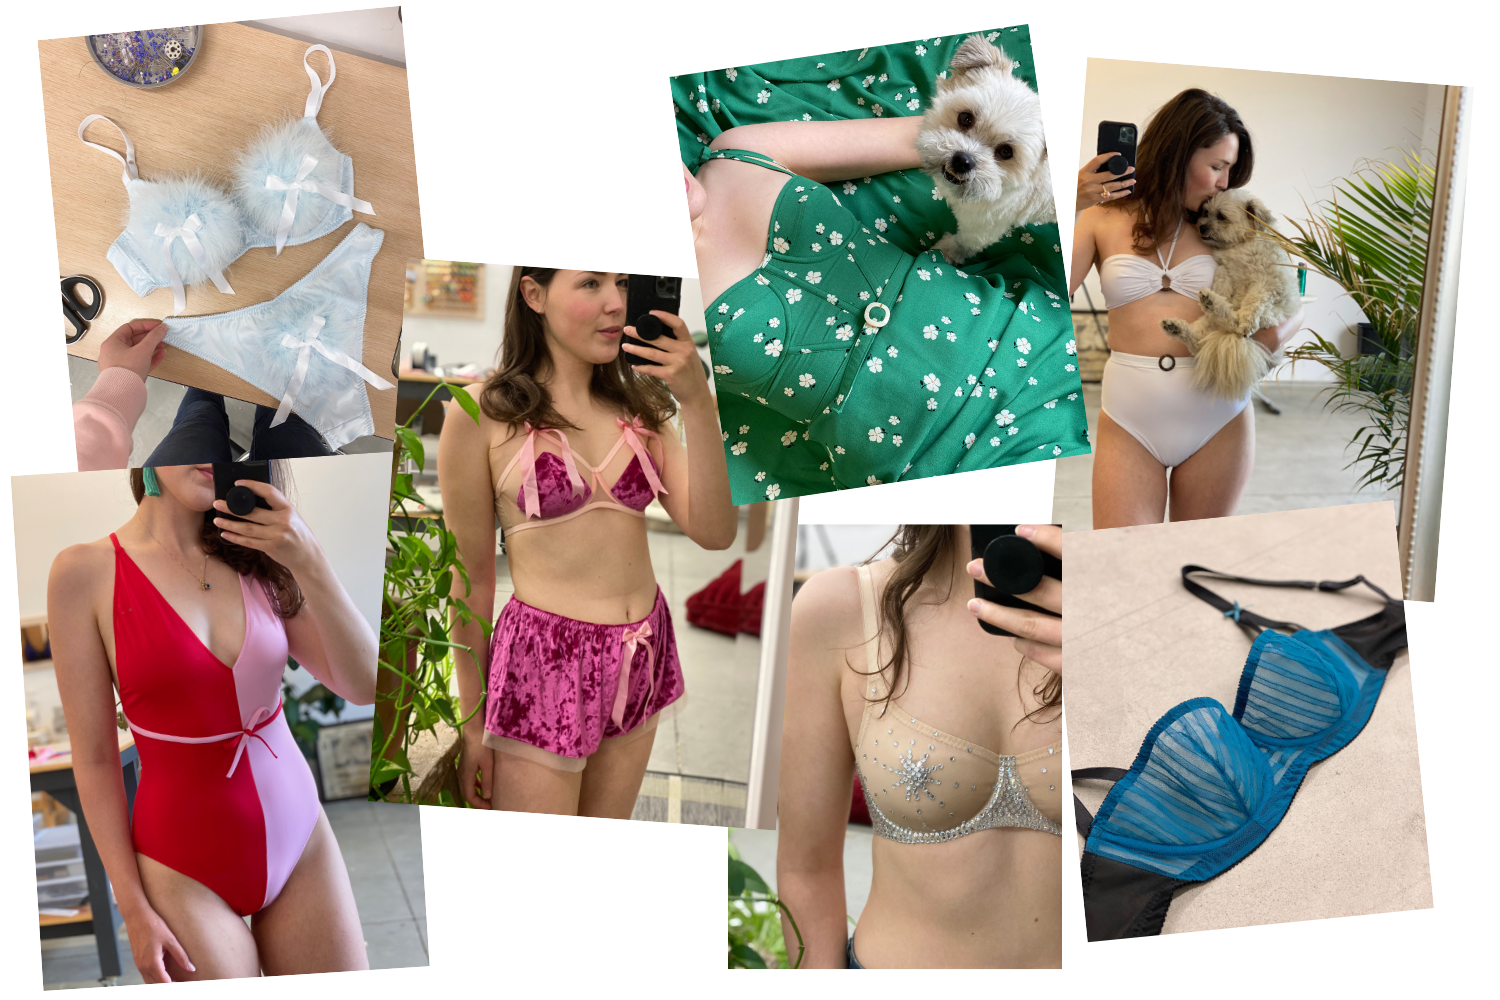
One thing I like to do is to search through my lingerie board on Pinterest to see what beauties I love the most, then deconstruct them. It’s so easy to look at a bra and just think “oh that’s so pretty- I could never make something that amazing!” but if you really break it down into all its parts- a lot of bras are actually quite similar. And when you break them down you can figure out how to make them yourself!
So I thought I would try to share some of the bra planning wisdom that I’ve gained with a guide!
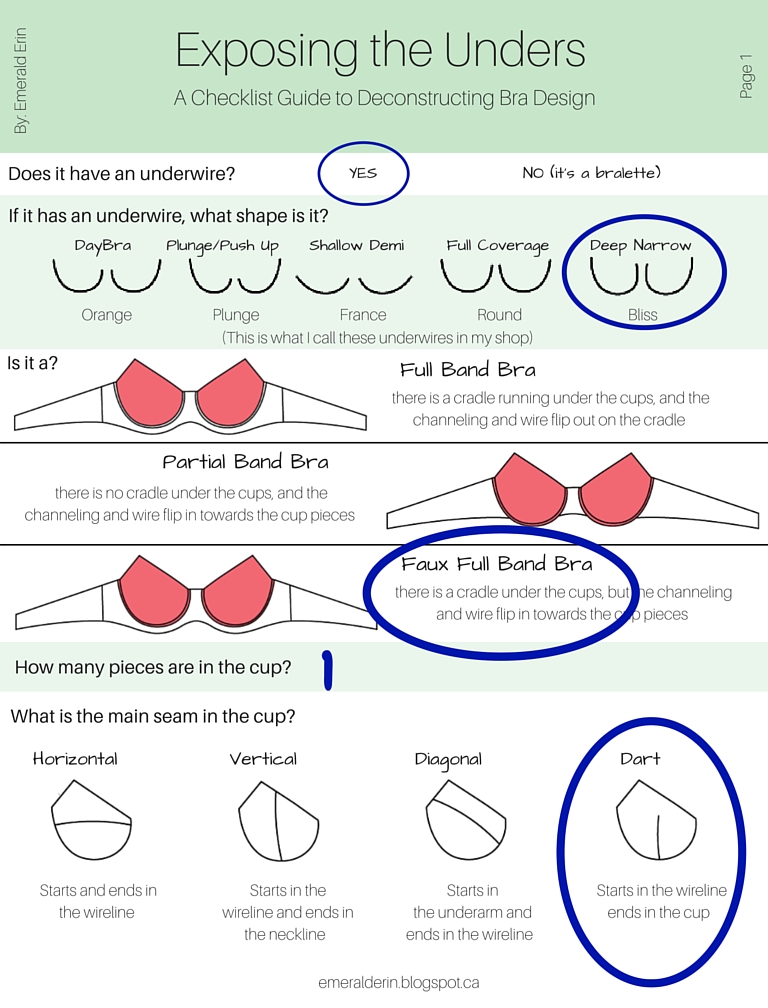
I made up a two page checklist/guide that breaks down a bra into all the elements that you should think about before you start to make it. I like to use this on bras that I see on Pinterest, but you could use it on a bra that you think up completely on your own! It helps to iron out all the kinks you could come up against. There’s nothing worse than getting 3/4 done with a bra then thinking- ‘how am I going to attach the strap in a nice way?” or ‘I would have really preferred a strap scoop in the back’. This can all be avoided with a bit of thought and planning!
and Voila! Here’s the Guide!
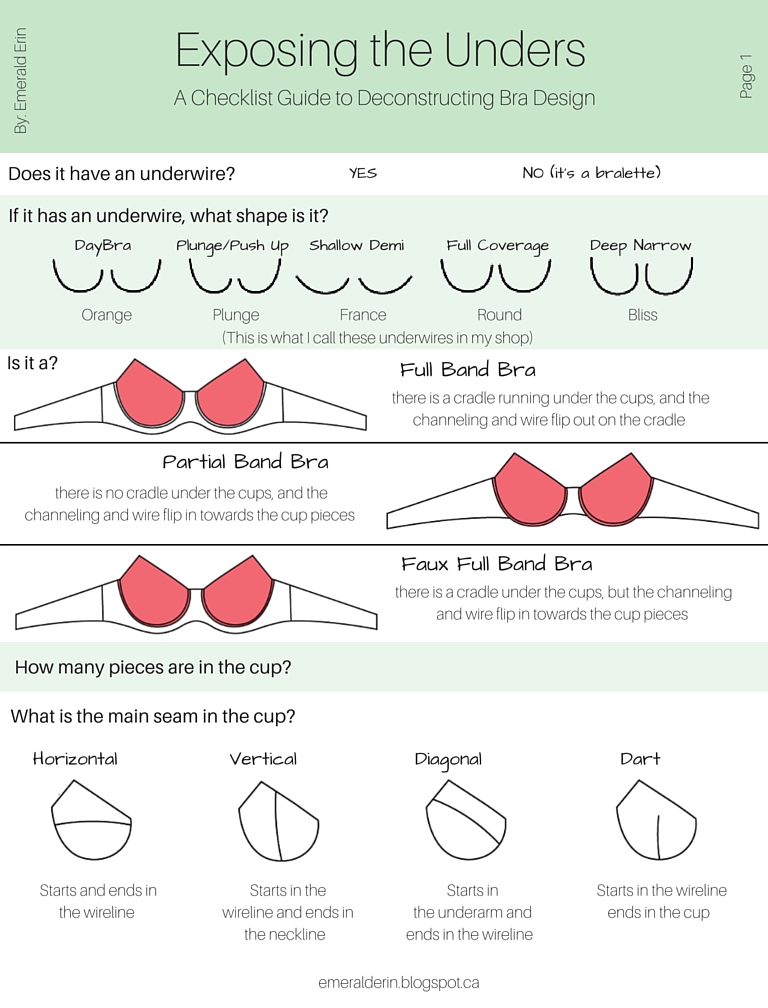

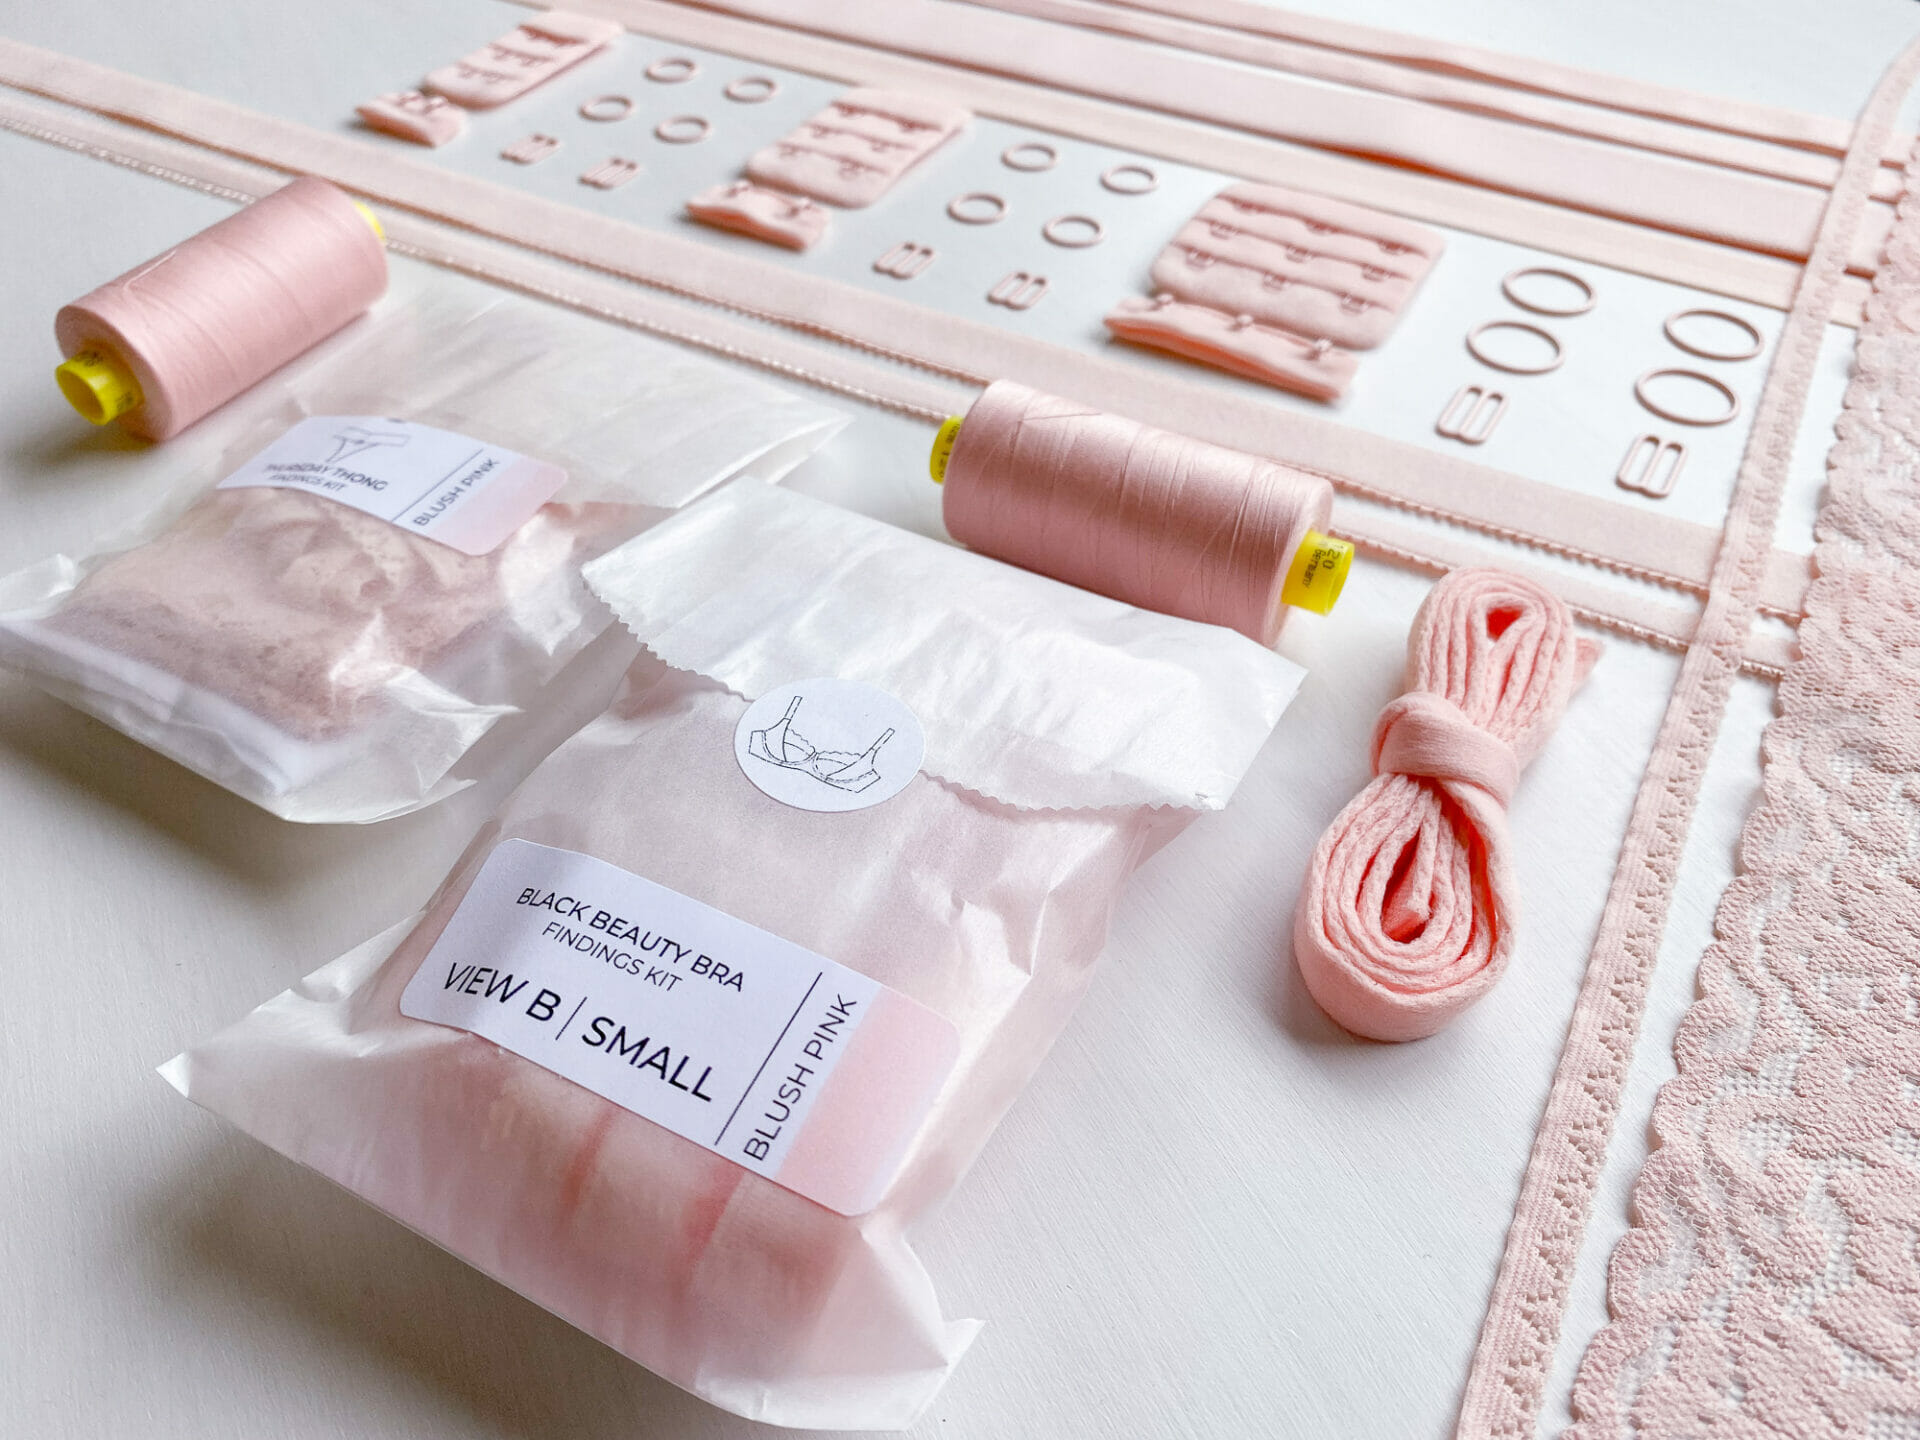
Here is a link to the PDF version so you can download it and print it out for yourself 🙂 (otherwise you could save the images off of the blog- but that might not be as pretty)
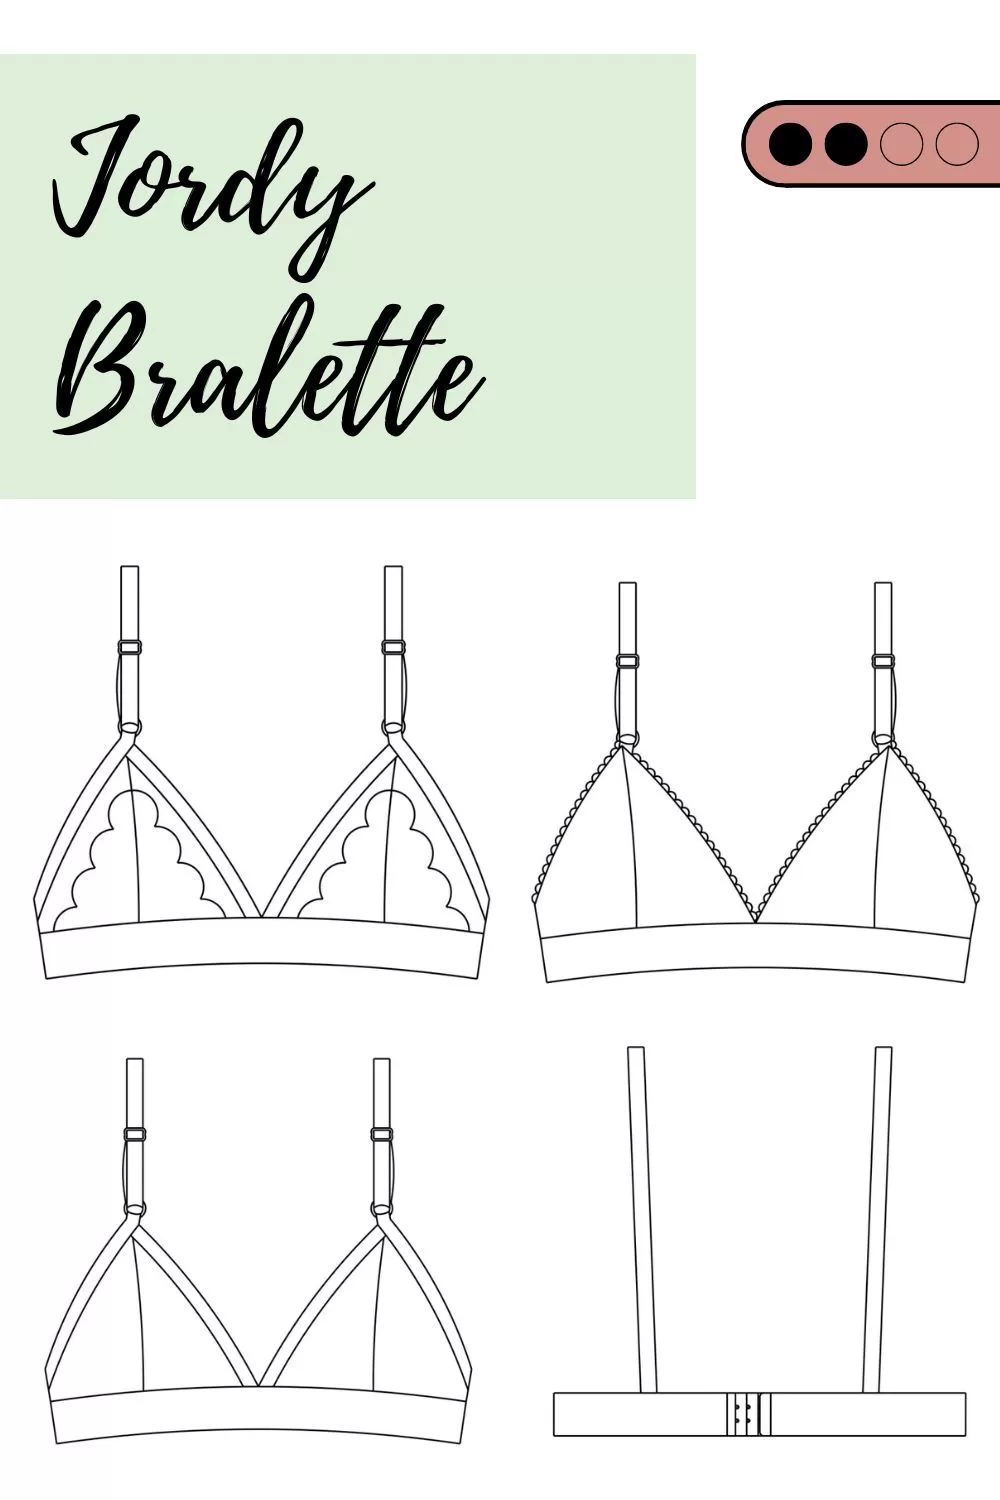
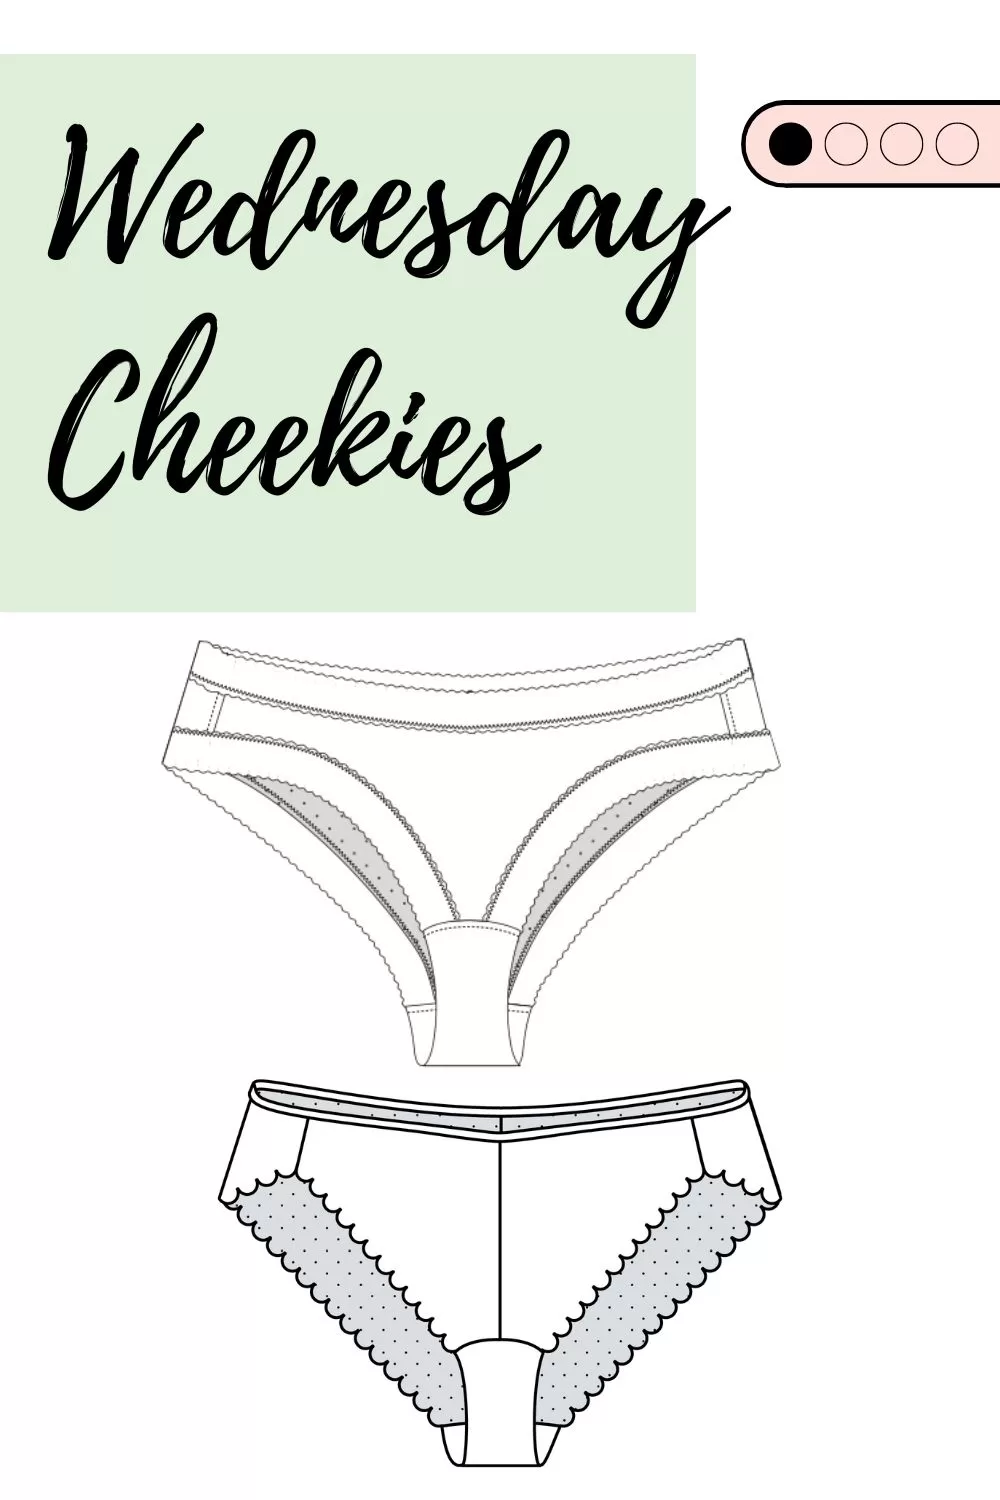
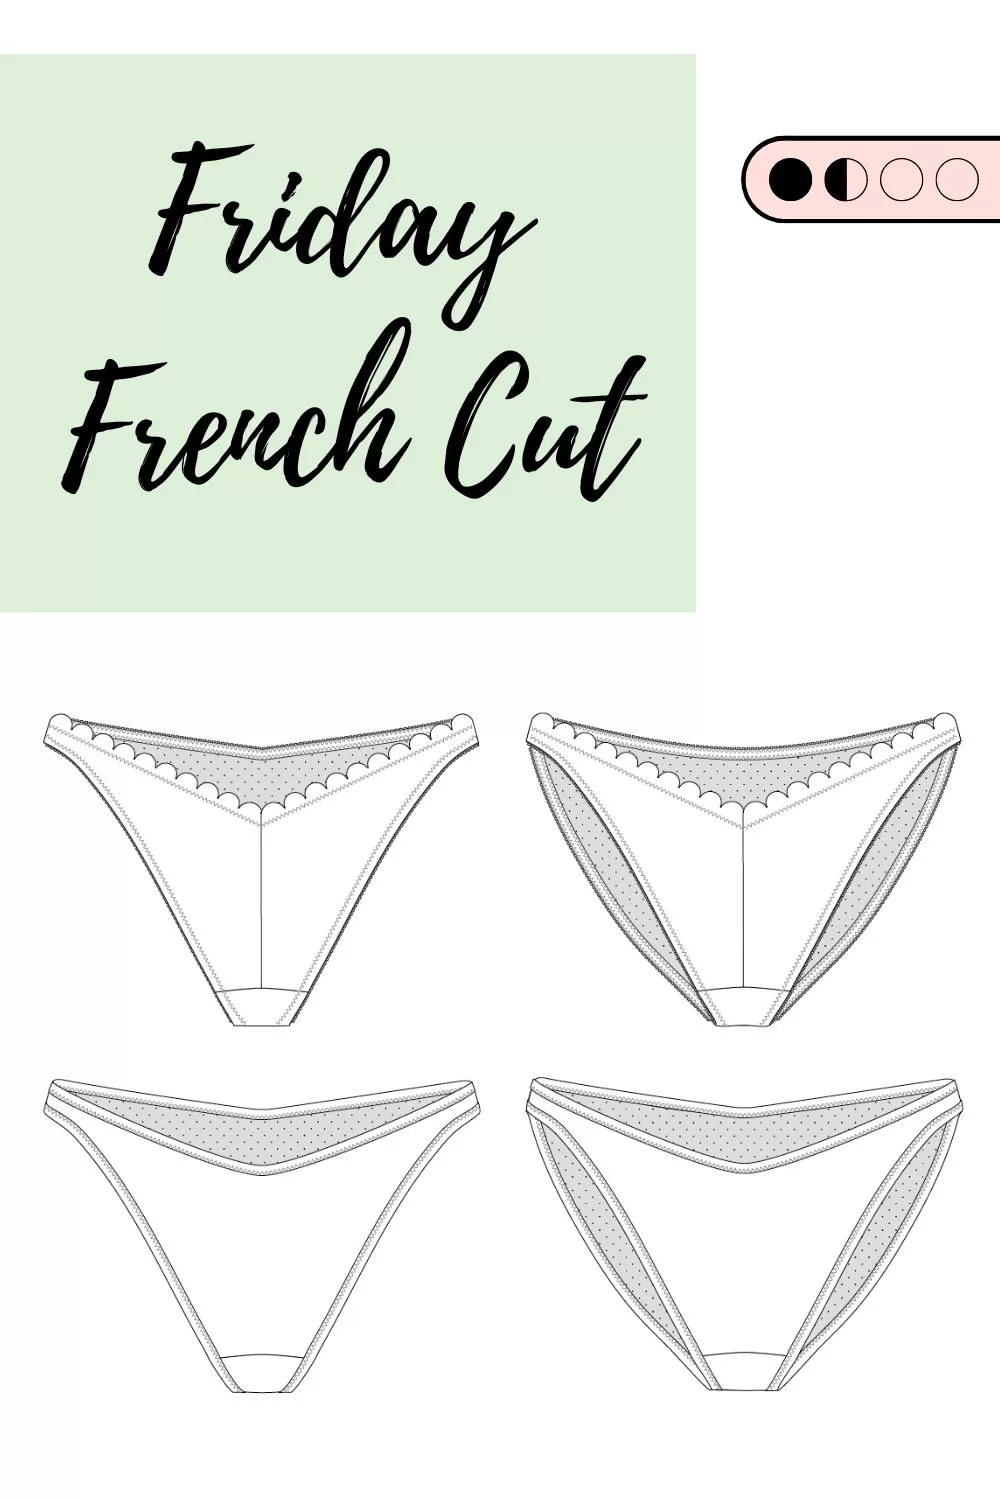
This guide is targeted at mostly underwired bras, but you can still use it for non-underwired (just skip all the wire related questions!) and it’s also more useful for bras that have seams (rather than any type of moulded cup) because that’s what most people are sewing.
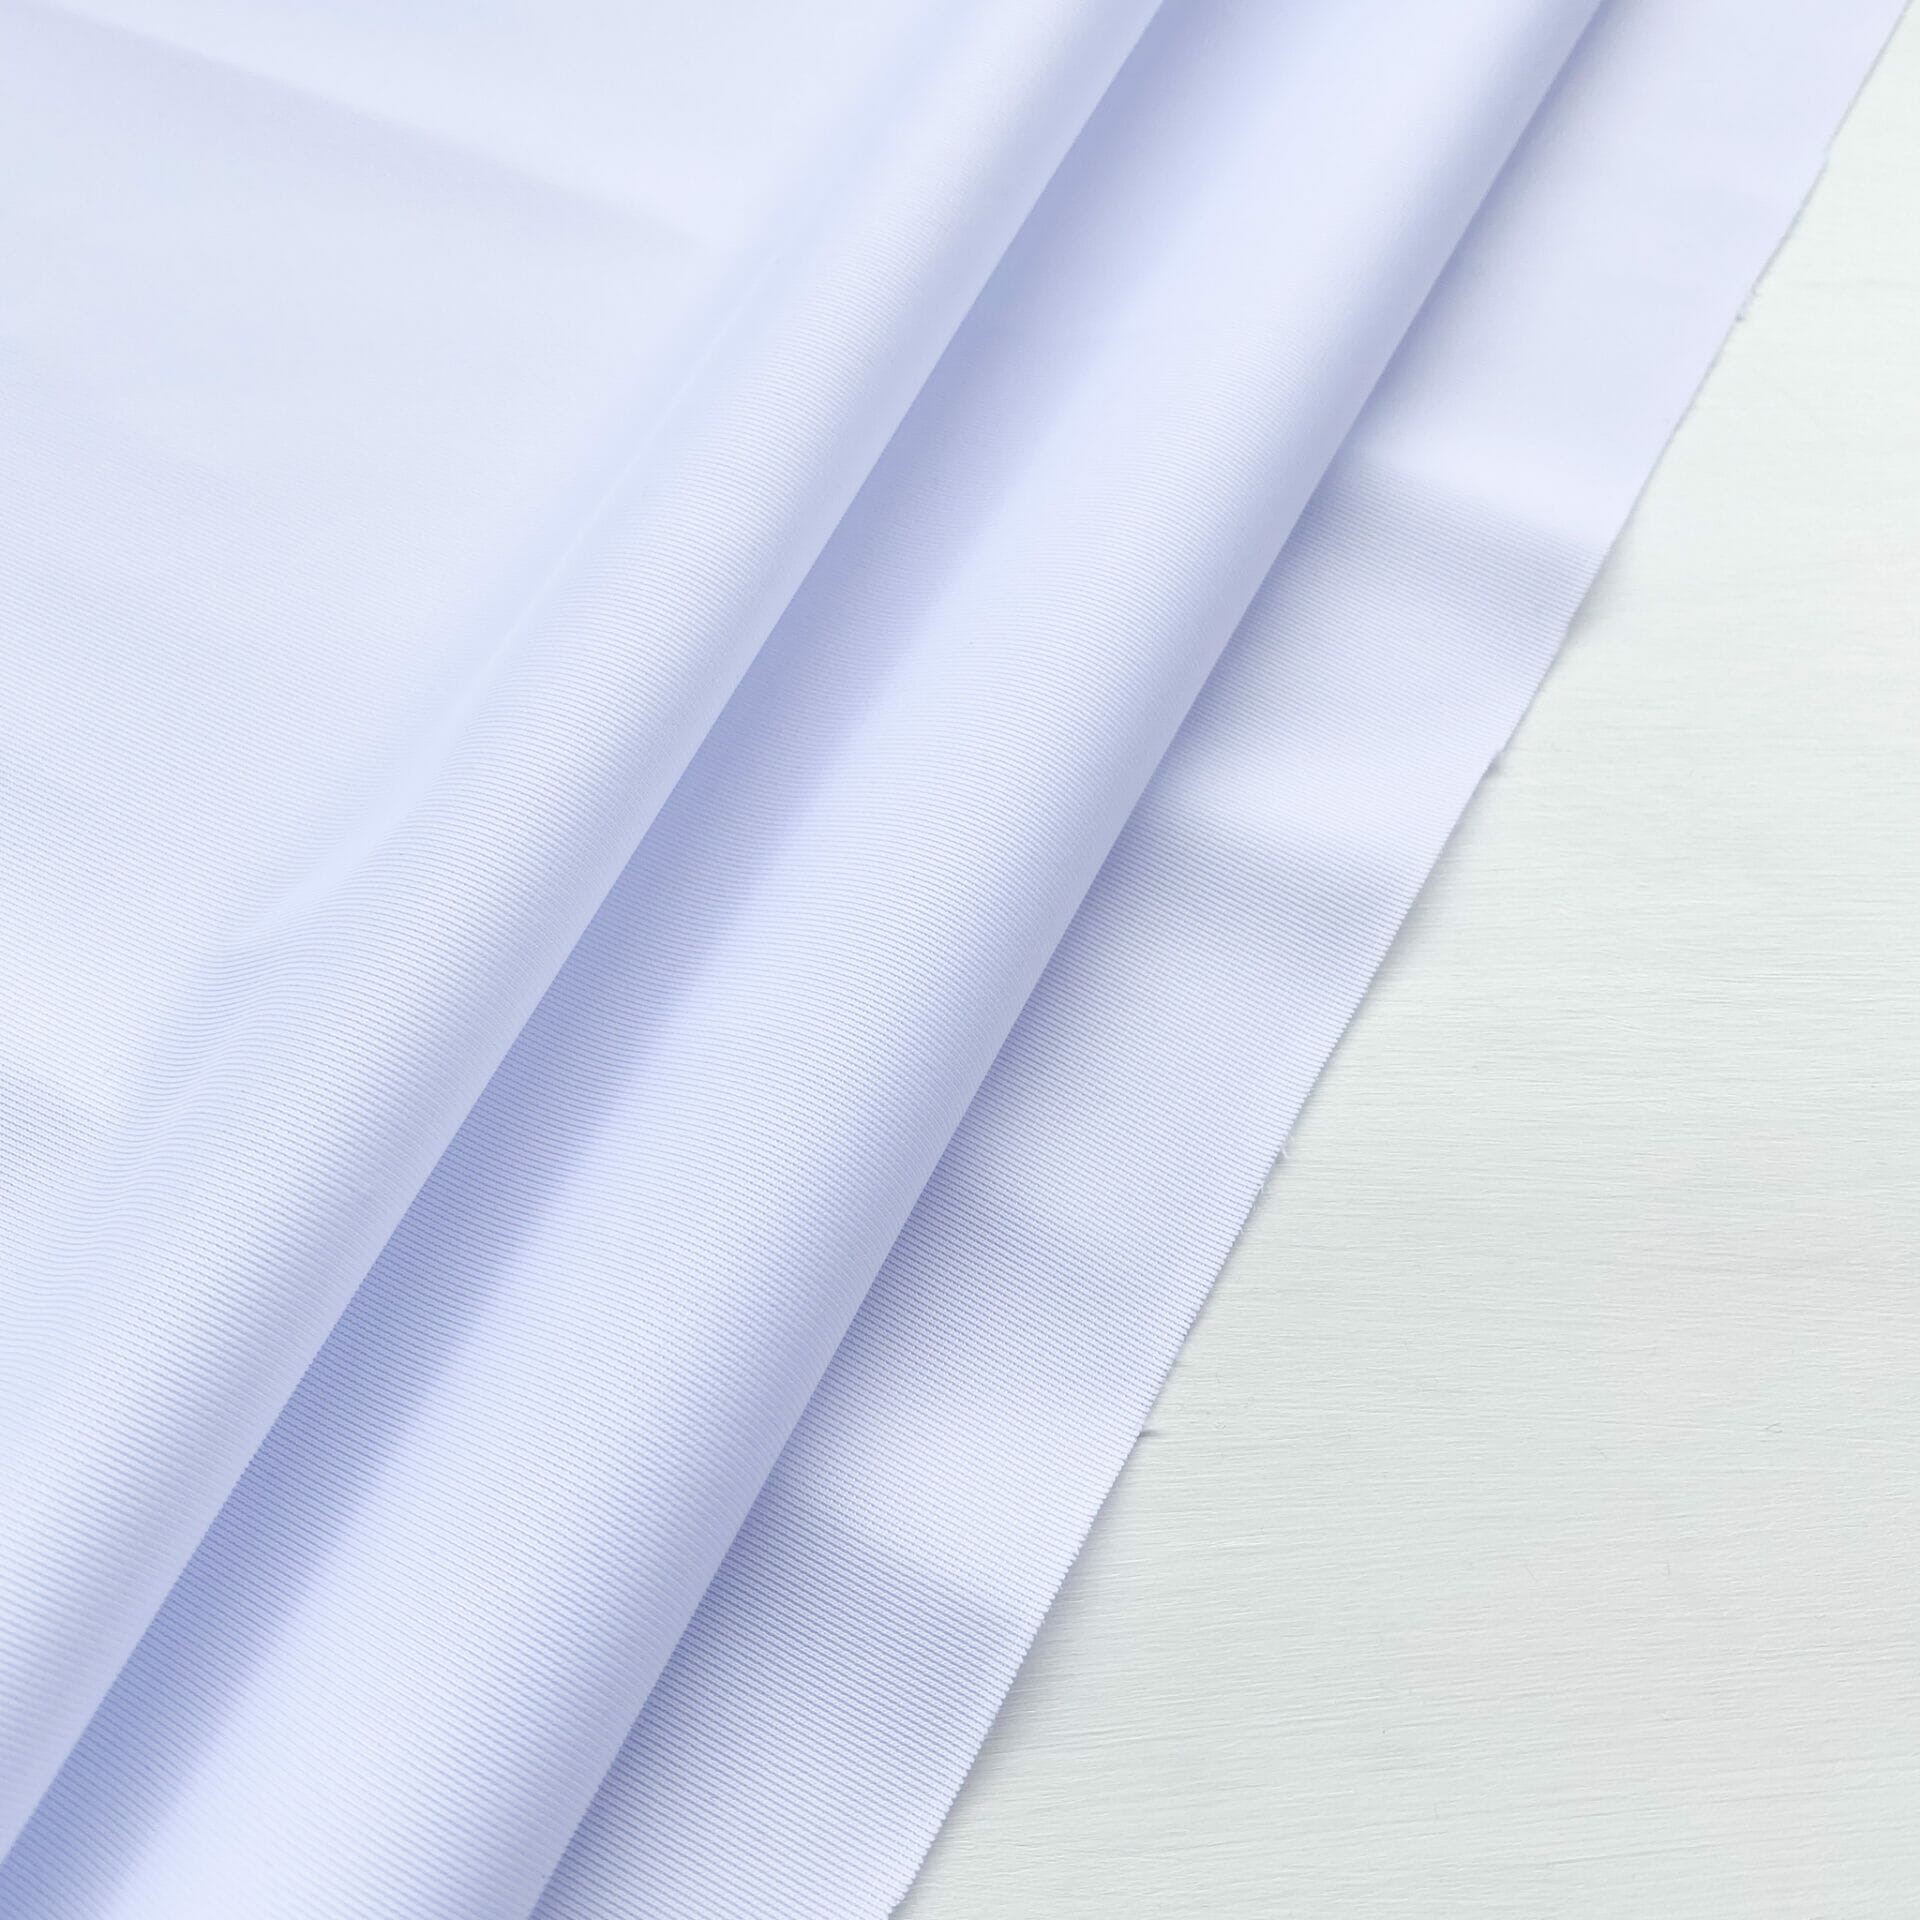
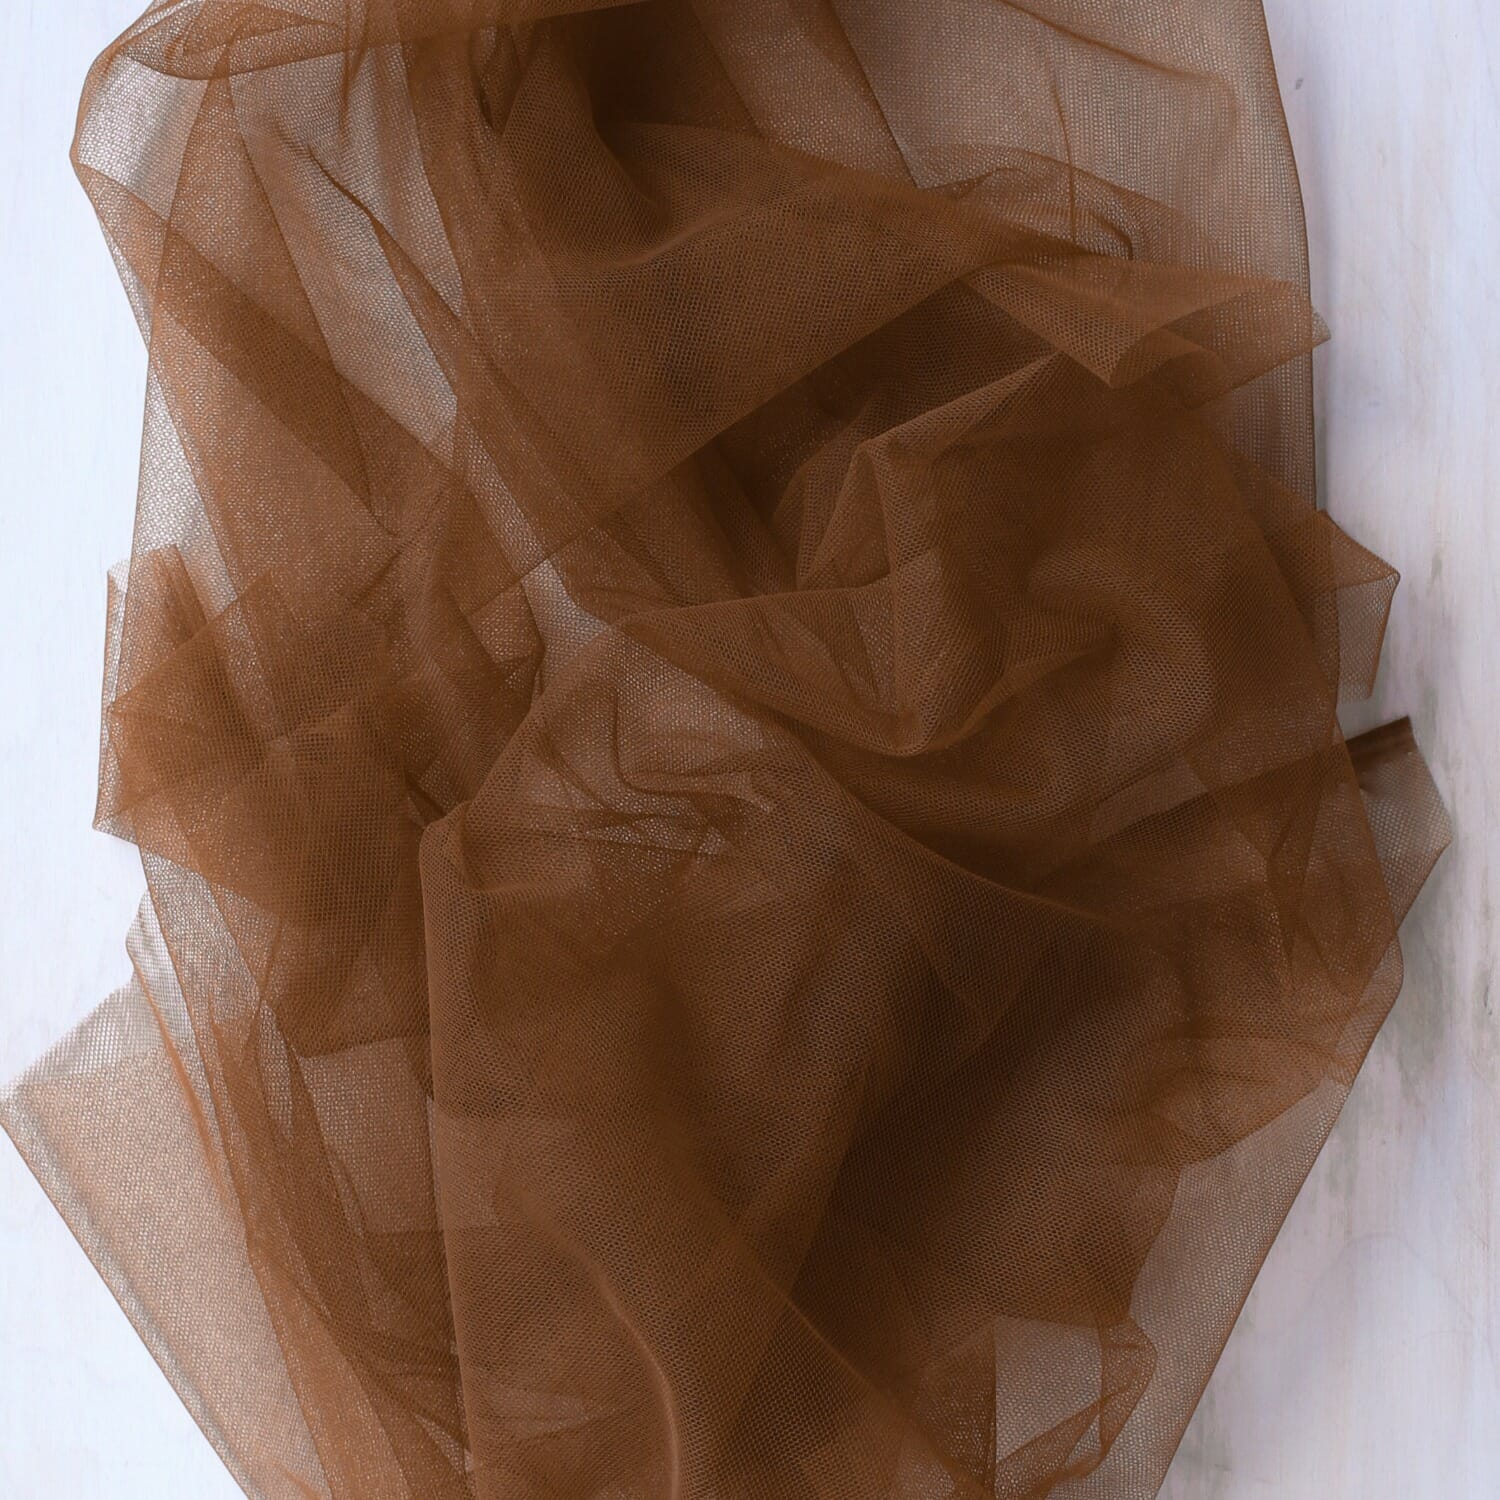
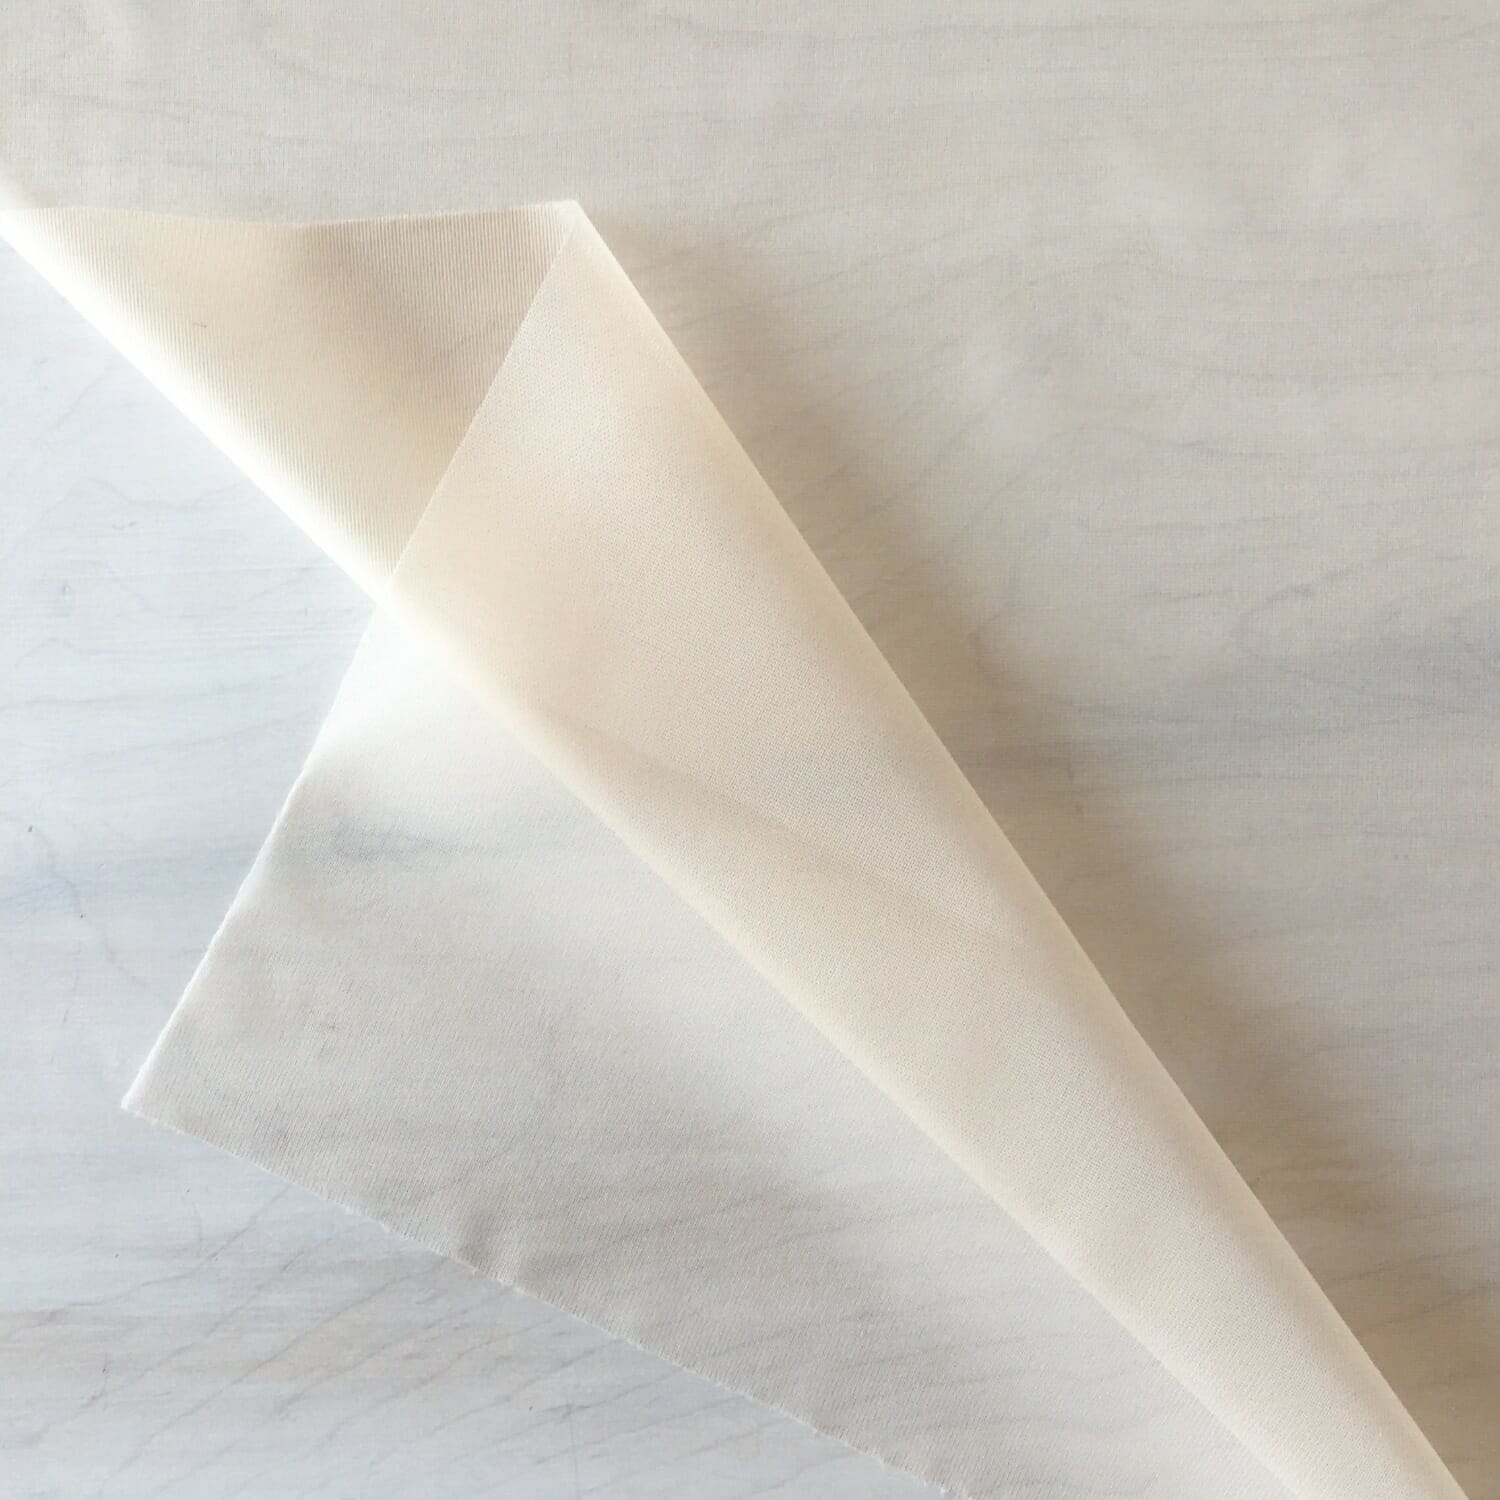
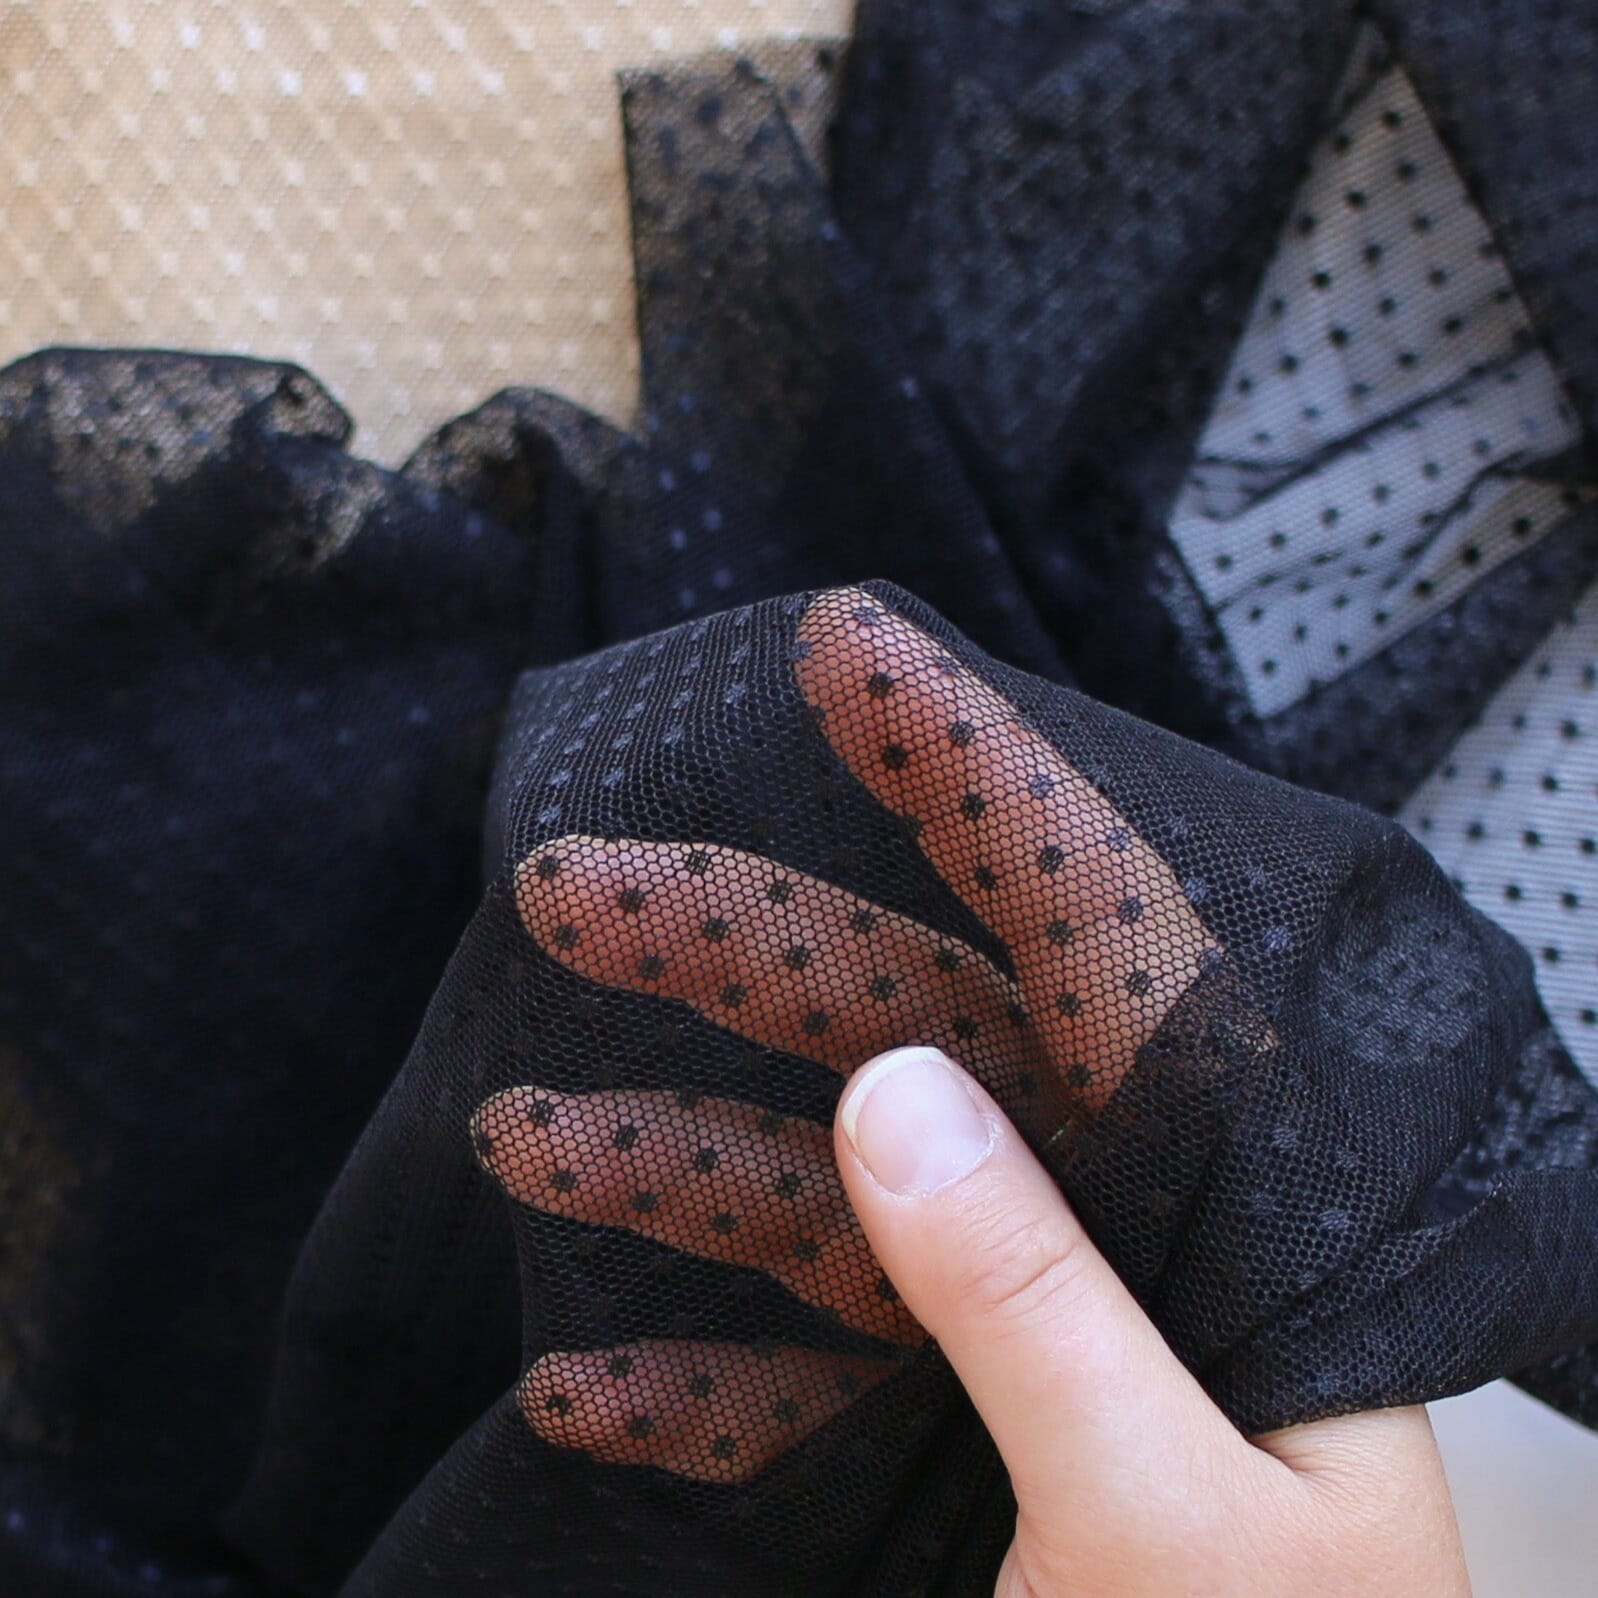
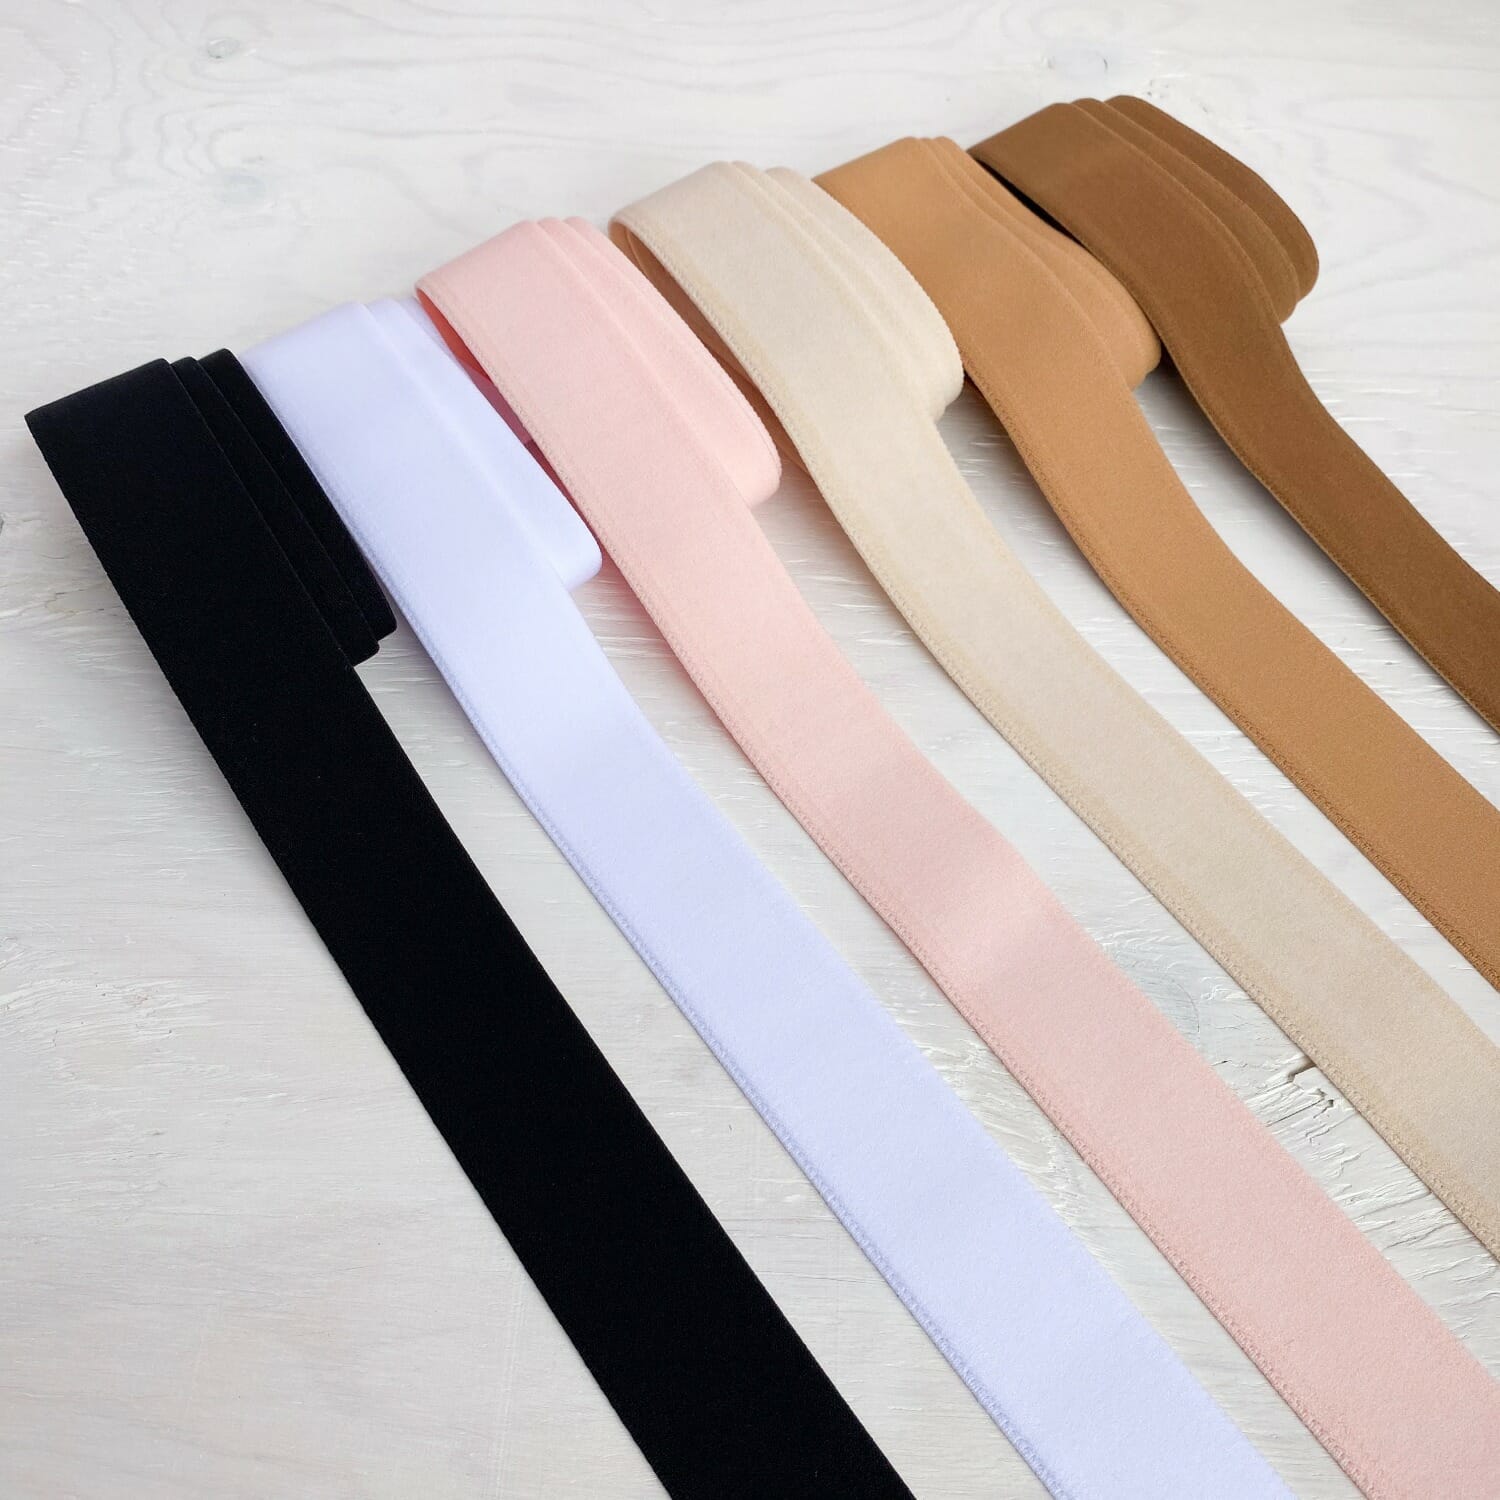
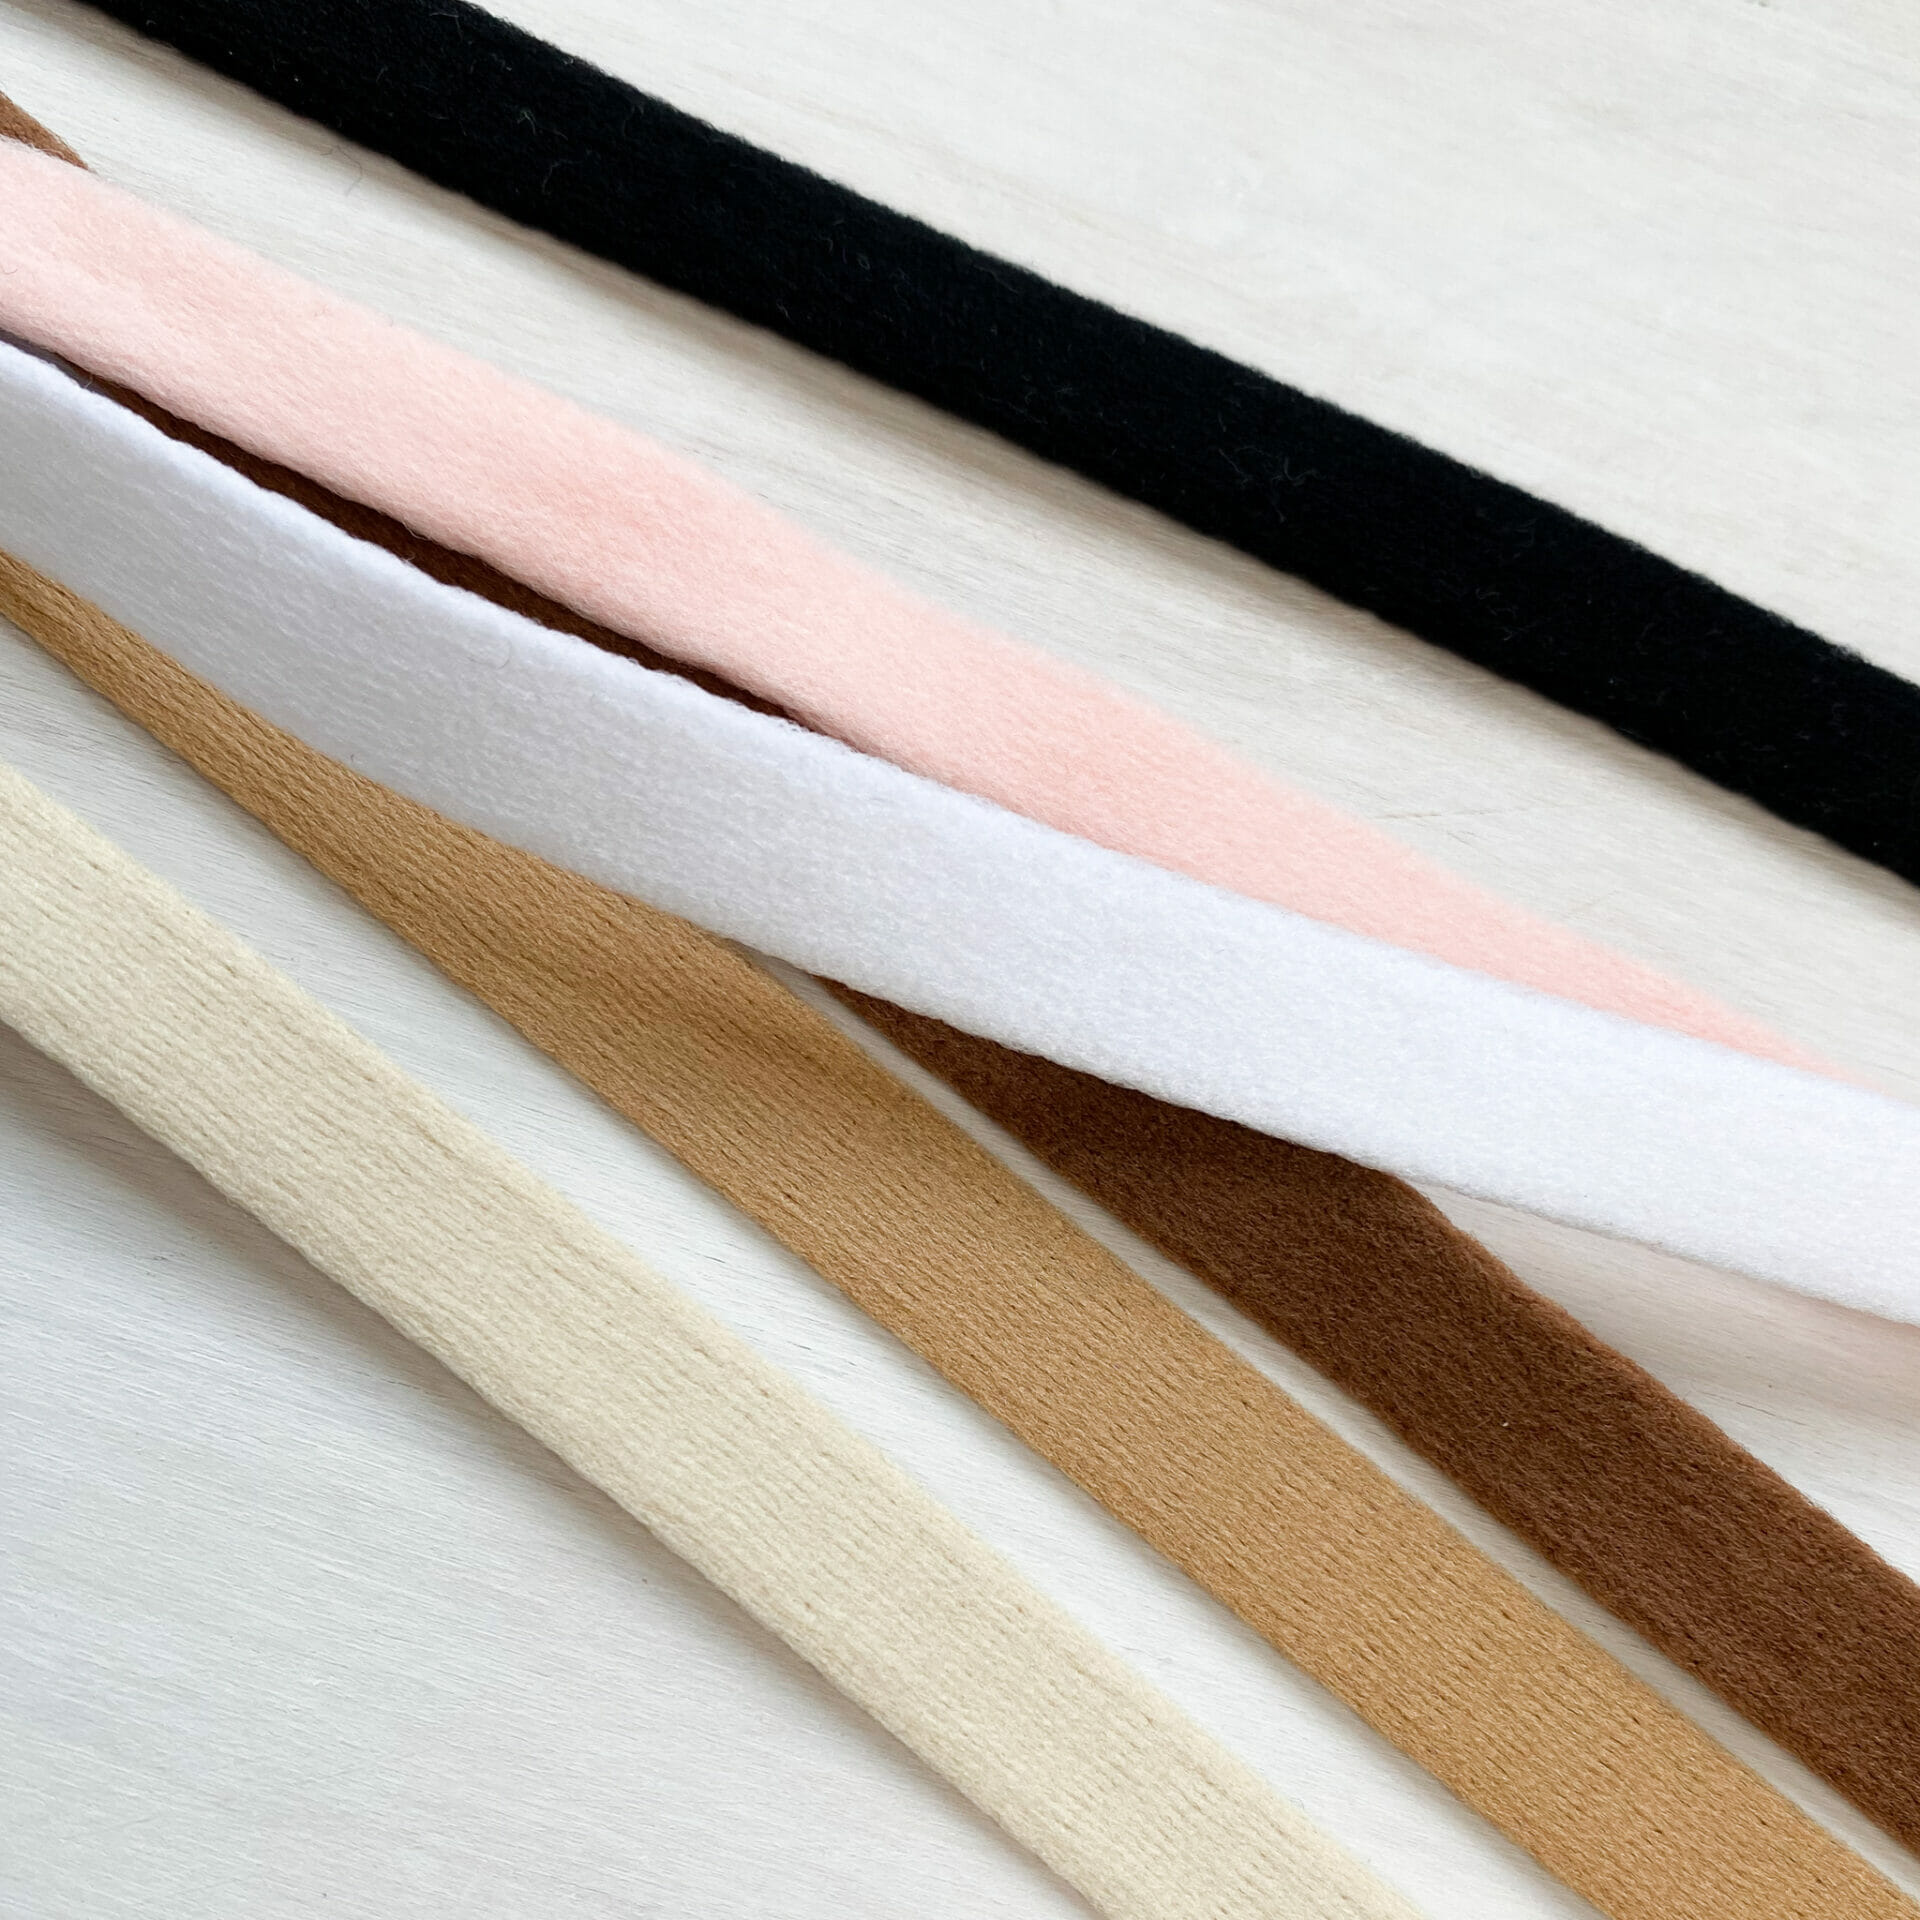
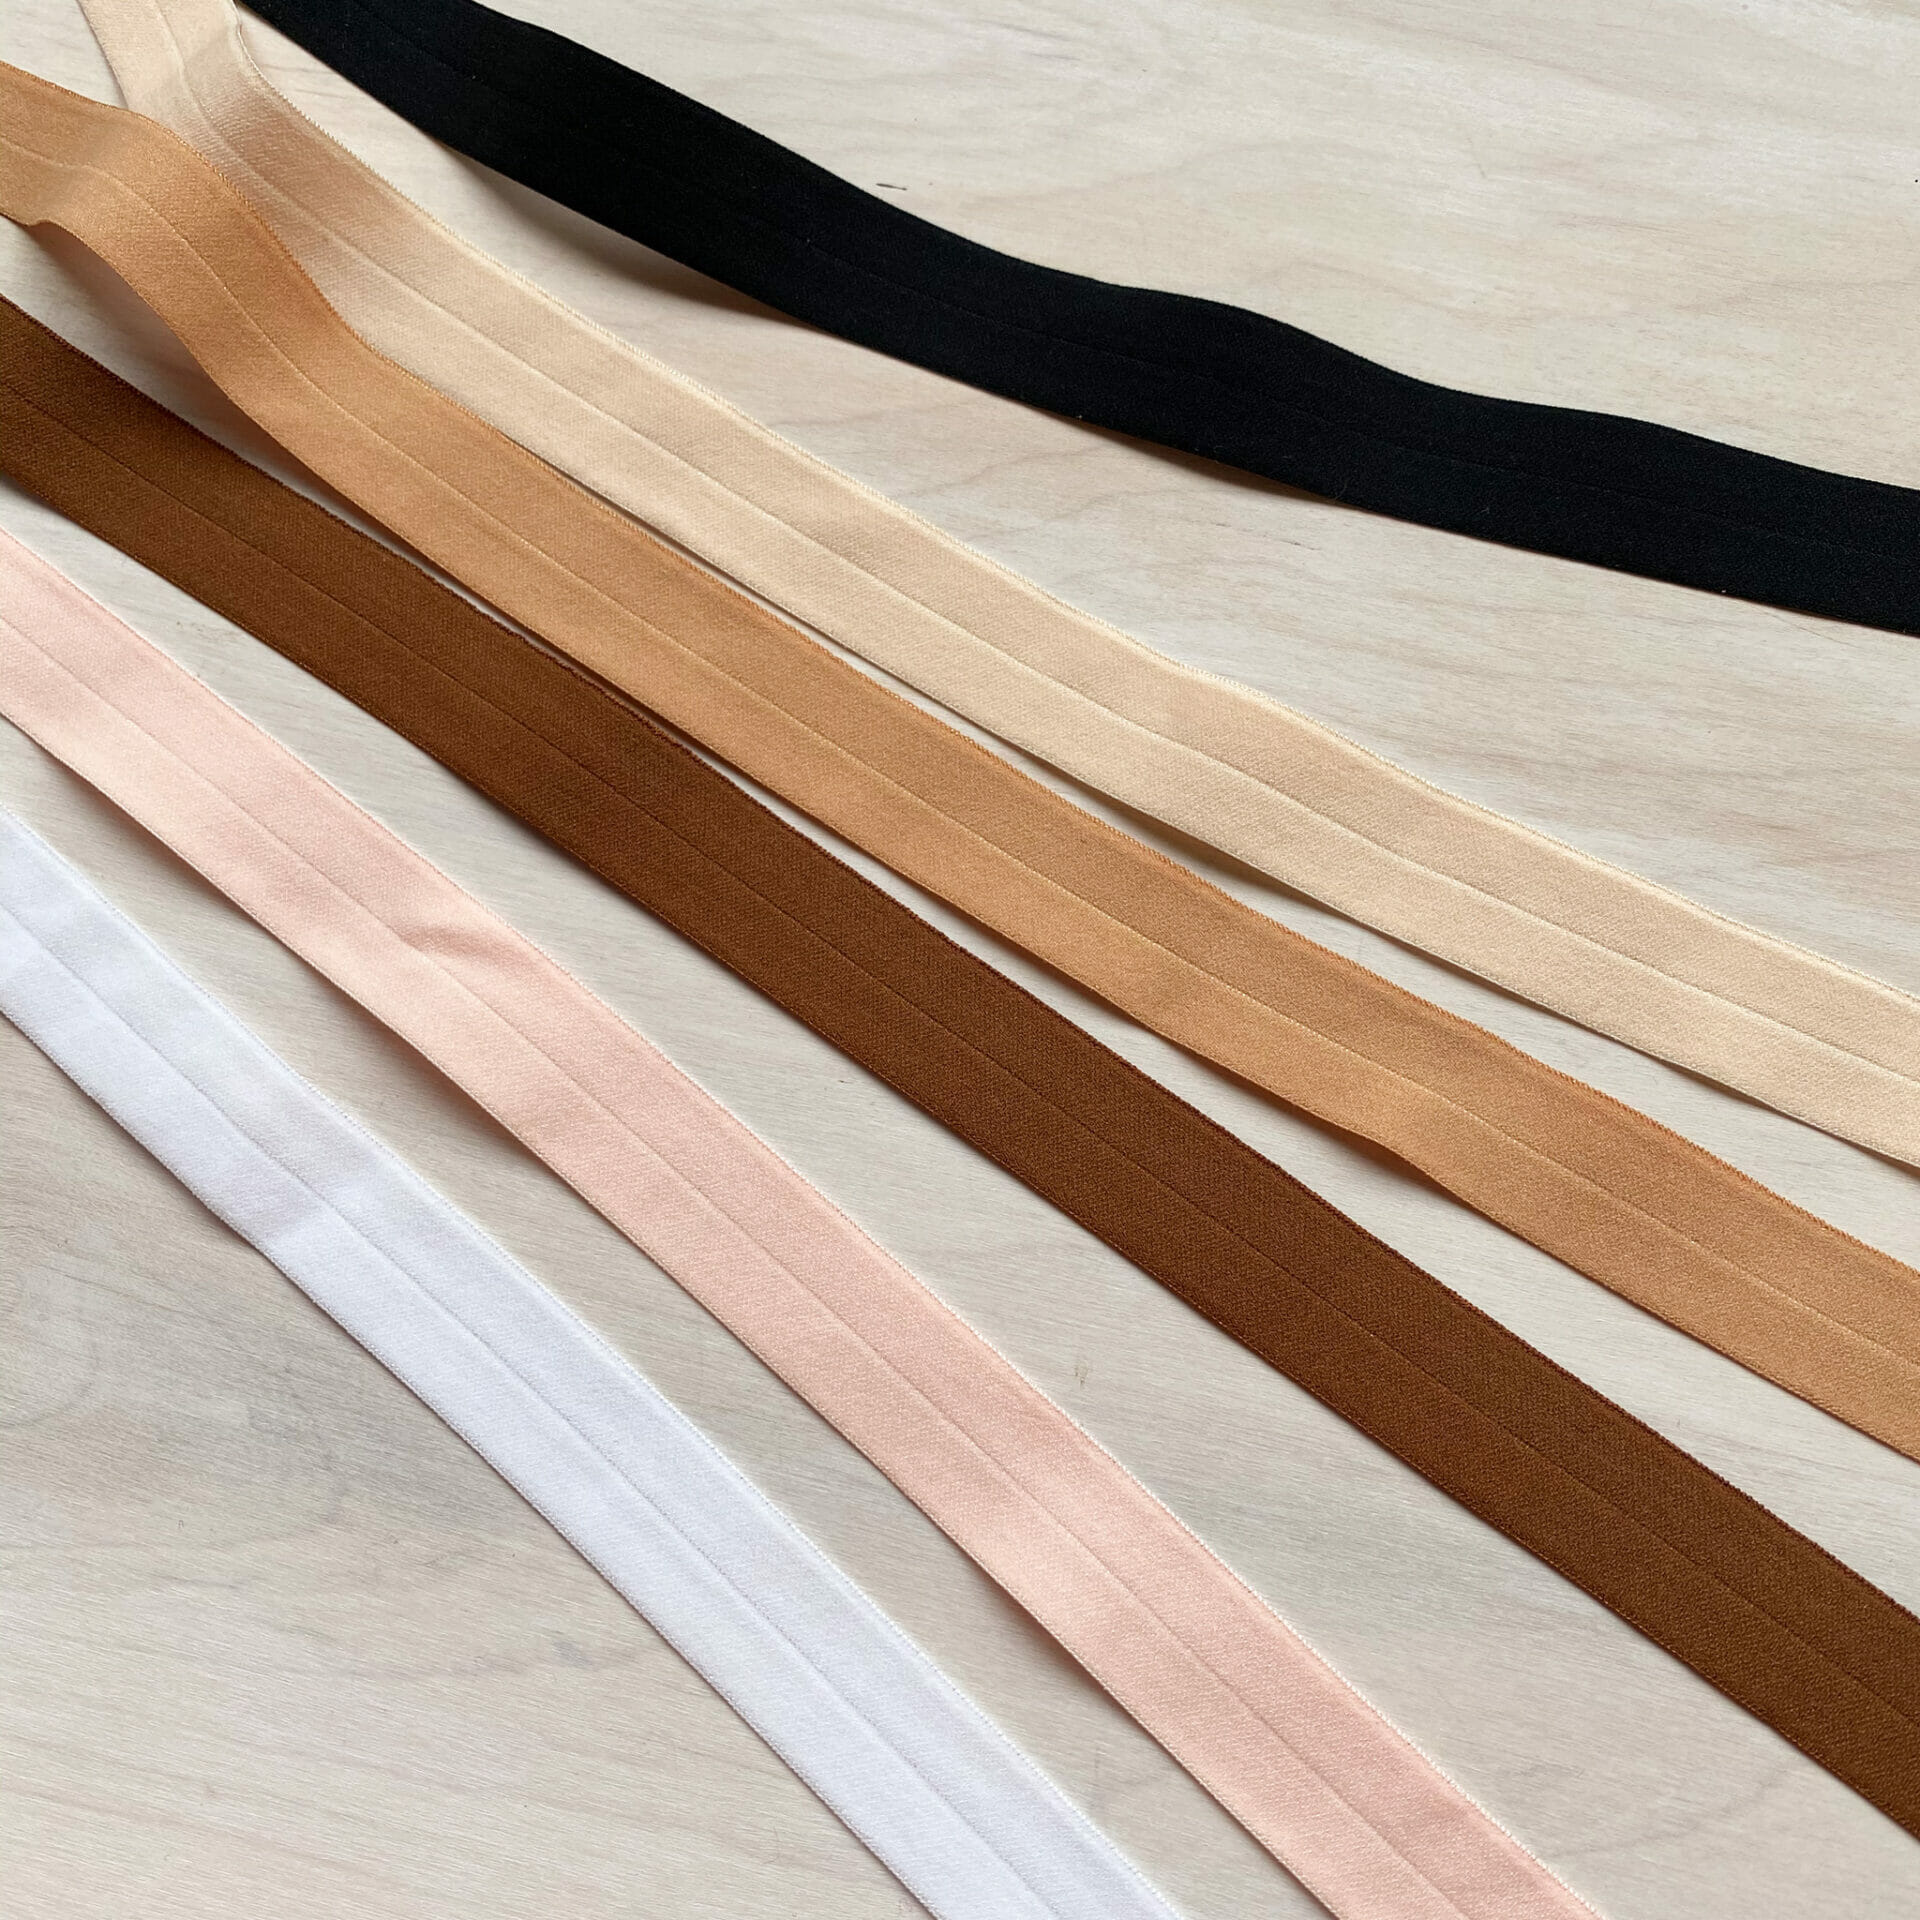
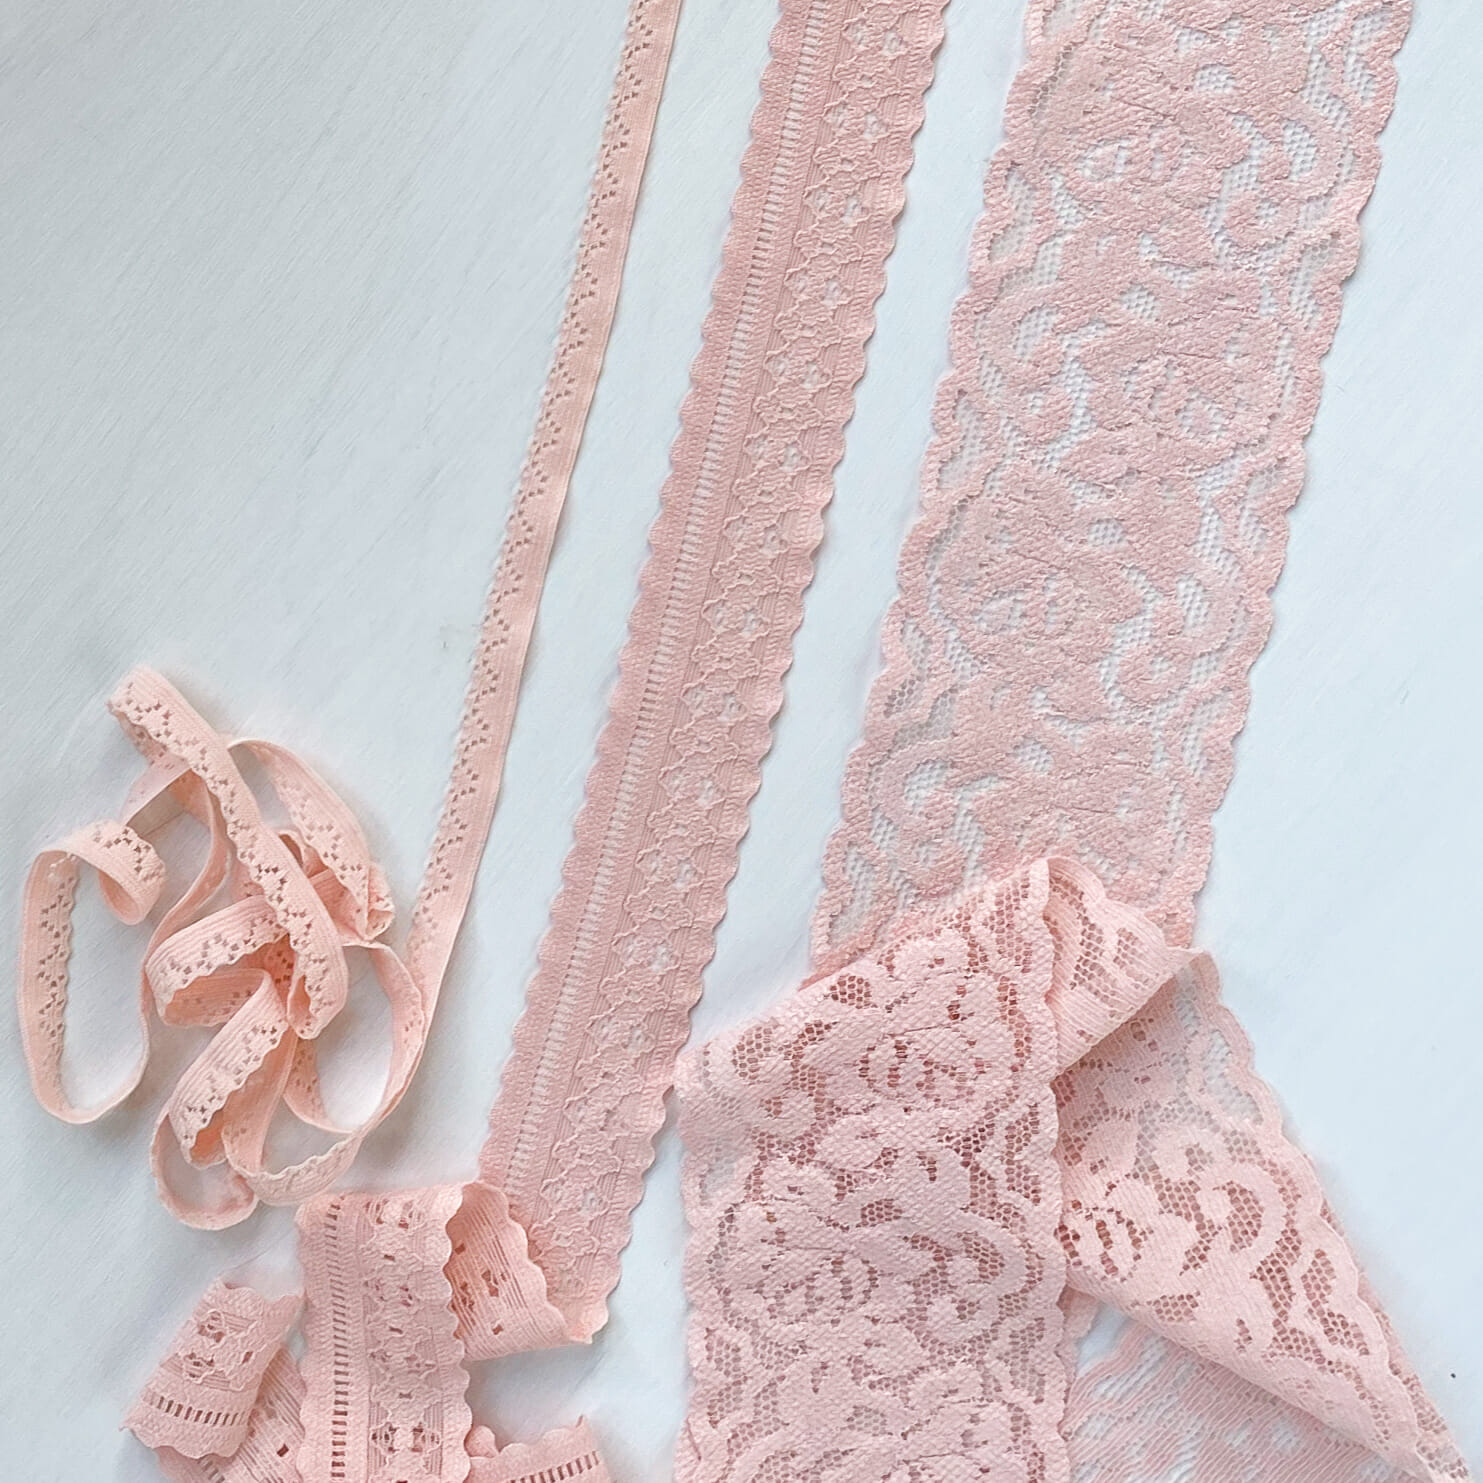
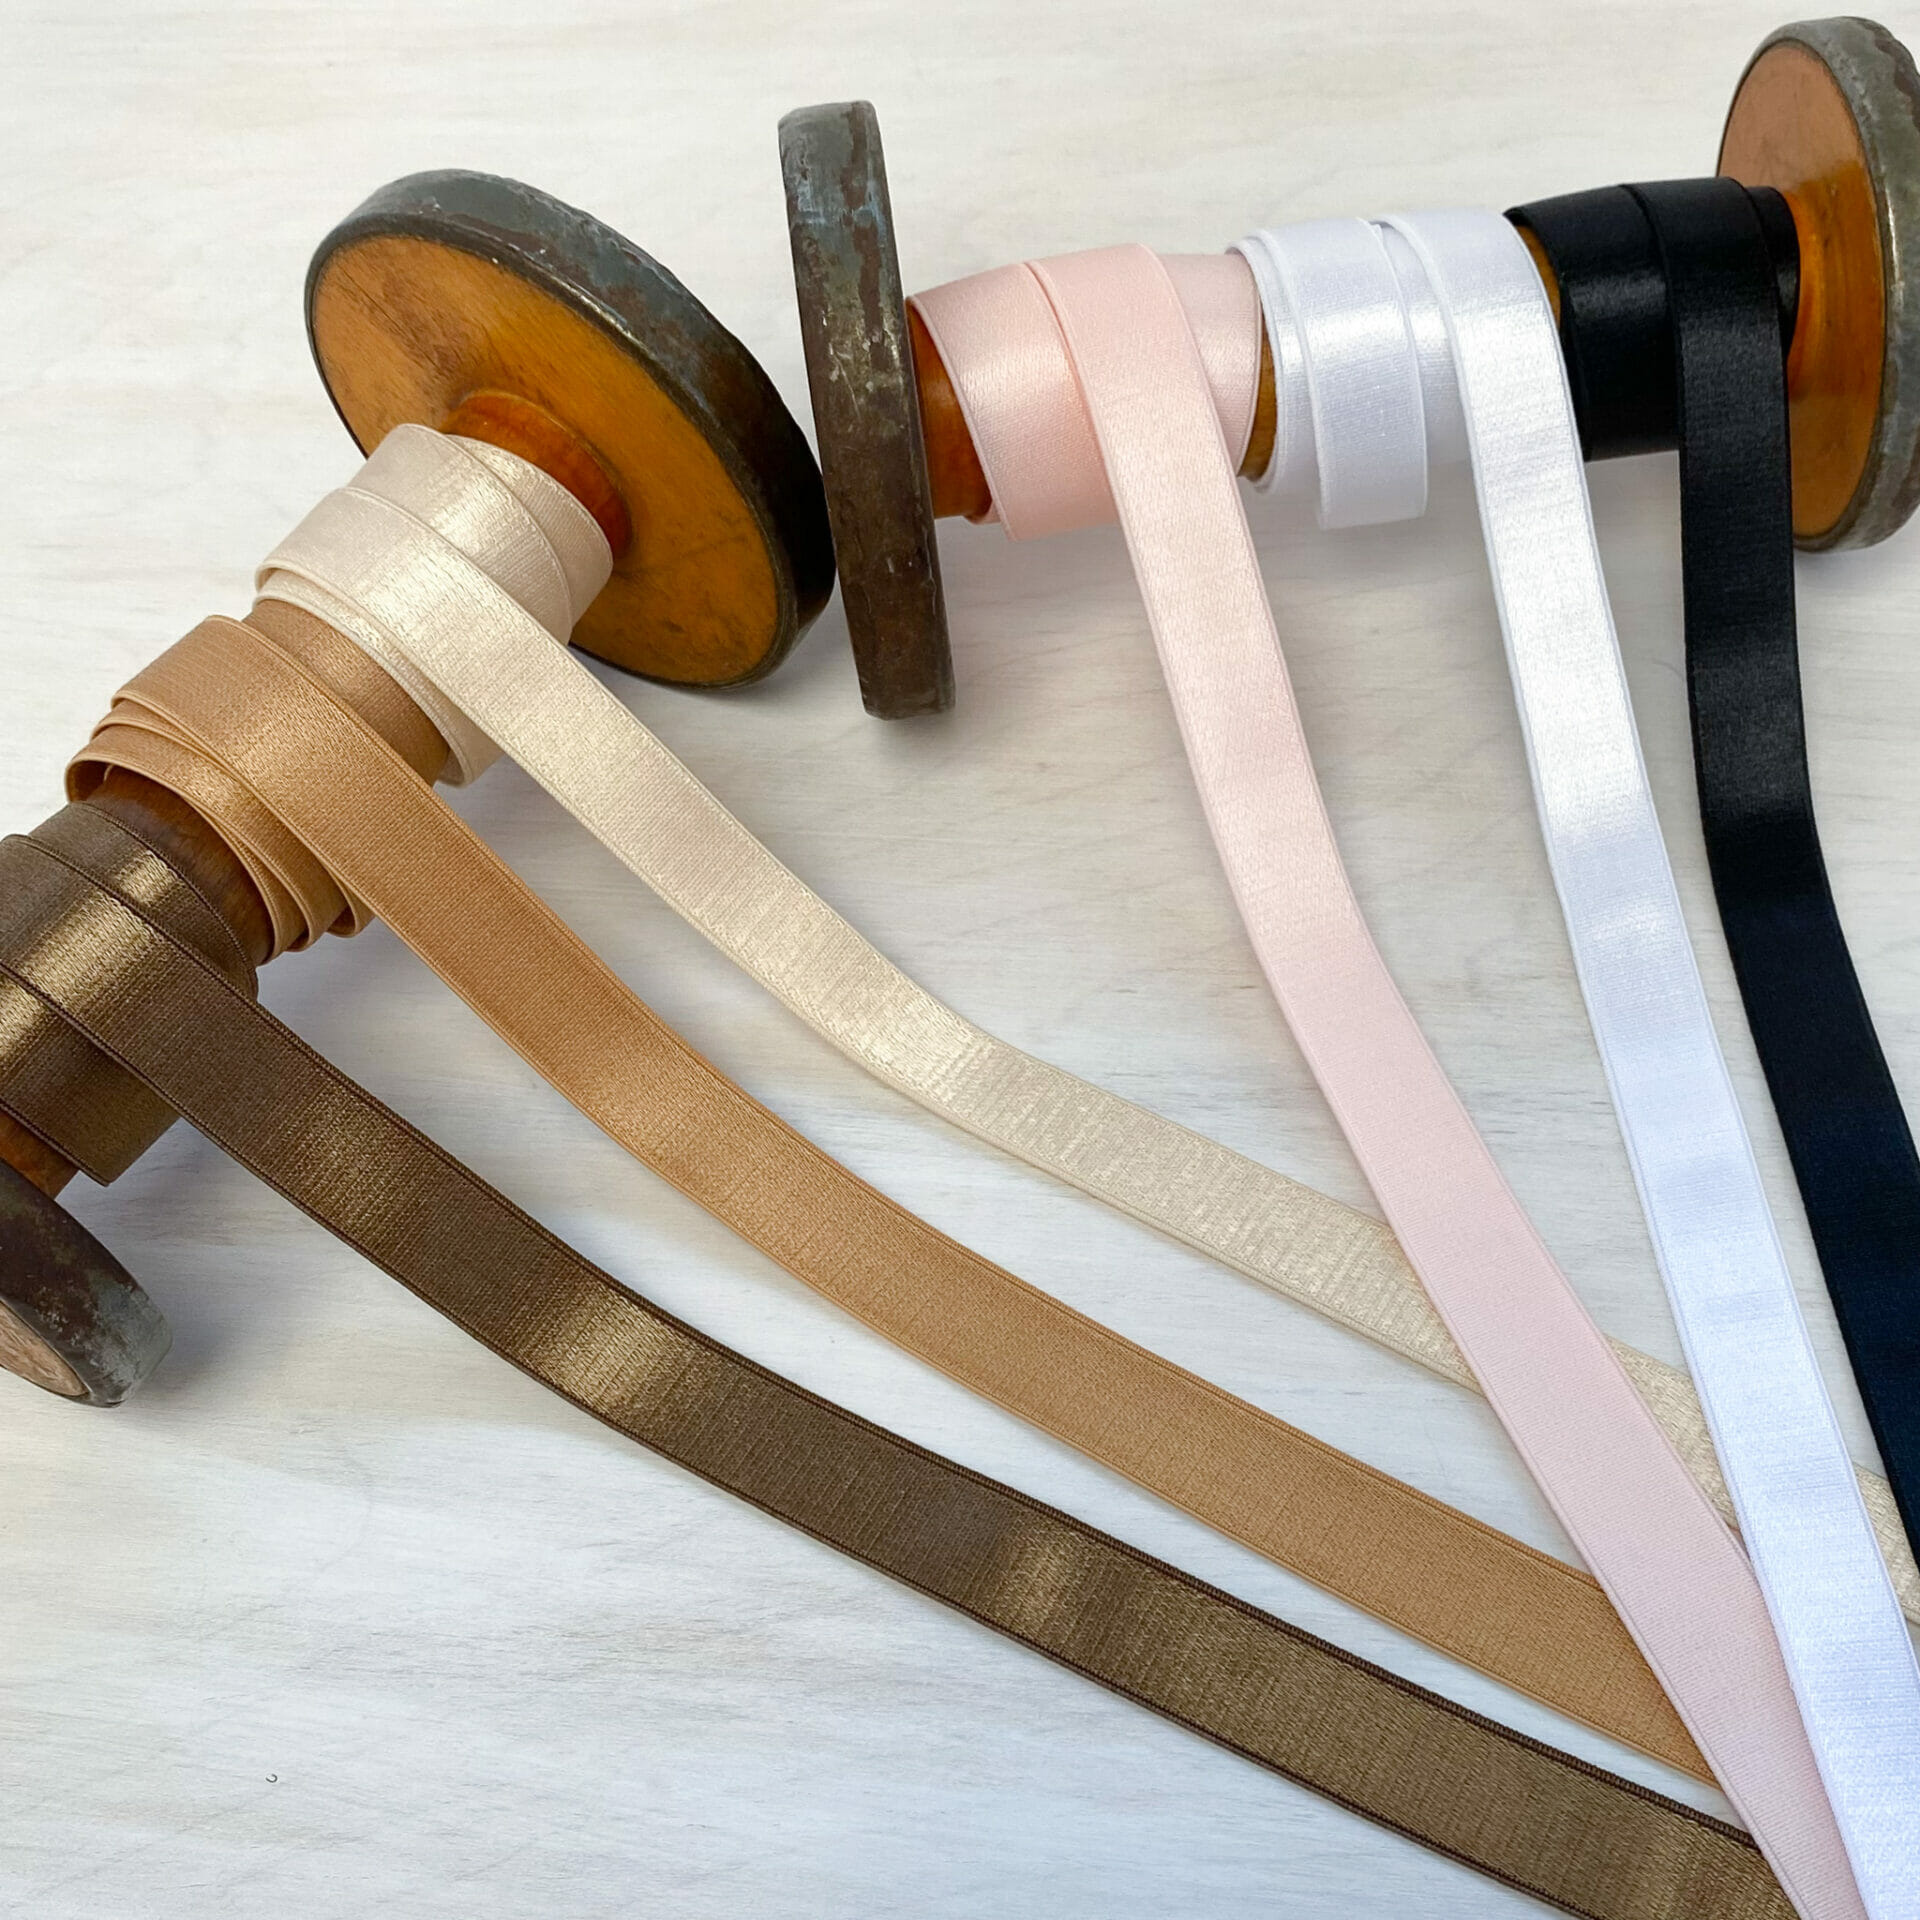
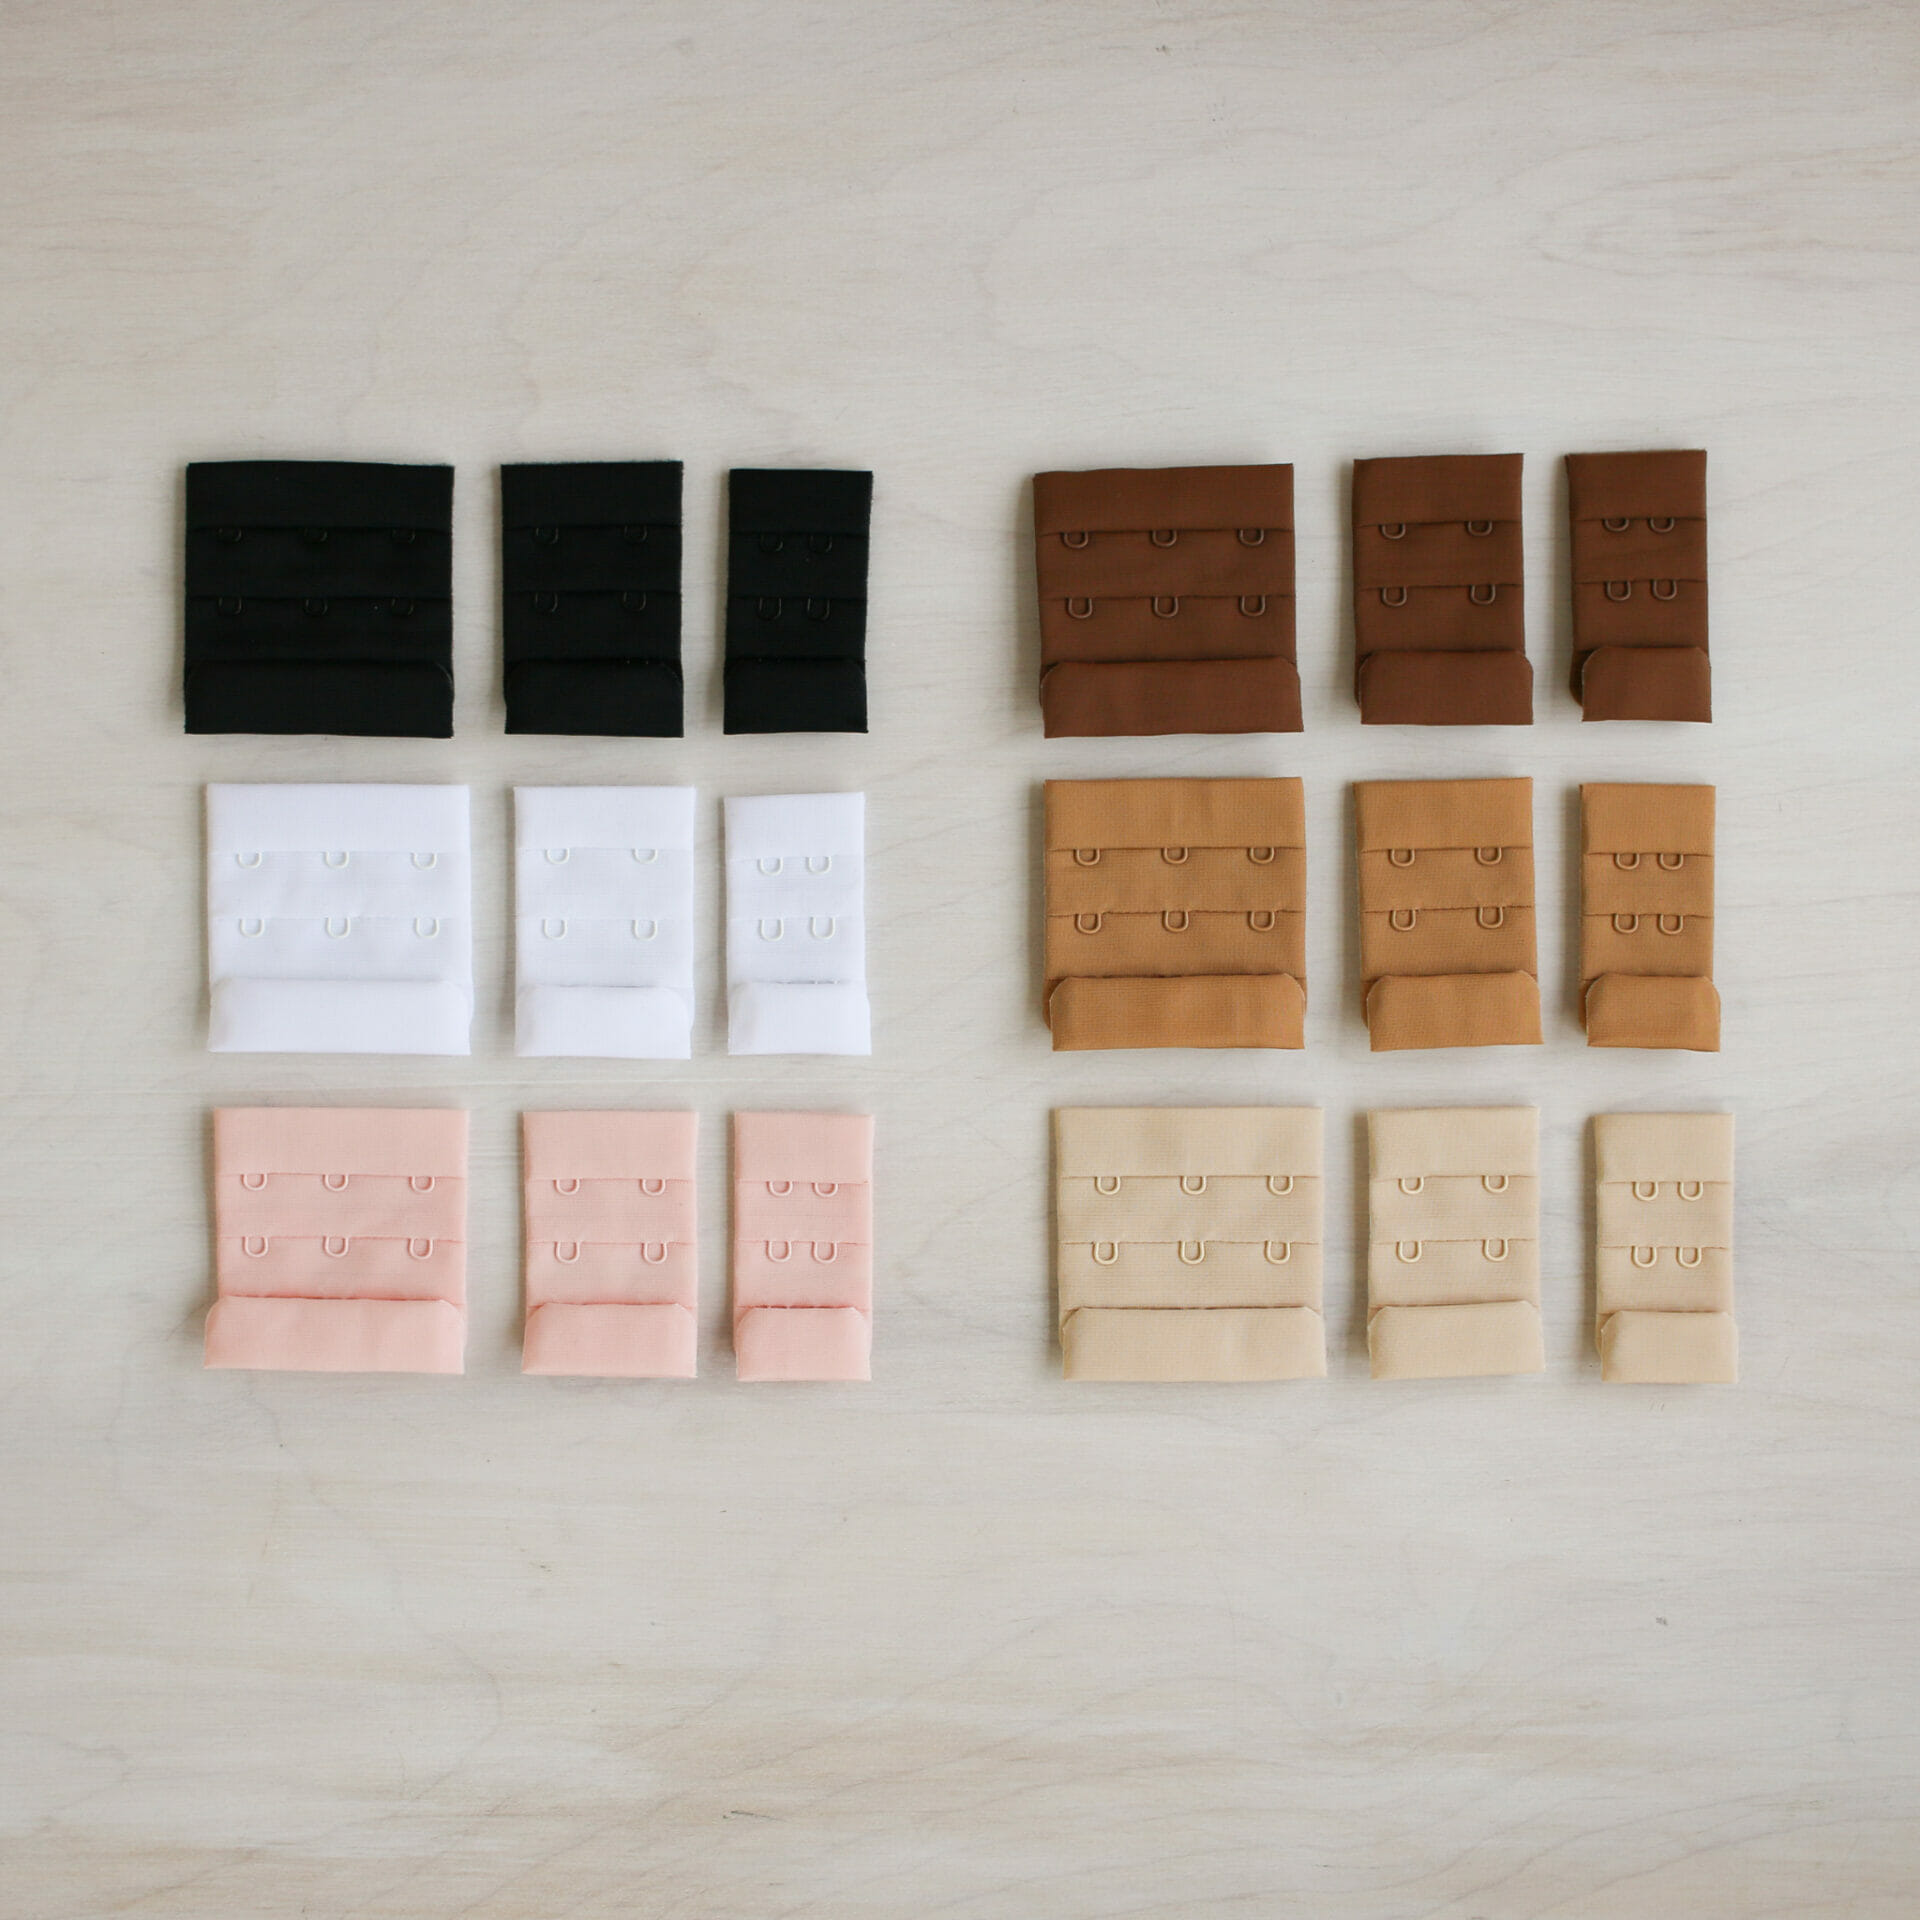
It goes over underwire type, construction, seaming, cup-strap-cradle & band details, fabric and elastic choices, and as always there’s a spot for you to put in additional comments!
This, of course, doesn’t cover every single feature that every bra out there has, it’s more to get you thinking about how bras are made and what you should think about when you’re dreaming up your next creation 🙂 I think it also helps to break it all down and make it seem a little less intimidating!
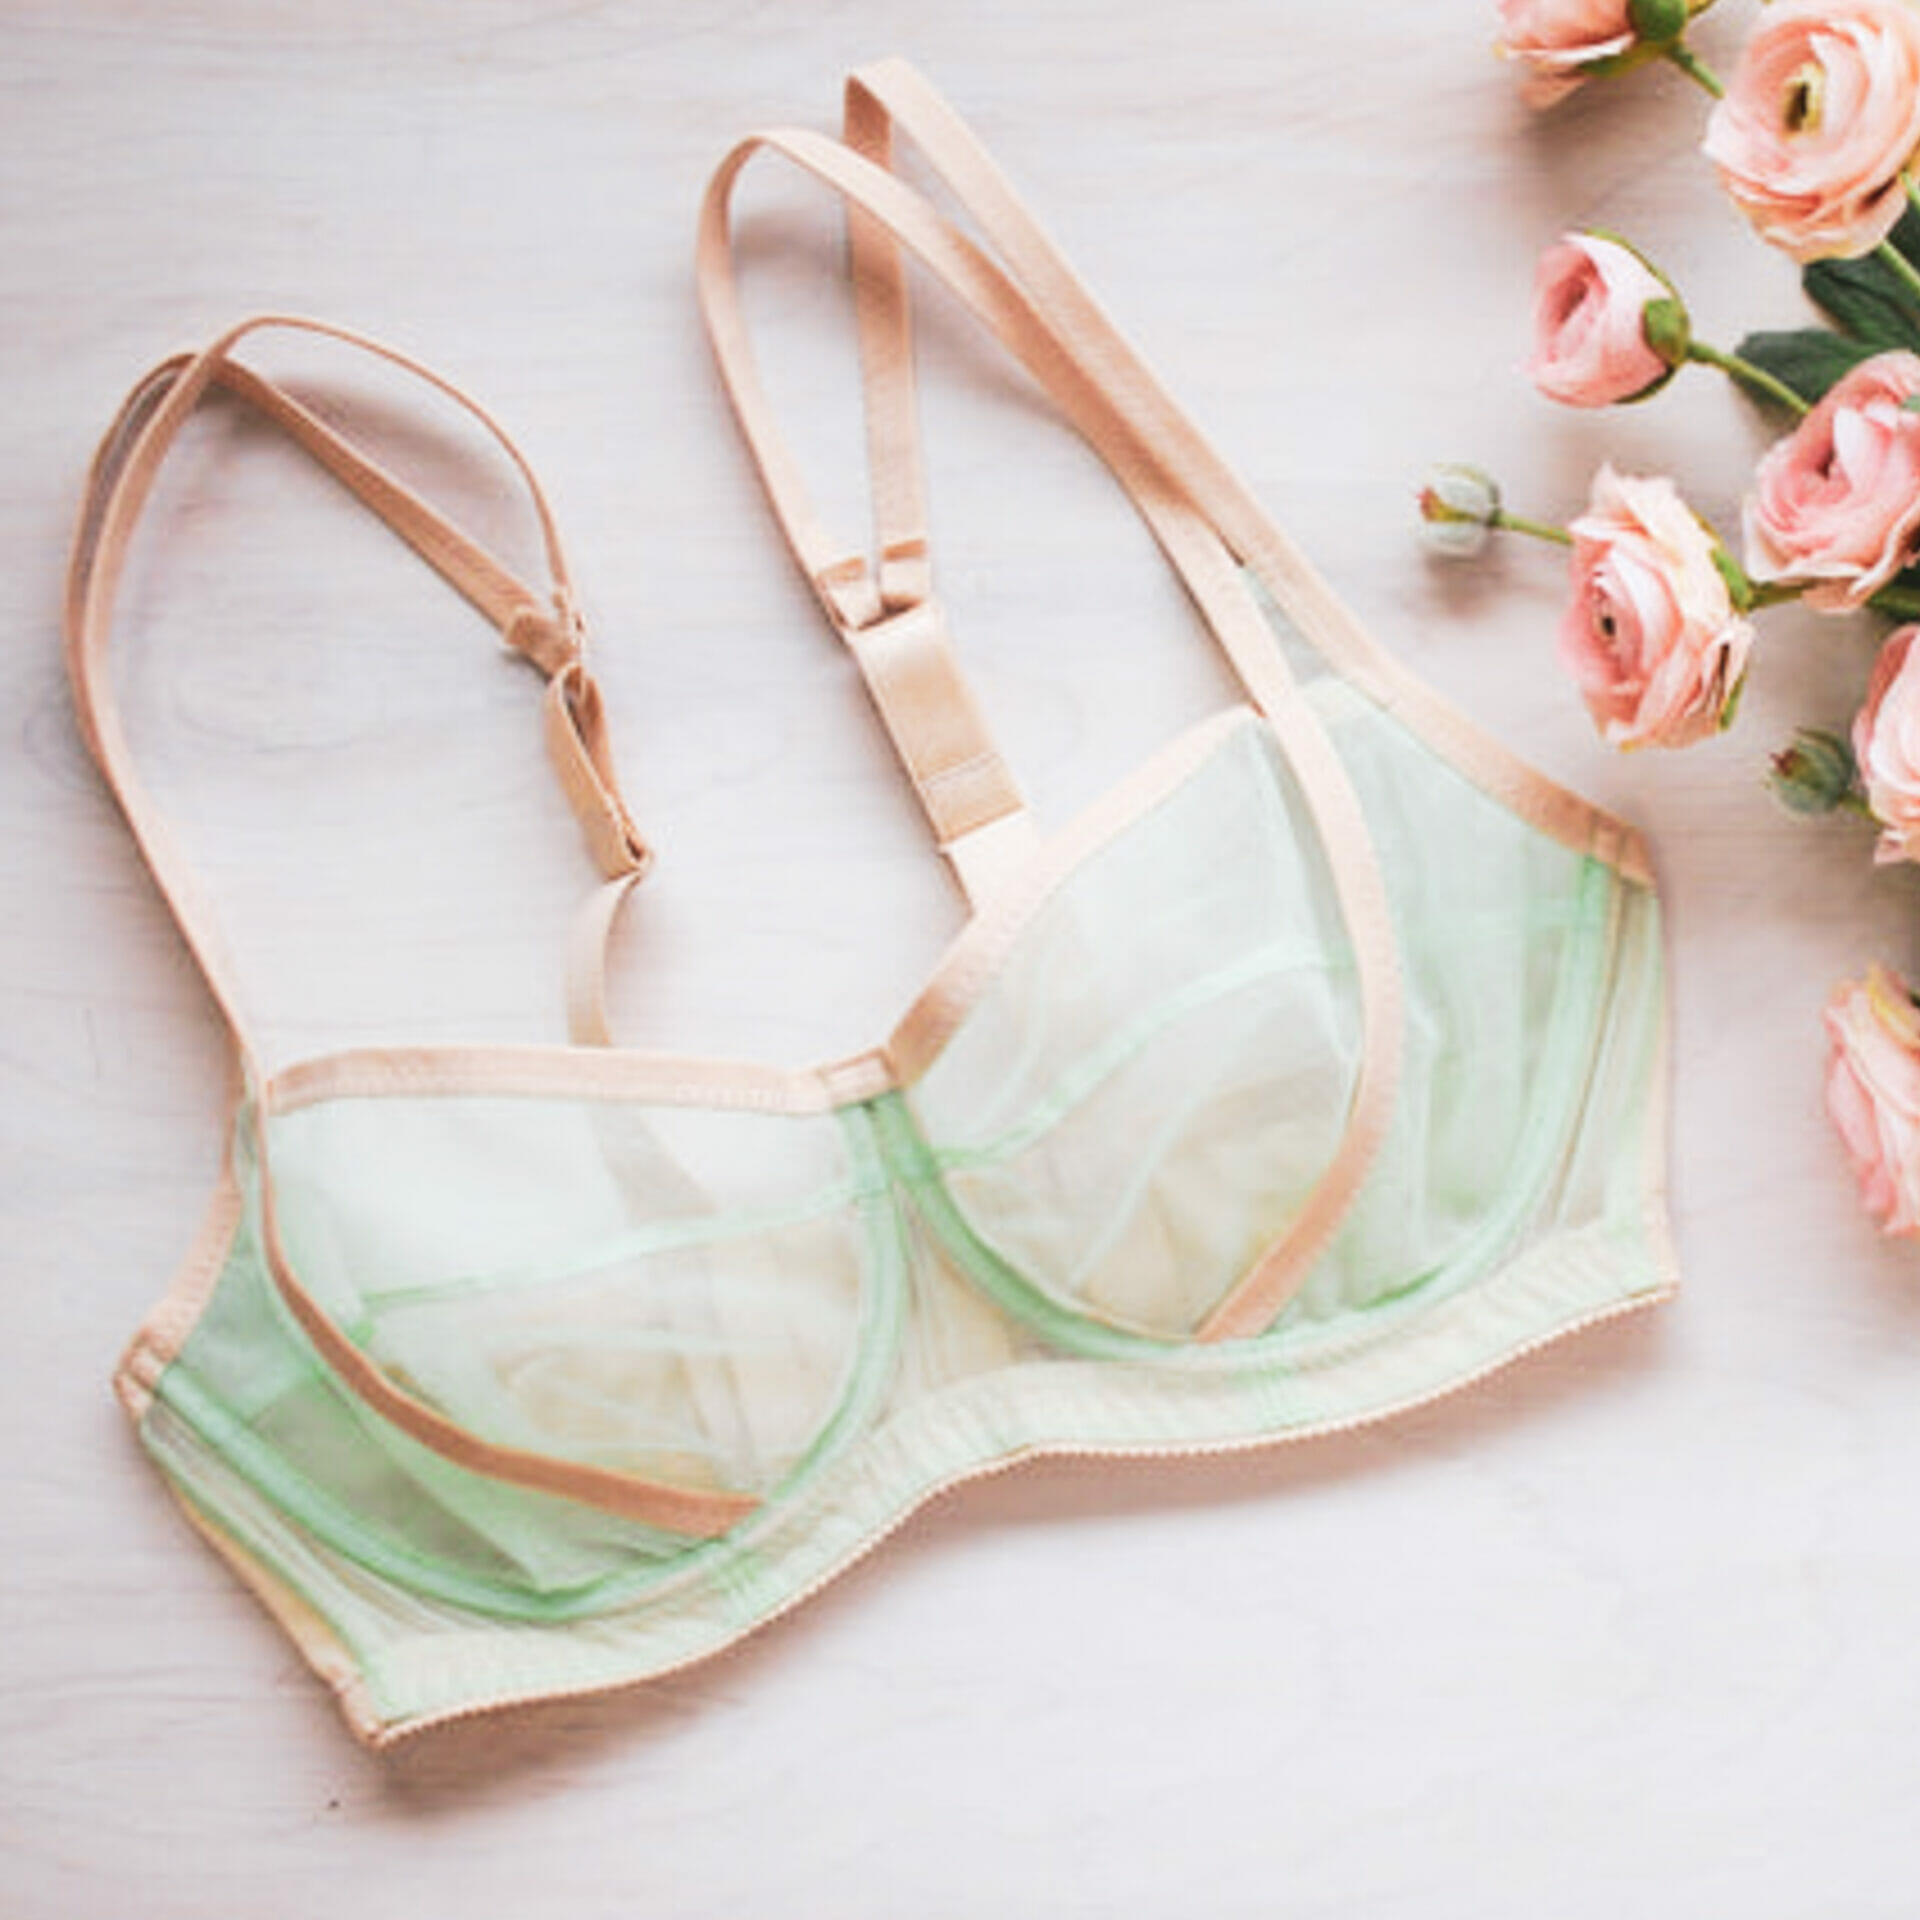
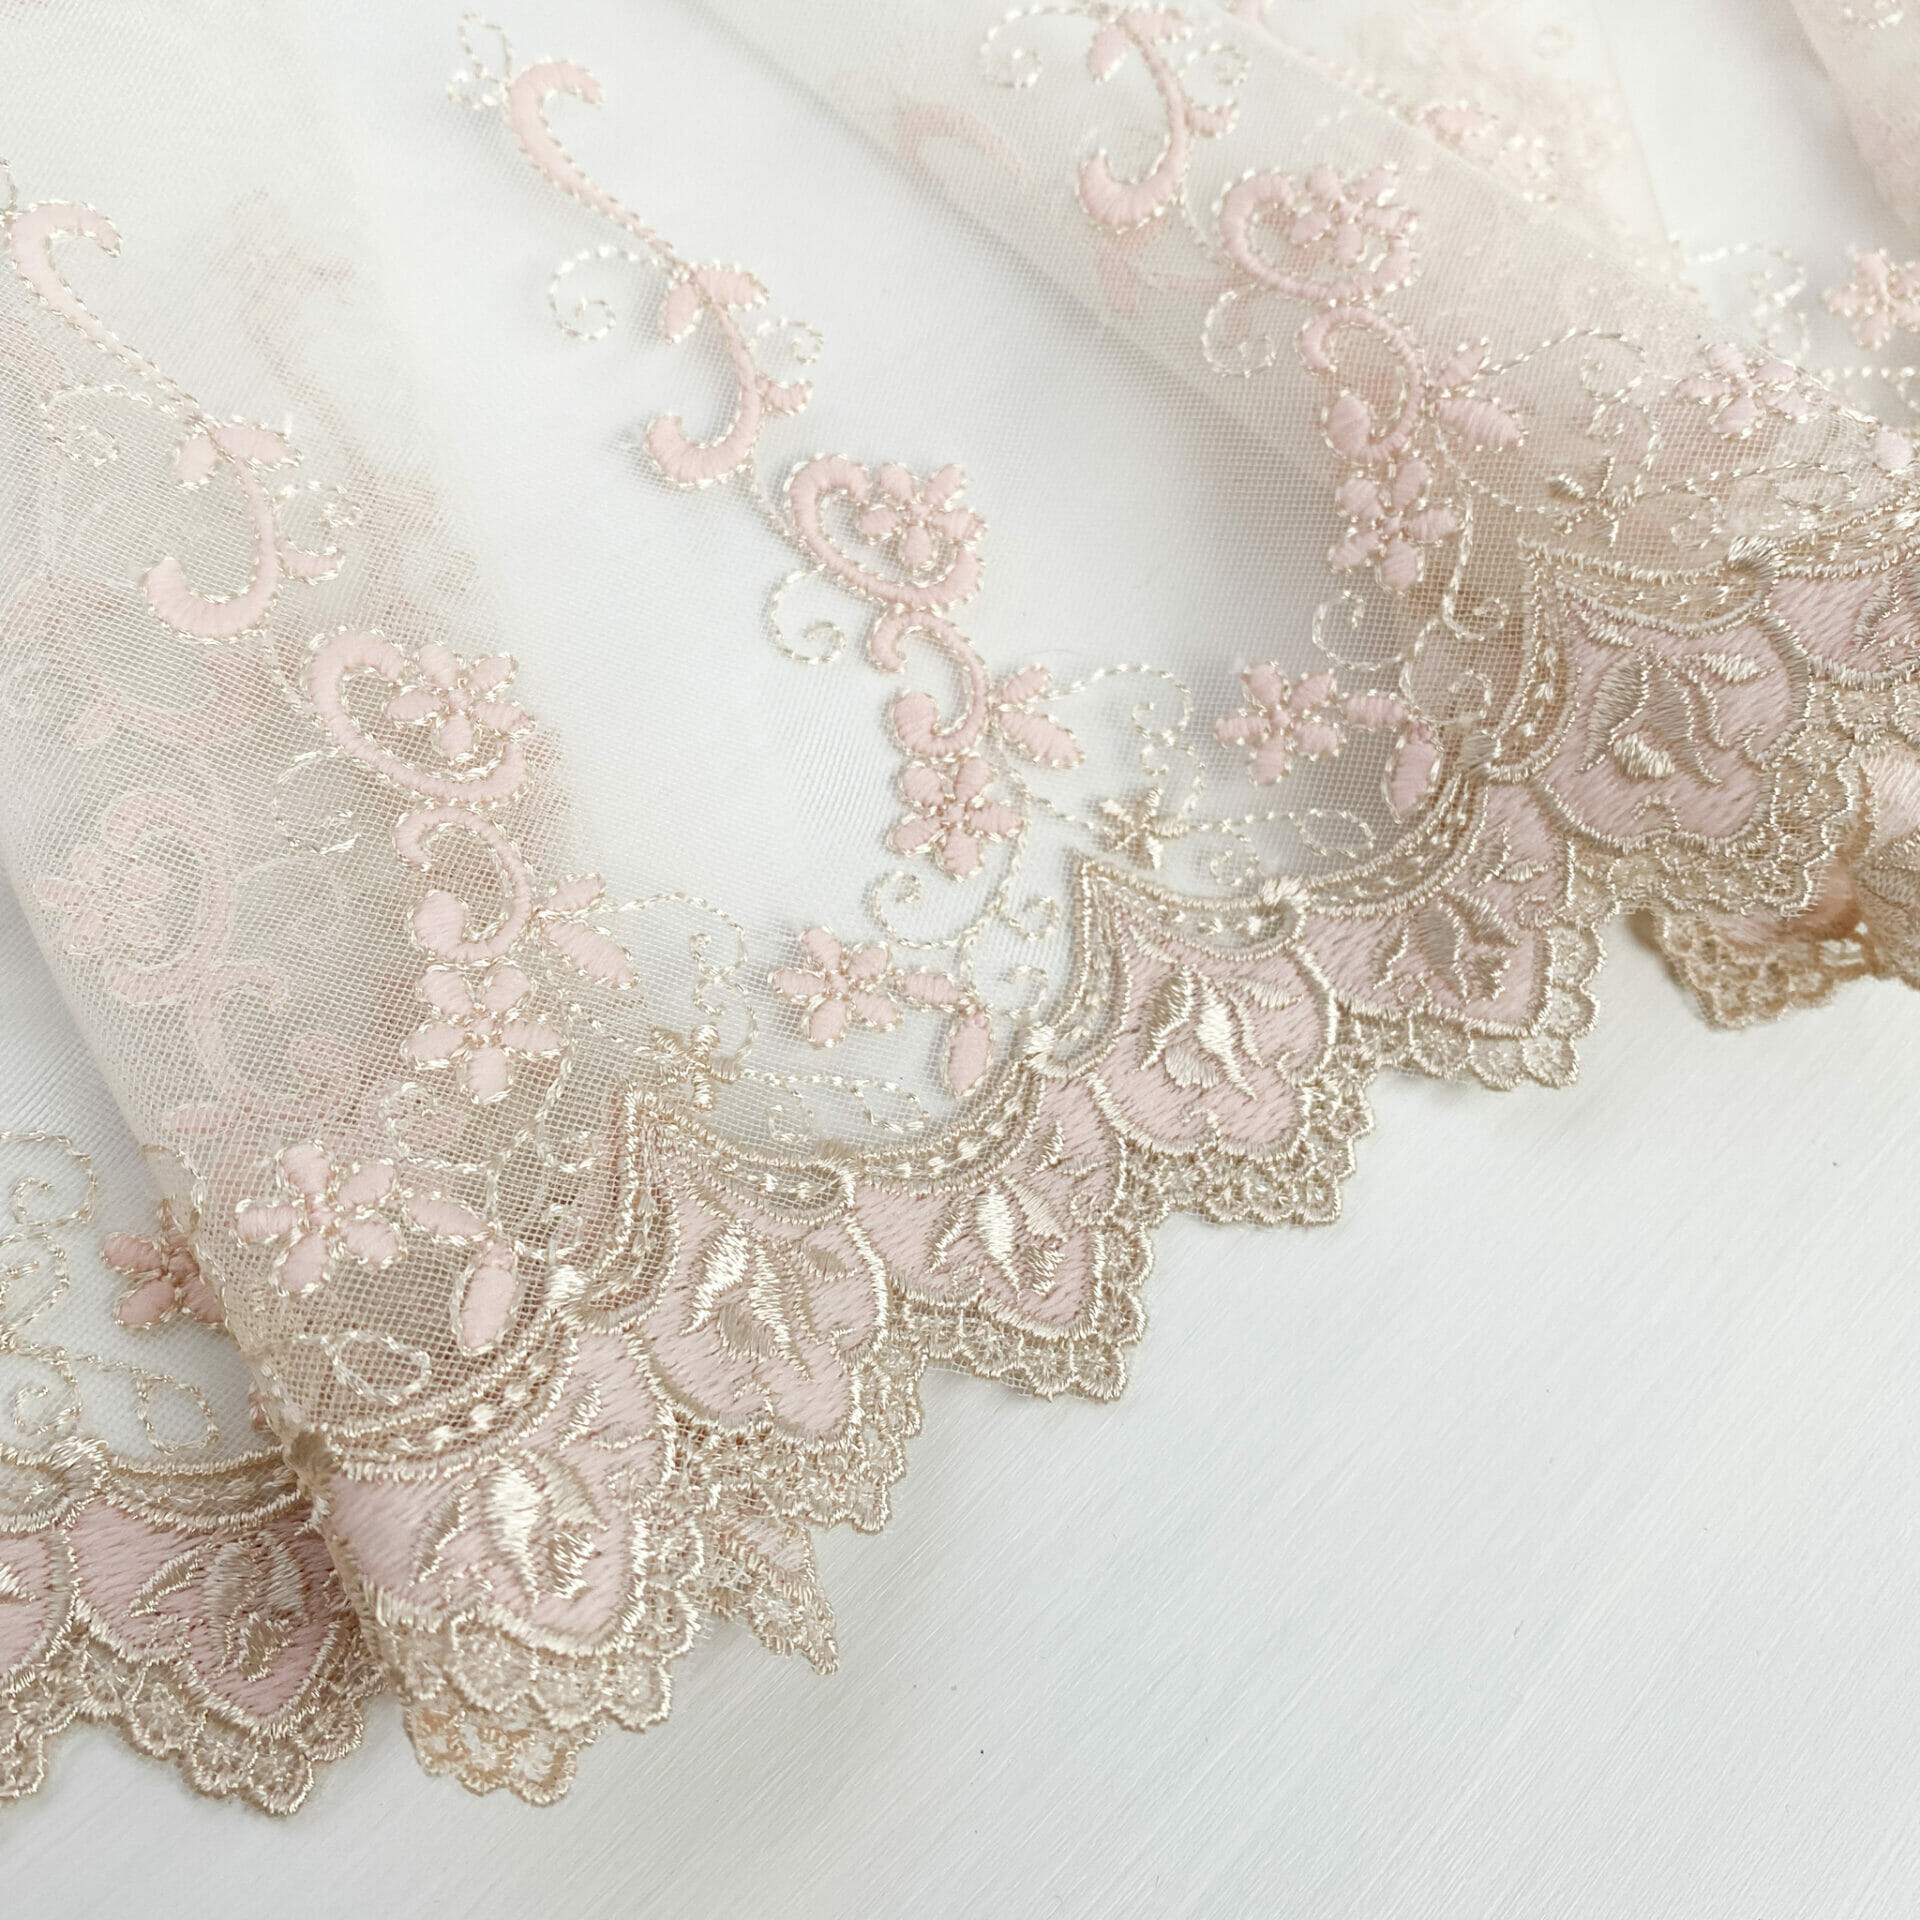
I thought I would show you the guide in action with my most recent bra: The Lily of the Valley!
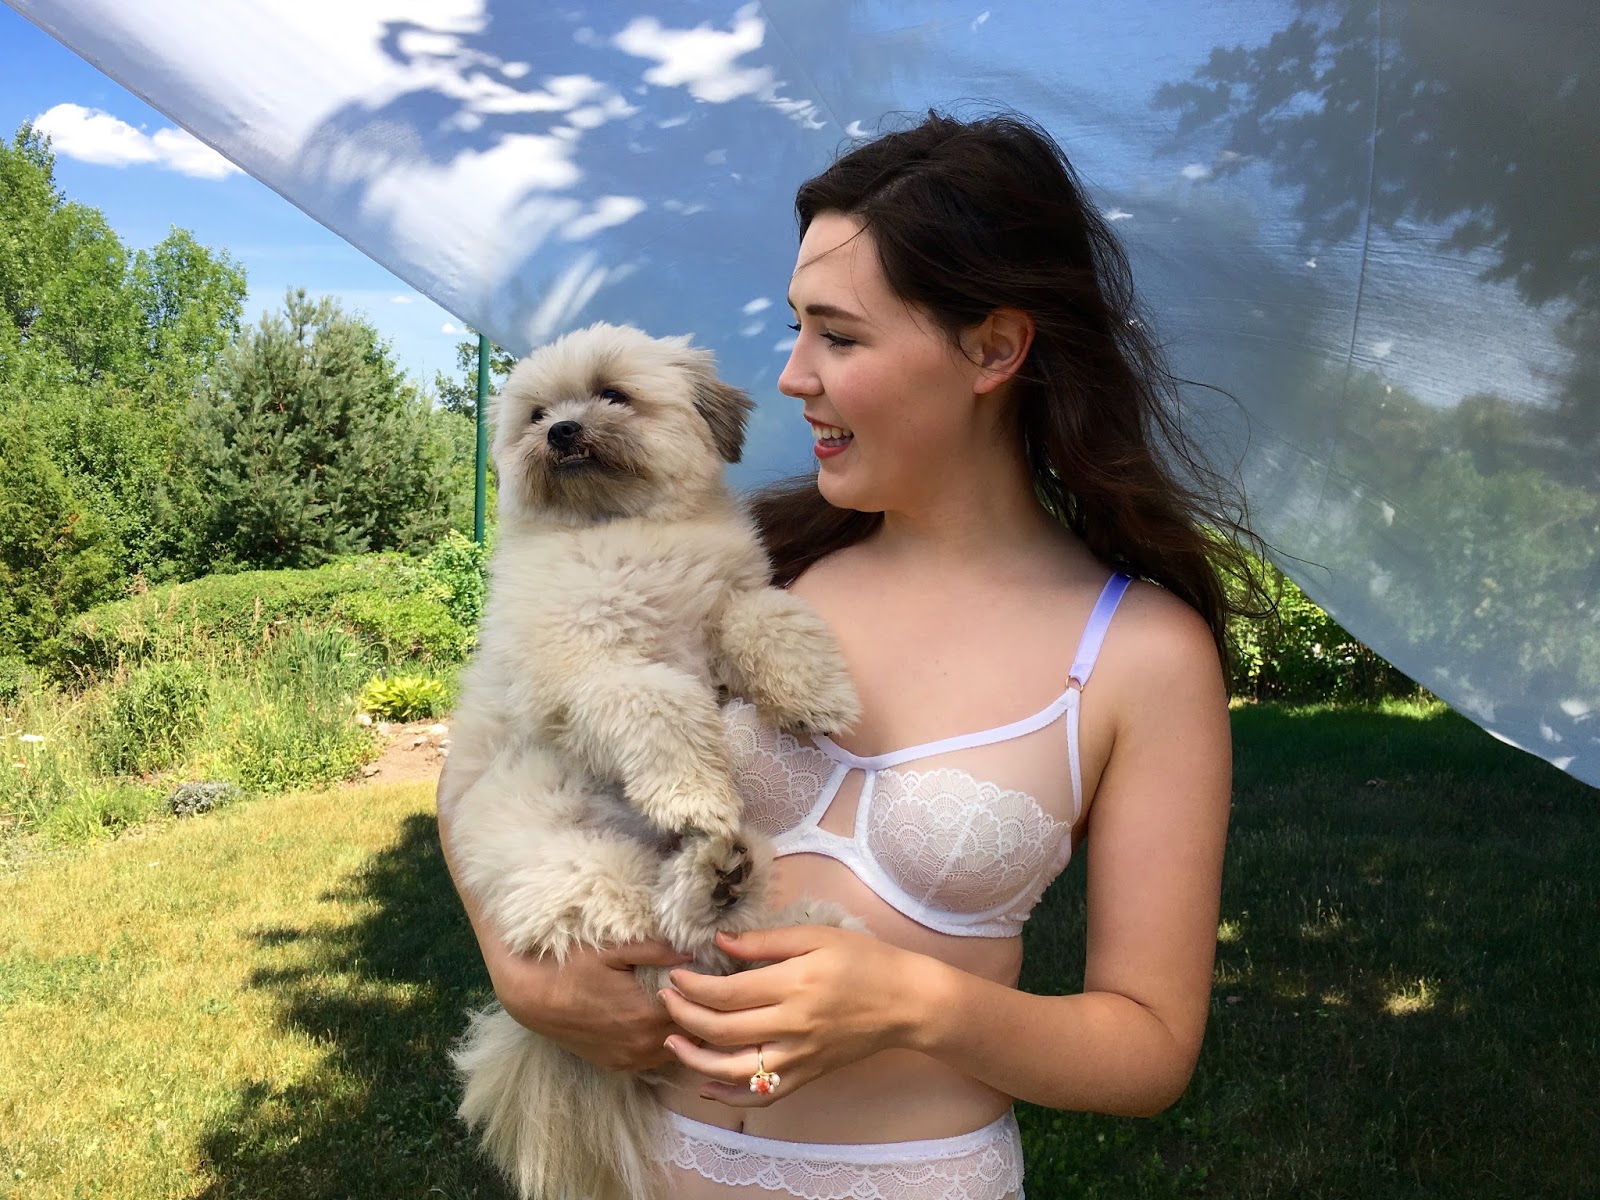
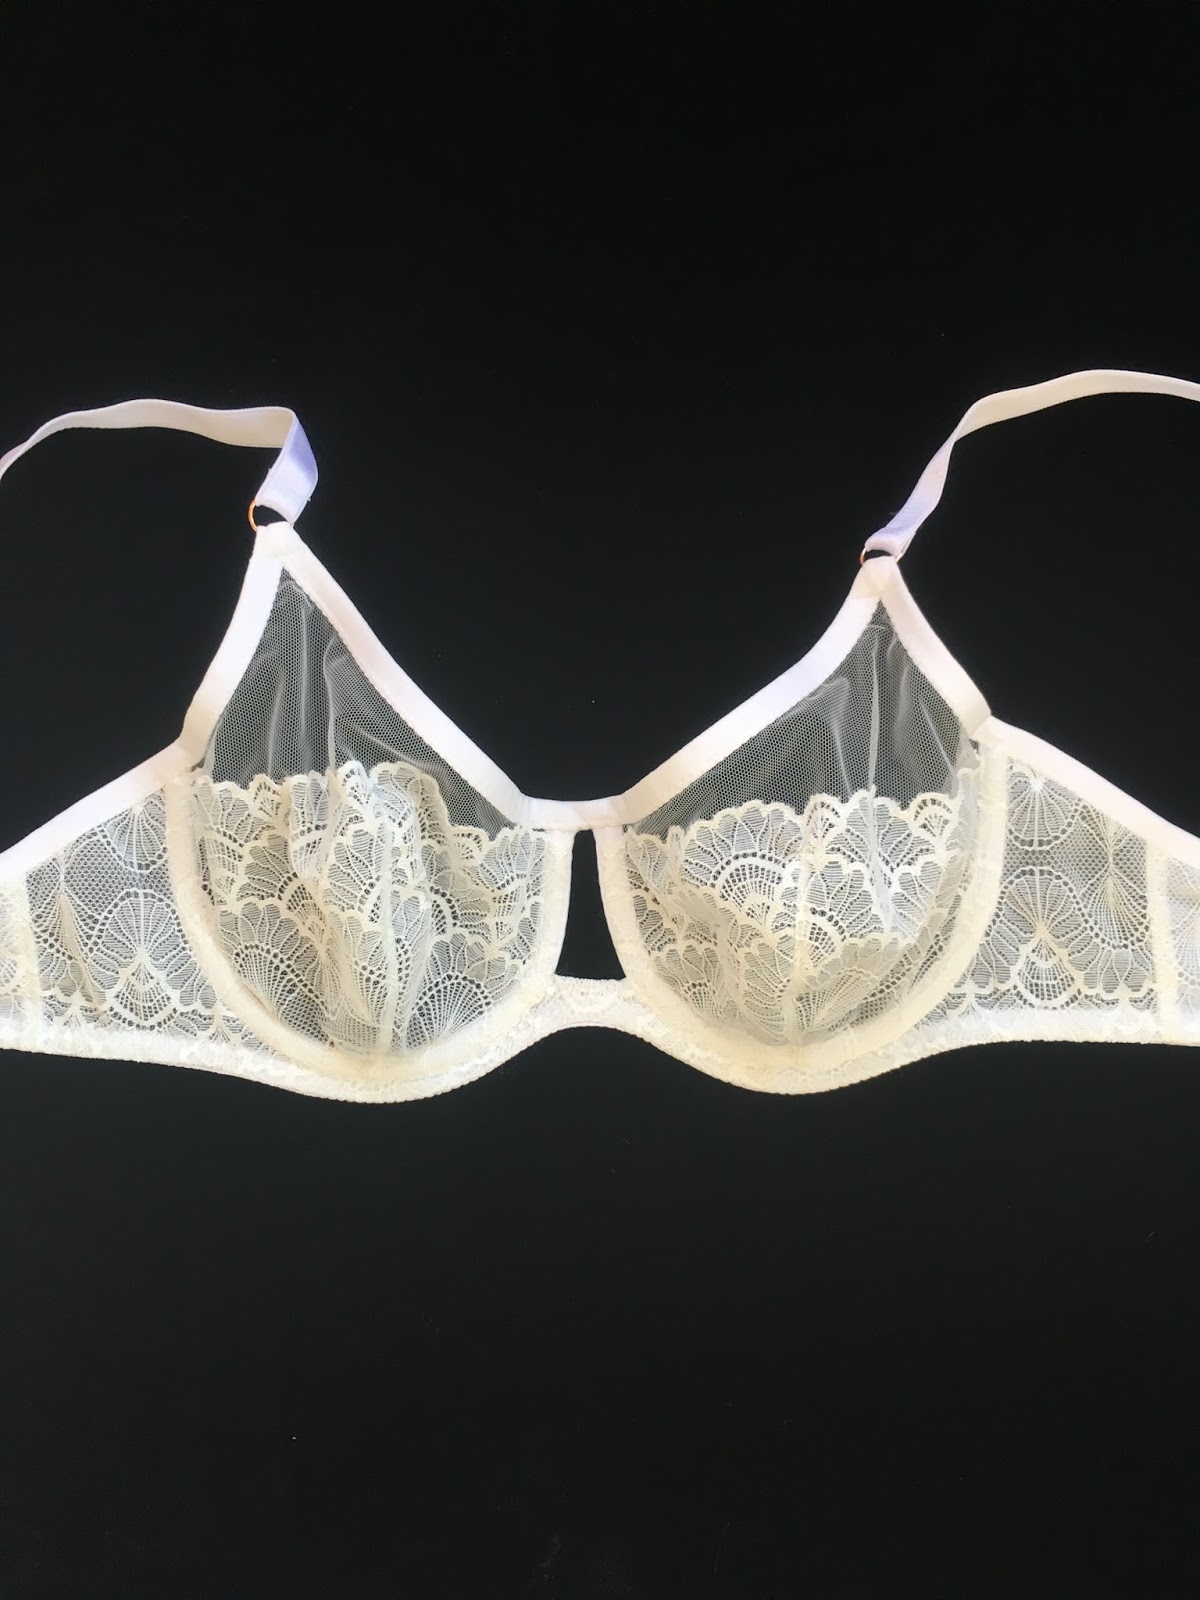
This bra has a lot of pretty features, and it can look overwhelming- but it’s really not too complicated- here is how it breaks down in my guide 🙂

Boom! In no time you can have a quick and dirty break down of your bra- which makes it so much easier to plan out your construction, see where you might rather change things, how it’s all going to come together!
Are there any other bras that you would like me to break down using this guide? I can do a mini series of your favs!
Do you struggle with bra planning or have a system of your own?
Talk to me in the comments!!
xo
erin
OMG, that is BRILLIANT! I love it. Thank you!
Thanks Gillian! 🙂 I'm so happy you like it 🙂
This is the BEST THING EVER! Thanks for sharing!
I know right?! Thanks Leah 🙂 🙂
This is such great information! Thank you so very much!
🙂 🙂 Happy to help Toni 🙂 🙂
I love this! I was kind of fashioning one in my mind to guide my bra making but now I don't have to–thank you so much.
Thanks Eleanor! I always find writing things out just works out all those kinks that your mind doesn't think about until it's too late!! I'd love to see what you make 🙂
Thanks so much! This will diffuse some of my bra making anxiety! ☺
Happy to be a bra-making enabler 😉
Excellent. That must have taken you forever to make.
Thanks Natasha 🙂 It was a labour of love <3
Love it! Thank you Erin ♥
🙂 🙂 Anything for all of you lovely bra makers 🙂 🙂 Can't wait to see what you're making next Ginny! 🙂
So cool! Thanks Erin – and I'd never even thought of the faux full band, which opens up a world of possibilities!
Oh yes! It really does, looking through my pin-board there are so many! I find it make the perfect combo of the lux look of a full band, but all those gorgeous bridge cut-out details that have you swooning!
Thanks for the guide! It makes it look a little less scary :p
🙂 🙂 Happy to help!
Erin, you're amazing! Love this. Love reading all of your really helpful posts.
Aww shucks Abbey, you make me blush 🙂
Thank you Erin, this is SO helpful! It's definitely going to make planning so much easier.
🙂 🙂 I'm excited to see all the beauties that you plan up using this!
Do you have any suggestions for altering the band/cups for the various wire shapes that you sell in your shop, for instance altering a bra pattern that works with a plunge wire to work with a france wire? I would assume you need to alter the bridge to match the wire shape, can you use the same cup or do you need to add what you've taken from the bridge?
Hi Anna, this is a really big question- and it deserves a whole post *added to posts for future* . You definitely do have to alter the cradle for different wires- the best post I can direct you to right now is the post I did on altering your full coverage wire to the plunge in this post: https://emeralderin.blogspot.ca/2015/09/bra-week-35-bra-theory-plunge-wires.html
It's the same idea as that, but for a France wire, you won't just be taking height off the centre front, it's also lower at the underarm. Think about lining up the wires at the centre bottom point, and tracing them out that way- then alter the cup to match that height. That's about as much as I can give you in a comment! Thanks for the question!
Thanks for the reply 🙂 I do hope you do a post on it in the future. I'm just getting into bra making and I love how once you have a fitted pattern it's so easy to make style alterations, this checklist is a great resource!!
This is really interesting. I've never made a bra, but I'm planning to make one. Thanks for sharing.
Yay Sonja!!! I love to hear about more beginning bra makers 🙂
That's so great Erin!! I do something like this when I want to make a new style of bra (well, more like a quick sketch with a few notes), but your chart is far more complete! I'm going to use it every time 😛 Thank you so much for sharing!! 🙂
That was my go-to before a sketch with some notes, but I put this together for one of my private students one time and it stuck- so I thought you all would love it too 🙂
I'm behind with my blog reading, hence the late reply. But thank you so much, this is wonderful!
🙂 🙂
I just found this, and it's wonderful!