


Hi All!
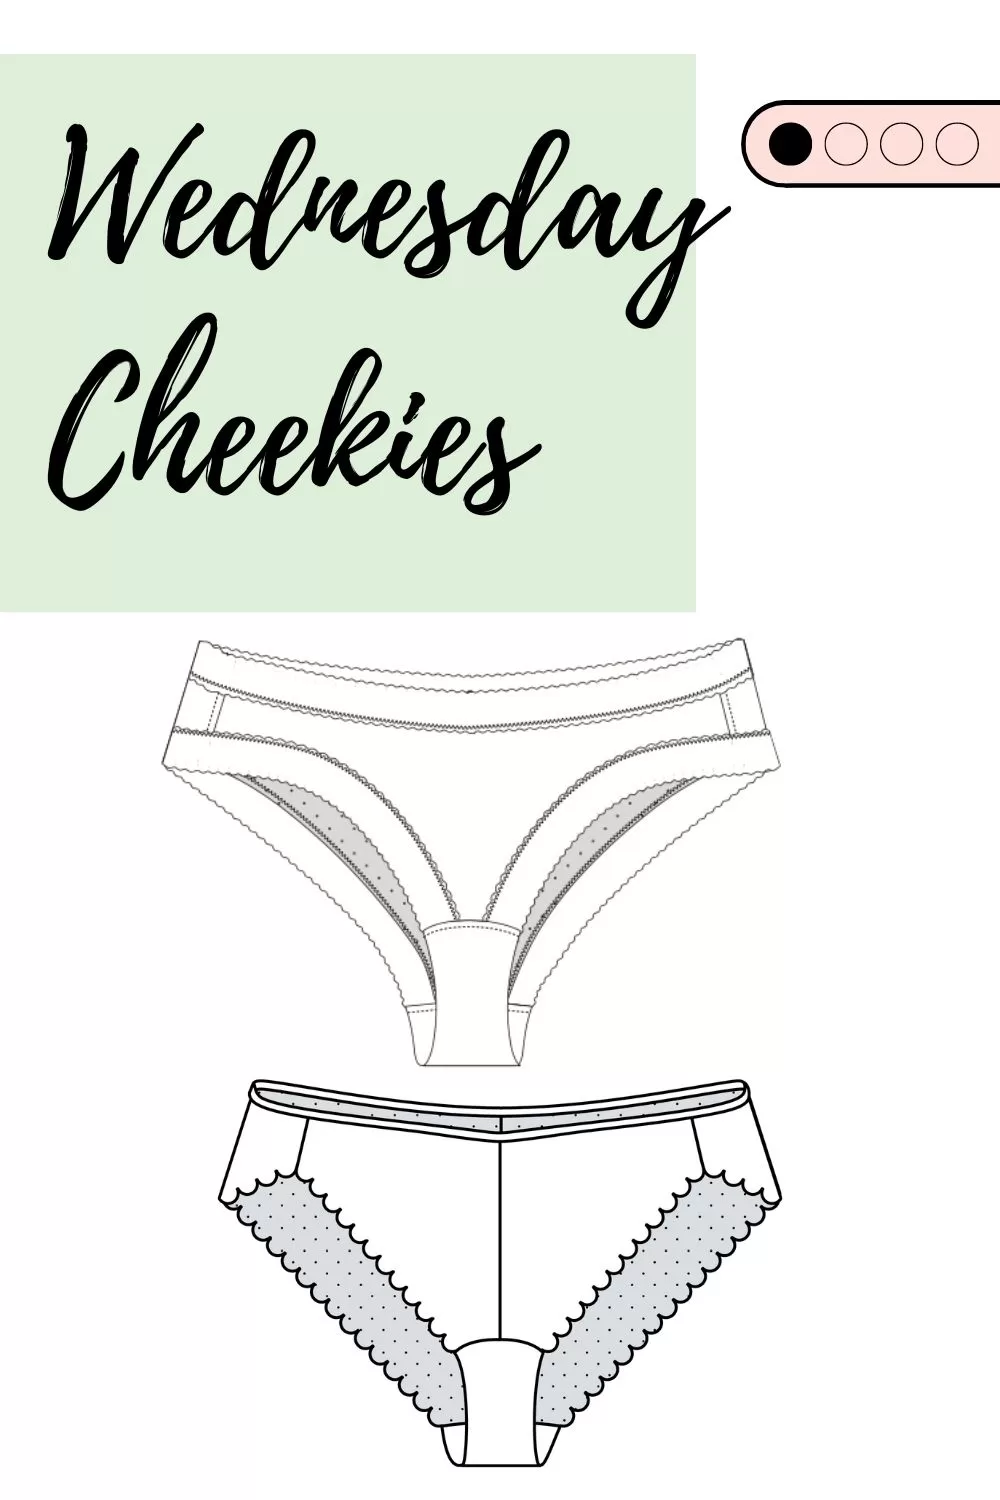
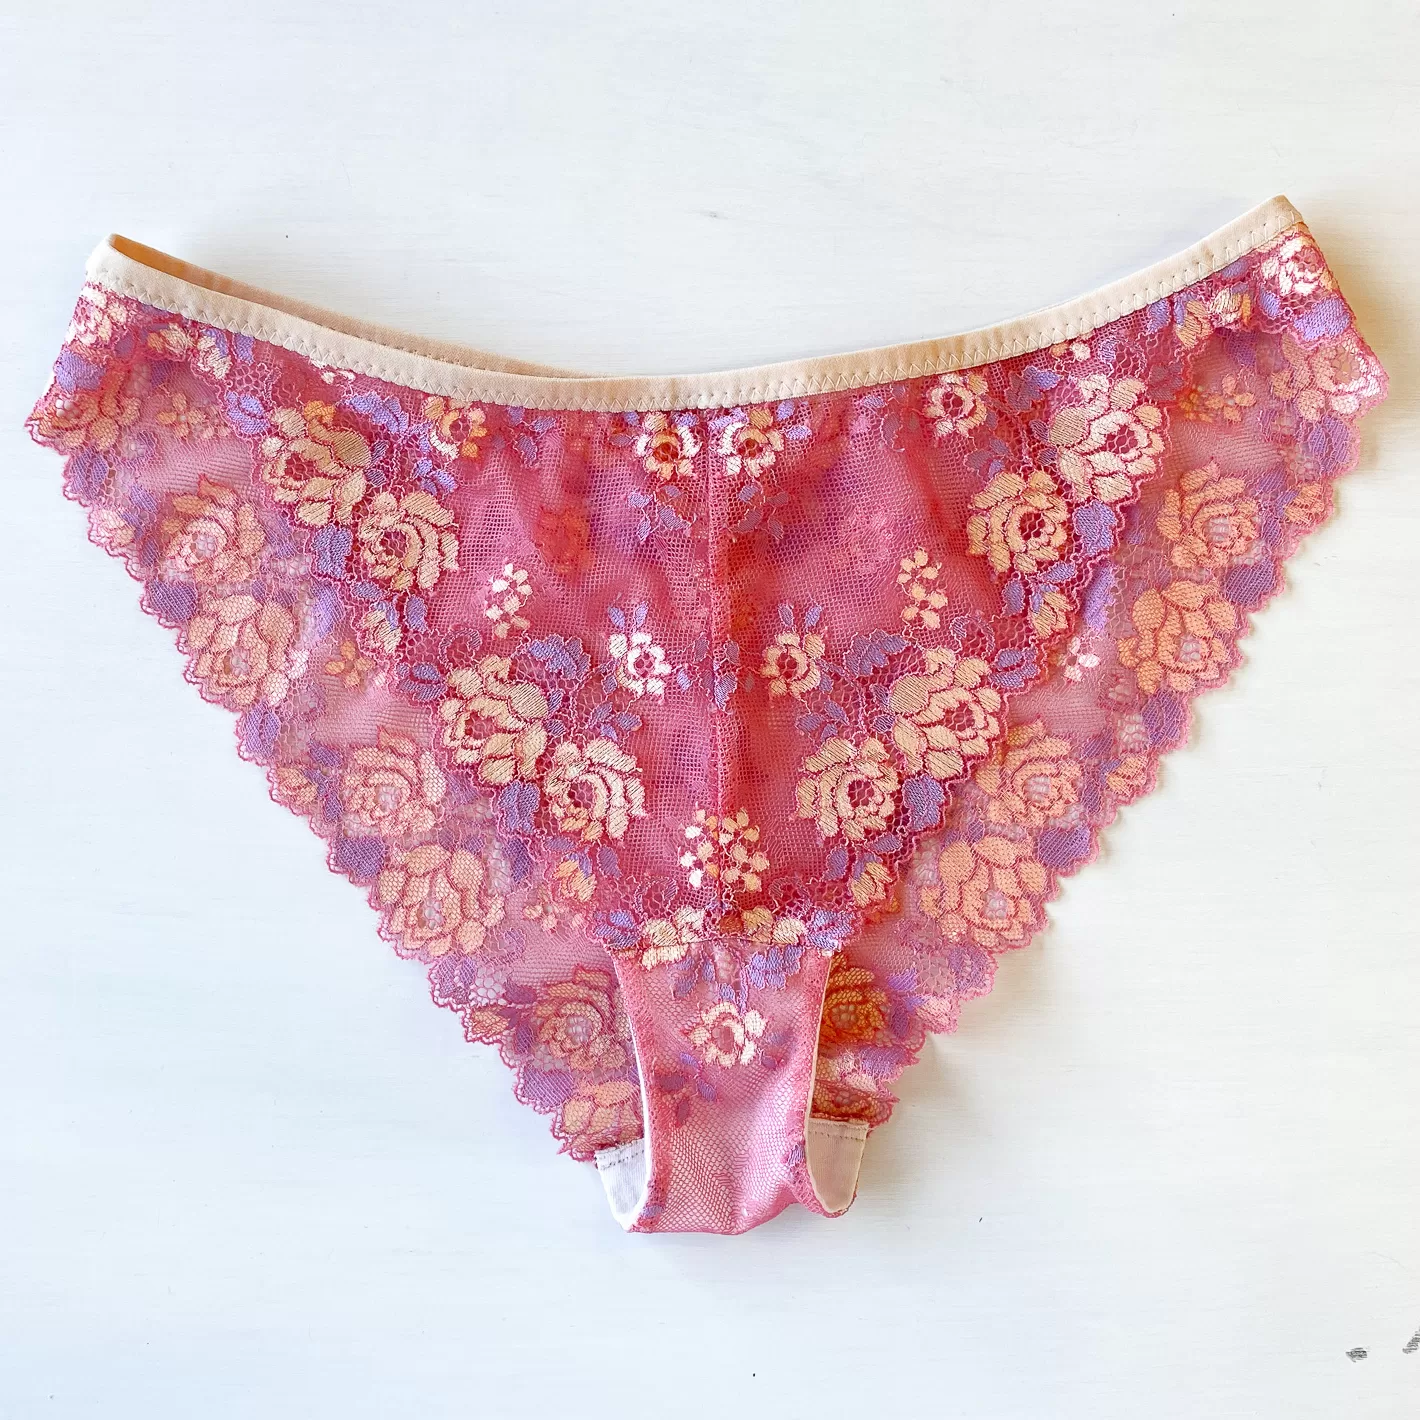
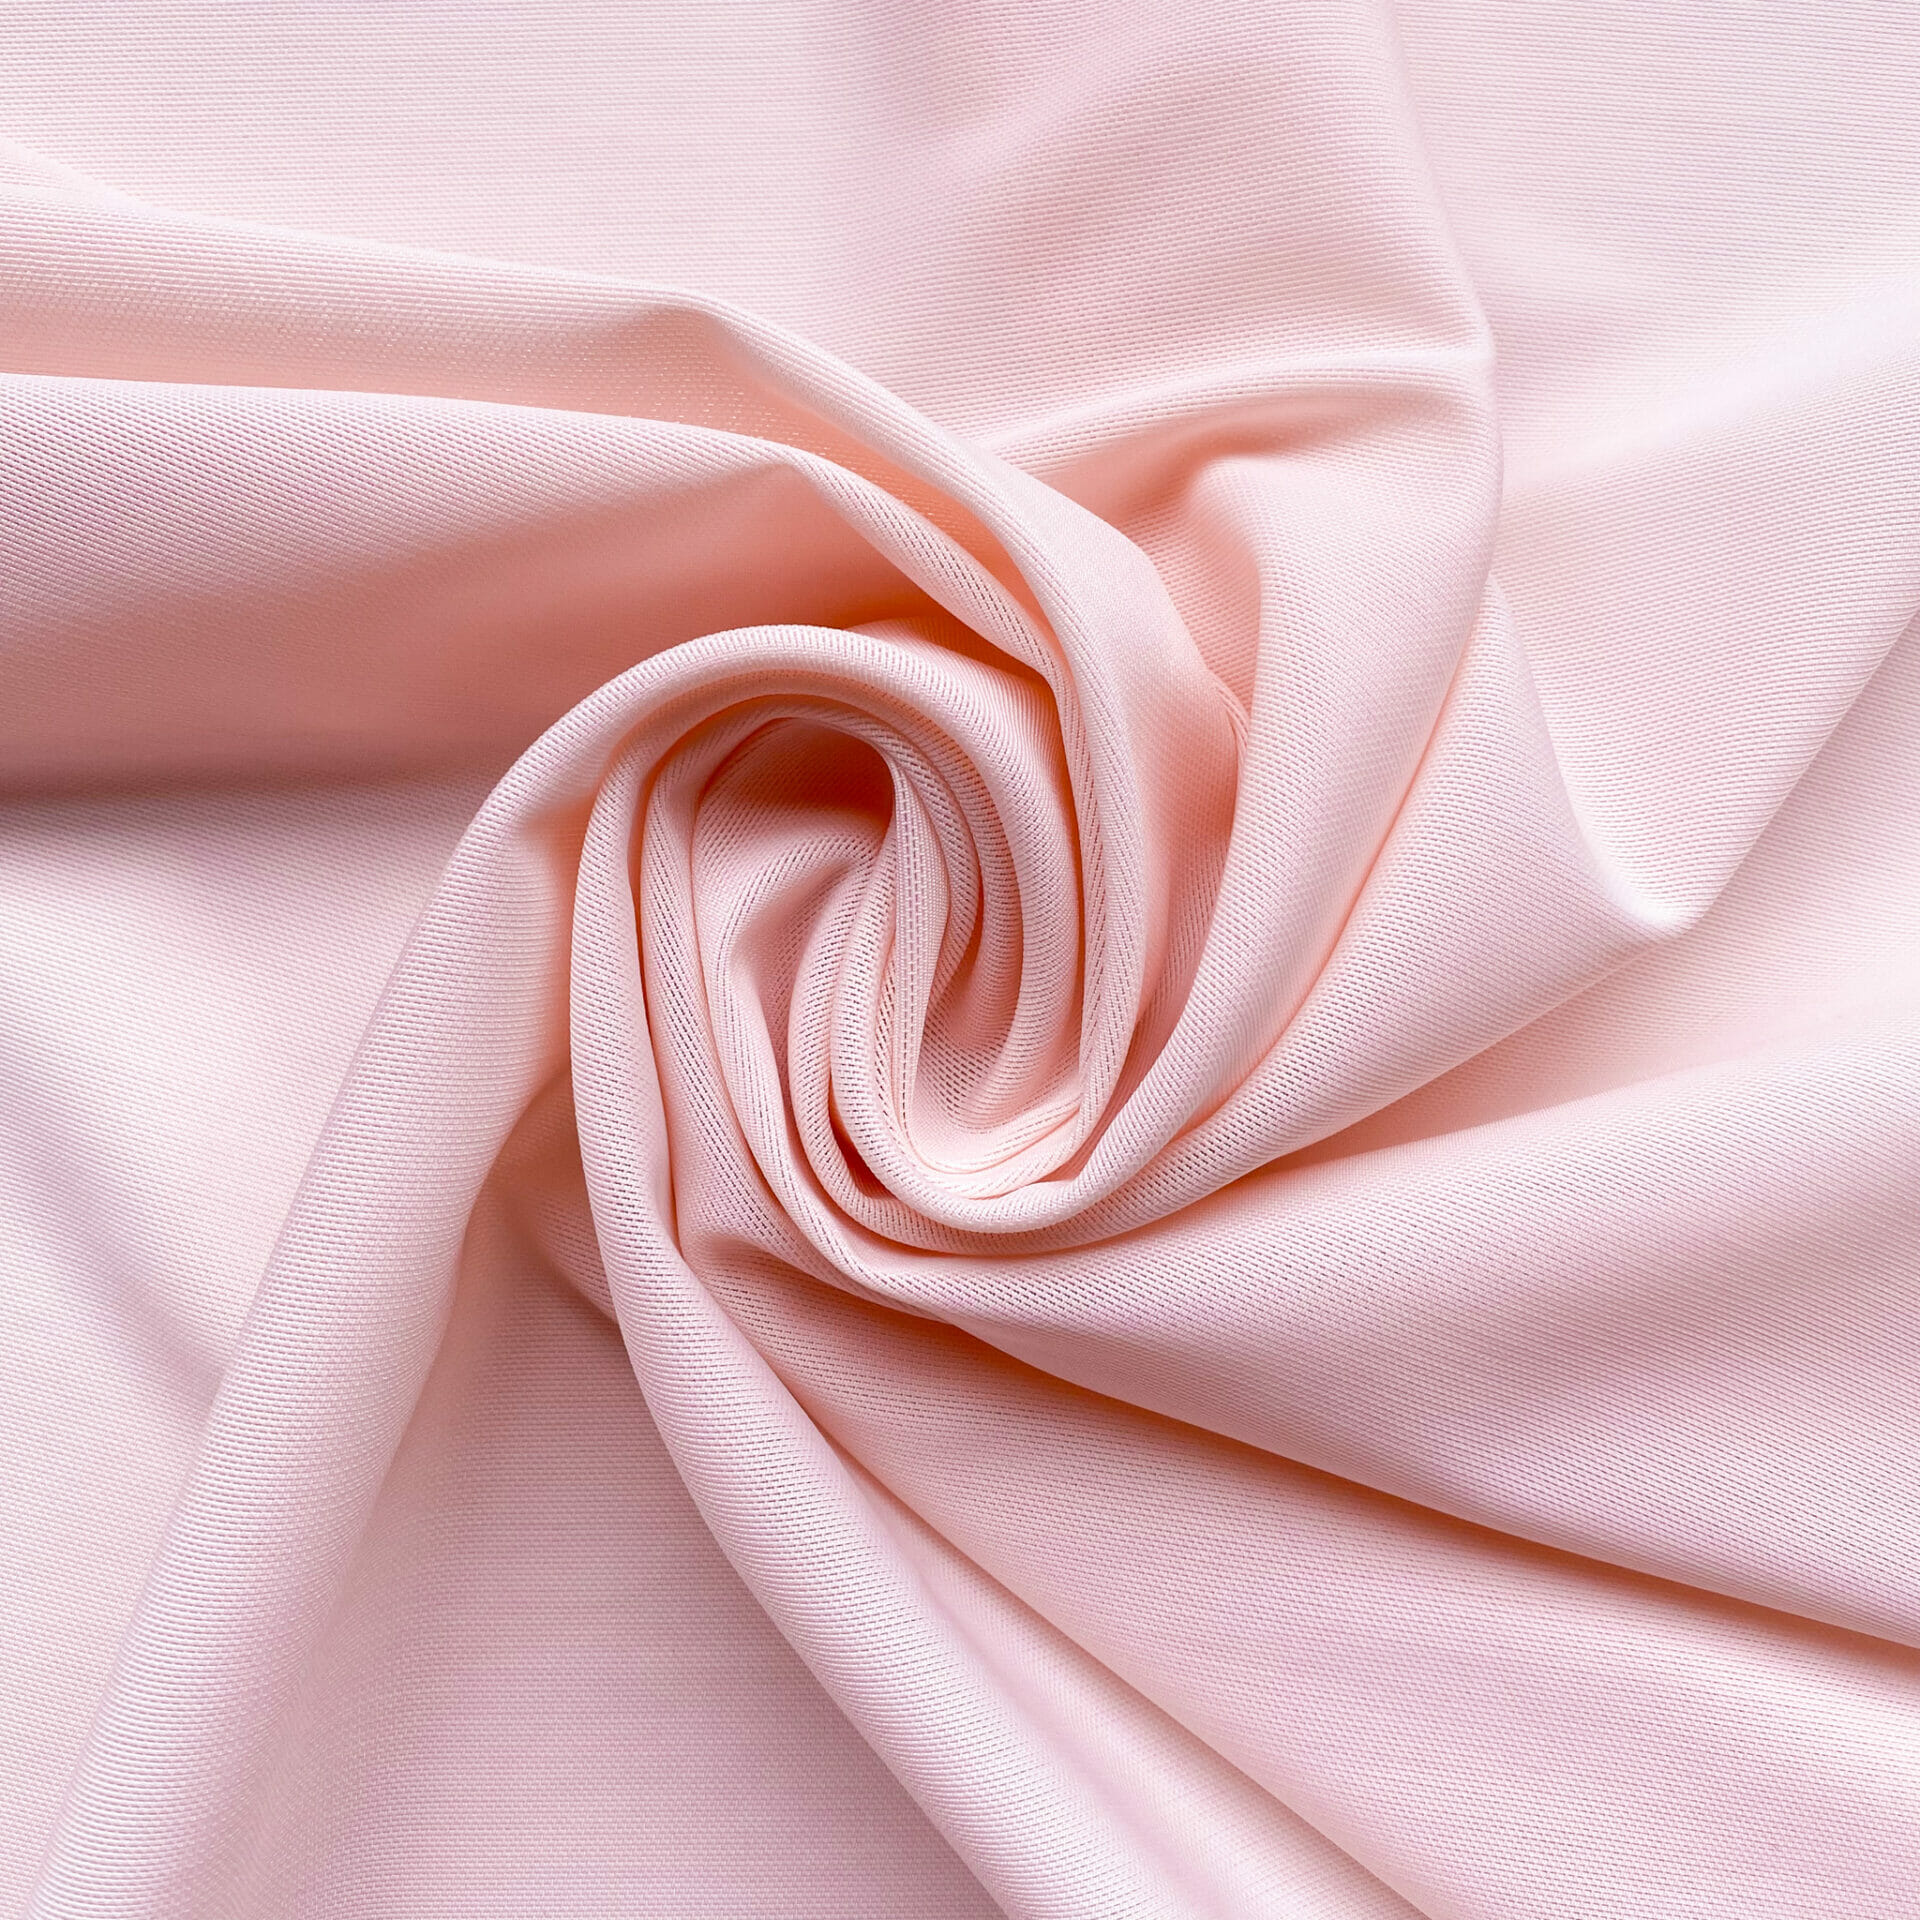
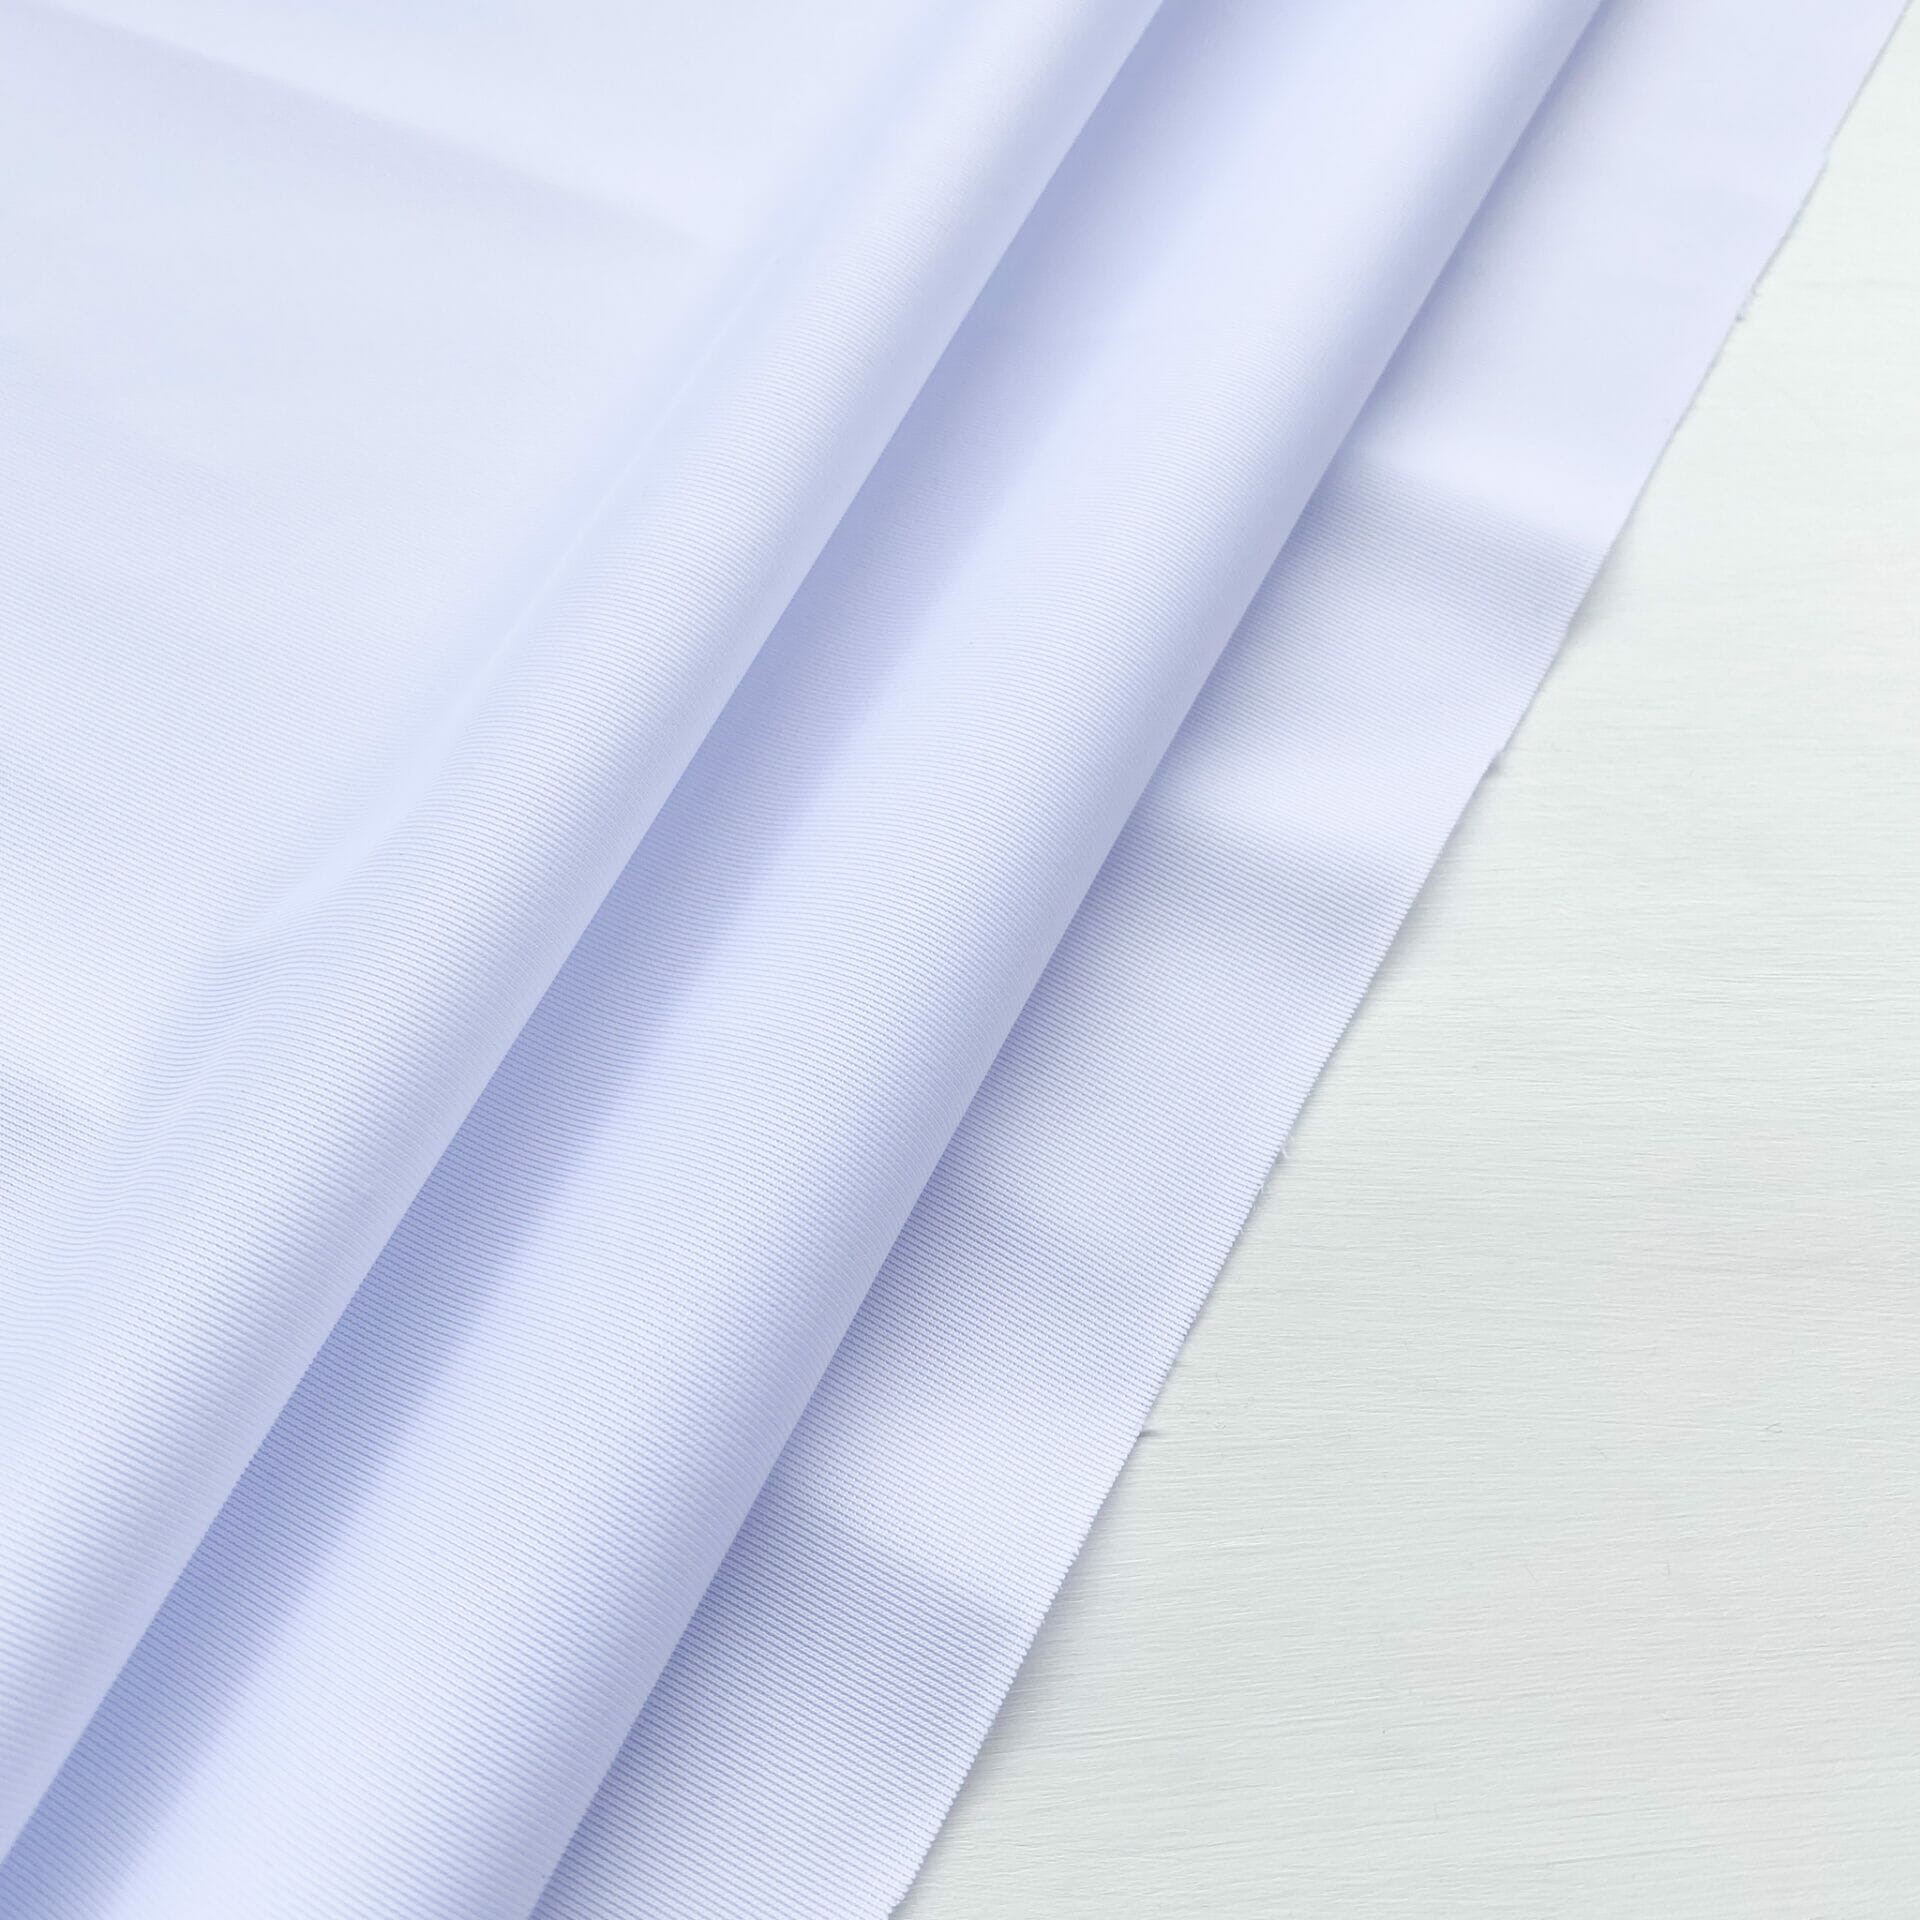
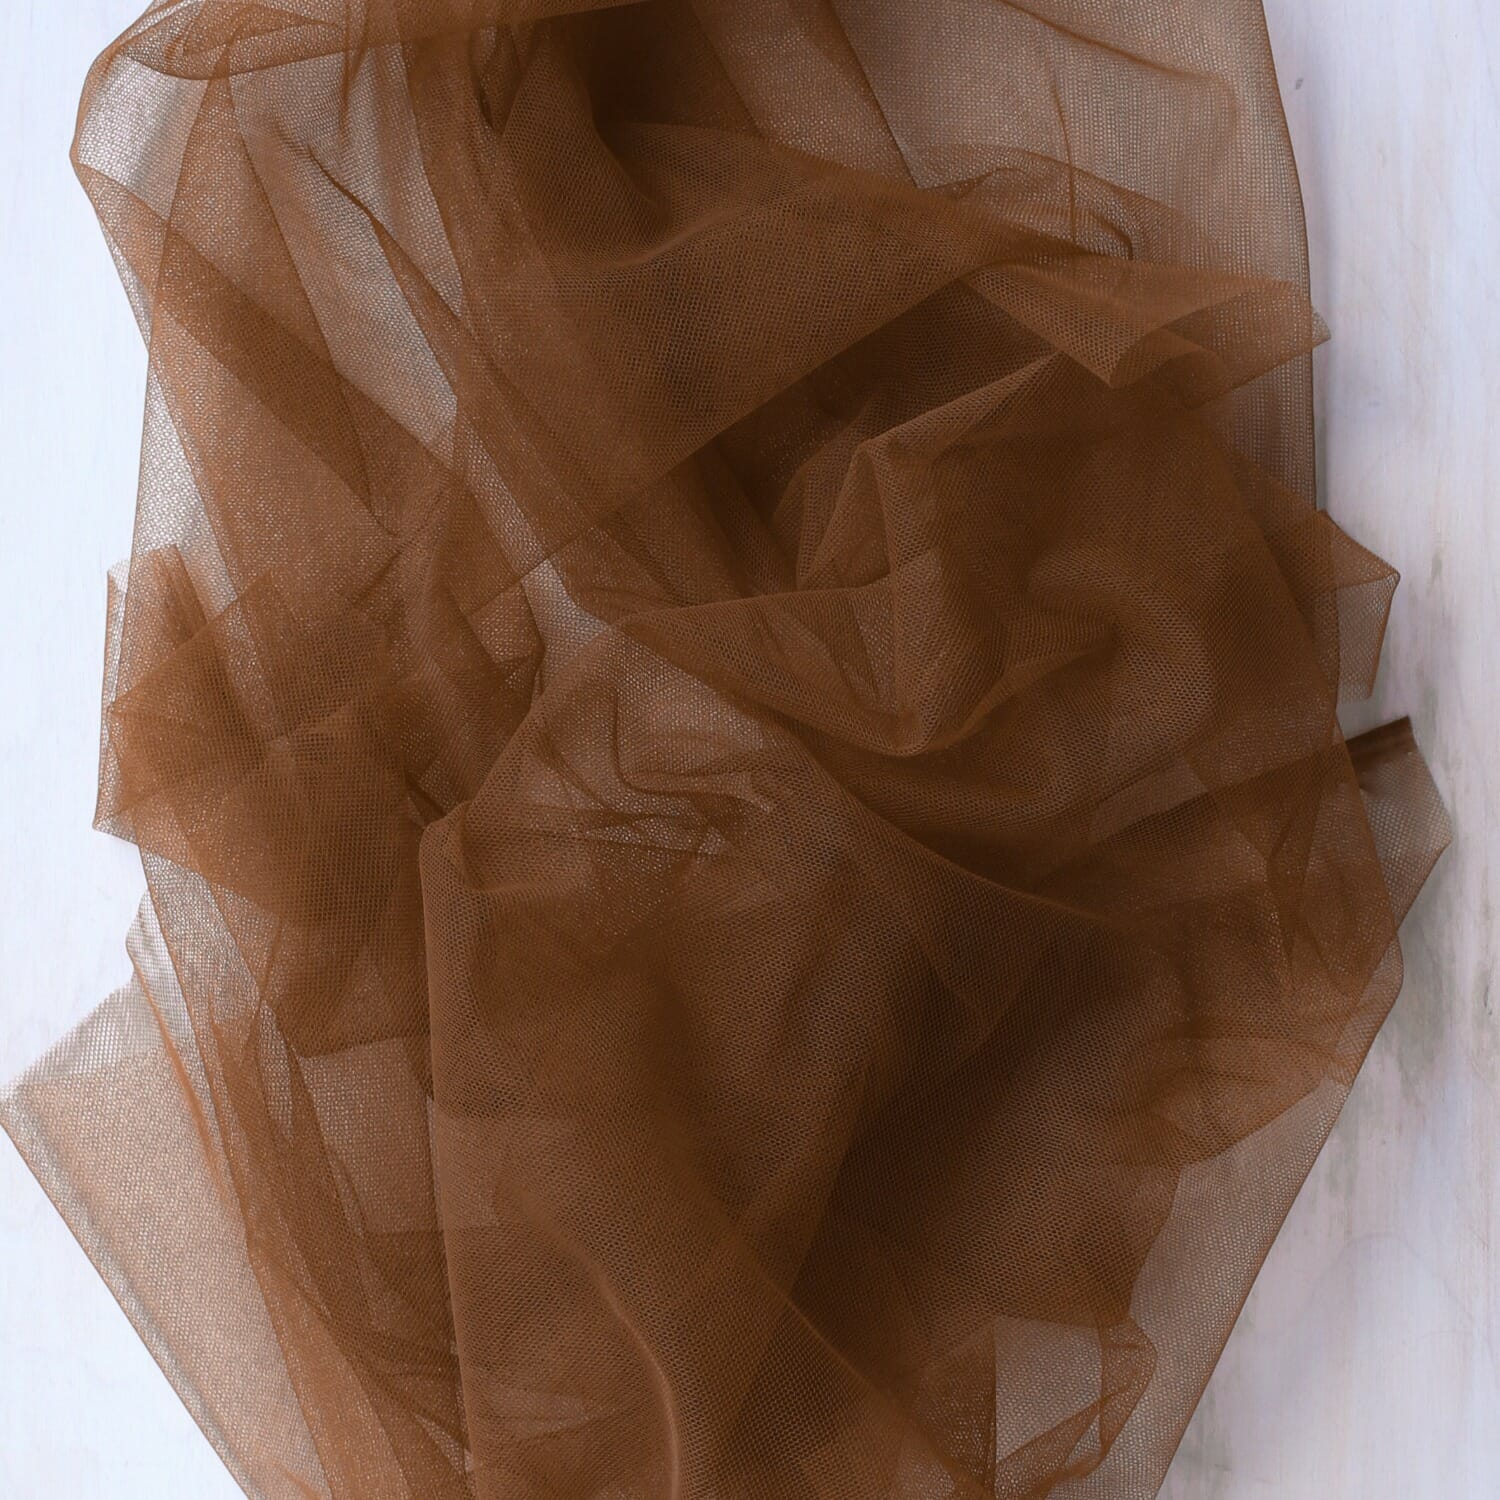
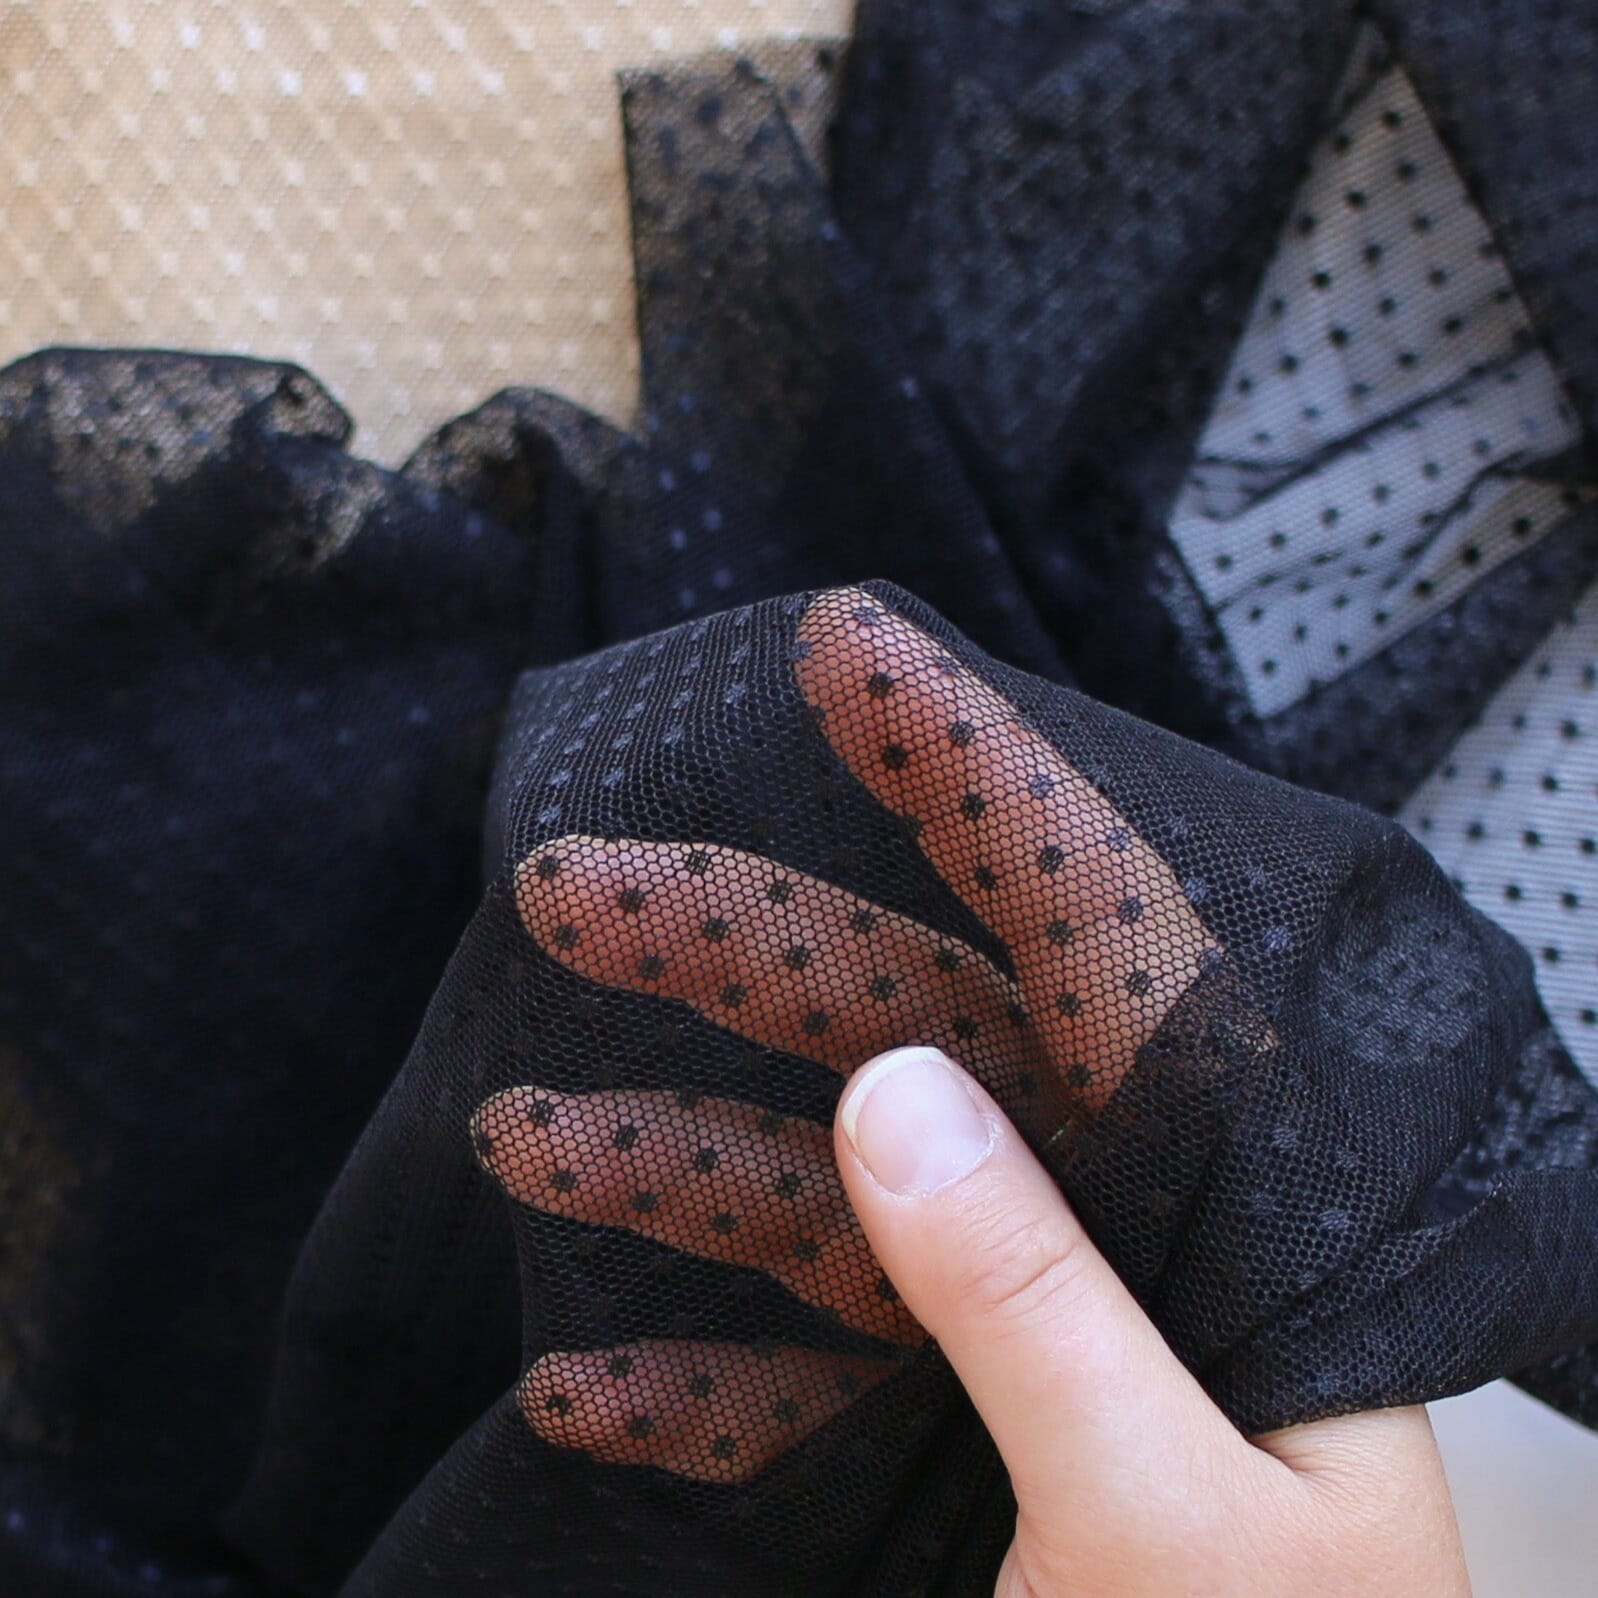
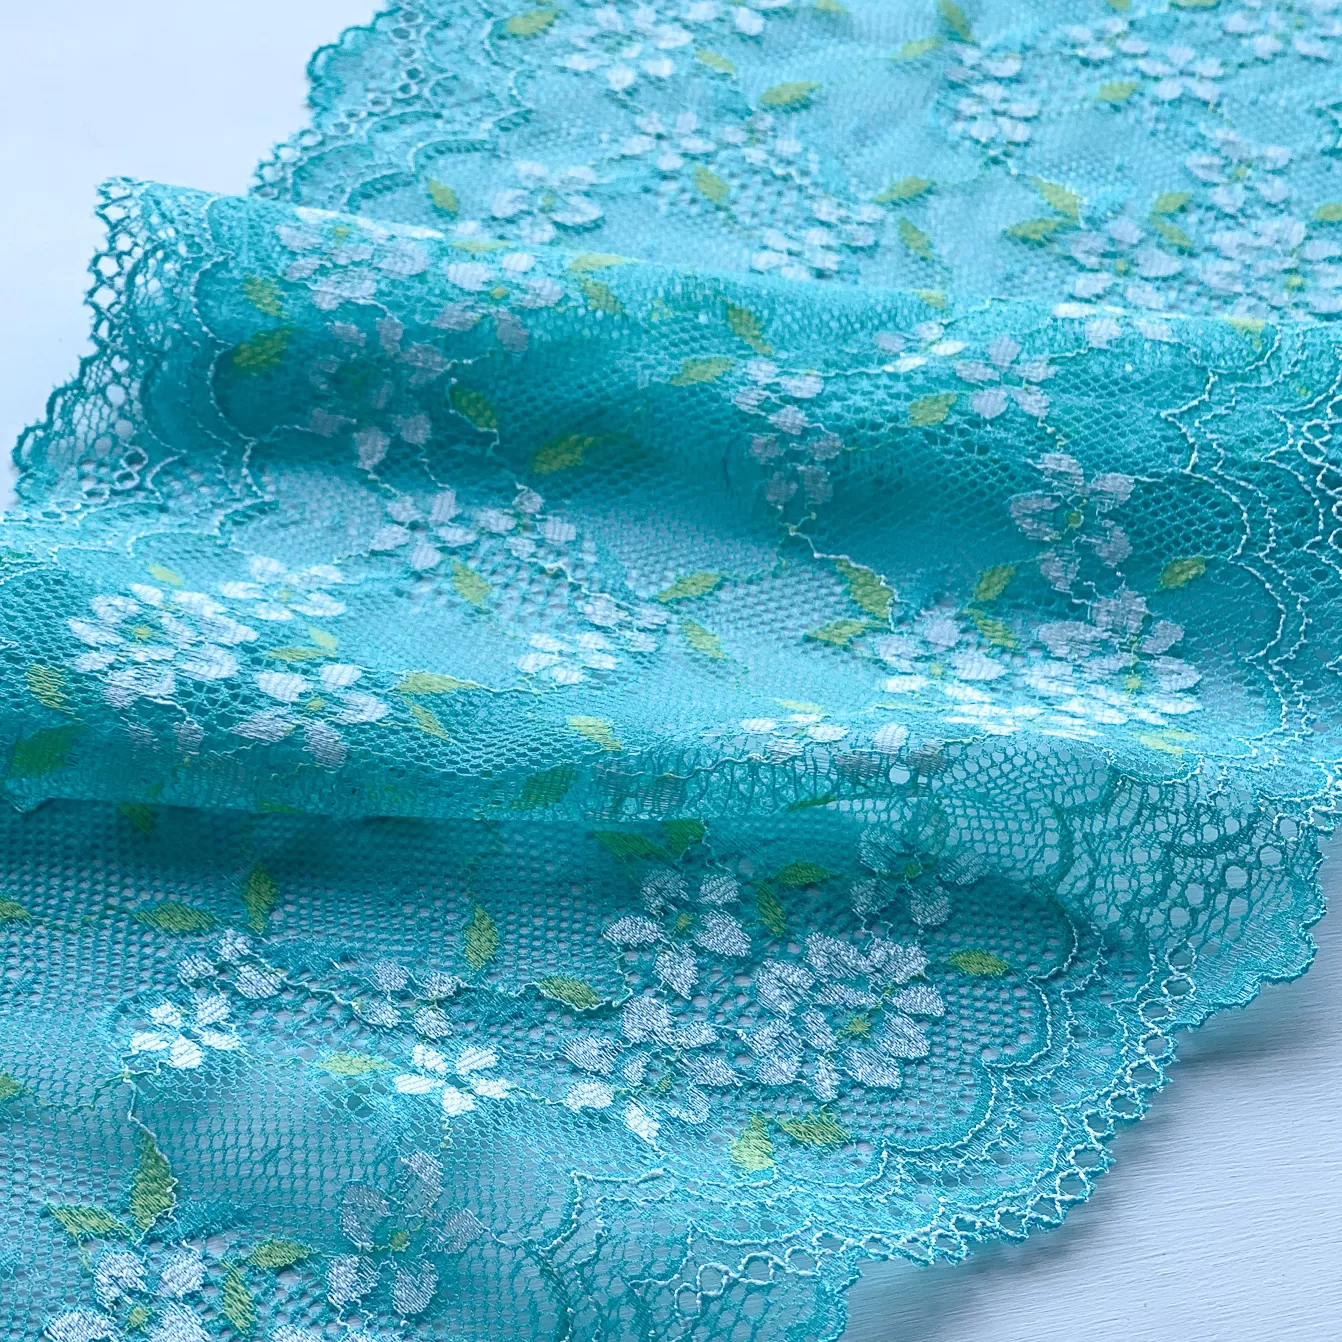
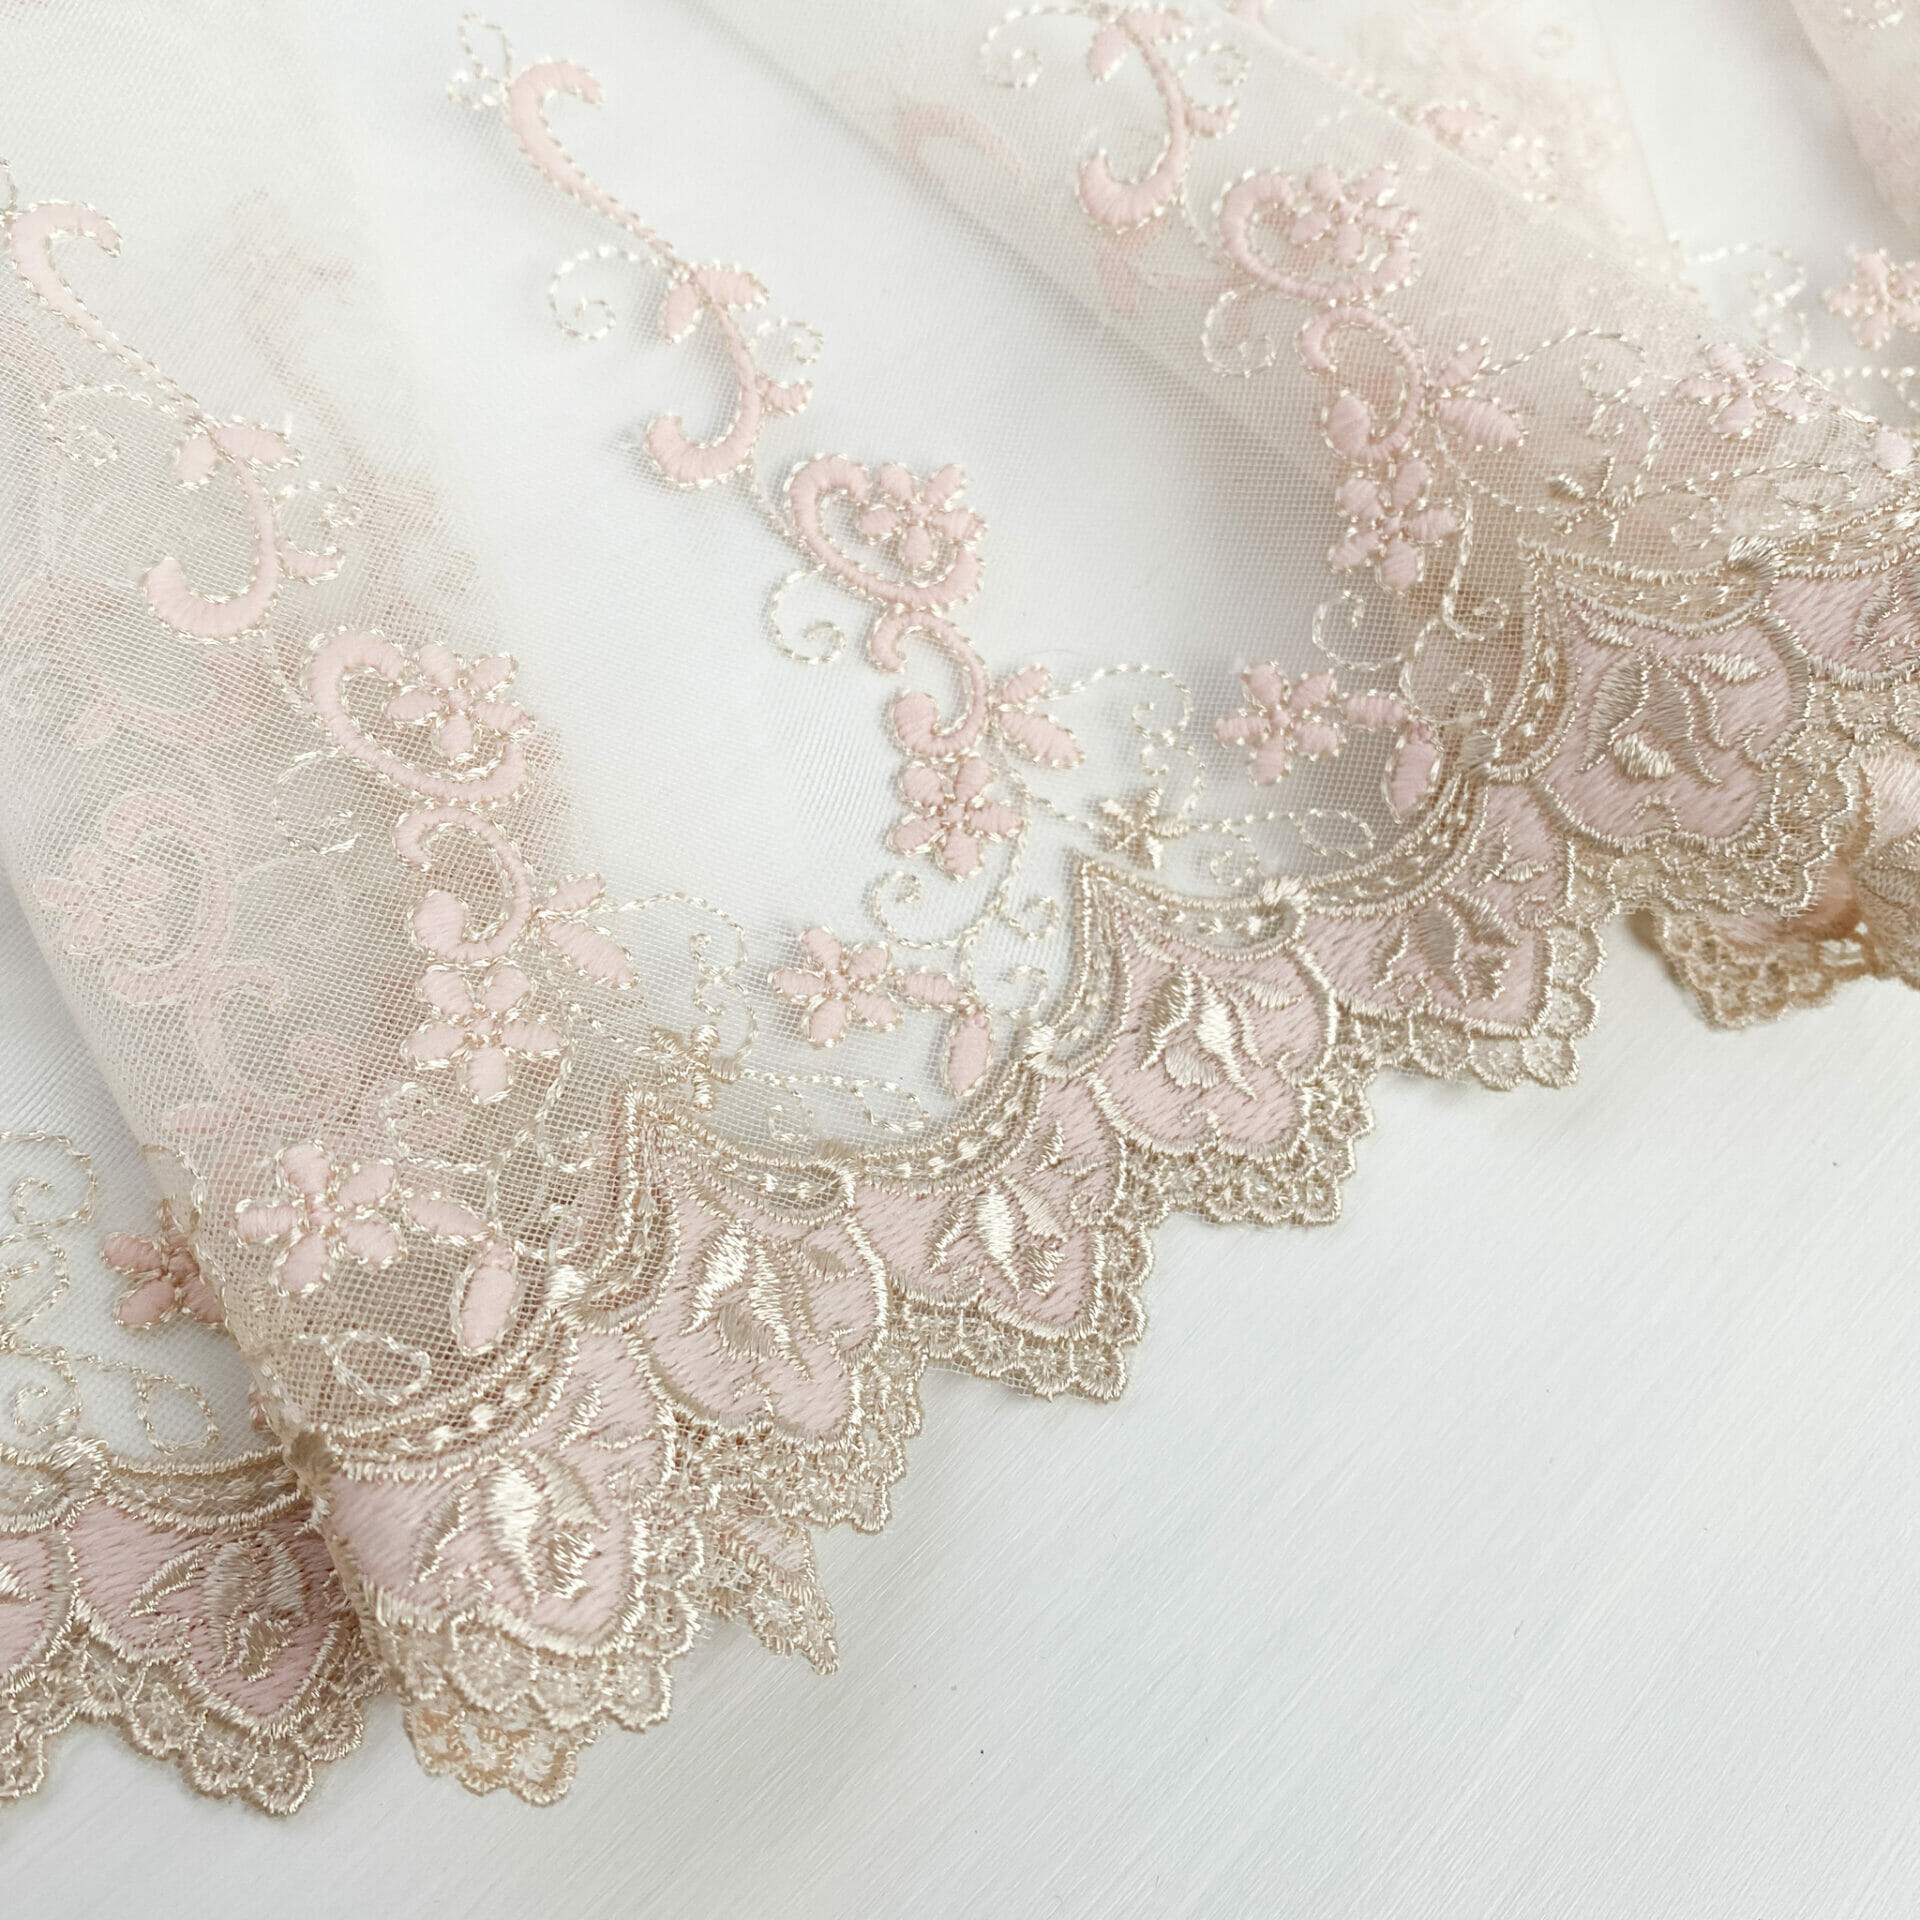
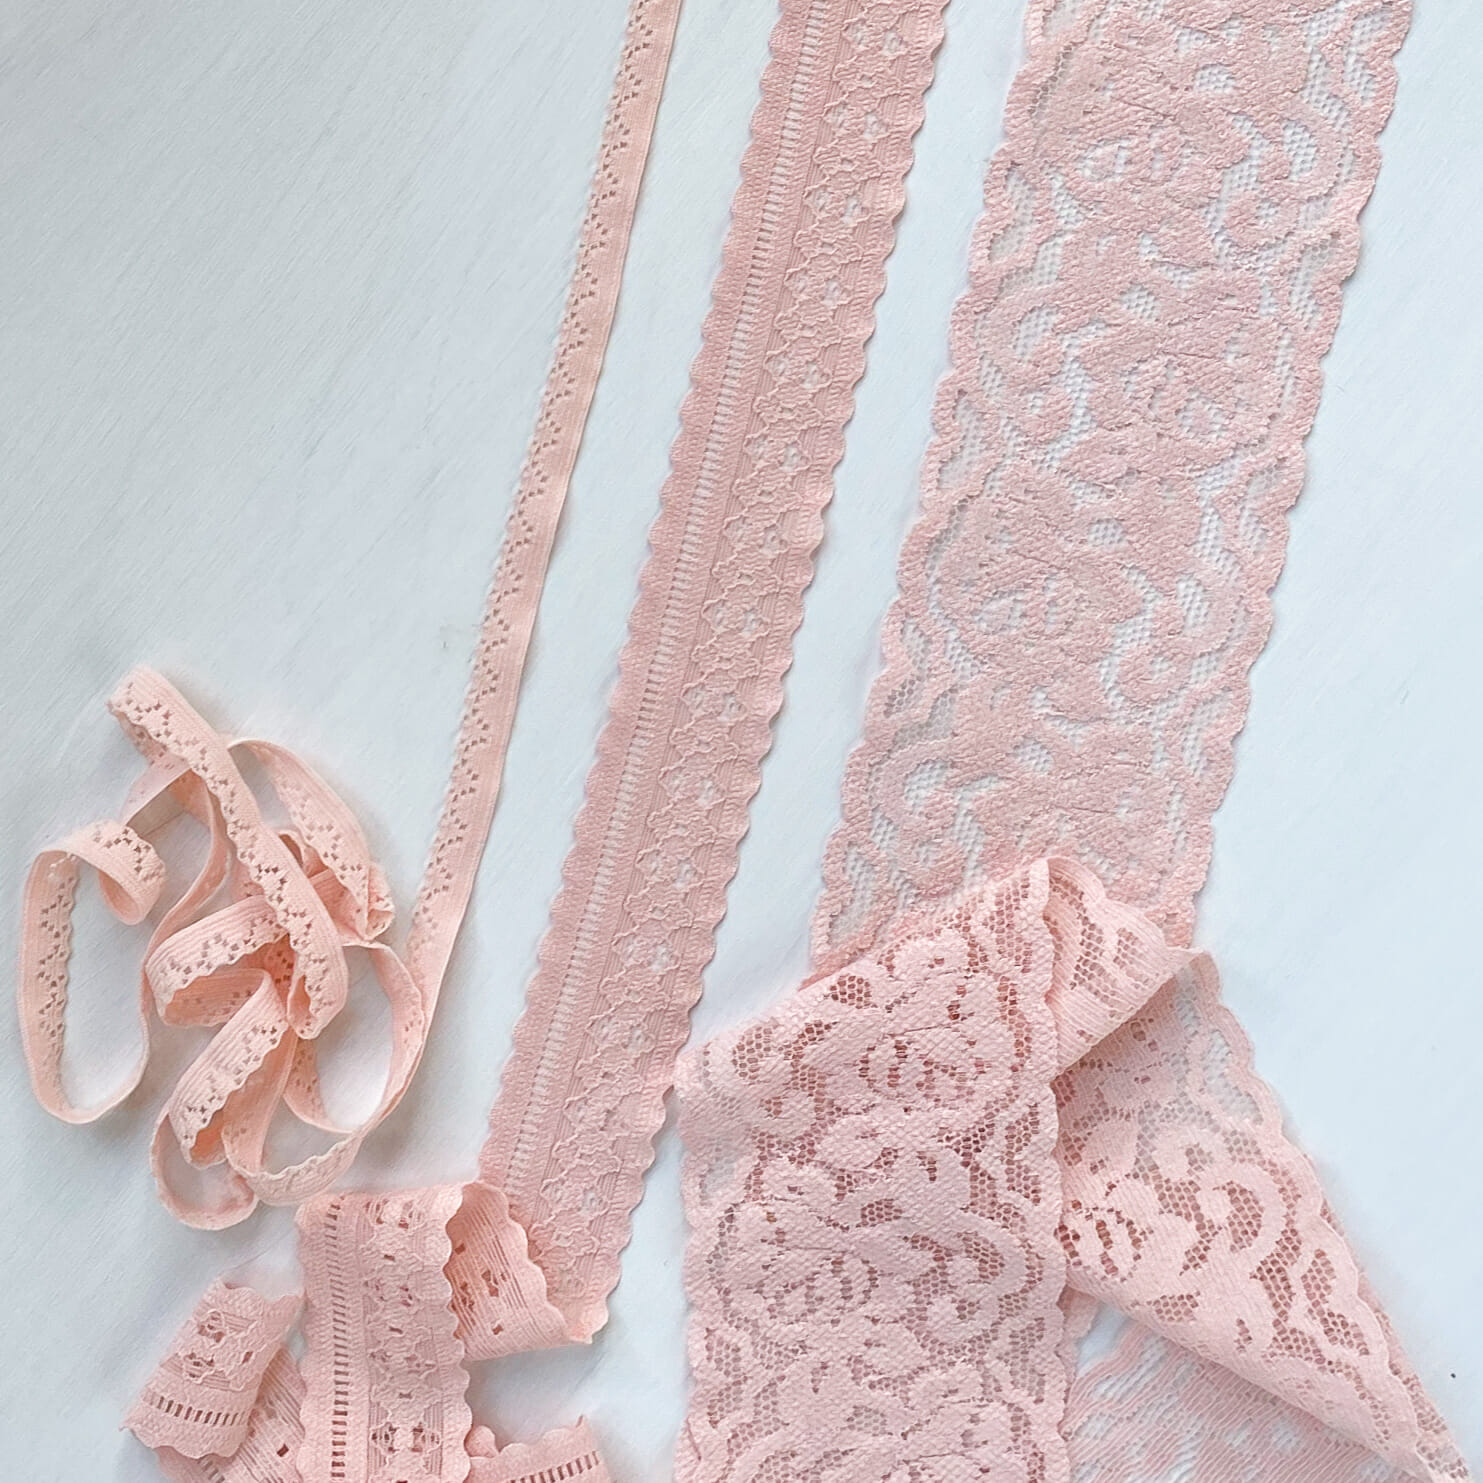
This time I have a fun pattern hack for you! This one was inspired by my mom who looked at this gorgeous Coco Rose Gold stretch lace and said ‘This would make the most beautiful pair of tap shorts… too bad we don’t have a pattern for any yet.” Well – never fear- because I am the queen of the pattern hack and my mind immediately went buzzing to how I could turn one of my patterns into a pair of tap shorts- and the obvious choice was the View B of my Wednesday Cheekies! The Cheekies are already designed with a shaped seam in the back, like a pair of shorts, but they have a separate gusset, which makes it easier to fit, no seams in the gusset (yay!) and makes it so you can use much narrower laces than traditional shorts patterns. It’s really a perfect fit with this pattern hack!
How To:
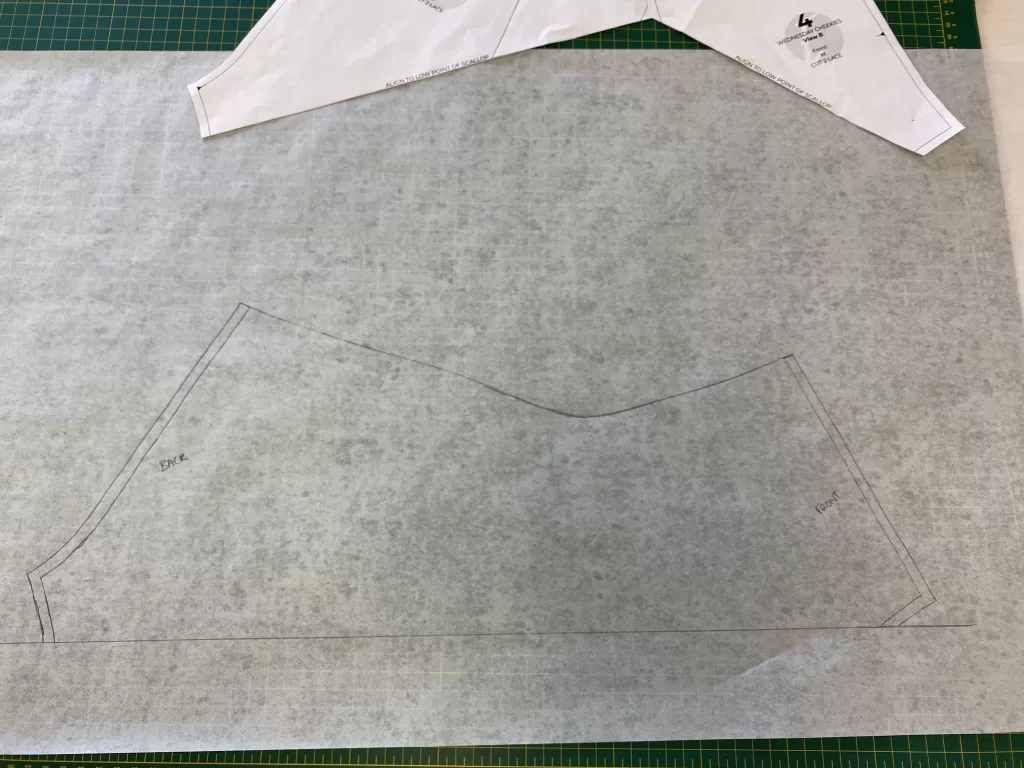
The first step is setting up your pattern pieces. This tutorial is for View B (the stretch lace view) of the Wednesday Cheekies. The gusset piece will stay the same for these shorts but the front and back pattern pieces get joined and modified.
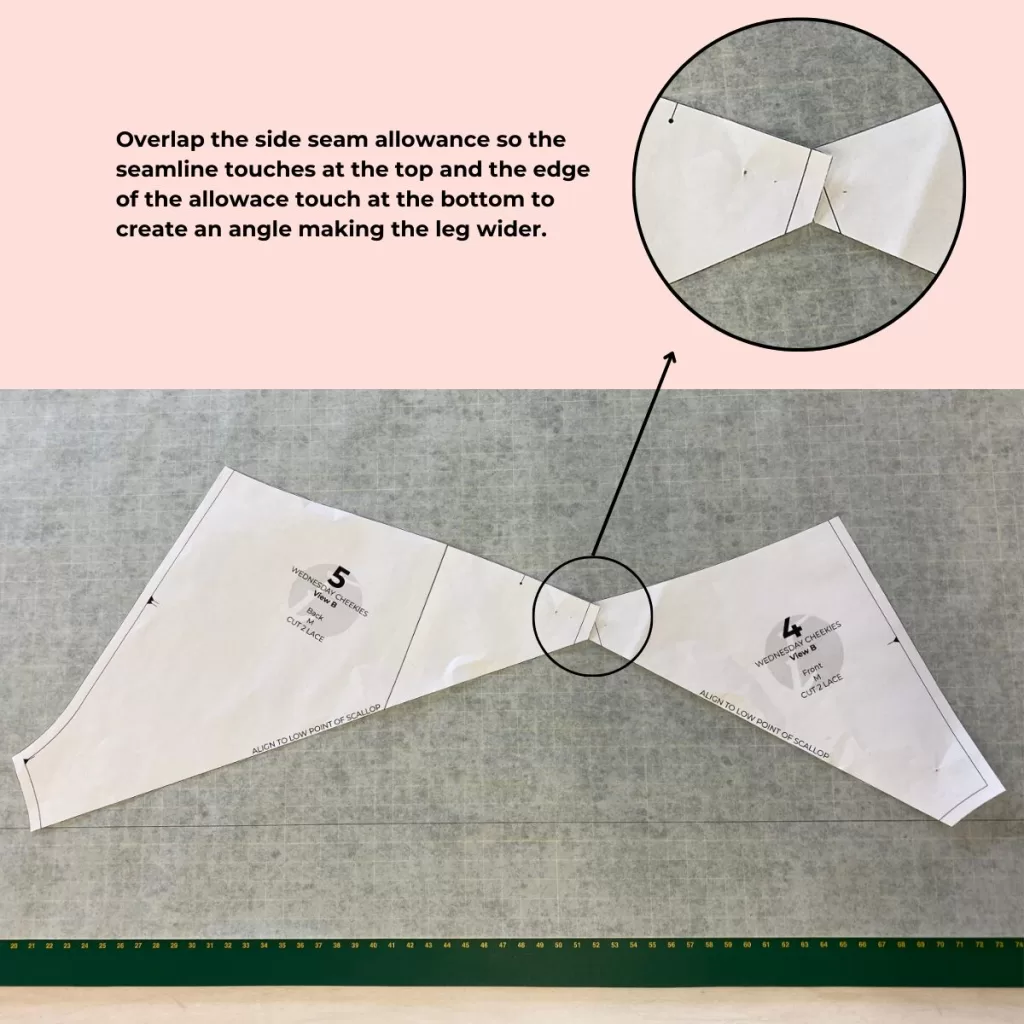
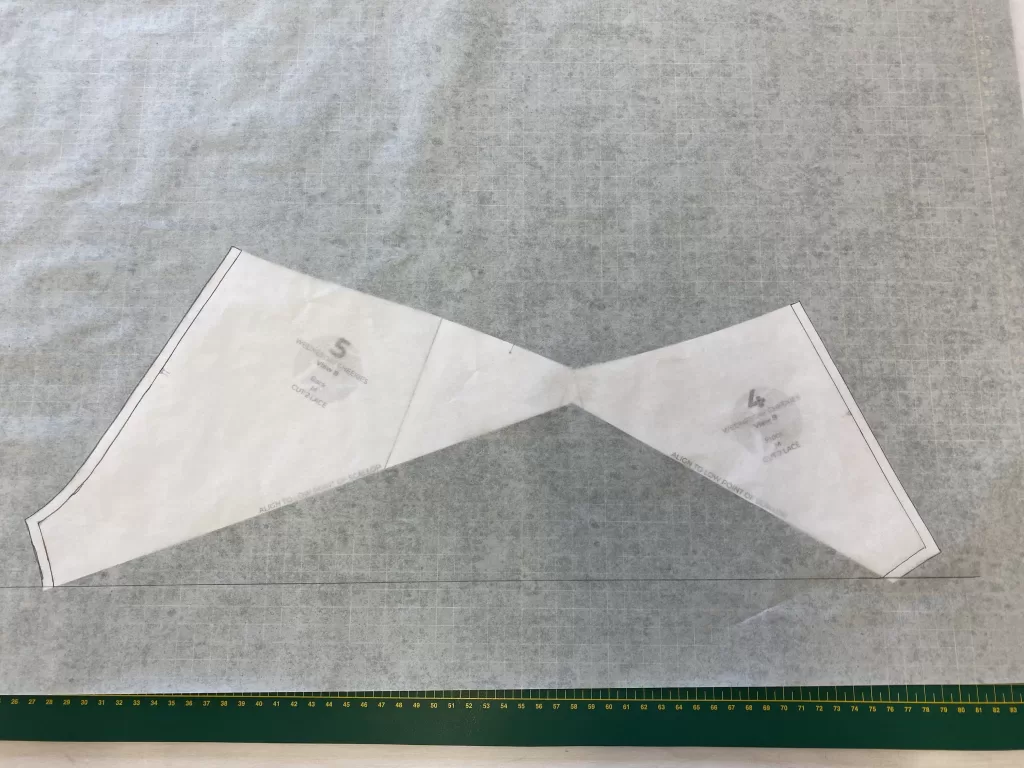
To start, take the front and back pieces and join them at the side seam. Connect them so they are touching at the seamline along the waist edge, and then spread the pieces so the outside of the seam allowances is touching at the bottom. This creates an angle to help spread the pieces and make them wider over the hip, since these tap shorts will be covering a lot more of this area. You can tape your pieces together like this to hold them in place.
Next, trace the center front, center back and gusset seams onto tracing paper. I like to use a thin tracing paper and place my pieces underneath so I can see the seam allowances and trace everything out neatly. Then connect the front and back gusset seamlines with a straight line- this will be the bottom edge of the shorts.
Then trace the waist edge, joining at the side seam with a gentle curve and mark the front and back. At this point, if you were to make up the pattern like this, it would be a cute pair of fitted shorts- this pattern was designed for negative ease, which means that the fabric is meant to stretch over the body so the fit would be stretched. But we’re looking to create some cute fluttery tap shorts, we need to add some more volume!
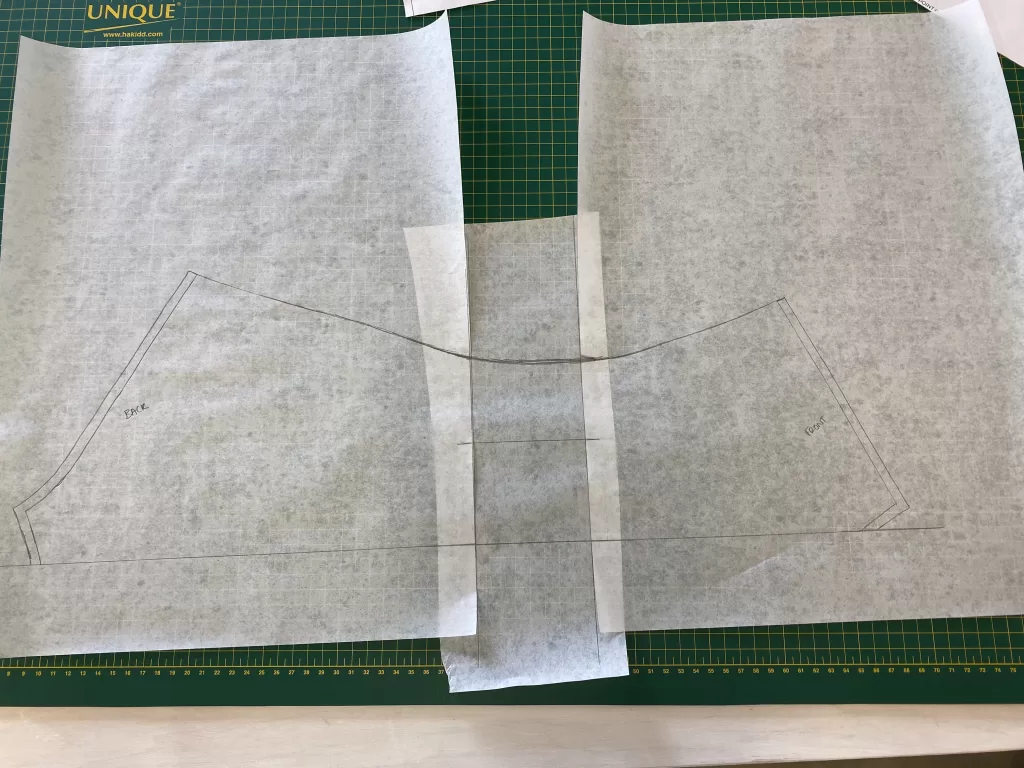
To add the volume I like to start by making a guide mark- which is a straight line that is parallel to the bottom edge of the shorts, then I cut a straight line through the shorts perpendicular to the bottom edge and spread them apart the amount I want to add. Then draw a straight line on the fill piece paper and line this up with your guide mark- this will ensure that you keep your pieces aligned and one isn’t higher than the other. Connect the bottom edge of the shorts with a straight line, and the waist edge with a gentle curve.
The amount of extra volume that you add is a matter of the look you’re trying to achieve, you can add LOTS of extra for very fluttery shorts, or just a little bit for some extra give. I wanted a soft flouncy look, so I added 3″ (about 8cm). But the sky is the limit here 🙂
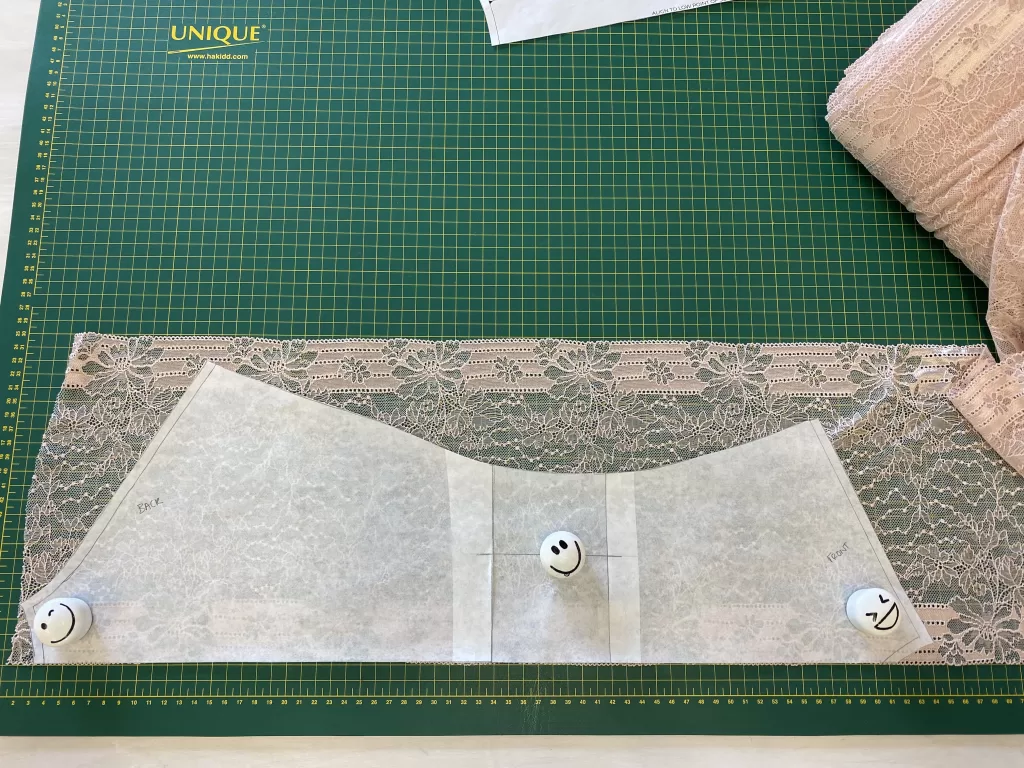
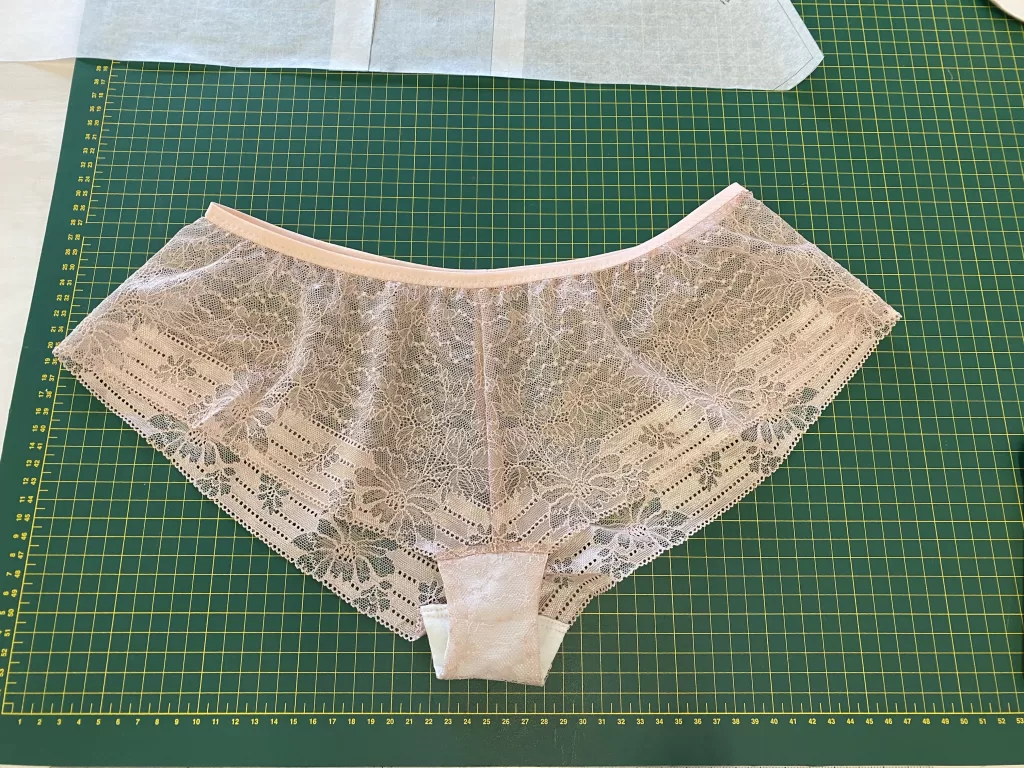
This completes the pattern alterations- and remember that the bottom edge of the shorts is lace, and the waist edge is finished with fold over elastic, so there is no need to add any seam allowance on those edges. To cut out your pieces, line up the bottom edge with the lace and cut 2 pieces, one left and one right. And cut the gusset and cotton gusset lining as usual in the pattern.
Sew the center front and center back seams together, and the gusset to the front and back following the instructions, the only difference is that there is no side seam anymore.
At the step of applying the waist elastic, you will need to make new elastic marks at the sides, the Wednesday usually has 4 pin marks to help apply elastic evenly- the center front and back seams will be the same. To make new side elastic marks, find the halfway point between the center front and center back and mark with a pin. Use the elastic length indicated in pattern for your usual size- but you will notice that the waist edge of the shorts is longer with these modifications, so you will have to pull the elastic more to reach each pin mark. This will gather the lace to help make that ruffle short look. If you find it easier with more pin marks you can divide your waist edge and elastic into 8 sections instead of 4.
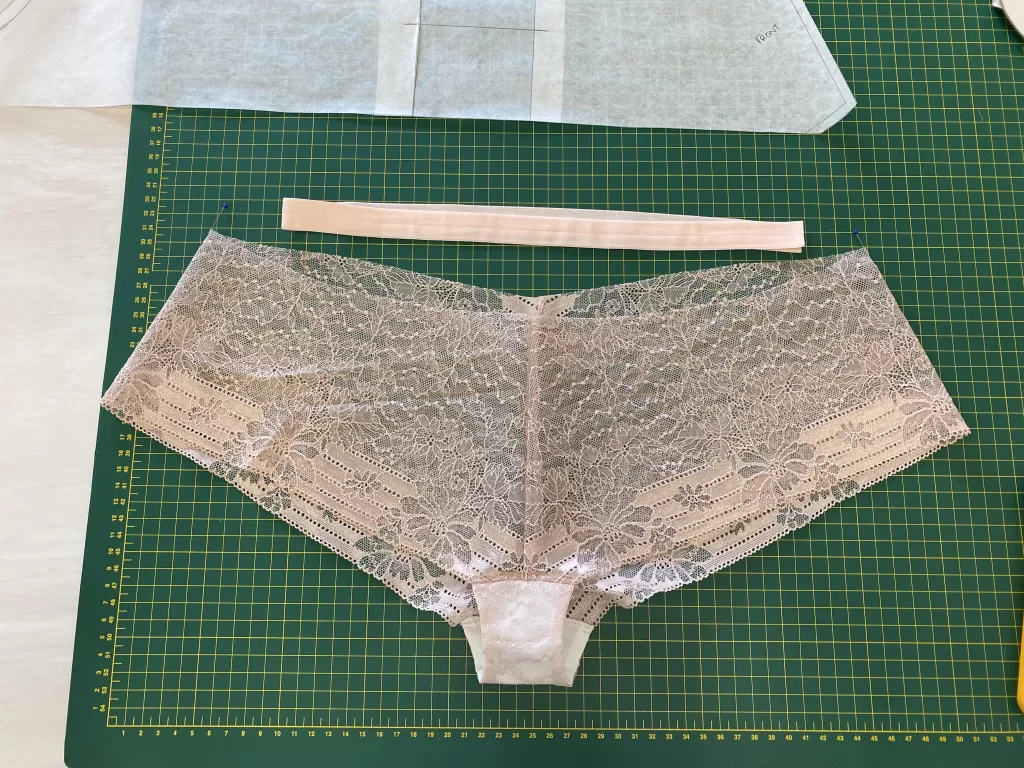
Voila!
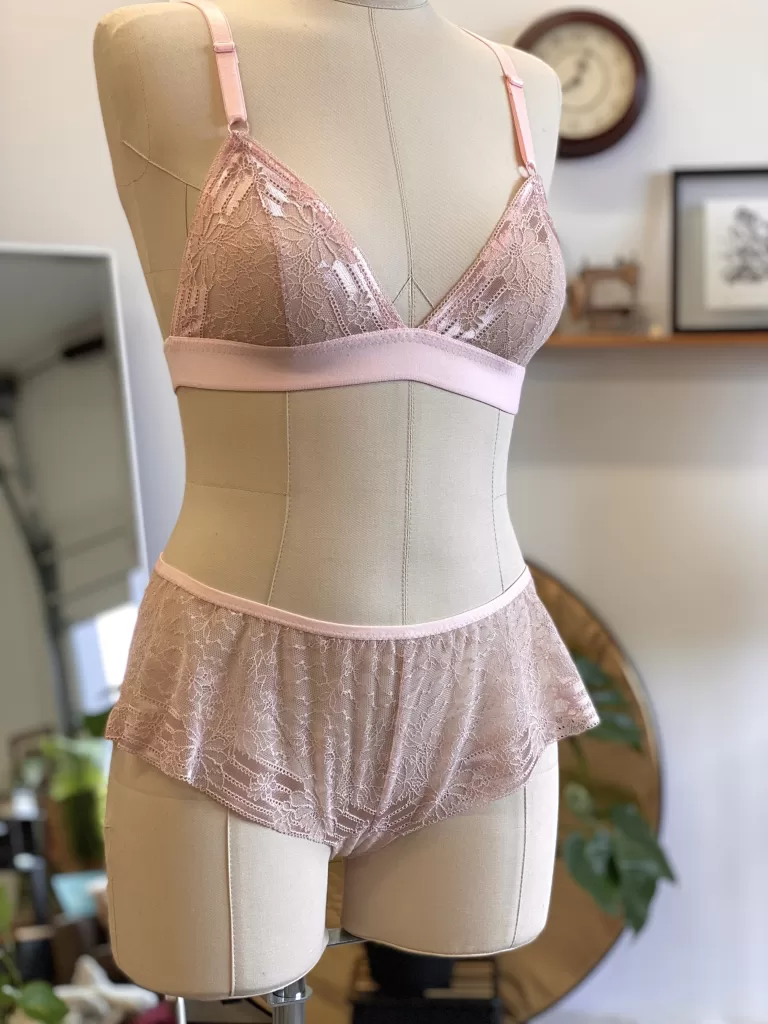
Were the modifications easier than you expected? Isn’t it such a cute modification? I can’t wait to go and make so many more pair of these, and definitely one for my mom in thanks for the inspiration!
I’d love to hear if you try this modification in the comments below 🙂
Happy sewing!
xo
Erin
Love it! Can’t wait to try it out!