


Hi All!
I have another pattern hack for you today- I realized I’ve never done a pattern hack with my Thursday Thong pattern before. It’s such a simple staple pattern and I love it so much the way it is with the stretch lace trim waistband, but I got thinking about how I could make it a more matching set with a stretch lace bralette. This tutorial is incredibly simple, and requires pretty much no actual pattern modification, just different supplies 🙂
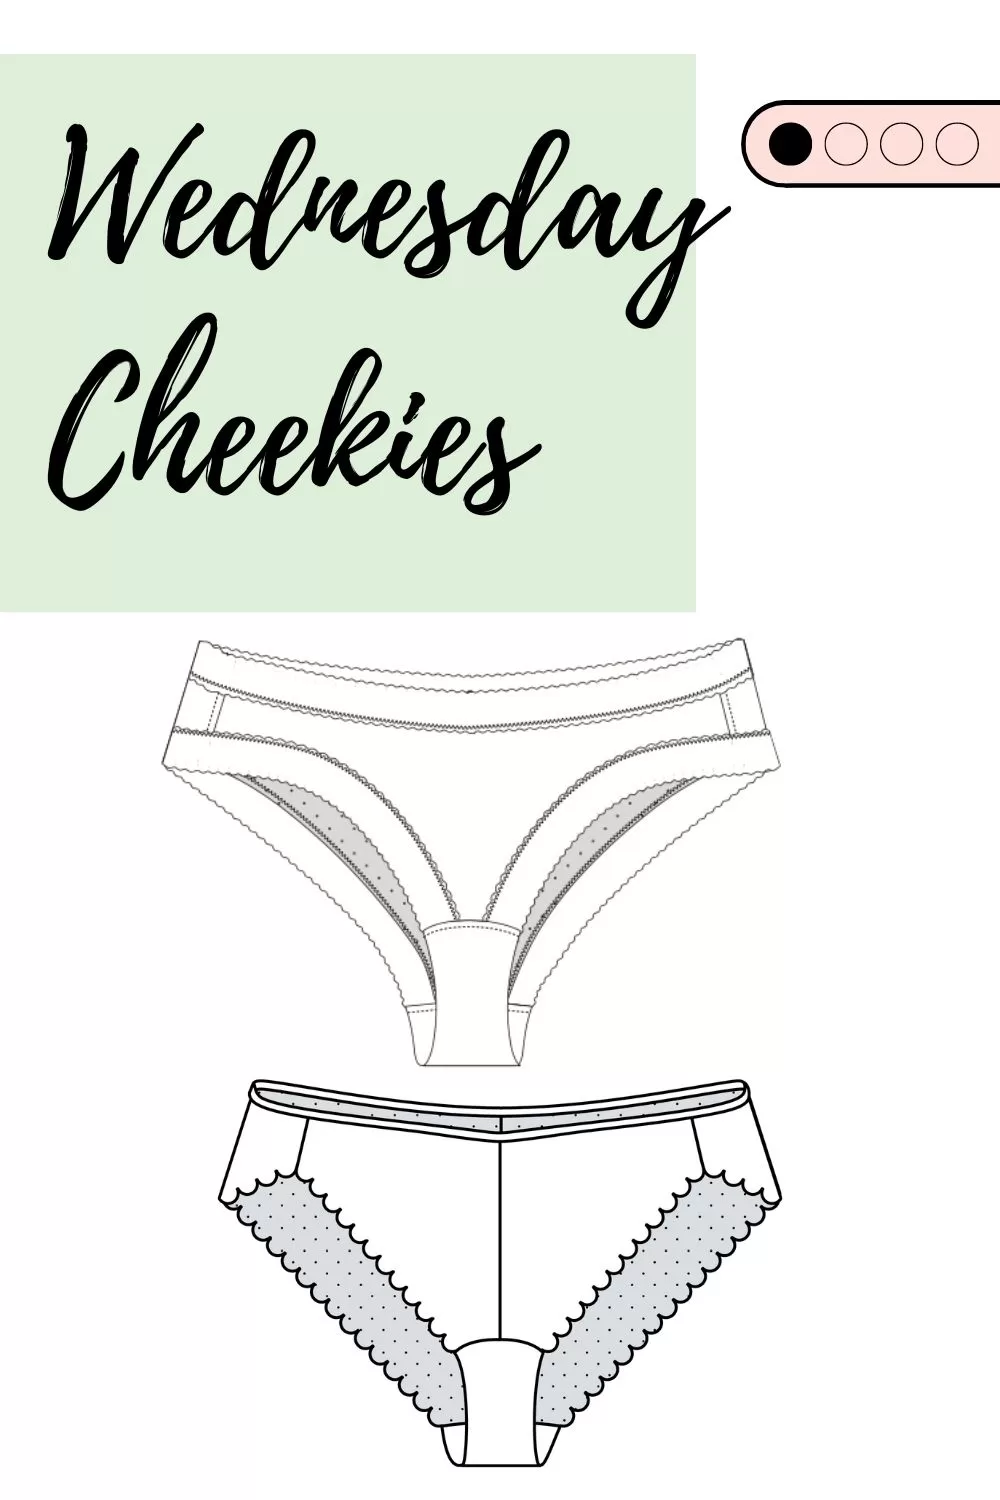
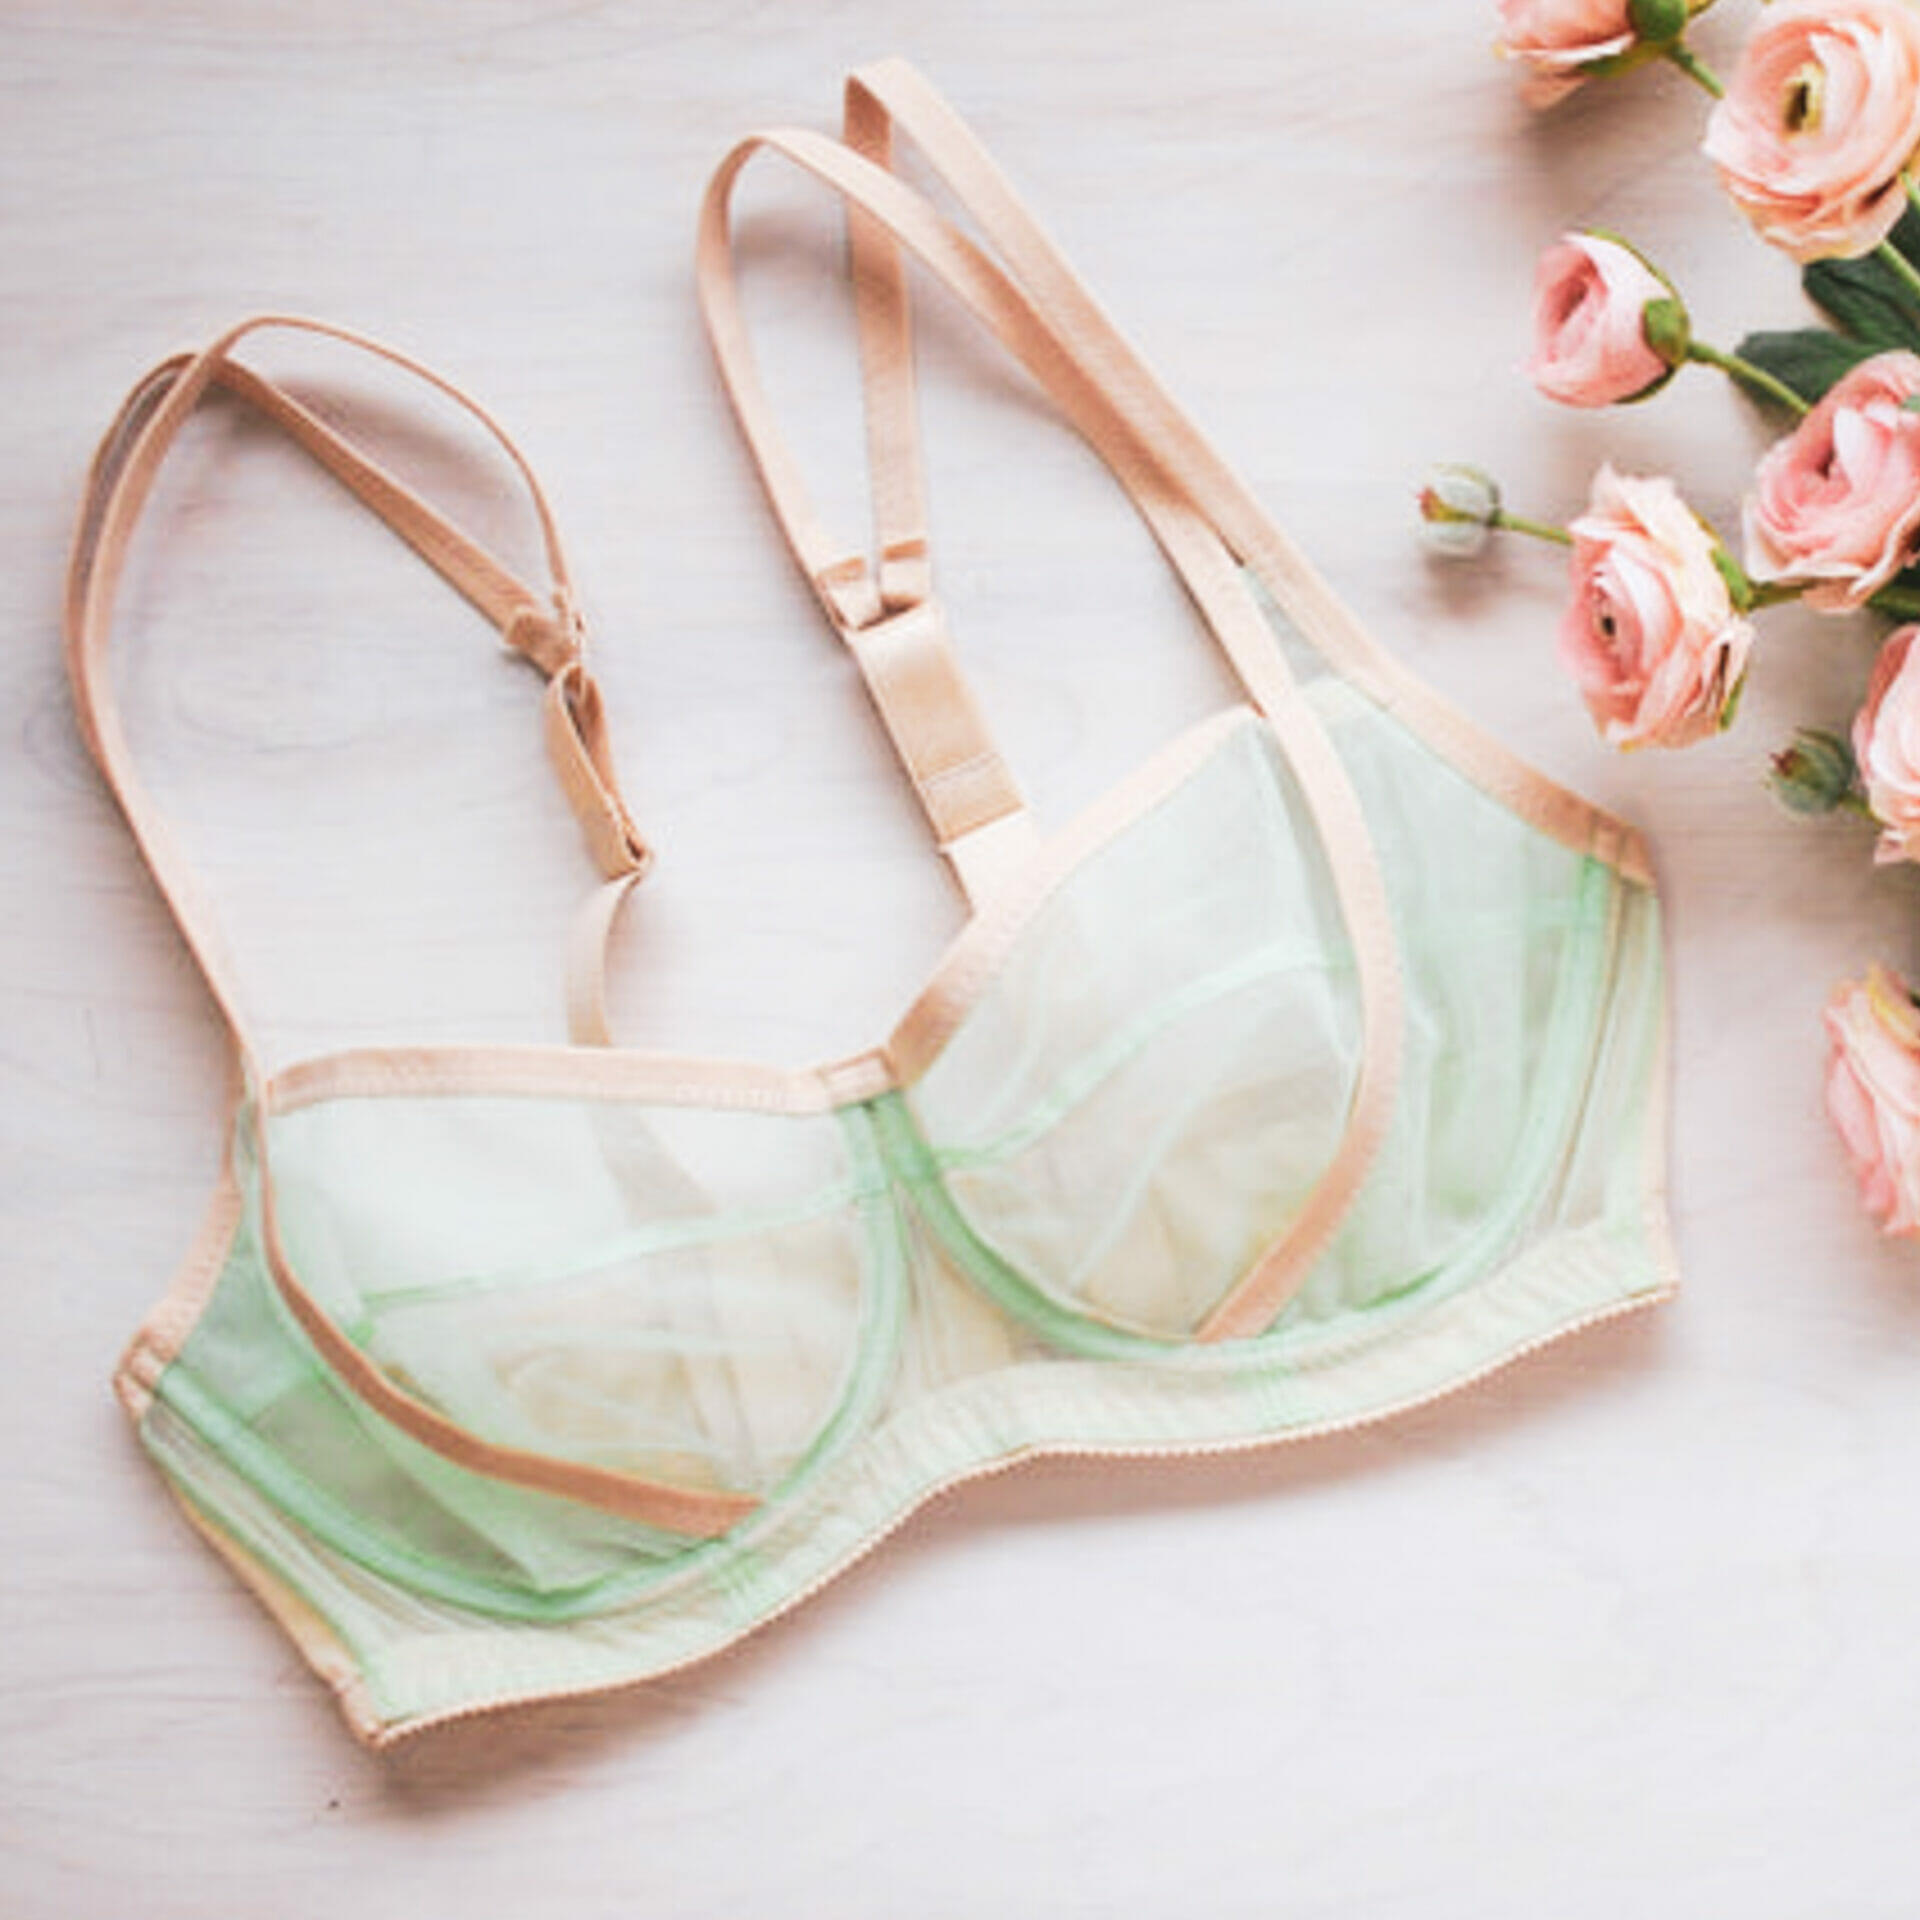
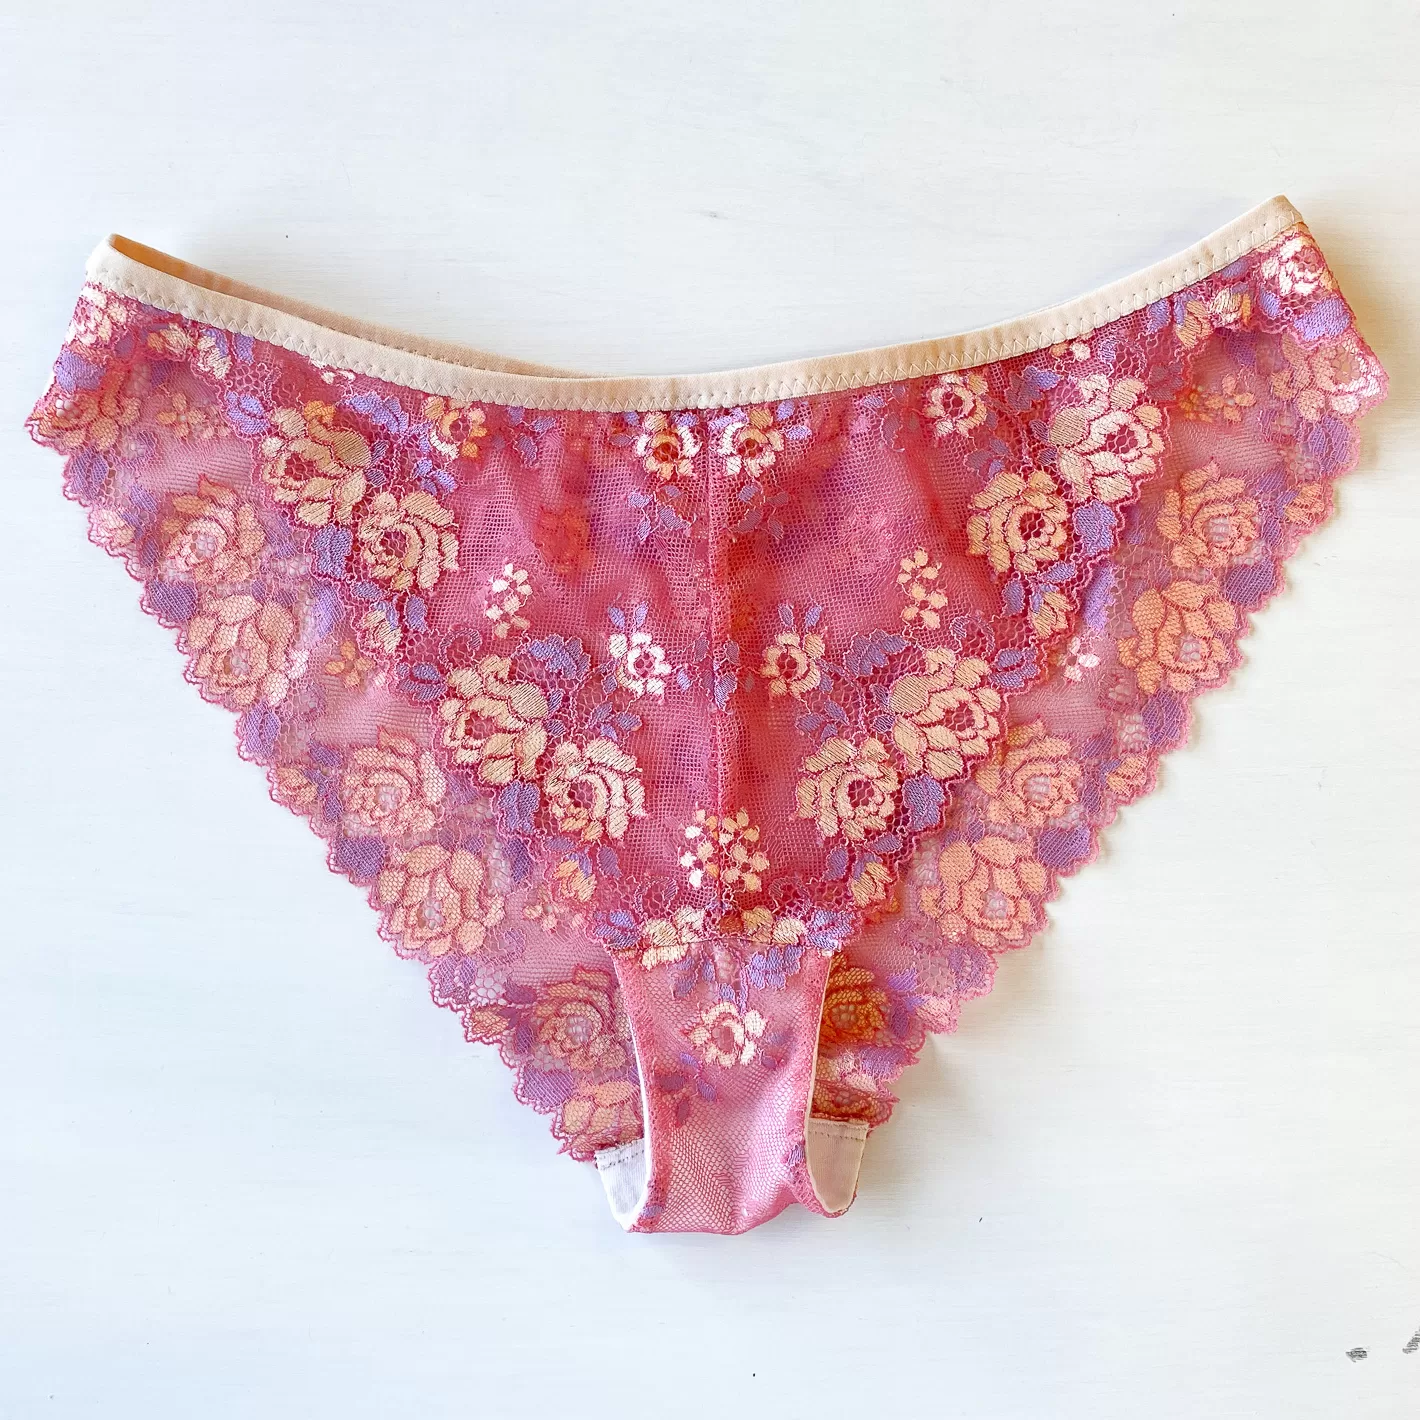
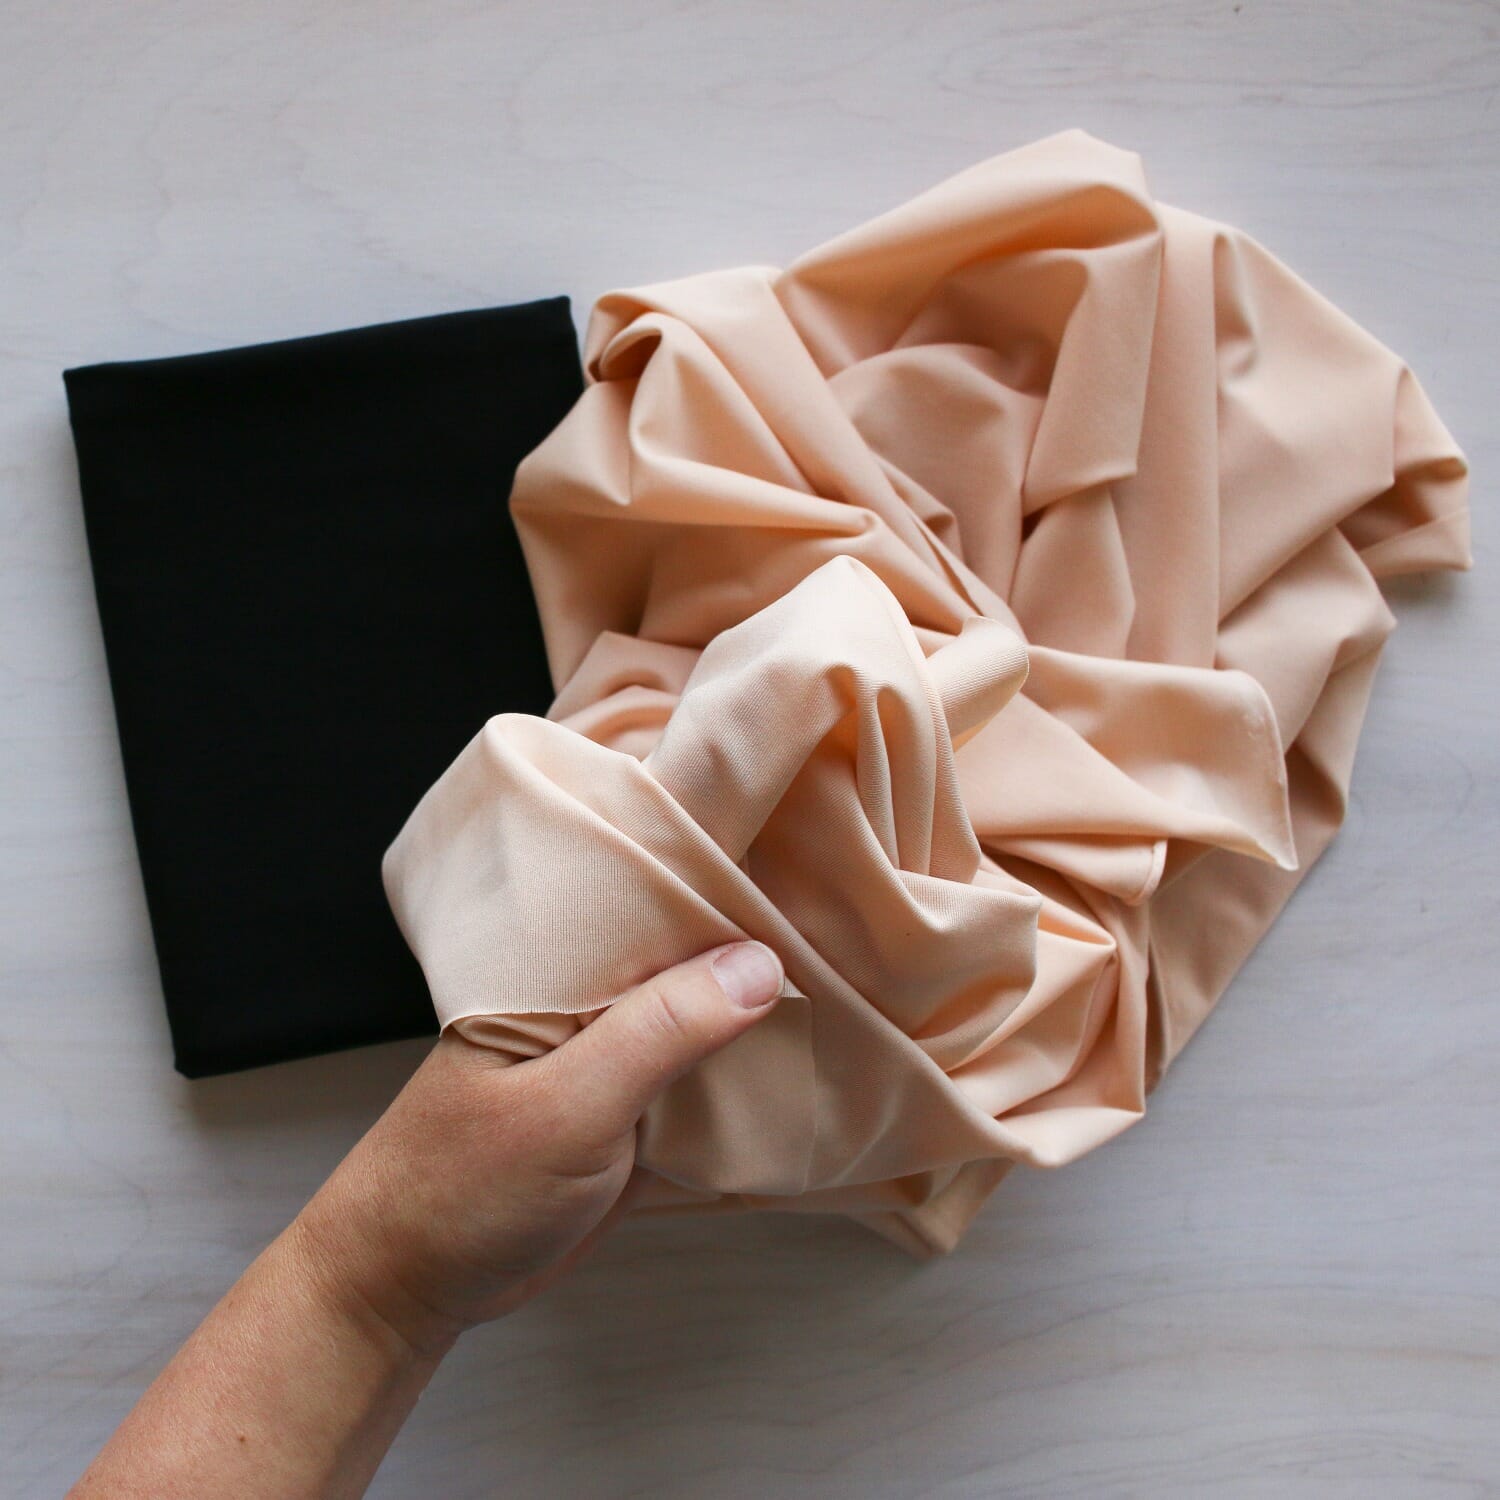
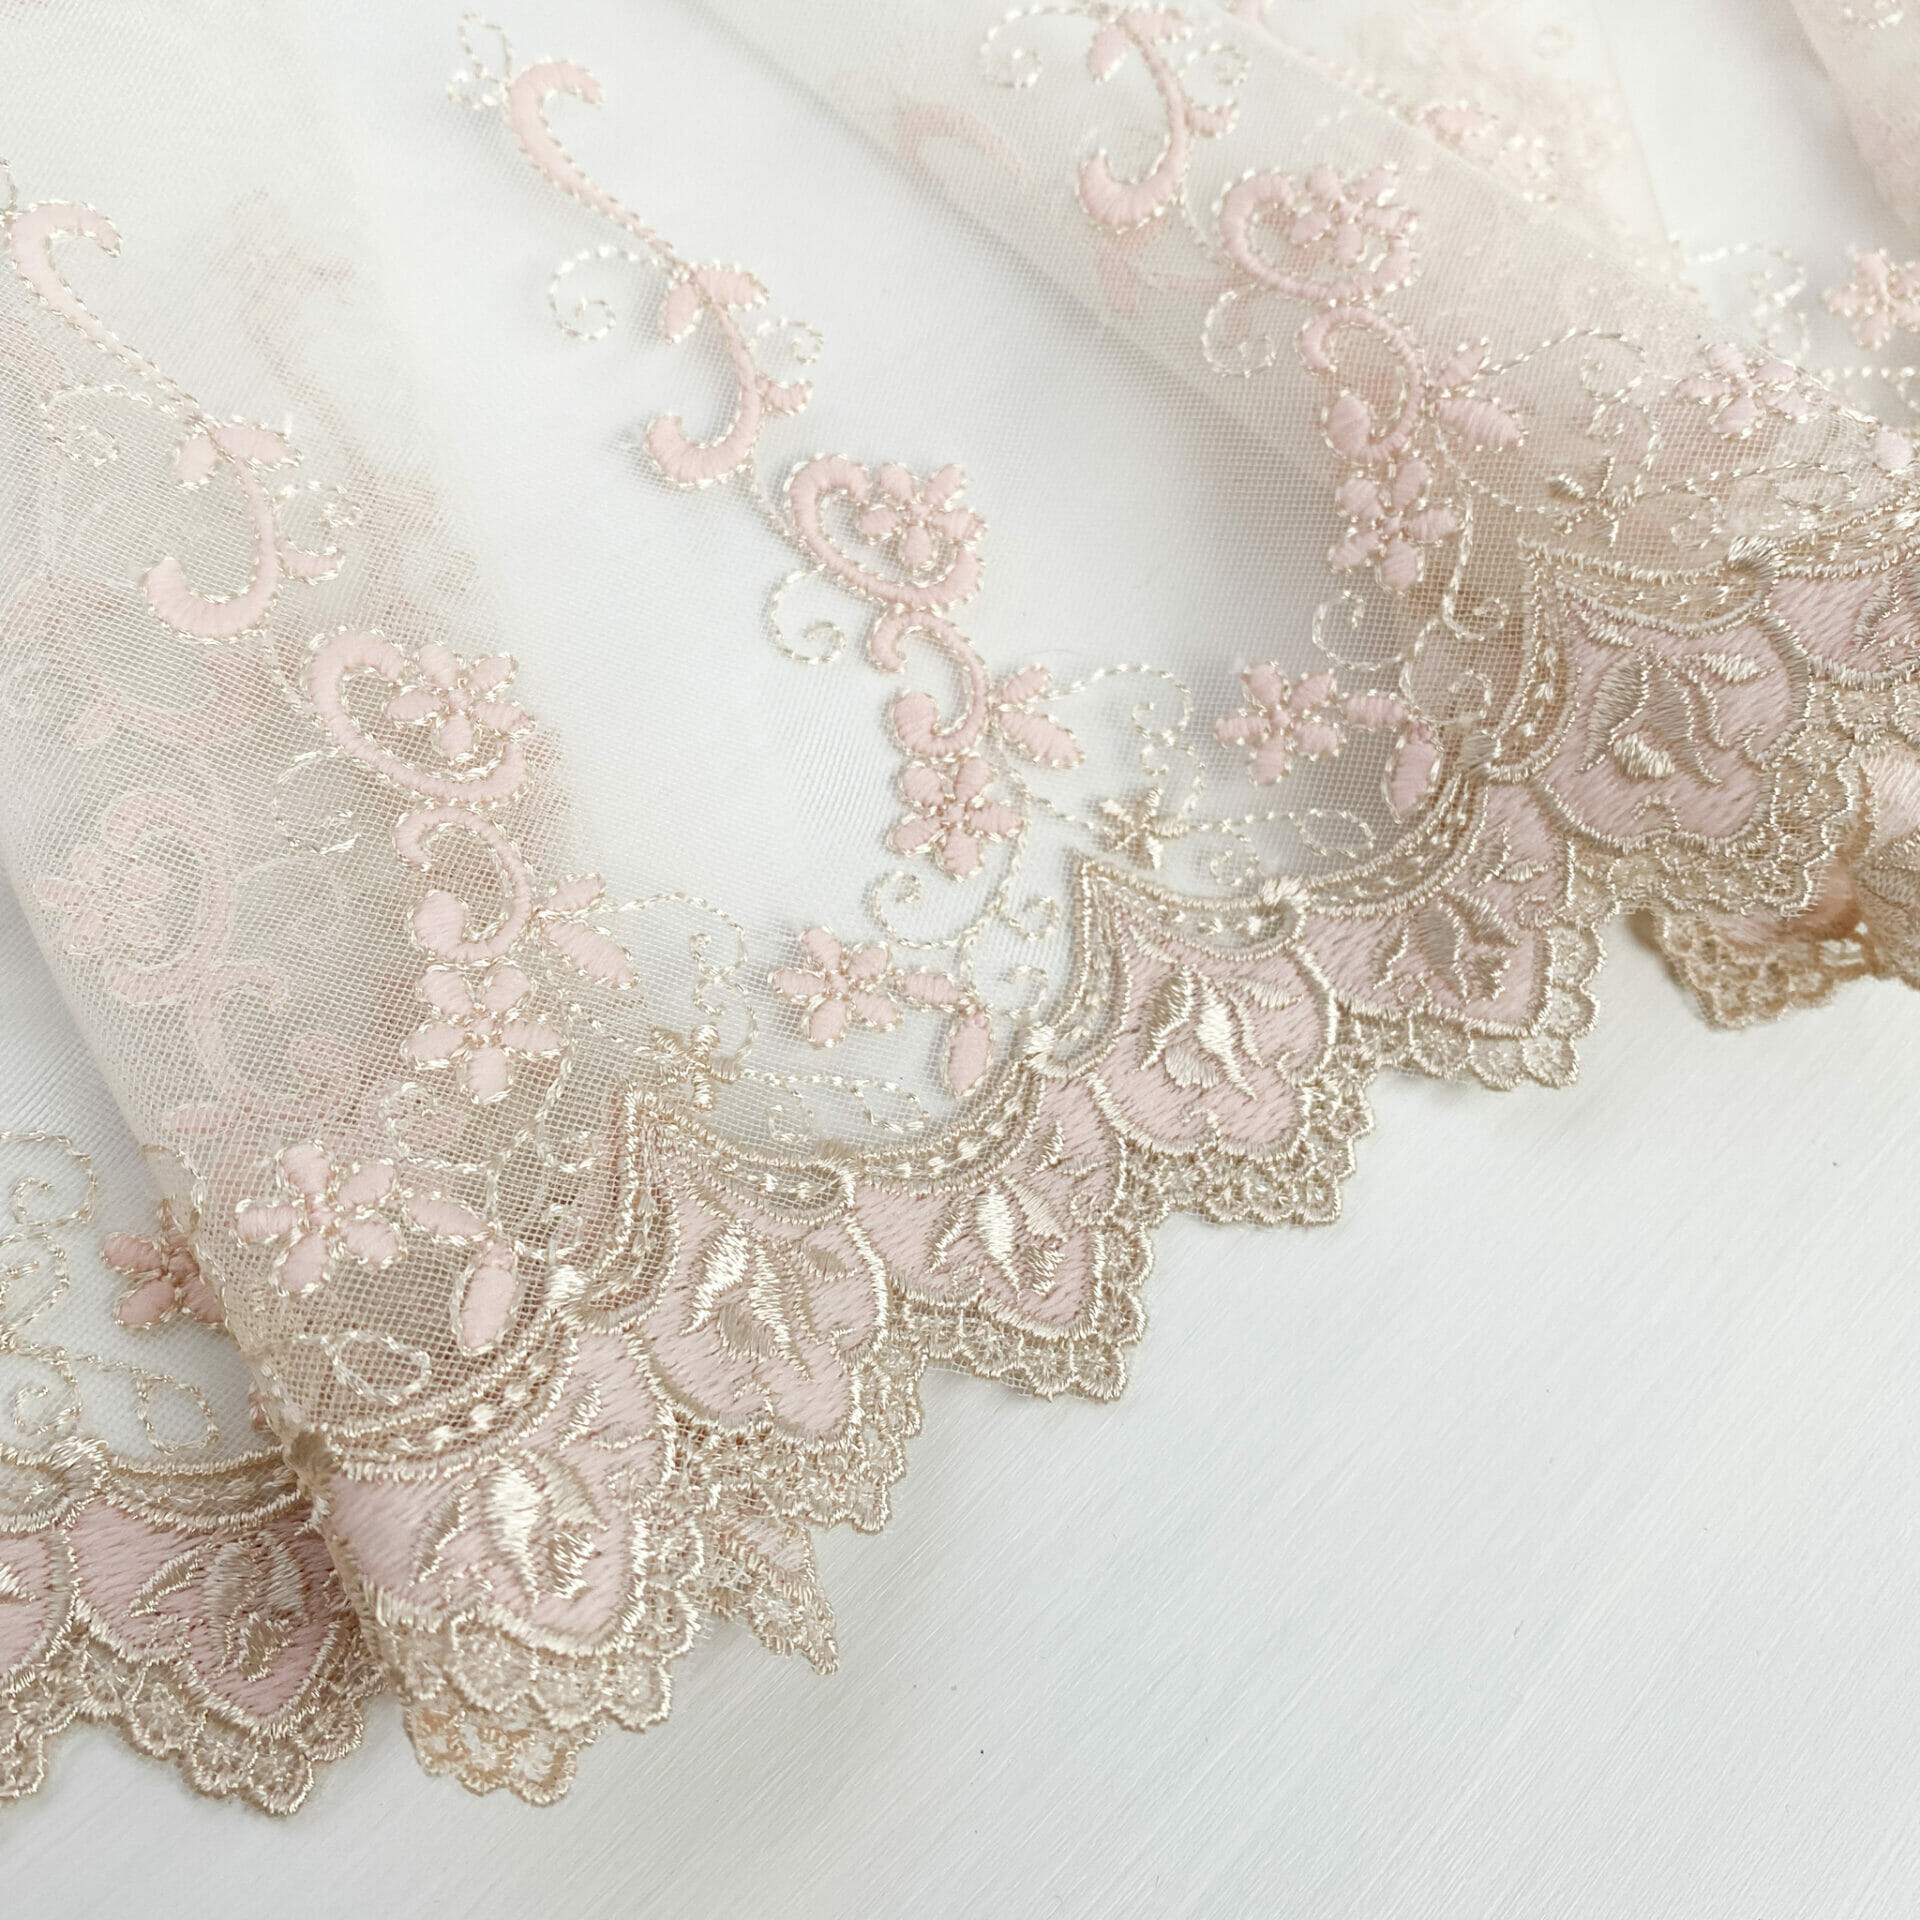
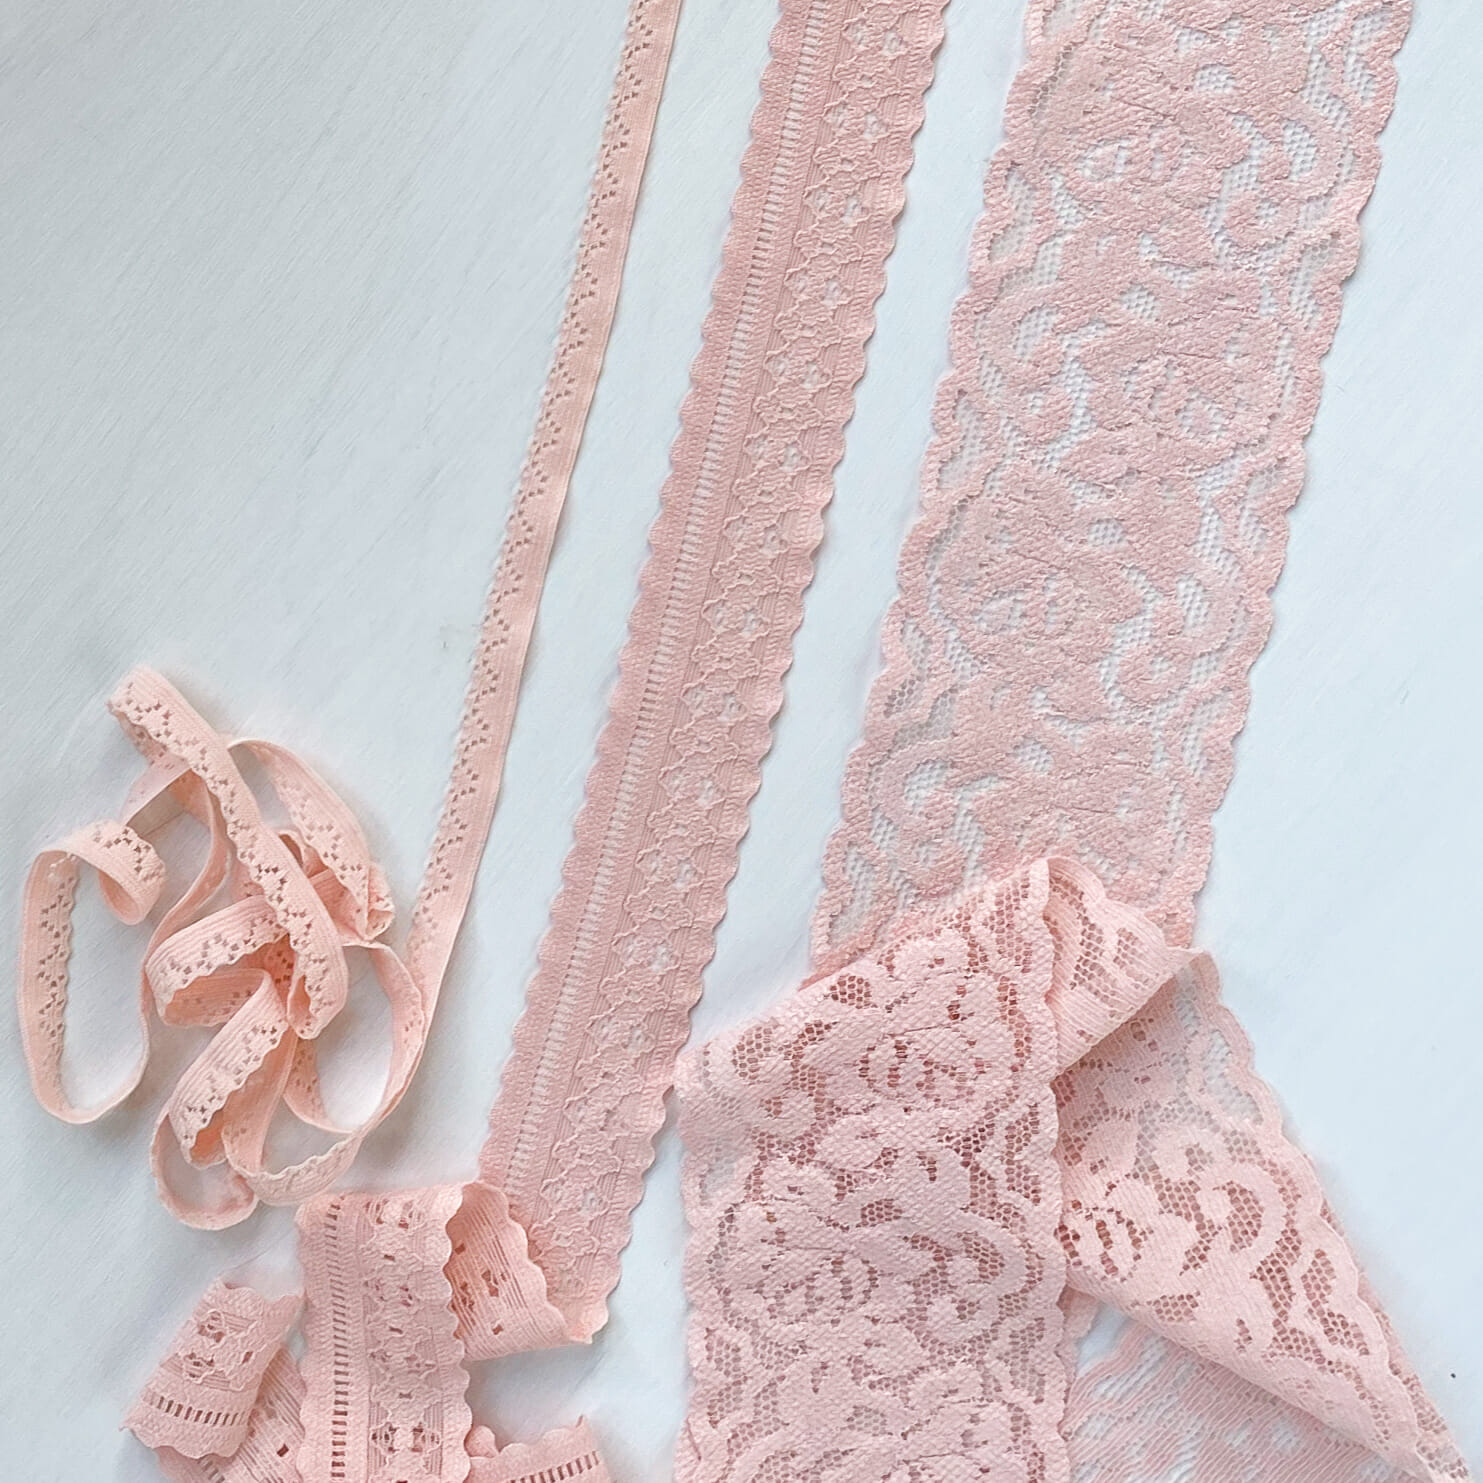
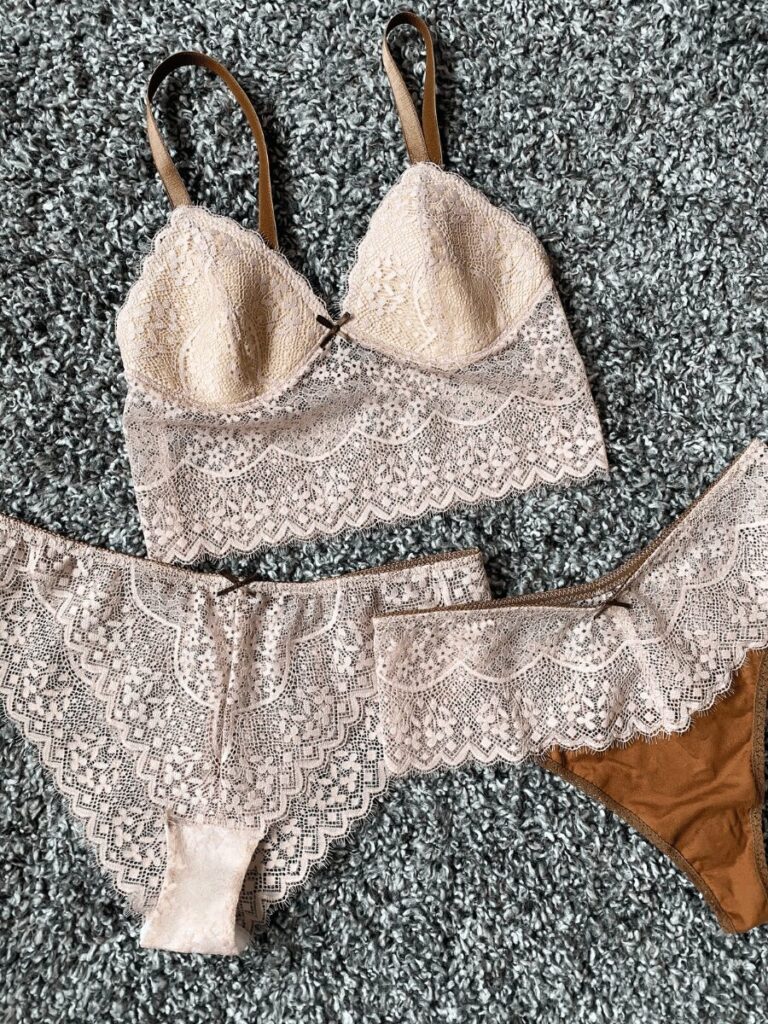
The inspiration for this tutorial is this gorgeous Rose Dust Stretch Lace. I made myself a bralette with it and wanted some matching panties- of course my go-to for stretch lace is my Wednesday Cheekies (and I did make a pair of those too!) but I wanted some options and I thought this would be the perfect change to stretch the Thursday Thong pattern a bit and do something new with it!
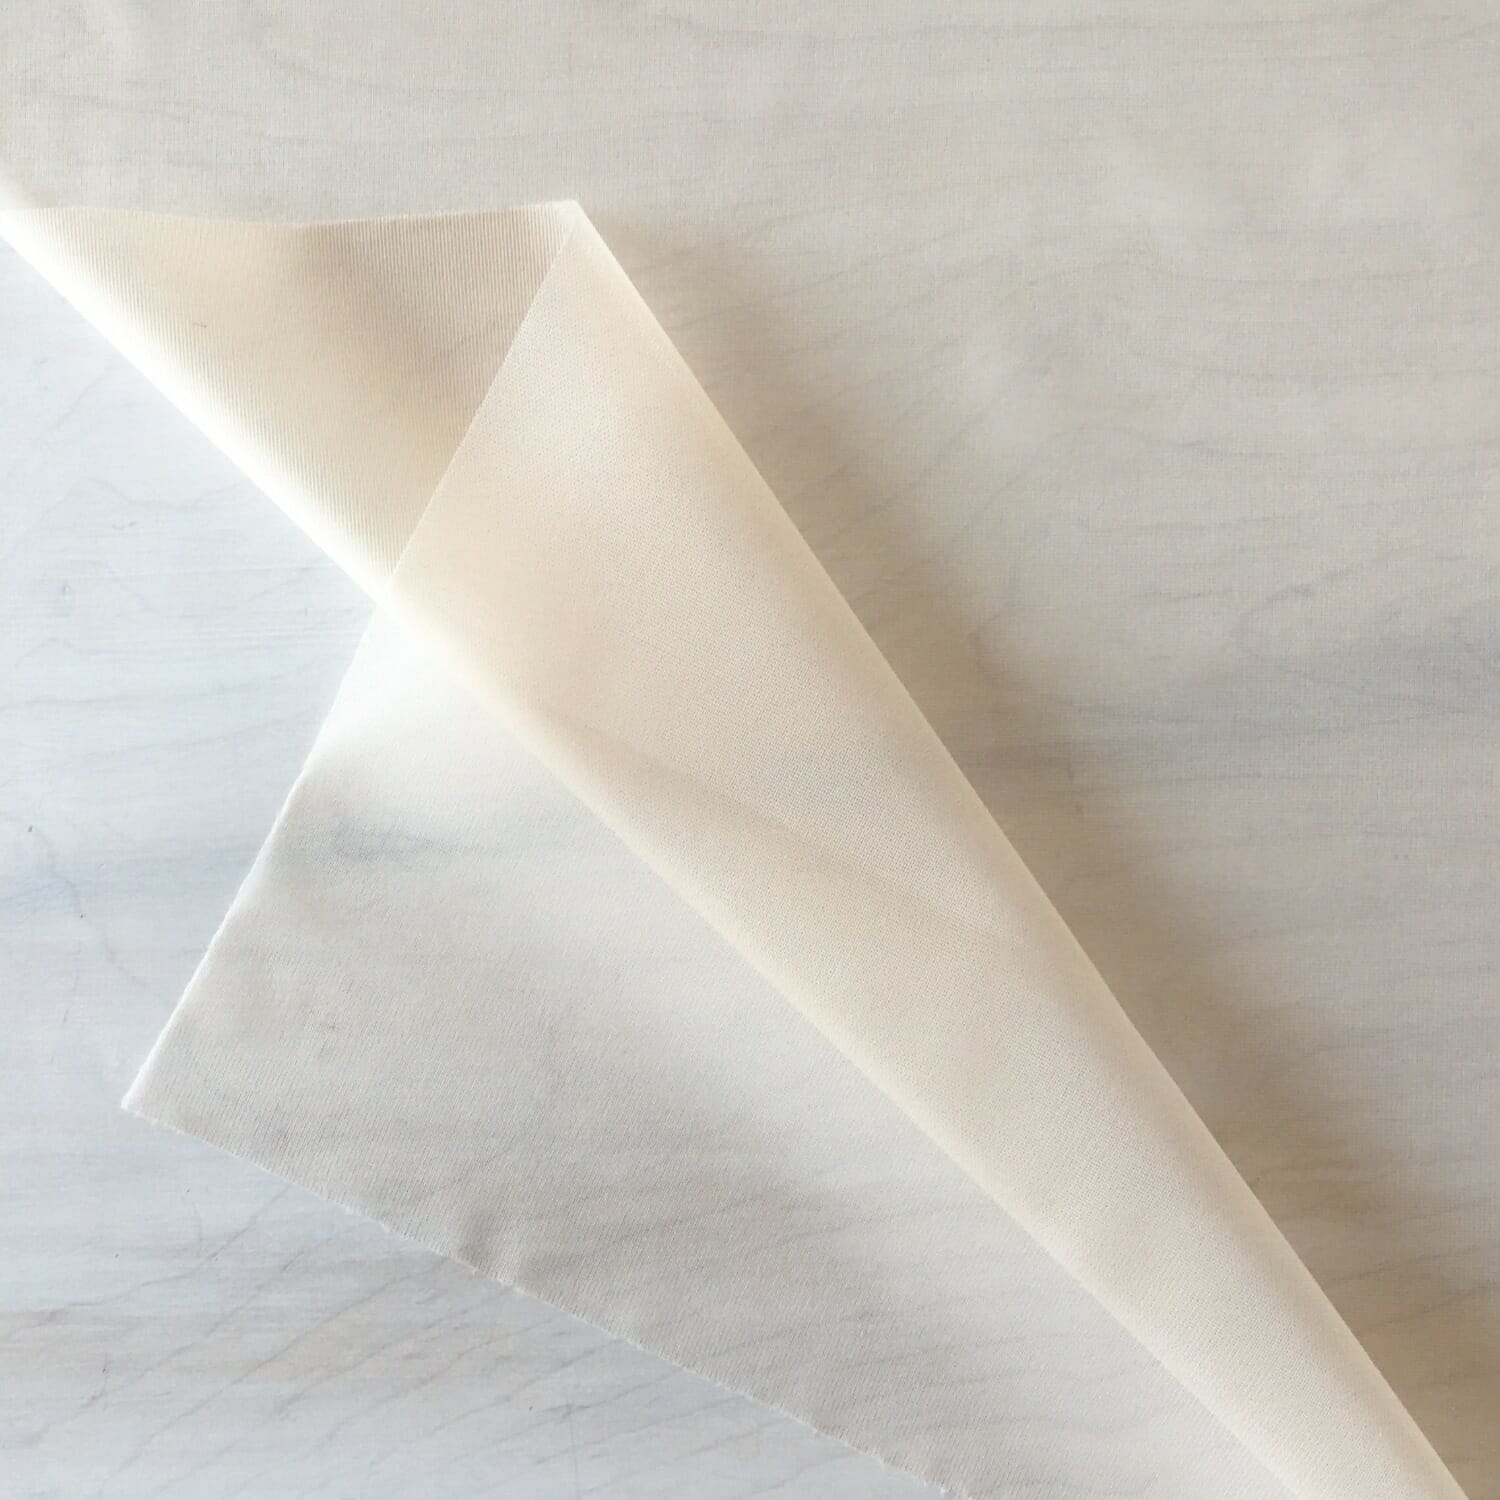
The only pattern piece that you have to consider for this tutorial is the waistband piece, usually cut with a stretch lace trim like our Flora. I’ve added added a paper other half of the pattern piece to show it full and not on the fold. You’ll use this piece as a guide to cut your stretch lace.

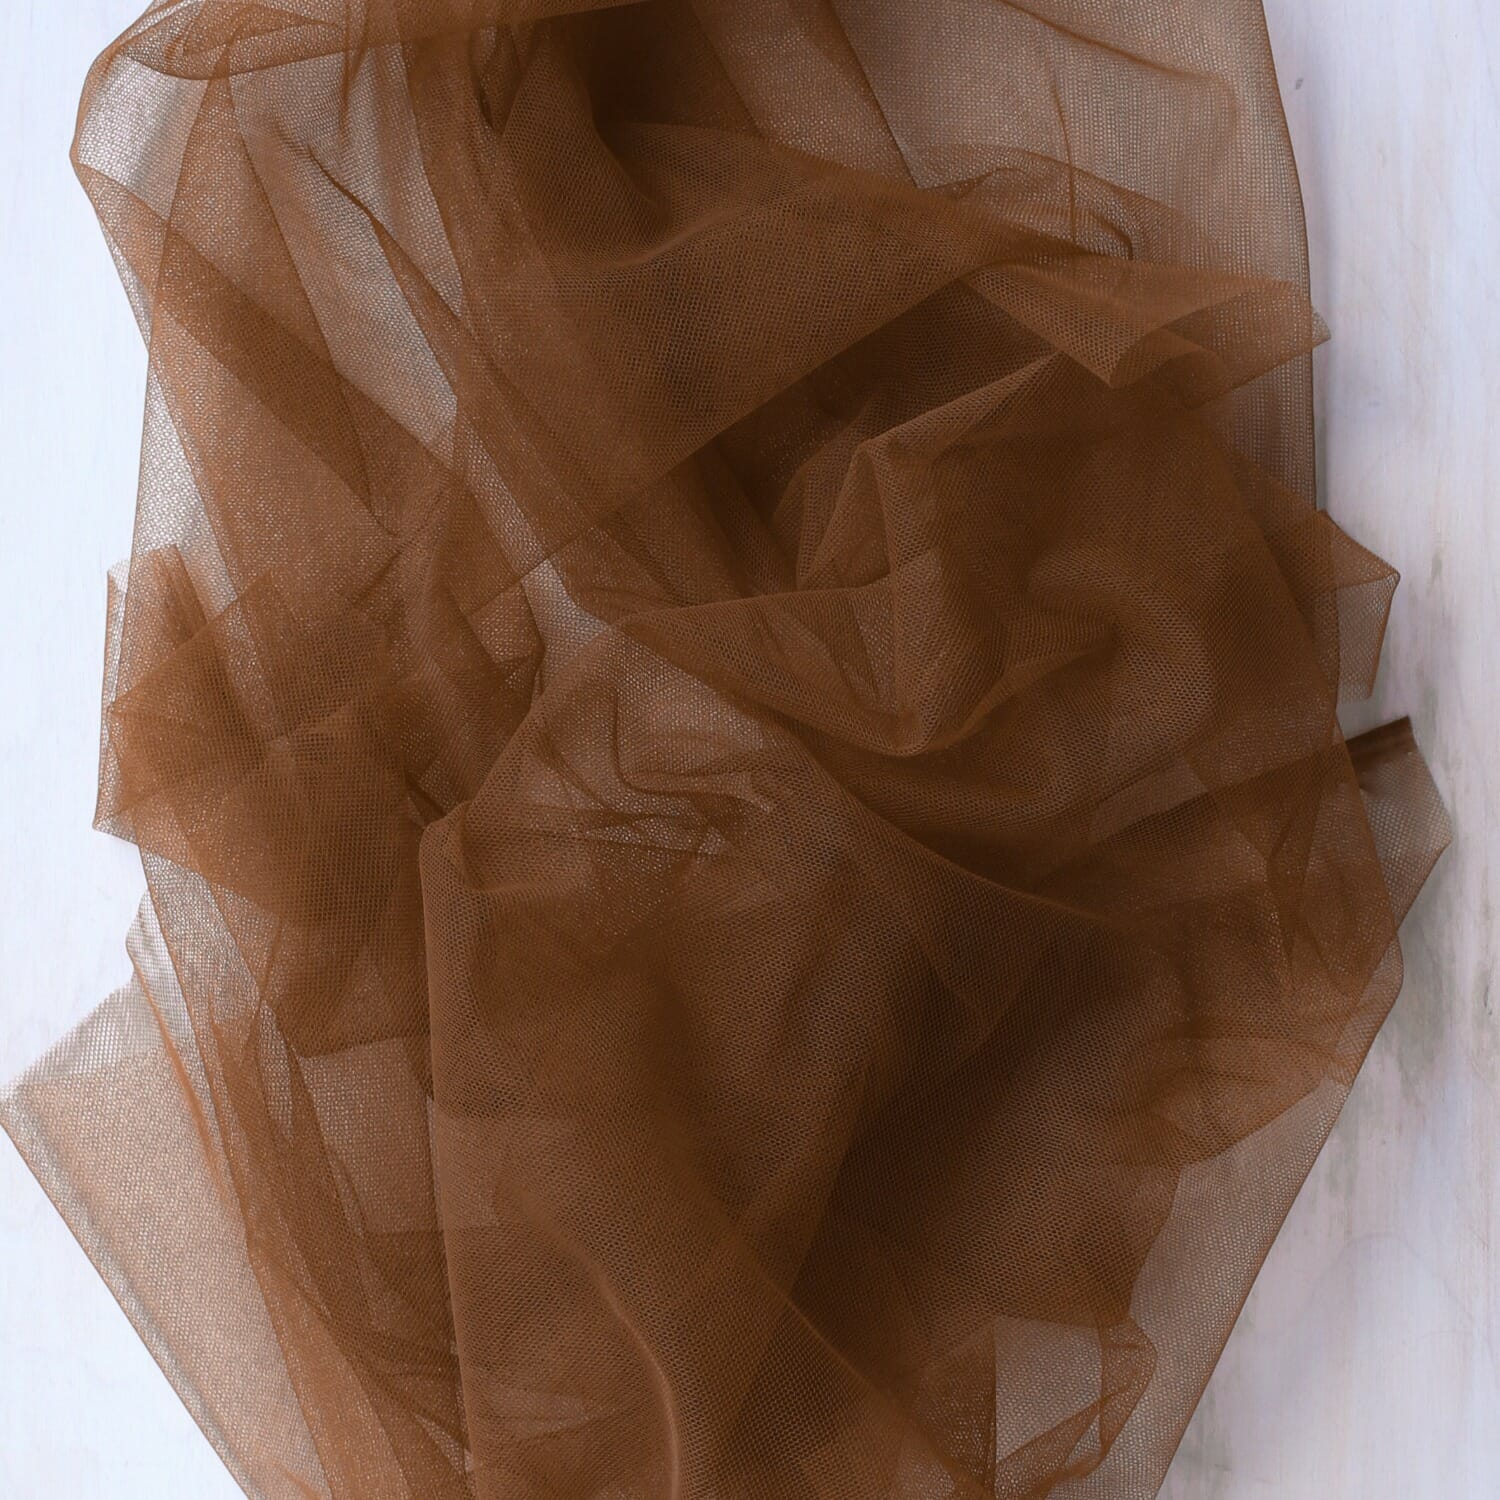
The lace edge will be along the bottom of your waistband and the top edge will be a cut edge finished with elastic. This Rose Dust lace is about 9-3/8″ wide (about 24cm) and I folded it in half and cut it along the fold, you could use any width of lace that you like for this- I found that this hit right at my waist and I’m fairly long-waisted, so if you want a lower rise you can cut your lace down to your desired height. Also, remember to consider the elastic you want to finish with- I used a 3/8″ picot elastic, so 3/8″ was used in elastic allowance, but if you used fold over elastic you would not lose any height.
** An important note before you cut**
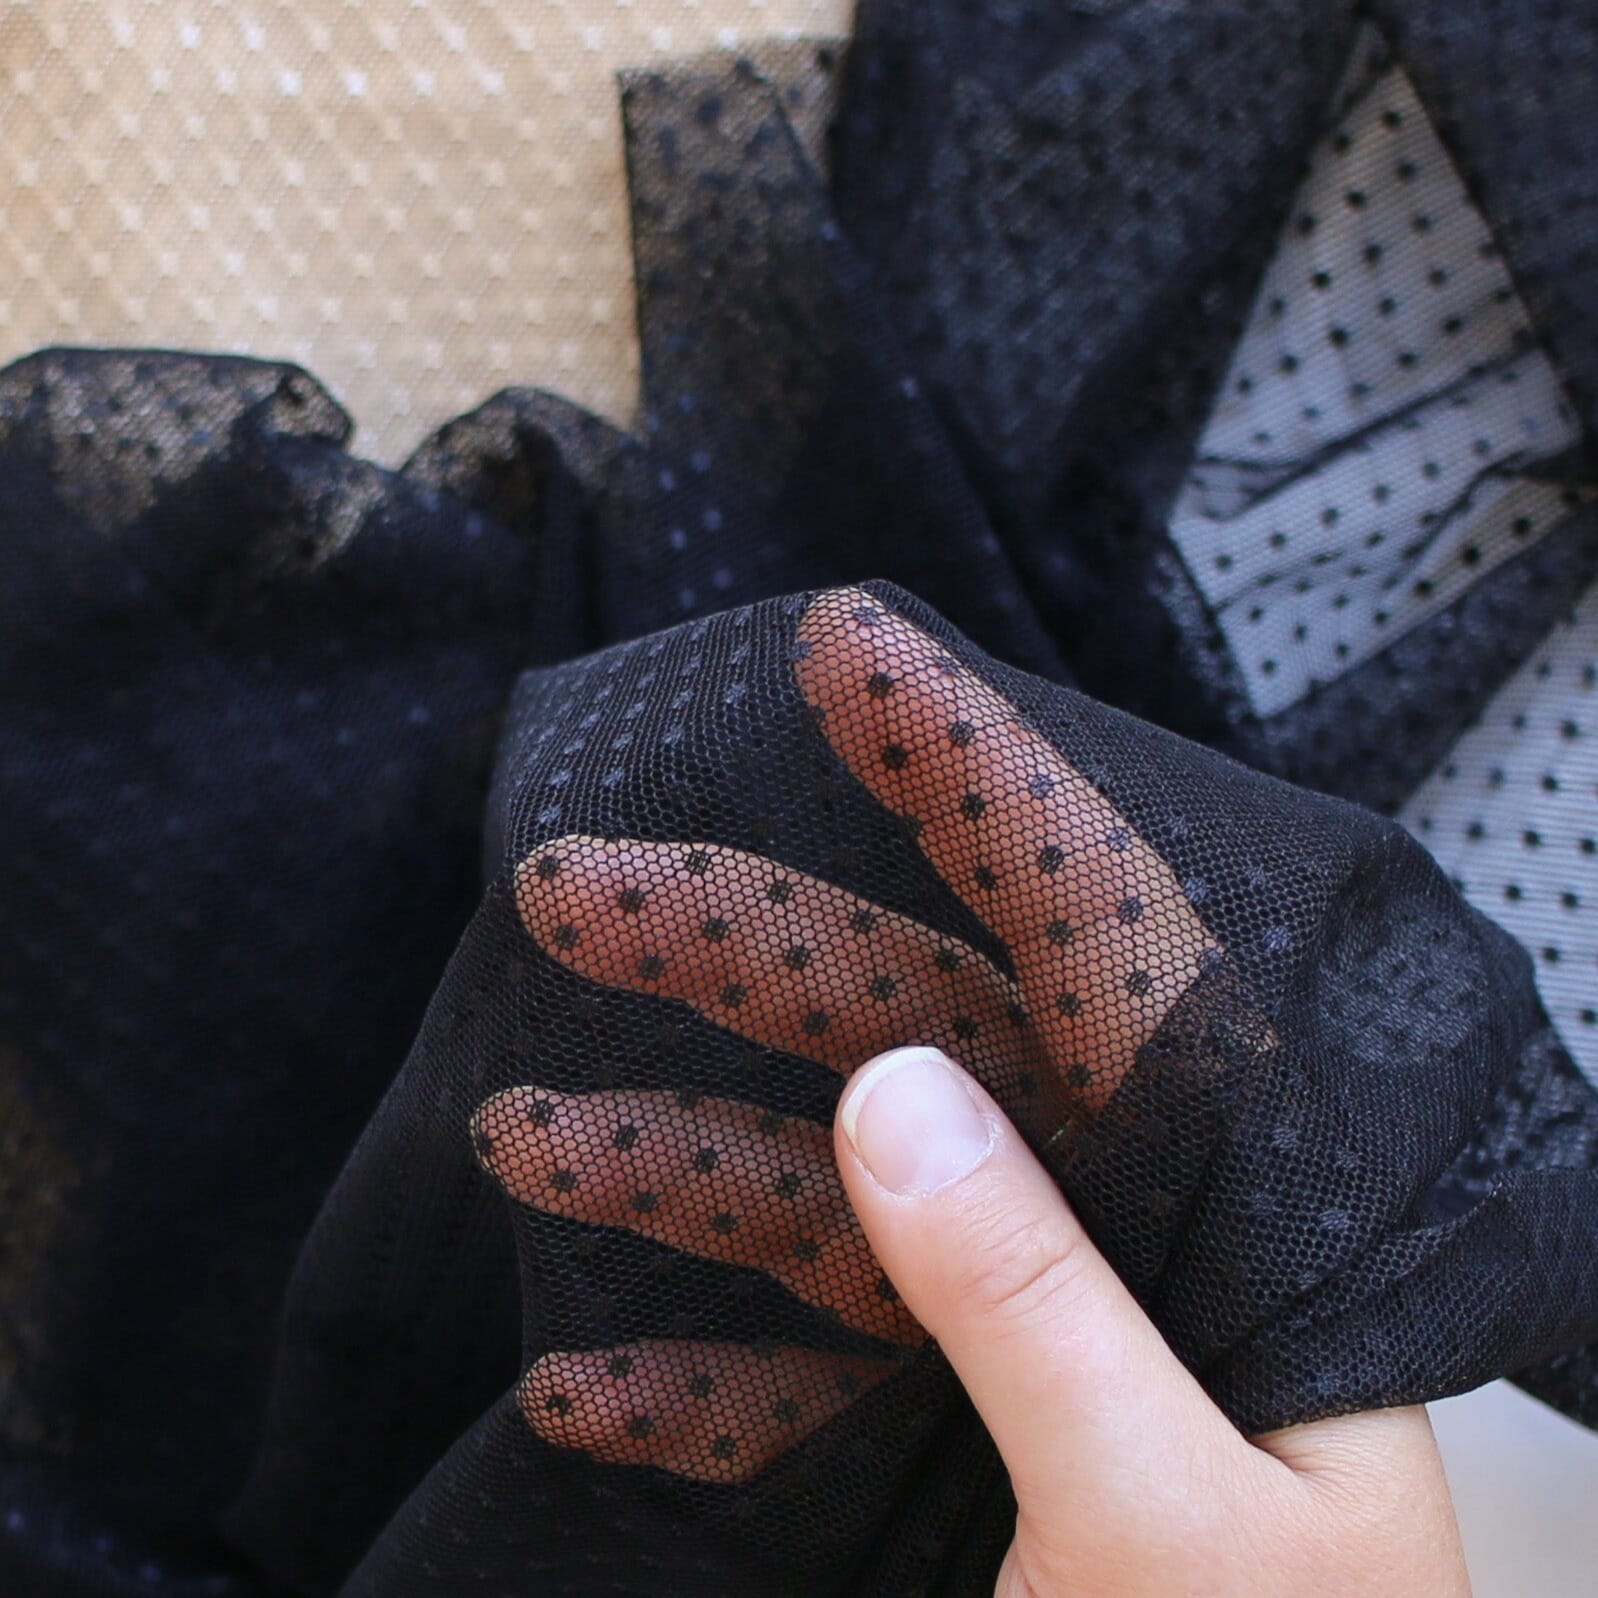
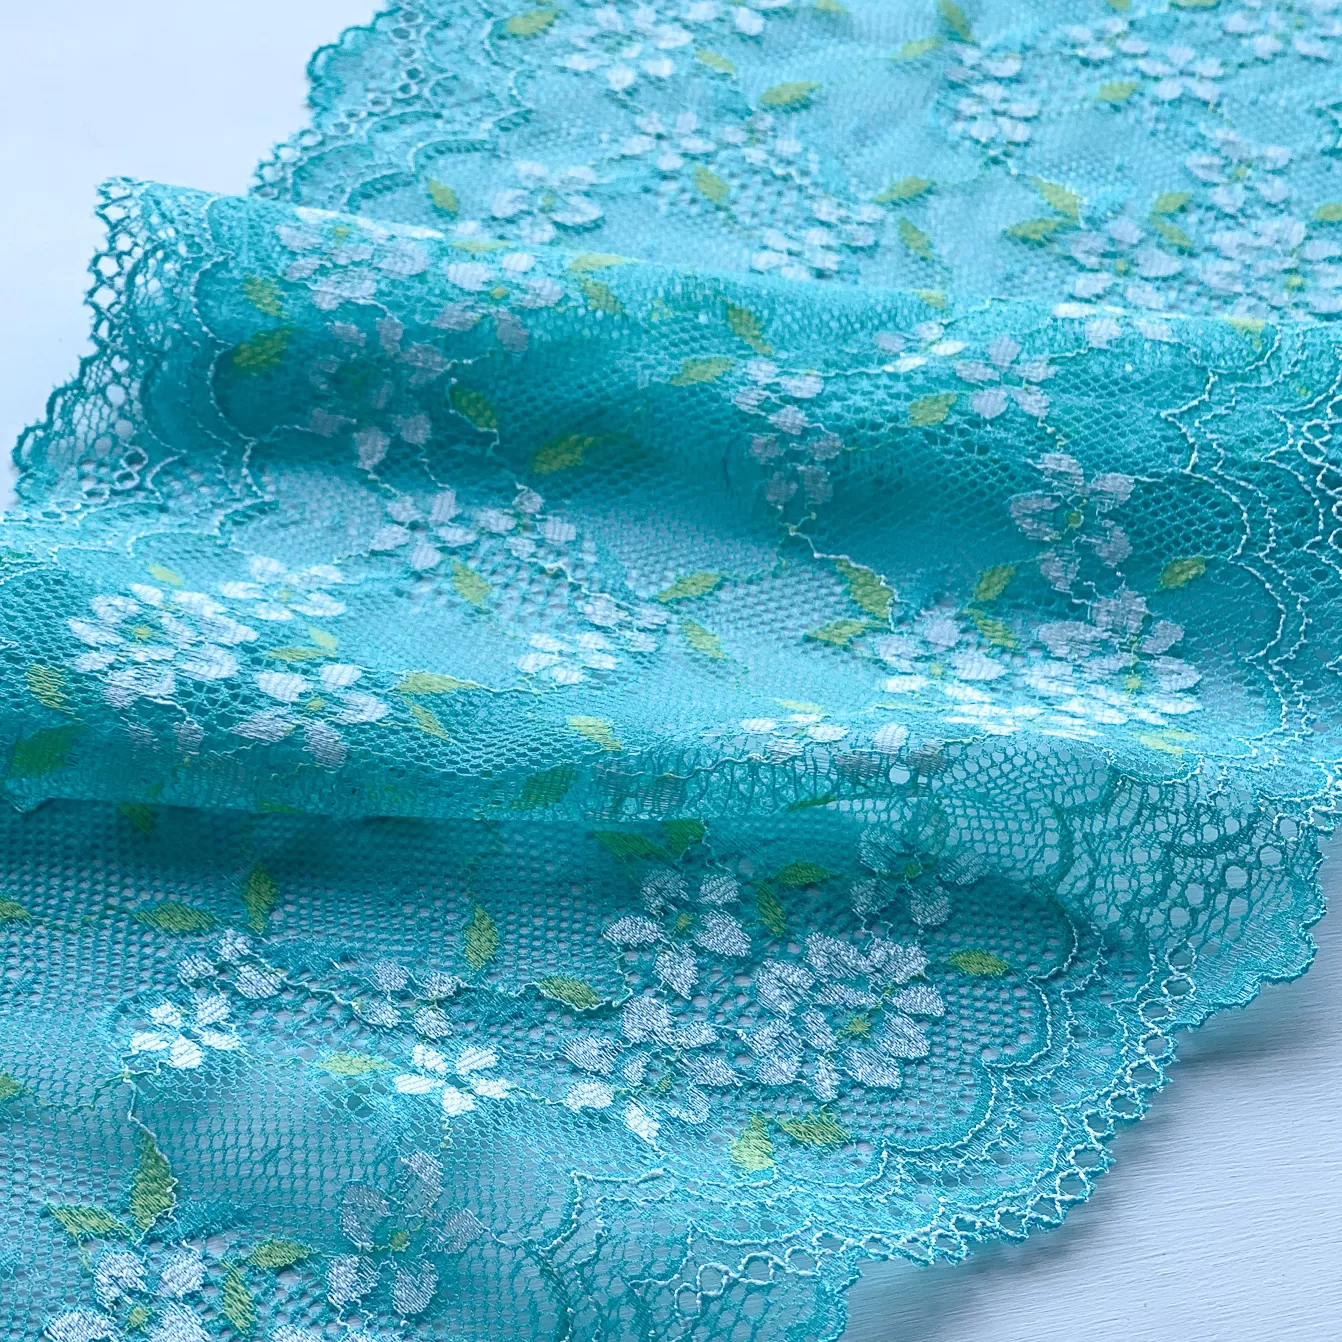
Check the stretch of your lace- the Thursday Thong pattern is designed for a stretchy lace trim with 80% stretch. Most wider stretch laces like this are not as stretchy and you will have to add some extra width to accommodate for that, this lace has about 40% stretch, so I added 1-1/4″ of length to this waistband, you can adjust to your preferences 🙂
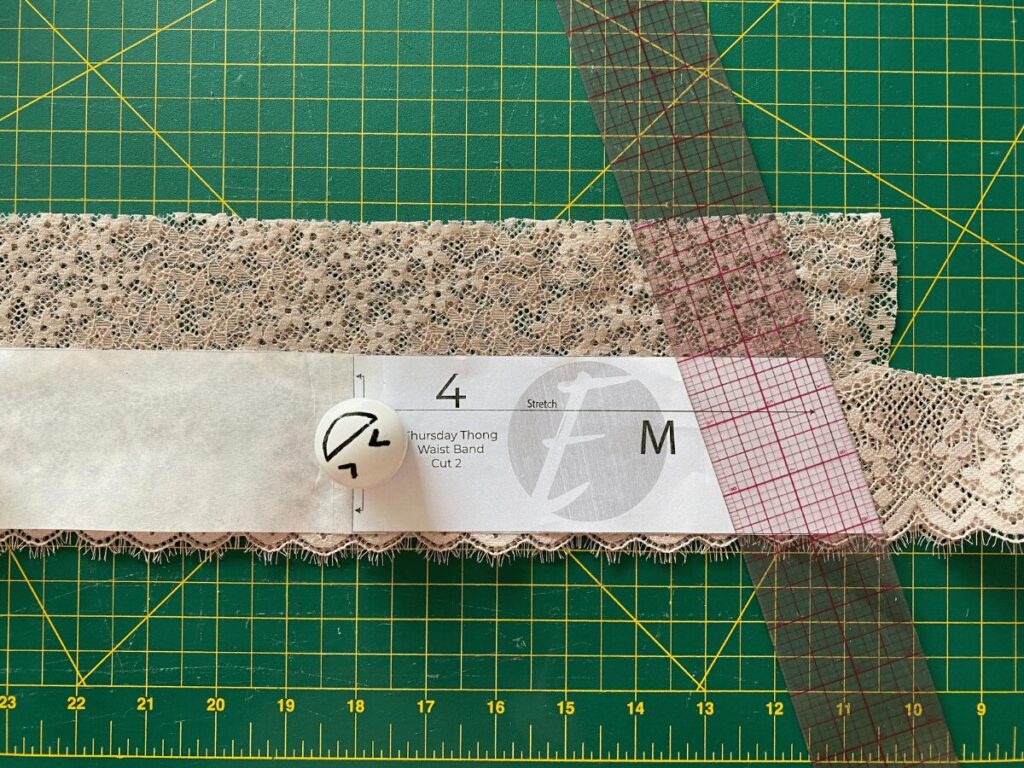
Once you have your lace cut to your desired height, place your pattern piece along the bottom edge of the lace and place a ruler following the angle of the seam edge of the waistband to guide your cut- you’ll follow this angle to cut your waistband for both the center front and center back edges.
If you don’t taper as much to your waist or if you have a more steep taper to your waist you can always change this angle to be more straight up and down or more angled to suit your figure.
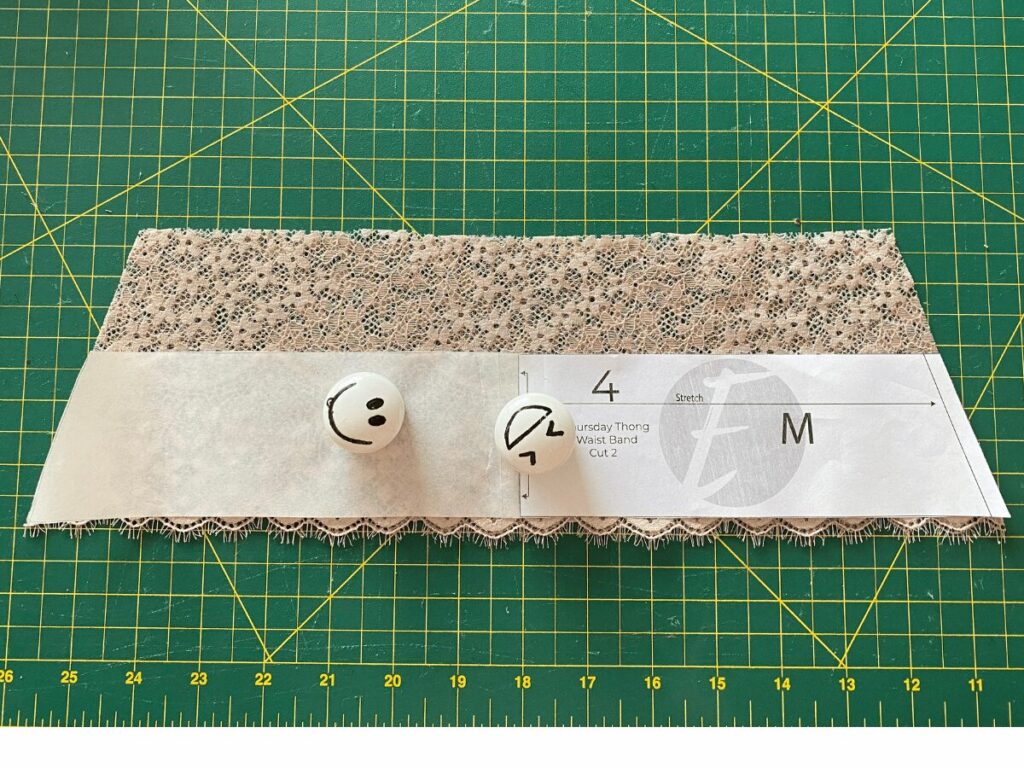
I cut both waistband pieces at the same time with the lace folded, but not all laces are symmetrical like this, so you may want to cut them separately to get them symmetrical.
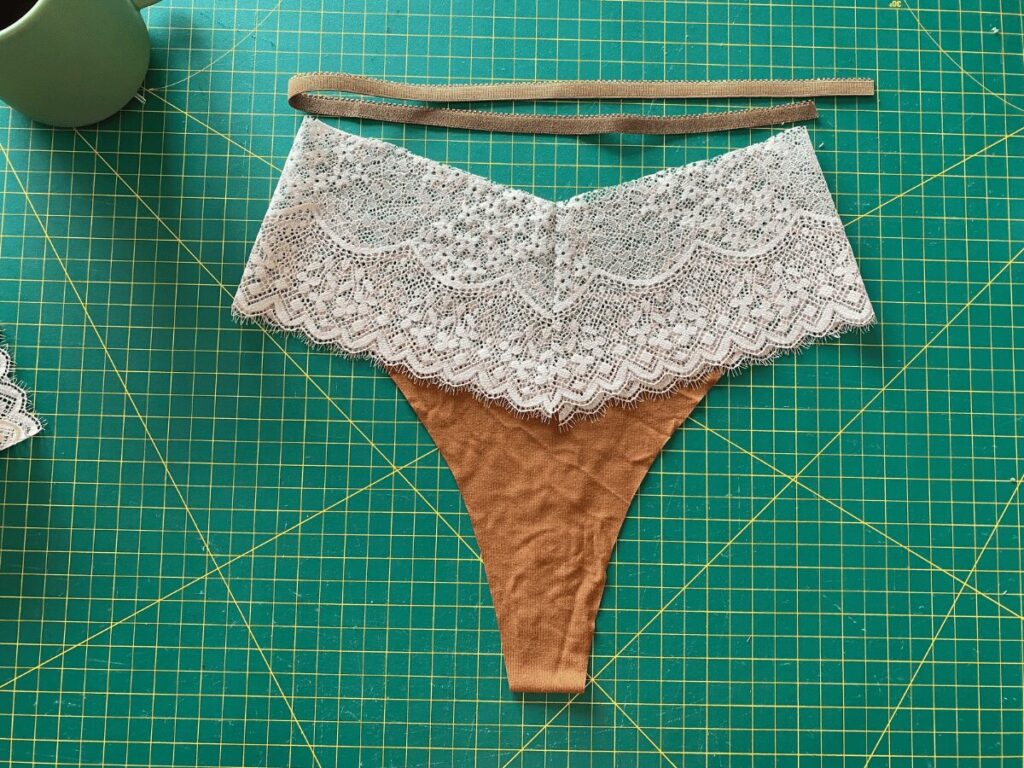
Now from here you follow the pattern as usual- you cut the front, back and gusset pieces as usual, assemble and apply the leg lace trim, and sew the waistband together along center front and center back and sew to the panty. The only additional step is finishing the top edge with elastic. You can use Picot Plush like I did, you can use Fold Over Elastic, whatever your preference. If you like to pre-cut your elastic before you apply I would recommend cutting your elastic approximately 8-10% smaller than your waist edge plus seam allowances for the join, depending on the firmness of your elastic you might want more or less stretch reduction.
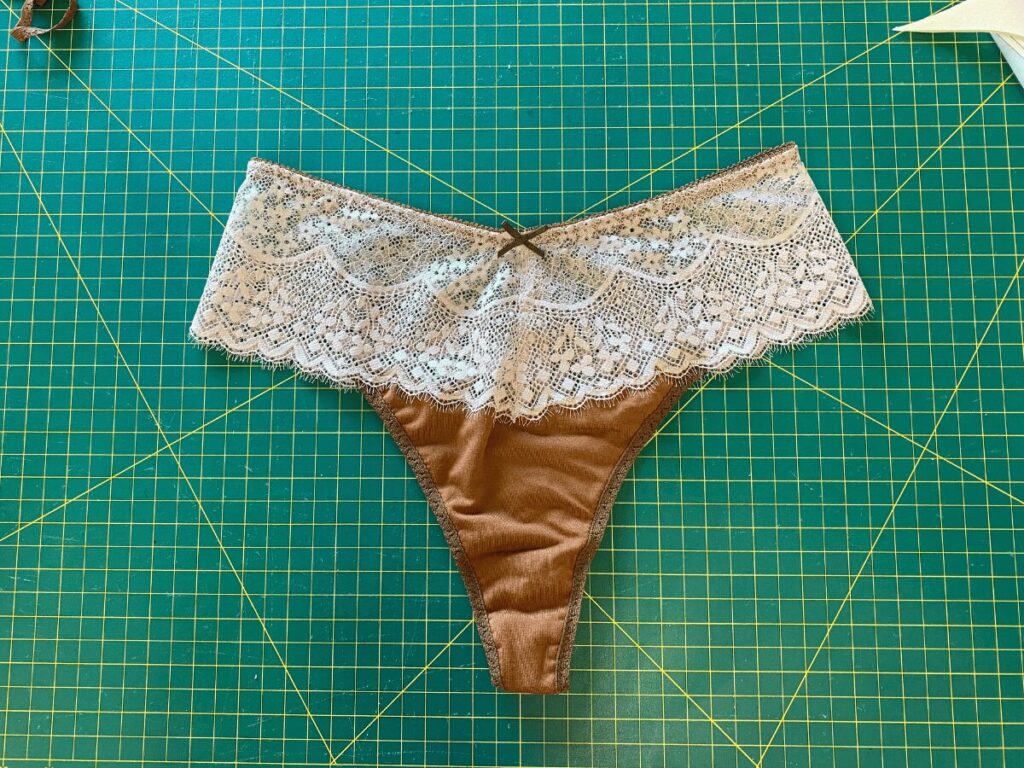
I’m really happy with how this modification came out! I feel like it really changes the whole look of the Thursday and elevates it a more fancy look for this matching set, but it’s still nice and comfy with the soft bamboo and lace trim edges 🙂

Do you have any lace that you would like to use for this tutorial? Any other tutorials you would like to see? I’d love to hear from you in the comments 🙂
Happy sewing!
xo
Erin
Love it! I’ll need to get the panty pattern but I have lots of your fabric and picot. I have lots of panty fabric. I love lacy feminine things
Nice to hear from you.