Hi All!
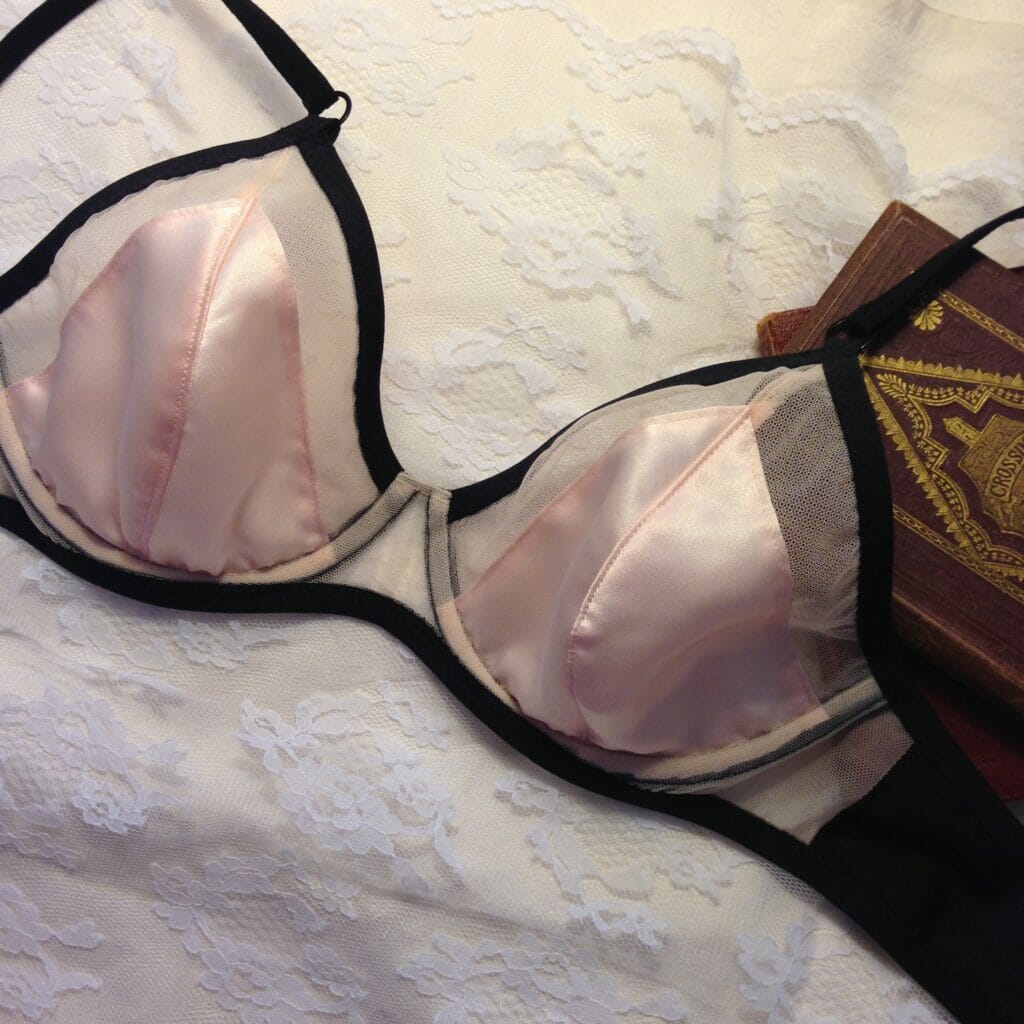
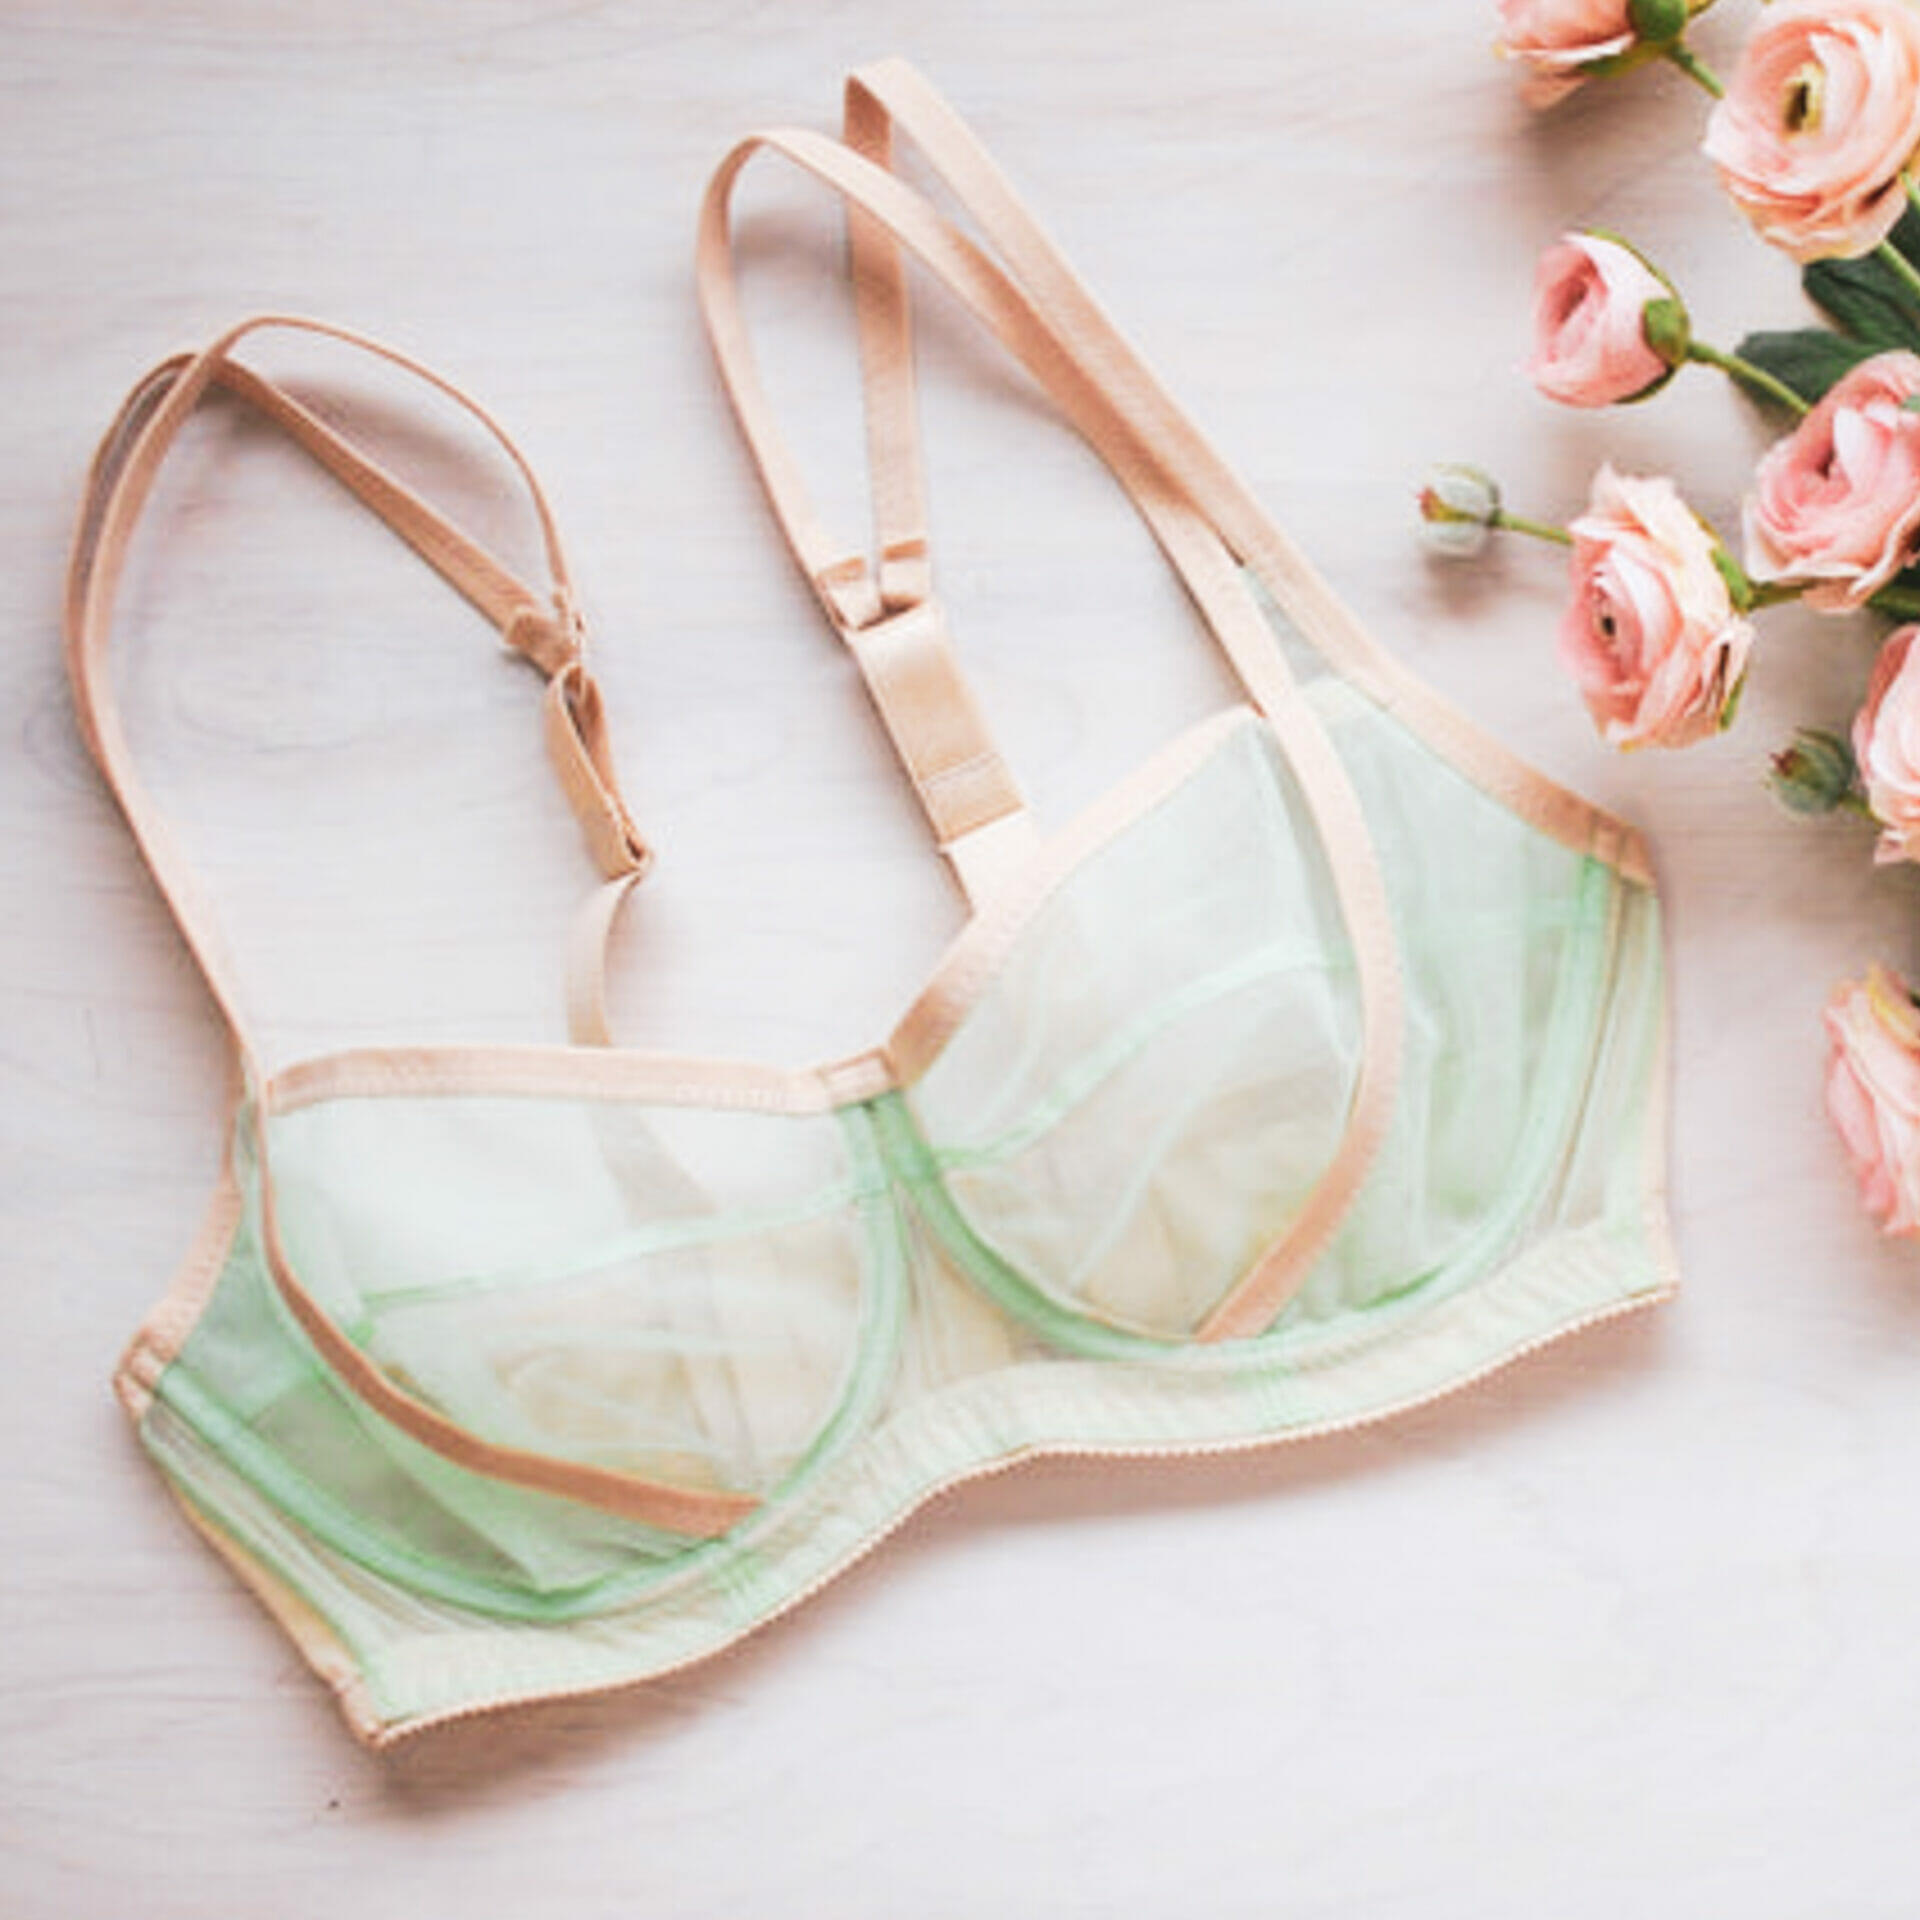
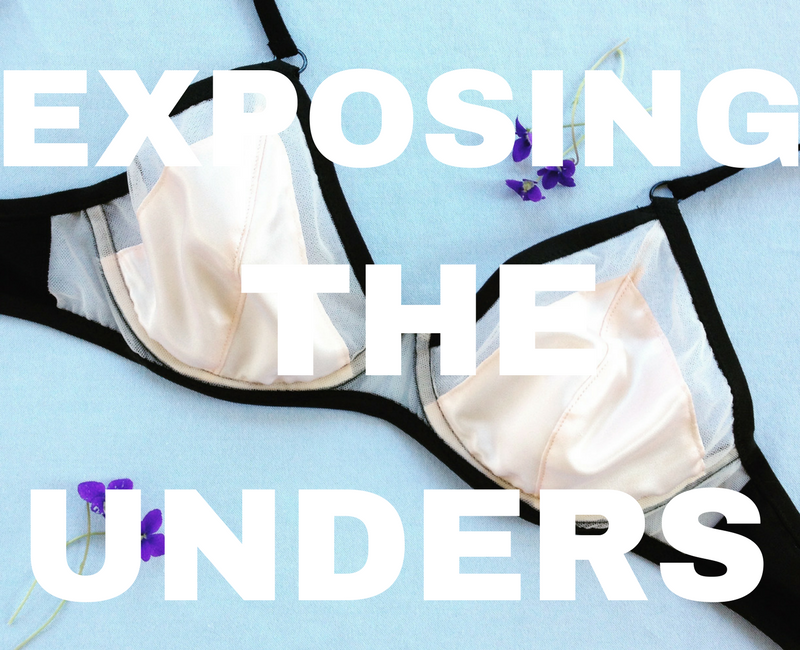
This Sunday I have an exposing the unders on one of my favourite bras- Dreaming in Silk. This is one that has seen lot of wear since I made it just over a year ago. There’s something about it that is so perfectly me- it’s a relaxed fit, it’s has nice lines and is soft but not too girly? I don’t know, I just love it, and I wear it all the time. So I thought it was the perfect choice to deconstruct for you today!
— Very quick PSA first —
If you didn’t already read in my Reflections & Resolutions post- I’m bringing back my MONTHY ROUND UP!! and I want to add any bra news in there too! Just like before, they will be the last Sunday of every month- and it’s a great way to come together as a community, show off your gorgeous makes, find other bra makers and know what’s happening in the boob community.
So, if you’ve MADE A GORGEOUS BRA/SWIMSUIT/INTIMATE APPAREL, or if you’ve WRITTEN A TUTORIAL on lingerie or swimwear making, or generally have any BRA NEWS that you want to share- then please send pictures, descriptions and links to:
bra.a.week@gmail.com
Now that that’s out of the way- let’s dive in!
The bra:
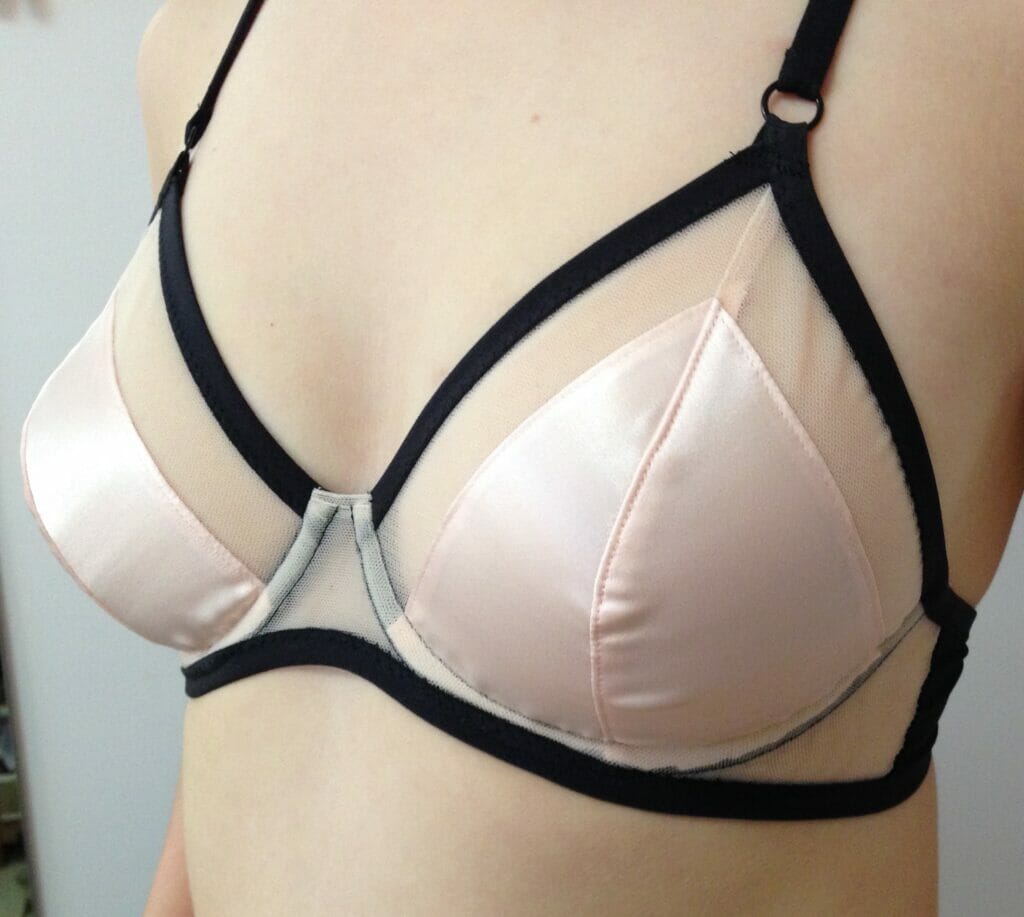
The Fit:
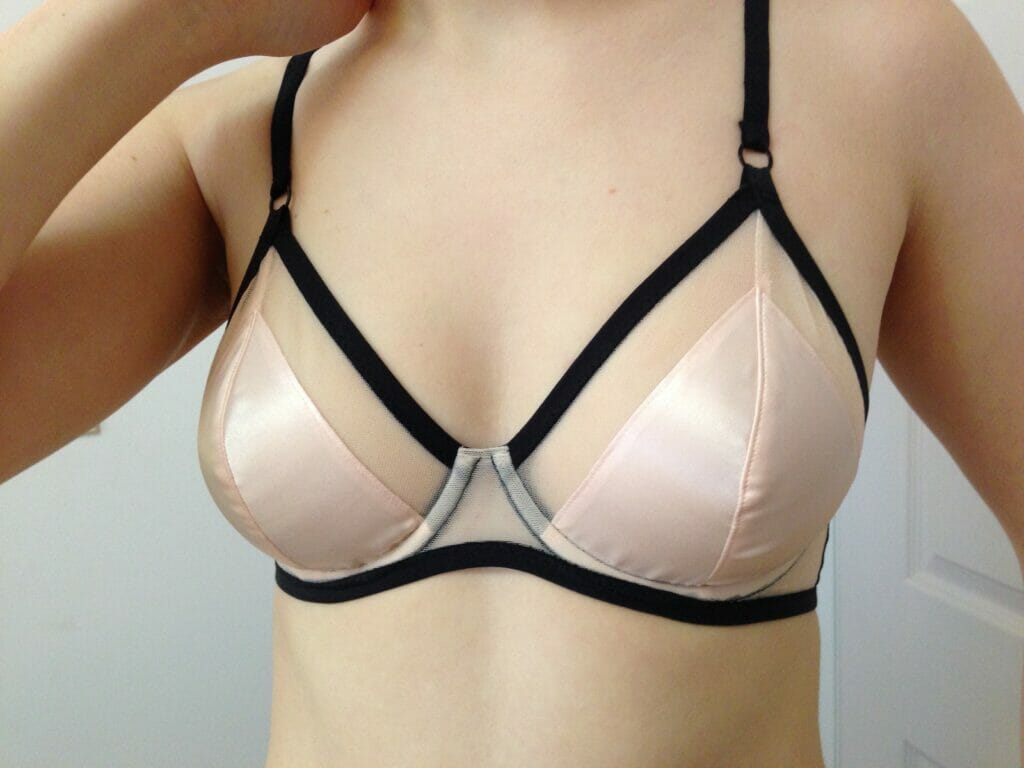
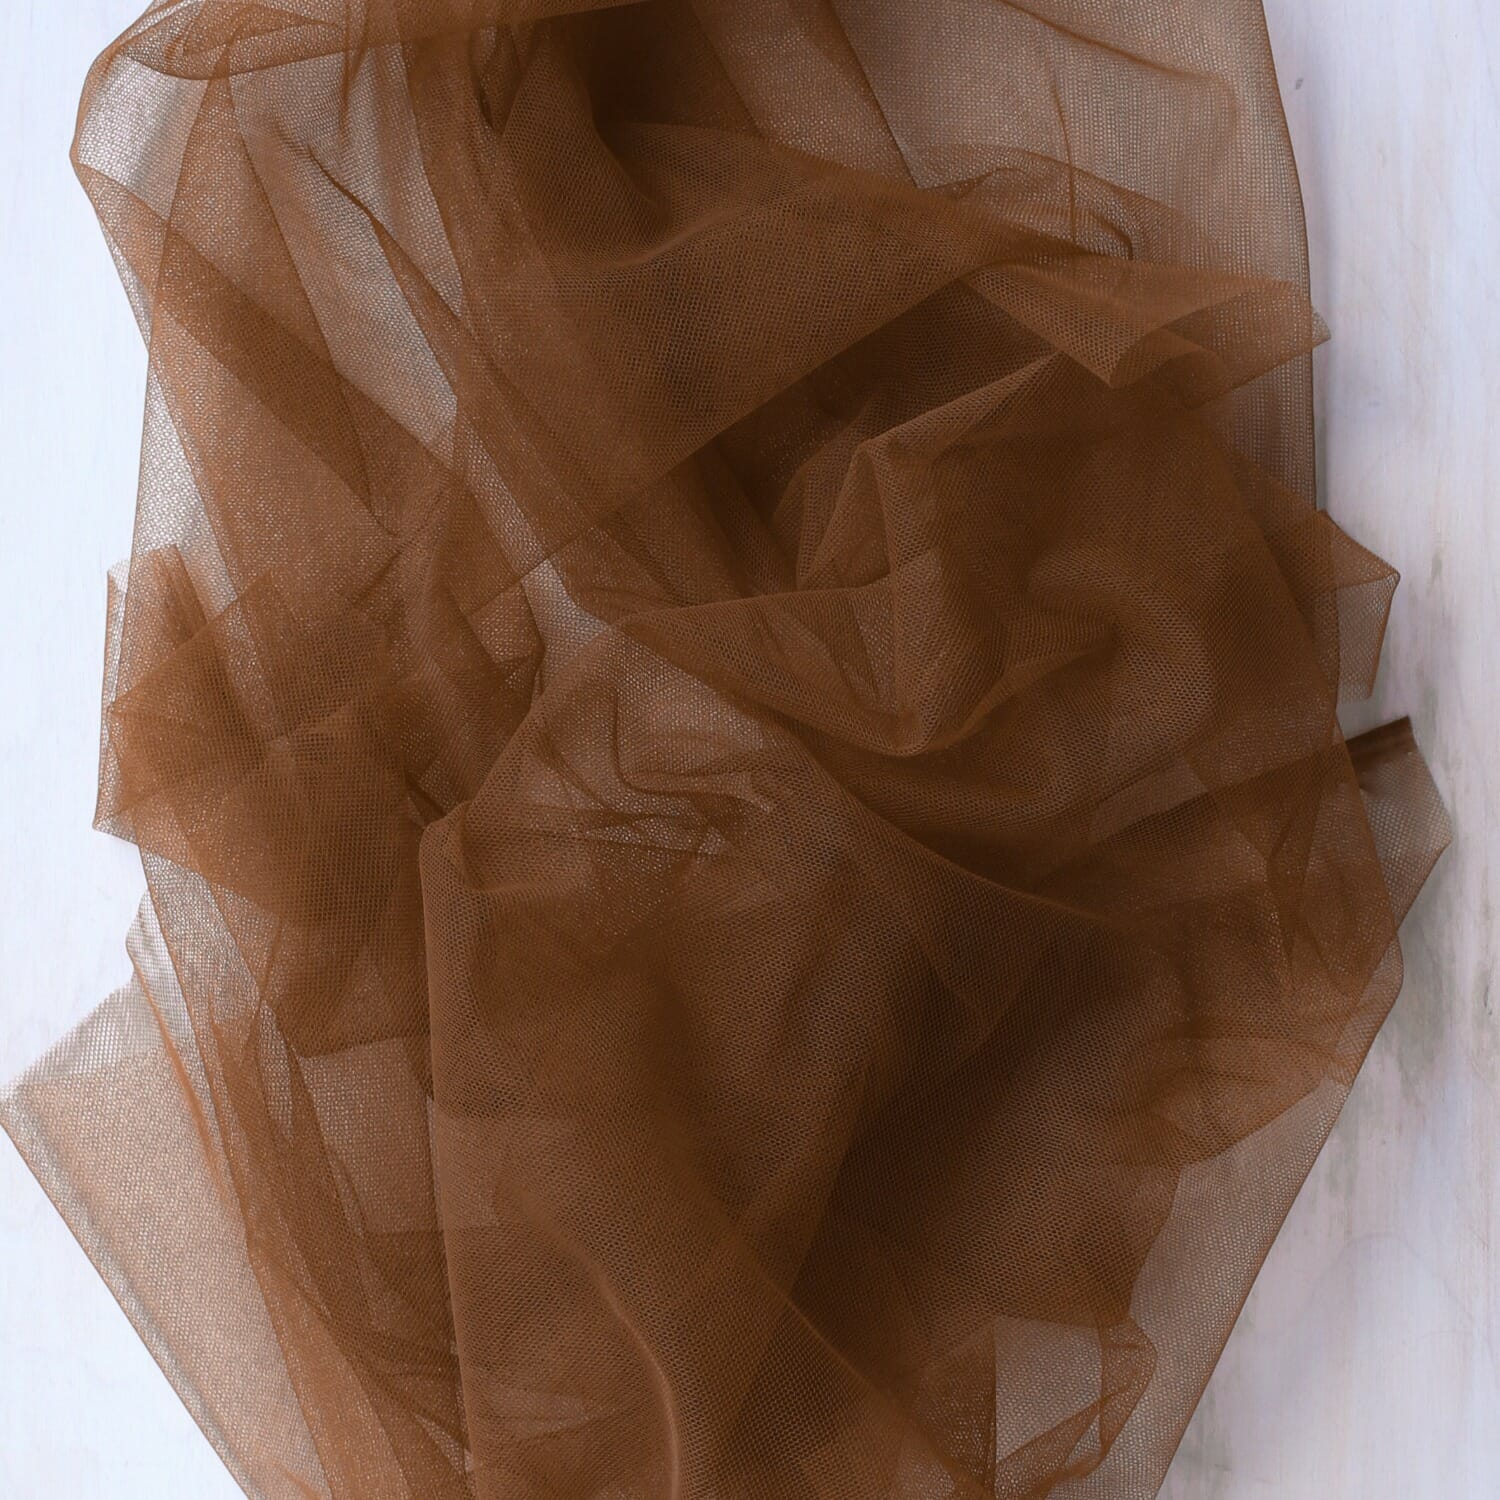
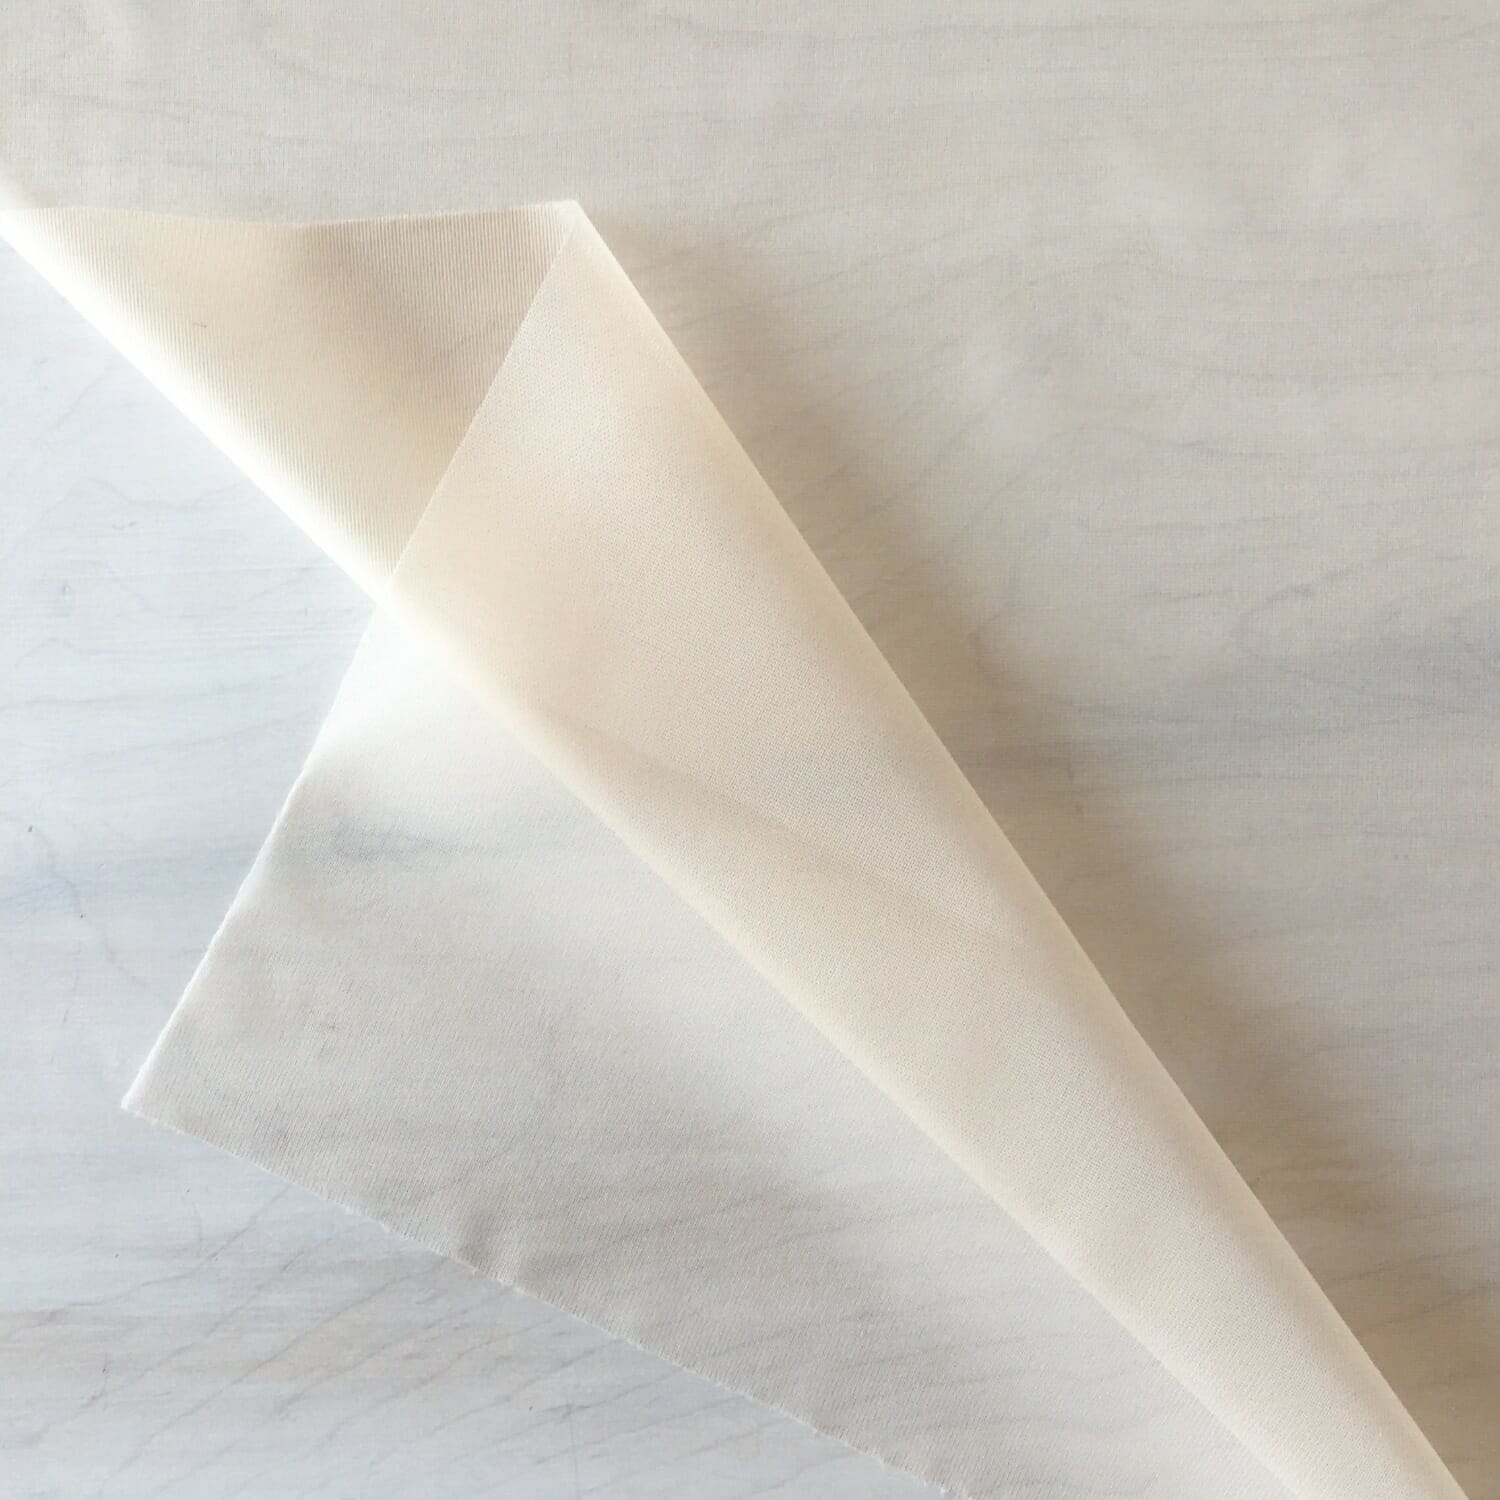
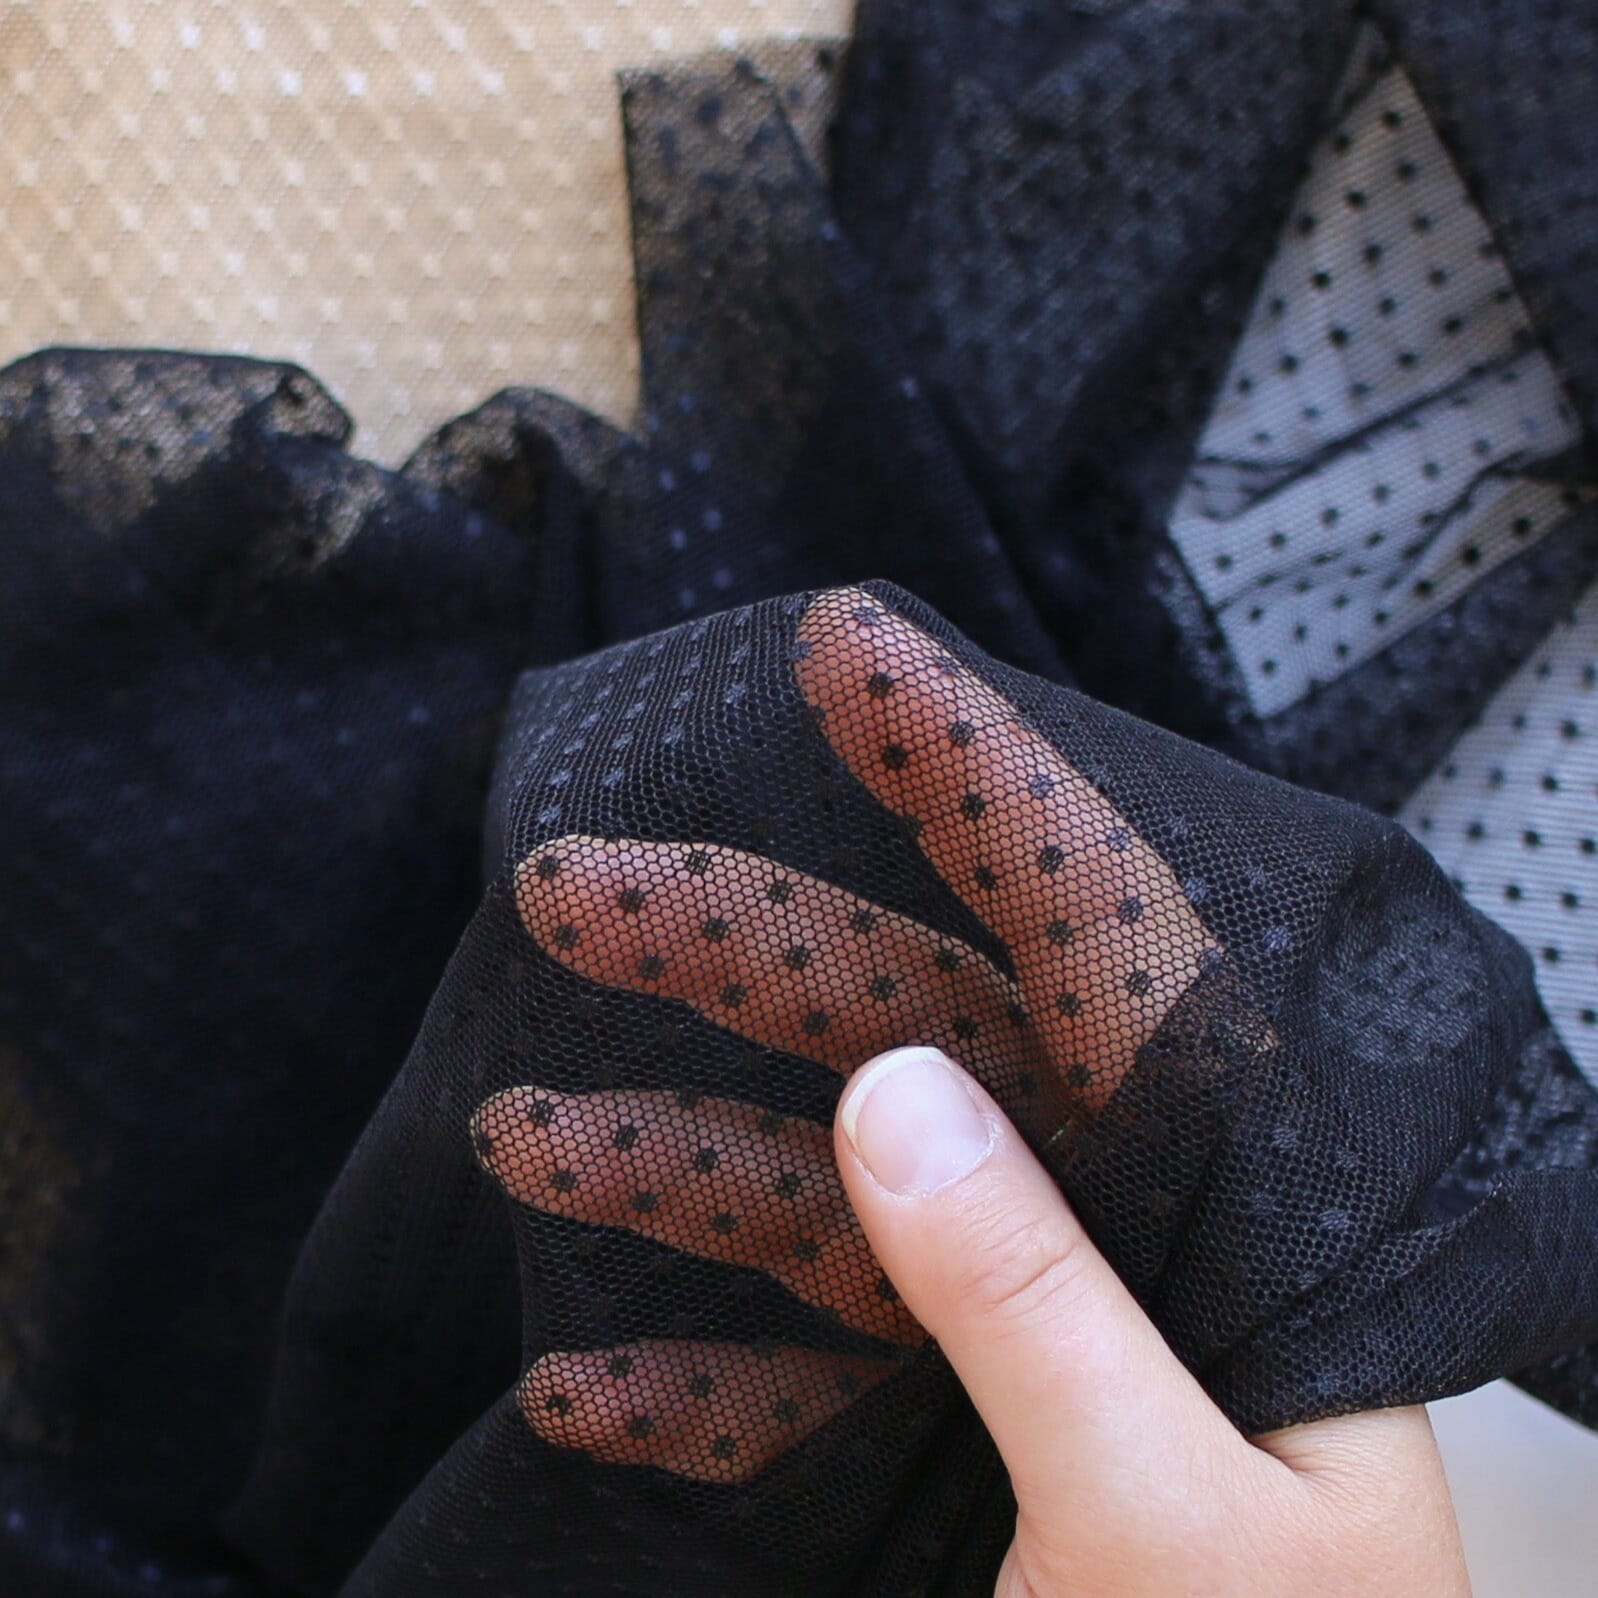
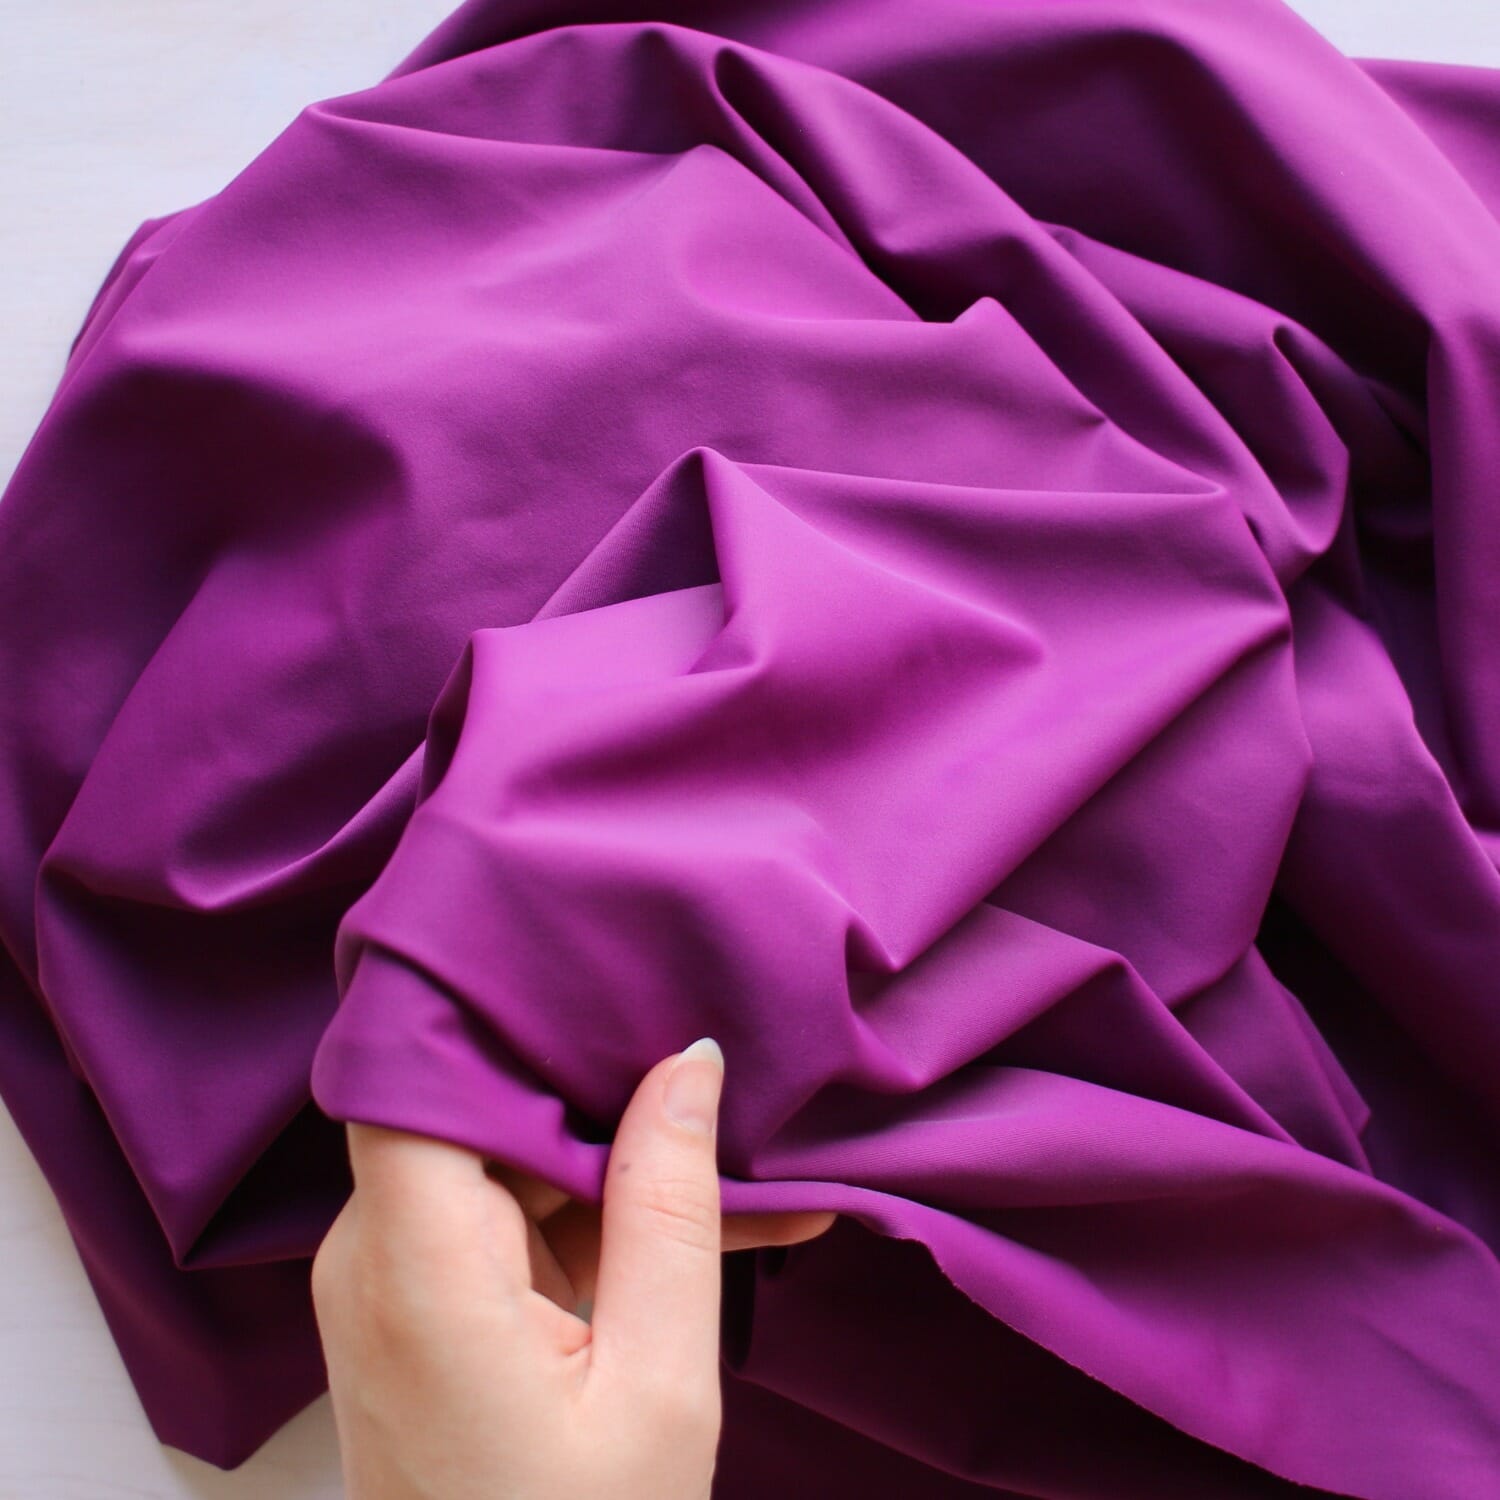
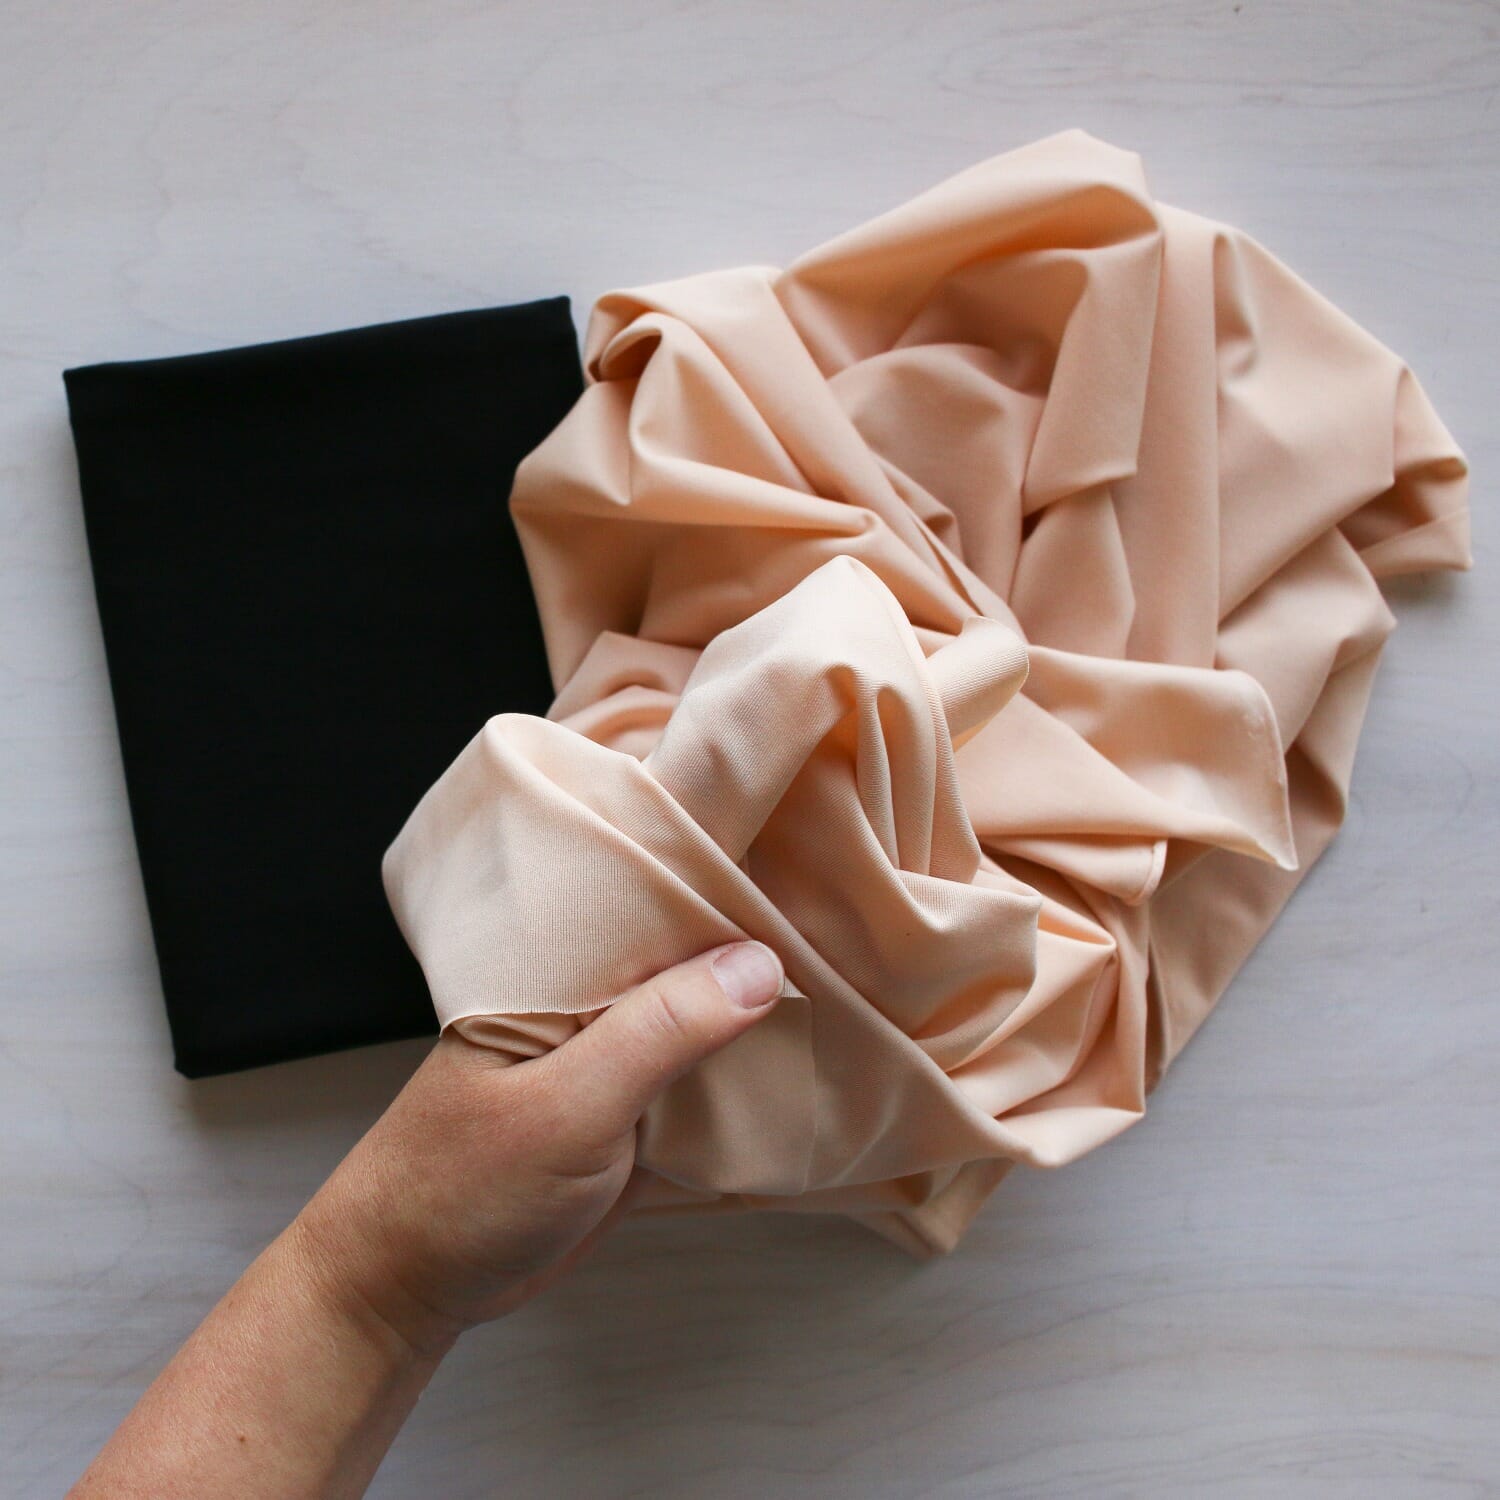
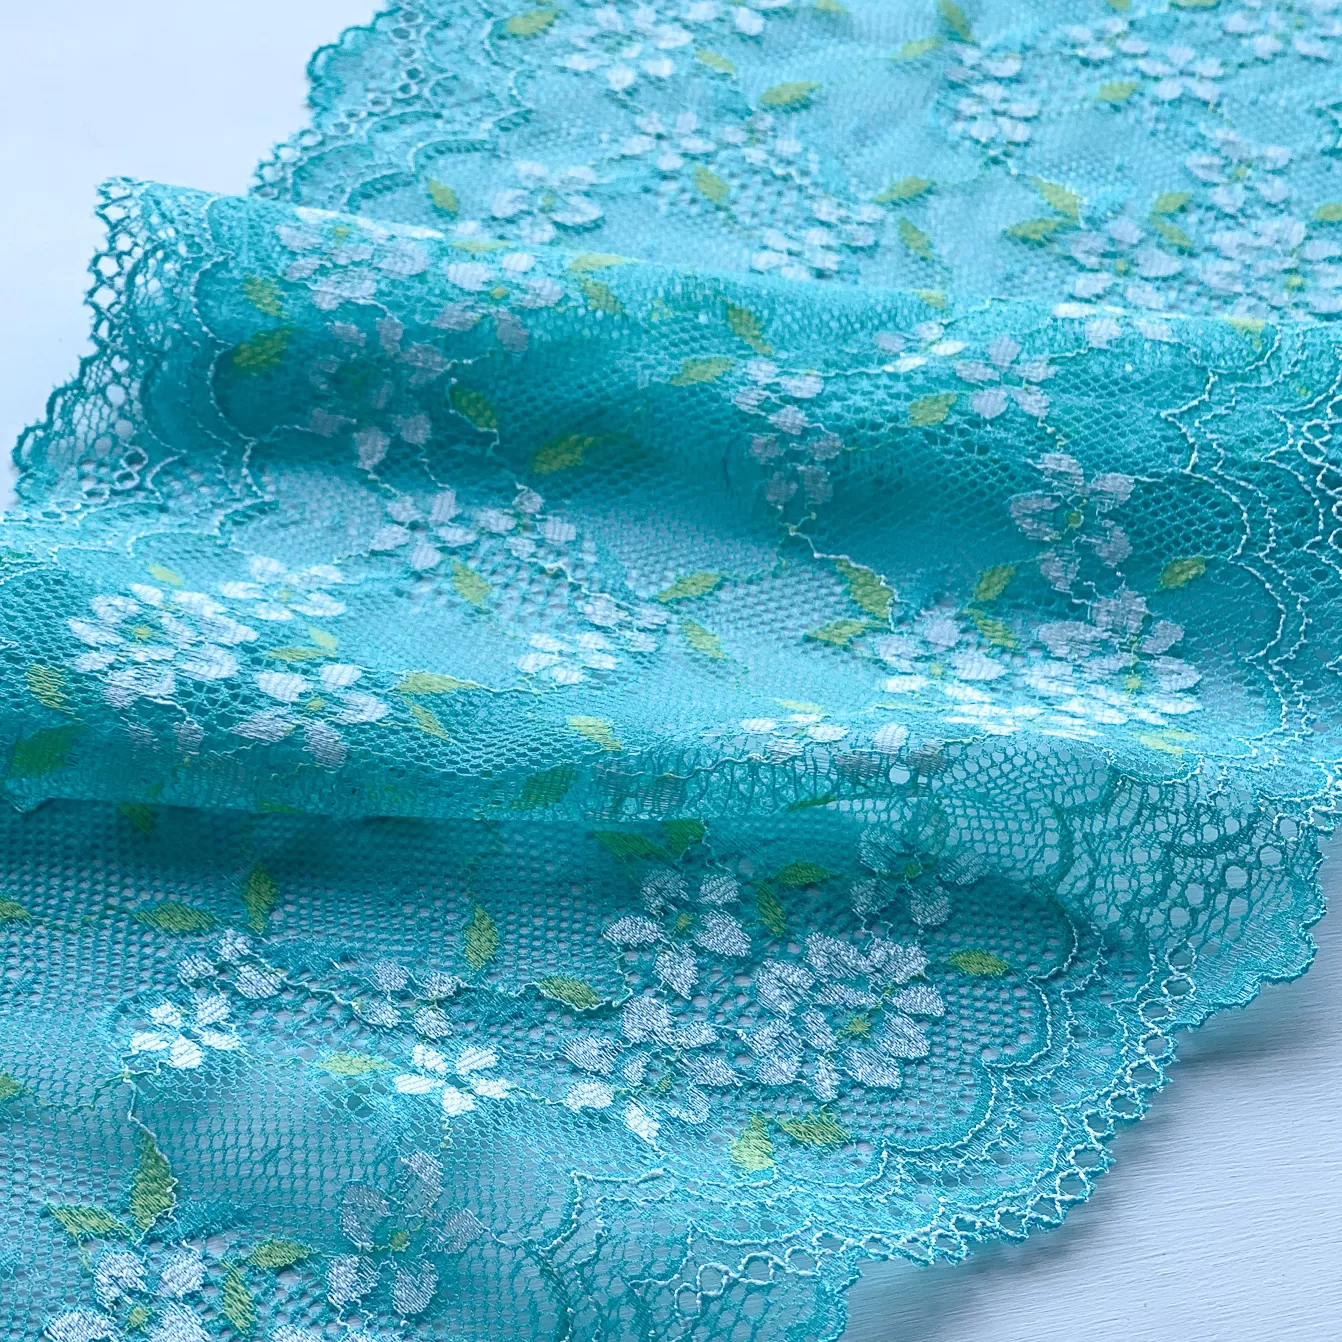
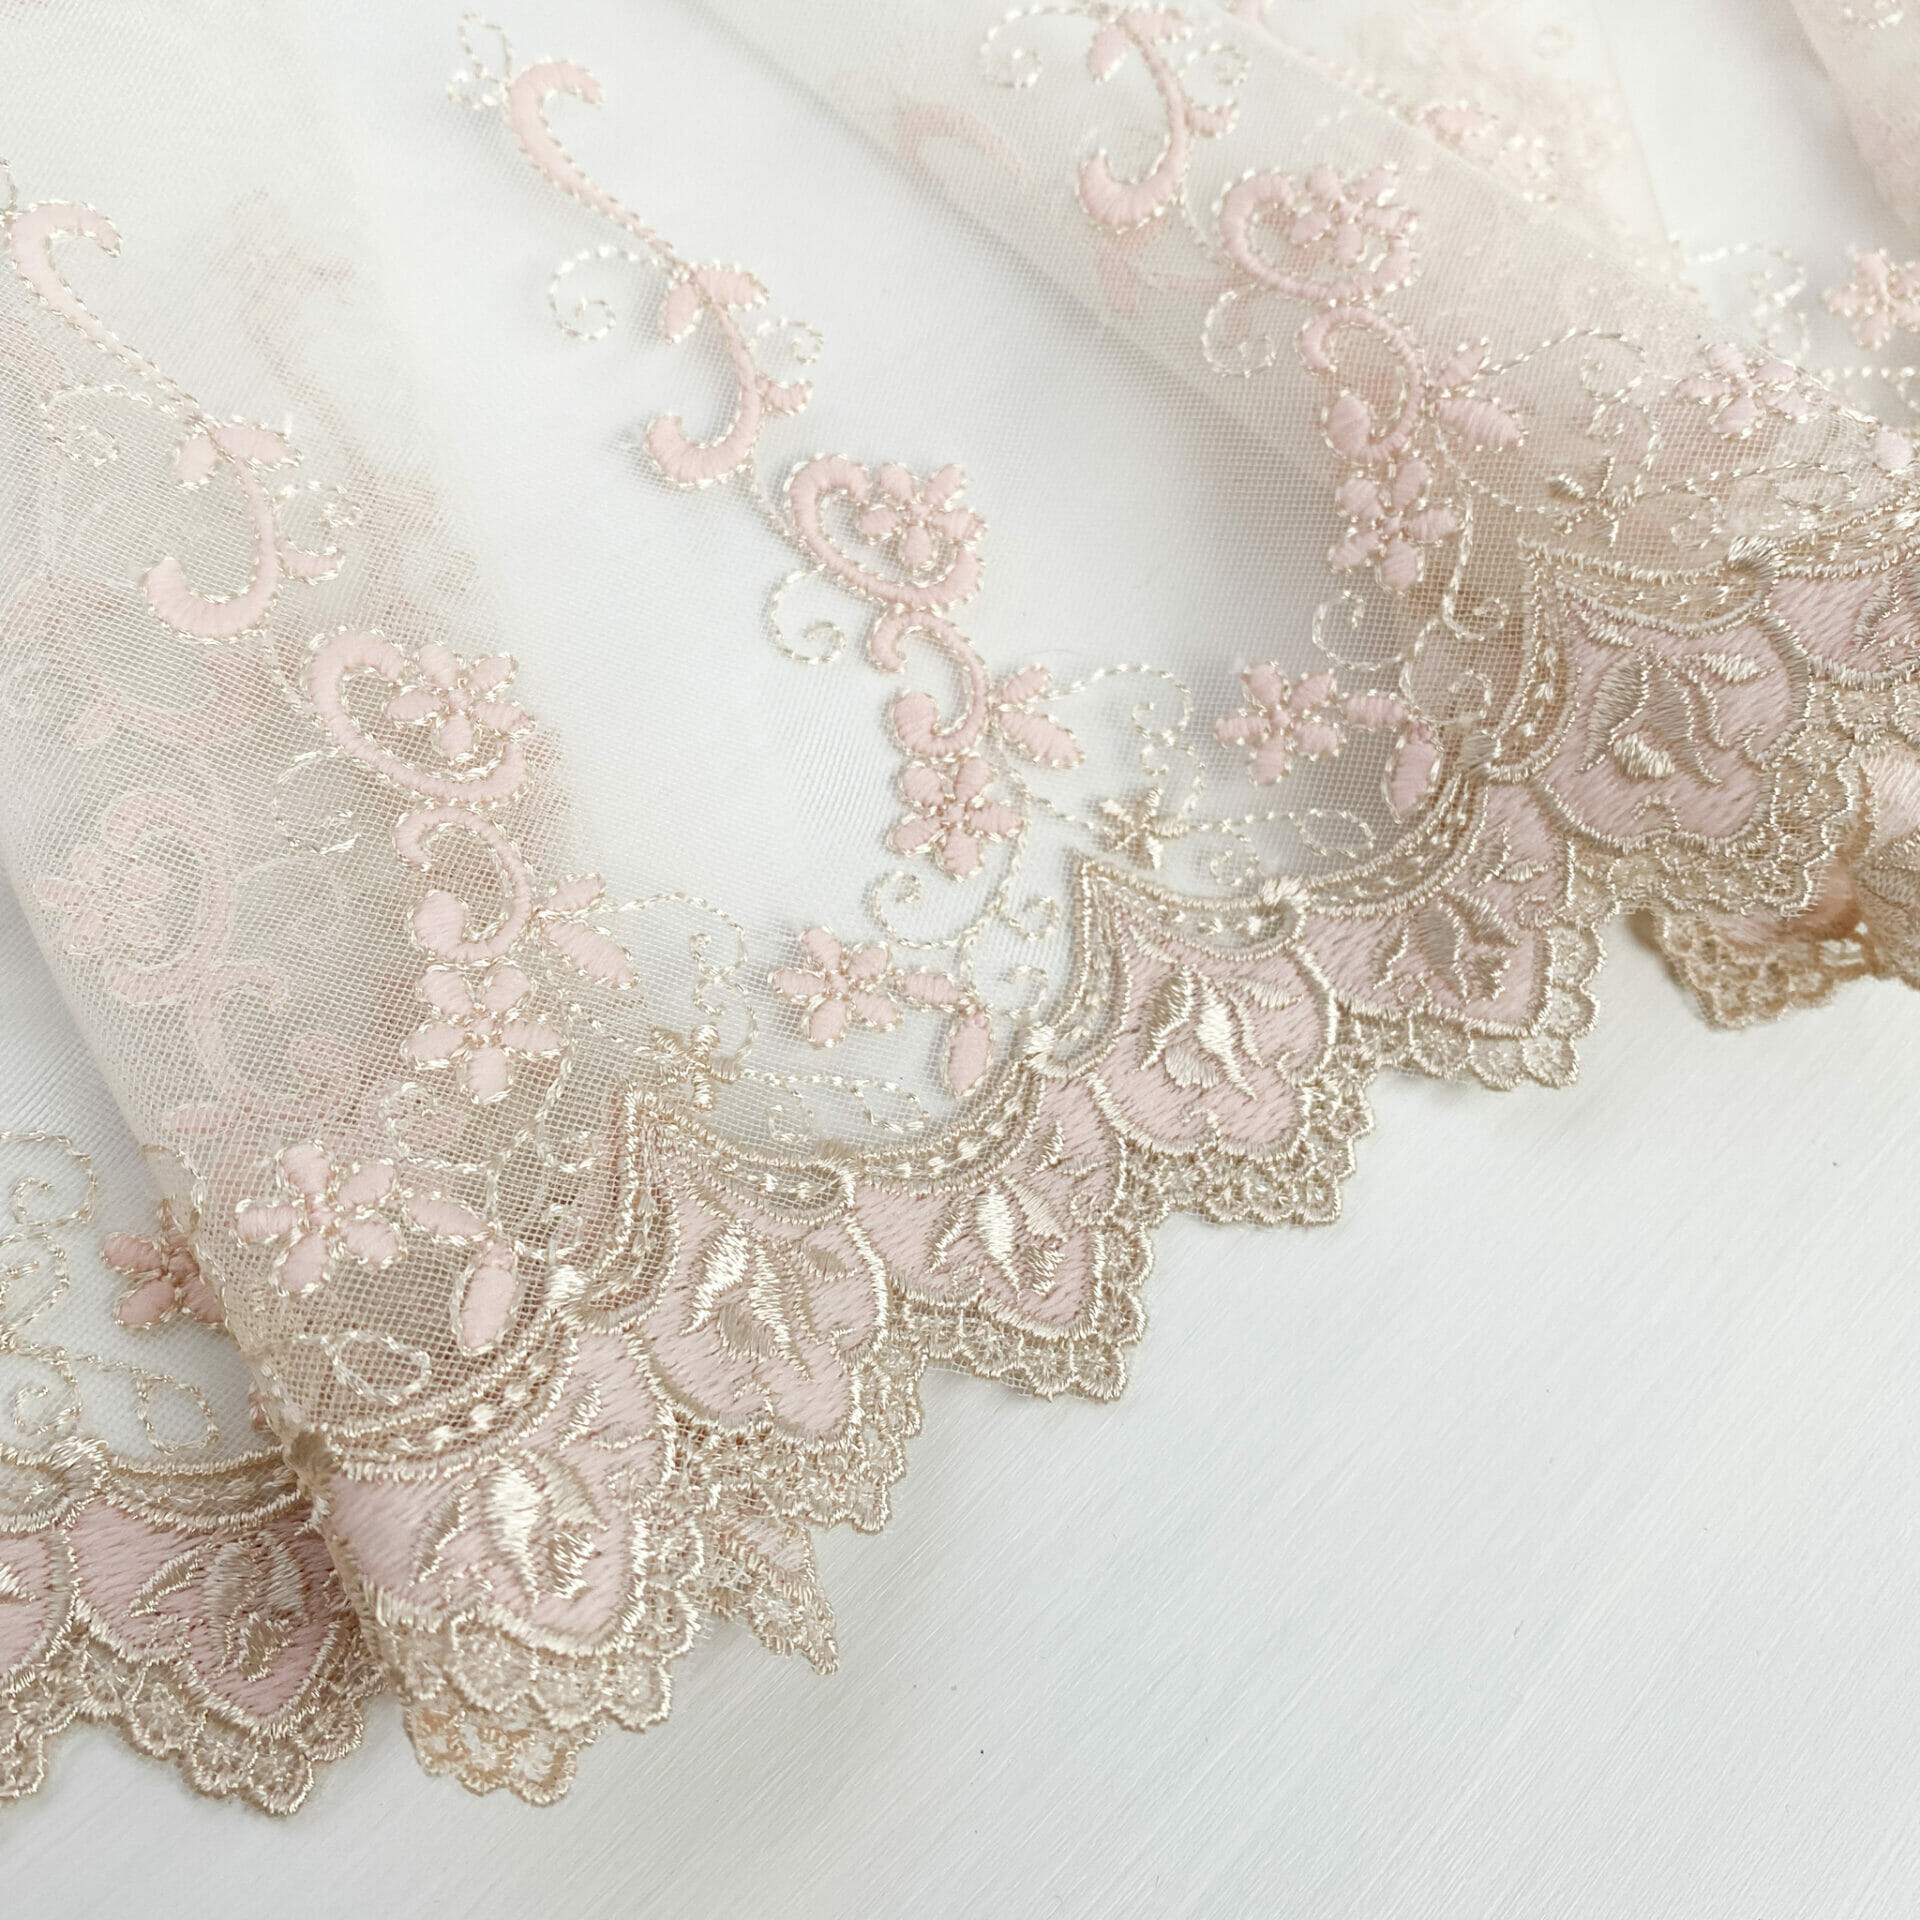
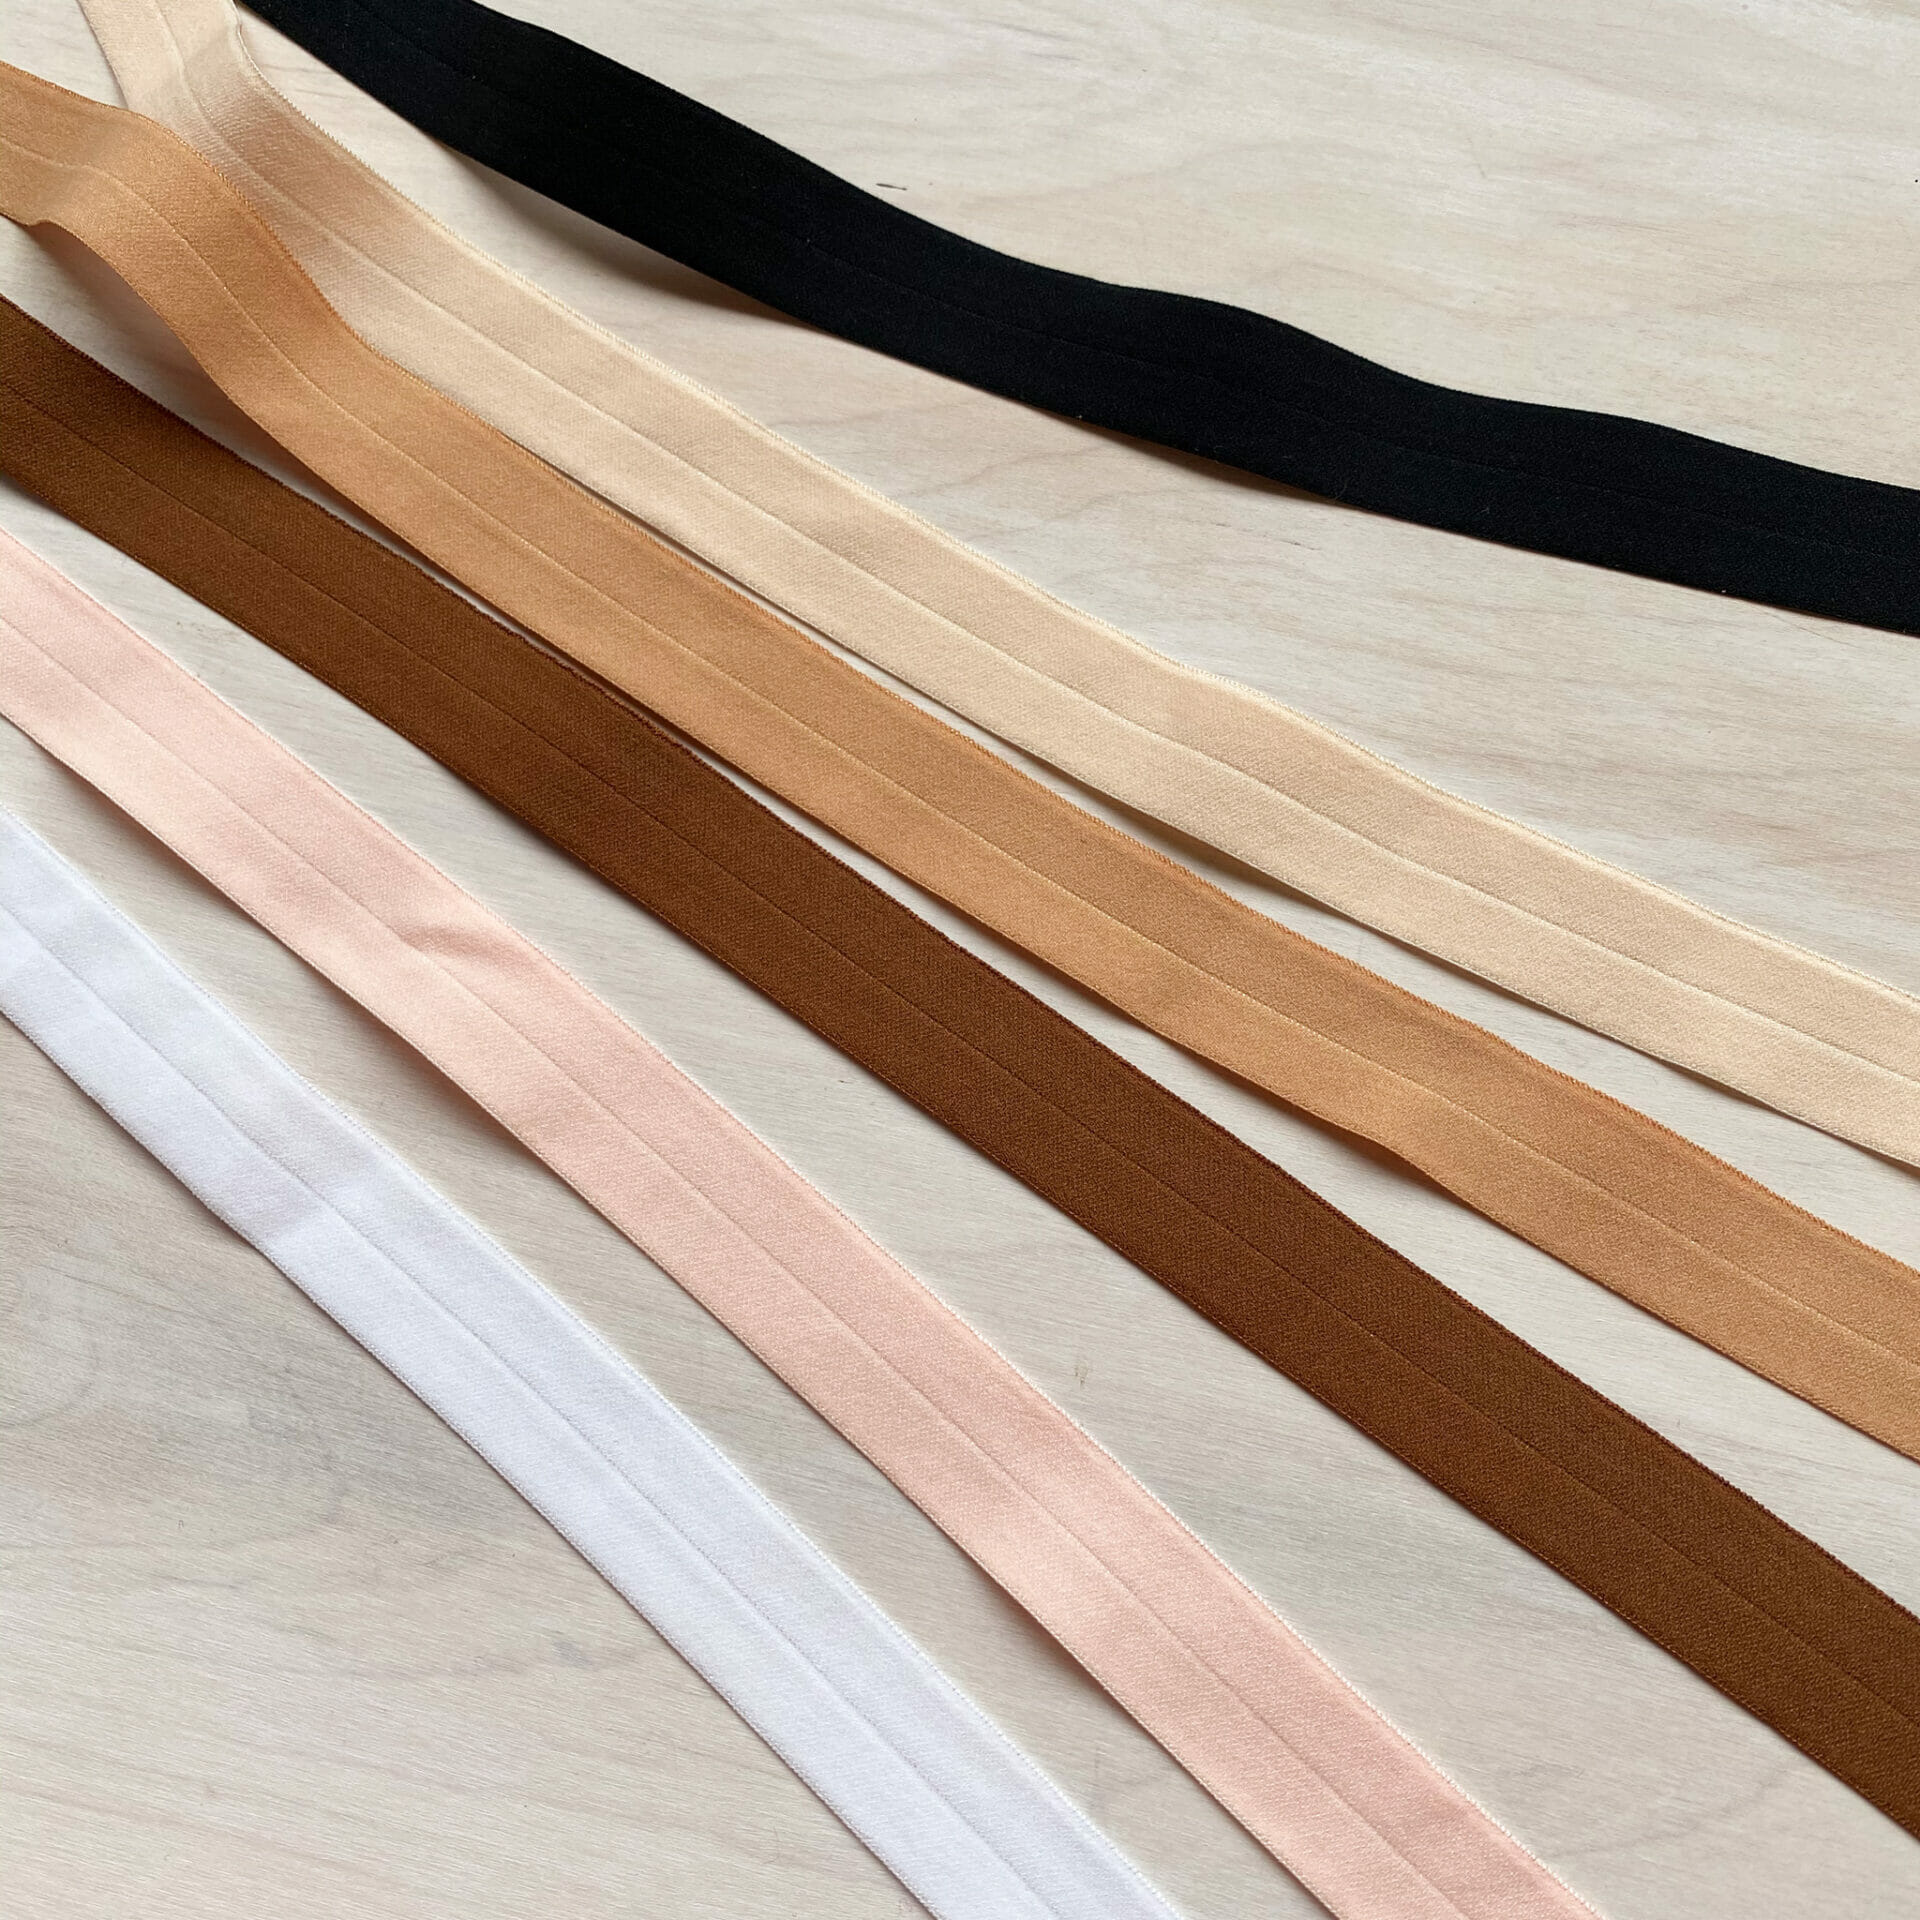
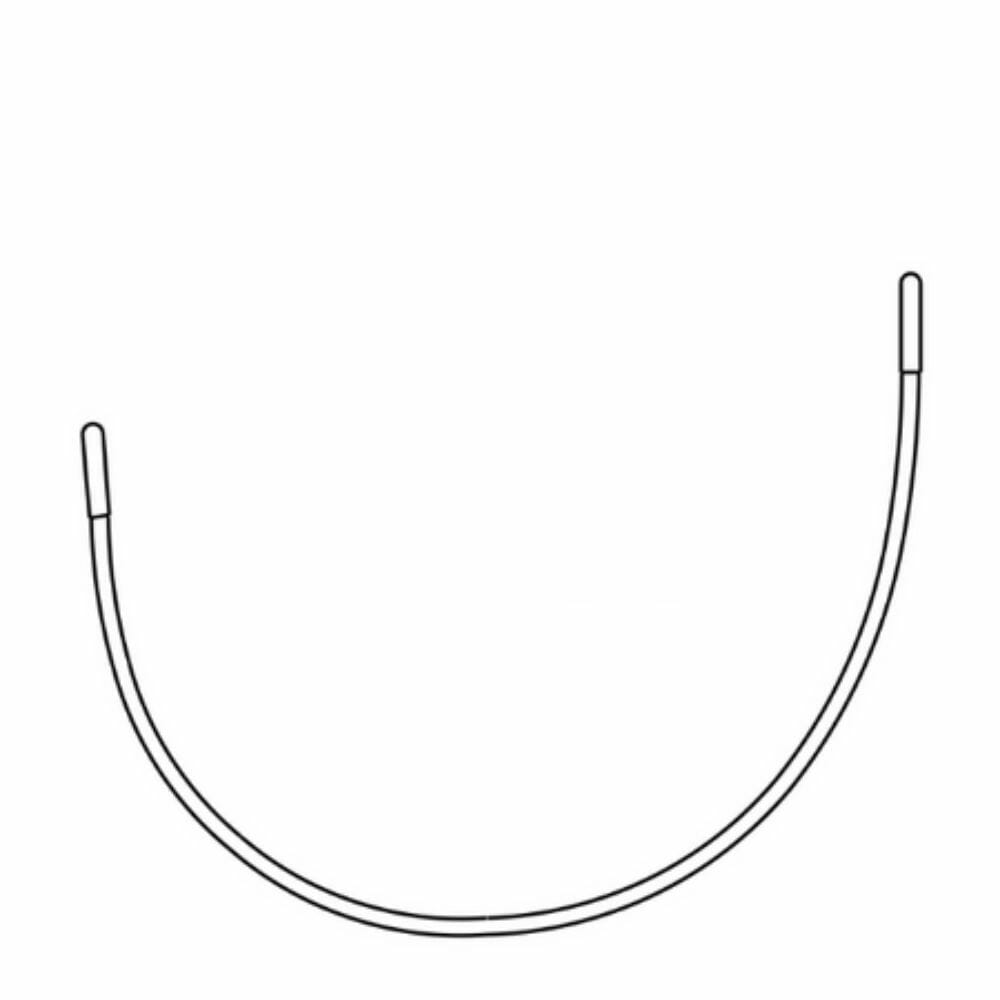
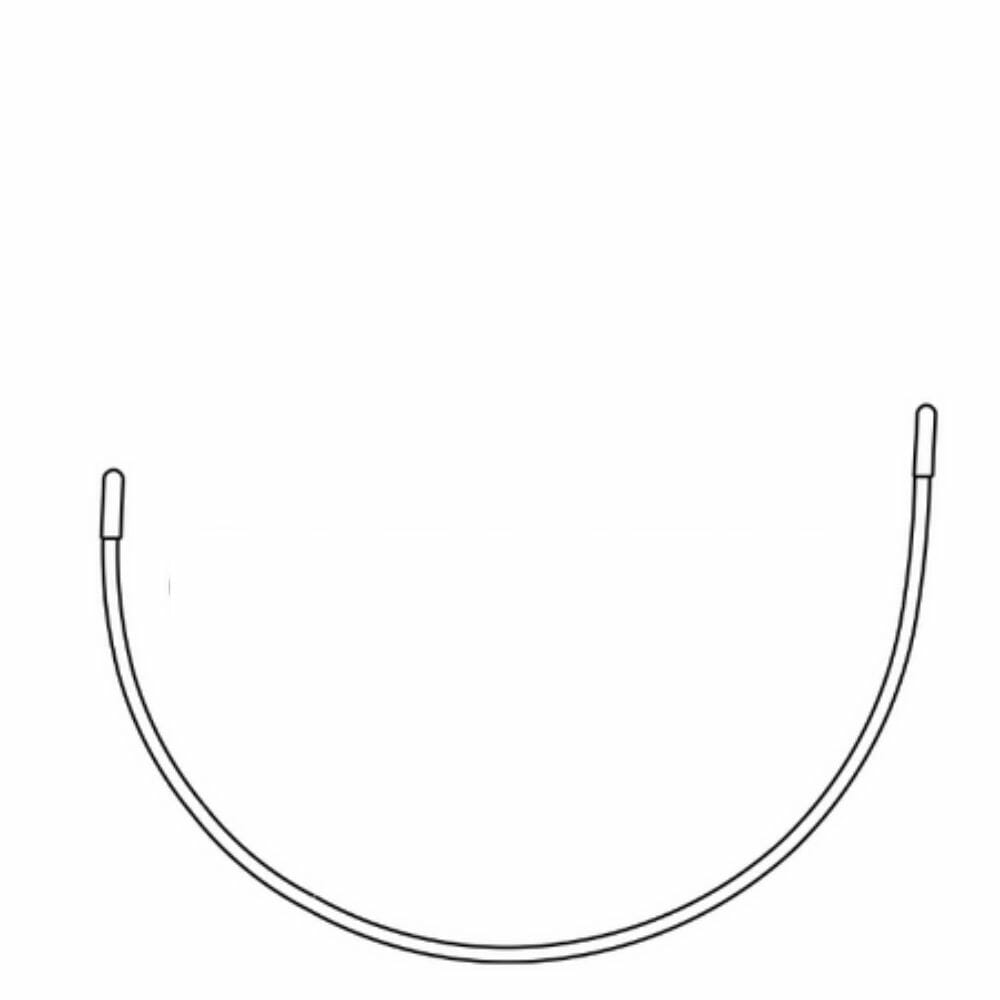
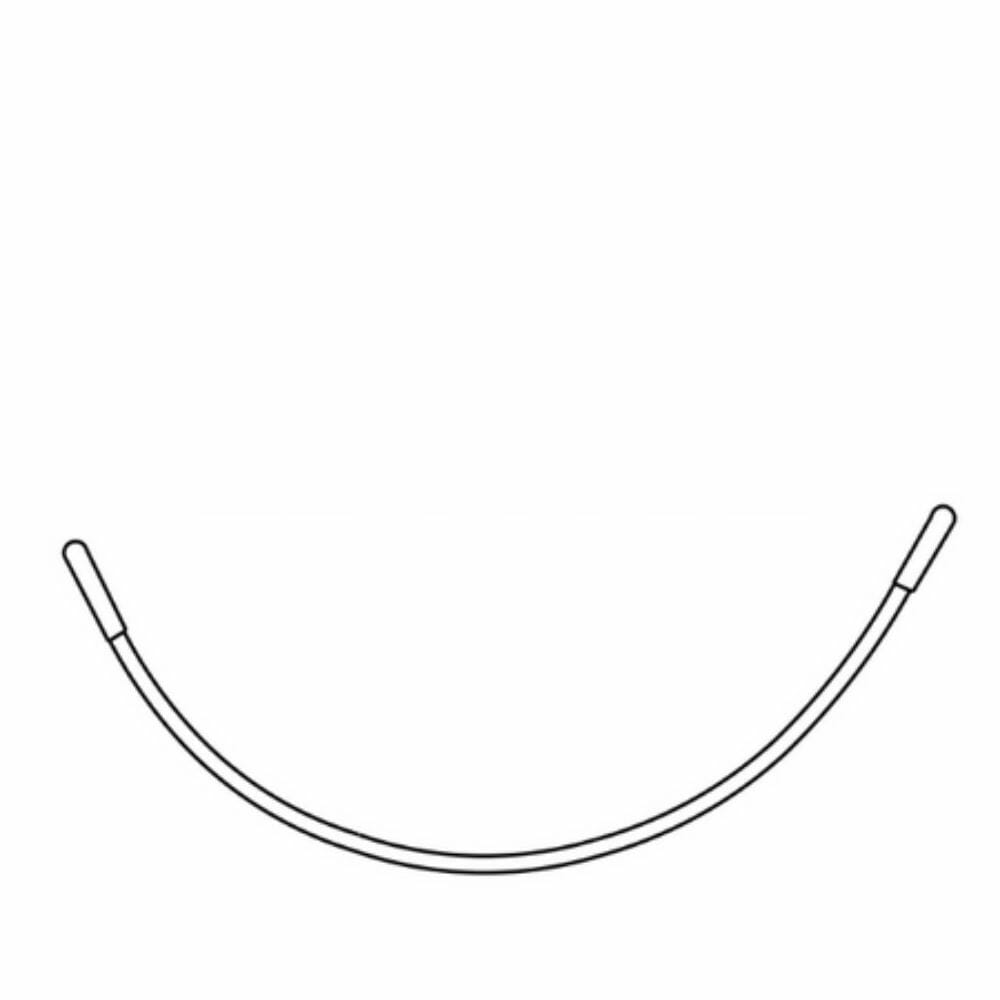
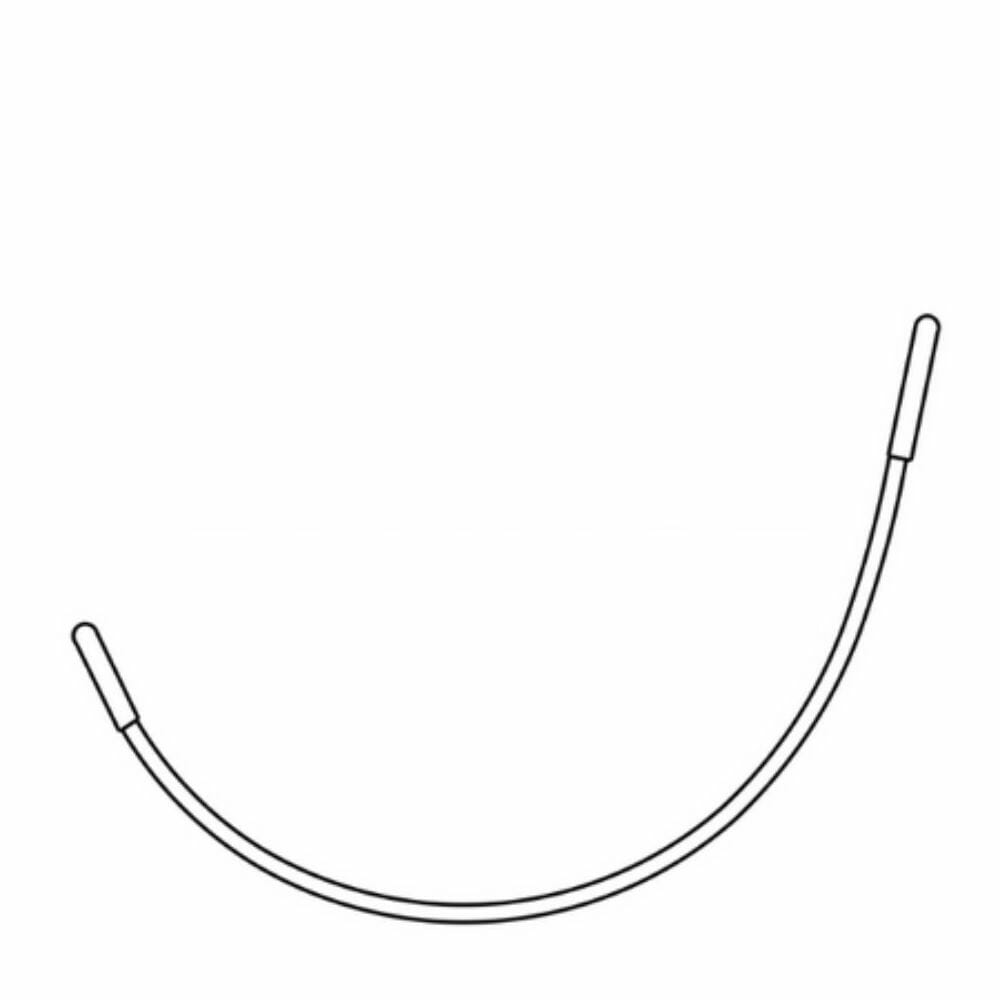
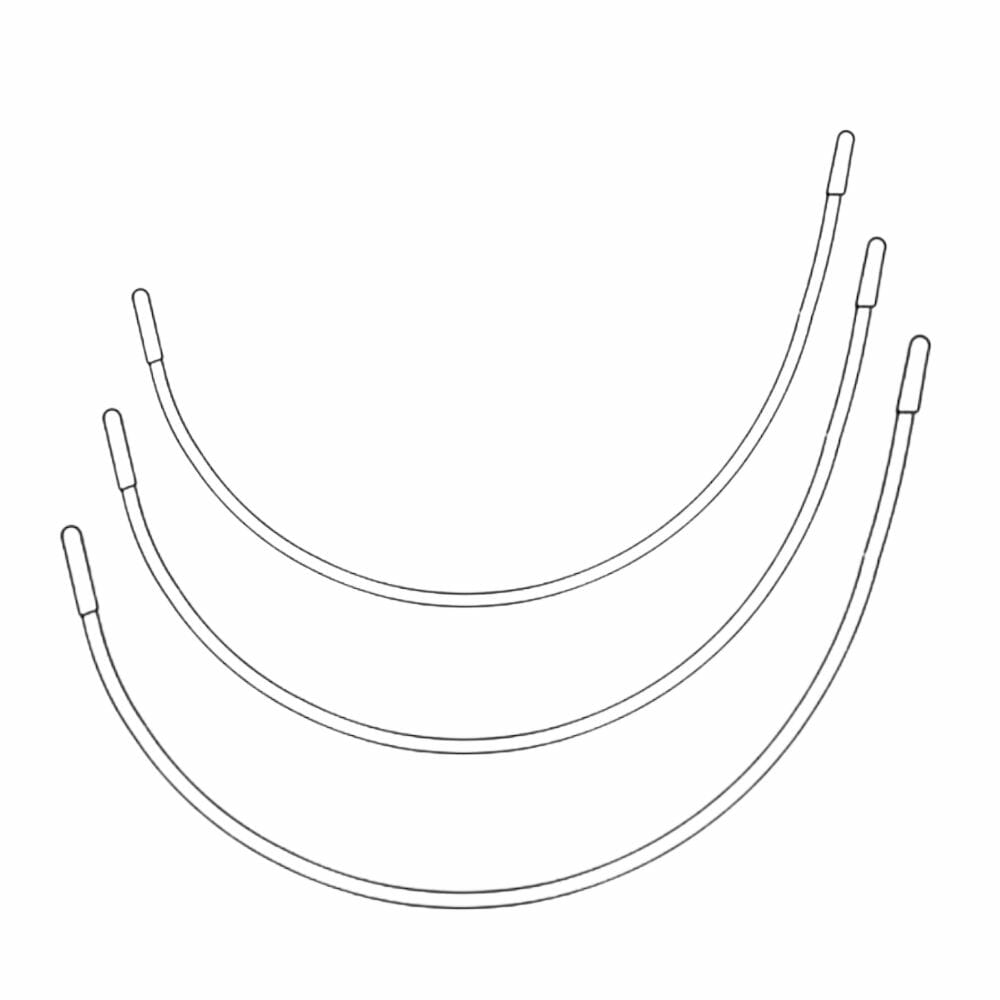
This was the first bra that I made using my France Underwires, which I’m still completely in love with- they are a much more shallow relaxed underwire option- And it went along perfectly with my ultimate loves: bra tulle & fold over elastic <3
So let’s deconstruct this (also- if you didn’t know I have this guide as a PDF for you to use!)

Covering the bases- yes it’s underwired, it uses a shallow demi wire, it’s a full band bra, with a two piece cup and a vertical seam. That sums up the most important stuff right away.
Next:

Now we get into the details- so on this generic bra cup, drawing the seams are a little different- because on the dreaming in silk bra, the underarm is lower, and the strap is more central, so that vertical seam runs from the bottom of the cup, to the centre of the strap- but it looks more vertical on the actual bra than it does in this ‘draw the seams on the cup’ bit- but you get the picture.
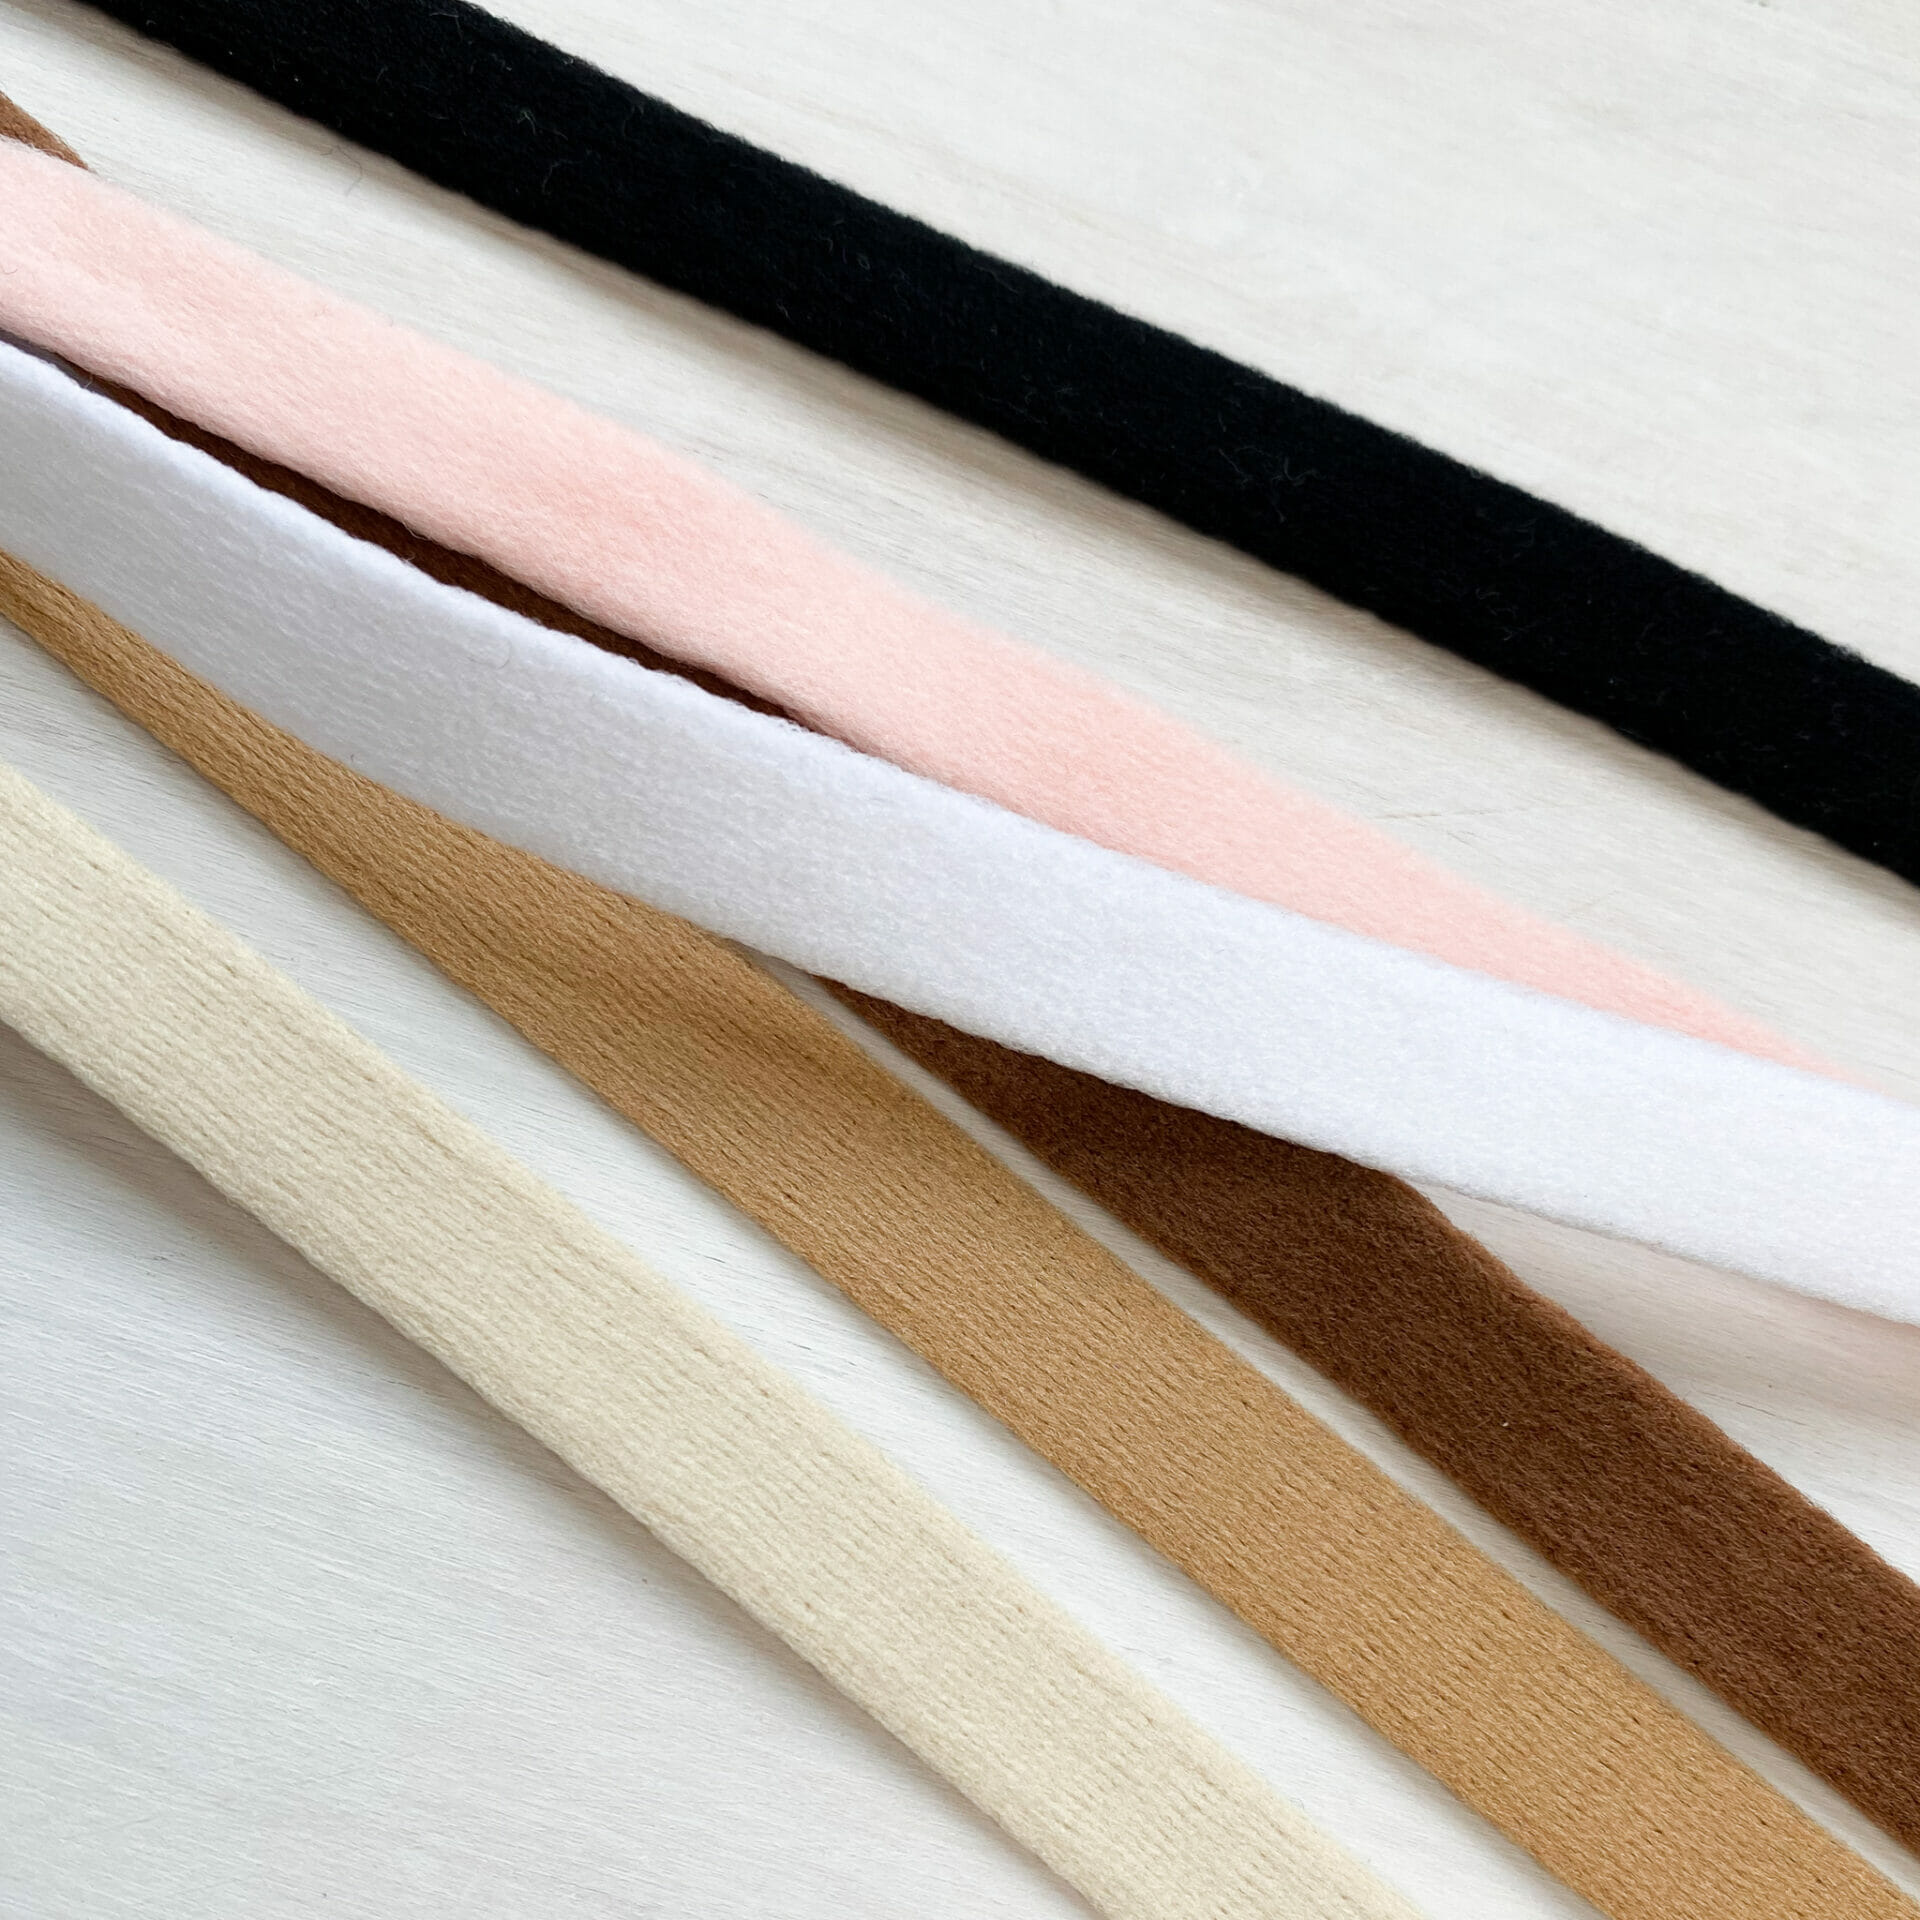
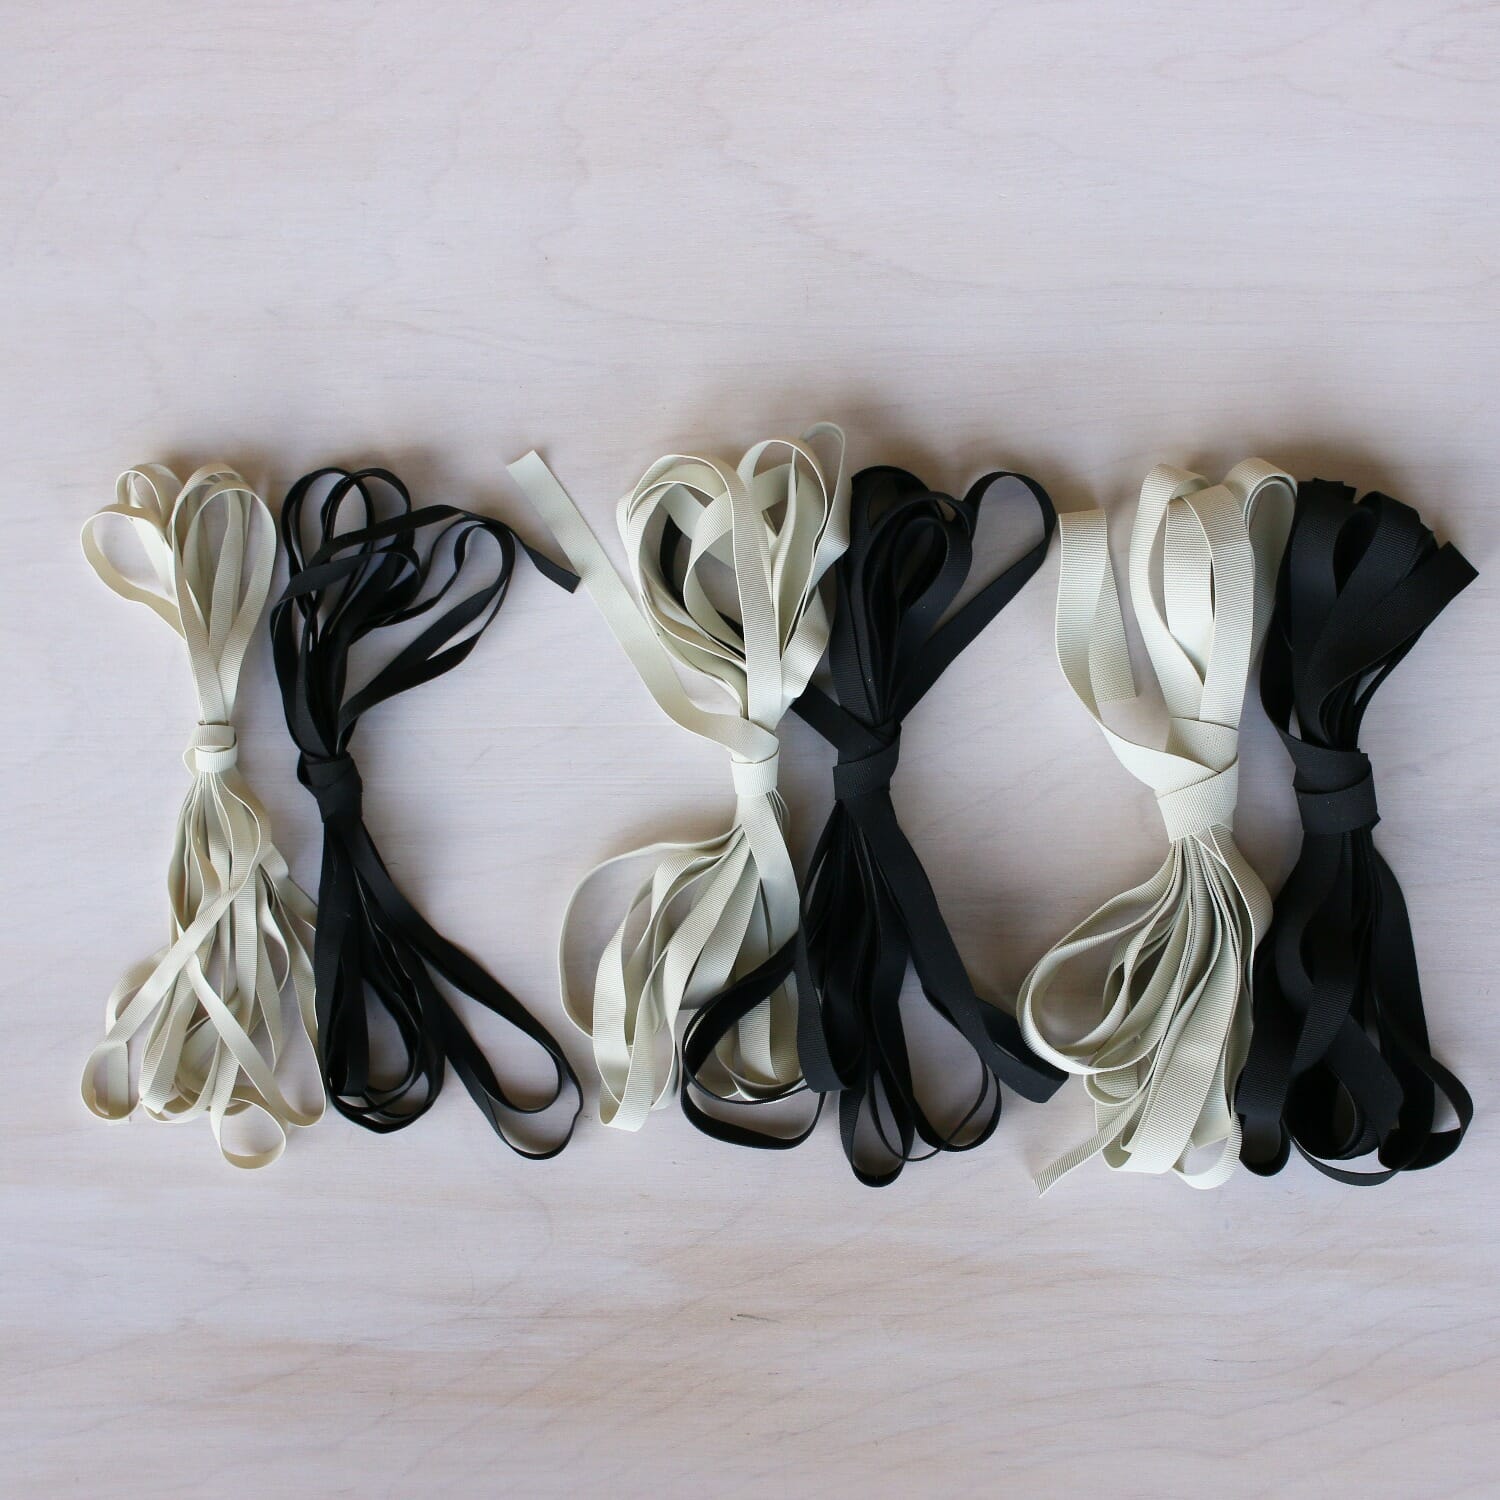
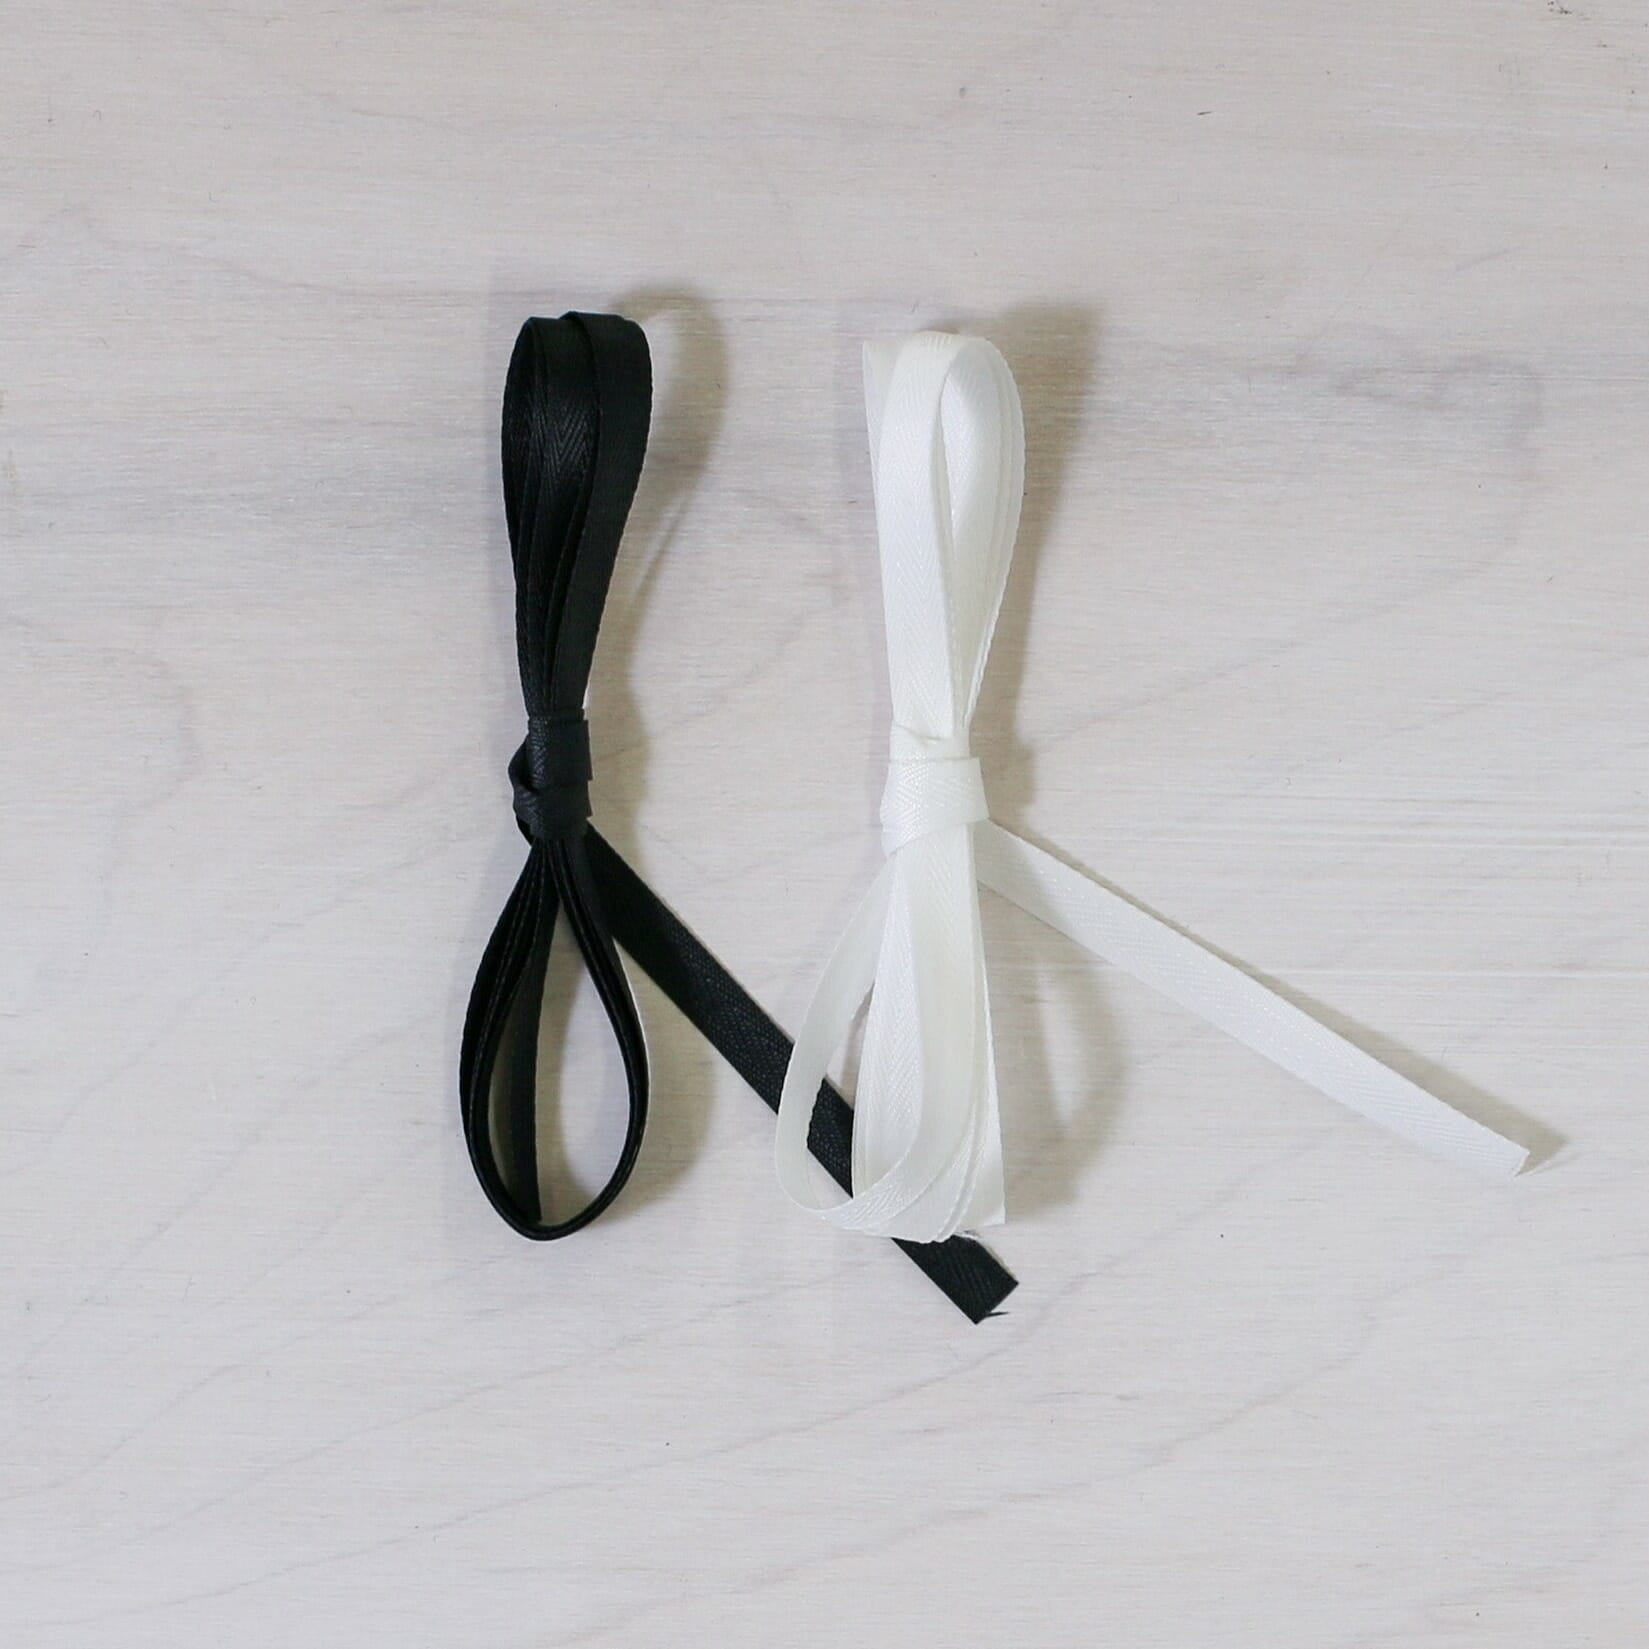
The other two note-worthy features of this bra are the silk panels on the cups, which are lovely for adding some elegance to this bra, and making it a little more opaque (I needed some bras that weren’t completely see-through under my also see-through tops). And the other interesting detail are the thin straps, that look so cohesive, because they are fold over elastic I used everywhere else- but to prevent them from being too weak or stretchy, I just slipped a little grosgrain ribbon in the fold when I was sewing and – boom- stabilized strap!
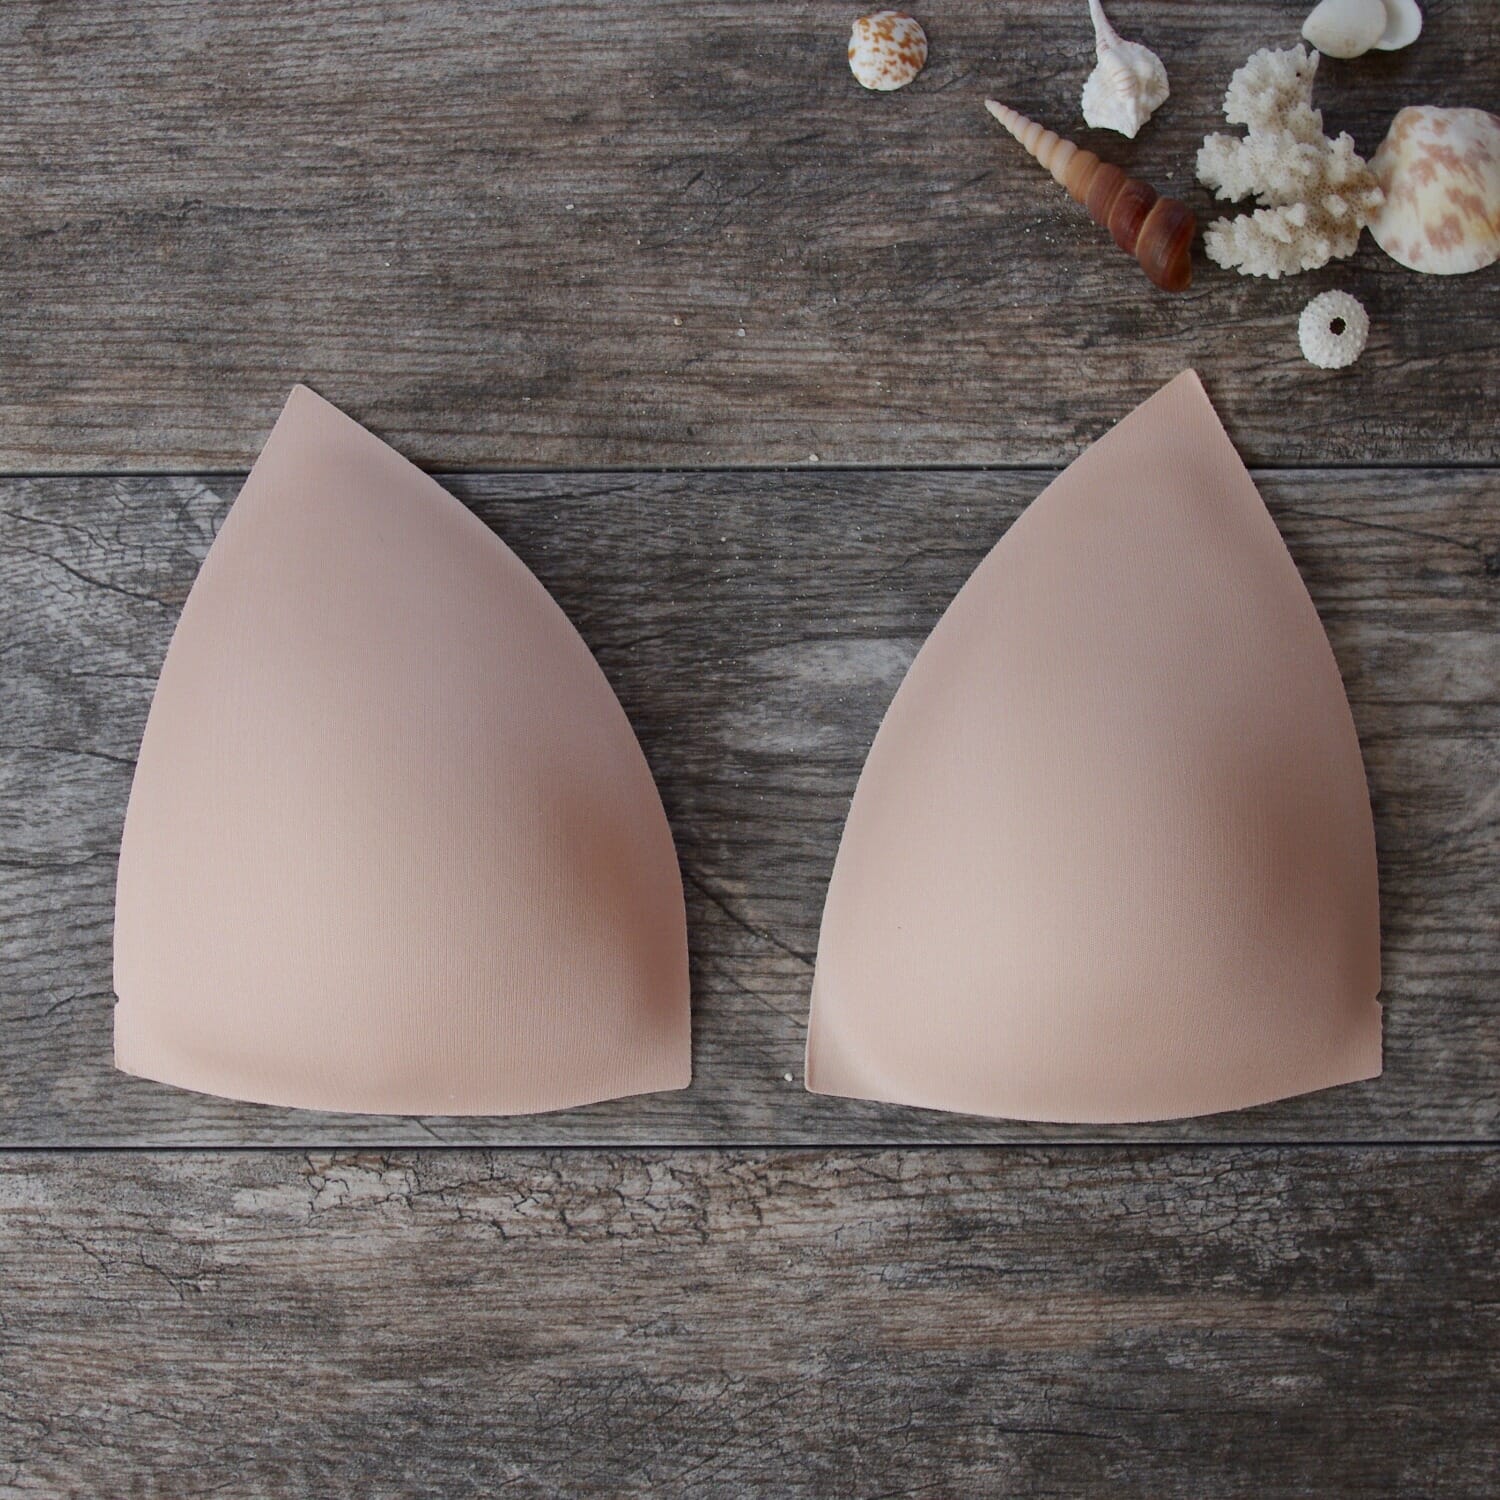
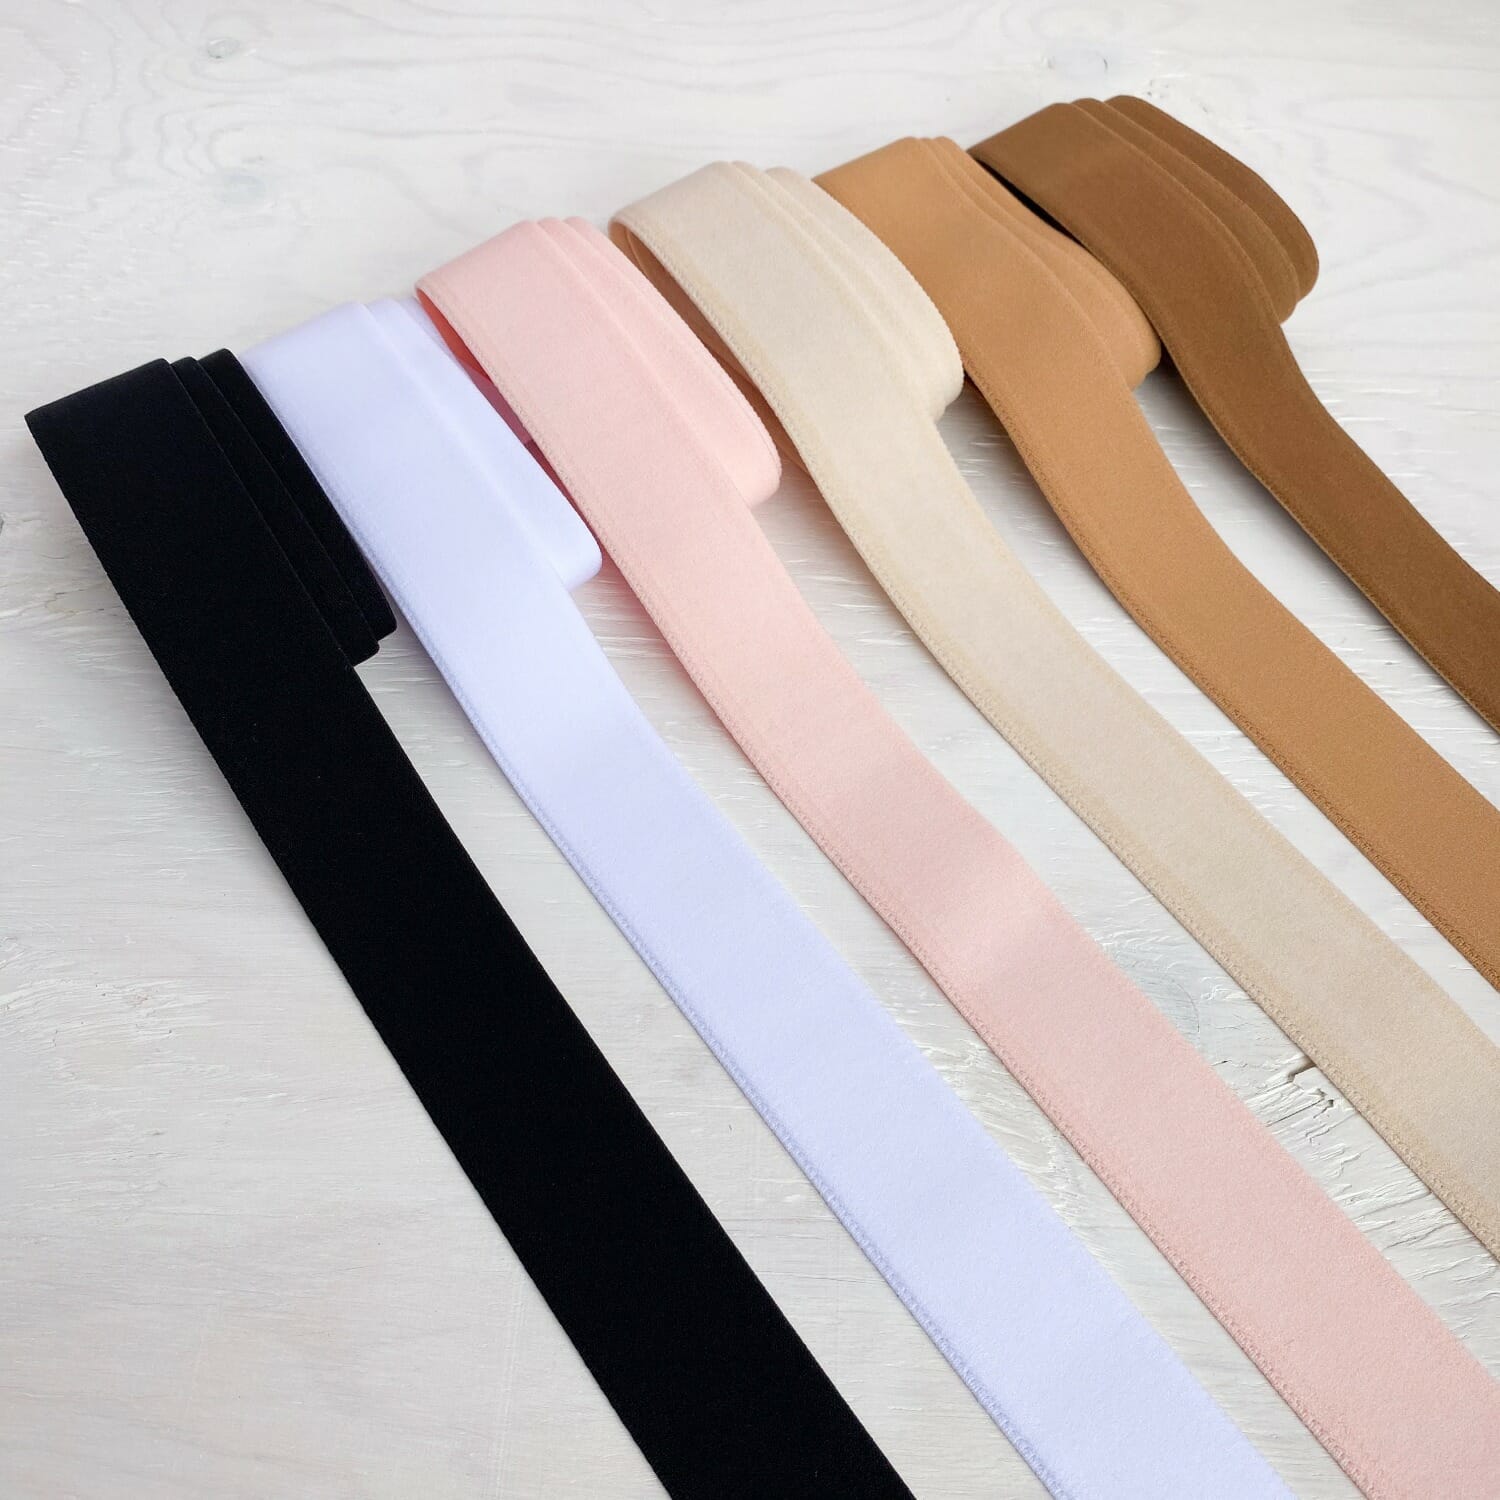
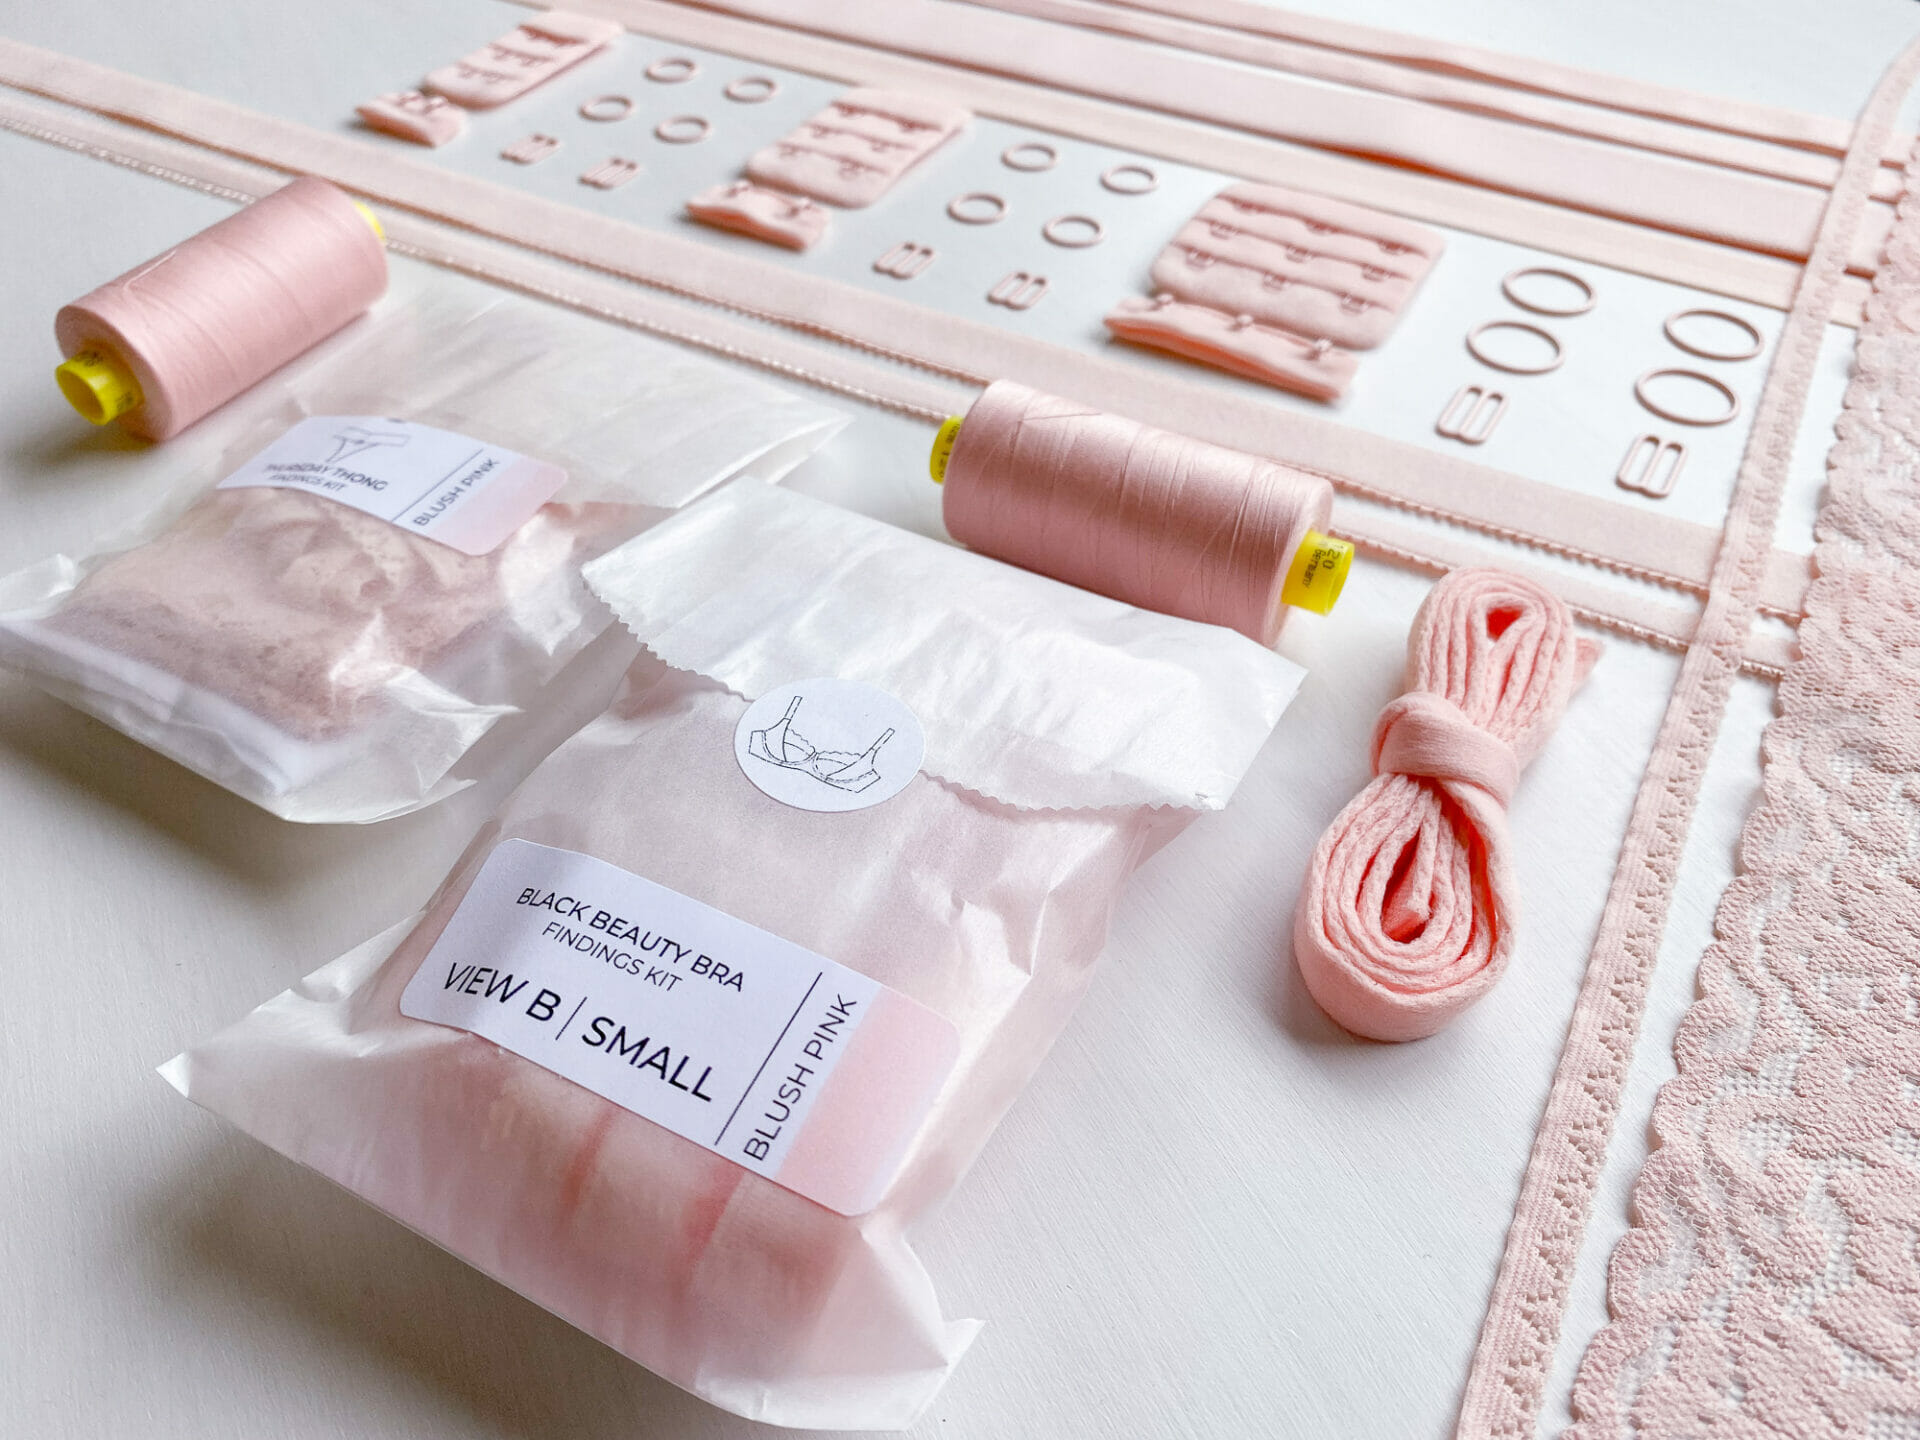
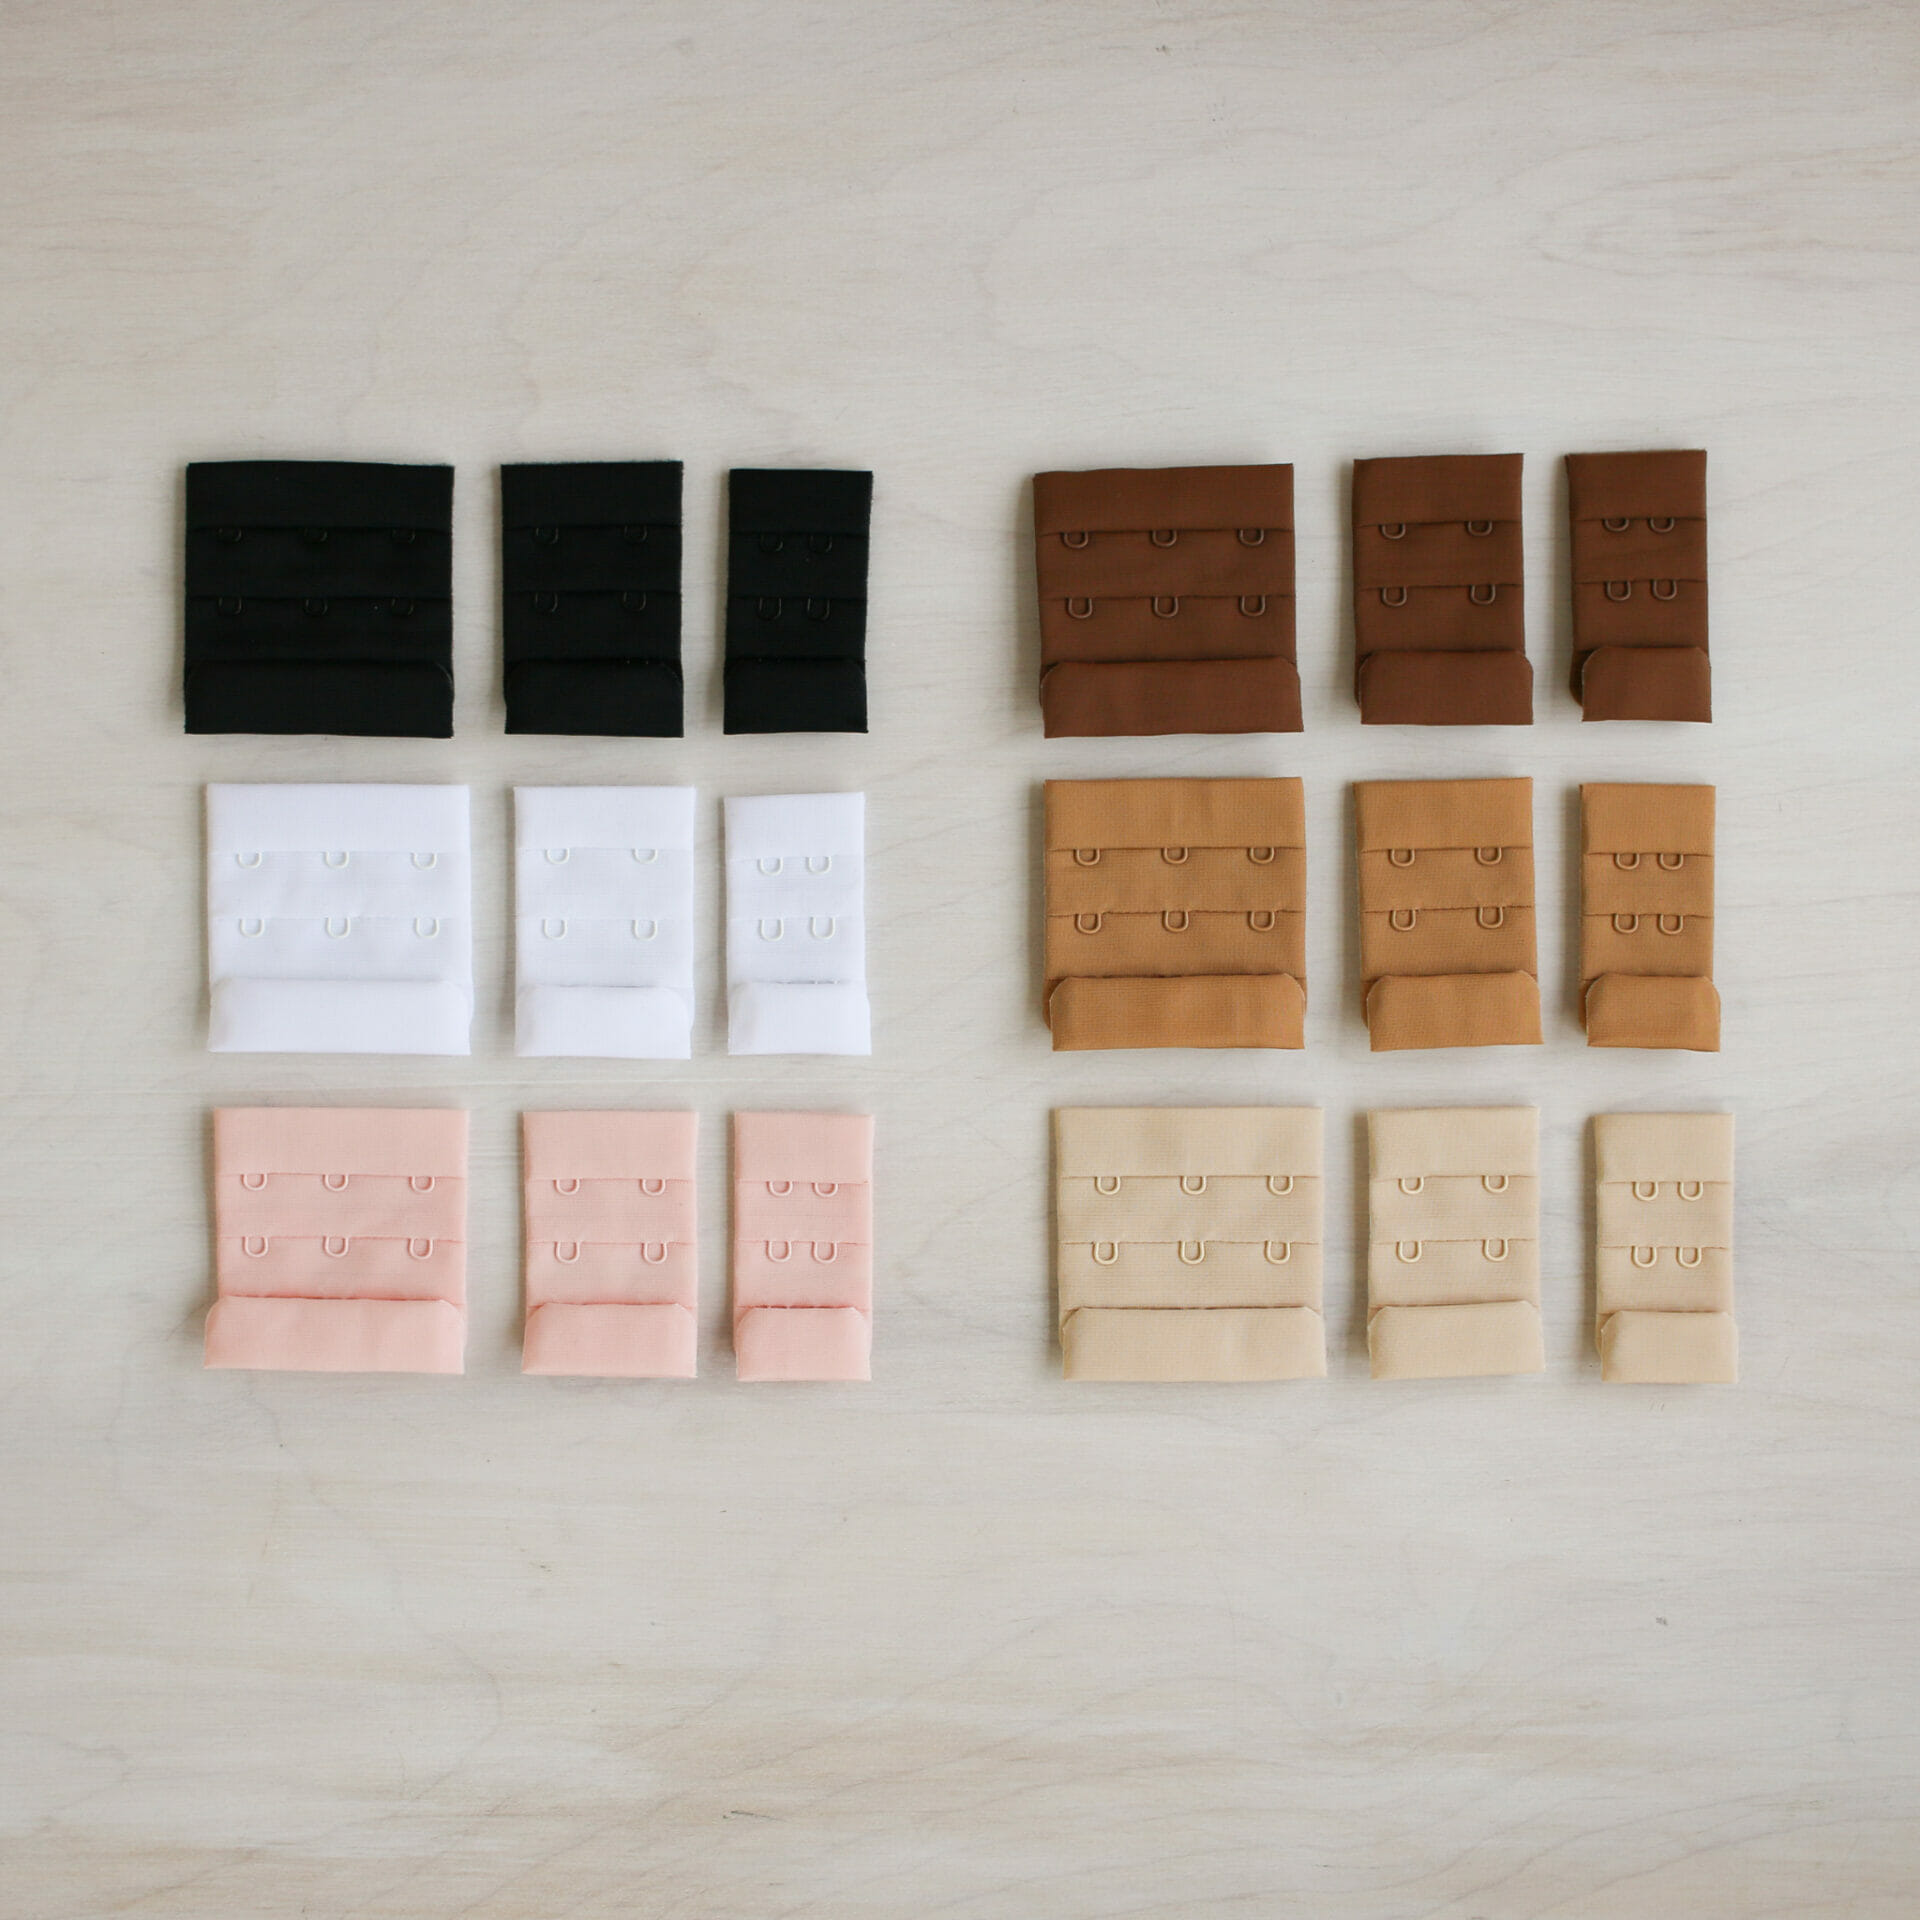
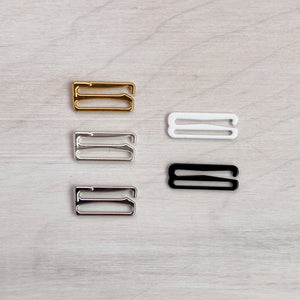
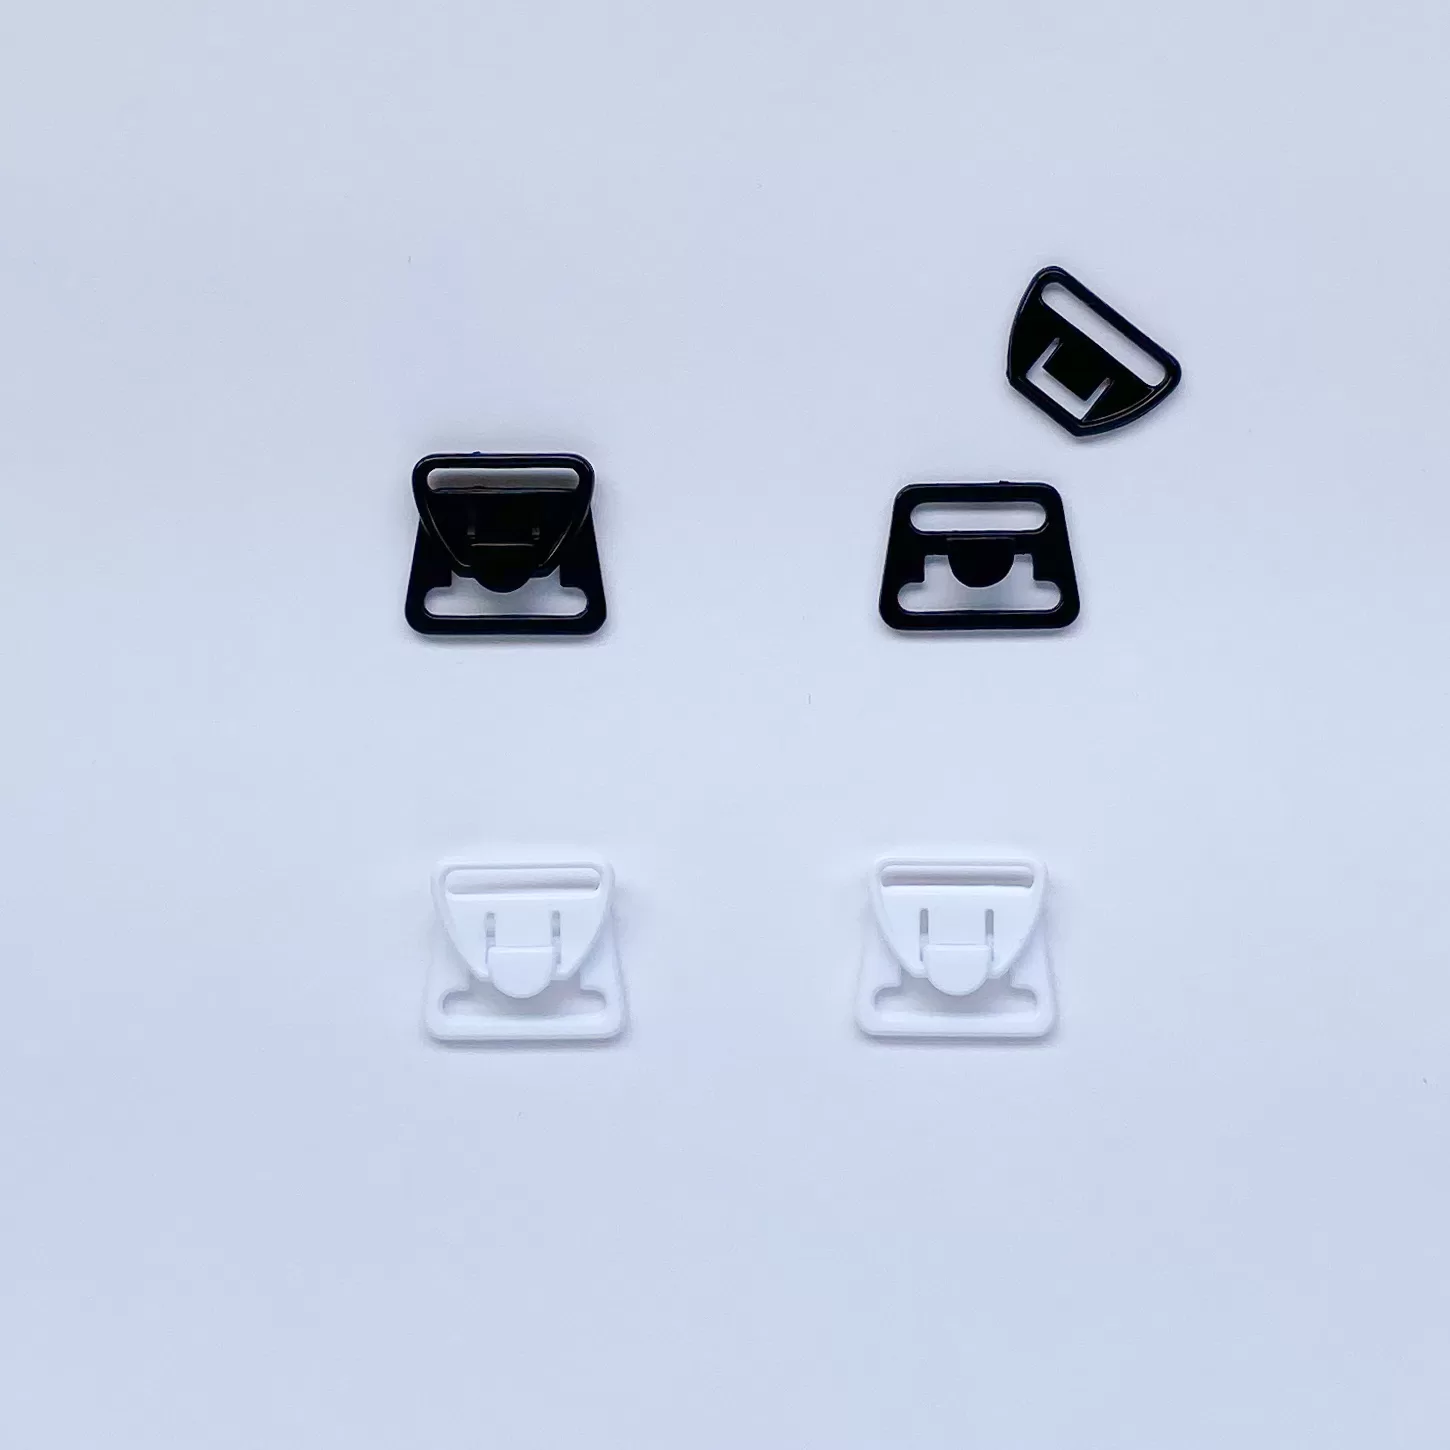
Otherwise there weren’t many other details in this bra, and the materials and findings for this bra were pretty straight forward too!
So there you have it! Another bra deconstructed! And just like I said in my last exposing the unders about my Parisian bra, once you deconstruct bras, many of them are really so simple with a couple nice details to make them special.
Have you used the exposing the unders guide on any dream bras lately?
Any thoughts on this dreaming in silk bra, or any bras you want me to expose in the future?
xo
erin















So pretty, Love them. And an adorable dog
Lg Sabine Michaela
Thanks so much!! I will pass on the compliment to Gibby too!
This is such an exquisite bra Erin! I may need to make something similar for Emma. I’m just so so smitten with bra tulle (all your fault )! Thanks for the PDF reminder, I had kind of forgotten about it. I hope to have a submission for your roundup next week.
Thanks Ginny!! I love spreading my bra tulle addiction 🙂 🙂 I can’t wait to see what you make next!!
Love it
<3 thanks Laura
Hallo Erin
This is a beautiful bra! Can you give a tutorial on the actual sewing of the cup, please? Is the silk like an applique over the cup or how did you do it? I would love to know.
I’m so glad the monthly “show and tell” is back: I so missed seeing the others’ beautiful bras.
Hi Ilna! Yes I absolutely can! I sewed the silk on top of the tulle- so the tulle underneath is a solid piece, then I placed the silk right sides together with tulle and then flipped it over, so that that edge was finished, then I seamed everything together in the centre. Does that make sense?
I’m really looking forward to this round-up too! and seeing all the beautiful things that everyone has made!! 🙂
This bra is gorgeous! Beautiful fabric combination!
Thanks so much 🙂 It is a real favourite of mine 🙂
That is so stunning Erin! Just finished my first bra (Harriet by Clothspot) so that list is so helpful. I think I need to keep up with what works and what doesn’t. I think next time I’ll be going a size down but I’m concerned about the wrinkling in the top of the cups. The cup is too big but I have narrow shoulders so I’m not sure if i’d need to adjust the pattern for that? I guessed you would be a good person to ask! Can’t wait to see what you make next!
Thanks Stevie! and congrats on your first bra!! It usually takes a bit to figure out your perfect fit, but for narrow shoulders I could suggest two things- you could either move your straps closer together in the front, which isn’t too difficult of an alteration, but an even more simple one would be to move them closer together in the back- if your problem is just with your straps falling off your shoulders 🙂 Good luck with your next bra!!