


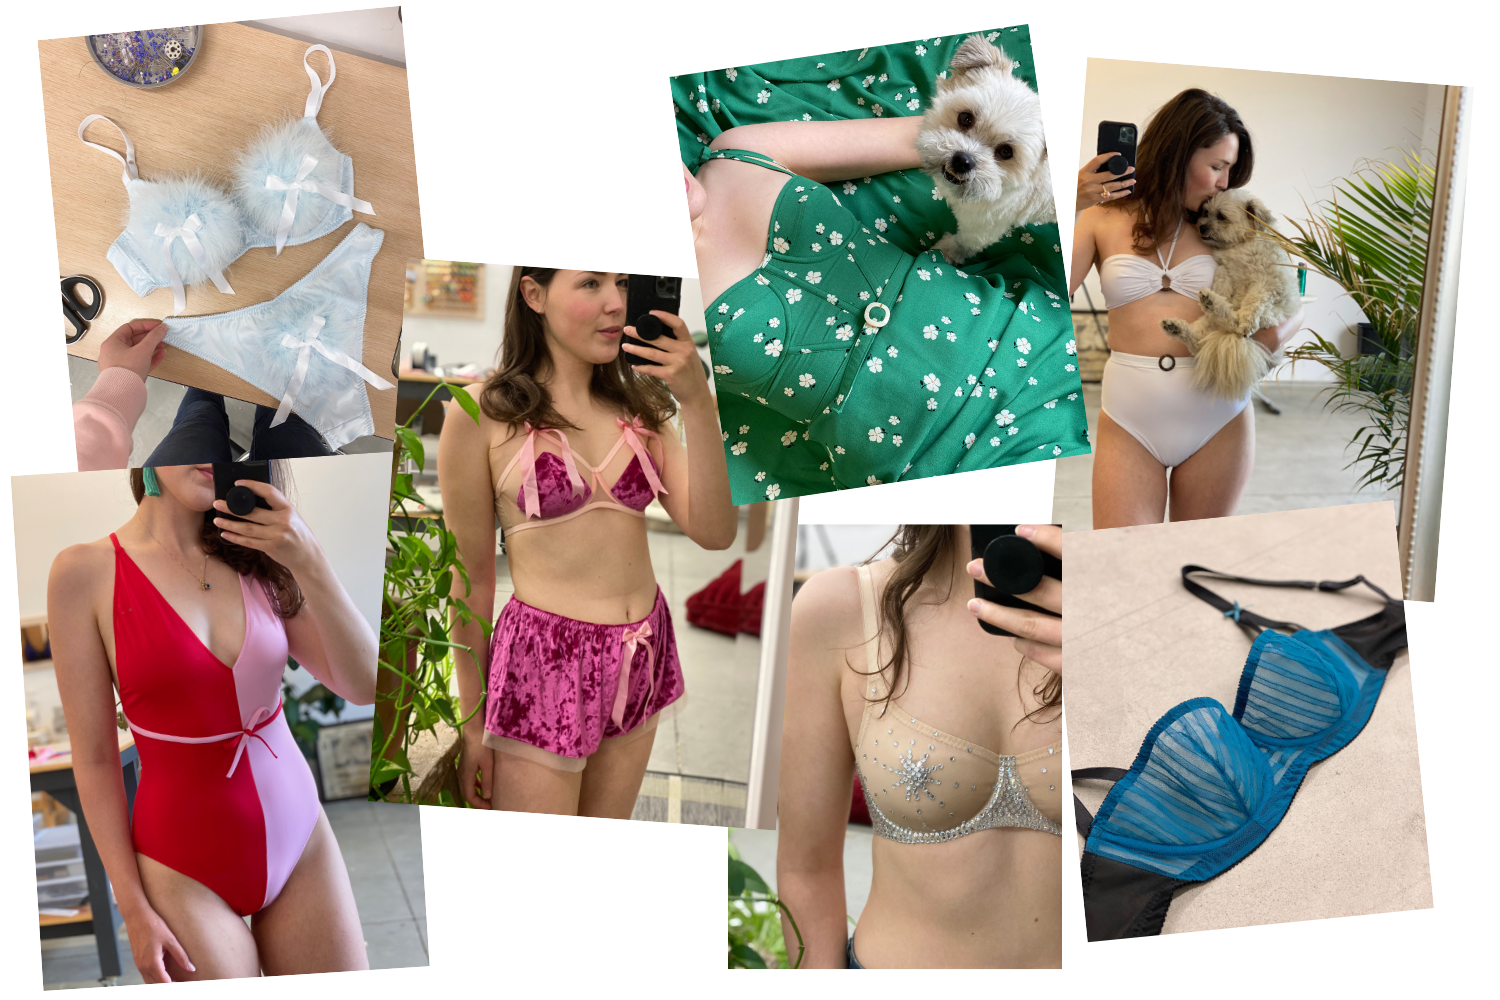

Hi All!
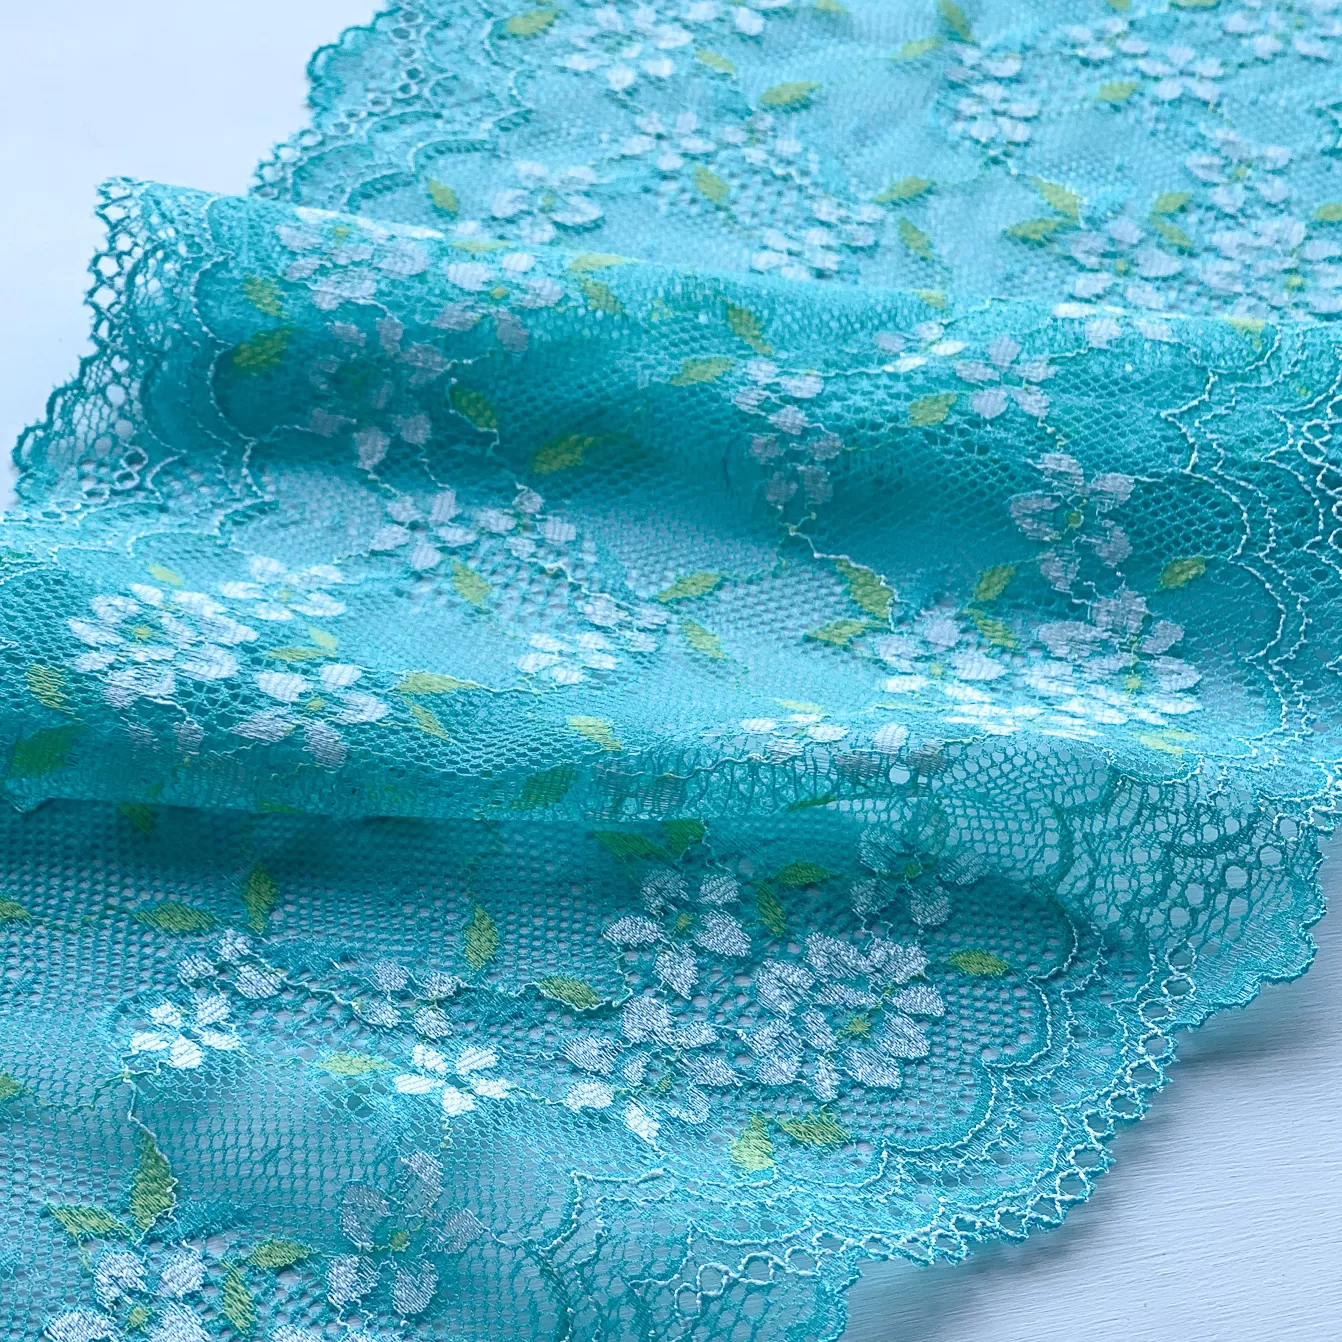
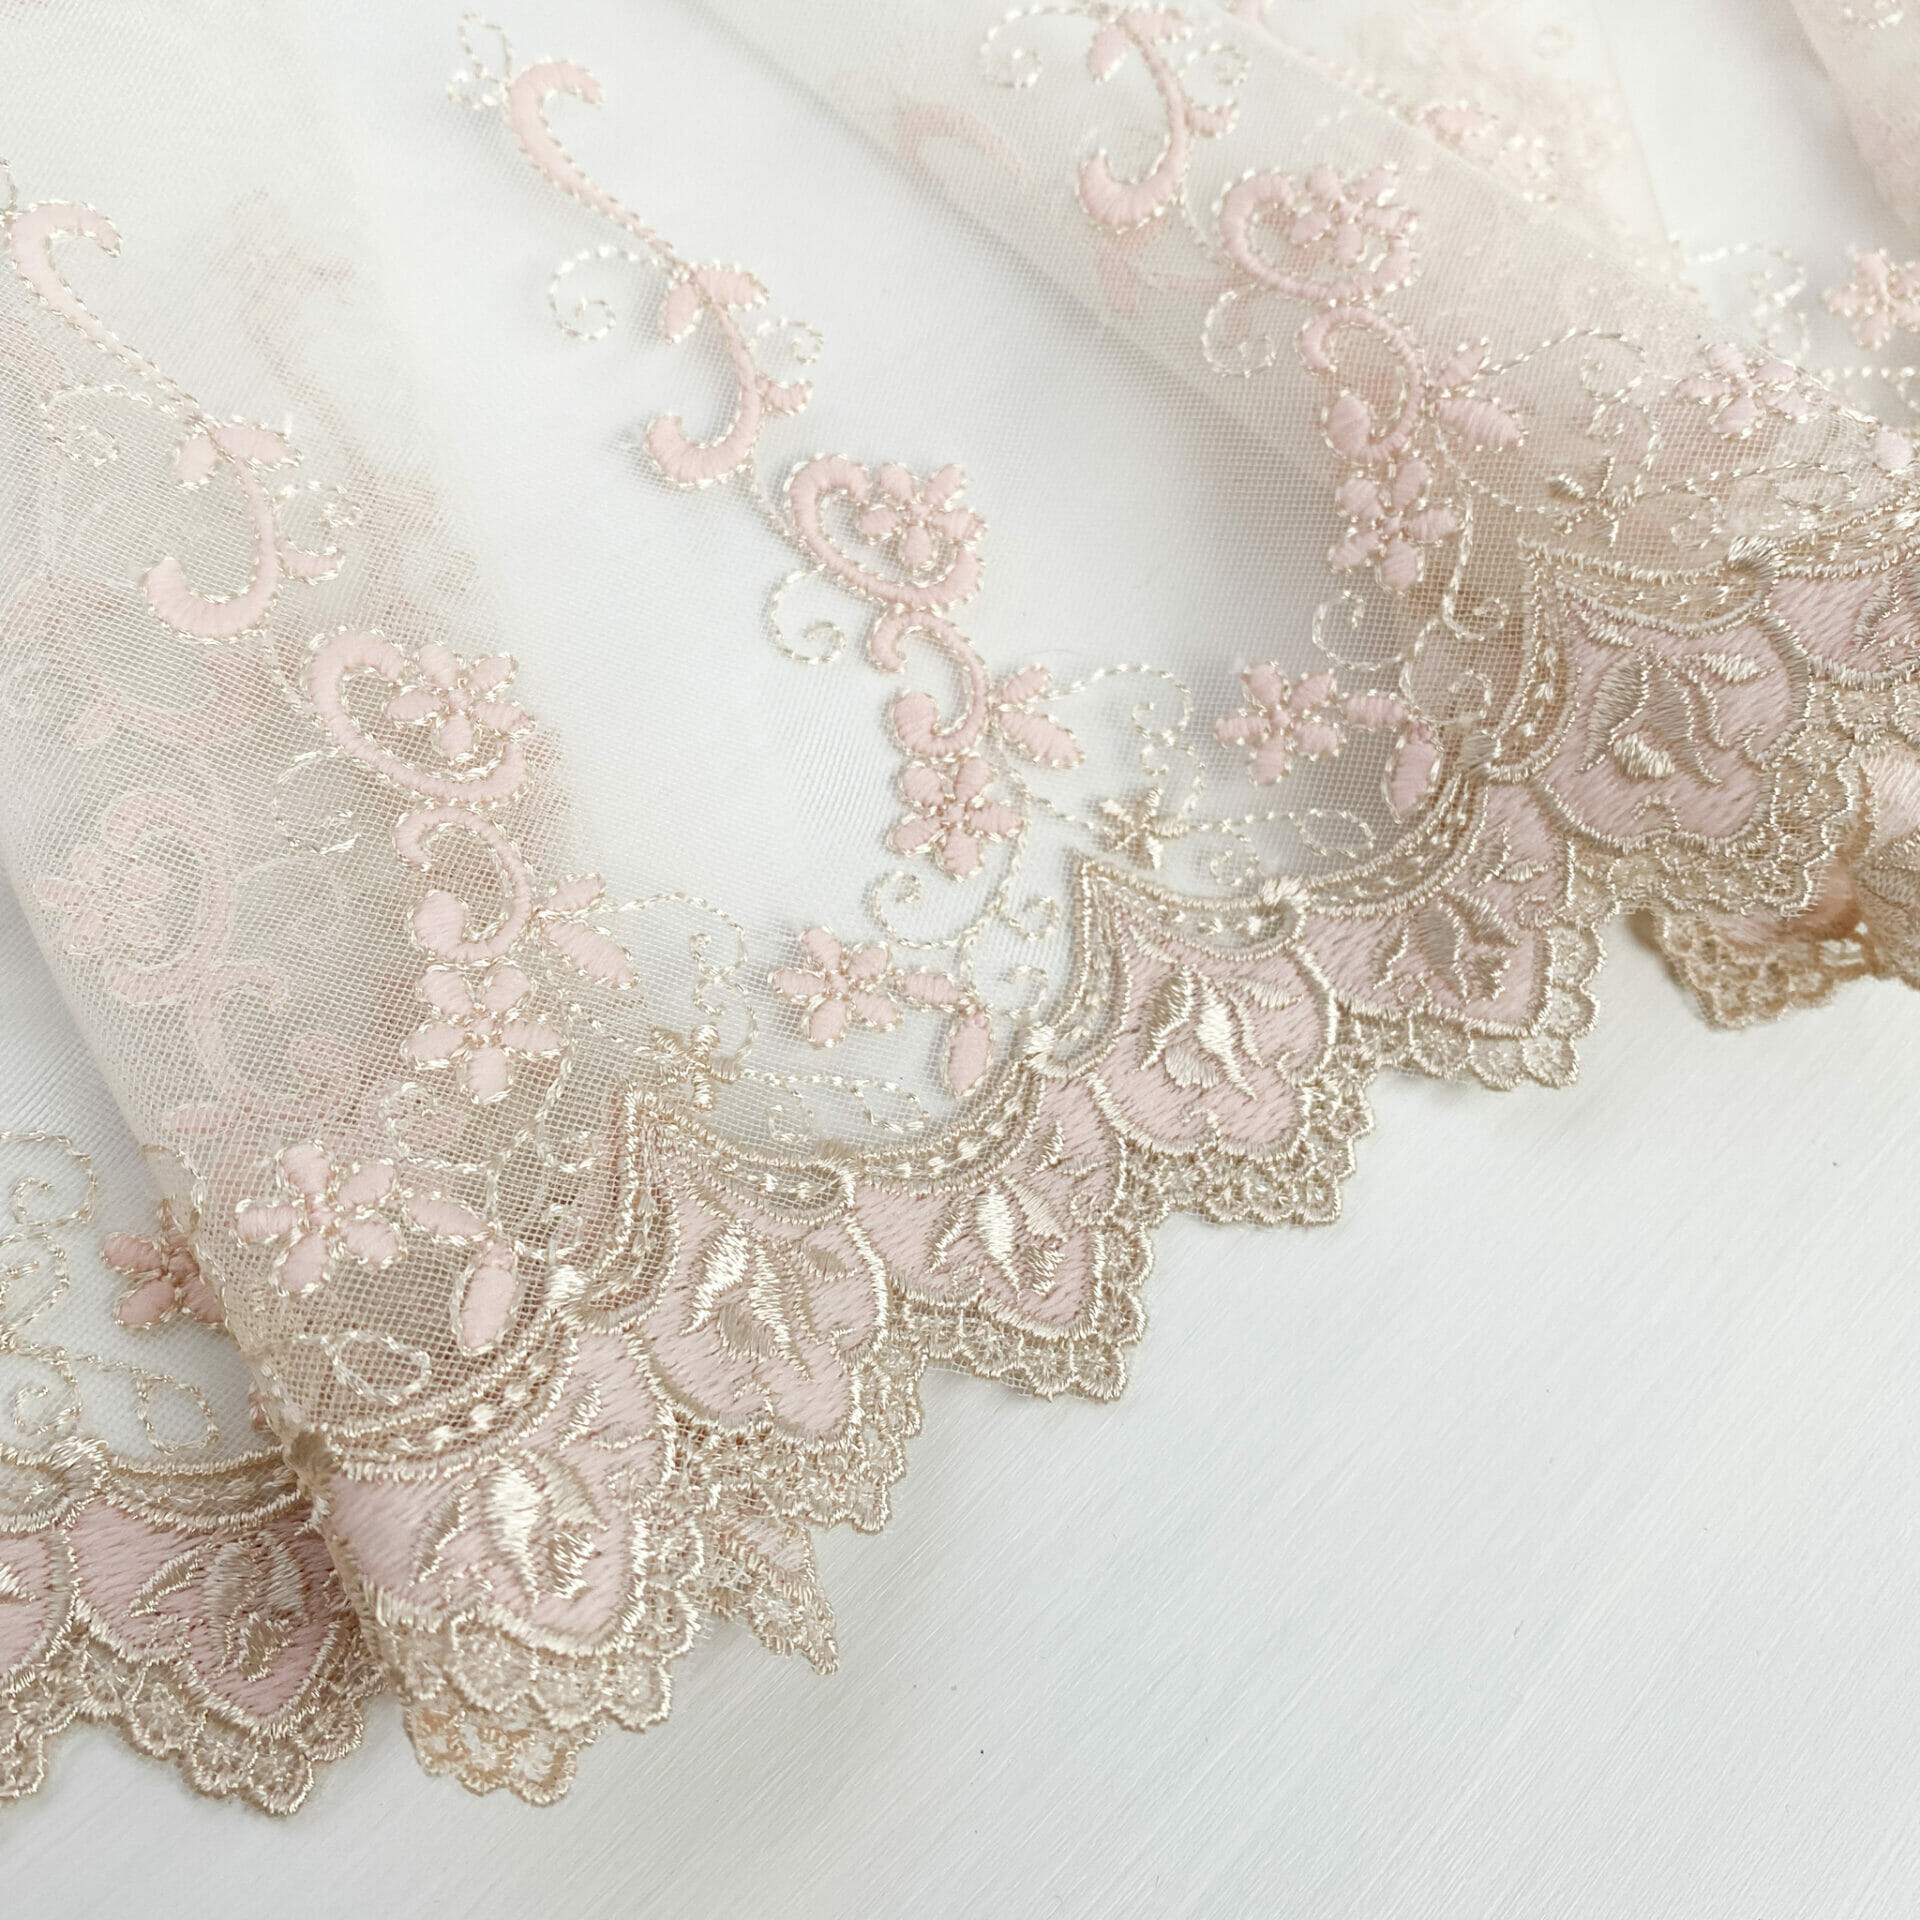
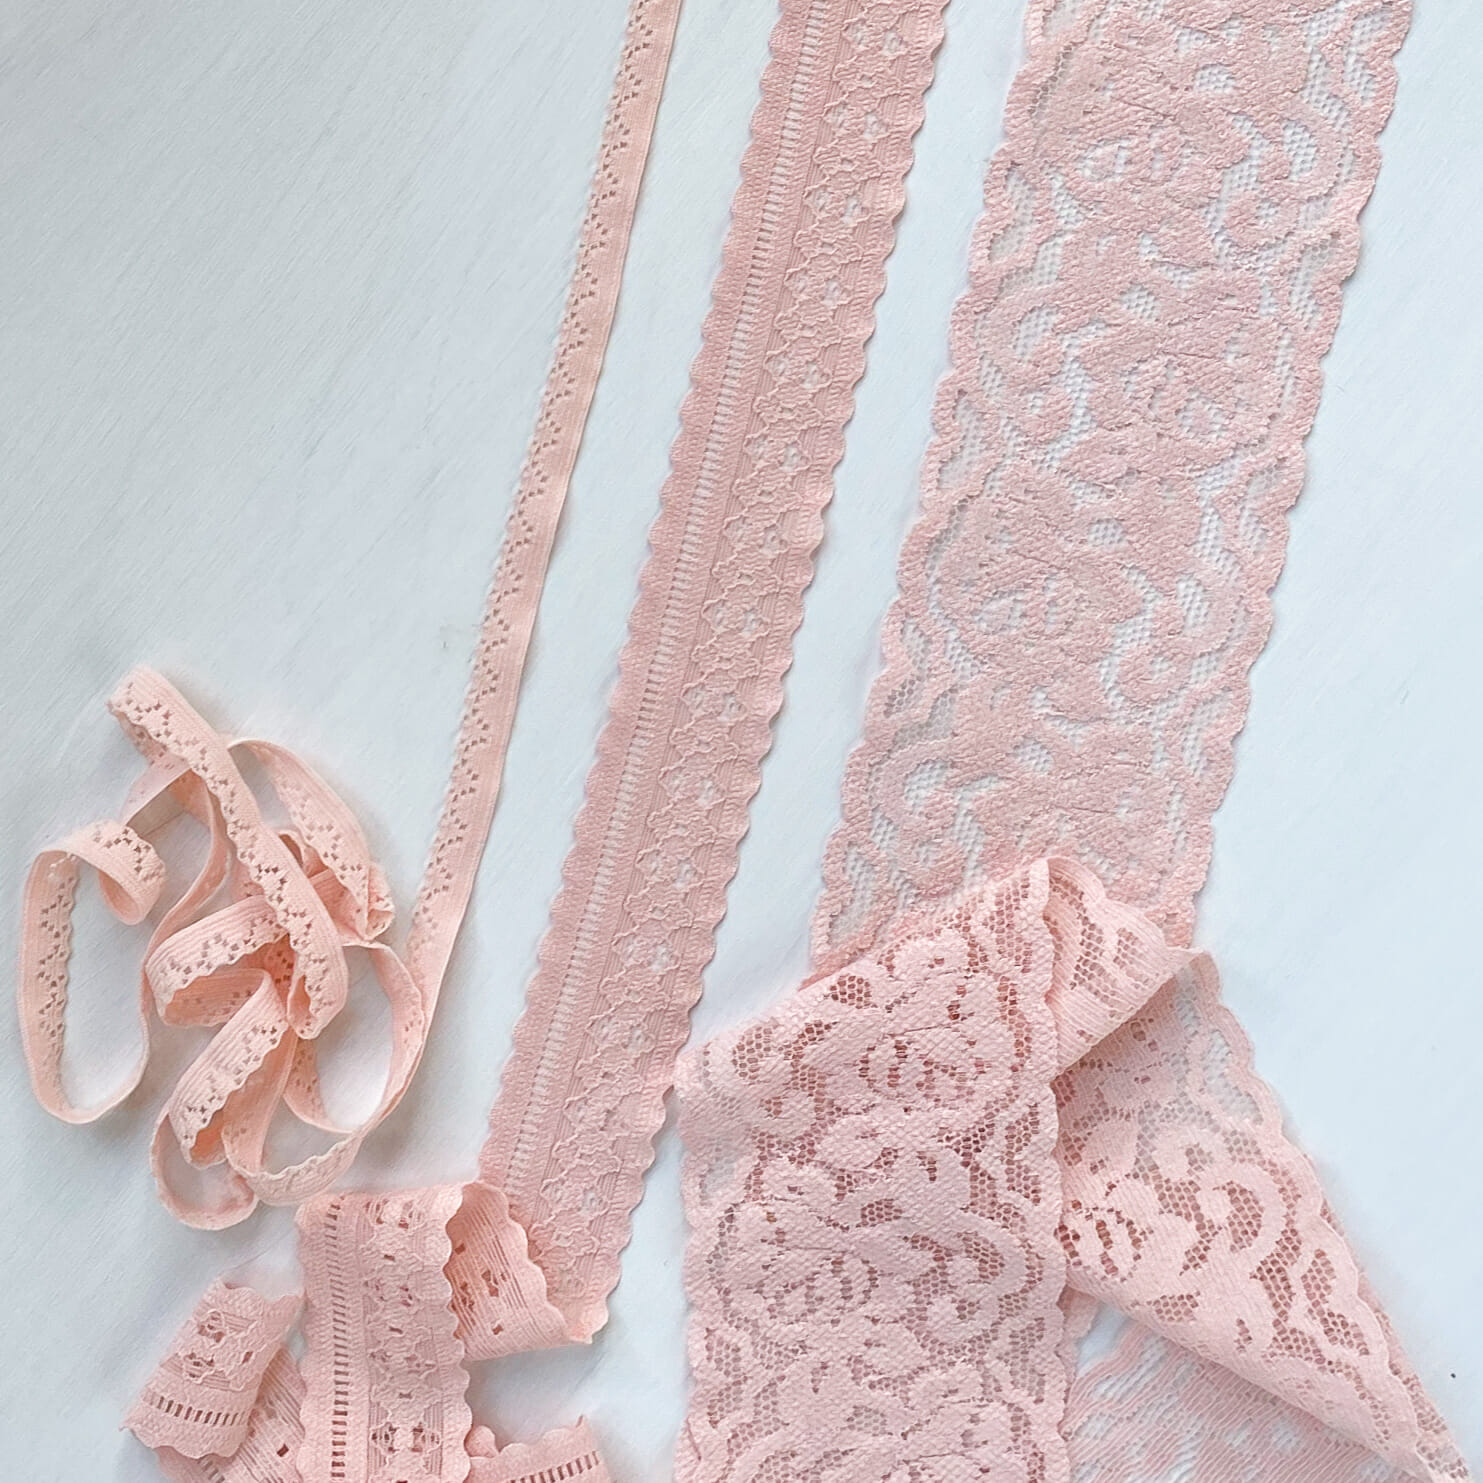
One of the amazing things about appliqué is how little lace it takes- you can pick through your leftover scraps pile for a couple of cute flowers and come away with a gorgeous set that looks just as impressive as a lace bra that takes meters. As I was making lingerie samples with our Amour Appliqué for the Valentine’s sale I couldn’t help but hold on to the leftover lace scraps because this lace is particularly suited to appliqué.
How To & Details:
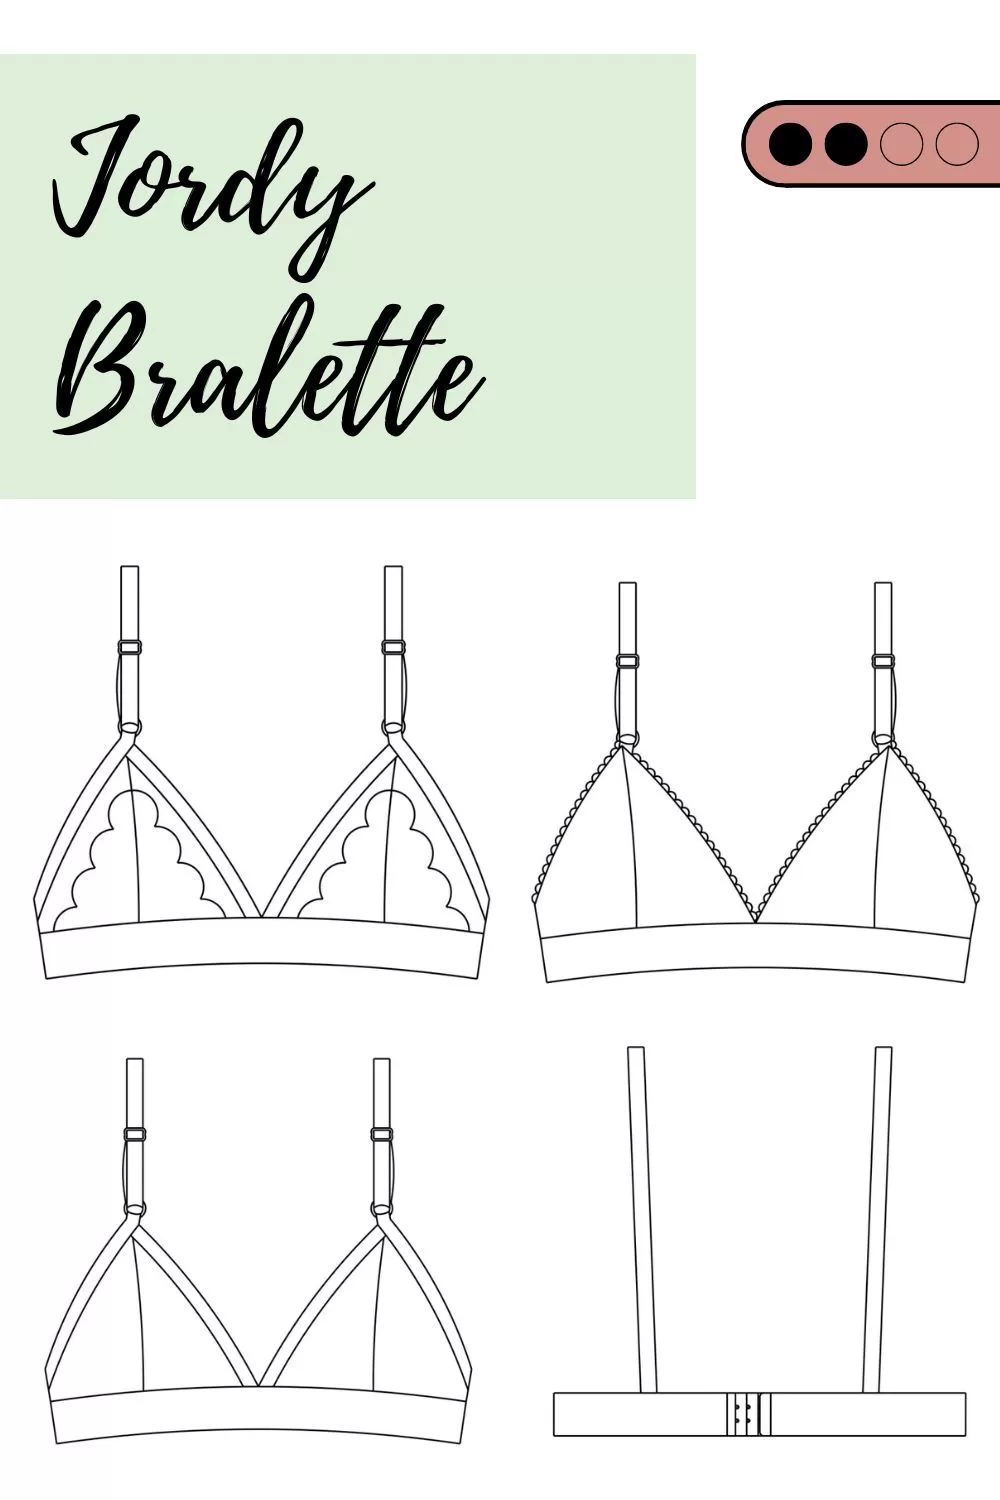
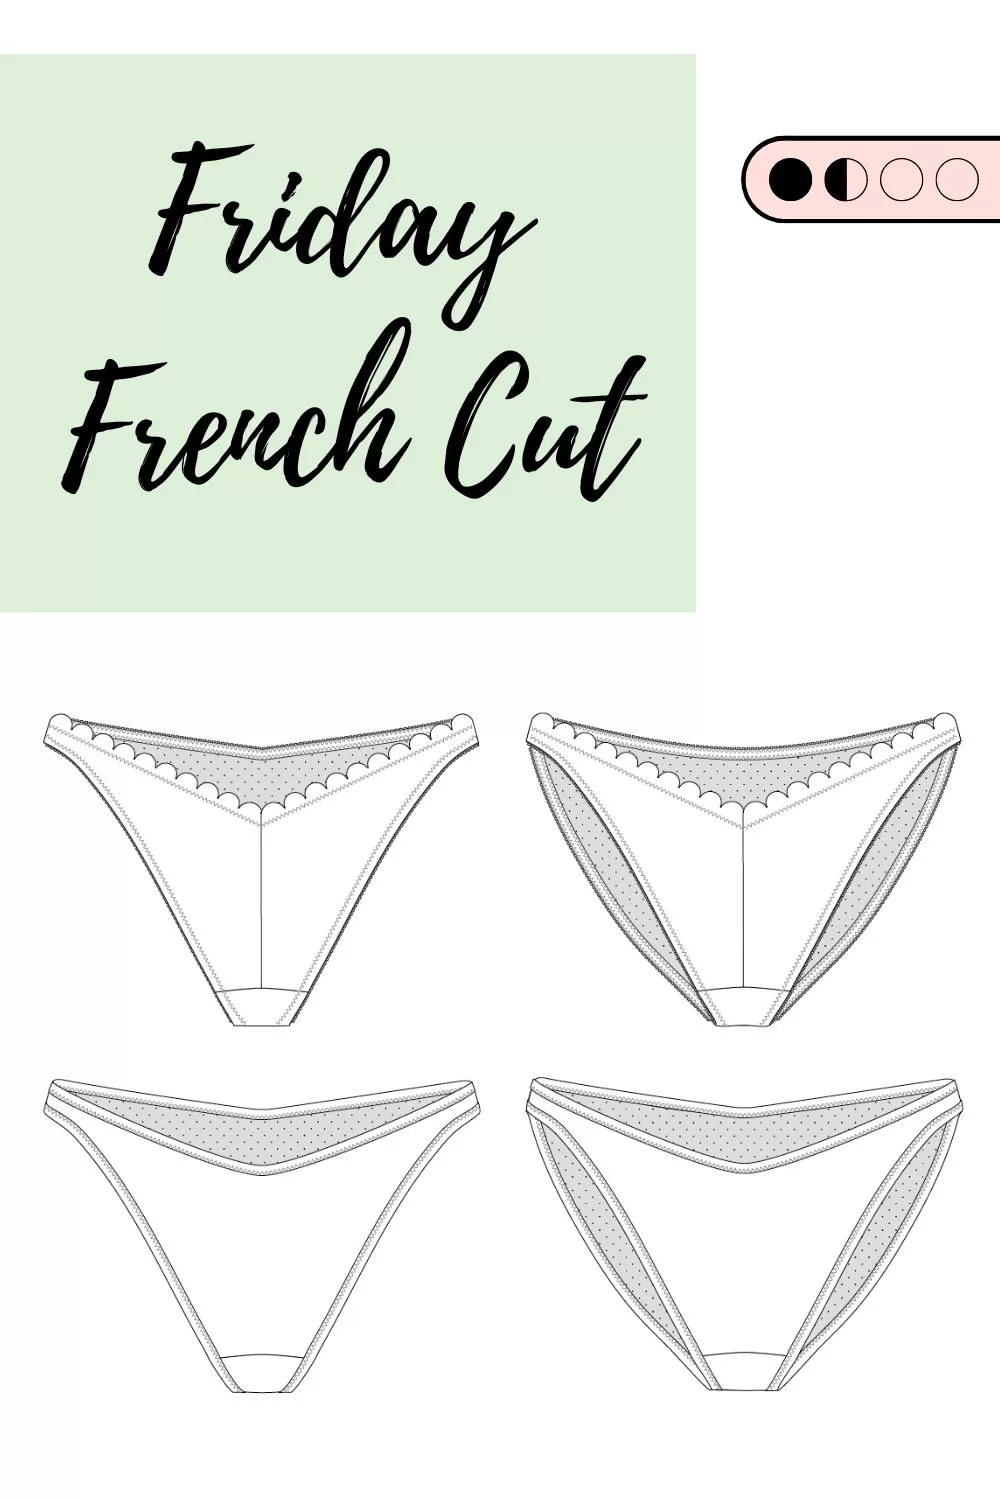
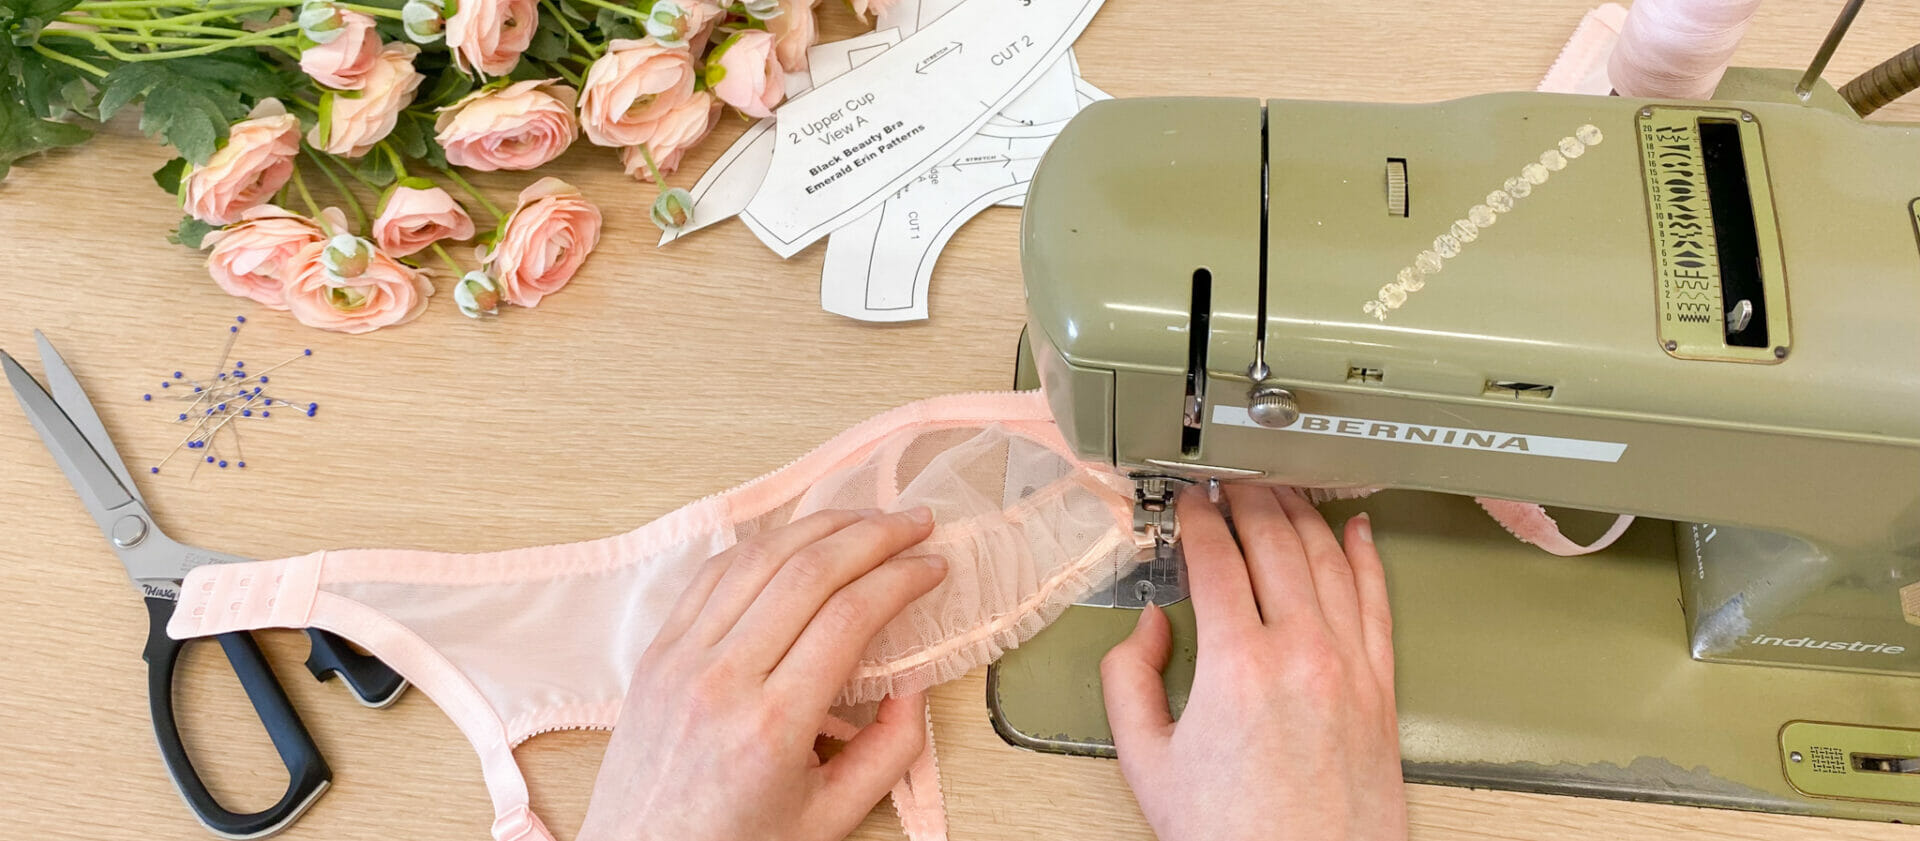
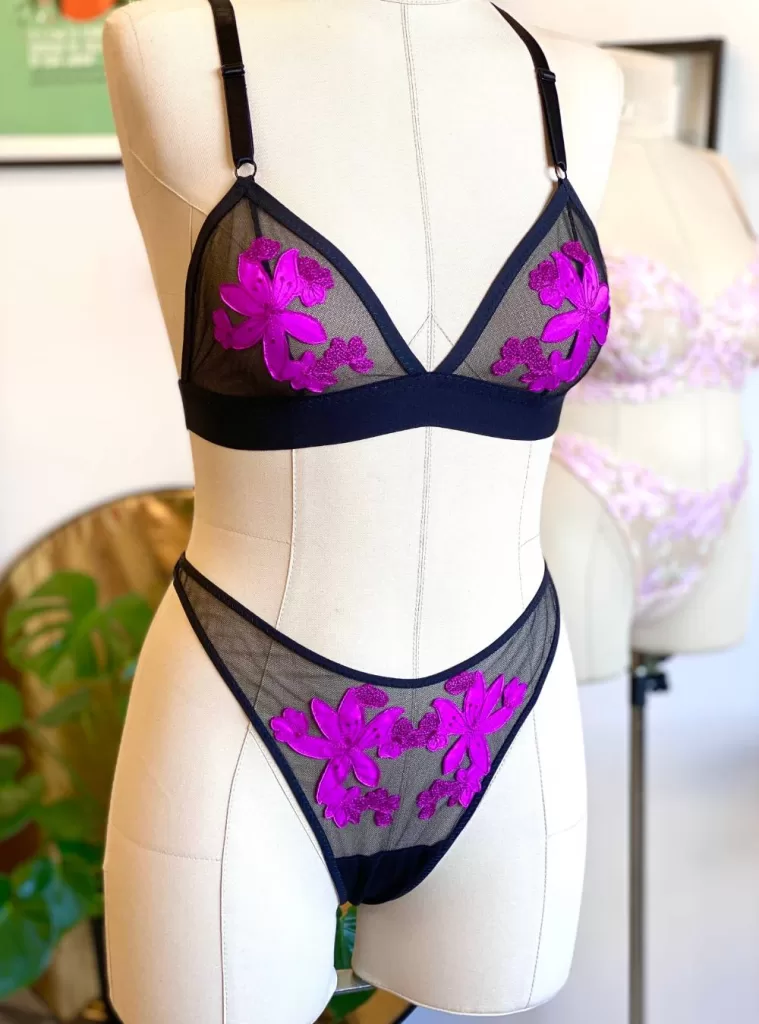
I started with a simple black tulle Jordy Bralette and Friday French Cut for my base. They are both the perfect non-stretch base to work with, and it’s best to have a non-stretch design for appliqué because appliqués are usually sewn on with a straight stitch and don’t stretch well, so having a stretch fabric underneath can lead to puckering changing the fit of your garment.
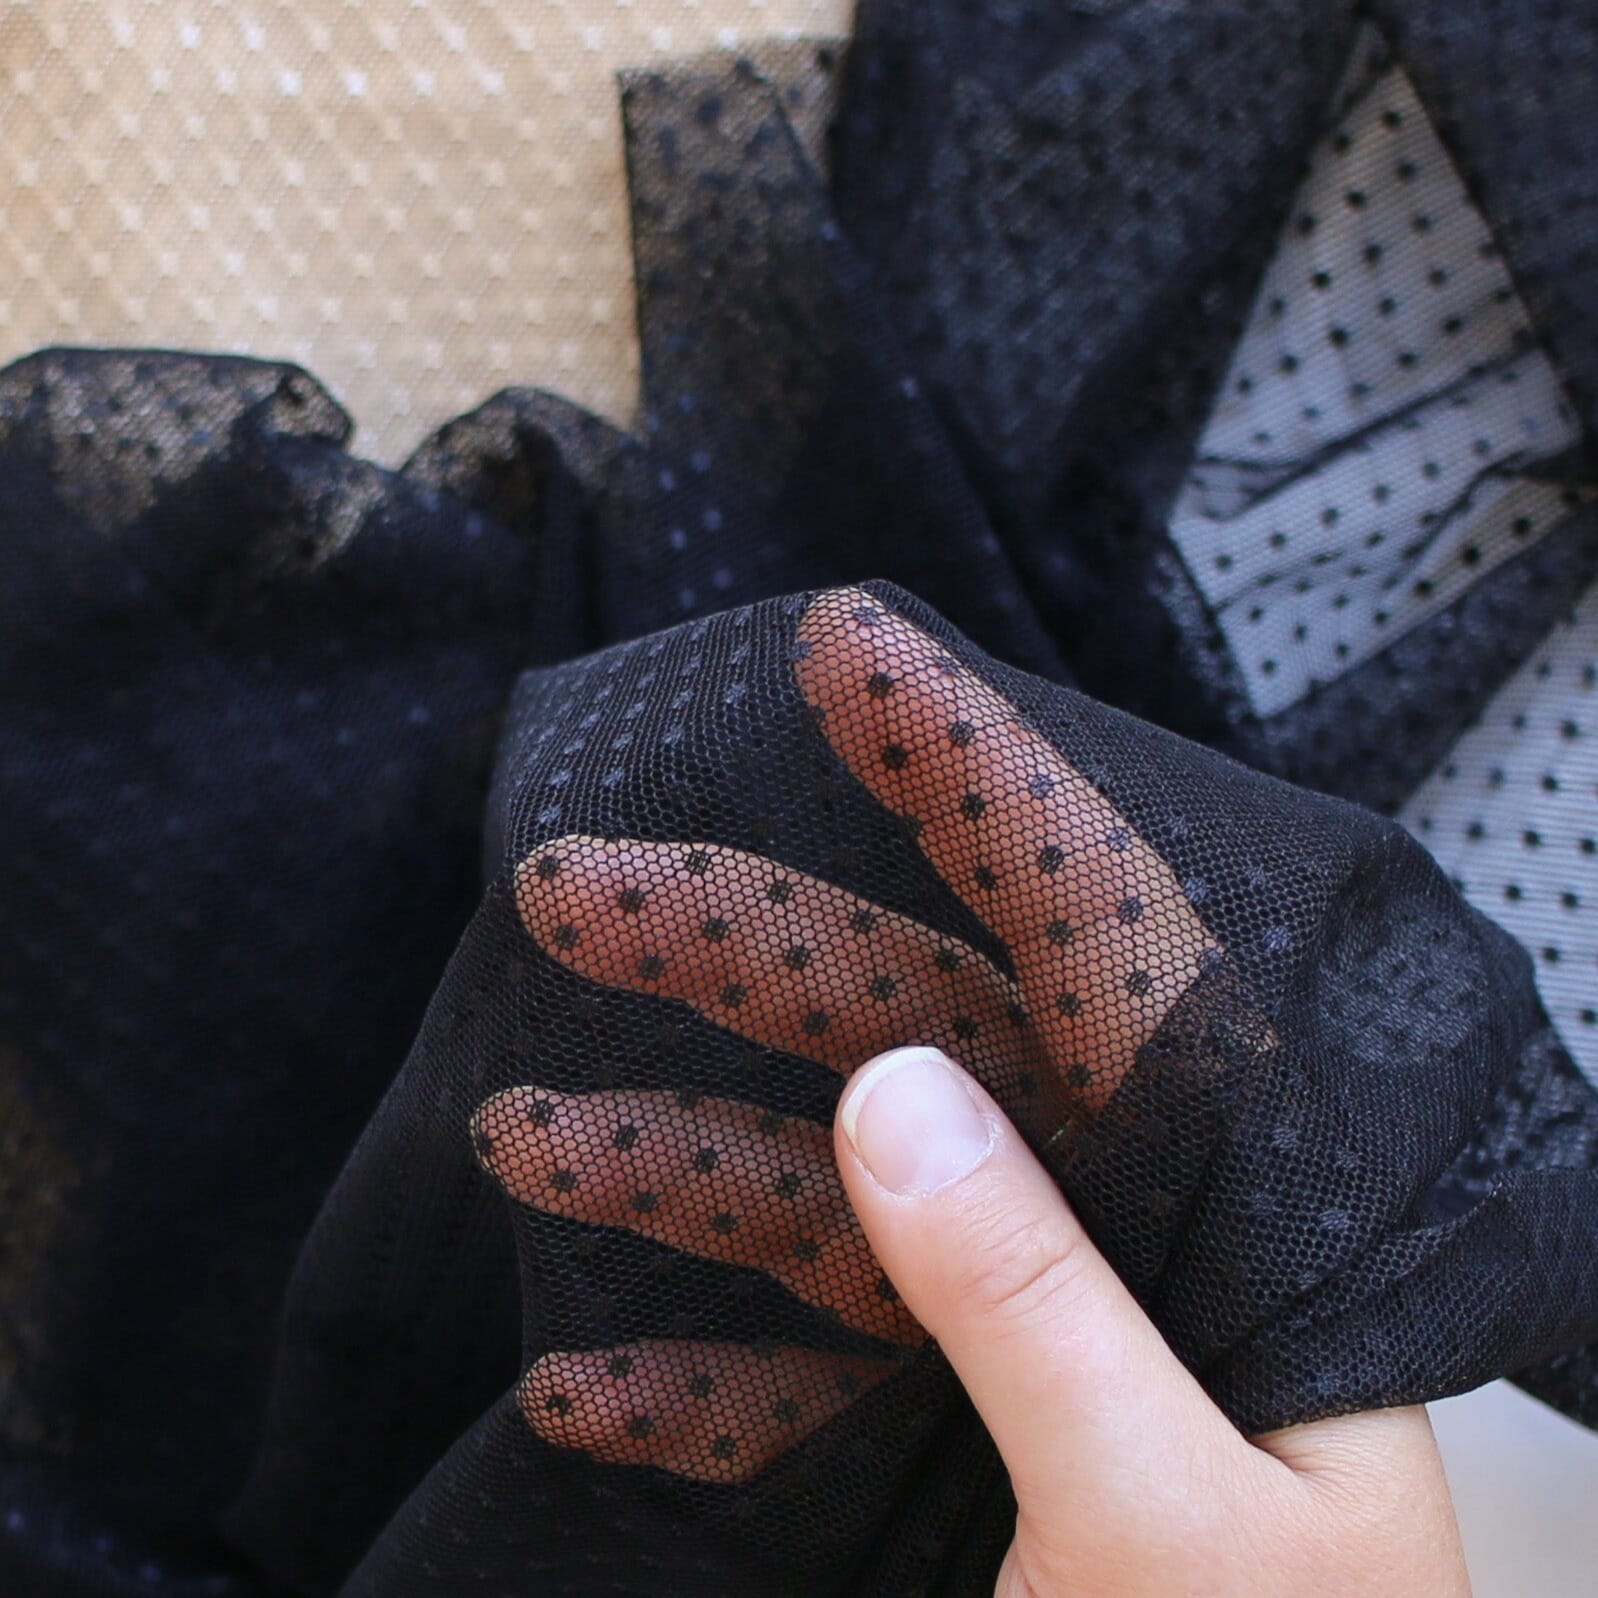
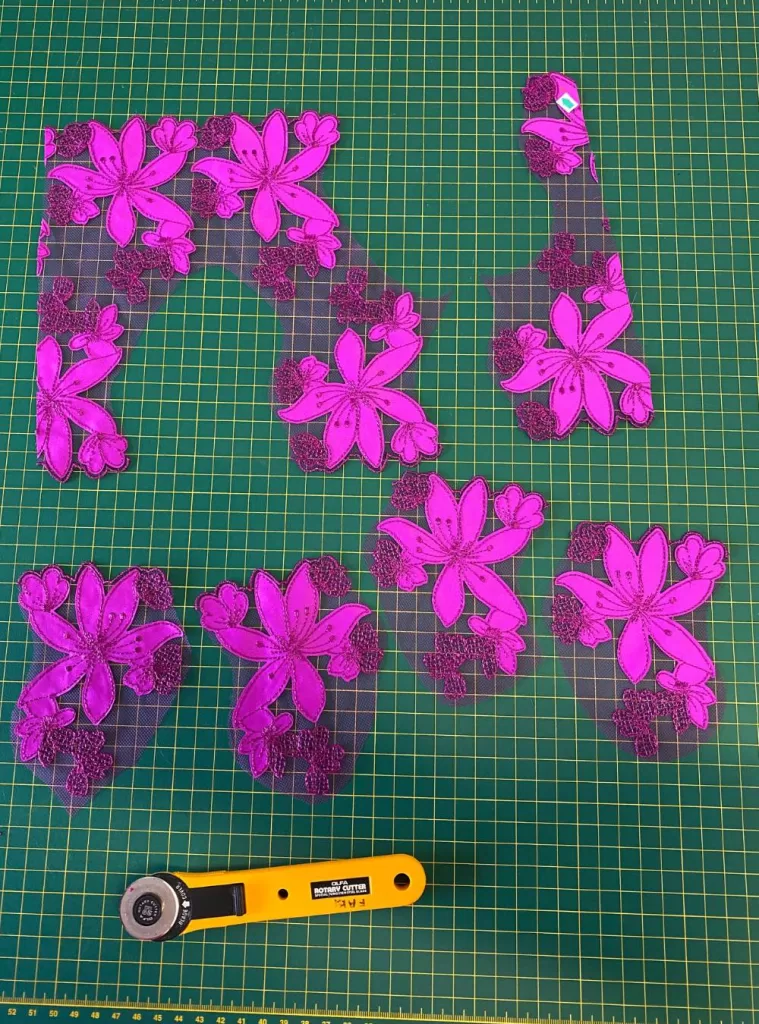
This Amour Appliqué lace is an appliqué style lace, which means that the fabric design is appliquéd or sewn onto a tulle background. That makes it a really easy option for this technique because you only have to re-cut the appliqués and apply them to something else- but you can do this with any lace and pick the part of the design you like.
For this project I cut out two mirrored flower sets, a pair to go on the cups and a pair for the front of the panty. When you cut out your appliqué it’s best to leave a bit of extra tulle around the edges of the design to give yourself a little wiggle room when you sew it on. Appliqué is incredible for creativity because the sky’s the limit, you can pick out any part of the design you like and place it anywhere you like. It can be big or small, symmetrical or asymmetrical. I personally tend to like symmetrical designs so that’s what I’m going for here.
When placing the appliqué, if you’re working on a curved surface like a bra cup, it’s best to place it the while the cup is in shape, like on a dress form or tailors ham. You can do this without a form, just be careful to smooth and shape the design to the cup while you pin so it keeps a nice shape in the cup. And only pin on the lace design that you’re sewing down, not the background tulle of the lace, because the tulle will be cut away, so it doesn’t have to be smooth and flat, you just want to shape the design to the cup.
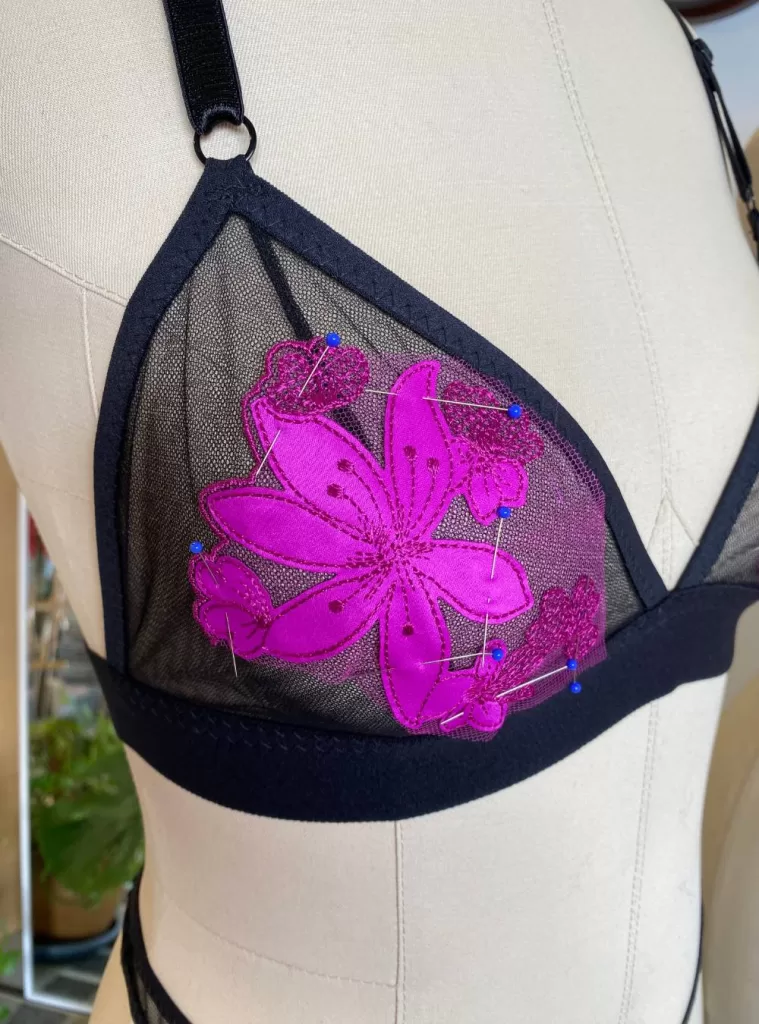
Once you have your design placed and pinned, sew carefully around the design- this take a bit of patience and practice, and you can do this by hand if you don’t like a lot of pivoting on a sewing machine. And, as you can see in the pictures below, the background tulle of the lace does buckle, and that’s because the lace is flat and the cup is round, and shaping the design to the cup will leave some extra background tulle, but that’s no problem because the tulle gets cut away.
To make sure that the design is nice and shaped with the cup, check the inside of the cup after sewing. If the cup fabric is nice and smooth then you’re good to cut away the extra background tulle.
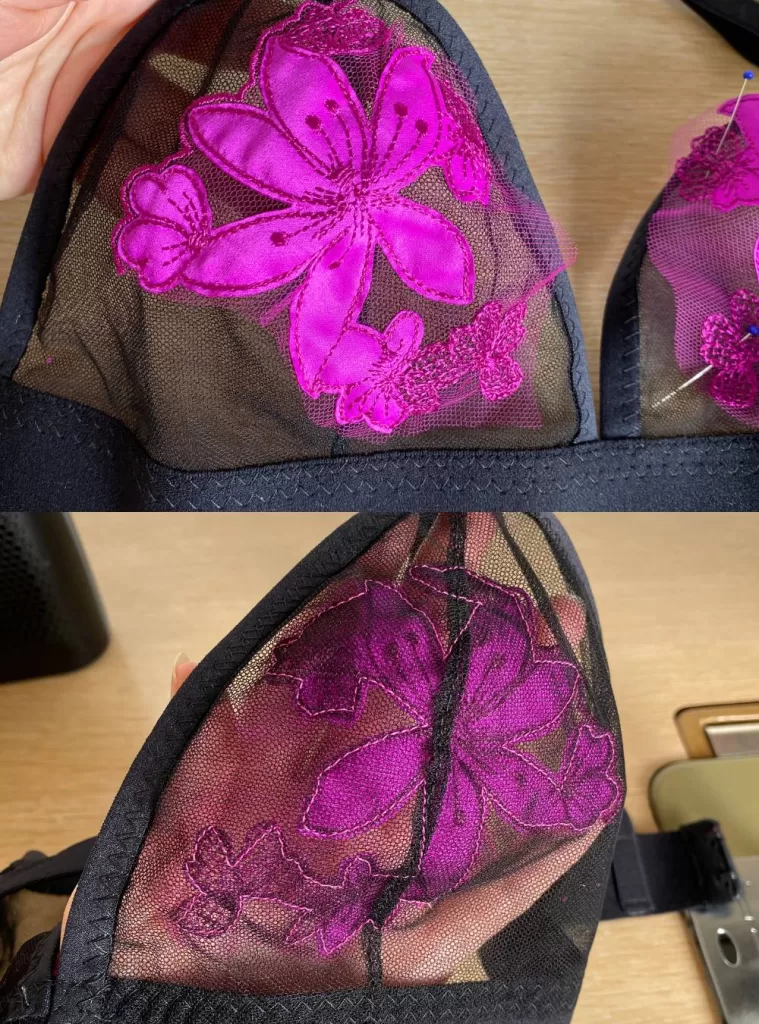
Cutting away the extra tulle is best done with appliqué scissors to avoid cutting through your bra. It’s also best to have good lighting and patience because it can be a bit tedious, but it’s worth the effort because it really makes the design pop!

And it’s as simple as that! For the panty I chose to do a mirrored design that echos the top and follows the shape of the panty front. And I think it’s gorgeous!
You could do this for so many projects, not even just lingerie, but on tops, dresses and pants. It would also be SO CUTE for a matching lingerie bag for your set, or a bit of appliqué on a little lavender sachet to put in your lingerie drawer- the ideas are endless, and I would love to hear any ideas you have in the comments 🙂
Happy sewing!
xo Erin
So, so, so beautiful. Good job
Thank you!
I love this idea and how much the appliques you chose enhance a simple bra and panties set! I was specifically looking for applique ideas for a bra that will peek out from under a very formal, low cut, draped, wrap front dress. Pinning the top of the dress higher takes away from the lines of the dress, so I wanted to use a same color bra as the fabric to create an elegant, deliberate pairing. I have an elaborate applique piece that is large enough to cross the two cups for a custom bustier look. I will use smaller pieces on the cups to make it all look cohesive. Having never done this kind of project before, your post was helpful in advice for working with the curve of the cups. I’m excited about creating this custom piece and will be patient and trust the process. Thank you for sharing!